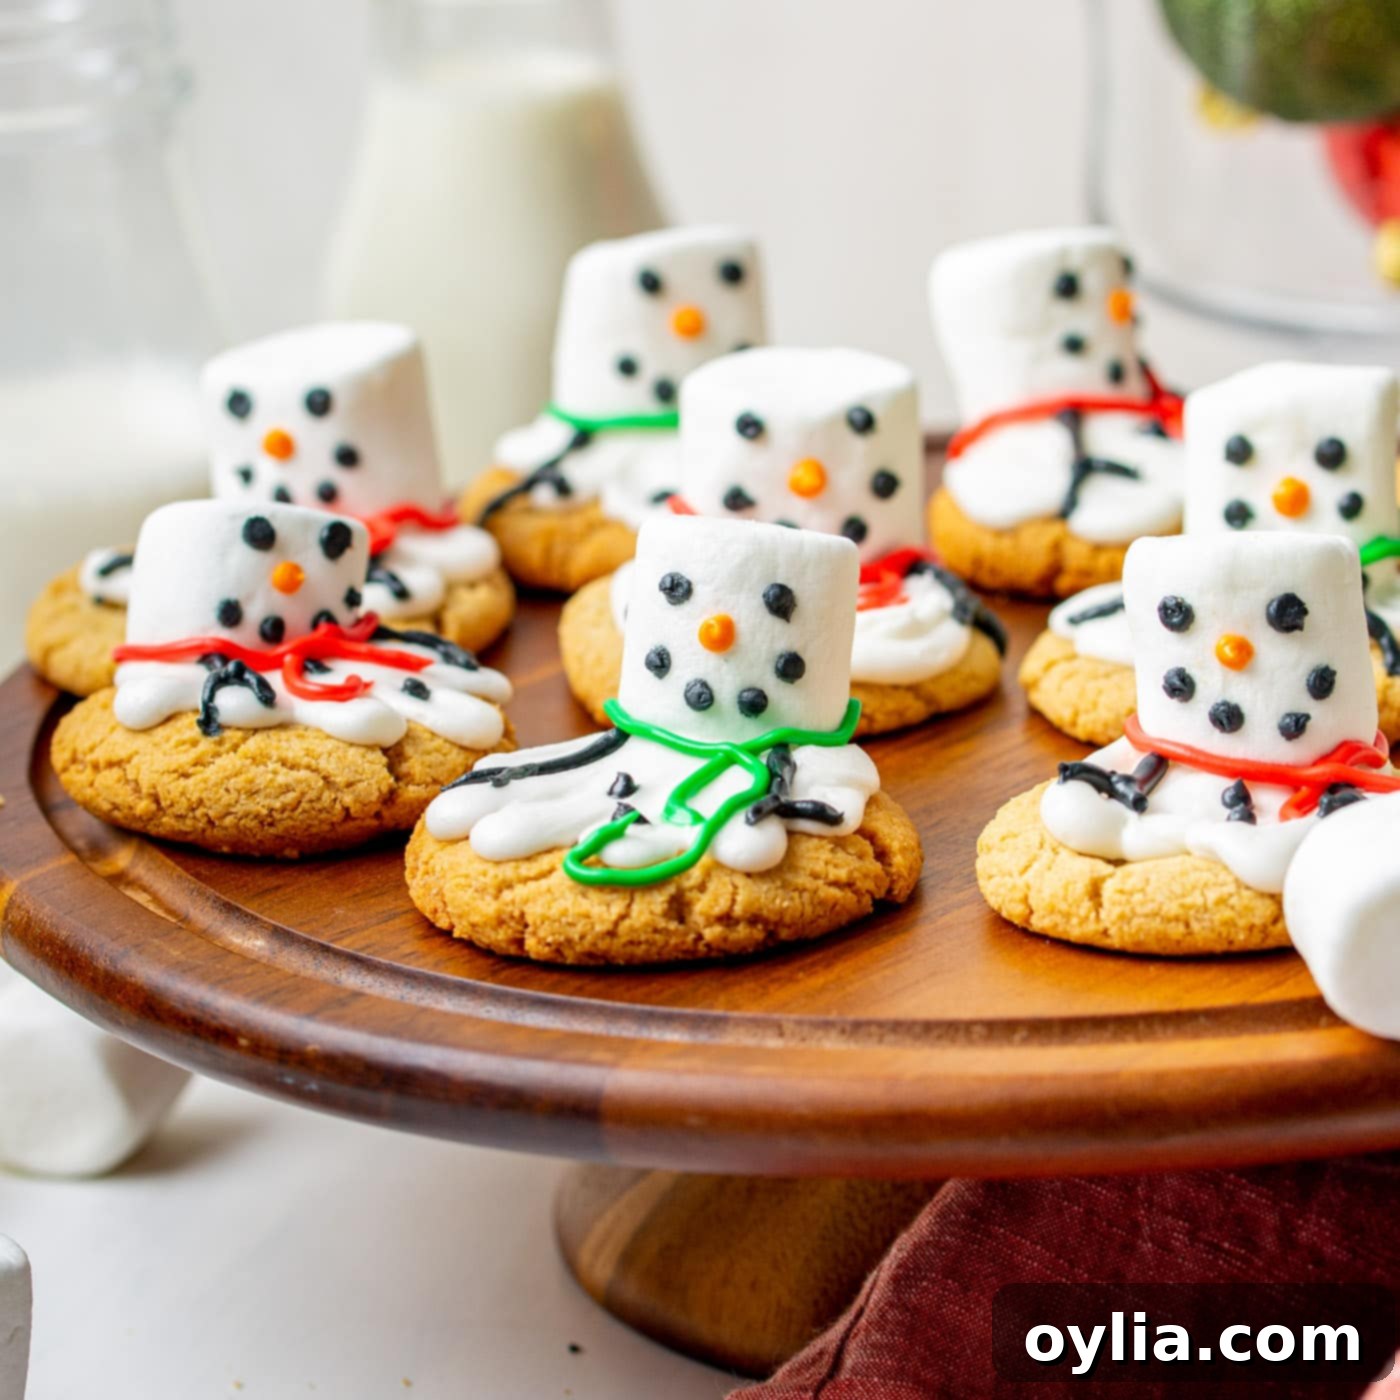
Easy & Adorable Melted Snowman Cookies: Your Perfect Holiday Baking Project
Get ready to sprinkle some extra joy and a touch of whimsy onto your holiday cookie platter with these incredibly cute and easy Melted Snowman Cookies! Far from complex, these delightful treats bring a smile to everyone’s face, making them an instant favorite for Christmas gatherings, cookie exchanges, or just a cozy afternoon of festive baking at home. Imagine a cheerful snowman, perhaps a little clumsy, who has decided to “melt” right onto your cookie. That’s the charm these cookies deliver!
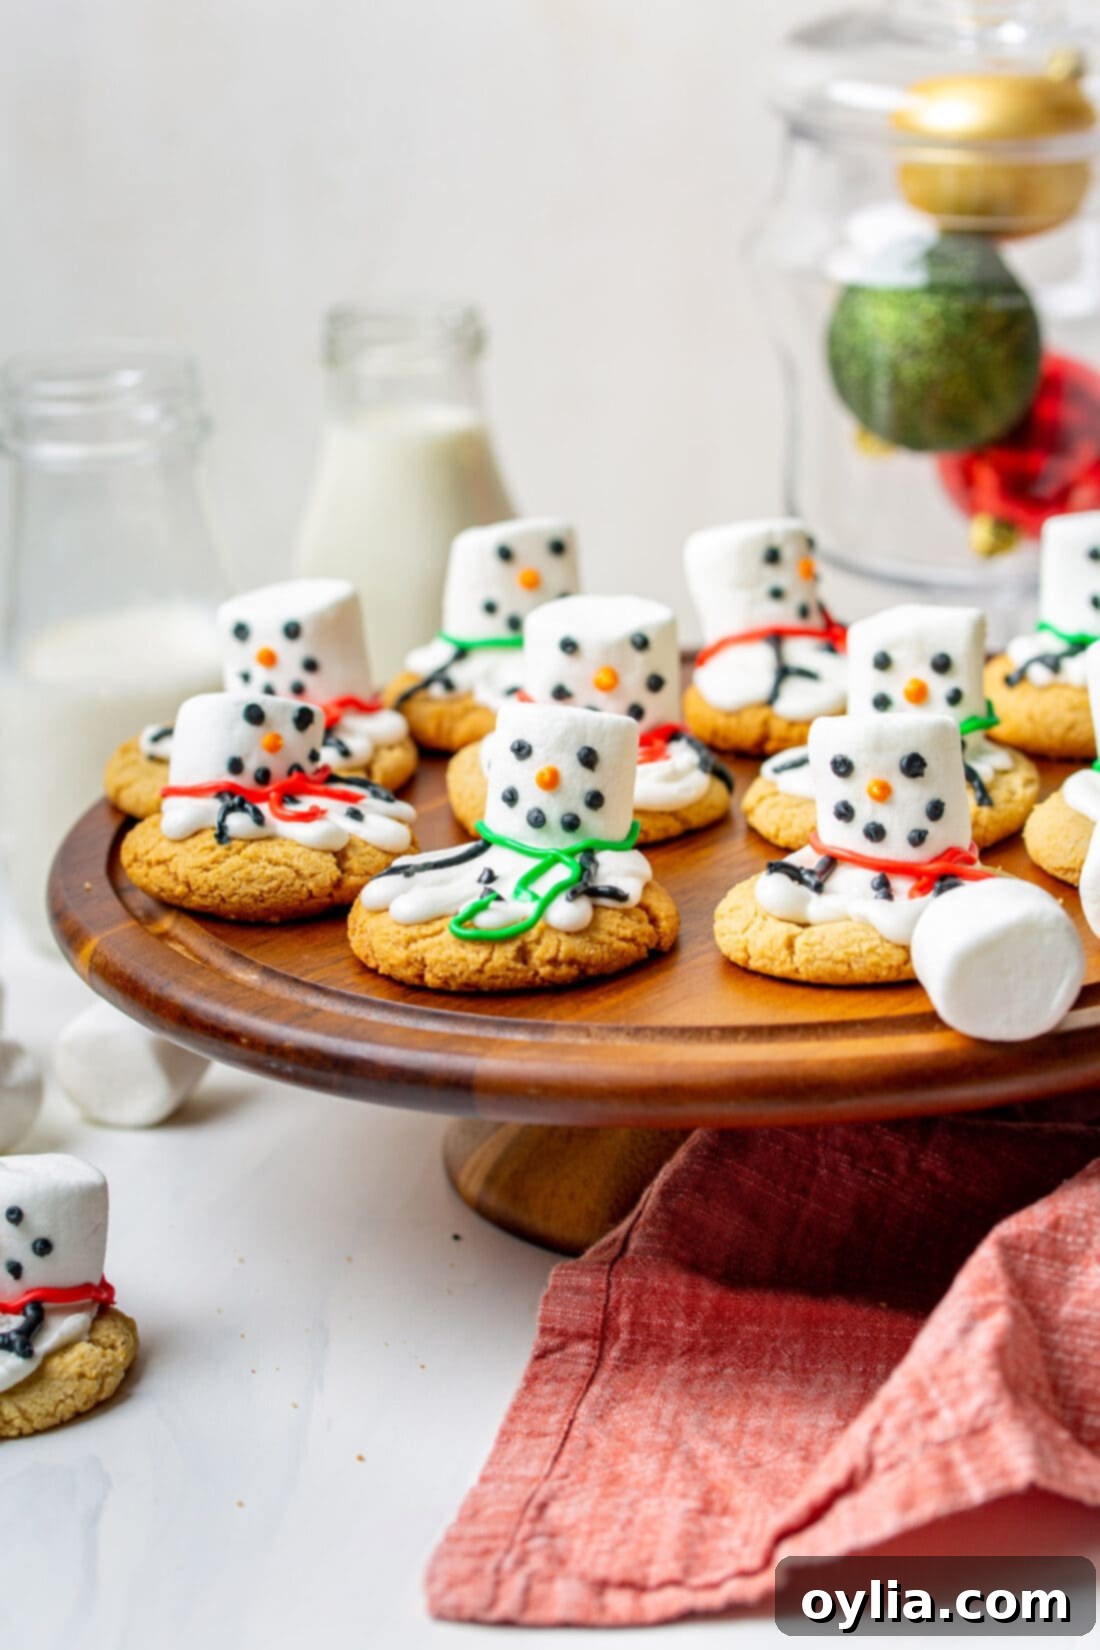
Why This Recipe Is a Holiday Must-Make
These adorable melted snowman cookies are crafted with a base of delicious sugar cookies, crowned with fluffy marshmallows, and brought to life with vibrant icing. They offer the same level of cuteness as our more intricate easy decorated sugar cookies, but with a significantly simpler assembly process, making them perfect for bakers of all skill levels, especially those involving little helpers in the kitchen.
What makes this recipe truly stand out is its incredible simplicity and the minimal cleanup required, especially when you opt for ready-to-bake sugar cookie dough. This hands-on approach makes it an ideal activity for kids, who will absolutely delight in piping on the “melted snow” frosting, carefully placing the marshmallow heads, and then adding all the tiny, expressive details that transform them into charming snowmen. Watching their creations come to life is a magical experience! Beyond being a fantastic family project, these whimsical treats are also a huge hit at holiday cookie decorating parties, offering a fun and engaging activity for guests.
They’re not just a feast for the eyes; they’re incredibly tasty too! The soft, sweet sugar cookie base perfectly complements the chewy marshmallow and the creamy, flavorful royal icing, creating a harmonious blend of textures and tastes. Each bite delivers a burst of festive cheer, making these cookies an irresistible addition to any holiday celebration.
Gather Your Ingredients for Melted Snowman Cookies
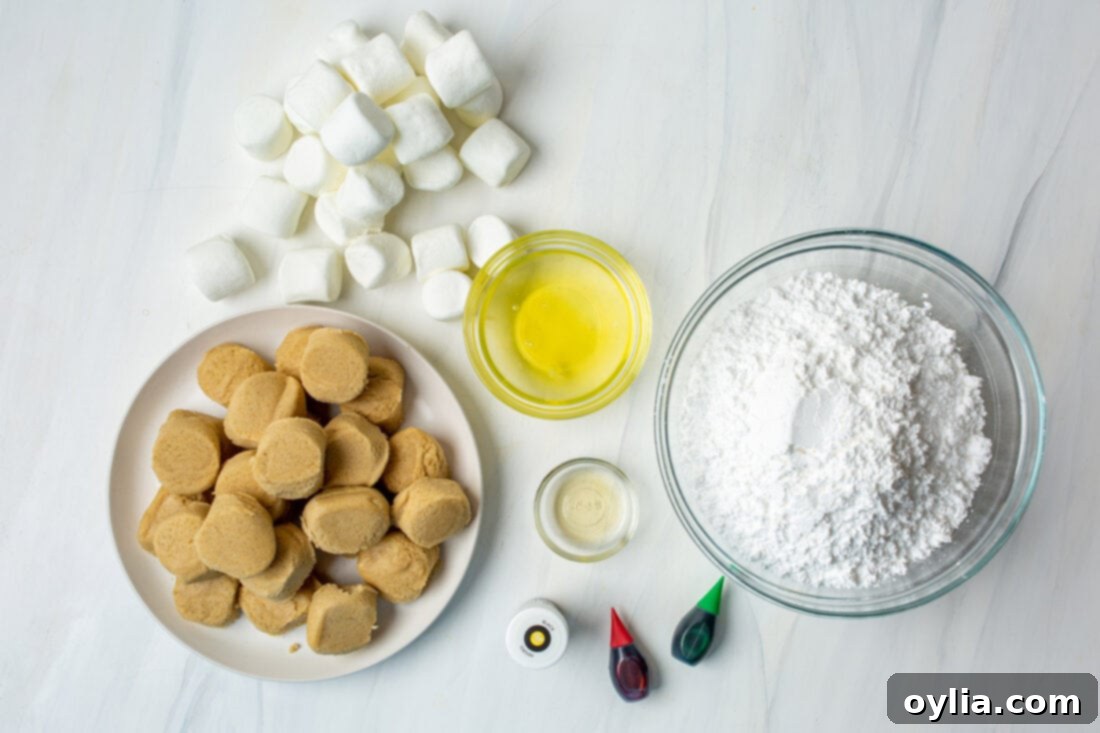
Before diving into the fun of decorating, make sure you have all your components ready. All precise measurements, a complete list of ingredients, and detailed instructions can be found in the printable recipe card at the very end of this post. For now, let’s look at the key elements that bring these festive cookies to life.
2021: 12 DAYS OF CHRISTMAS COOKIES
12 Christmas cookies you will love, PLUS bonus baking tips!
Get the Christmas cookies cookbook! ONLY $9.97!!
Ingredient Information and Smart Substitution Suggestions
Crafting these adorable melted snowman cookies offers a lot of flexibility, especially when it comes to the base. Here’s what you need to know about the key ingredients and how you can adapt them to your preference or what you have on hand:
- The Cookie Base – While we opted for the convenience of refrigerated sugar cookie dough, which significantly speeds up the process and makes it perfect for impromptu baking sessions, you absolutely can use your favorite homemade sugar cookie recipe. For a homemade touch, ensure your sugar cookies are baked until just set and slightly golden at the edges, then completely cooled before decorating. But don’t feel limited to just sugar cookies! These whimsical snowmen look fantastic on a variety of cookie types. Consider gingerbread cookies for a spicier festive flavor, gingersnap for a zesty kick, or even chocolate chip cookies for a rich, comforting twist. The key is a flat surface for the “melted snow” effect, so choose a cookie that bakes relatively flat.
- The Snowmen’s Character – The magic of these snowmen truly comes to life with the royal icing. We’ll guide you through making a simple, stable royal icing that’s perfect for piping delicate details like eyes, noses, mouths, buttons, and even festive scarves. However, if you’re looking for an even quicker approach or want to simplify the process, store-bought decorating icing that comes in convenient tubes can be a lifesaver for the intricate elements. For the larger “melted snow” puddle, you can even adapt our clever trick from the easy decorated sugar cookies recipe, which involves using store-bought frosting with a small modification to achieve the right consistency and spread. This allows for both homemade charm and store-bought ease, depending on your time and preference.
- Marshmallows – Regular-sized marshmallows form the heads of our melted snowmen. They provide a soft, chewy contrast to the cookie and icing. You can also experiment with jumbo marshmallows for a larger snowman or mini marshmallows if you’re making smaller cookies or want to create a whole “snowman family” on one cookie.
- Food Coloring – Essential for bringing your snowmen to life! You’ll need black or brown for eyes, mouths, and buttons, orange for the classic carrot nose, and then your choice of vibrant colors (red, green, blue, purple) for the scarves. Gel food colorings are recommended as they provide intense color without thinning your icing too much.
Having everything prepped and organized before you start decorating will make the process much smoother and more enjoyable, especially when baking with kids!
Step-by-Step Guide: How to Make Melted Snowman Cookies
These step-by-step photos and detailed instructions are provided to help you visualize each stage of making this delightful recipe. For a convenient printable version, complete with precise measurements and full instructions, simply Jump to Recipe at the bottom of this post.
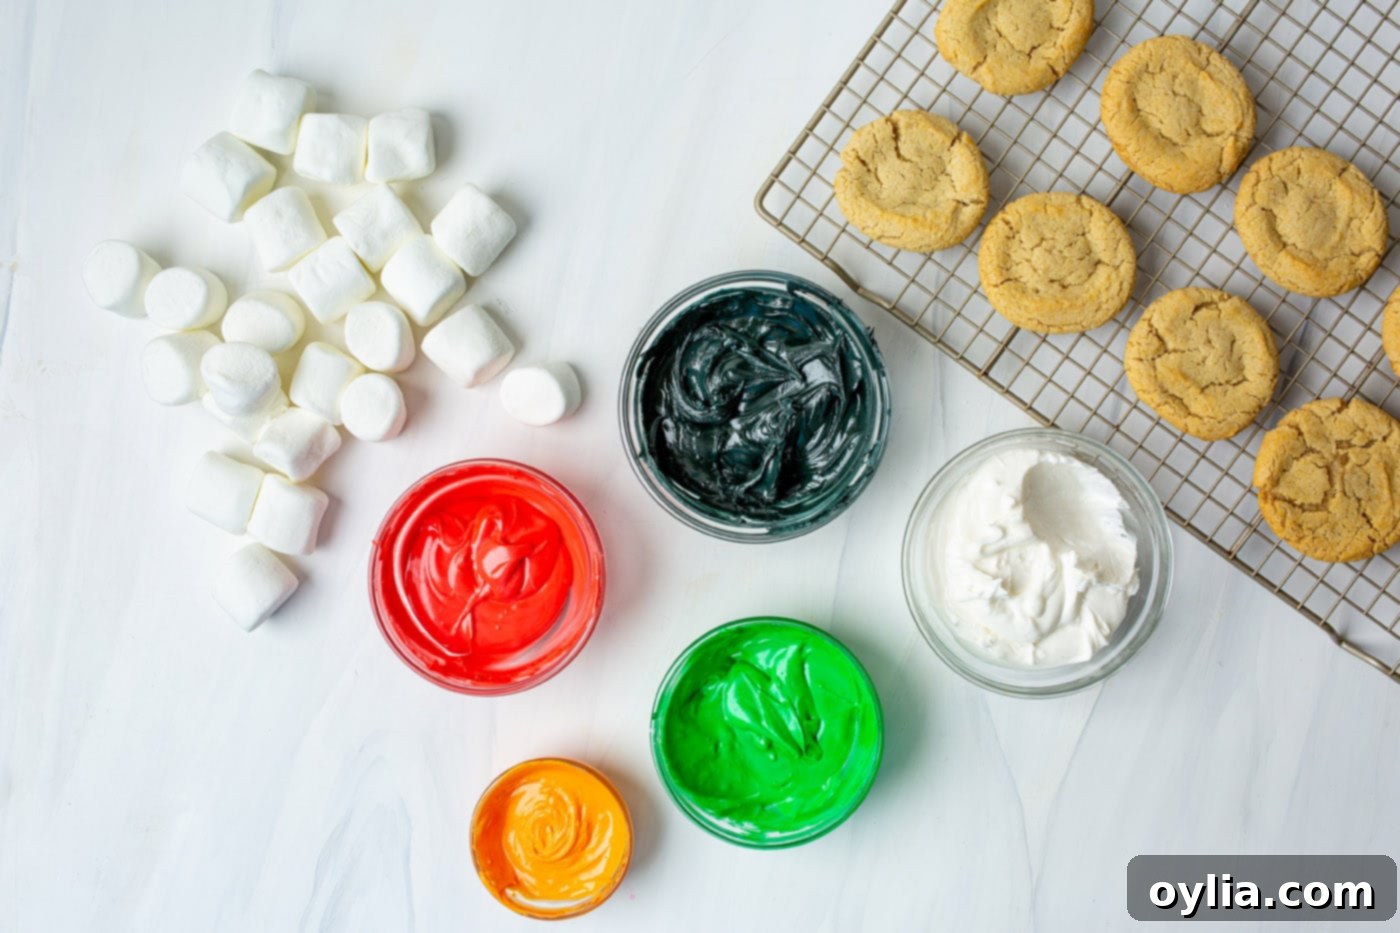
- Prepare Your Cookies: First things first, if you’re using refrigerated sugar cookie dough or a homemade recipe, bake your sugar cookies according to the package instructions or your recipe’s guidelines. Aim for perfectly golden edges and a soft center. Once baked, transfer them to a wire rack to cool completely. It’s crucial that your cookies are fully cooled before you begin decorating, otherwise, your icing will melt and spread uncontrollably. While they cool, set aside 12 regular-sized marshmallows – one for each cookie.
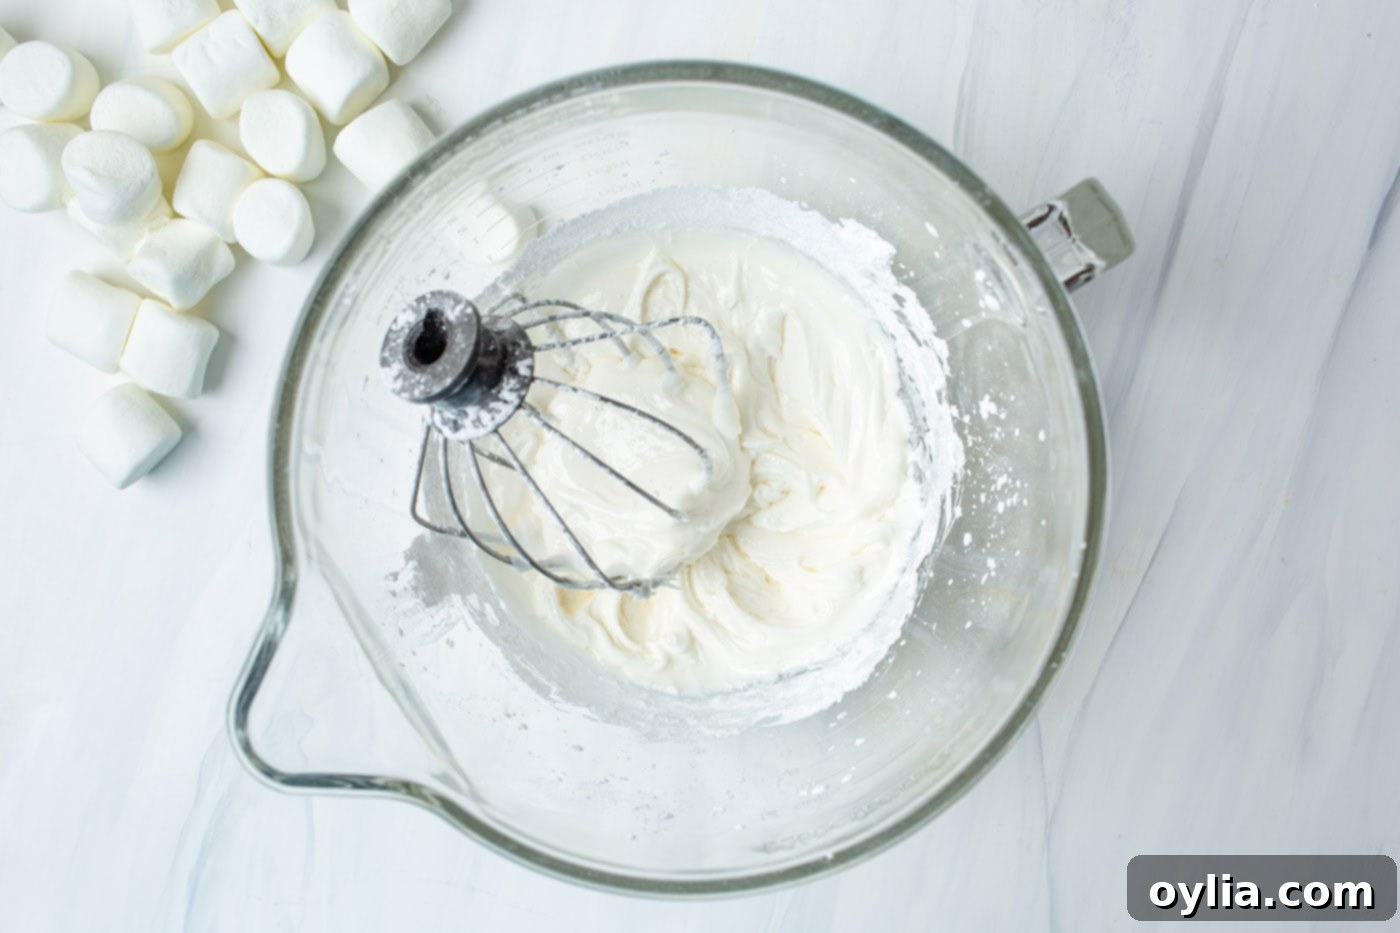
- Craft the Royal Icing: In the clean, dry bowl of a stand mixer fitted with a paddle attachment, begin by whisking the egg whites. Whisk them on medium-high speed until they become light, airy, and foamy, forming soft peaks. This usually takes a couple of minutes. Next, add in the vanilla extract, which will give your icing a lovely aroma and flavor. Now, slowly, about 1 cup at a time, gradually add the powdered sugar, mixing on low speed. This slow addition prevents a sugar cloud from forming and ensures the sugar is fully incorporated. Continue mixing until the icing is smooth, glossy, and reaches a medium consistency – thick enough to hold its shape for piping, but thin enough to flow slightly for the “melted” effect. If it’s too thick, add a tiny bit of water (1/4 teaspoon at a time); if too thin, add a tablespoon of powdered sugar.
- Color Your Icing: Once your royal icing is ready, reserve approximately one-third of the white icing. This portion will be used to create the “melted snow” layer on your cookies. Divide the remaining icing into separate small bowls, one for each color you plan to use for the snowman’s details (black/brown for eyes/buttons, orange for the nose, and various colors for scarves like red or green). Add a few drops of your chosen gel food coloring to each bowl. Start with 1-2 drops and mix thoroughly, adding more as needed until you achieve your desired color intensity. Remember, gel food colorings are highly concentrated, so a little goes a long way.
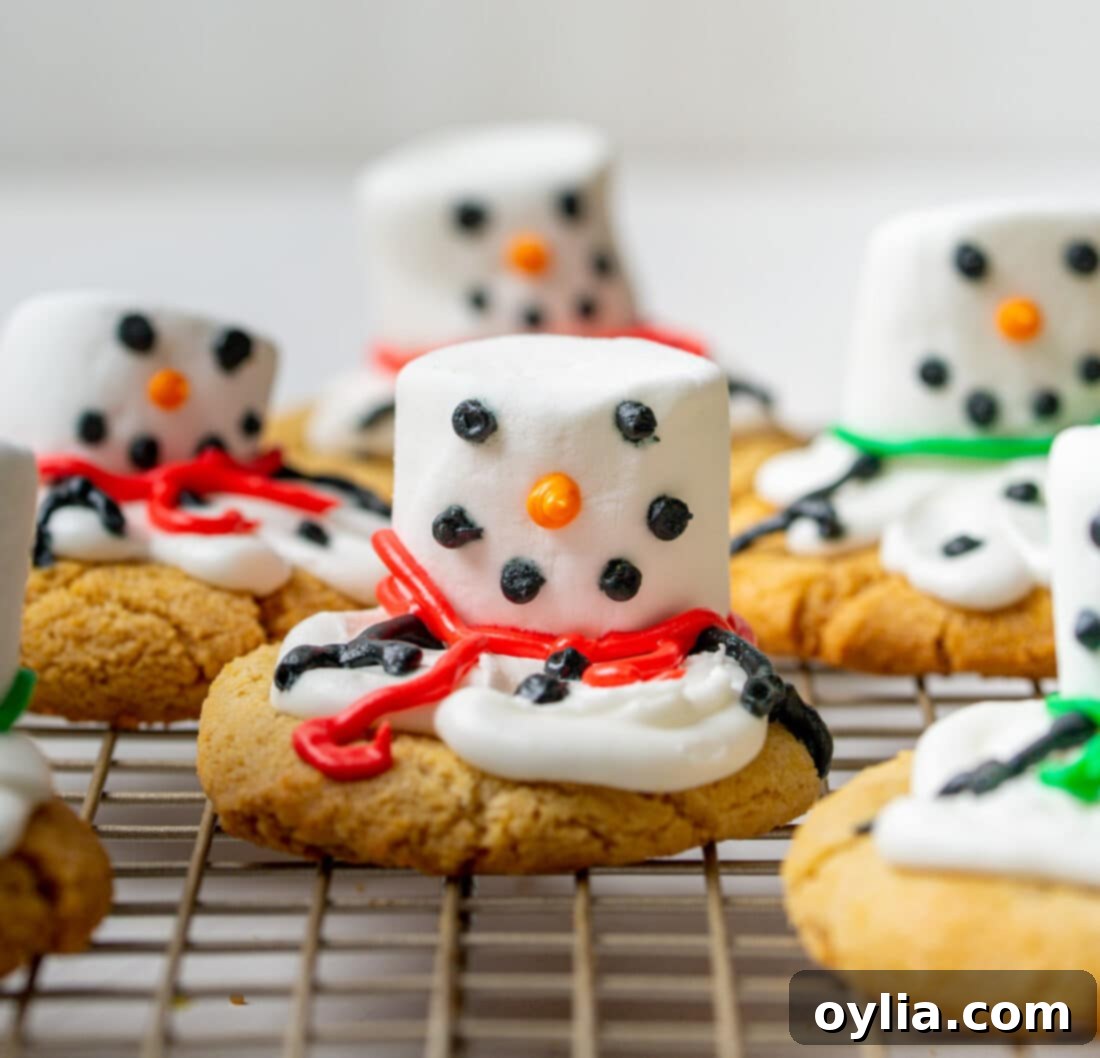
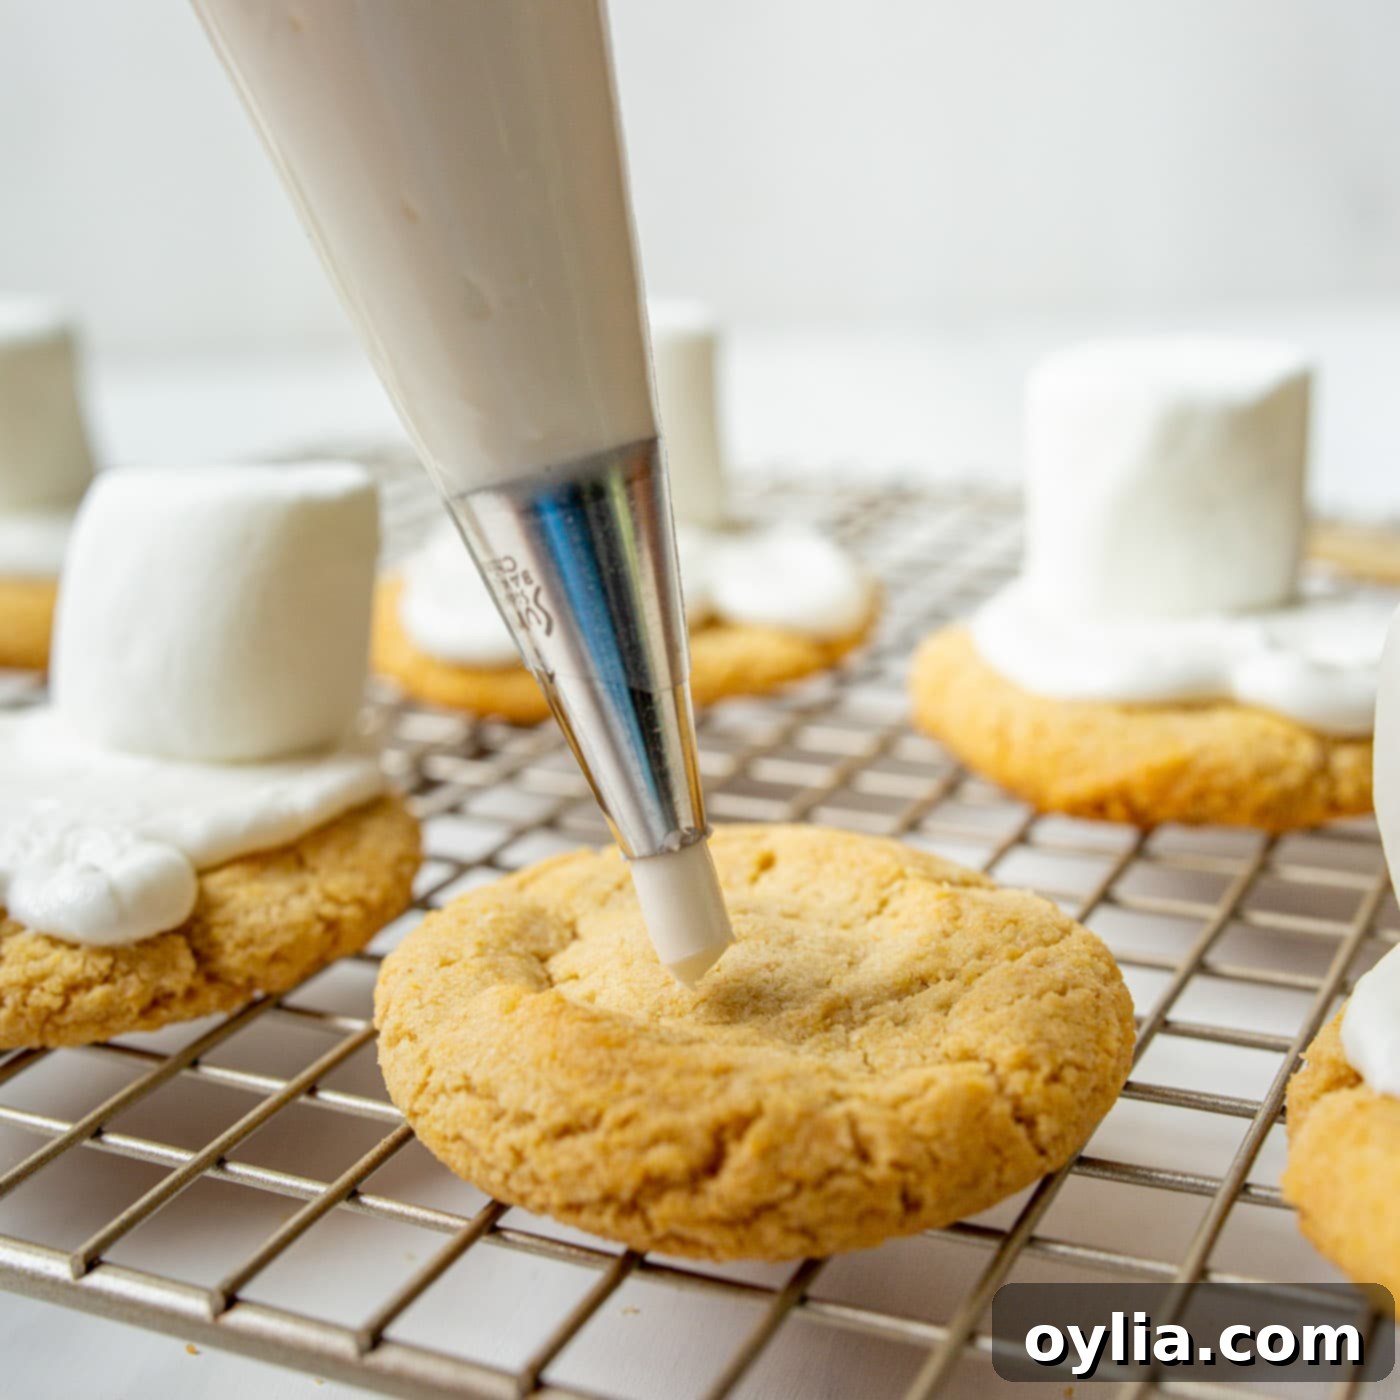
- Create the Melted Snow Base: Once your cookies are thoroughly cooled, it’s time for the “melted snow” effect. Using the reserved white icing, fill a piping bag fitted with a #8 round tip. Pipe wavy, puddle-like shapes onto the surface of each cookie. Don’t worry about perfection; the irregular shapes actually enhance the “melted” look! Immediately after piping the white icing, gently press one marshmallow towards one edge of each cookie. This will be the snowman’s head, appearing to emerge from the melted snow. Allow the white icing to set slightly before moving on to the smaller details, usually about 10-15 minutes, or until a light crust forms.
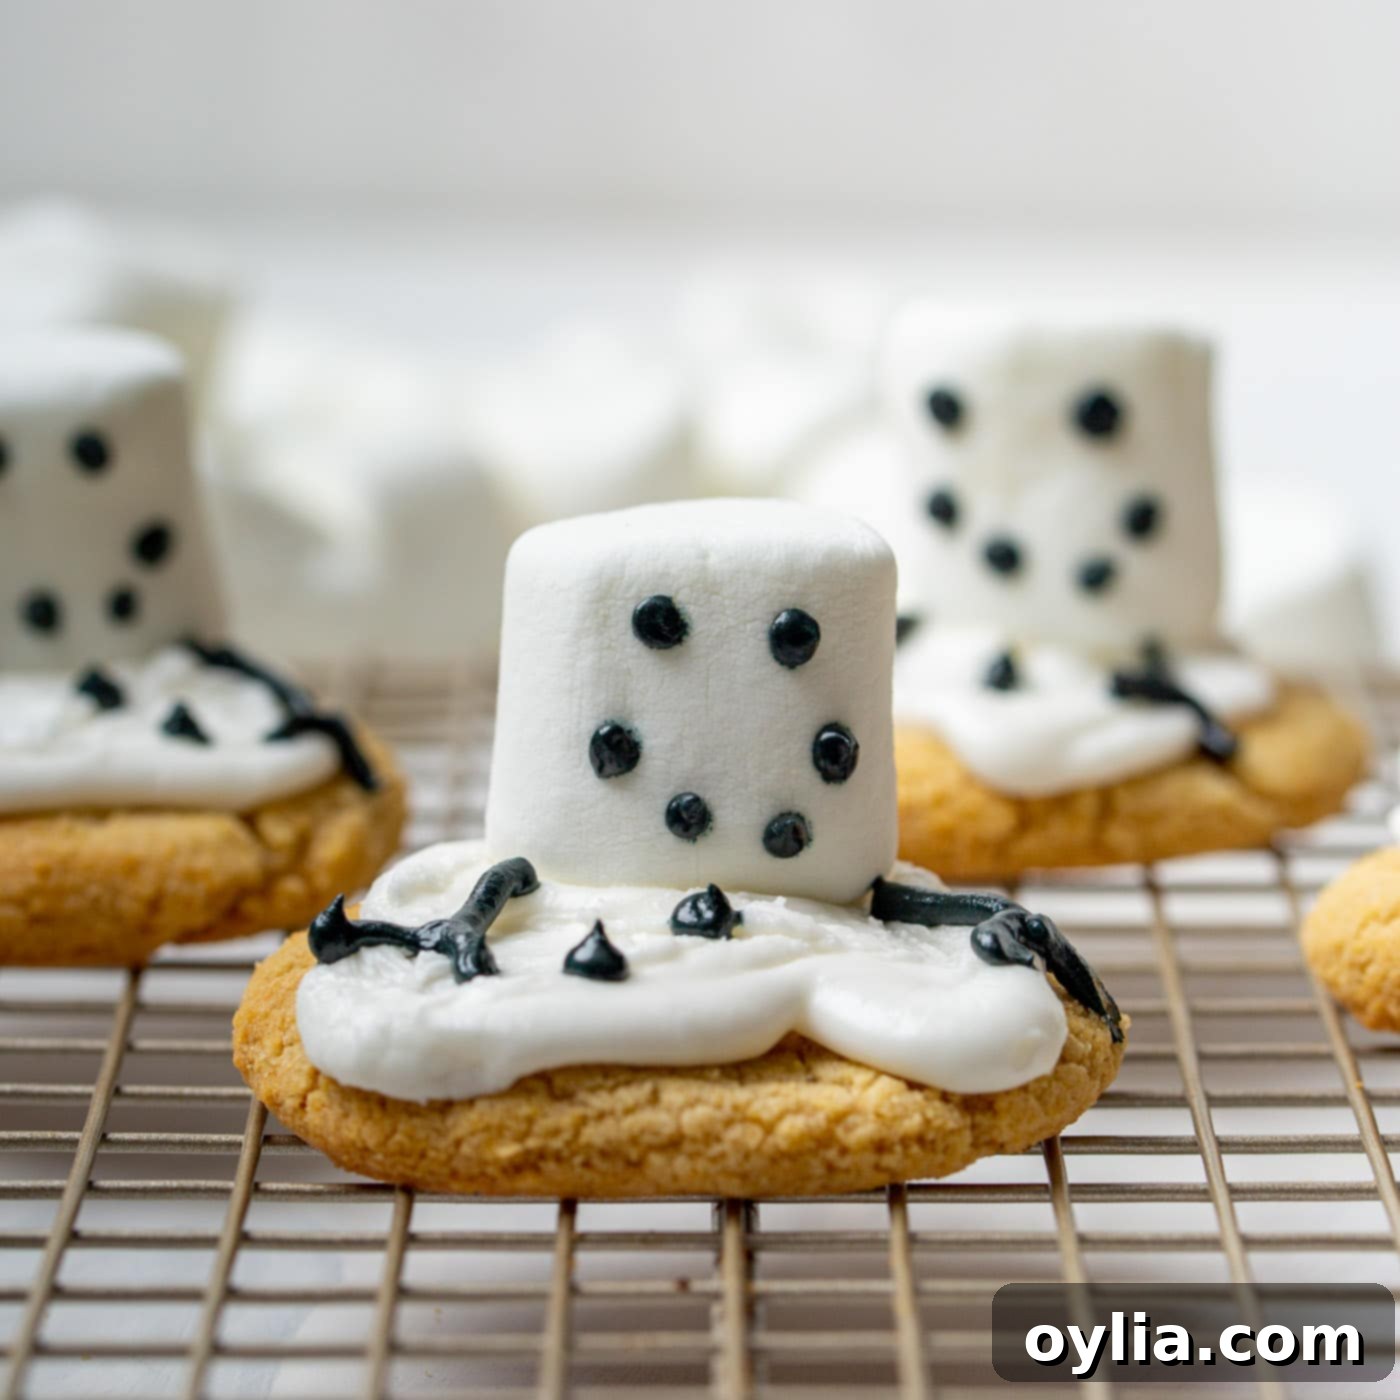
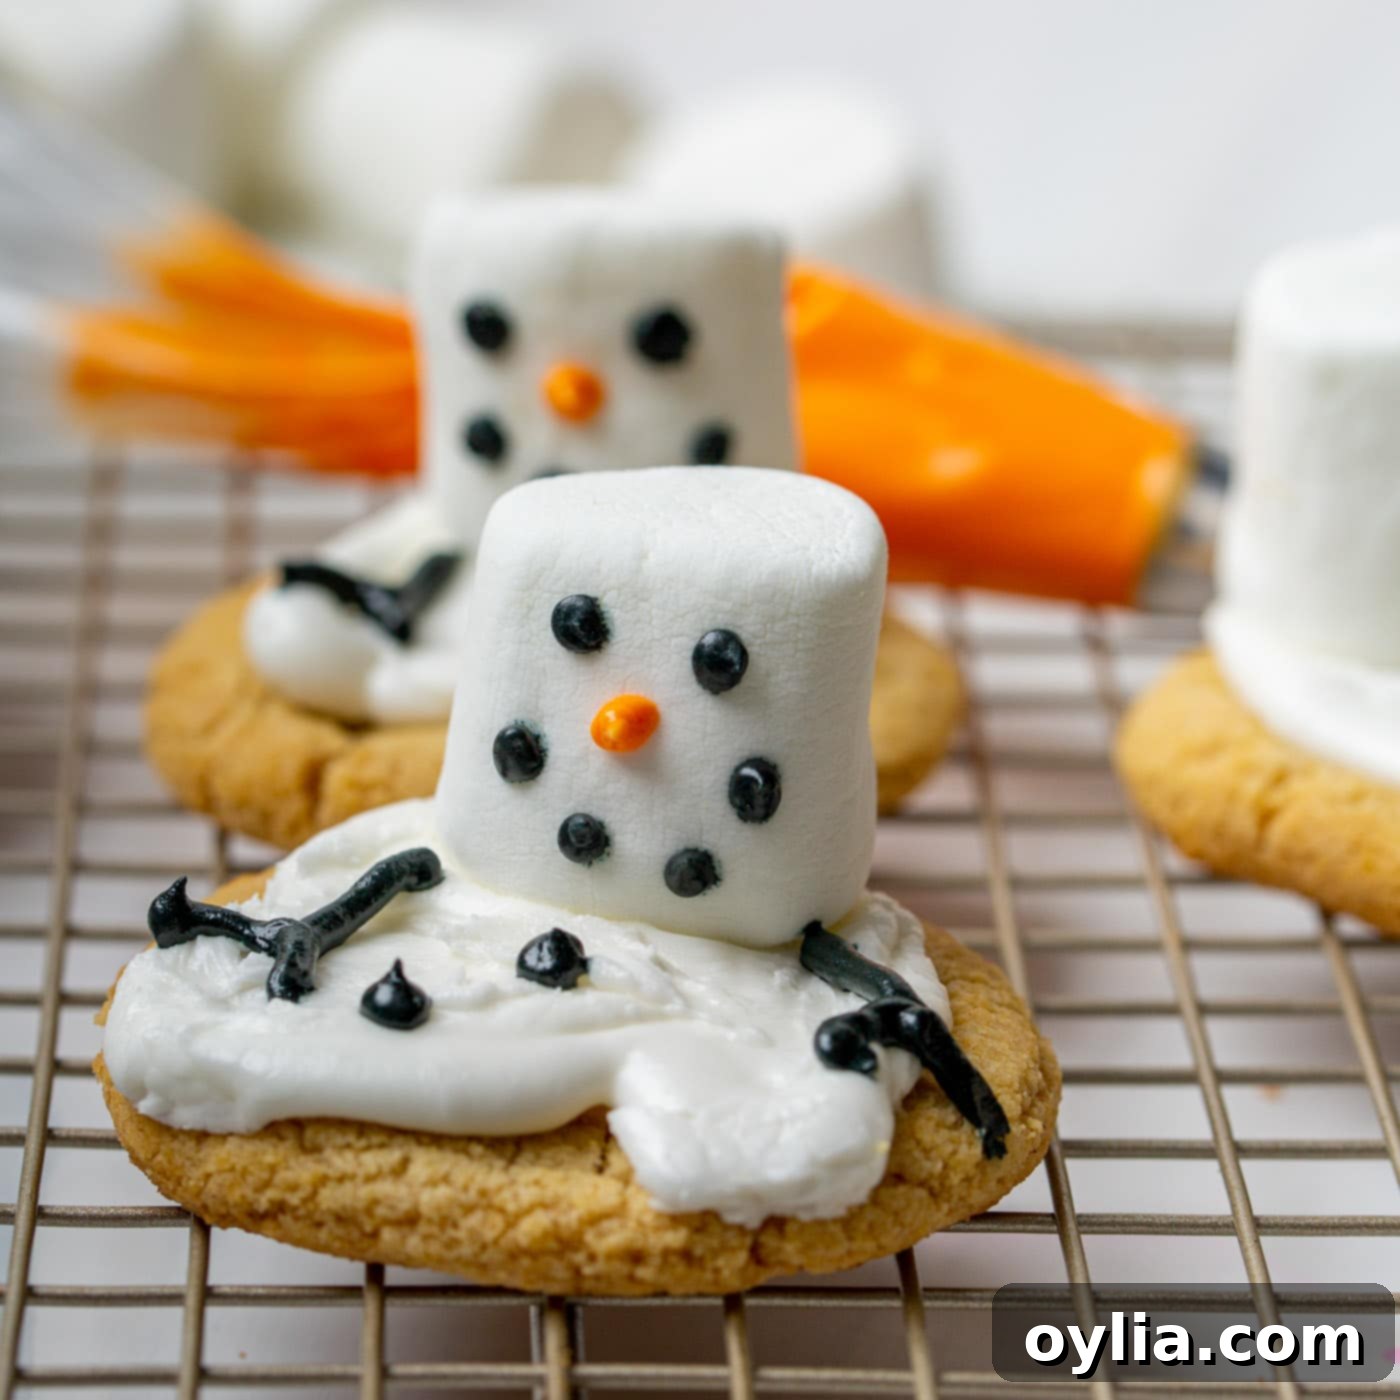
- Add Facial Features and Buttons: Now for the snowman’s personality! Fill a piping bag with your black (or brown) icing and fit it with a #7 round tip, or an even smaller tip if you prefer finer details. Carefully pipe two small dots for the eyes, a wavy line or a few dots for the mouth, and three small dots down the melted body for the buttons. You can also pipe two small “stick” arms emerging from the sides of the marshmallow head or from the melted snow. Let your creativity shine!
- Pipe the Carrot Nose: Switch to your orange icing and a smaller tip, like the #3 tip, to pipe a small, triangular carrot nose onto the marshmallow head. Position it just below the eyes. This small detail really brings the snowman to life!
- Add the Scarf: Finally, complete your snowman’s look by piping a colorful scarf! Using another small tip (like a #3) and your chosen scarf color (red, green, blue), pipe a thin line around the base of the marshmallow head, where it meets the melted white icing. Add a couple of small fringes at the ends to make it look like a real scarf blowing in the wind. Let all the icing dry completely before stacking or serving the cookies, which can take several hours depending on humidity.
Frequently Asked Questions & Expert Tips for Perfect Snowman Cookies
To keep your melted snowman cookies fresh and adorable, store them in an airtight container. Keep them at room temperature in a dry, cool place for up to 4 days. If you live in a humid environment, a cool pantry or even the refrigerator (though this can sometimes alter cookie texture) might be preferable to prevent the icing from becoming sticky.
No special equipment? No problem! You can easily create your own makeshift piping bag. Simply place your colored icing into a small ziptop bag. Snip off a tiny corner of the bag with scissors. The key is to make a very small hole, especially for intricate details like eyes and mouths. You can always make the hole larger if needed, but you can’t make it smaller! This method works surprisingly well and ensures you can still achieve those delicate snowman features.
Absolutely! These melted snowman cookies are excellent for making in advance. You can bake the sugar cookies up to 3-4 days ahead of time and store them in an airtight container. The royal icing can also be prepared a day or two in advance and stored in airtight containers at room temperature (if royal icing contains egg whites) or in the refrigerator (if using meringue powder based royal icing). Just bring it back to room temperature and give it a good stir before using. For best results, decorate the cookies 1-2 days before your event, allowing ample time for the icing to fully set before packaging or serving.
This recipe is incredibly kid-friendly! Children can help in many stages:
- Baking: If using scratch-made dough, they can help mix ingredients (with supervision). If using pre-made dough, they can place slices on the baking sheet.
- Marshmallow Placement: Kids love sticking the marshmallows onto the wet white icing.
- Piping Practice: Let them practice piping on a piece of parchment paper first. Then, they can help with the larger details like the “melted snow” (with a larger tip) or the snowman’s buttons.
- Creative Touches: Encourage them to choose scarf colors or add sprinkles.
Just remember that perfection isn’t the goal; it’s all about the fun and festive spirit!
Getting the right consistency for royal icing is crucial. If your icing is too thick and hard to pipe, add a very small amount of water (1/4 teaspoon at a time) and stir until it reaches a smoother consistency. If it’s too thin and spreads too much, slowly mix in a tablespoon of powdered sugar at a time until it thickens to the desired consistency. Always adjust gradually to avoid over-correcting.
Serving Suggestions & Creative Variations
These melted snowman cookies are already a showstopper on their own, but there are endless ways to customize them and make them truly your own! Get creative with your decorations and serving presentations:
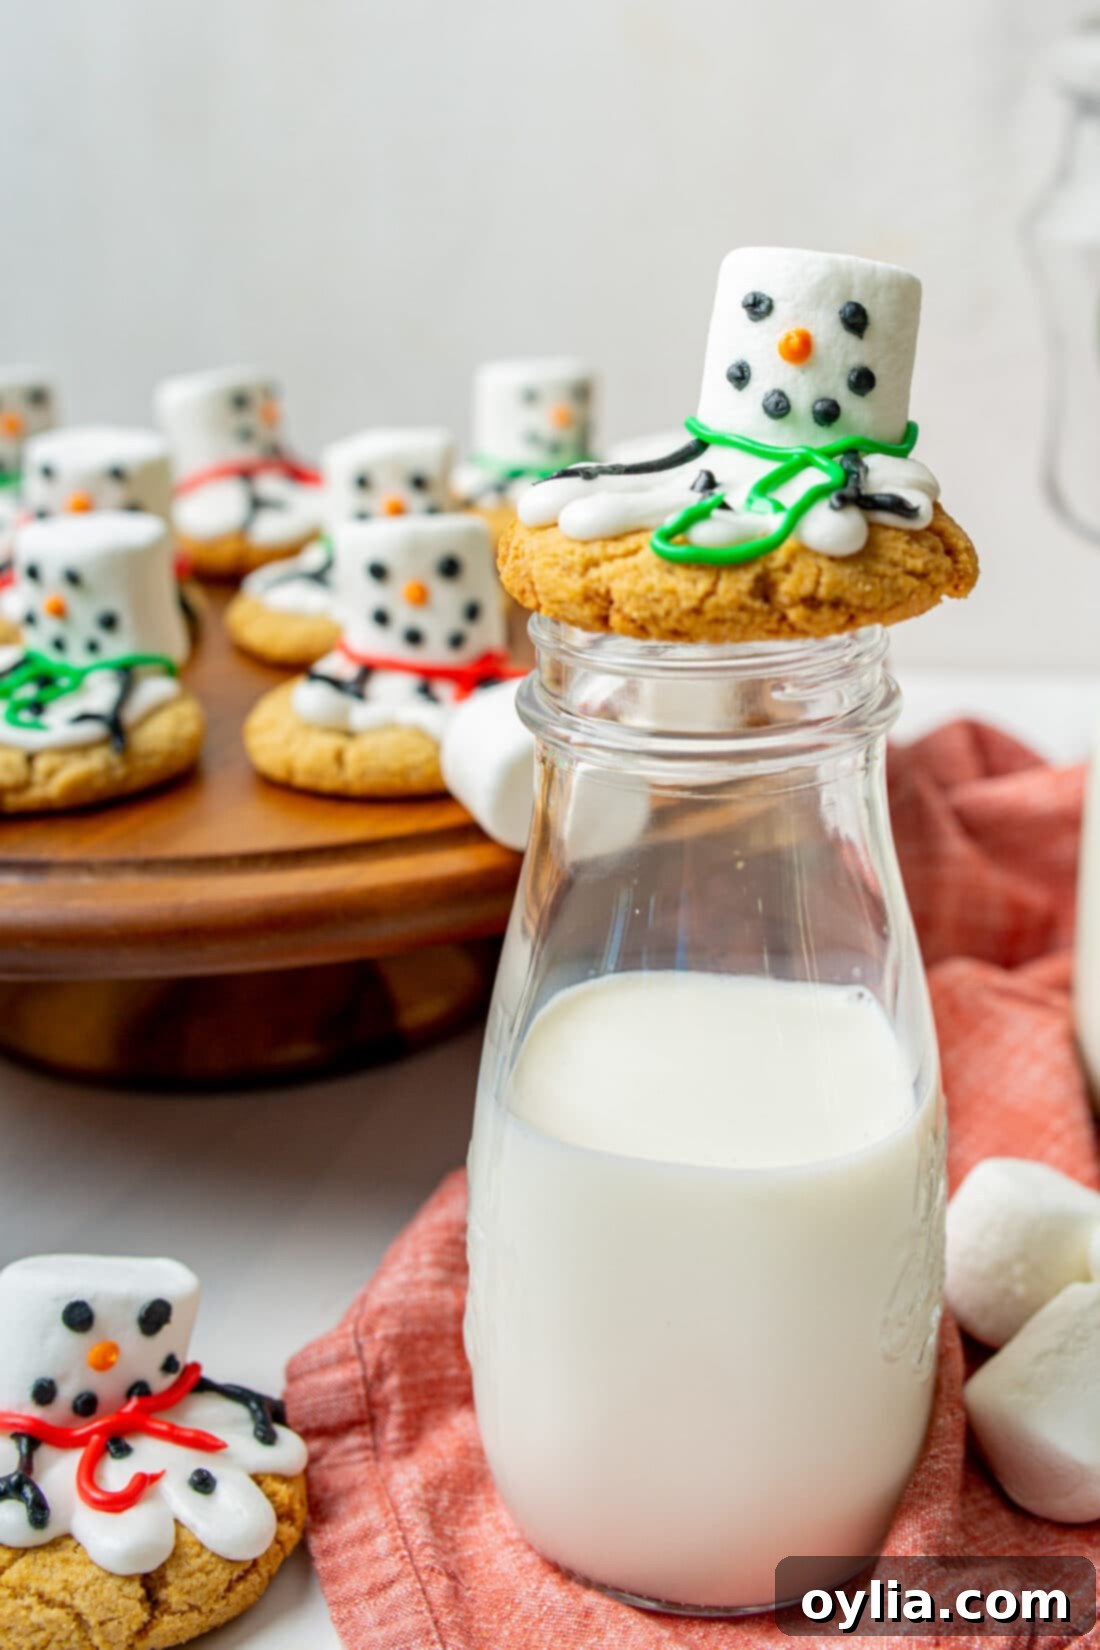
- Scarf Colors: Don’t feel limited to traditional red and green. Experiment with various colors for the snowman’s scarf – blue, purple, pink, or even multi-colored stripes can add a unique flair to each cookie.
- Buttons and Accents: Instead of piping buttons, you could use small candies like mini M&M’s, colorful sprinkles, or even edible silver or gold dragees for a touch of sparkle. A tiny chocolate chip or mini Reese’s Pieces for the nose could also be a fun, edible alternative.
- Sparkling Snow: For an extra magical touch, sprinkle a dash of edible sparkling sugar over the white “melted snow” icing while it’s still wet. This will give your snowmen a glistening, freshly fallen snow appearance.
- Cookie Platter Presentation: Arrange your melted snowman cookies on a large festive platter alongside other holiday favorites. Their quirky, fun look will surely draw attention and smiles. You can even create a winter wonderland scene by adding a few sugared cranberries or rosemary sprigs for a touch of greenery.
- Gifting: Pack a few of these adorable cookies into clear cellophane bags tied with a festive ribbon for charming homemade holiday gifts. They make perfect hostess gifts, teacher treats, or additions to holiday care packages.
- Cookie Exchange Star: Bring these to your next holiday cookie exchange! They are unique, memorable, and guaranteed to be a crowd-pleaser, setting your cookie contribution apart from the rest.
No matter how you choose to personalize them, these melted snowman cookies are sure to be a cherished part of your holiday traditions, bringing warmth and joy to all who enjoy them.
More Festive Cookie Recipes You’ll Love
If you’re still in the mood for baking or looking for more delightful treats to complete your holiday spread, check out these other fantastic cookie recipes:
- Gingersnap Cookies: A classic with a satisfying snap and warm spices.
- Peppermint Cookies: Cool, minty, and perfect for winter indulgence.
- Gingerbread Cookies: The quintessential holiday cookie, great for cutting into festive shapes.
- Christmas Kiss Cookies: Soft, tender cookies topped with a chocolate kiss.
- Cornflake Christmas Wreaths: A no-bake classic that’s as easy as it is festive.
- Grinch Cookies: Fun, vibrant green cookies that are sure to steal the show (in a good way!).
I absolutely adore baking and cooking, and my greatest pleasure is sharing my kitchen experiences and successful recipes with all of you! Remembering to come back each day for new culinary inspiration can be a challenge, which is why I offer a convenient newsletter delivered right to your inbox every time a new recipe is posted. Simply subscribe here and start receiving your free daily recipes, ensuring you never miss out on delicious ideas!
Melted Snowman Cookies
IMPORTANT – There are often Frequently Asked Questions within the blog post that you may find helpful. Simply scroll back up to read them!
Print It
Pin It
Rate It
Save ItSaved!
Ingredients
- 12 sugar cookies we used store-bought refrigerated cookie dough
- 12 marshmallows regular size
- 3 oz egg whites about 3 eggs worth
- 1 tsp vanilla extract
- 4 cups powdered sugar
- food coloring in various colors. Brown/black, red, green, orange
Things You’ll Need
-
Stand mixer
-
Piping bags
-
Wilton piping tips #8, #7, #3
Before You Begin
- Store in an air-tight container kept at room temperature or in a dry, cool place for up to 4 days.
- The total time listed above does not include time to bake the cookies as it depends on whether or not you use homemade cookies, store-bought, or refrigerated dough. The time listed is just for assembling the cookies.
- You can easily double this recipe to make more for larger gatherings.
- Ensure all your cookies are completely cooled before decorating to prevent the icing from melting or sliding off.
- Using gel food coloring will give you more vibrant colors without thinning your icing.
Instructions
-
Bake the sugar cookies according to package instructions (if using store-bought dough) or your favorite recipe. Allow them to cool completely on a wire rack. While cooling, set aside 12 regular-sized marshmallows, one for each cookie.
-
In the bowl of a stand mixer fitted with a paddle attachment, whisk the egg whites on medium-high speed until they become foamy and light. Add in the vanilla extract. Gradually, add the powdered sugar 1 cup at a time on low speed, mixing until the icing is smooth, glossy, and holds its shape well.
-
Reserve approximately 1/3 of the white royal icing for the “melted snow” layer. Divide the remaining frosting into separate small bowls as needed for your desired colors. Add 1-2 drops of food coloring to each bowl and mix thoroughly until you reach the desired color intensity.
-
Once the cookies have completely cooled, transfer the reserved white icing to a piping bag fitted with a #8 round tip. Pipe the white icing onto each cookie in irregular, puddle-like shapes to create the “melted snow” effect. Immediately, gently press a marshmallow towards one edge of each cookie to form the snowman’s head, partially submerged in the “snow.” Allow the white icing to set for 10-15 minutes.
-
Fill a separate piping bag with the black (or brown) icing and fit it with a #7 round tip (or smaller for finer details). Pipe two small dots for the eyes, a tiny wavy line or dots for the mouth, and three small dots down the melted white icing for the buttons. You can also pipe small stick arms.
-
Using the orange icing and a #3 tip, pipe a small, triangular carrot nose onto the marshmallow head, just below the eyes.
-
Finally, use your chosen scarf colors and a small tip (like a #3) to pipe a colorful scarf around the base of the marshmallow head, where it meets the melted snow. Add small fringes at the ends for a realistic touch. Allow all the icing to dry completely before handling or storing the cookies (this can take several hours).
Nutrition
The recipes on this blog are tested with a conventional gas oven and gas stovetop. It’s important to note that some ovens, especially as they age, can cook and bake inconsistently. Using an inexpensive oven thermometer can assure you that your oven is truly heating to the proper temperature. If you use a toaster oven or countertop oven, please keep in mind that they may not distribute heat the same as a conventional full sized oven and you may need to adjust your cooking/baking times. In the case of recipes made with a pressure cooker, air fryer, slow cooker, or other appliance, a link to the appliances we use is listed within each respective recipe. For baking recipes where measurements are given by weight, please note that results may not be the same if cups are used instead, and we can’t guarantee success with that method.
This post originally appeared on this blog on December 12, 2021.
