Easy Raspberry Upside Down Cake: A Sweet & Tangy Delight with Cake Mix
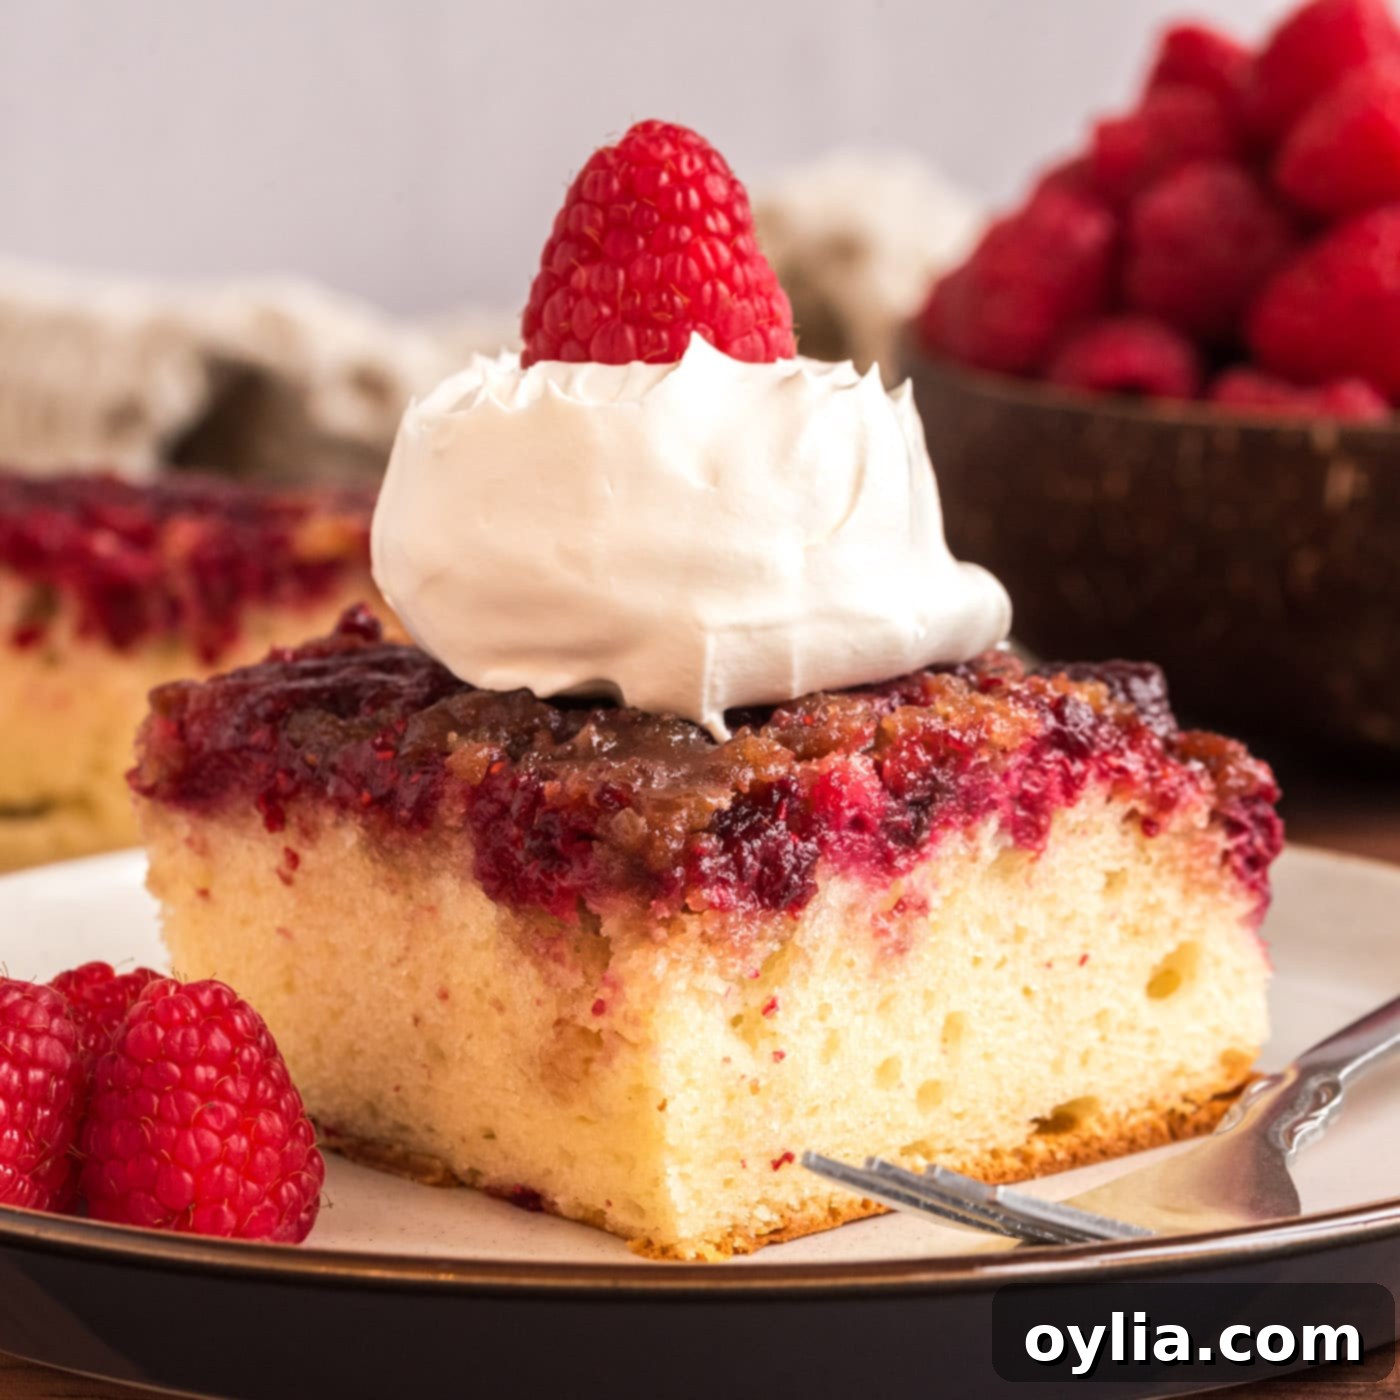
Indulge in the simple pleasure of a beautifully vibrant Raspberry Upside Down Cake, where the natural sweetness of berries meets a delightful touch of tartness. This incredibly easy recipe transforms a humble box of cake mix into a show-stopping dessert, perfect for any occasion. Whether you have a bounty of fresh raspberries from the garden or a stash of frozen ones, this recipe ensures a perfectly moist cake topped with a shimmering, caramelized fruit layer that’s as delicious as it is impressive.
Why This Easy Raspberry Upside Down Cake is a Must-Try
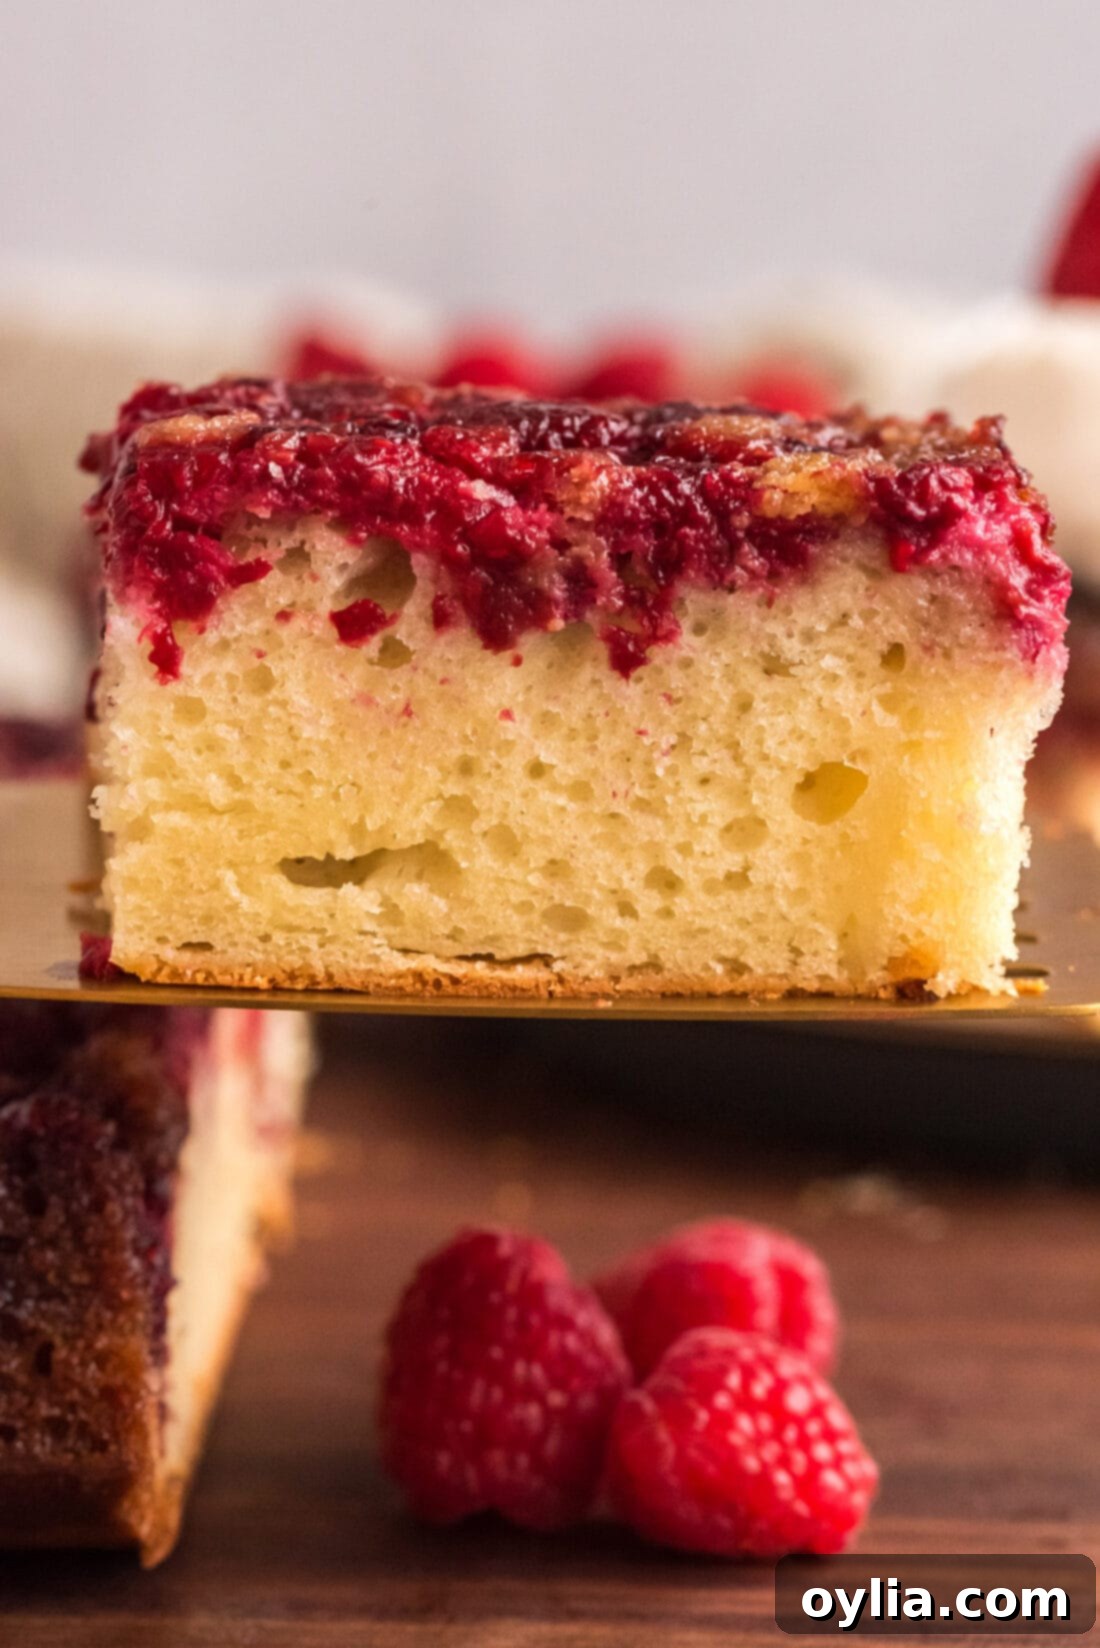
This Raspberry Upside Down Cake recipe is a true winner for several reasons, making it a staple for both novice and experienced bakers. First, its visual appeal is undeniable. The vibrant red of the raspberries, nestled in a rich brown sugar caramel, creates a stunning presentation that’s guaranteed to impress. It looks far more intricate than it actually is, making you feel like a baking pro with minimal effort.
Beyond its beauty, the flavor profile is exquisitely balanced. The tartness of the fresh or frozen raspberries cuts through the sweetness of the caramelized brown sugar and the moist cake, creating a harmonious blend that tantalizes the taste buds. This beautiful interplay prevents the cake from being overly sweet, ensuring every bite is a delightful experience. What truly makes this recipe shine is its incredible ease, largely thanks to using a convenient box of cake mix. This shortcut eliminates the need for measuring multiple dry ingredients, streamlining the baking process without sacrificing flavor or texture. You get all the goodness of a homemade cake with a fraction of the work, making it perfect for busy weeknights or spontaneous gatherings.
The magic of an upside down cake lies in its unique construction, where the fruit and caramel topping are baked at the bottom of the pan and then inverted, revealing a beautiful, glossy, and perfectly set fruit layer. While pineapple is a classic choice, and blueberry offers its own charm, raspberries bring a distinctive, elegant twist that is simply irresistible. This method not only guarantees a moist cake but also infuses the fruit with rich, buttery brown sugar notes, transforming simple berries into the star of your dessert. It’s a comforting, classic dessert reimagined with a burst of fresh berry flavor.
Gather Your Ingredients: What You’ll Need
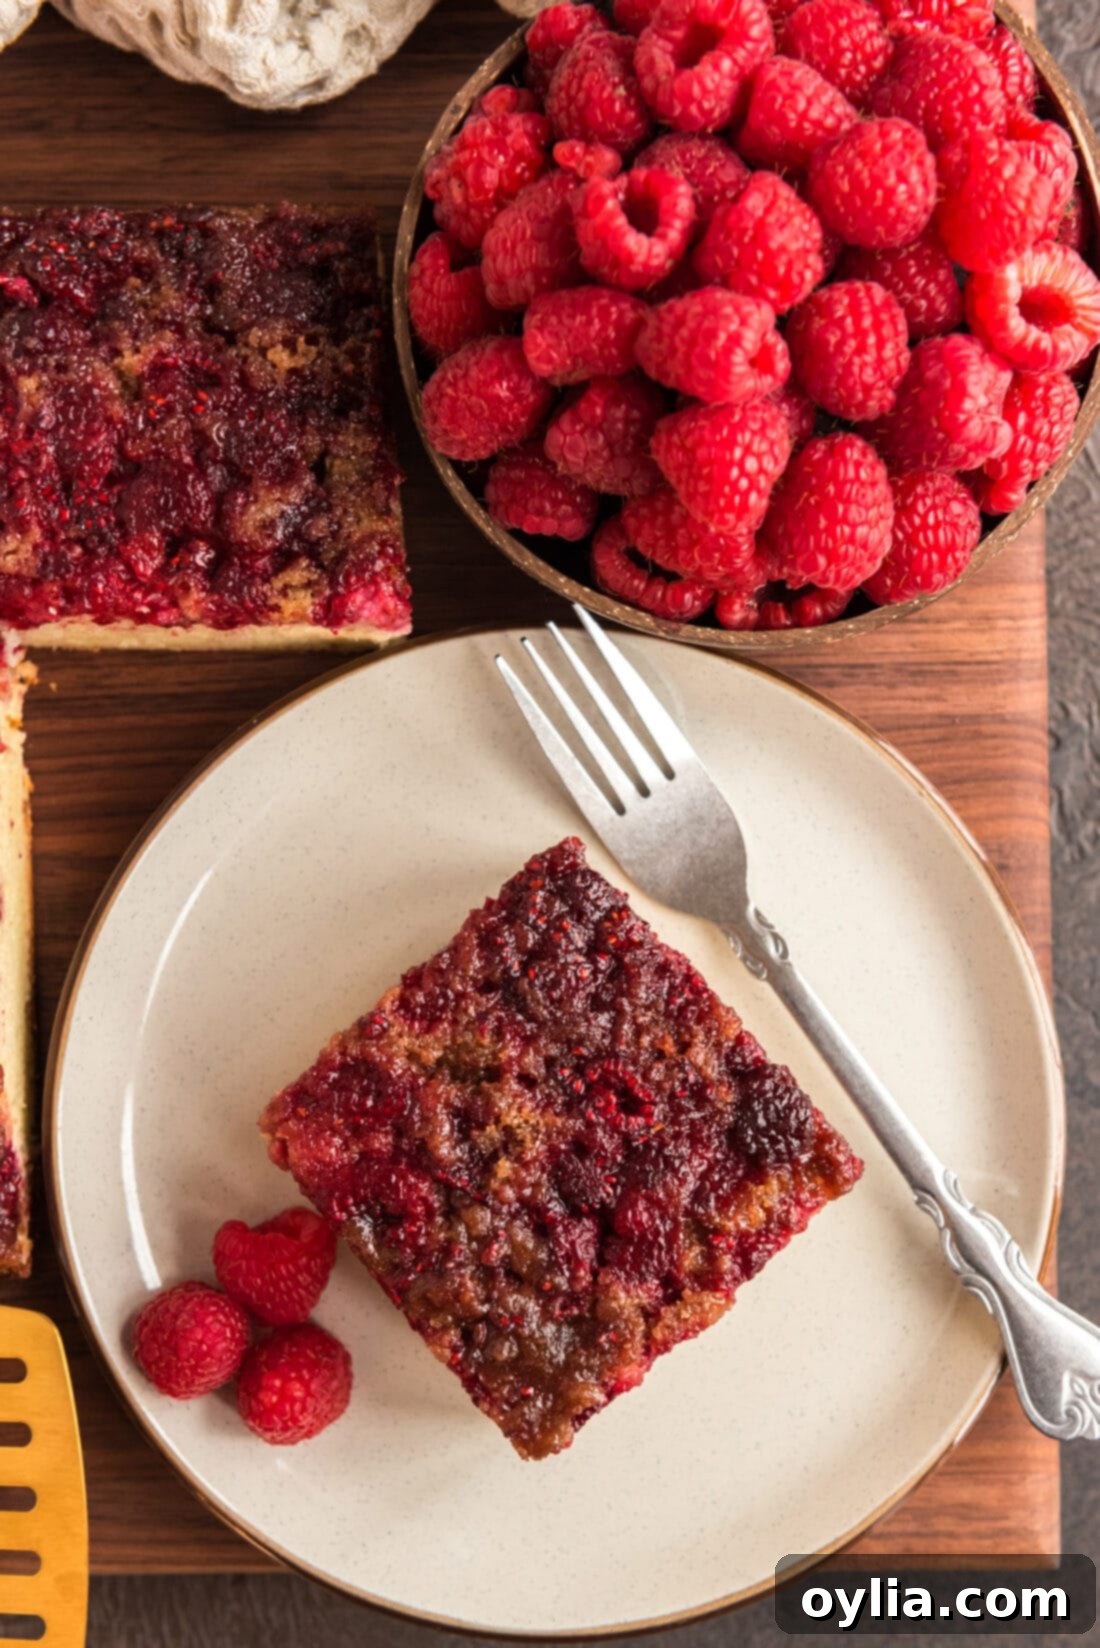
This delightful raspberry cake comes together with just a handful of simple ingredients, many of which you likely already have in your pantry. For precise measurements and detailed instructions, remember to check out the printable recipe card at the very end of this post.
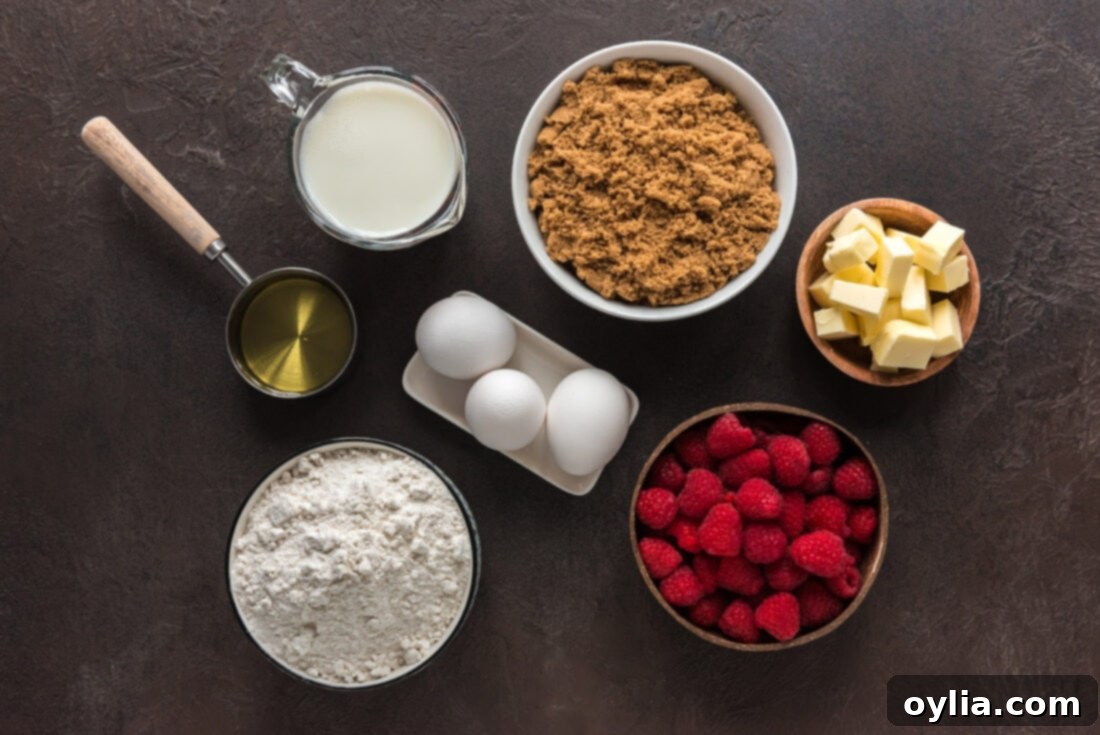
Ingredient Information & Smart Substitution Suggestions
Let’s dive a little deeper into the ingredients that make this raspberry upside down cake so special, along with some helpful tips and substitution ideas to ensure your baking success.
CAKE MIX – The ultimate convenience! You’ll need one 15.25-ounce box of your favorite cake mix. For a classic flavor that complements the raspberries beautifully, consider yellow, white, or French vanilla cake mix. If you’re feeling adventurous or want to lean into the fruit’s brightness, a lemon cake mix can add a wonderful zesty note. Always remember to prepare the cake mix exactly according to the package instructions, as this means you’ll also need to have on hand the additional ingredients specified on the box, such as eggs, oil, and water or milk. Using a box mix significantly reduces prep time, allowing you to enjoy this delightful dessert faster.
RASPBERRIES – The star of the show! This recipe is incredibly versatile and works perfectly with either fresh or frozen raspberries. If using fresh raspberries, opt for firm, brightly colored berries that are free from mold. Gently rinse them and pat them dry before use. If you’re using frozen raspberries, there’s no need to thaw them beforehand. Simply spread them directly onto the brown sugar mixture. The baking process will thaw and warm them perfectly, releasing their delicious juices to blend with the caramelized topping. You’ll need about 1 ½ pints, which equates to roughly 3 cups, to create a generous and even layer of fruit.
UNSALTED BUTTER – Essential for that rich, gooey caramel topping. We start by melting unsalted butter directly in the baking dish. Unsalted butter gives you more control over the overall saltiness of the cake, allowing the flavors of the raspberries and brown sugar to shine. If you only have salted butter on hand, you can still use it, but you might want to slightly reduce any other added salt in the cake batter, if applicable, to avoid an overly salty taste.
LIGHT BROWN SUGAR – This is what transforms into the irresistible caramel layer. Light brown sugar is preferred over dark brown sugar because its molasses content is just right for achieving a beautifully golden and sweet, yet not overpowering, caramel. When packed, it creates a dense, moist layer that perfectly coats the raspberries and seeps into the cake as it bakes. Ensure you pack the brown sugar firmly into your measuring cups to get the correct amount, which is about 1 ¾ cups for this recipe.
By thoughtfully choosing and preparing these ingredients, you’re well on your way to baking a truly exceptional Raspberry Upside Down Cake!
How to Make a Gorgeous Raspberry Upside Down Cake
These step-by-step photos and instructions are here to help you visualize how to make this recipe successfully. You can Jump to Recipe to get the printable version of this recipe, complete with precise measurements and detailed instructions at the bottom of this post.
- Prepare Your Oven and Pan: Begin by preheating your oven to 350°F (175°C). It’s always a good idea to place your 13×9 inch baking dish onto a sturdy cookie sheet. This simple step serves as an excellent safeguard, catching any potential spills from the caramel topping during baking and making it much easier to transfer the hot pan in and out of the oven.
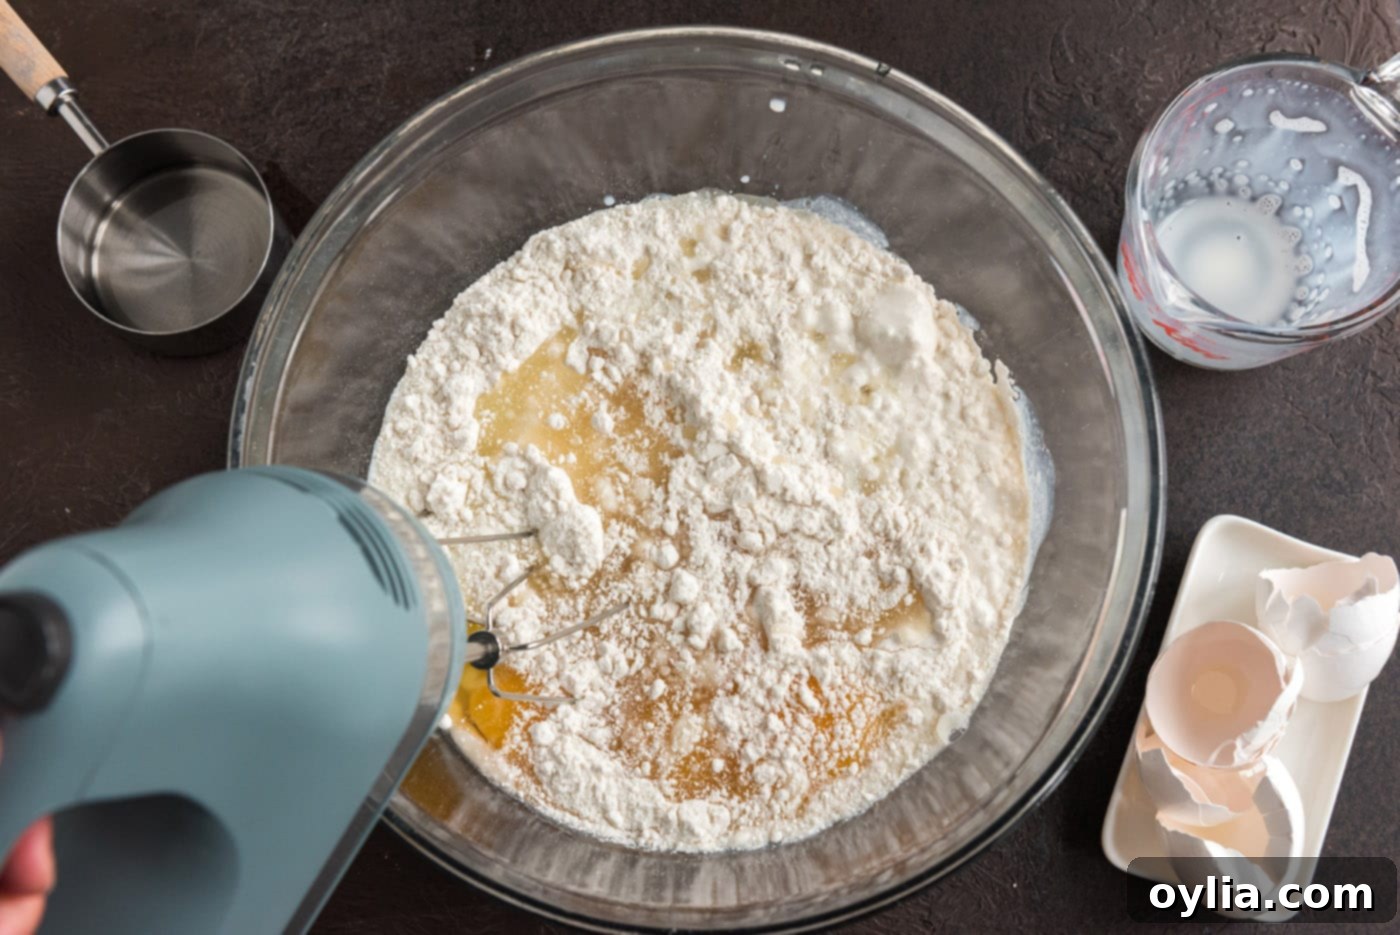
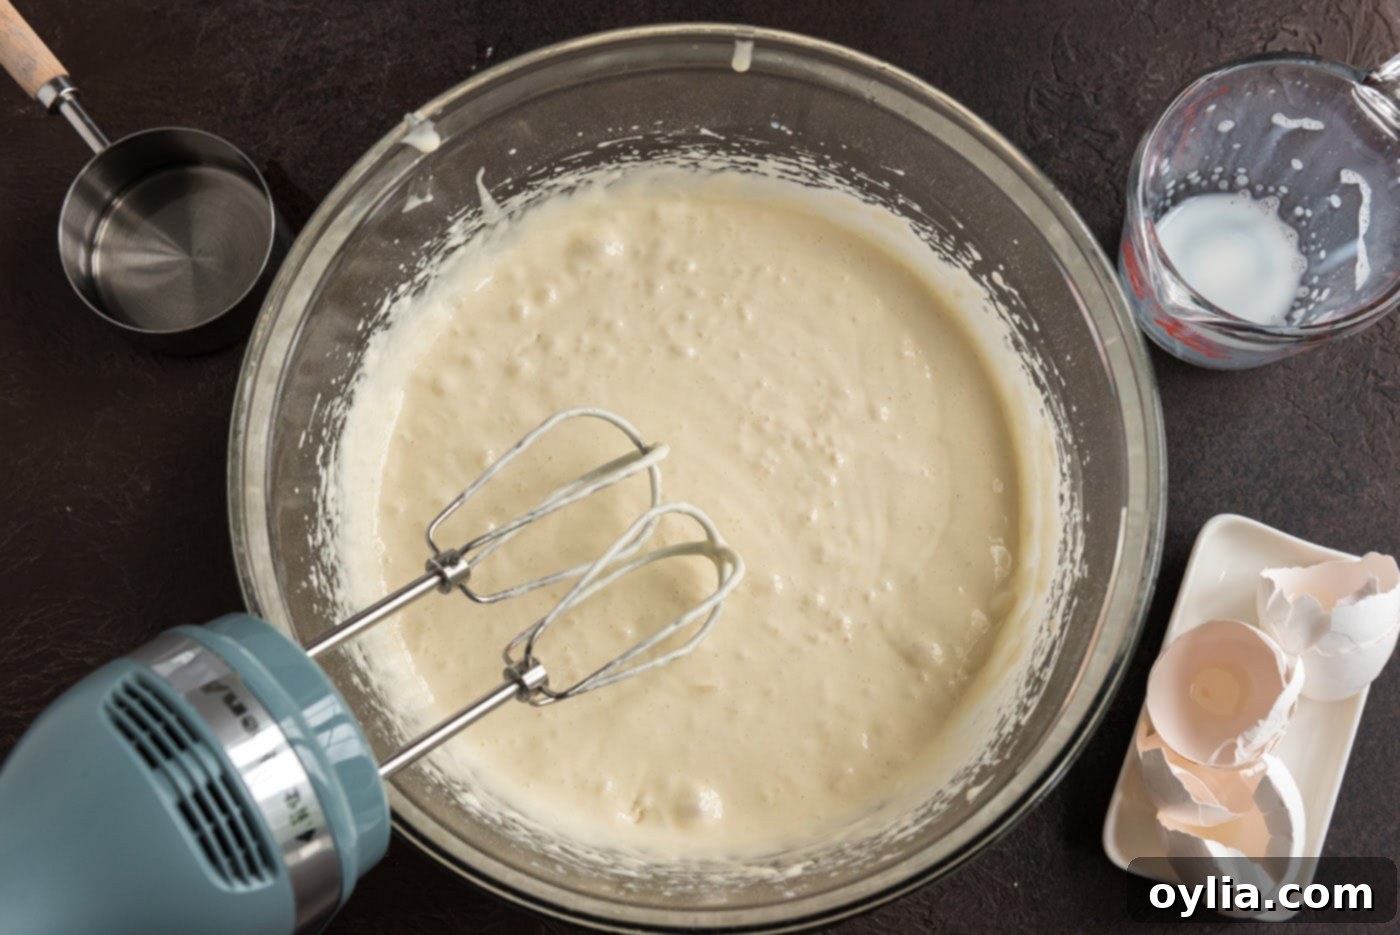
- Whip Up the Cake Batter: Following the instructions on your chosen box of cake mix, prepare the batter. This typically involves combining the mix with eggs, oil, and water or milk in a large mixing bowl. Beat until the batter is smooth and well combined, but be careful not to overmix, as this can lead to a tougher cake texture. Once prepared, set the luscious batter aside while you work on the topping.


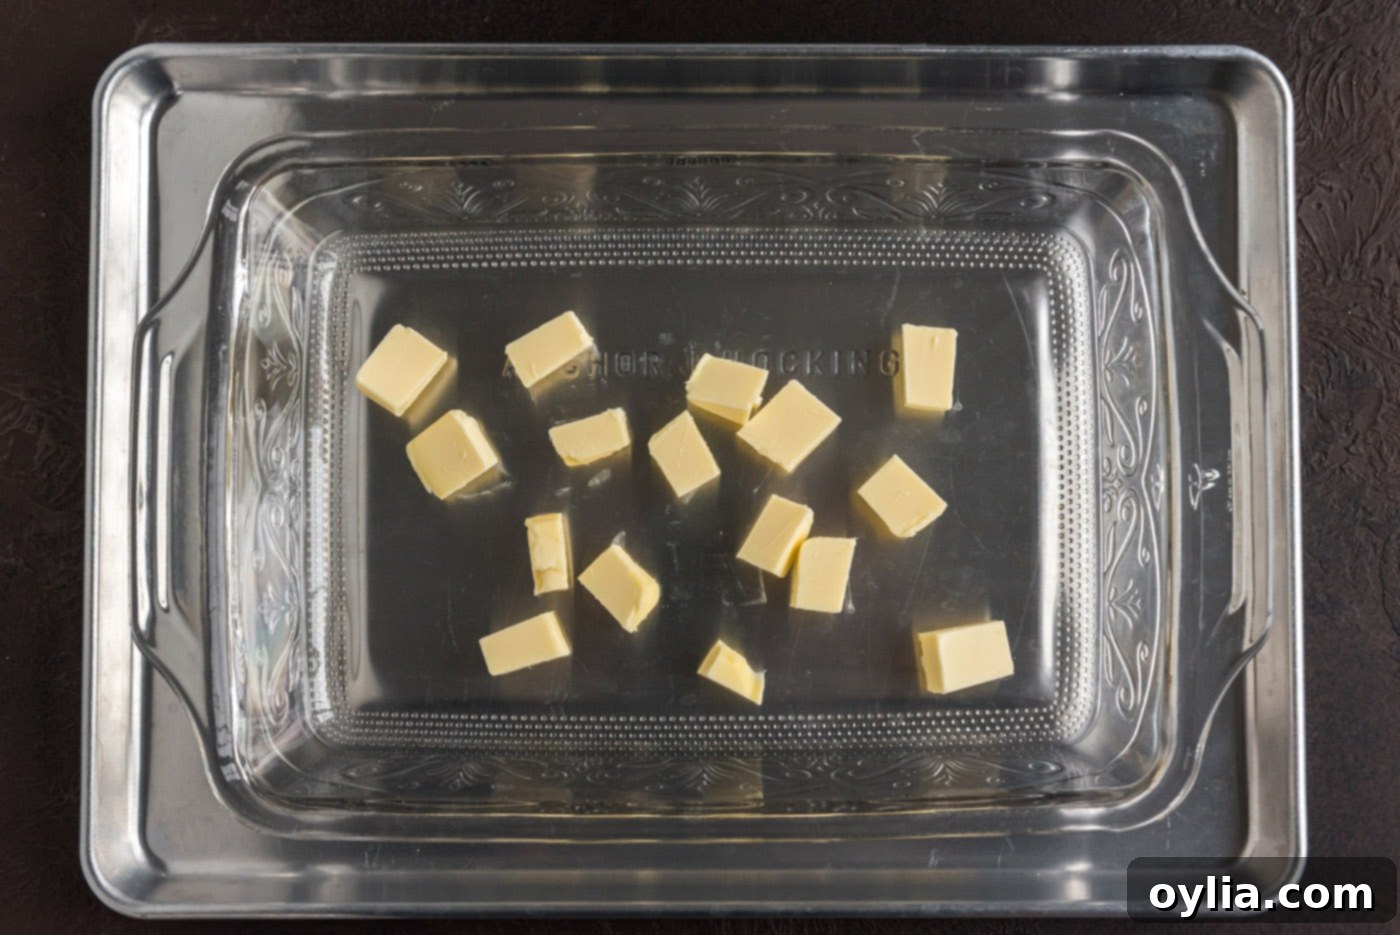
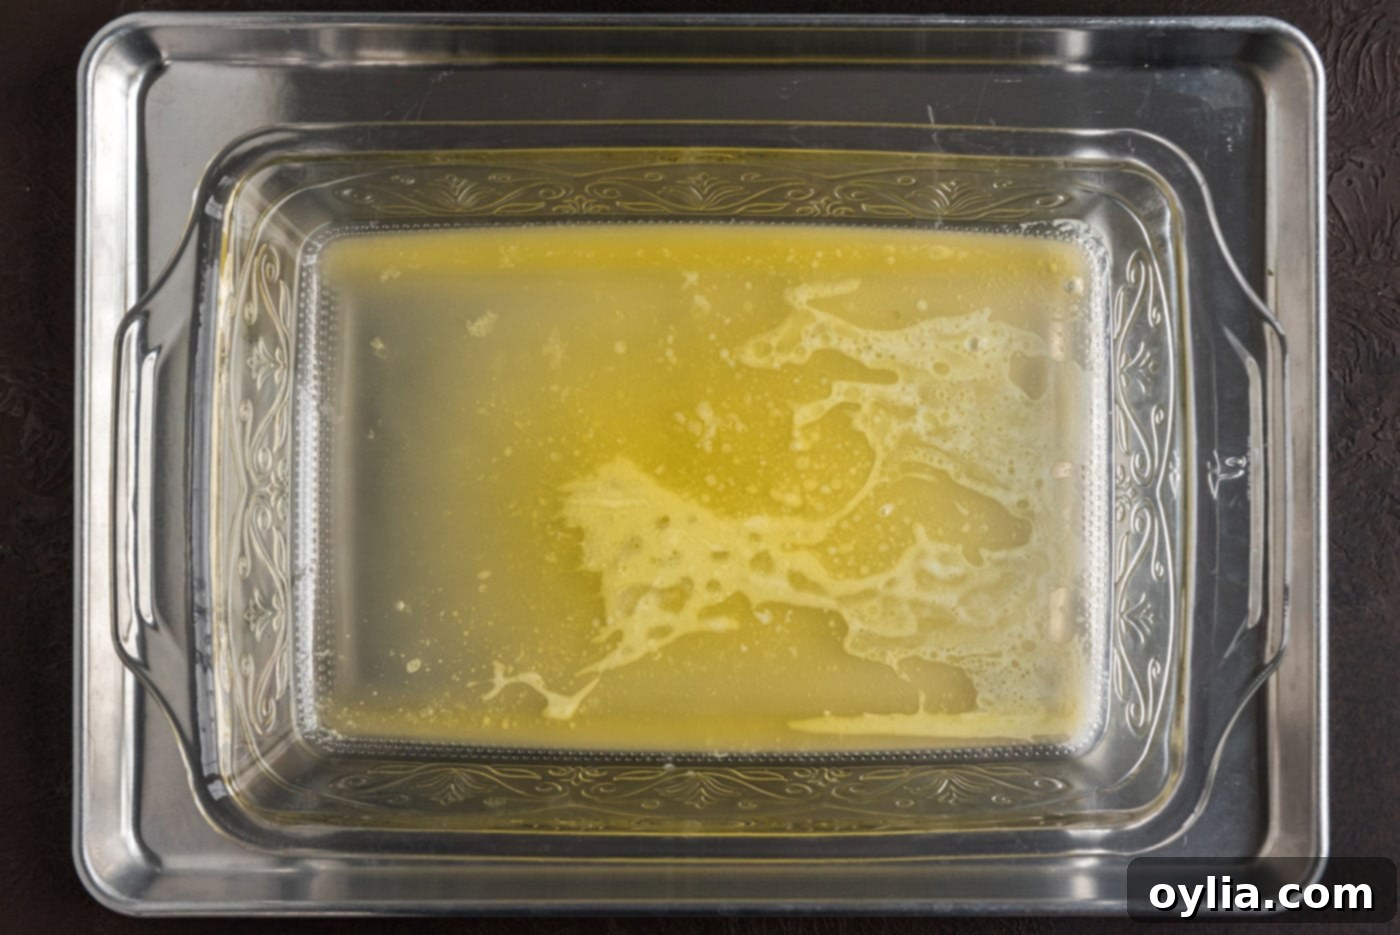
- Melt the Butter for the Topping: Cut the unsalted butter into several smaller pieces and distribute them evenly across the bottom of your 13×9 inch baking dish. Place the baking dish (still on the cookie sheet) into your preheated oven for about 3-4 minutes, or just until the butter is completely melted and shimmering. Carefully remove the dish from the oven.


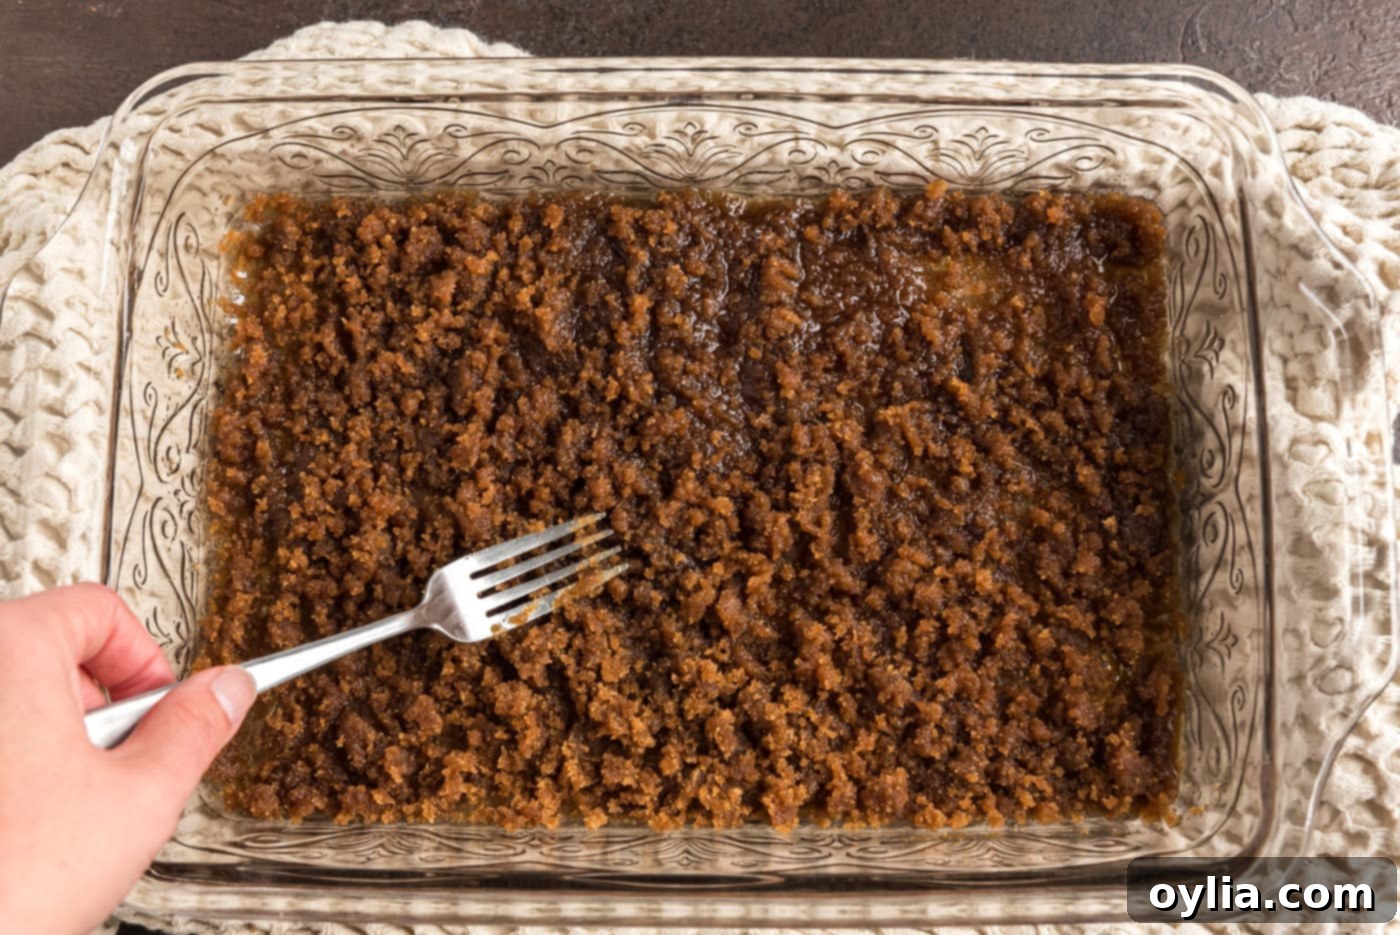
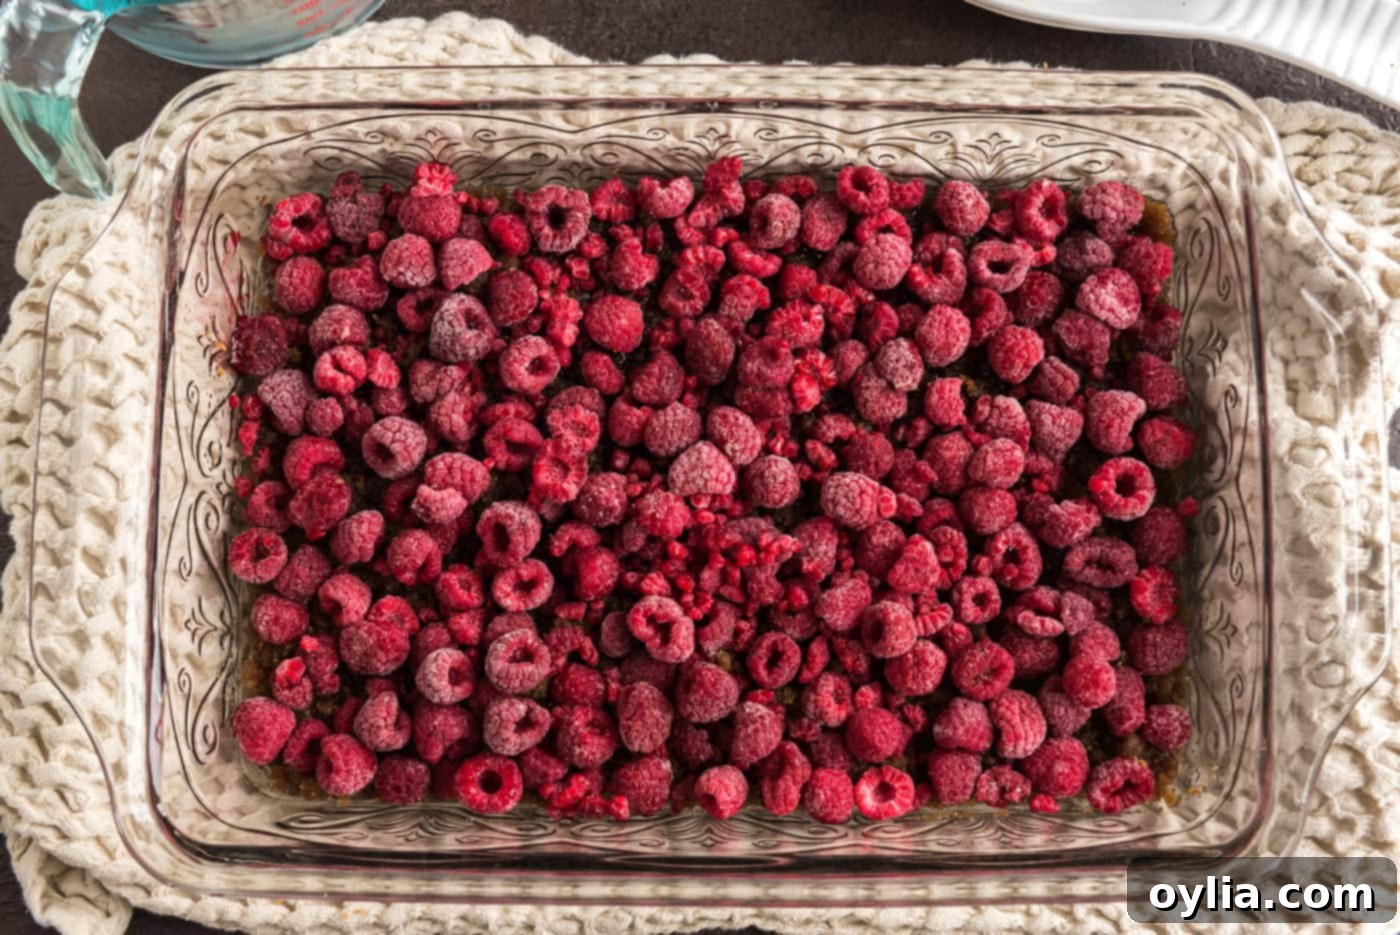
- Build the Caramelized Berry Layer: Generously sprinkle the light brown sugar evenly over the melted butter in the baking dish. Use a fork to gently distribute it, creating a uniform base for your fruit. Next, carefully pour the fresh or frozen raspberries over the brown sugar layer. Spread them out gently into a single, even layer. You can arrange them for a more aesthetic presentation if you like, as this will be the top of your cake! If using frozen berries, they will release their juices, mingling with the butter and brown sugar to form a luscious caramel as the cake bakes.


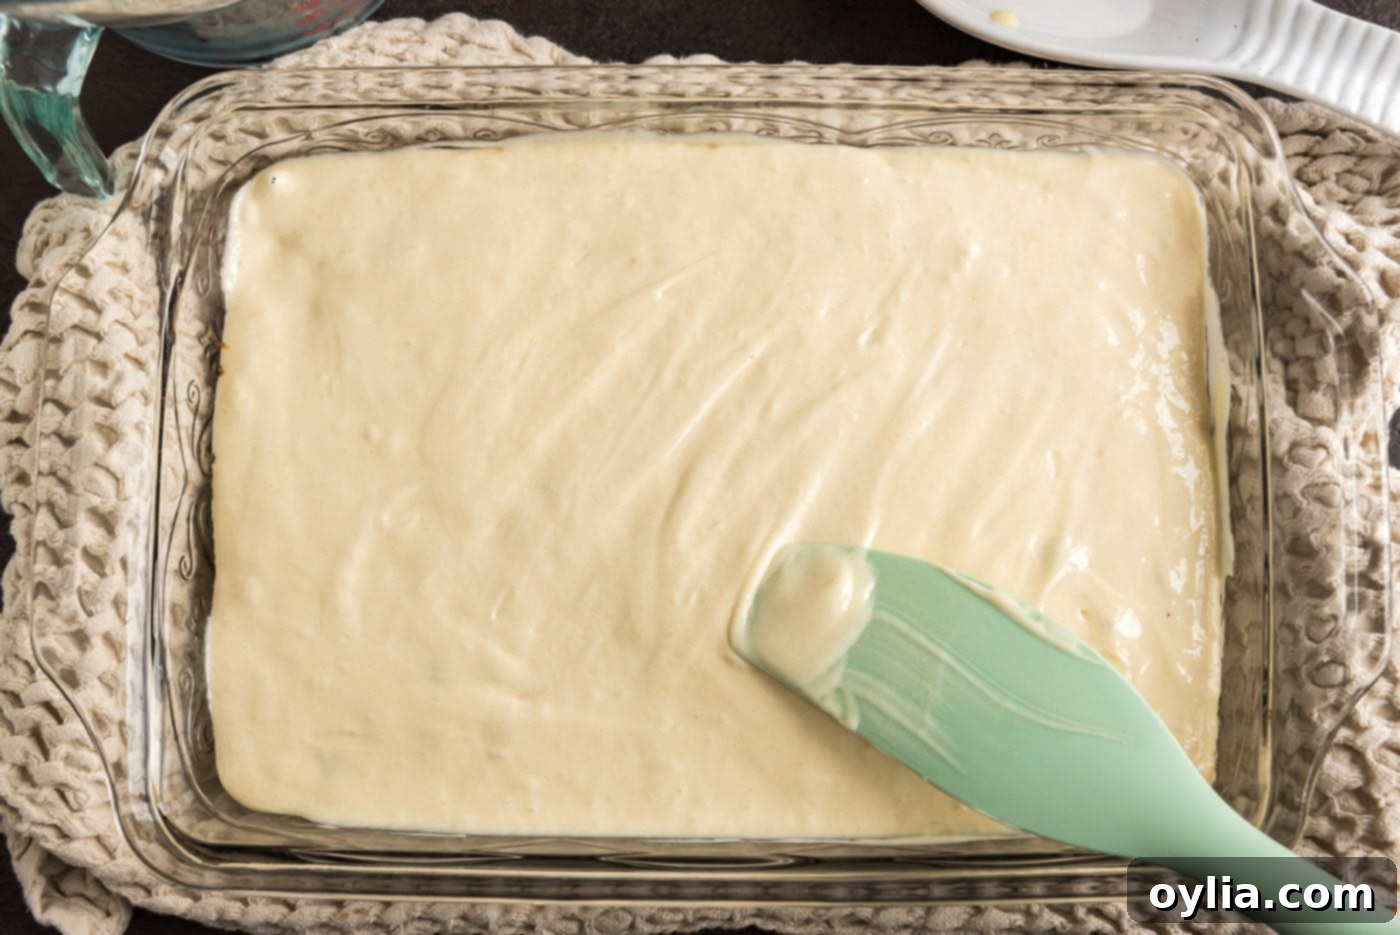
- Add the Cake Batter: Gently and evenly pour the prepared cake batter over the raspberry and brown sugar mixture in the baking dish. Use a spatula to spread the batter carefully to the edges, ensuring it fully covers the fruit layer without disturbing it too much. This even layer will ensure consistent baking and a beautifully flat cake bottom (which will become the top!).

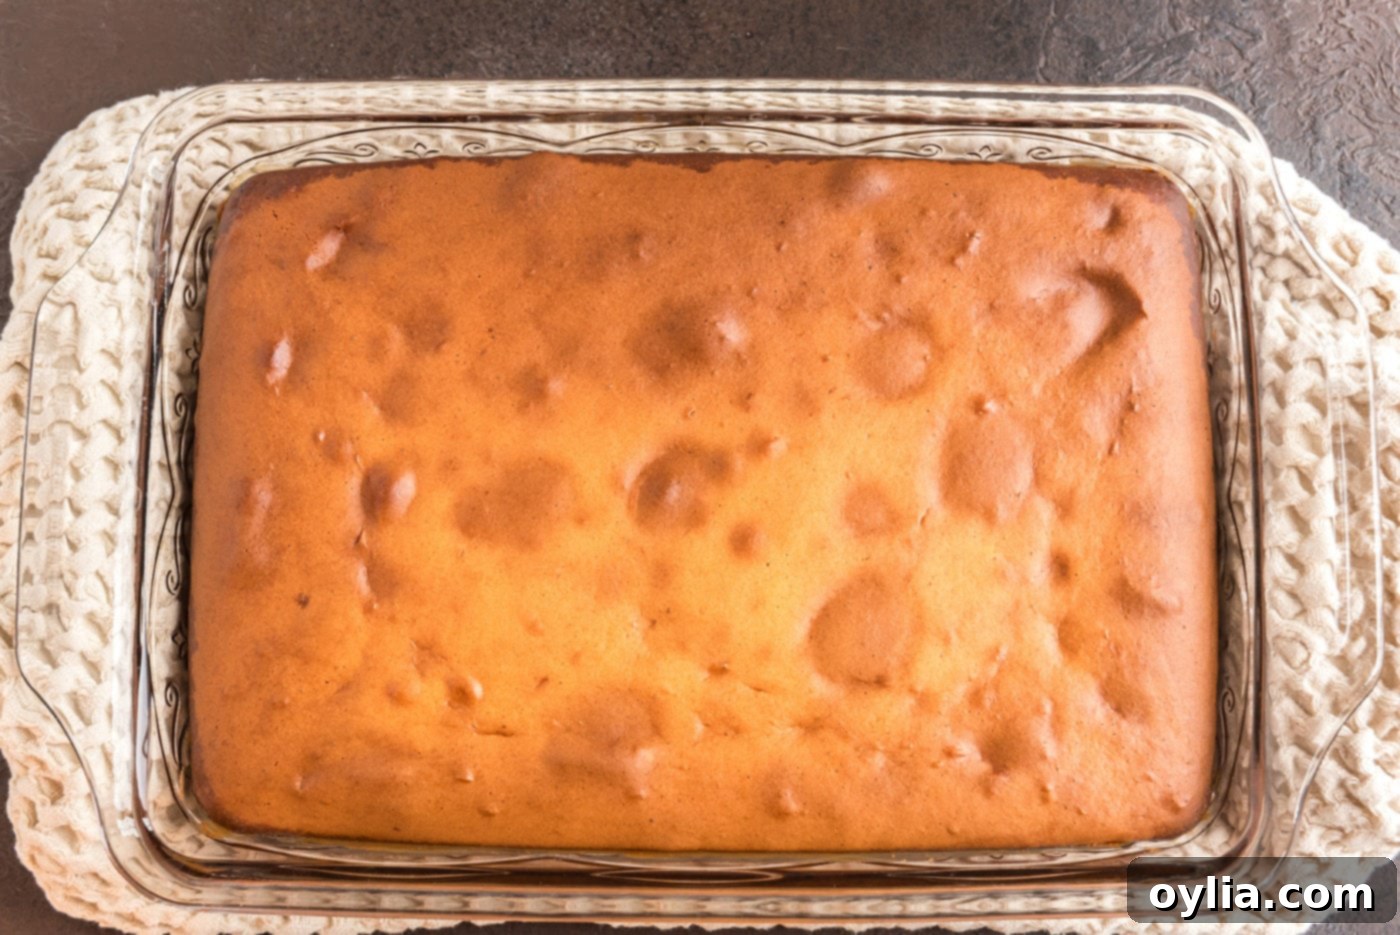
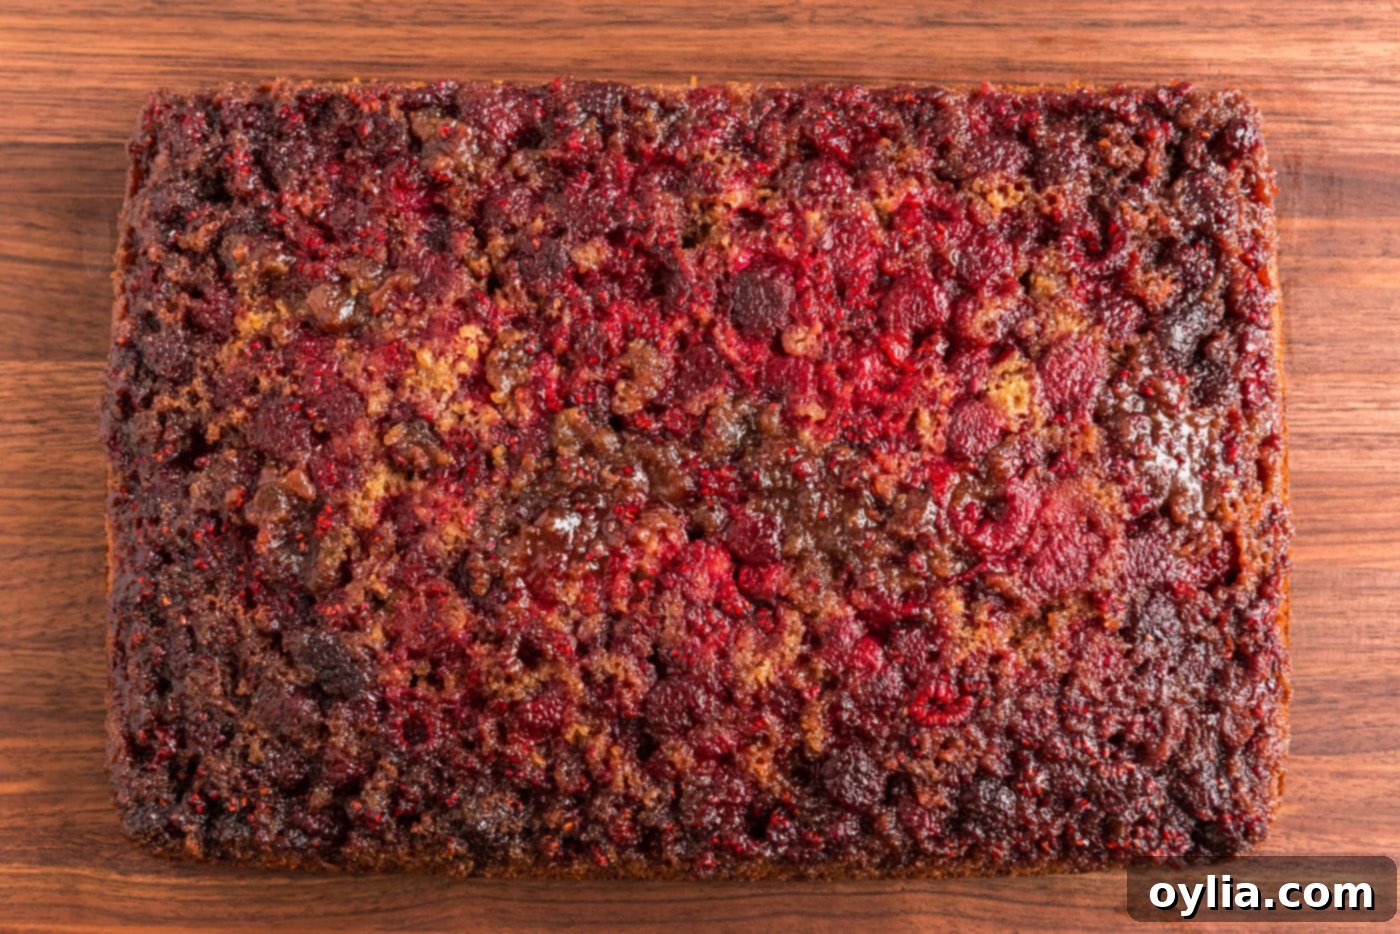
- Bake and Flip to Perfection: Place the baking dish back into the preheated 350°F (175°C) oven and bake for 45 to 50 minutes. The exact baking time may vary slightly depending on your oven, so keep an eye on it. The cake is done when a toothpick inserted into the center of the cake (avoiding the fruit layer) comes out clean. Once baked, remove the cake from the oven and let it cool in the pan for exactly 10 minutes. This cooling period is crucial; it allows the caramel to set slightly but remain fluid enough to release cleanly. After 10 minutes, carefully place a large, flat serving plate or cutting board over the baking dish, and with a quick, confident motion, flip the cake over. The beautiful raspberry topping should now be glistening on top! If any fruit sticks, gently ease it out with a spoon and place it back on the cake.


Frequently Asked Questions & Expert Tips for Perfection
Once your raspberry upside down cake has completely cooled to room temperature, you can store it in an airtight container. It will keep well at room temperature for up to 2 days, or if you prefer to extend its freshness, you can refrigerate it for up to 5 days. It’s crucial to wait until the cake is fully cooled before covering it; otherwise, condensation will form, causing the cake to “sweat” and become soggy, compromising its delicious texture.
Absolutely! This cake freezes beautifully, allowing you to enjoy a slice whenever a craving strikes. After the cake has been baked and fully cooled, wrap it tightly in plastic wrap, ensuring no air can get in. Then, add another layer of aluminum foil for extra protection against freezer burn. When properly wrapped, the cake can be frozen for up to 2 months. To thaw, simply unwrap the cake and let it come to room temperature on your counter, or gently warm slices in the microwave for a fresh-baked feel.
Yes, this raspberry upside down cake is an excellent candidate for making ahead, which is perfect for entertaining or meal prep. You can bake the entire cake a day in advance and store it at room temperature, covered once completely cooled. For easier serving and storage, I often recommend cutting the cooled cake into individual slices before placing them into an airtight container or a cake carrier. This way, you can grab a slice as needed without disturbing the rest of the cake.
More Expert Tips for Your Raspberry Upside Down Cake
- Choosing Your Raspberries: For the best flavor and texture, select ripe, firm raspberries. If using fresh, give them a gentle rinse and pat them thoroughly dry before arranging them. This prevents excess moisture from interfering with the caramelization.
- Preventing a Soggy Bottom: The short cooling time (10 minutes) in the pan is critical. Too long, and the caramel might stick; too short, and it could be too liquid, potentially making the cake soggy. Stick to the 10-minute rule for a perfect flip.
- Adding a Crunch: For an extra layer of texture and flavor, consider sprinkling a thin layer of sliced almonds over the raspberries before pouring the cake batter. They toast beautifully as the cake bakes, adding a nutty counterpoint to the sweet and tart berries.
- Pan Size Matters: While a 13×9 inch baking dish is recommended for this recipe, you can experiment with other pan sizes. If using a round pan (like a 9-inch round), you may need to adjust baking time and the quantities of butter, brown sugar, and raspberries to ensure good coverage and cake height. Always grease your pan well, even if using non-stick.
- Don’t Overmix the Batter: When preparing the cake mix, mix just until the ingredients are combined and smooth. Overmixing can develop the gluten in the flour, leading to a denser, tougher cake.
- Perfect Flip Technique: After the 10-minute cooling period, place your serving plate or cutting board upside down over the cake pan. Using oven mitts, hold both the plate and the pan firmly together and quickly invert them. Give it a few gentle shakes, and the cake should slide out easily. Lift the pan slowly to reveal your beautiful creation.
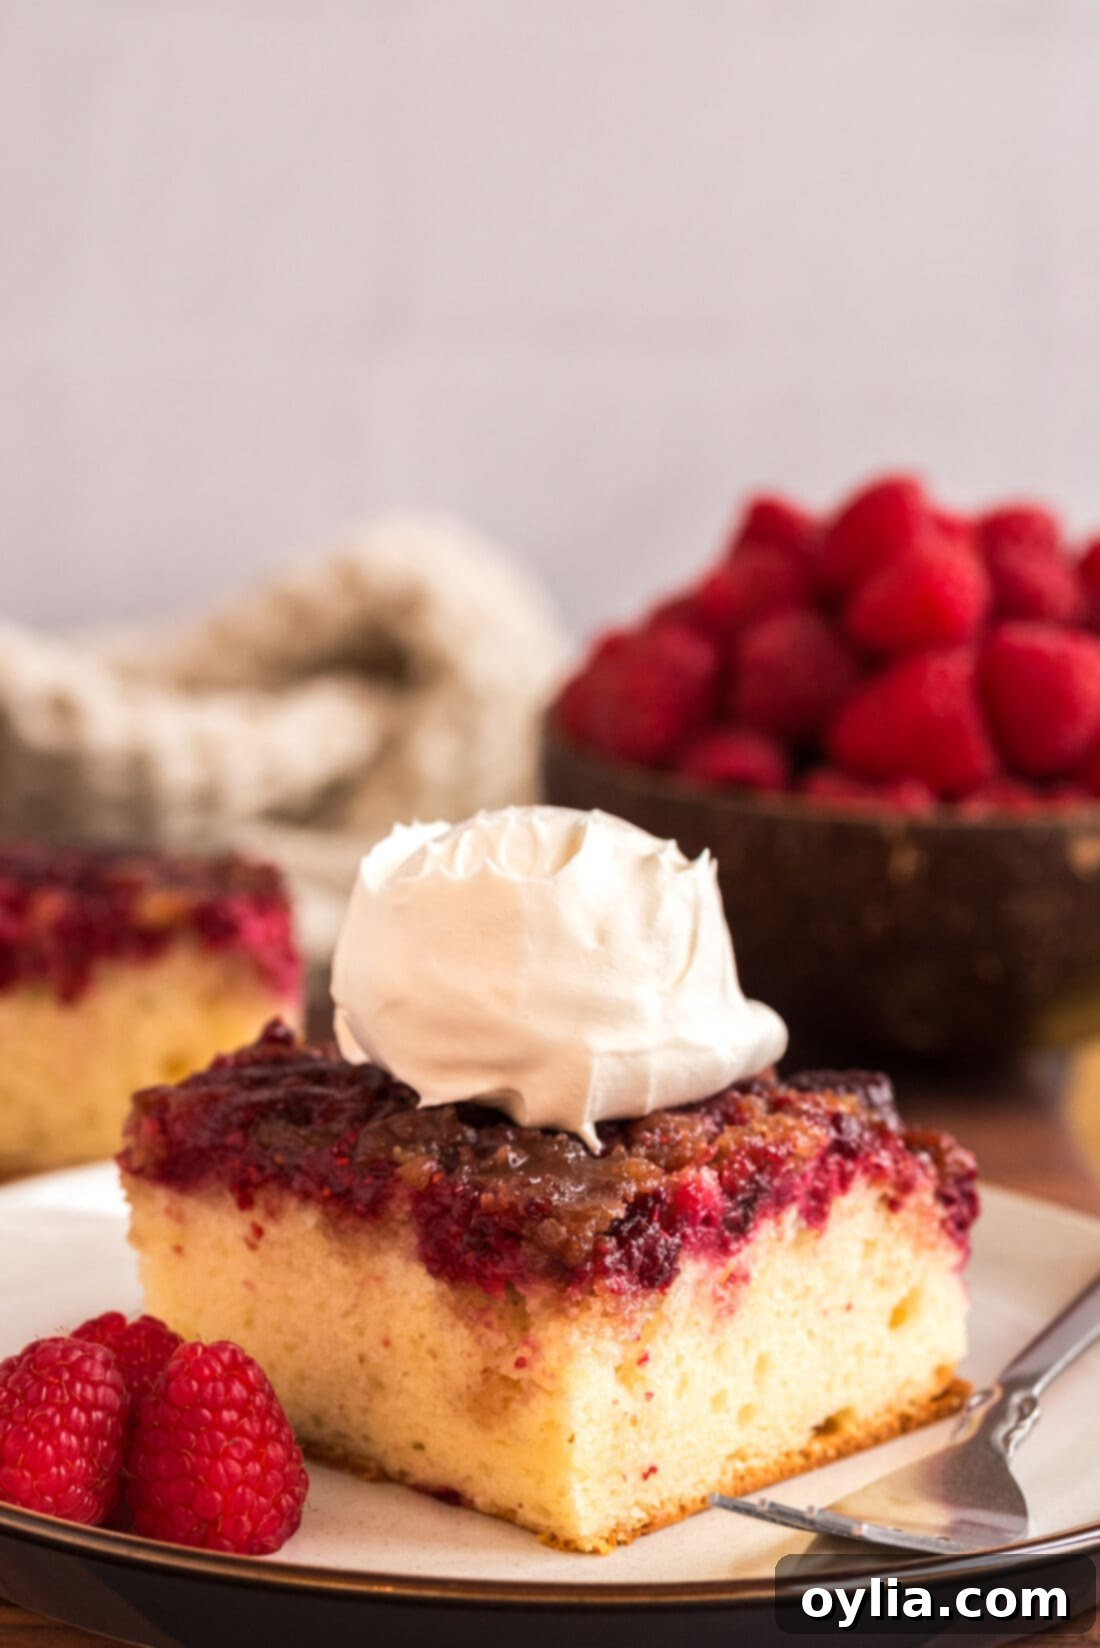
Delightful Serving Suggestions
This Raspberry Upside Down Cake is truly versatile when it comes to serving. For a truly indulgent experience, serve it warm straight from the oven, perhaps with a generous dollop of freshly whipped cream or a scoop of creamy vanilla bean ice cream melting deliciously over the warm, caramelized berries. The contrast of temperatures and textures is simply divine. However, this cake is equally delicious served chilled, making it a fantastic make-ahead dessert for parties or picnics.
Beyond traditional dessert, a slice of this cake makes for a surprisingly delightful breakfast treat or a decadent addition to a brunch spread. Garnish with a few extra fresh raspberries or a sprig of fresh mint for an elegant touch. No matter how you choose to enjoy it, this sweet and tangy creation is sure to be a crowd-pleaser!
Explore More Upside Down Cake Recipes
If you love the simplicity and show-stopping appeal of this raspberry cake, you’ll be thrilled to discover how many other fruits can be transformed into equally stunning upside down cakes. Here are some more favorites to inspire your next baking adventure:
- Peach Upside Down Cake: Sweet, juicy peaches baked into a tender cake with a golden caramel topping.
- Blueberry Upside Down Cake: Bursting with blueberries, this cake is a delightful twist on the classic.
- Pineapple Upside Down Bundt Cake: A classic with a beautiful Bundt shape, perfect for a gathering.
- Mini Pineapple Upside Down Cakes: Individual portions of tropical goodness, ideal for picnics or party favors.
I love to bake and cook and share my kitchen experience with all of you! Remembering to come back each day can be tough, that’s why I offer a convenient newsletter every time a new recipe posts. Simply subscribe and start receiving your free daily recipes!

Raspberry Upside Down Cake
IMPORTANT – There are often Frequently Asked Questions within the blog post that you may find helpful. Simply scroll back up to read them!
Print It
Pin It
Rate It
Save ItSaved!
Ingredients
- 15.25 ounce vanilla cake mix prepared according to package directions
- ½ cup unsalted butter
- 1 ¾ cups light brown sugar packed
- 1 ½ pints raspberries fresh or frozen (about 3 cups)
Things You’ll Need
-
13×9 baking dish
-
Baking sheet
-
Mixing bowls
Before You Begin
- Fresh or frozen raspberries will work for this recipe. If using frozen, no need to thaw.
- You can use yellow, white, French vanilla, or even lemon cake mix for this recipe. Prepare the cake mix according to package instructions, including any additional ingredients like eggs, oil, or water/milk.
- Optionally add sliced almonds over top of the raspberries before baking for a bit of crunch and texture.
- Placing the baking dish on a cookie sheet helps catch any potential drips and makes it easier to handle.
Instructions
-
Preheat oven to 350°F (175°C). Place a 13×9 baking dish onto a cookie sheet.
-
Prepare the batter for the cake mix according to the box directions. Set aside.
-
Cut up butter and place it evenly in the baking dish. Place baking dish in preheated oven for 3-4 minutes, or until butter has completely melted. Remove from oven.
-
Sprinkle the brown sugar over the melted butter and use a fork to evenly distribute. Pour raspberries on top of brown sugar and spread around in an even layer.
-
Pour prepared cake batter gently and evenly over the raspberries.
-
Bake in 350°F (175°C) oven for 45 to 50 minutes or until a toothpick inserted in the center comes out clean. Let cool for 10 minutes in the pan, then carefully turn out onto a large flat plate or cutting board to reveal the beautiful raspberry topping.
Expert Tips & FAQs
- Storage: Store the fully cooled cake in an air-tight container kept at room temperature for up to 2 days or in the refrigerator for up to 5 days. Do not cover the cake until it reaches room temperature, otherwise, the cake will sweat and become soggy.
- Make Ahead: You can prepare, bake, and store the cake at room temperature (covered) a day in advance. When preparing ahead, I like to cut the cake into slices and pop them into an air-tight container or cake carrier for easy serving.
- Freezing: You can freeze the baked and fully cooled cake for up to 2 months. Wrap the cake well in plastic wrap followed by a layer of aluminum foil to prevent freezer burn. Thaw at room temperature before serving.
- Pan Prep: Always place your baking dish on a cookie sheet when baking an upside down cake. This provides extra stability and catches any potential drips from the caramel, saving you from a messy oven cleanup.
Nutrition
The recipes on this blog are tested with a conventional gas oven and gas stovetop. It’s important to note that some ovens, especially as they age, can cook and bake inconsistently. Using an inexpensive oven thermometer can assure you that your oven is truly heating to the proper temperature. If you use a toaster oven or countertop oven, please keep in mind that they may not distribute heat the same as a conventional full sized oven and you may need to adjust your cooking/baking times. In the case of recipes made with a pressure cooker, air fryer, slow cooker, or other appliance, a link to the appliances we use is listed within each respective recipe. For baking recipes where measurements are given by weight, please note that results may not be the same if cups are used instead, and we can’t guarantee success with that method.
This post originally appeared here on November 1, 2008 and has since been updated with new photos, expert tips, and expanded content to provide the best baking experience for our readers.
