Irresistible Blackberry Pie Squares: Your Easy Recipe for a Sweet and Tangy Dessert
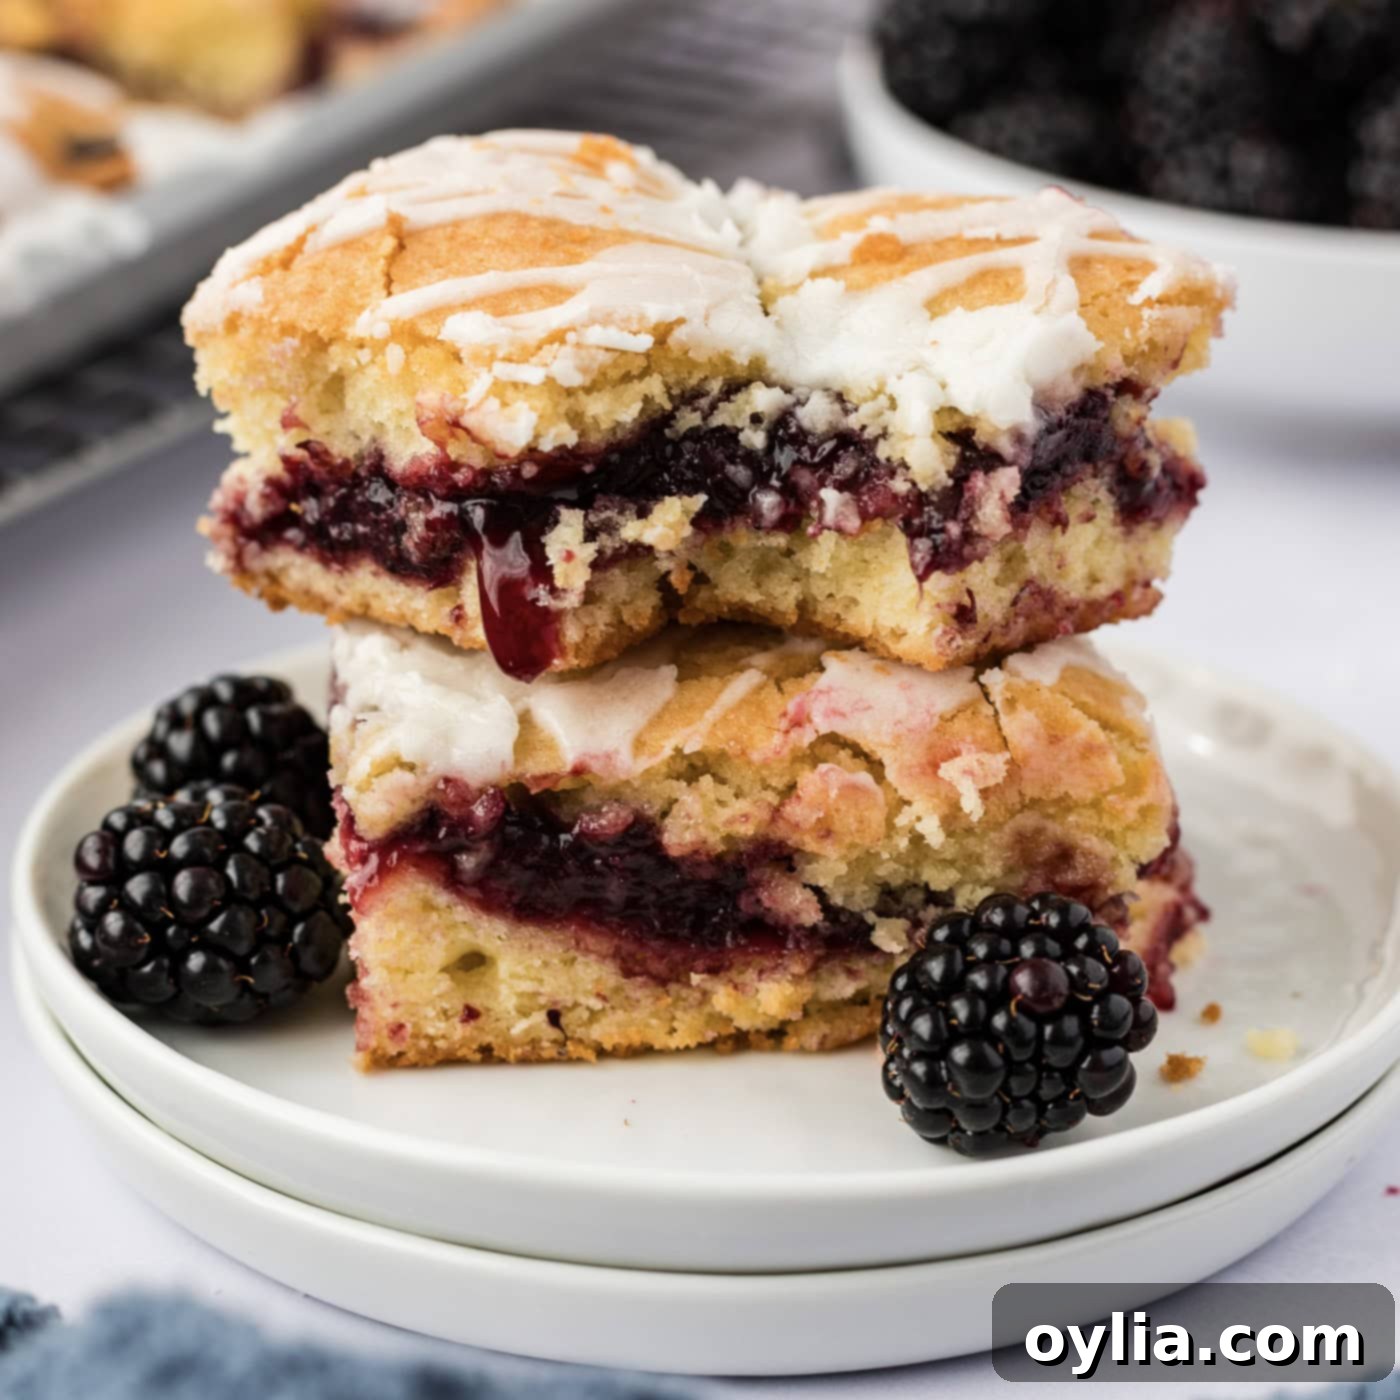
Sweet blackberry pie filling meets a soft, cakey cookie base and a vibrant, tart lemon glaze in this incredibly easy-to-make blackberry pie squares recipe. Perfect for any occasion, these delightful bars offer a unique twist on classic pie, simplifying the baking process without compromising on flavor.
Why You’ll Love This Easy Blackberry Pie Squares Recipe
These blackberry pie squares are a true kitchen hero, offering a delightful dessert experience that’s both simple to prepare and wonderfully satisfying. Unlike traditional pies that demand a perfect pastry crust, these bars feature a forgiving, soft cookie-like base that comes together quickly, much like a cake batter or cookie dough. This makes them accessible for bakers of all skill levels, from beginners to seasoned pros looking for a quick win.
One of the biggest advantages of this recipe is its versatility. It calls for readily available pie filling, freeing you from the seasonal constraints of fresh berries. Whether it’s the dead of winter or the height of summer, you can whip up these delicious squares. You have the flexibility to use a high-quality store-bought blackberry pie filling for ultimate convenience, or, if you’re feeling ambitious, use your own homemade filling crafted from blackberries picked or purchased during their peak season. Either way, the results are consistently fantastic.
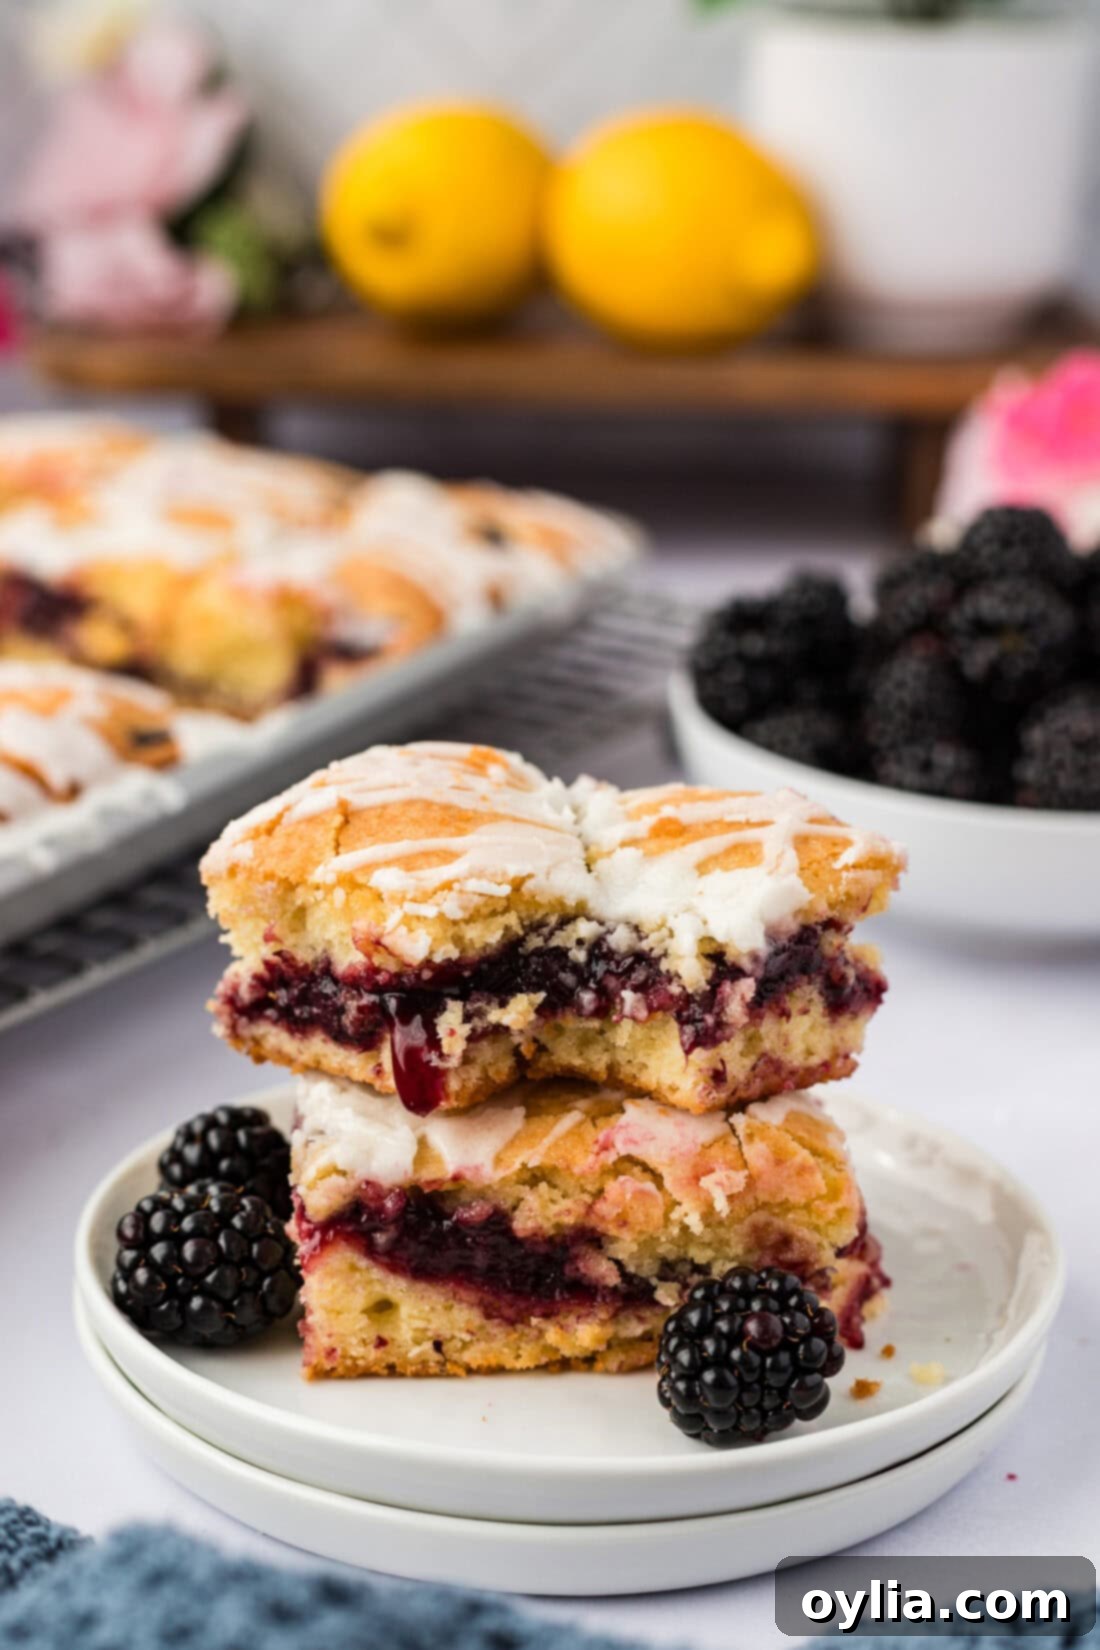
The texture of the base is reminiscent of a rich, cakey sugar cookie, providing a sturdy yet tender foundation for the sweet and fruity blackberry layer. We create a delightful sandwich effect by spreading half of this incredible batter as the bottom crust, layering it generously with the luscious blackberry filling, and then dolloping the remaining batter on top. This top layer bakes into a beautiful, slightly crumbly topping, similar to a classic cobbler, adding another dimension of texture and flavor.
This recipe was such an instant classic when it was first developed back in 2010 that it inspired further culinary adventures. Its success led to experimentation with other fruit fillings, famously giving birth to our beloved cherry pie squares. Just imagine the possibilities with apple, blueberry, or even mixed berry fillings! This foundational recipe truly opens the door to a world of delicious fruit bars, making it a must-have in your baking repertoire.
Gather Your Ingredients for Delicious Blackberry Pie Bars
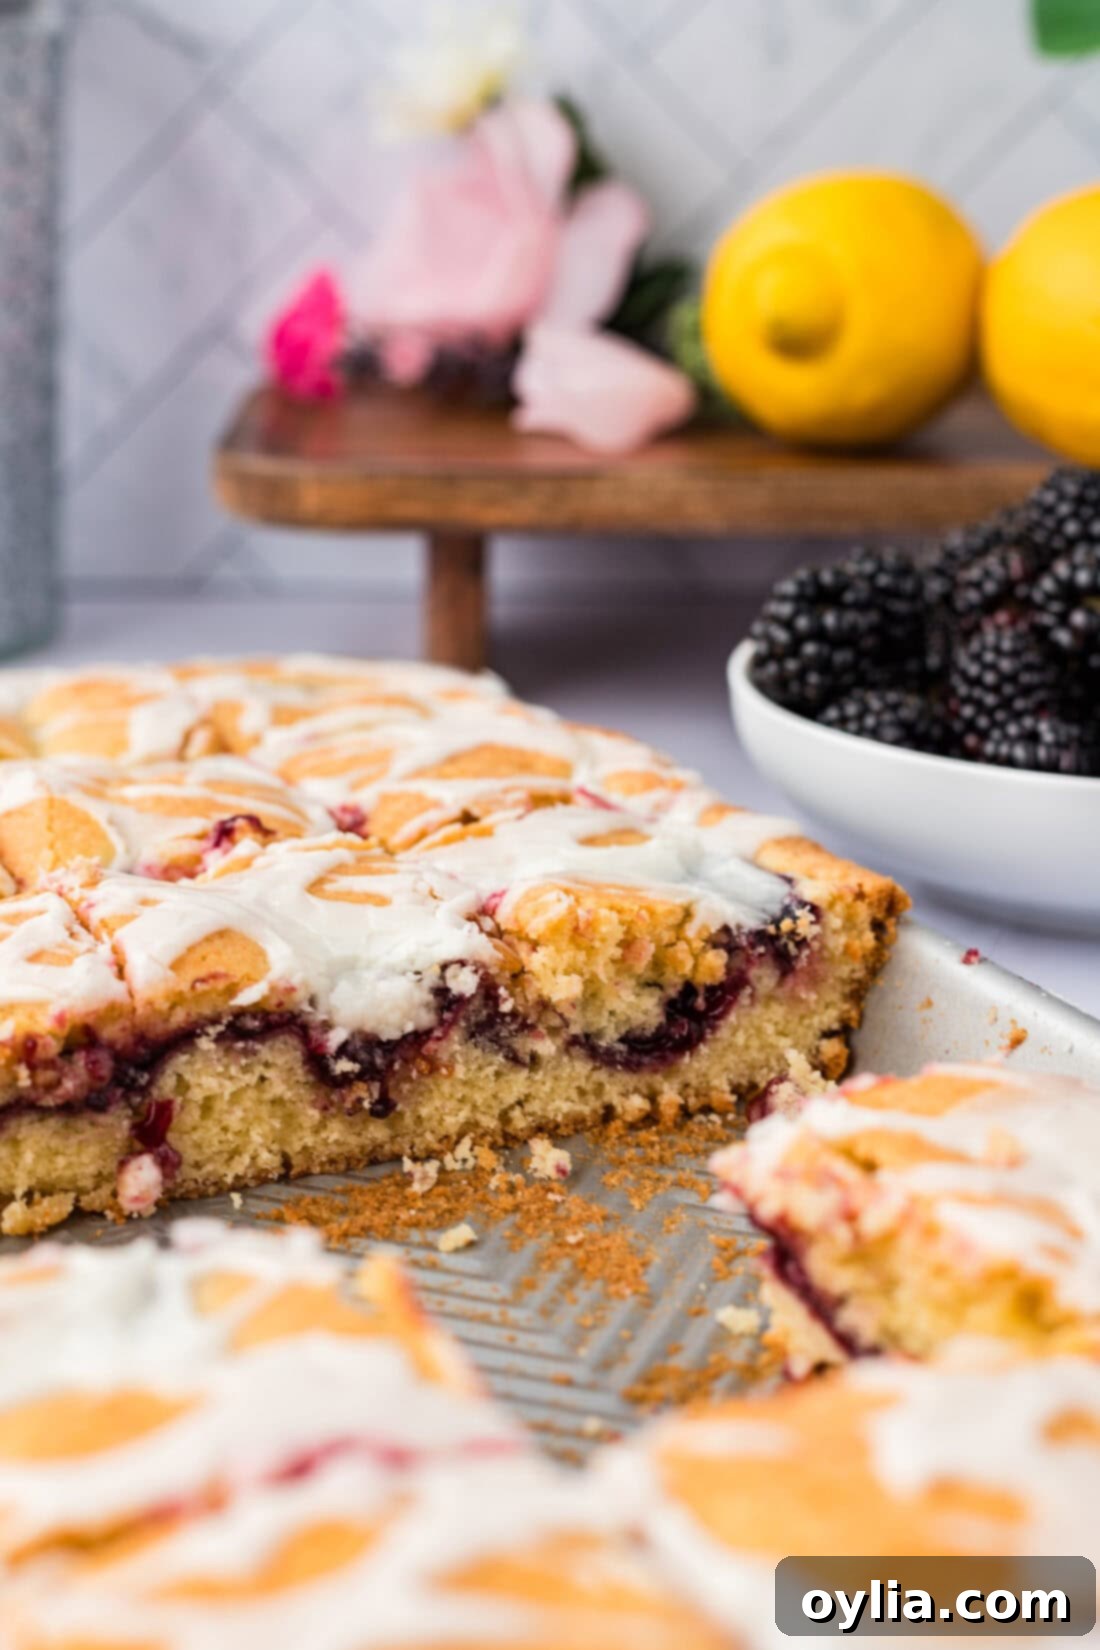
Creating these delightful blackberry pie squares requires a selection of common pantry staples and one star ingredient: blackberry pie filling. Below is a comprehensive list to ensure you have everything on hand. For precise measurements and detailed instructions, refer to the printable recipe card at the very end of this post.
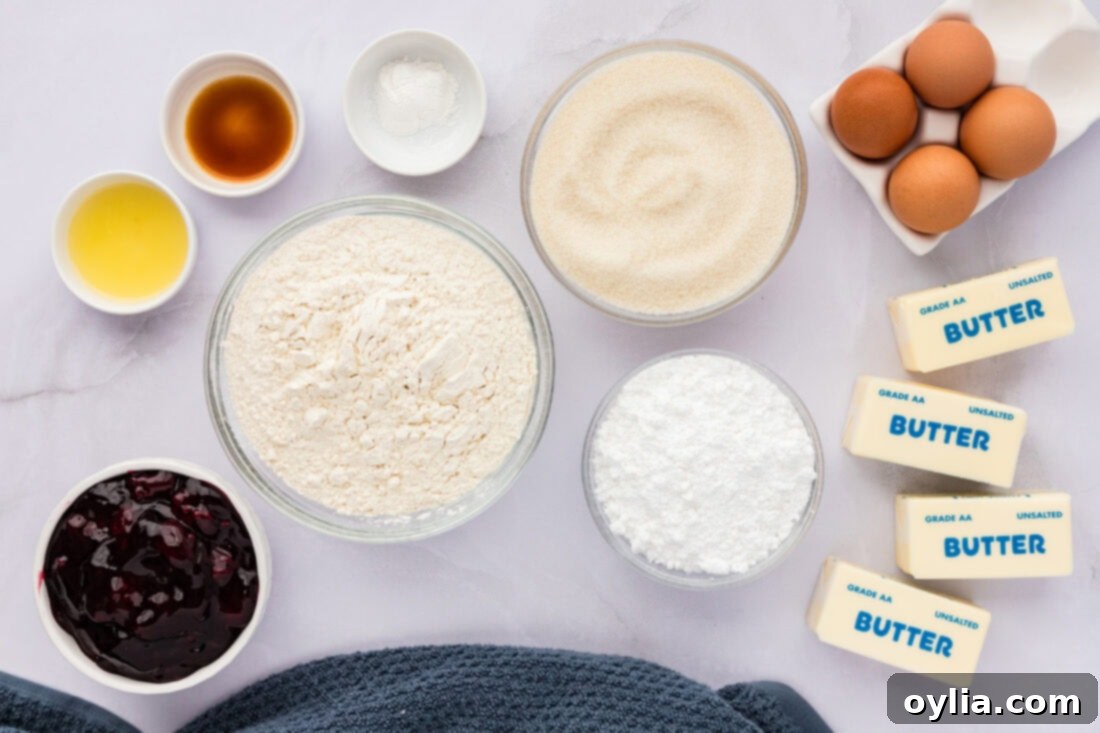
Ingredient Spotlight: Tips for Best Results
For the Cookie Base:
- Granulated Sugar: Provides sweetness and contributes to the tender, cakey texture of the base.
- Unsalted Butter: Using unsalted butter allows you to control the salt content in the recipe. Ensure it’s softened to room temperature for proper creaming with sugar, leading to a light and fluffy batter.
- Eggs: Act as a binder and add richness and moisture. Room temperature eggs emulsify better with the butter and sugar.
- Pure Vanilla Extract: Enhances all the flavors in the cookie base and complements the blackberry filling beautifully. Don’t skimp on quality here!
- Unbleached All-Purpose Flour: The primary structural component. Sifting it with baking powder ensures an even distribution and a lighter texture.
- Baking Powder: The leavening agent that gives the cookie base its slight rise and cake-like softness.
For the Blackberry Filling:
PIE FILLING – The star of the show! Both homemade or a high-quality store-bought blackberry pie filling will yield delicious results. Using canned filling significantly cuts down on prep time, making this recipe perfect for busy schedules. If using homemade, ensure it’s thick enough not to make the bars soggy. A standard 21-ounce can is usually perfect for a 15×10 inch pan.
For the Tangy Lemon Glaze:
GLAZE – This simple yet essential glaze brings a bright, tart counterpoint to the sweetness of the blackberry squares, elevating the entire dessert. You’ll be disappointed if you skip the lemon juice – trust us on this! Freshly squeezed lemon juice is highly recommended for the best flavor. Aim for 2-3 tablespoons of lemon juice to achieve a drizzleable, yet not too thin, consistency. This usually equates to the juice from one medium-sized lemon. The powdered sugar provides the body, and a touch of melted butter ensures a smooth, rich glaze.
Step-by-Step Guide: Crafting Your Blackberry Pie Squares
These step-by-step photos and instructions are here to help you visualize how to make this recipe. For a quick reference or to print, you can Jump to Recipe to get the complete printable version, with all measurements and instructions, located at the bottom of this post.
- Prepare Your Oven: Begin by preheating your oven to 350°F (175°C). This ensures your oven is at the correct temperature for even baking.
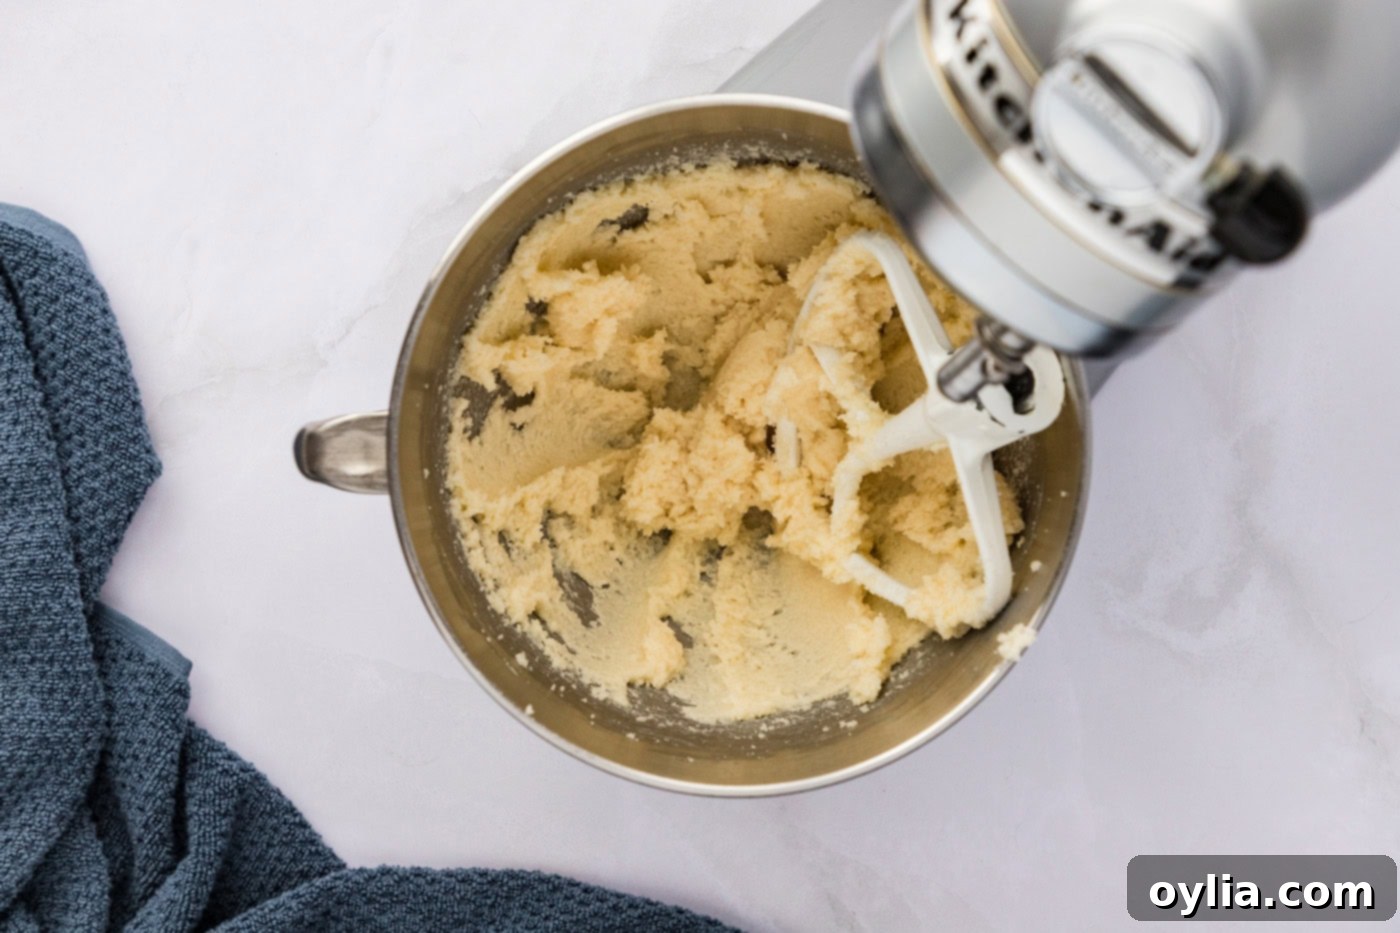
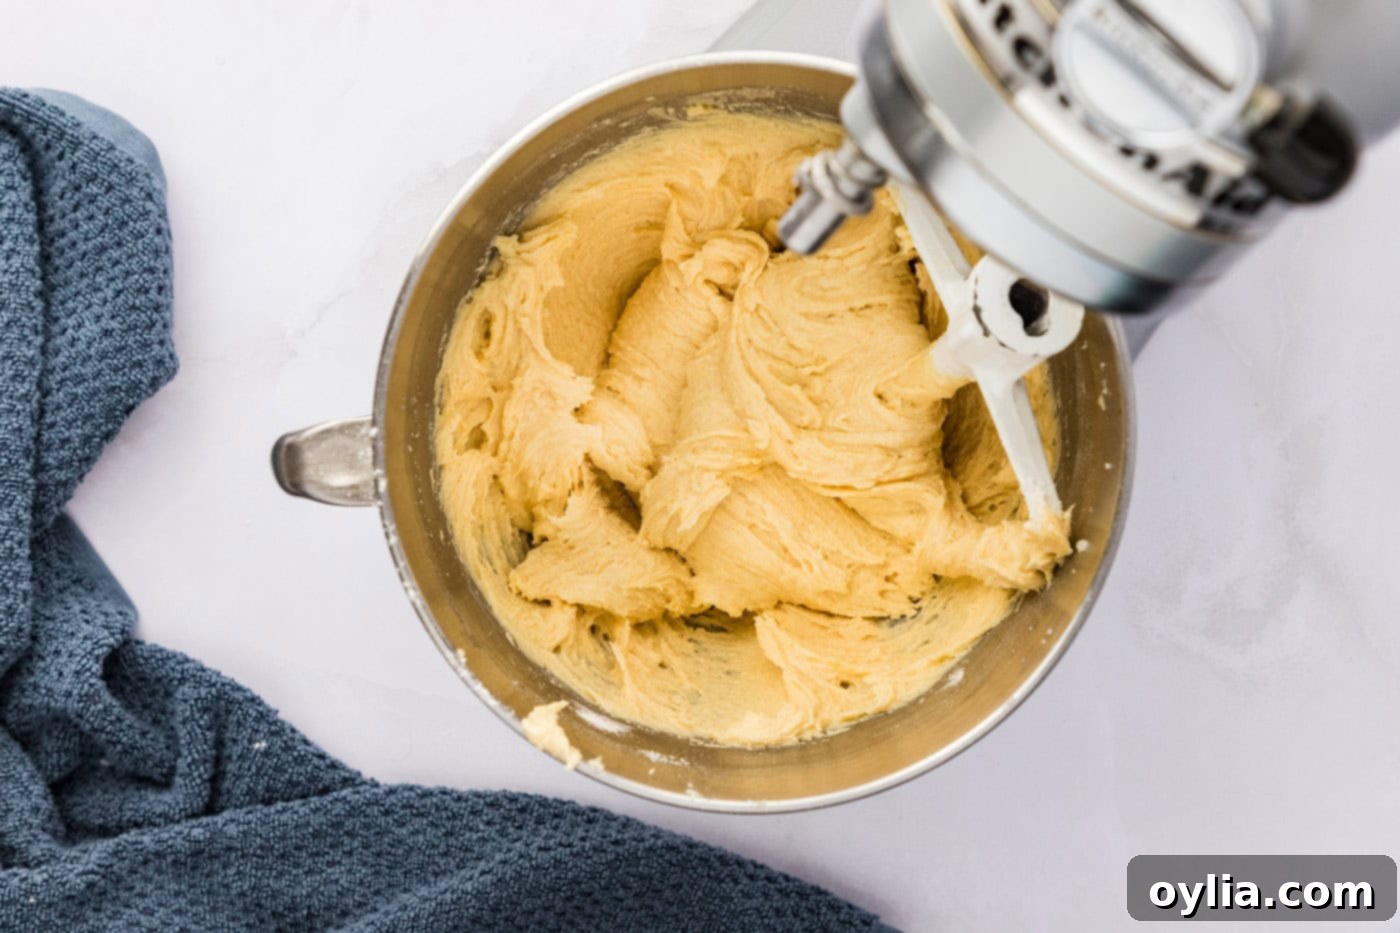
- Cream Butter and Sugar: In a large mixing bowl, using an electric mixer (stand or hand mixer), cream together the granulated sugar and softened unsalted butter on medium speed until the mixture is light, pale, and fluffy. This process incorporates air, contributing to the cakey texture of the base.


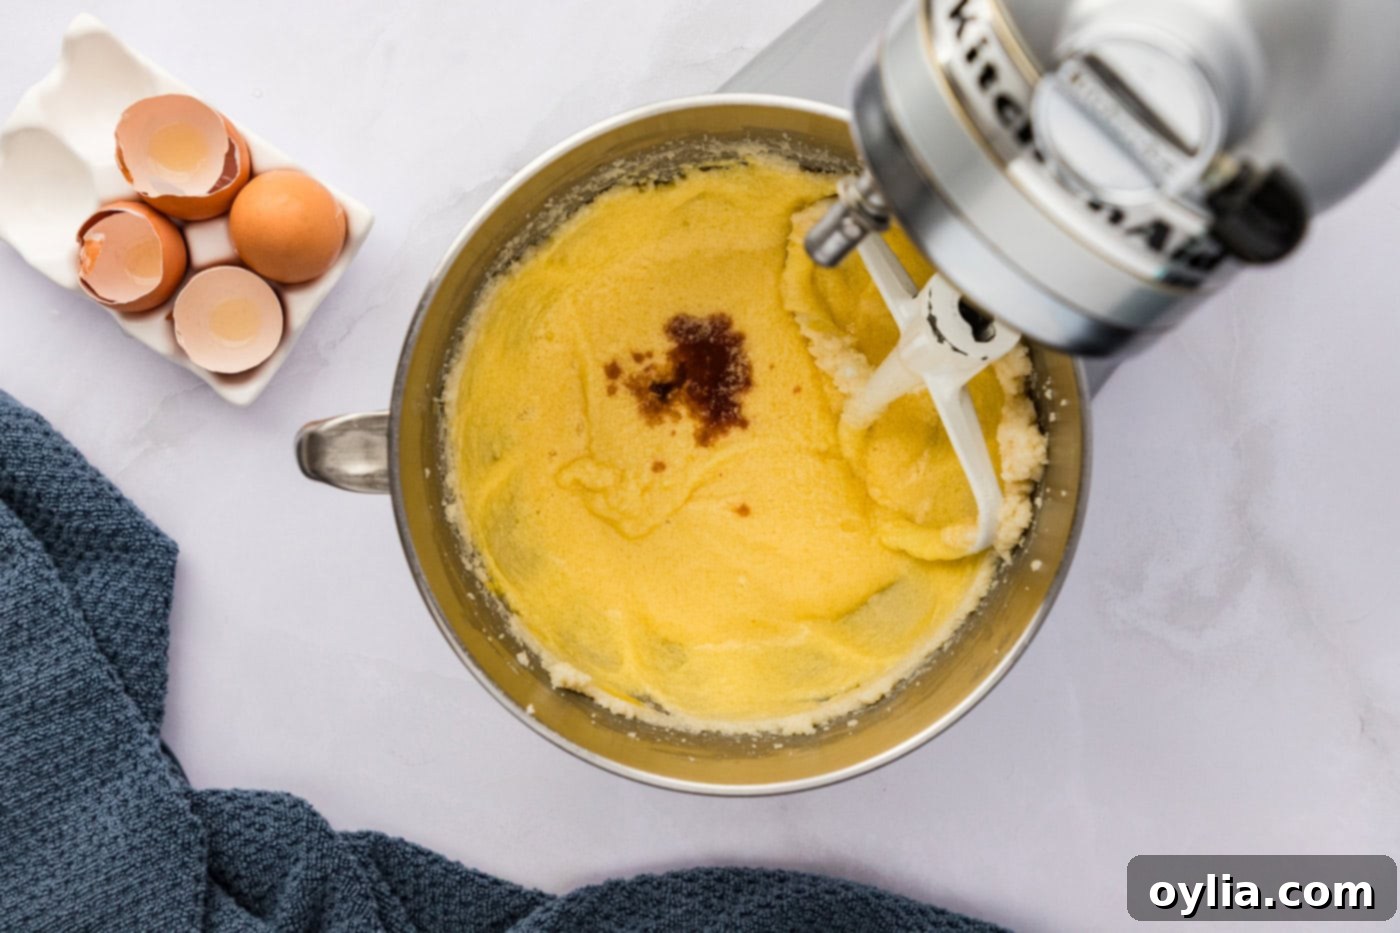
Next, add the eggs one at a time, beating well after each addition to ensure they are fully incorporated. Stir in the pure vanilla extract and beat until everything is thoroughly combined and smooth. - Incorporate Dry Ingredients: In a separate bowl, whisk together the all-purpose flour and baking powder. This step helps to distribute the leavening agent evenly.

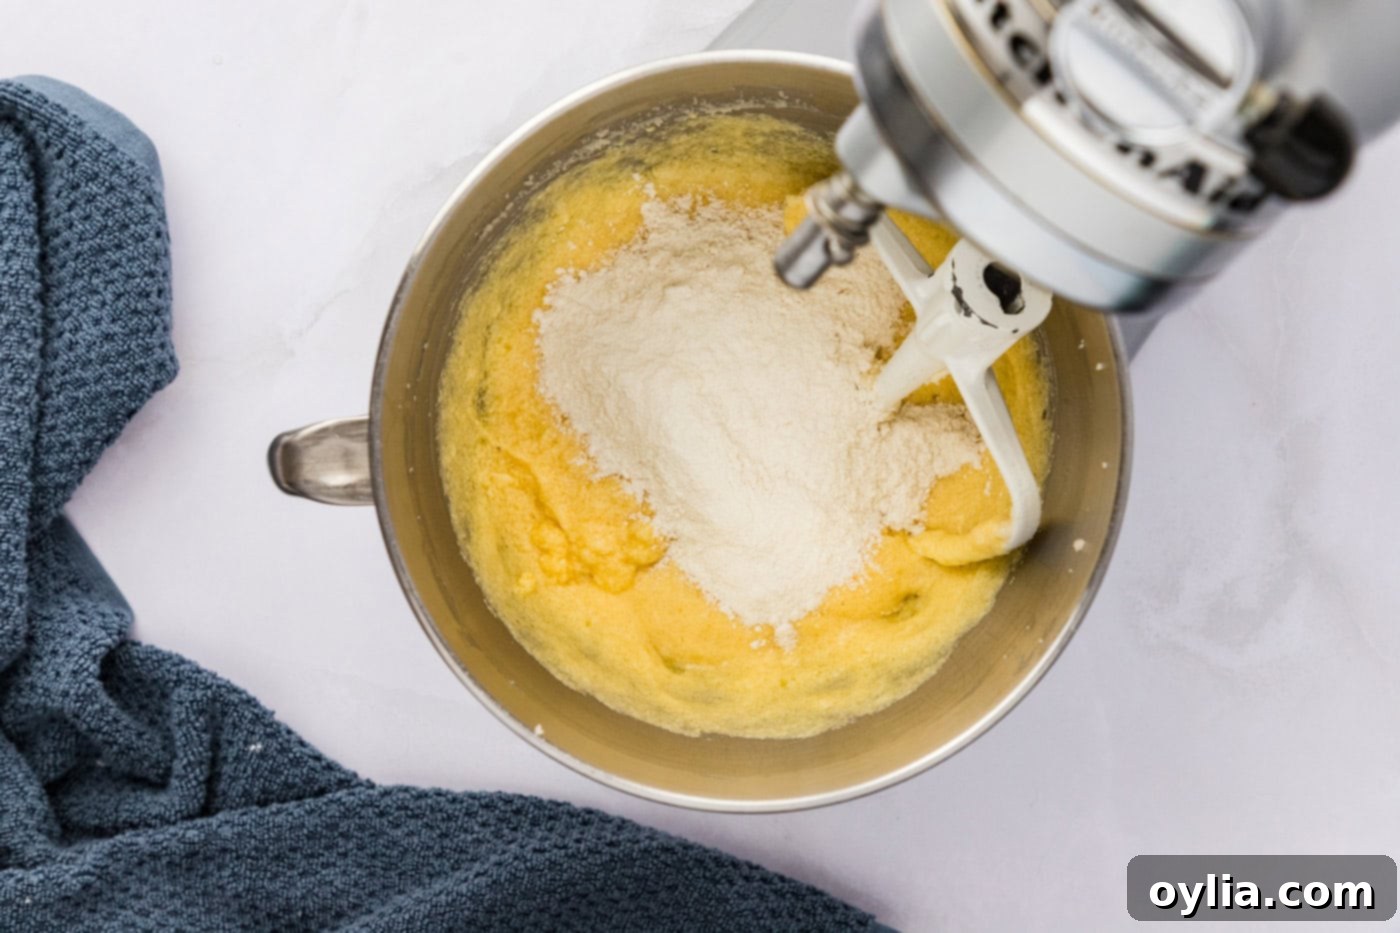
Reduce the mixer speed to the lowest setting and gradually add the flour mixture to the wet ingredients. Mix just until everything is combined and no streaks of dry flour remain. Be careful not to overmix, as this can lead to tough bars.

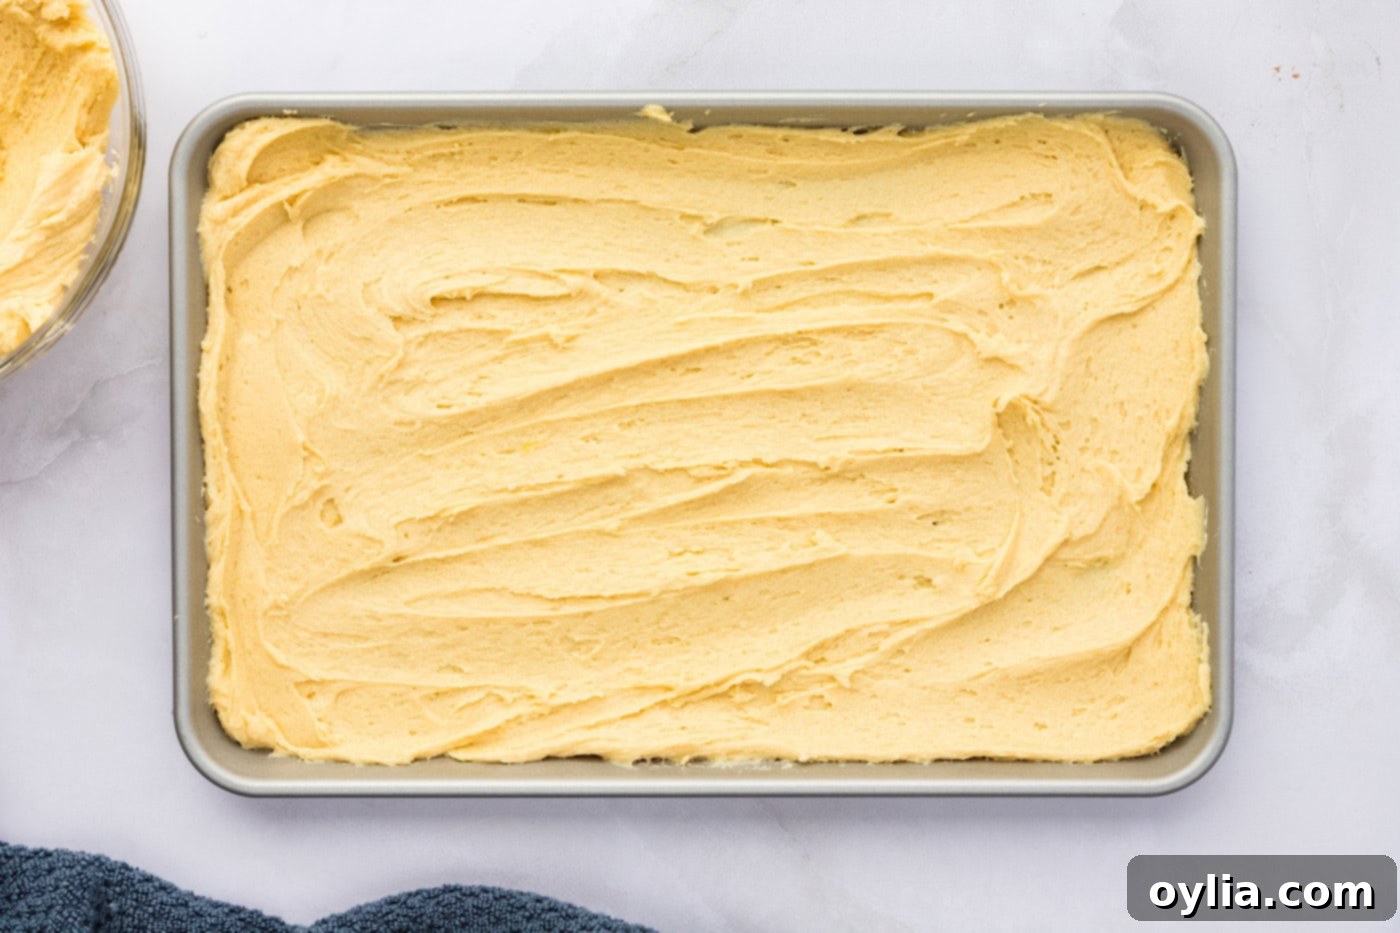
- Assemble the Layers: Divide the batter evenly. For precision, you can weigh the batter to ensure two equal halves. Spread the first half of the batter onto an ungreased 15×10 inch jelly roll pan. Use an offset spatula or the back of a spoon to spread it as evenly as possible from edge to edge.

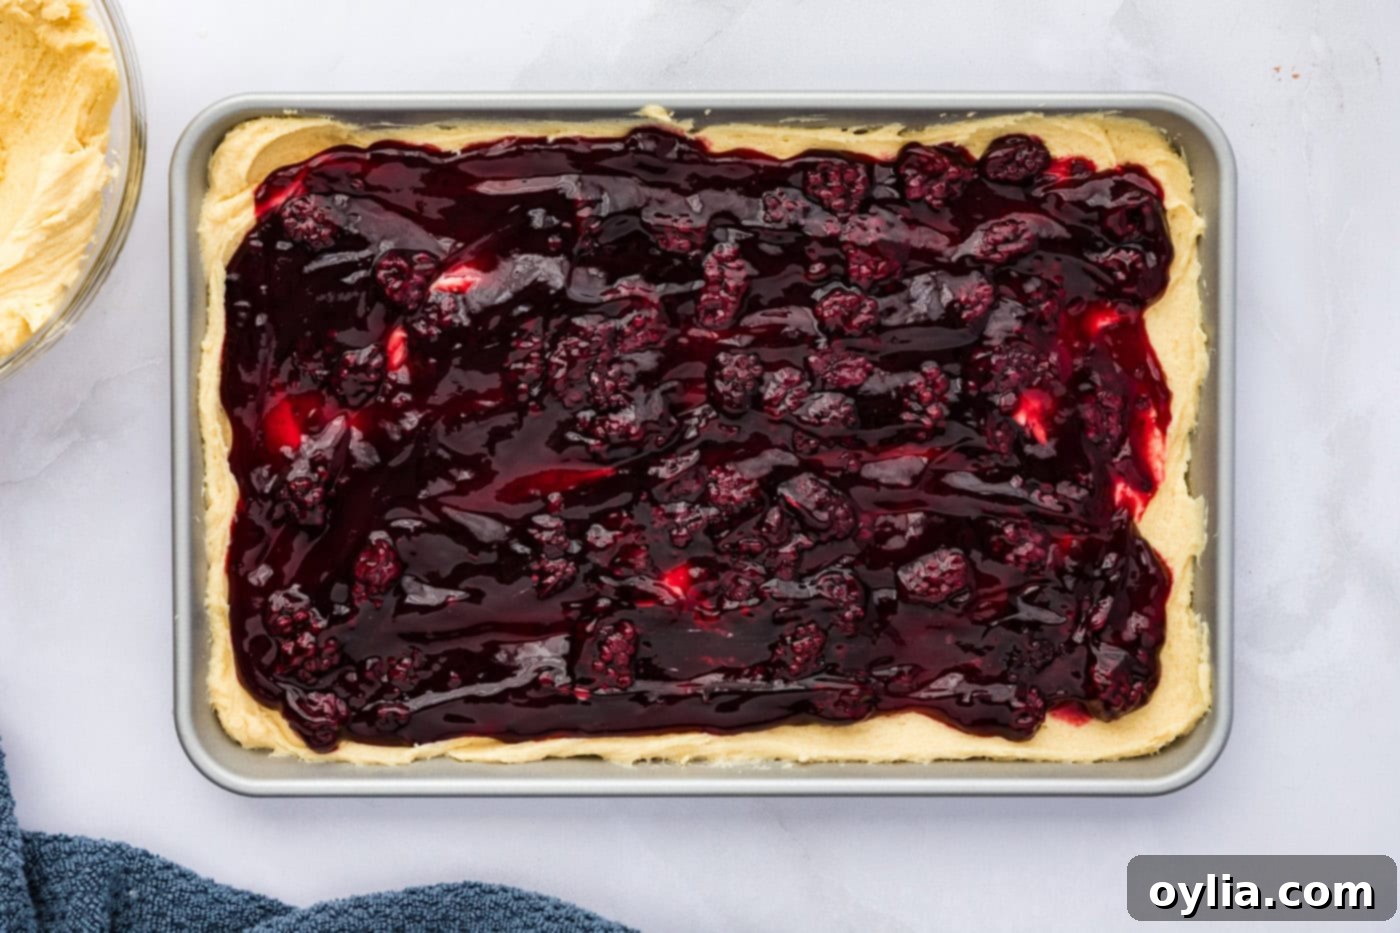
Carefully spread the entire can of blackberry pie filling over this base layer, ensuring it covers the batter evenly.

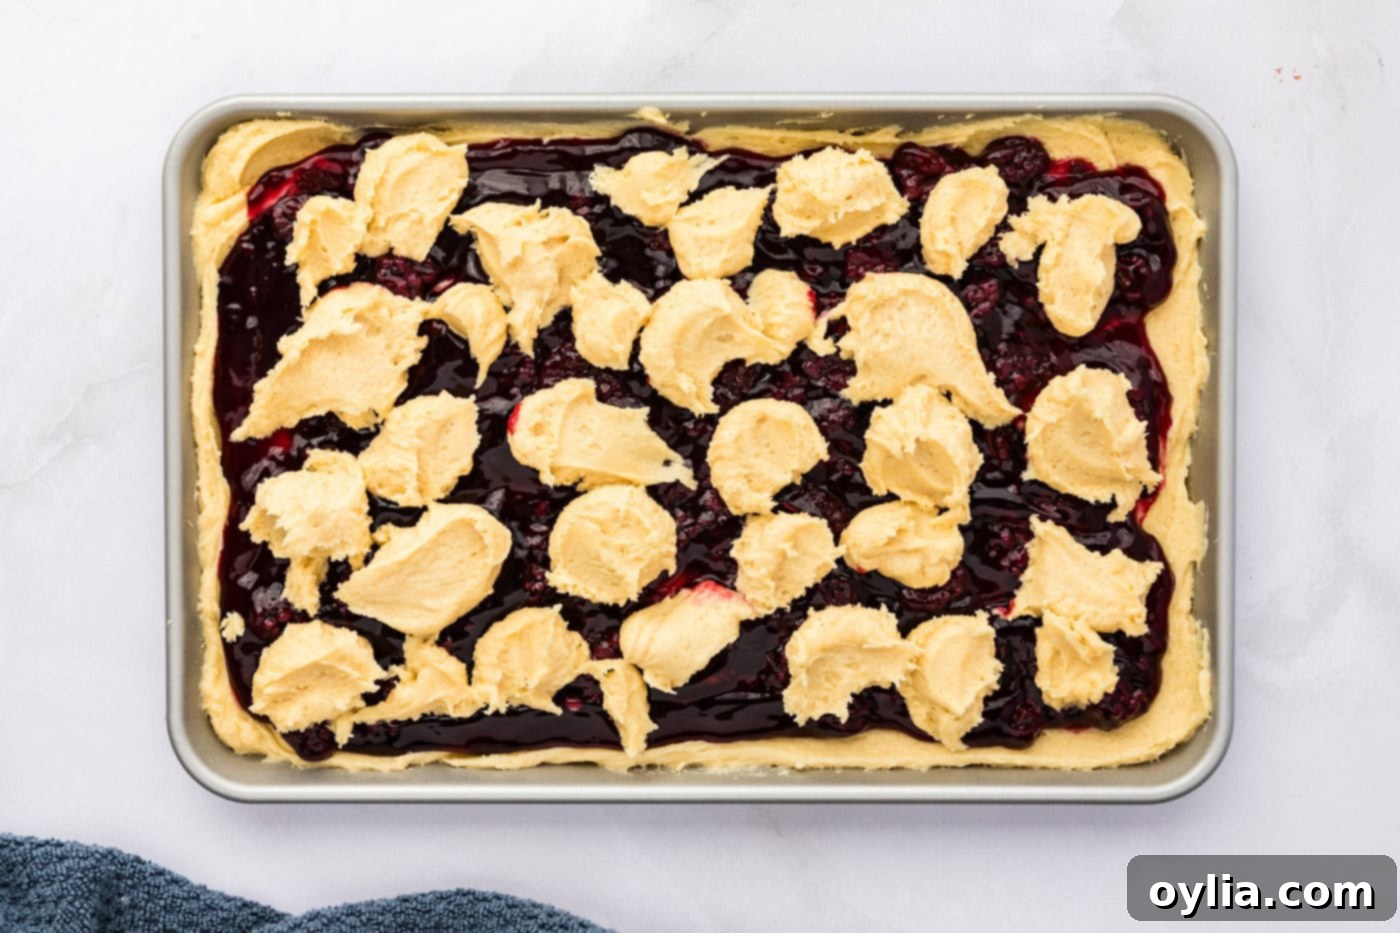
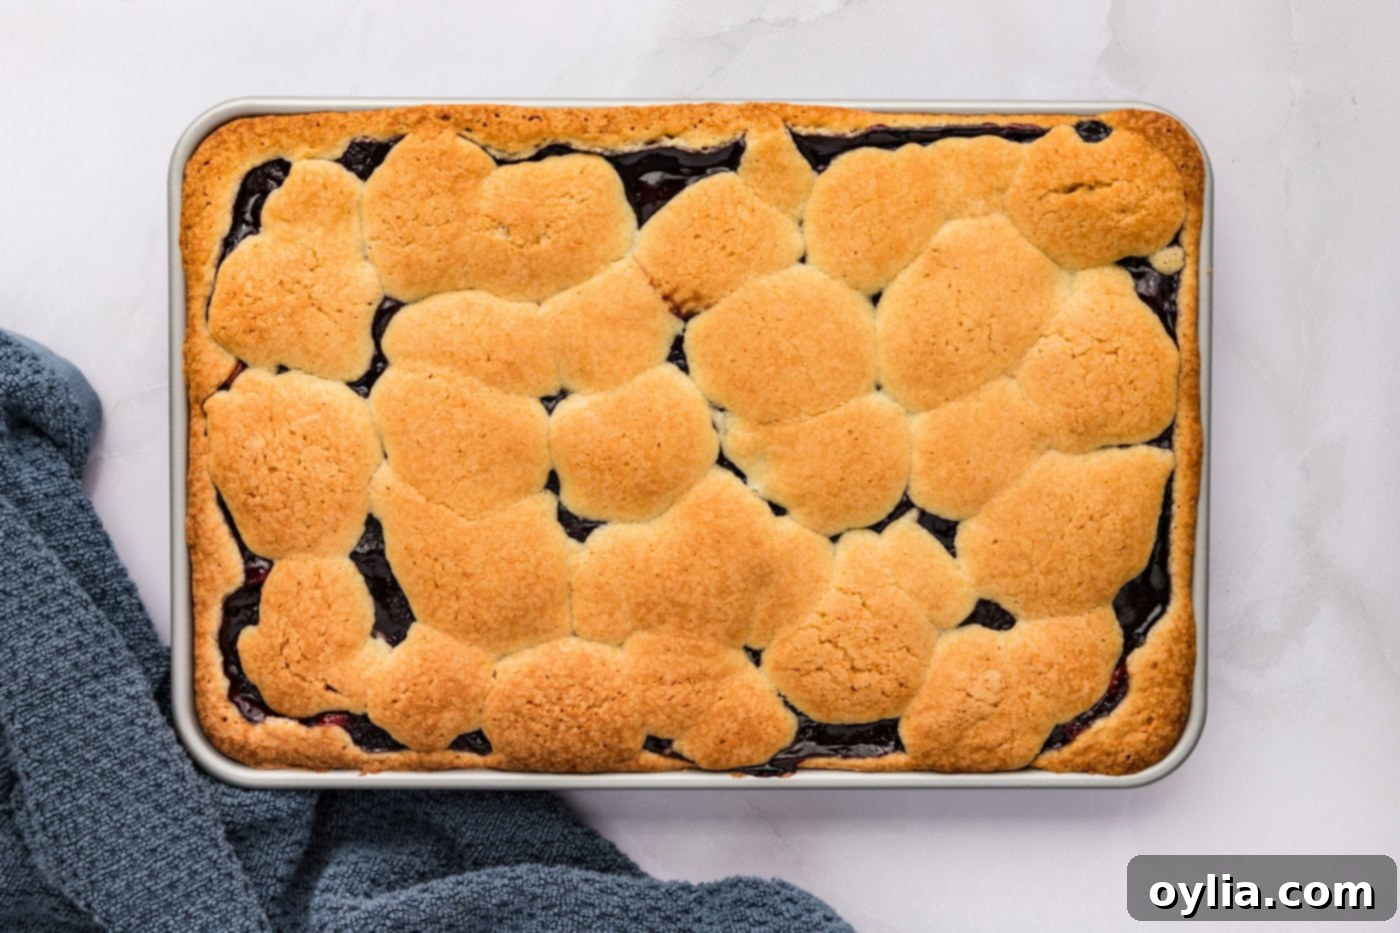
Finally, take the remaining half of the batter and dollop it by spoonfuls over the blackberry pie filling. The dollops don’t need to completely cover the filling; they will spread slightly during baking, creating a lovely, rustic top crust.

- Bake to Golden Perfection: Place the pan in the preheated oven and bake for approximately 45 minutes, or until the top crust is beautifully golden brown and set. It’s crucial not to underbake these bars; a good golden color ensures the base is cooked through and firm enough to hold the filling.

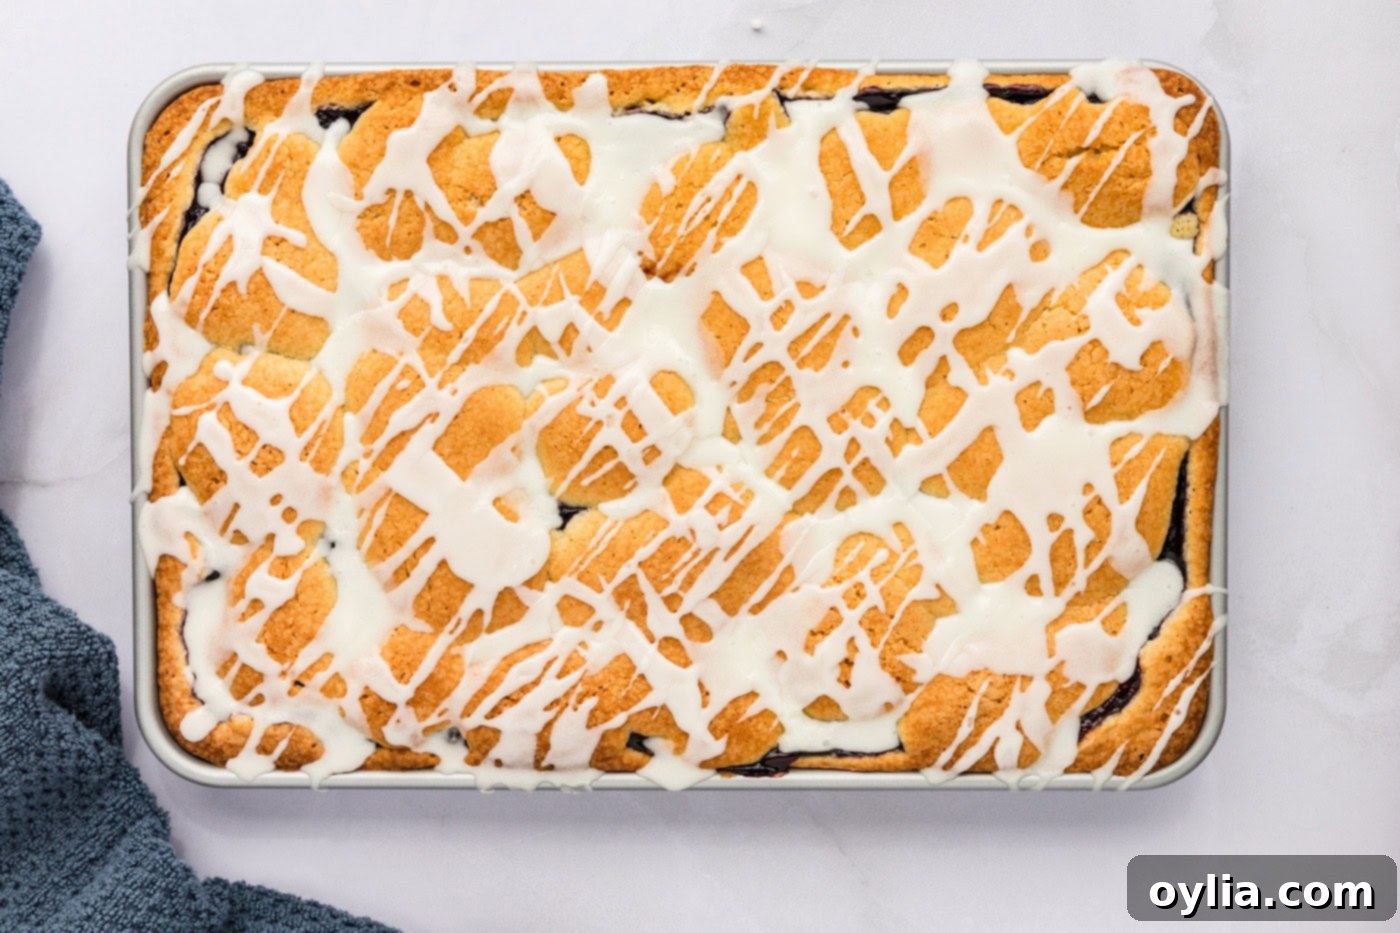
Once baked, remove the pan from the oven and transfer the bars (still in the pan) to a wire rack to cool slightly. - Prepare the Lemon Glaze: While the bars are still warm, prepare the glaze. In a small bowl, whisk together the powdered sugar, melted unsalted butter, and fresh lemon juice until smooth and drizzleable. Adjust the lemon juice amount as needed to reach your desired consistency.

Generously drizzle the lemon glaze evenly over the warm blackberry bars. - Cool and Serve: Allow the glazed bars to cool completely on the wire rack before attempting to cut them. Cooling is essential for the bars to set properly and prevent them from crumbling when sliced. Once fully cooled, cut them into neat squares and enjoy!
Frequently Asked Questions & Expert Tips for Perfect Pie Squares
Absolutely! This recipe is incredibly adaptable. We’ve successfully used it to create delicious cherry pie squares, and we’re confident that other fruit pie fillings like apple, blueberry, or even peach would be equally delightful. Feel free to experiment with your favorite fruit flavor to customize these bars to your liking!
Once your blackberry pie squares have completely cooled, store any leftovers in an airtight container at room temperature. They will remain fresh and delicious for up to 4 days. For longer storage, you can freeze them (unglazed or lightly glazed) for up to 2-3 months. Thaw at room temperature before serving.
Yes, these bars are a fantastic make-ahead dessert! You can bake them a day in advance, glaze them, and store them at room temperature. They taste wonderful the next day, allowing you to prepare for gatherings without last-minute stress. If you’re planning further in advance, consider baking and freezing them unglazed, then thawing and glazing just before serving.
If your bars are too crumbly, it might be due to overmixing the flour, which can develop too much gluten. Ensure you mix the flour just until combined. If they are too soft, they might be underbaked. Make sure to bake until the top is golden brown and a toothpick inserted into the cakey parts comes out clean. Oven temperatures can vary, so an oven thermometer can be very helpful.
A 15×10 inch jelly roll pan is ideal for this recipe, as specified. Its shallow depth is perfect for achieving the desired bar thickness and ensuring even baking. If you use a different size pan, you may need to adjust baking times and expect a slightly different thickness for your bars.
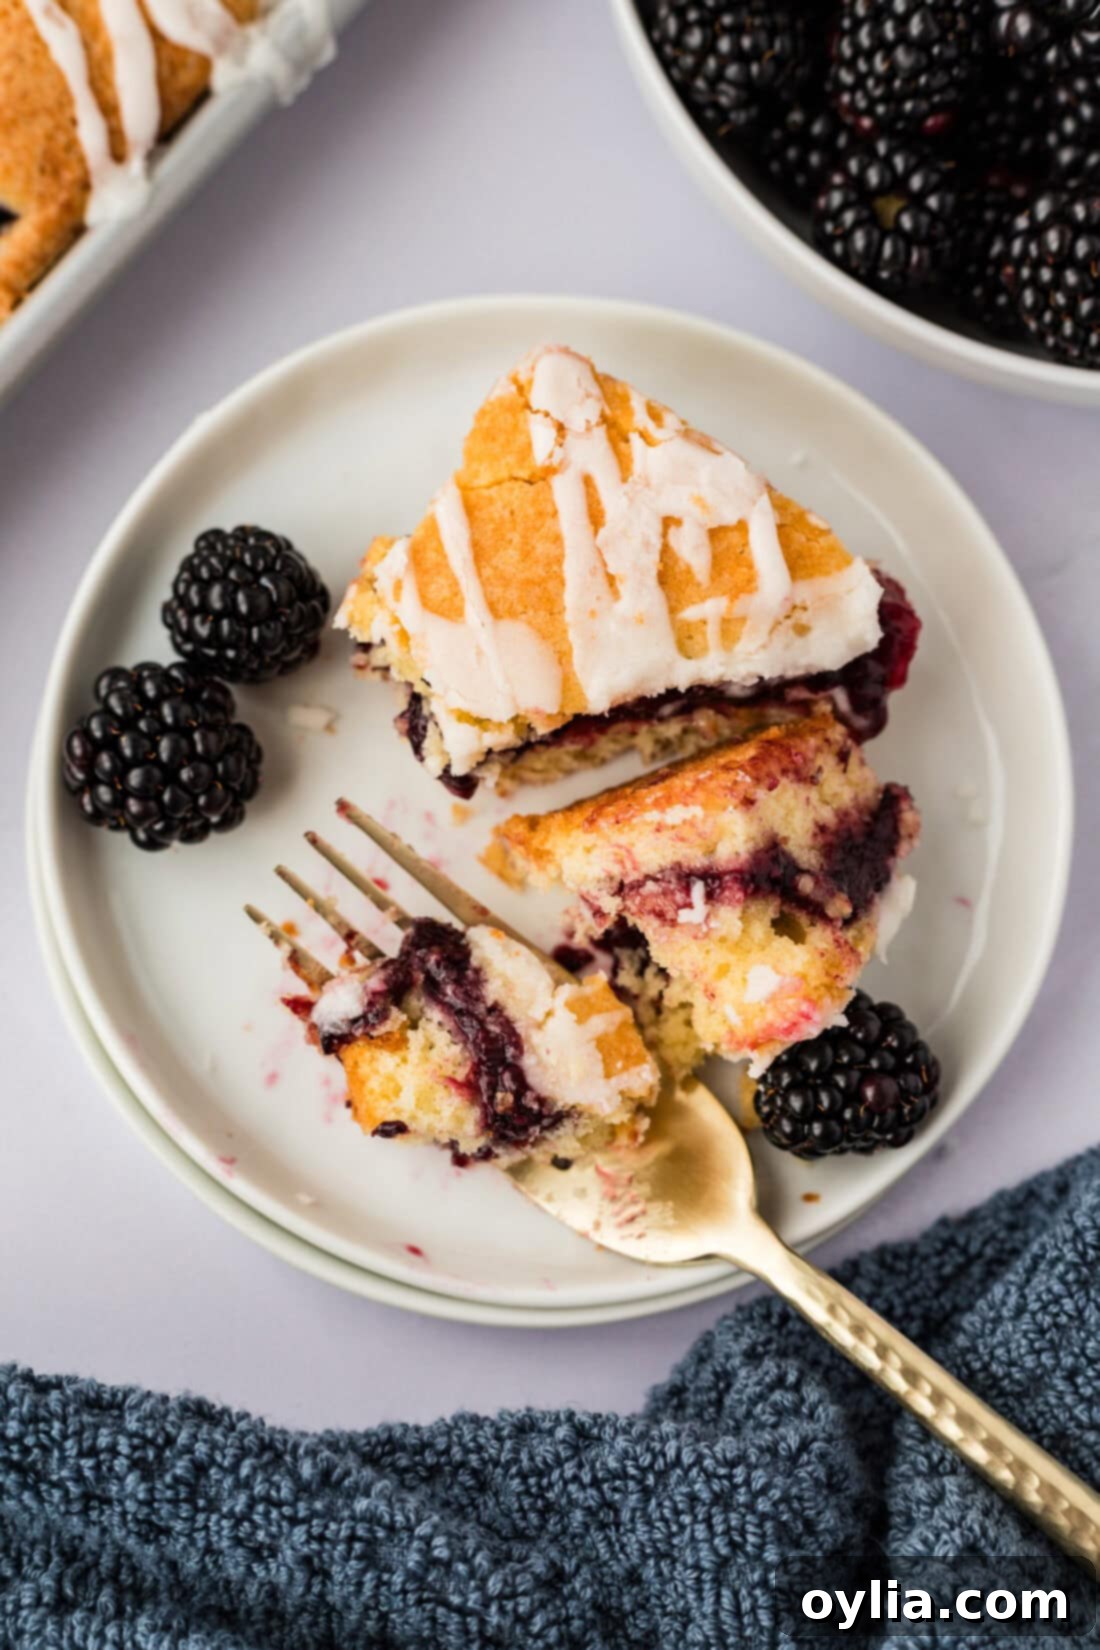
Delightful Ways to Serve Your Blackberry Pie Squares
These blackberry pie squares are wonderfully versatile and can be enjoyed in many ways. They make a fantastic dessert on their own, or you can elevate them with a scoop of vanilla bean ice cream or a dollop of freshly whipped cream. The contrast of warm bars with cold ice cream is simply divine!
Beyond dessert, these bars are also perfect for breakfast or brunch. Imagine starting your day with a square alongside a steaming cup of coffee or a comforting mug of tea – they’re much like a gourmet danish! Their portability also makes them ideal for potlucks, picnics, school lunches, or as a thoughtful treat for colleagues. Whether served warm from the oven or at room temperature, their sweet and tangy flavor profile is always a hit.
Explore More Irresistible Berry Dessert Recipes
If you’re a fan of luscious berry desserts, you’re in luck! Here are some other delightful recipes featuring the best of berries, perfect for satisfying your sweet tooth:
- Fluffy Homemade Blackberry Scones
- Effortless Blueberry Dump Cake
- Dreamy Raspberry Poke Cake
- Simple Blueberry Upside Down Cake
I’m passionate about baking and cooking, and I love sharing my culinary adventures and tested recipes with all of you! To make sure you never miss a new dish, I offer a convenient newsletter. Simply subscribe today and start receiving delicious, free daily recipes directly to your inbox!
Blackberry Pie Squares
IMPORTANT – There are often Frequently Asked Questions within the blog post that you may find helpful. Simply scroll back up to read them!
Print It
Pin It
Rate It
Save ItSaved!
Ingredients
- 1 ¾ cups granulated sugar 400g
- 1 cup unsalted butter 2 sticks, softened
- 4 eggs, large, room temperature
- 1 teaspoon pure vanilla extract
- 3 cups unbleached all purpose flour 395g
- 1 ½ teaspoons baking powder 5g
- 21 ounces blackberry pie filling (1 can, store-bought or homemade)
Lemon Glaze
- 1 ¼ cups powdered sugar 140g
- 1 Tablespoon unsalted butter melted
- 2-3 Tablespoons lemon juice freshly squeezed
Equipment You’ll Need
-
Stand mixer or hand mixer
-
15×10 jelly roll pan
-
Wire cooling racks
Before You Begin: Important Notes for Success
- You can use either homemade or high-quality store-bought blackberry pie filling for this recipe. Both will yield delicious results.
- For the glaze, adjust the amount of fresh lemon juice between 2-3 tablespoons to achieve your desired drizzleable consistency. This is typically the juice from one medium-sized lemon. The tartness is key to balancing the sweetness of the bars!
Instructions
-
Preheat oven to 350°F (175°C).
-
In a large bowl, cream granulated sugar and softened butter with an electric mixer on medium speed until the mixture is light and fluffy. Add eggs one at a time, beating well after each addition until fully incorporated. Stir in the pure vanilla extract and beat until smooth.1 3/4 cups granulated sugar, 1 cup unsalted butter, 4 eggs, 1 teaspoon pure vanilla extract
-
In a separate bowl, whisk together the all-purpose flour and baking powder. Reduce mixer speed to the lowest setting and slowly add the flour mixture to the wet ingredients, mixing just until completely combined and no dry streaks remain. Avoid overmixing.3 cups unbleached all purpose flour, 1 1/2 teaspoons baking powder
-
Evenly spread half of the batter (for precision, you can weigh it) onto an ungreased 15×10 inch jelly roll pan. Spread the entire 21 ounces of blackberry pie filling evenly over the batter. Dollop the remaining half of the batter by spoonfuls over the pie filling layer.21 ounces blackberry pie filling
-
Bake for 45 minutes, or until the top crust is golden brown and set. Do not underbake. Remove the pan to a wire rack to cool slightly.
-
While the bars are still warm, prepare the glaze. In a small bowl, combine powdered sugar, melted butter, and fresh lemon juice, whisking until smooth and drizzleable. Drizzle the glaze evenly over the warm bars.1 1/4 cups powdered sugar, 1 Tablespoon unsalted butter, 2-3 Tablespoons lemon juice
-
Allow the bars to cool completely on the wire rack before cutting them into squares. This ensures they set properly and are easy to slice.
Expert Tips & FAQs
- Store any cooled leftover bars in an air-tight container at room temperature for up to 4 days.
- For a perfectly even base layer, gently press the batter into the pan with clean, slightly damp hands or an offset spatula.
- Ensure your butter and eggs are at room temperature for the best emulsion and a smooth, consistent batter.
- Don’t be tempted to cut the bars while they are still warm, as they can be quite delicate and fall apart. Patience is key for clean, beautiful squares!
Nutrition Information
The recipes on this blog are tested with a conventional gas oven and gas stovetop. It’s important to note that some ovens, especially as they age, can cook and bake inconsistently. Using an inexpensive oven thermometer can assure you that your oven is truly heating to the proper temperature. If you use a toaster oven or countertop oven, please keep in mind that they may not distribute heat the same as a conventional full sized oven and you may need to adjust your cooking/baking times. In the case of recipes made with a pressure cooker, air fryer, slow cooker, or other appliance, a link to the appliances we use is listed within each respective recipe. For baking recipes where measurements are given by weight, please note that results may not be the same if cups are used instead, and we can’t guarantee success with that method.
This post originally appeared here on June 22, 2010, and has since been updated with new photos, expanded instructions, and expert tips to enhance your baking experience.
