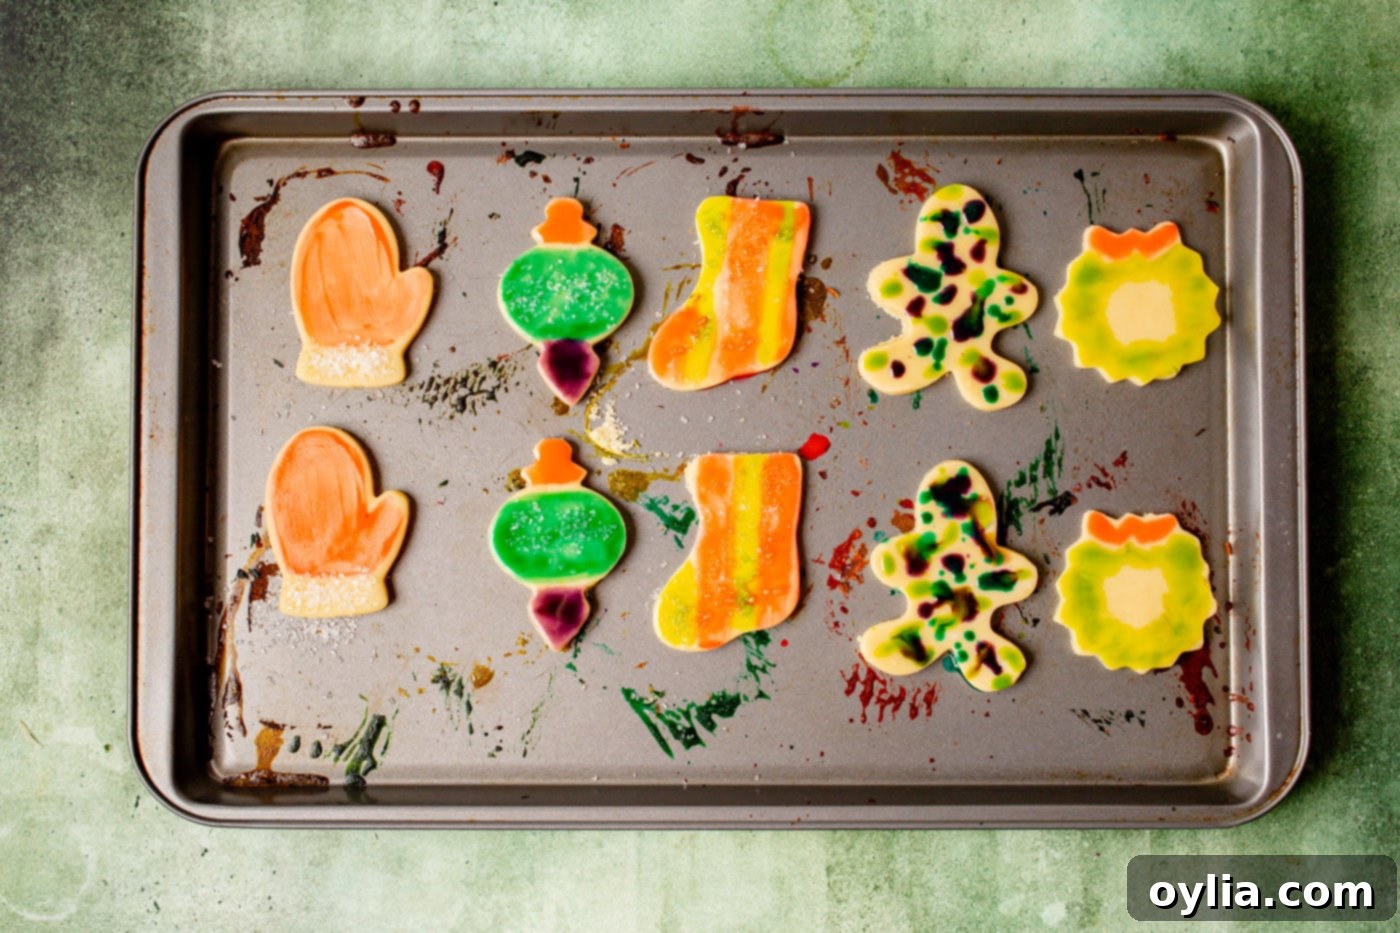
Easy & Fun Paintbrush Cookies: The Perfect Edible Art Project for Kids and Holidays
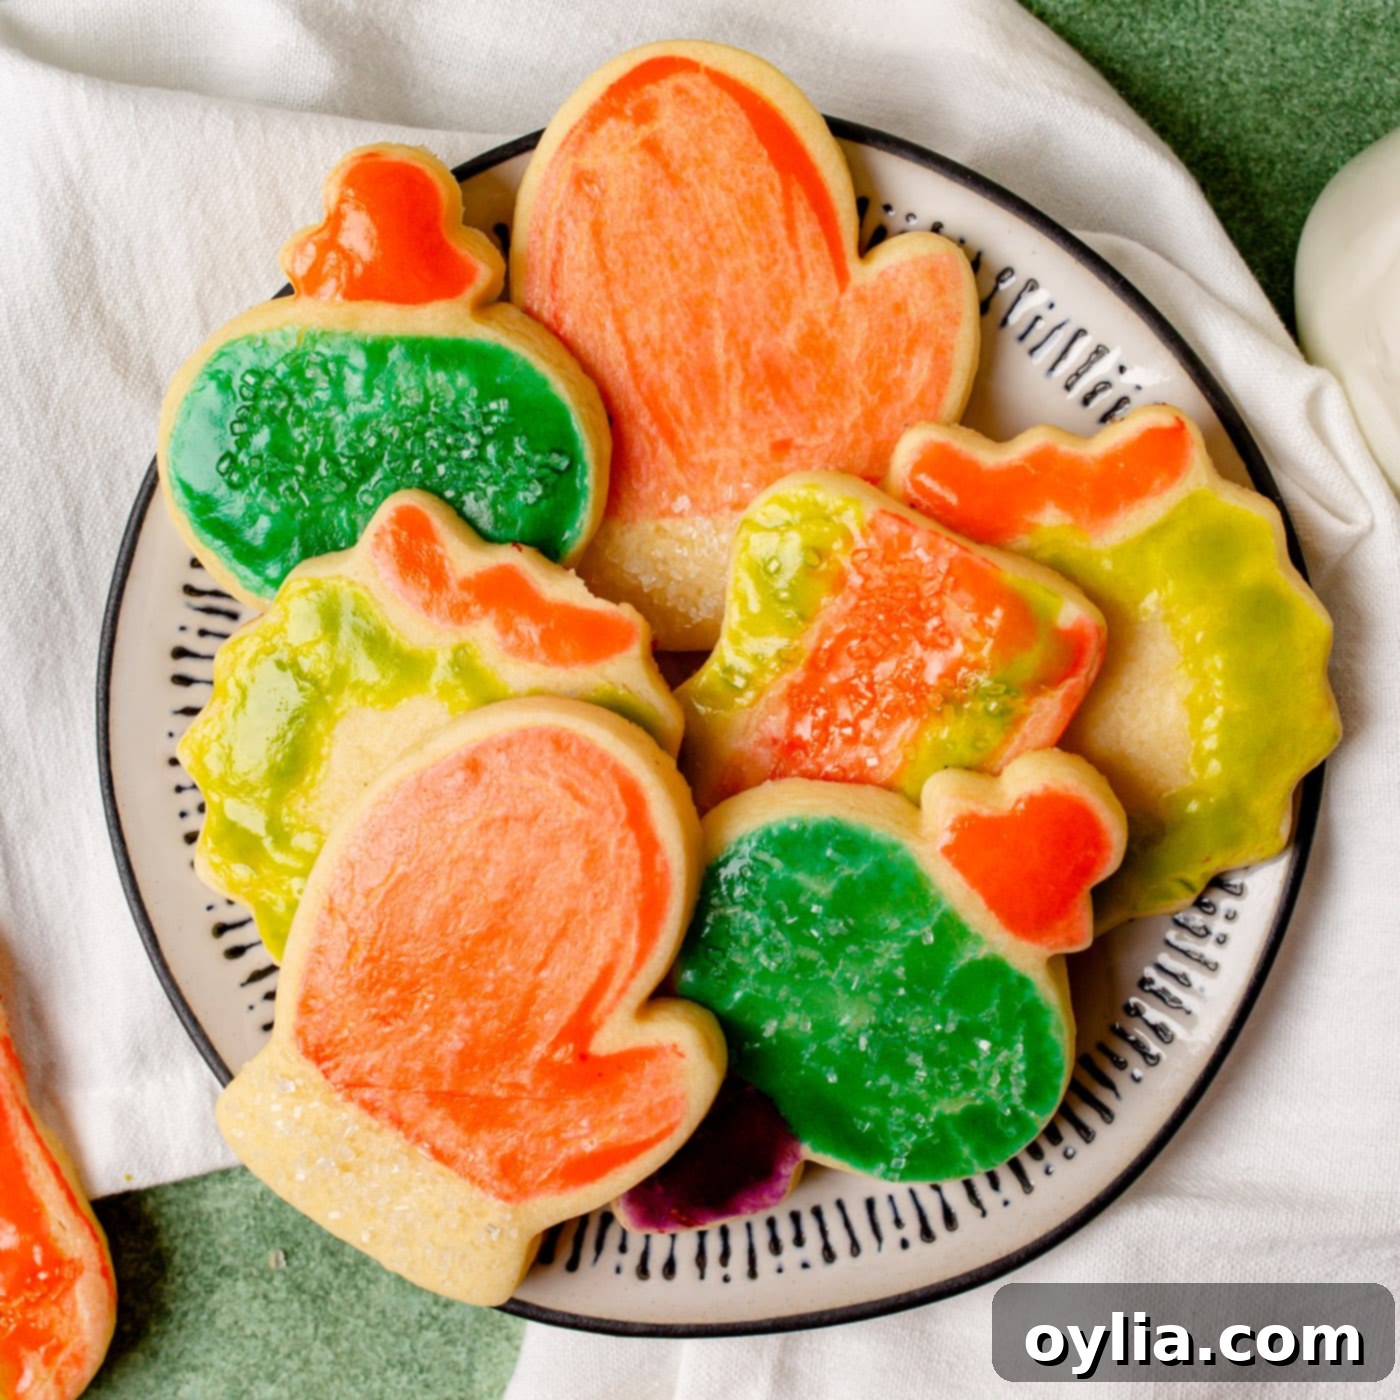
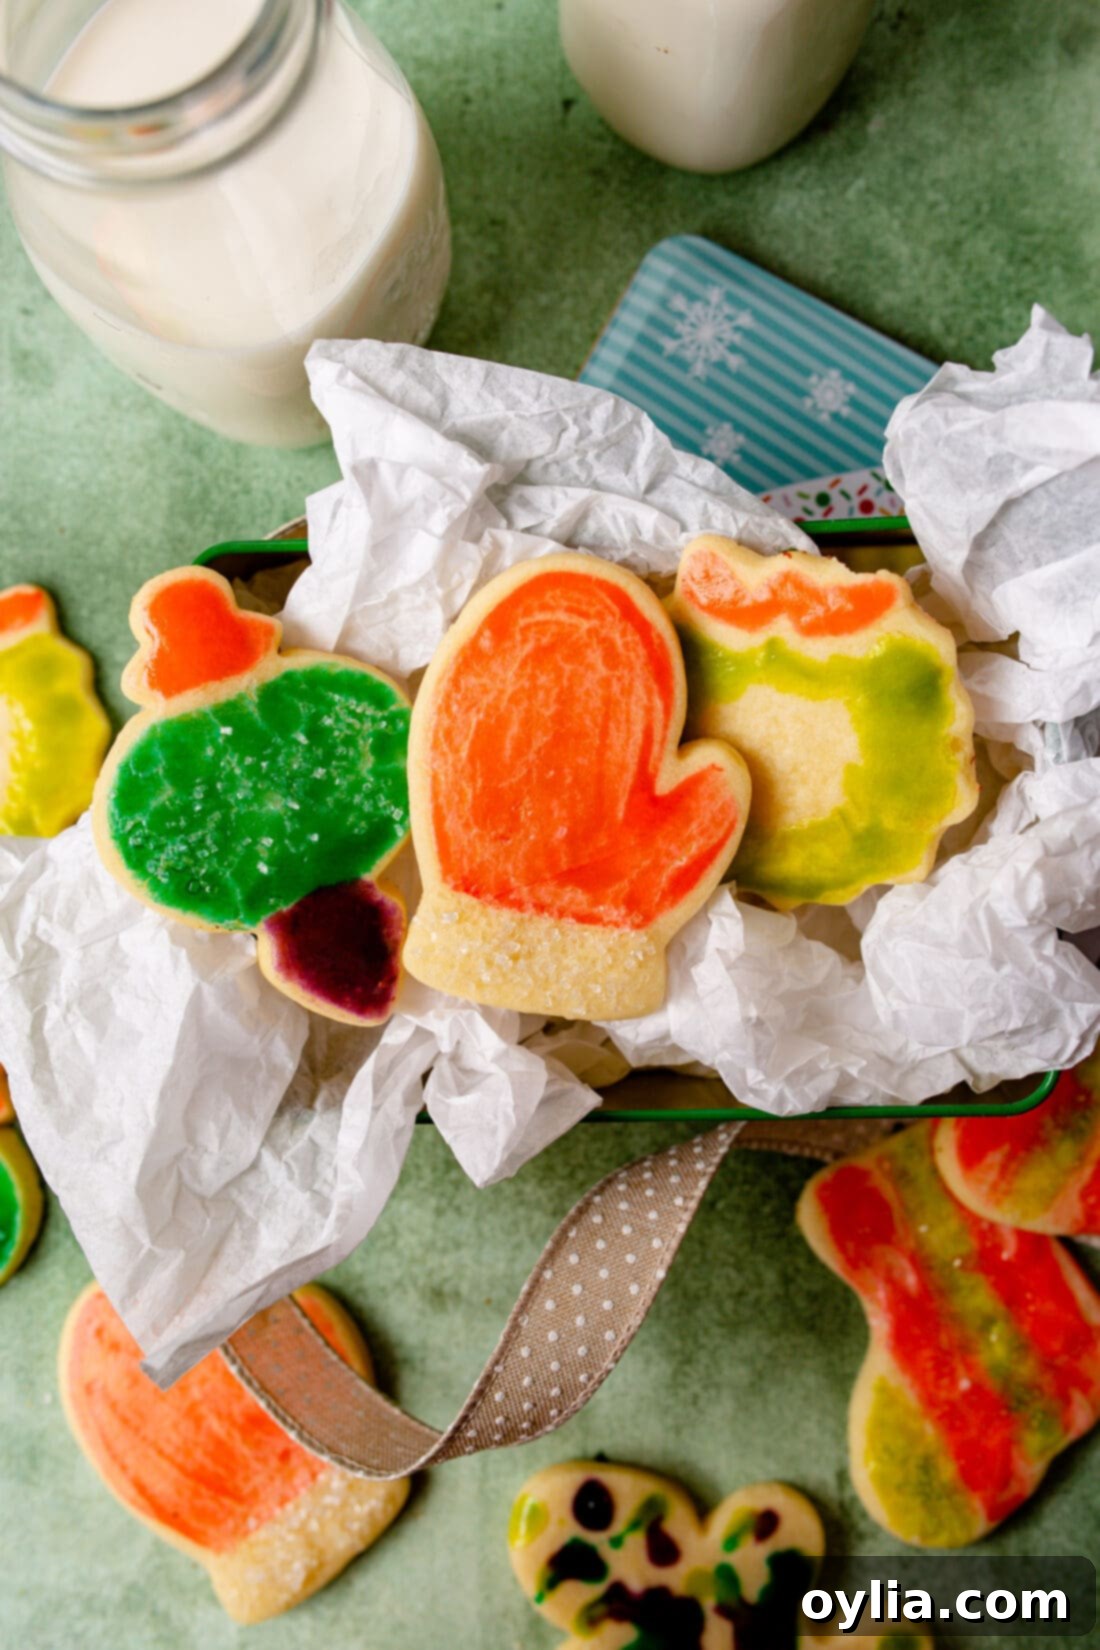
Step into a world of edible artistry with these delightful paintbrush cookies! More than just simple sugar cookies, these festive treats are brought to life with vibrant, easy-to-make egg yolk paint. It’s a wonderful, creative activity perfect for families, offering a unique way to bond with kids and start cherished holiday traditions this year. Imagine the joy on their faces as they transform plain cookies into colorful masterpieces, ready to be enjoyed or shared.
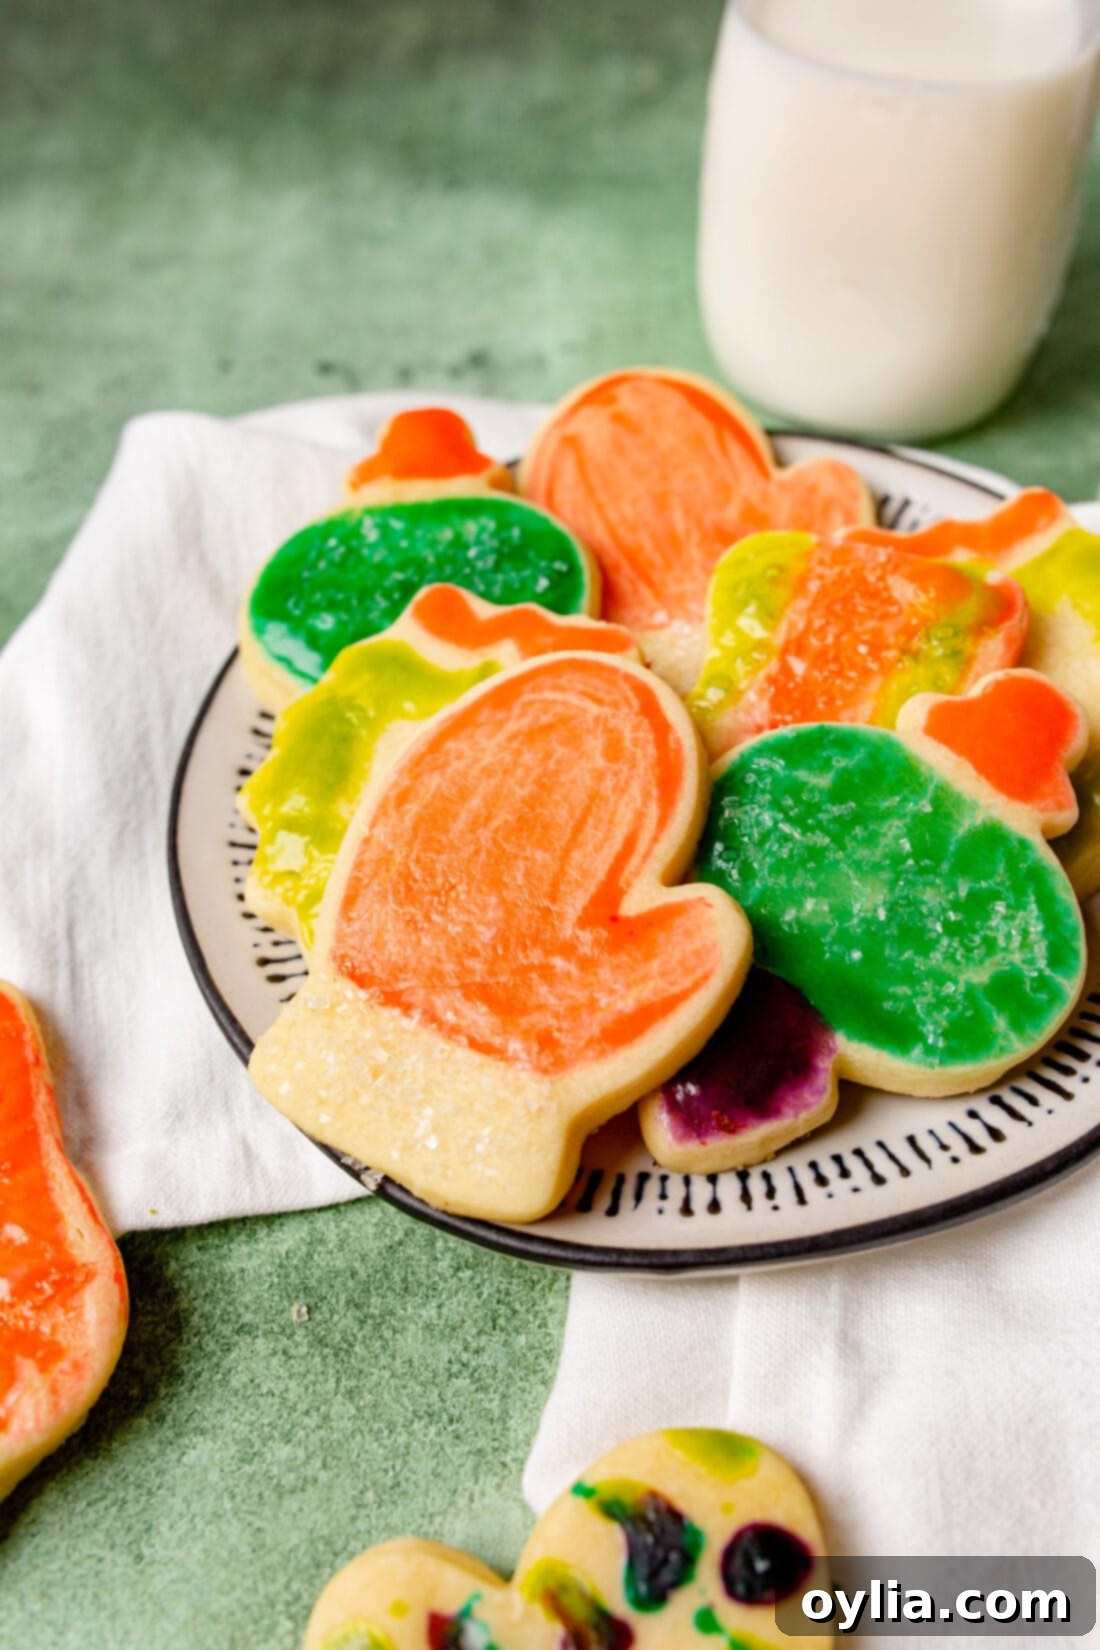
Why This Recipe Works: A Delicious Canvas for Creativity
What makes these cookies truly special and a guaranteed hit?
- Kid-Friendly Fun: This is an activity that transcends generations. Children absolutely adore painting these cookies. It encourages creativity, fine motor skills, and provides a wonderful opportunity for family bonding in the kitchen. They get to “play” with their food in the best possible way!
- Versatile for Any Occasion: While perfect for the holidays, these cookies aren’t limited to a specific season. Use heart-shaped cutters for Valentine’s Day, bunny shapes for Easter, spooky designs for Halloween, or even simple circles for birthday parties. The customizable paint allows you to match any theme or celebration.
- Simple Ingredients, Stunning Results: The sugar cookie dough is straightforward to prepare, and the egg yolk paint requires only two basic ingredients plus food coloring. This means less stress for the baker and more time for the fun part: decorating!
- Creating Cherished Traditions: I first learned of these delightful cookies from a reader who shared her family tradition of making them with her daughter every holiday season. This recipe, inspired by a classic Betty Crocker concept, is truly one that fosters lasting memories. Passing down such a fun and unique baking activity helps keep cherished traditions alive and creates new ones for future generations.
- Edible Gifts: Once decorated, these cookies make fantastic homemade gifts. Package them in decorative boxes or bags for friends, teachers, or neighbors. They’re not just tasty; they’re heartfelt, handmade expressions of care.
This recipe works because it combines the universally loved comfort of a sugar cookie with the pure joy of artistic expression, making every bite a celebration of creativity and togetherness.
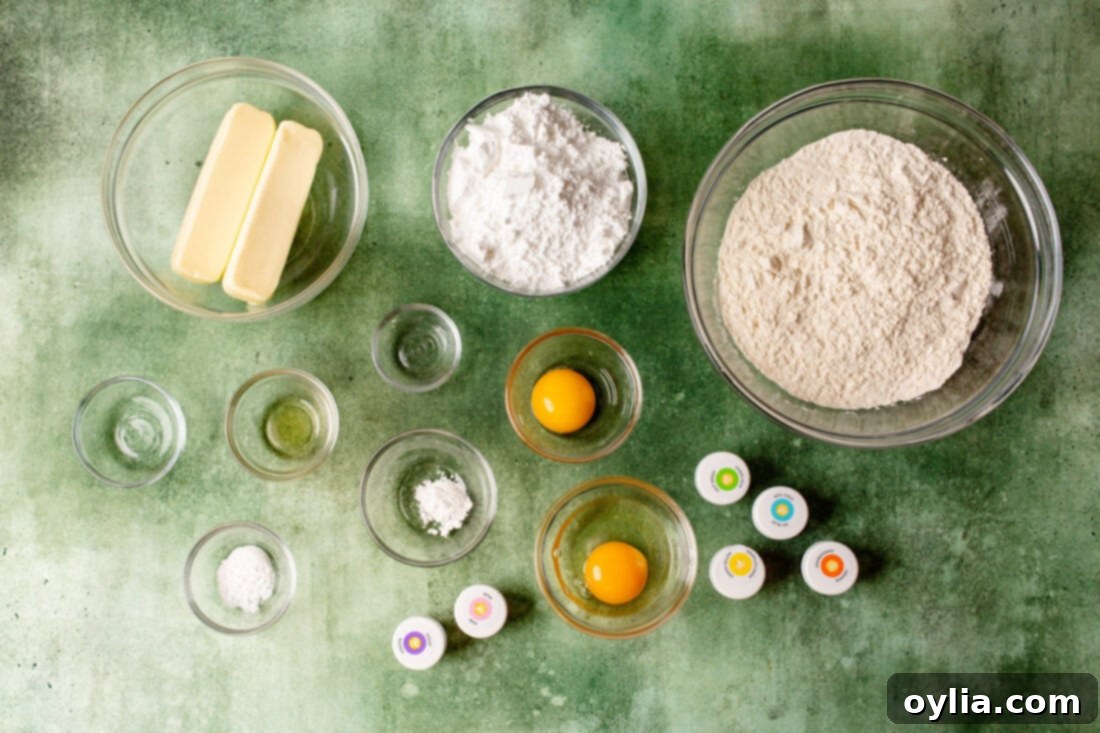
Ingredients You Will Need for These Colorful Cookies
Below, you’ll find a detailed breakdown of the ingredients required for both the delicious sugar cookie dough and the vibrant edible paint. For precise measurements and step-by-step instructions, please refer to the printable recipe card located at the end of this post.
2021: 12 DAYS OF CHRISTMAS COOKIES
12 Christmas cookies you will love, PLUS bonus baking tips!
Get the Christmas cookies cookbook! ONLY $9.97!!
Ingredient Info and Substitution Suggestions
Understanding your ingredients is key to successful baking. Here’s a closer look at what you’ll need and how you can make adjustments if necessary.
For the Cookie Dough:
Our recipe calls for a classic, easy-to-make sugar cookie dough, featuring a harmonious blend of powdered sugar, softened butter (or margarine for a dairy-free option), fragrant vanilla and almond extracts, all-purpose flour, cream of tartar, baking soda, and a single egg. This combination yields a tender, flavorful cookie that holds its shape beautifully after baking, providing the perfect canvas for your edible paint.
- Butter vs. Margarine: Softened butter adds rich flavor and a delightful texture. If you prefer, a good quality baking margarine can be used as a direct substitute. Ensure it’s at room temperature for smooth creaming.
- Flavor Extracts: Vanilla and almond extracts provide a wonderful depth of flavor. You can experiment with other extracts like lemon, peppermint, or even a touch of orange zest for seasonal variations.
- Powdered Sugar: Using powdered sugar instead of granulated sugar contributes to a finer, more tender crumb in your cookies, which is ideal for cut-out designs.
- Cream of Tartar & Baking Soda: These leavening agents work together to give the cookies a slight lift and a soft, chewy texture without making them spread too much.
- Store-Bought Dough Option: For those days when time is short, absolutely opt for store-bought refrigerated sugar cookie dough. It’s a fantastic shortcut that allows you to jump straight to the fun decorating part without compromising on the joy of the activity. Just follow the package instructions for baking before you start painting.
For the Edible Paint:
The magic happens with this simple, yet effective, egg yolk paint. You’ll need just three components to create your vibrant palette:
- Egg Yolk: The primary binder for our paint. It provides a smooth, brushable consistency and gives the colors a lovely sheen after baking. Make sure to separate it carefully from the egg white.
- Water: A small amount of water helps to thin the egg yolk to the perfect paint-like consistency. You may need to add a few extra drops if your paint thickens while sitting.
- Food Coloring: This is where the colors come to life!
- Gel Food Coloring is Highly Recommended: I strongly suggest using gel food coloring over liquid varieties. Gel colors are concentrated, meaning you need only a tiny amount to achieve rich, vibrant hues, and they won’t significantly alter the consistency of your paint. Liquid food coloring can be too watery and result in pale colors, requiring more drops that can thin the paint too much.
- Color Variety: Have a selection of colors on hand. Think reds, greens, blues, yellows for primary options, and remember you can mix them to create custom shades!
Having these ingredients ready will ensure a smooth and enjoyable cookie decorating session!
How to Make Paintbrush Cookies: A Step-by-Step Guide
These step-by-step photos and instructions are here to help you visualize how to make this recipe successfully. For a comprehensive, printable version of this recipe, complete with all measurements and instructions, you can Jump to Recipe at the bottom of this page.
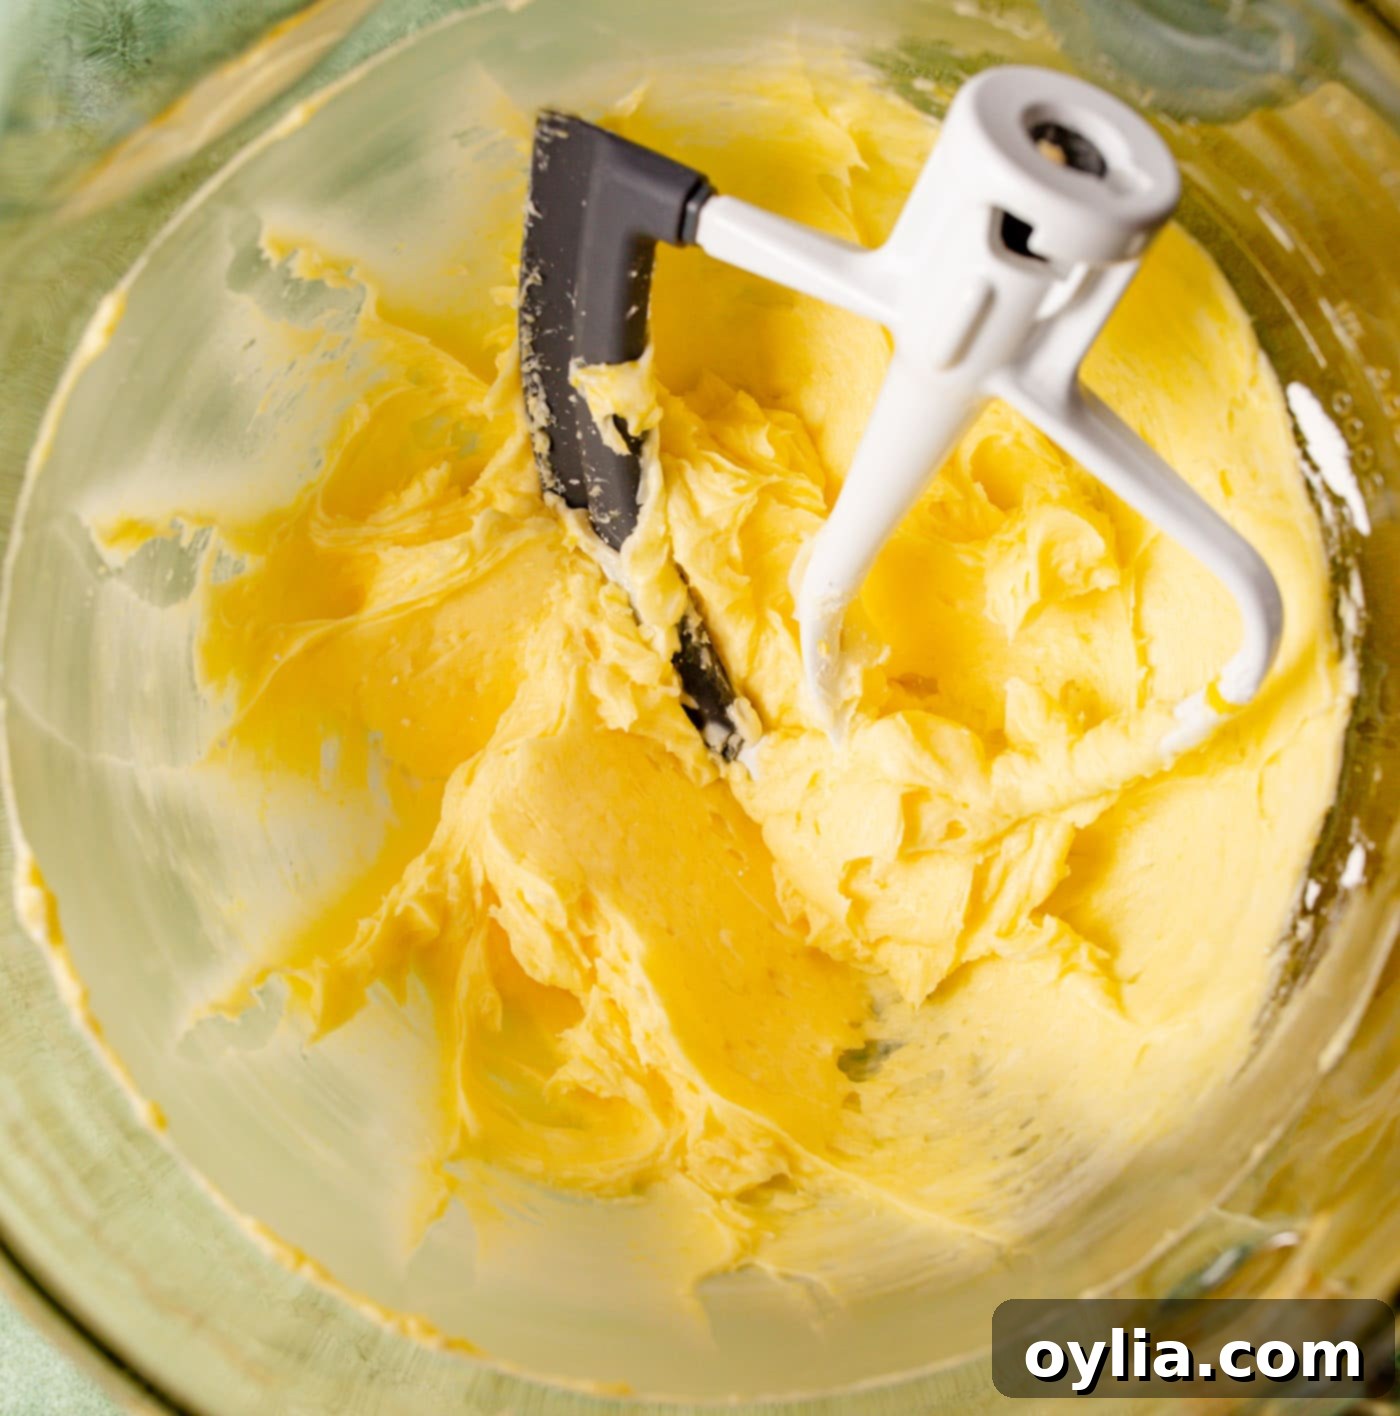
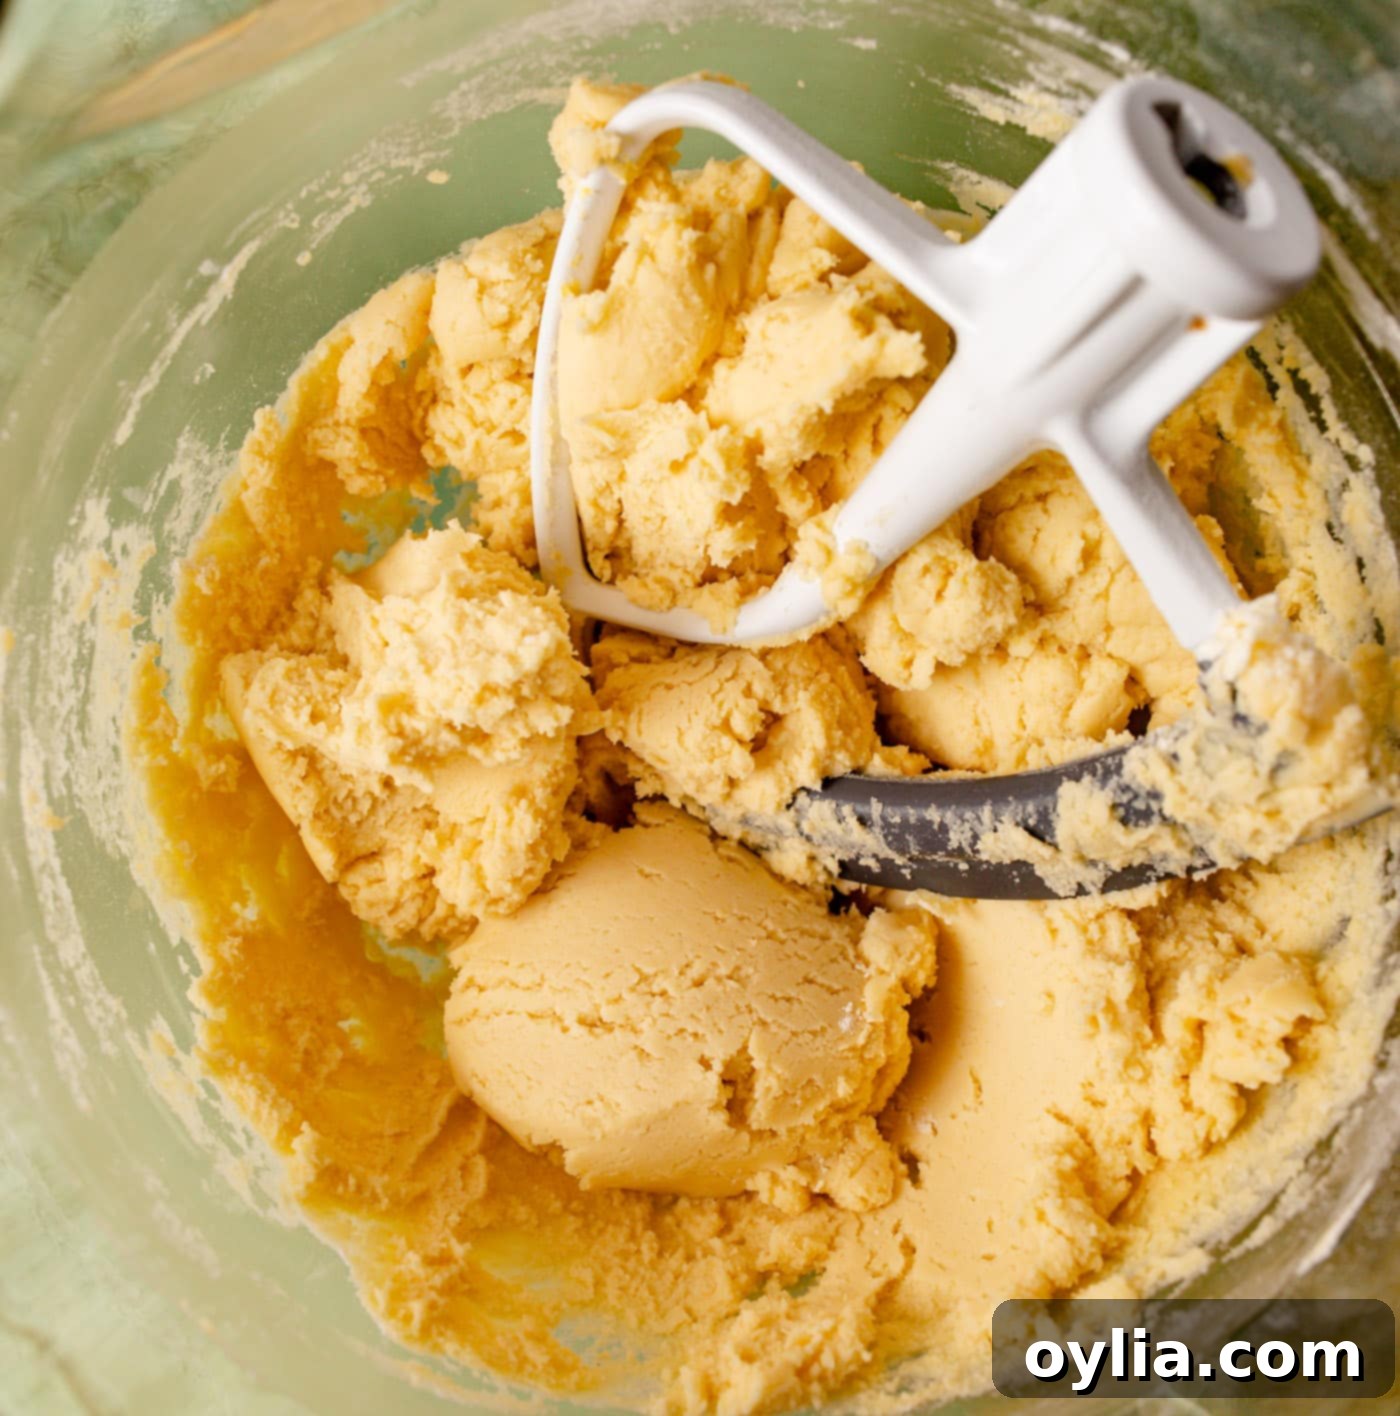
- Prepare the Cookie Dough: In a large bowl of your stand mixer, combine the powdered sugar, softened butter, vanilla extract, almond extract, and the egg. Using a paddle attachment, beat these ingredients on low speed until they are light, fluffy, and well combined. This creaming process incorporates air, contributing to the cookies’ tender texture. Once creamy, gradually add the dry ingredients: all-purpose flour, baking soda, and cream of tartar. Mix on low until just combined, being careful not to overmix, as this can develop the gluten too much, resulting in tough cookies. The dough should come together but still be soft.

- Chill the Dough: Once the dough is well combined, form it into a disk, cover it tightly with plastic wrap, and refrigerate for 2 to 3 hours. Chilling is a crucial step for cut-out cookies as it firms up the butter, preventing the cookies from spreading excessively in the oven and ensuring your intricate designs hold their shape. It also makes the dough much easier to handle and roll.

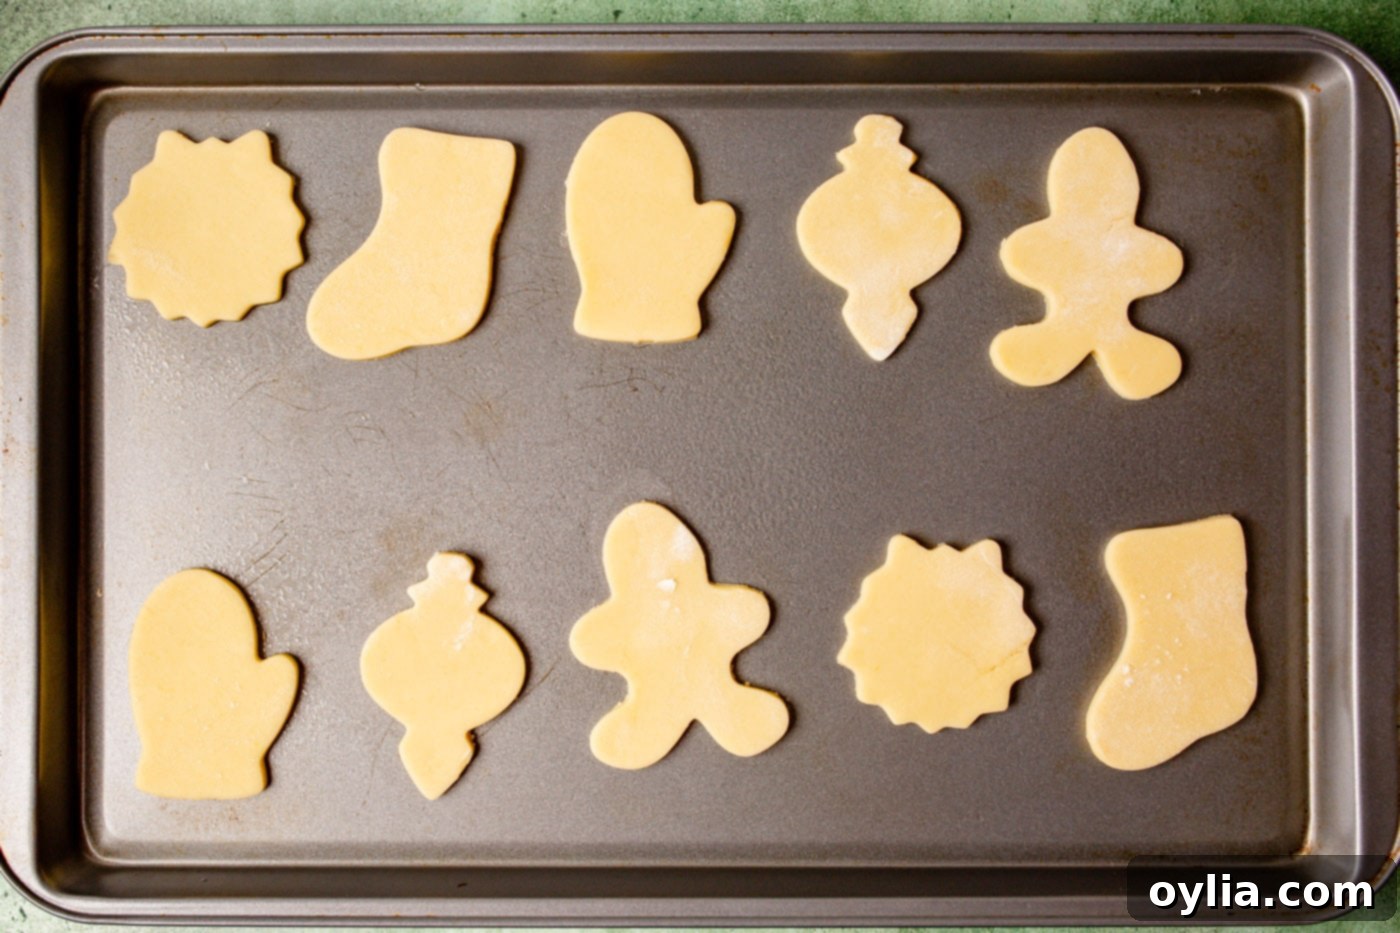
- Roll and Cut the Cookies: Preheat your oven to 375°F (190°C). Prepare your cookie sheets by lightly greasing them with shortening or lining them with parchment paper for easy removal and cleanup. On a lightly floured surface (or between two sheets of parchment paper), roll the chilled dough to an even thickness of about 3/16 inch. This uniform thickness is essential for even baking. Use your favorite cookie cutters to create fun, festive shapes. Carefully transfer the cut-out cookies to the prepared baking sheets, ensuring they are spaced approximately 2 inches apart to allow for slight expansion during baking.

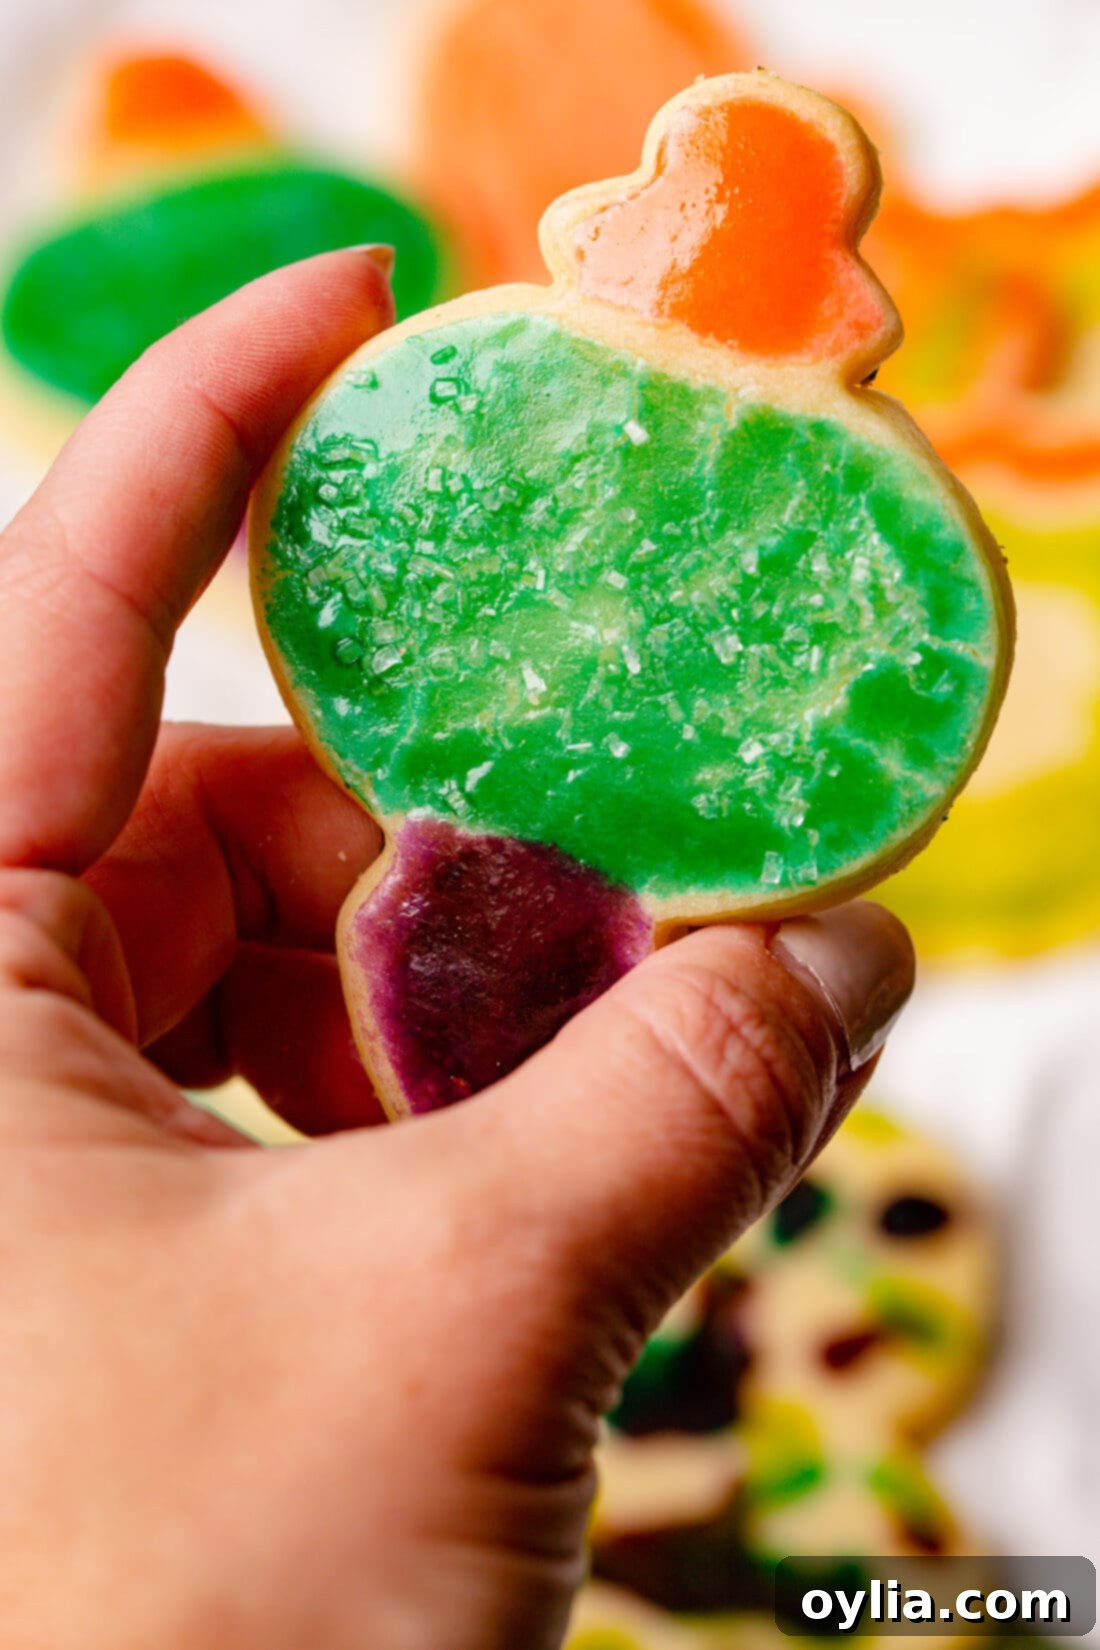
- Prepare and Apply the Paint: In a small bowl, whisk together the egg yolk and 1/4 teaspoon of water until smooth. This is your base paint. Divide this mixture among several smaller bowls – one for each color you wish to use. Add a tiny drop of gel food coloring to each bowl and mix thoroughly until you achieve your desired bright, vibrant shades. Remember, a little gel goes a long way! If your paint starts to thicken while you’re decorating, simply stir in a few more drops of water. Using small, clean paintbrushes (designated for food use!), let your creativity flow as you paint unique designs onto each unbaked cookie. For extra sparkle and texture, sprinkle with edible glitter or decorative sprinkles immediately after painting, before the egg wash sets.

- Bake and Cool: Carefully place the decorated cookies into your preheated oven. Bake for 7 to 8 minutes, or until the edges are lightly golden brown. Keep a close eye on them, as baking times can vary slightly depending on your oven and the thickness of your cookies. Once baked, remove the cookie sheet from the oven and let the cookies rest for a minute or two before transferring them to a wire rack to cool completely. Cooling on a rack ensures air circulation, preventing the bottoms from becoming soggy and helping the paint to fully set.
Frequently Asked Questions & Expert Tips
Paintbrush cookies are best enjoyed fresh, but they will last for about 5 days when stored in an airtight container at room temperature. To maintain their beautiful colors and crispness, avoid refrigerating baked cookies unless absolutely necessary. For longer storage, you may freeze the unbaked dough (without designs or paint) for up to 3 months. Thaw in the refrigerator overnight before rolling and decorating.
It’s essential to use clean, food-safe paintbrushes. You can purchase sets specifically designed for food decorating from craft stores or baking supply shops. Look for brushes with soft bristles that are easy to clean. Avoid using brushes that have been used with actual paint or chemicals.
While you certainly can decorate sugar cookies with royal icing or other frostings, the egg yolk paint is what defines “paintbrush cookies.” The egg yolk paint provides a unique translucent sheen and integrates into the cookie as it bakes, creating a smooth, art-like finish. Royal icing sits on top and provides a different texture and look. If you want the authentic paintbrush cookie experience, stick with the egg yolk paint!
The secret to vibrant colors lies in using gel food coloring. It’s much more concentrated than liquid food coloring and provides intense hues without thinning your paint too much. Start with a tiny drop and mix thoroughly, adding more as needed until you achieve your desired shade. Remember that the color will intensify slightly when baked.
Make it a fun, low-pressure activity! Set up a dedicated “cookie art station” with all the supplies ready. Cover the work surface to catch spills. Give each child their own small bowls of colored paint and a few brushes. Encourage free expression rather than perfection. Have plenty of sprinkles nearby for extra fun. And don’t forget to take photos of their masterpieces before they disappear!
Serving Suggestions & Creative Ideas
The beauty of paintbrush cookies lies in their incredible versatility! There are truly endless ways to get creative with their decoration and presentation. Here are some ideas to inspire you:
- Themed Celebrations:
- Holidays: Beyond Christmas, think pastel colors and bunny shapes for Easter, spooky themes and black/orange paint for Halloween, or red, white, and blue for patriotic holidays.
- Birthdays: Cut cookies into numbers, letters, or shapes matching the birthday person’s favorite hobbies or characters. Let guests decorate their own for a fun party activity!
- Seasonal Fun: Use leaf cutters and autumnal colors for Fall, flower shapes and bright colors for Spring, or snowflake designs and cool tones for Winter.
- Cookie Decorating Station: Elevate your next gathering by setting up a dedicated cookie decorating station. Bake the cookies in advance, then lay out an assortment of egg wash paint colors in small dishes, along with various small paintbrushes and a generous selection of sprinkles, edible glitters, and even small candies. This provides a wonderfully interactive activity for both children and adults, allowing everyone to unleash their inner artist.
- Thoughtful Gifts: Hand-decorated cookies make incredibly personal and charming gifts. Once cooled, arrange them in a pretty box, tie with a ribbon, and add a handmade tag. They’re perfect for teachers, neighbors, hostess gifts, or as a sweet surprise for loved ones.
- Dessert Platters: Include these colorful, homemade cookies on your next dessert platter alongside other treats. Their vibrant appearance will add a festive touch and visual appeal to any spread.
No matter how you choose to serve or share them, these paintbrush cookies are sure to bring smiles and spark creativity!
More Delightful Cookie Recipes to Try
If you loved making these paintbrush cookies, you’ll surely enjoy exploring other fantastic cookie recipes. Here are some of our favorites:
- Classic Gingerbread Cookies
- Festive Christmas Kiss Cookies
- Beautiful Stained Glass Cookies
- Rich Chocolate Thumbprint Cookies
- Easy Decorated Sugar Cookies
- Buttery Danish Butter Cookies
I love to bake and cook and share my kitchen experience with all of you! Remembering to come back each day can be tough, that’s why I offer a convenient newsletter every time a new recipe posts. Simply subscribe and start receiving your free daily recipes!
Paintbrush Cookies
IMPORTANT – There are often Frequently Asked Questions within the blog post that you may find helpful. Simply scroll back up to read them!
Print It
Pin It
Rate It
Save ItSaved!
Ingredients
- 1 ½ cup powdered sugar
- 1 cup butter softened. or margarine
- 1 tsp vanilla extract
- ½ tsp almond extract
- 1 egg
- 2 ½ cup all-purpose flour
- 1 tsp baking soda
- 1 tsp cream of tartar
Egg Yolk Paint
- 1 egg yolk
- ¼ tsp water
- gel food coloring in colors of your choice
Things You’ll Need
-
Stand mixer
-
Cookie cutters
-
paintbrushes
Before You Begin
- For the most vibrant colors, use gel food coloring.
- Chilling the dough is essential to prevent spreading and maintain cookie shape.
- Use clean, food-safe paintbrushes for decorating.
Instructions
-
In a large stand mixer bowl, combine powdered sugar, butter, vanilla, almond extract, and egg. Beat on low with a paddle attachment until creamy.
-
Add flour, baking soda, and cream of tartar. Mix until just combined. Cover and refrigerate the dough for 2 to 3 hours.
-
Preheat oven to 375°F. Lightly grease a cookie sheet or line with parchment paper. On a lightly floured surface, roll dough to 3/16 inch thick. Use cookie cutters to make designs and place them on the baking sheet about 2 inches apart.
-
In a small bowl, mix egg yolk and water. Divide into smaller bowls and tint each with a different gel food color. Paint designs onto cookies with small paintbrushes and add sprinkles if desired.
-
Bake for 7 to 8 minutes, or until edges are light brown. Transfer from the cookie sheet to a wire rack to cool completely.
Nutrition
The recipes on this blog are tested with a conventional gas oven and gas stovetop. It’s important to note that some ovens, especially as they age, can cook and bake inconsistently. Using an inexpensive oven thermometer can assure you that your oven is truly heating to the proper temperature. If you use a toaster oven or countertop oven, please keep in mind that they may not distribute heat the same as a conventional full sized oven and you may need to adjust your cooking/baking times. In the case of recipes made with a pressure cooker, air fryer, slow cooker, or other appliance, a link to the appliances we use is listed within each respective recipe. For baking recipes where measurements are given by weight, please note that results may not be the same if cups are used instead, and we can’t guarantee success with that method.
