Decadent Homemade Chocolate Cake Roll: The Ultimate Swiss Roll Recipe
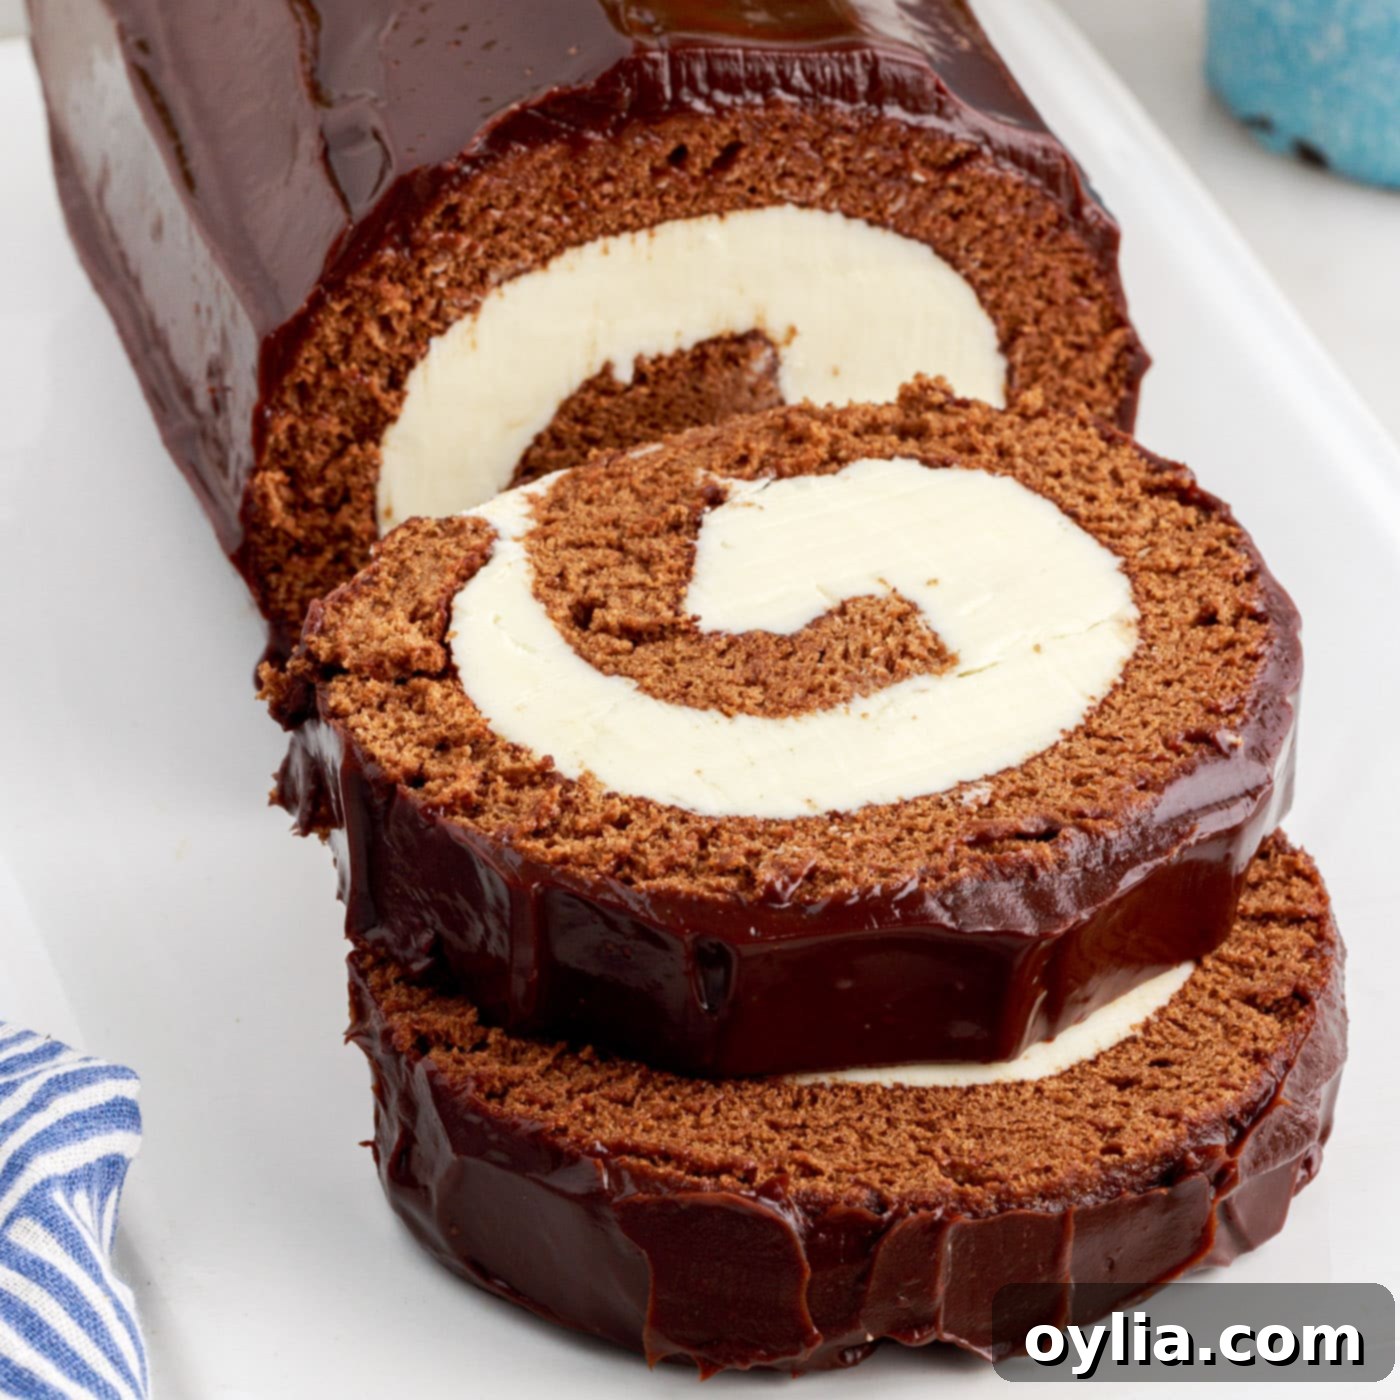
Prepare to impress with this spectacular homemade chocolate cake roll, often known as a Swiss roll or chocolate log cake. This recipe features a light and tender chocolate sponge cake, expertly swirled with a sweet, creamy buttercream filling, and generously topped with a luscious chocolate ganache. Every bite offers a rich, decadent experience that is both sophisticated and deeply satisfying. Whether you’re a seasoned baker or new to the world of roll cakes, our detailed guide will help you create a showstopping dessert that will delight family and friends alike.
Why This Chocolate Cake Roll Recipe is a Must-Try
This chocolate cake roll, known by various names such as Swiss log cake, Swiss cake roll, or simply chocolate roll cake, is a sophisticated take on the classic chiffon cake. What makes this recipe truly exceptional is the delicate balance of textures and flavors. We start with a remarkably pillowy and soft chocolate sponge cake, which is then generously layered with a rich, velvety buttercream. The cake is skillfully rolled to create its signature swirl, and finally, it’s crowned with a glistening chocolate ganache that adds an extra layer of indulgence. Just like a festive pumpkin roll, this chocolate rendition is designed to be a true centerpiece, promising to ‘wow’ your guests with its stunning appearance and unforgettable taste.
The secret to its success lies in careful attention to ingredients and technique. The use of cake flour ensures an incredibly tender crumb, while precisely whipped egg whites provide the essential lightness and elasticity needed for a crack-free roll. The coffee in the batter, a chef’s secret, subtly enhances the chocolate flavor without dominating it. Furthermore, our detailed instructions guide you through each step, from baking the perfect sponge to achieving a smooth, even roll and a flawless ganache. This isn’t just a dessert; it’s an experience, a labor of love that results in pure, melt-in-your-mouth chocolate bliss.
Essential Ingredients for Your Perfect Chocolate Swiss Roll
To embark on this delightful baking journey, you’ll need a selection of quality ingredients for the tender chocolate sponge, the luscious buttercream filling, and the glossy chocolate ganache. A printable version with all precise measurements, ingredient details, and comprehensive instructions is conveniently located in the recipe card at the end of this post. For best results, ensure all your dairy and eggs are at room temperature unless otherwise specified, as this significantly impacts the texture and consistency of your batter and frosting.
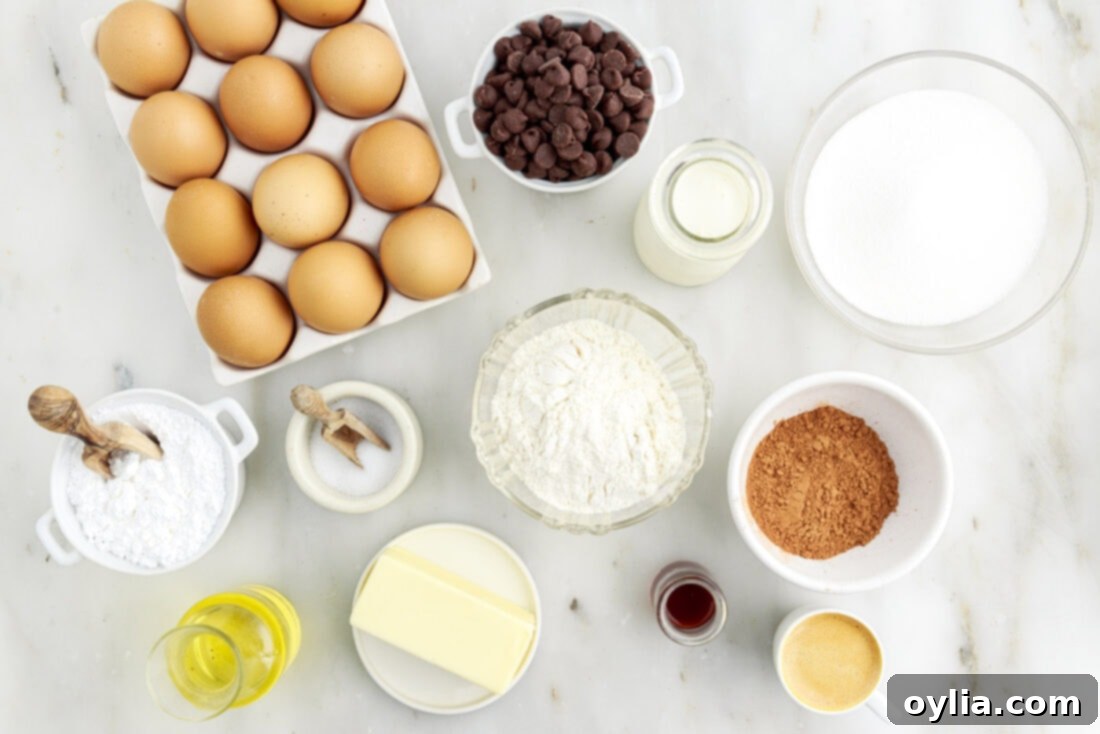
Ingredient Spotlight & Smart Substitutions
Understanding the role of each ingredient is key to baking success. Here’s a deeper dive into some of the core components of our chocolate cake roll:
FLOUR – Cake flour is genuinely critical for achieving the characteristic light, tender, and pliable texture of this chocolate cake roll. Its lower protein content results in less gluten development, which is essential for a soft sponge that won’t crack when rolled. If you opt to substitute with all-purpose flour, be aware that your cake will be notably denser, increasing the risk of it cracking during the rolling process. For best results and the authentic Swiss roll experience, stick to cake flour.
EGGS – Eggs are a powerhouse in this recipe, with the egg whites specifically providing the primary leavening. By whipping them to stiff, glossy peaks, we incorporate air, which creates a light and airy structure. These whipped whites are then gently folded into the batter, lending a remarkable lightness and aiding in the cake’s rise. For optimal volume and stability when whipping, always use room-temperature eggs (both whites and yolks). A standing mixer is highly recommended for whisking egg whites to perfection, though a hand mixer can also be used with a bit more time and effort.
COFFEE – Don’t let the inclusion of coffee surprise you! The strong coffee in this recipe is not meant to make the cake taste like coffee. Instead, it acts as a secret weapon to intensify and bring out the deep, rich chocolate flavor, making your chocolate sponge even more profound. Additionally, it contributes valuable moisture to the batter, ensuring a deliciously moist cake. If you prefer to omit coffee or simply don’t have it on hand, milk or water can be substituted without affecting the texture, though the chocolate flavor may be slightly less intense.
FILLING – The beauty of this Swiss roll lies in its versatility when it comes to the filling. While a classic vanilla buttercream is heavenly, you can easily customize it to your preference. Consider using a decadent chocolate buttercream for an all-out chocolate experience, or a light and airy sweetened whipped cream. If choosing whipped cream, we highly recommend using a homemade stabilized whipped cream. This prevents it from deflating and ensures your cake maintains its beautiful shape and creamy interior for longer. For an adventurous twist, you could even try a mint buttercream or a raspberry preserve filling.
Step-by-Step Guide: Crafting Your Chocolate Cake Roll
These step-by-step photos and instructions are designed to help you visualize each stage of making this delicious recipe. For a convenient printable version, complete with all measurements and detailed instructions, simply Jump to Recipe at the bottom of this post.
- **Prepare Your Pan:** Begin by preheating your oven to 350°F (175°C). This ensures the oven is at the correct temperature for even baking. Line a jelly roll pan (typically 10×15 inches) with parchment paper, allowing some overhang on the sides for easy removal. Spray the parchment paper lightly with nonstick baking spray to prevent any sticking. This critical first step sets the stage for a perfect, easy-to-release cake.
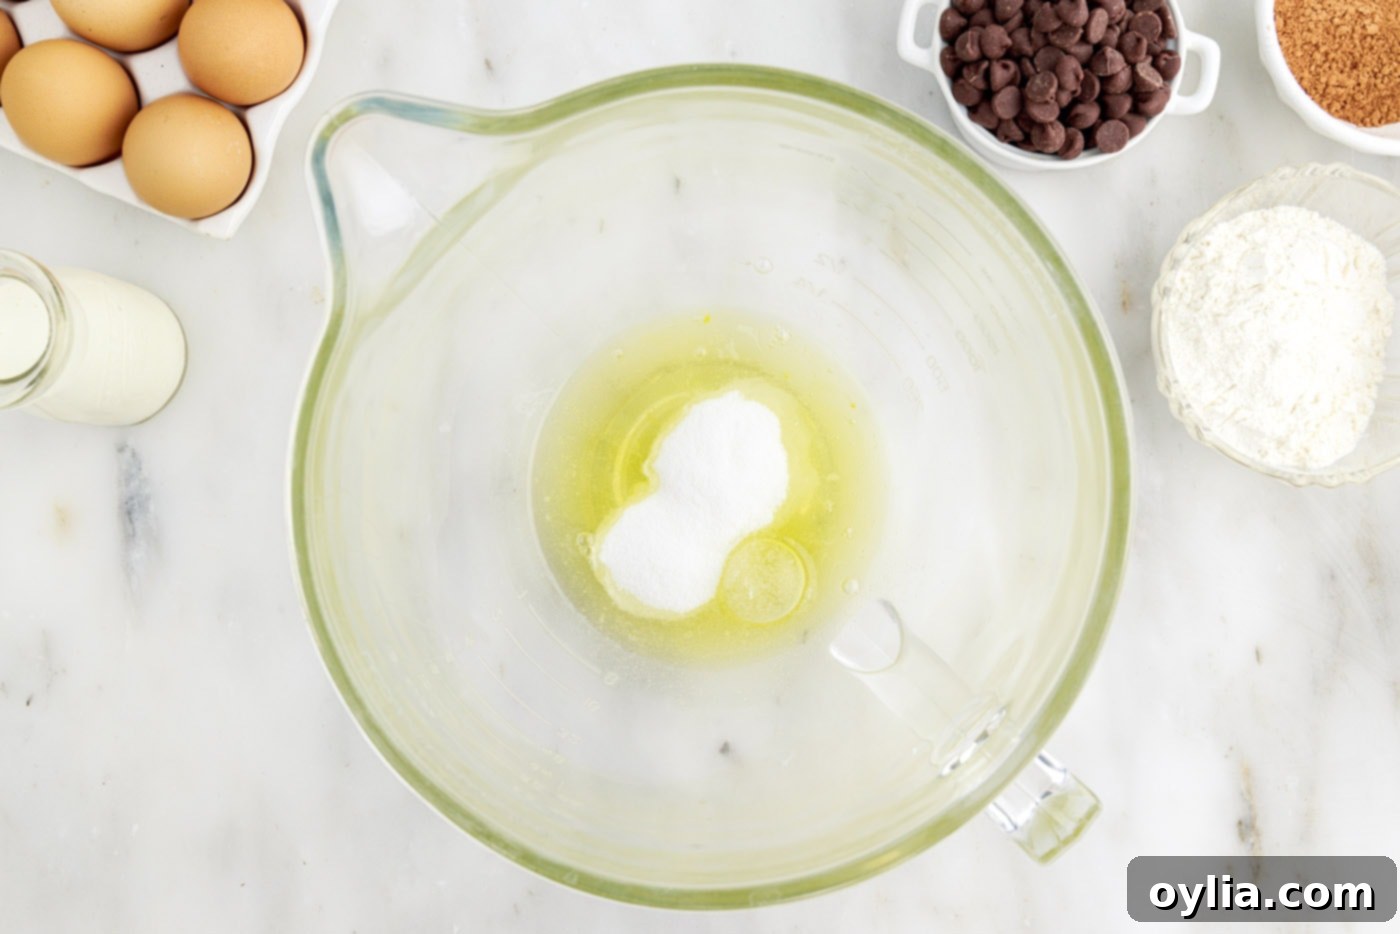
- **Whip Egg Whites to Stiff Peaks:** In the clean bowl of a standing mixer fitted with a whisk attachment (or using an electric hand mixer), combine the egg whites with 1⁄4 cup of granulated sugar. Whip on high speed for 5-7 minutes until the egg whites transform into stiff, glossy peaks. When you lift the whisk, the peaks should hold their shape without drooping. This aeration is crucial for the cake’s light texture.


- **Combine Egg Yolks and Sugar:** While the egg whites are whipping, in a separate large mixing bowl, whisk together the egg yolks and the remaining 1⁄2 cup of granulated sugar. Continue whisking for 1-2 minutes until the mixture becomes pale yellow and noticeably thickened. This process is called ribboning and ensures a smooth, emulsified base for your cake batter.
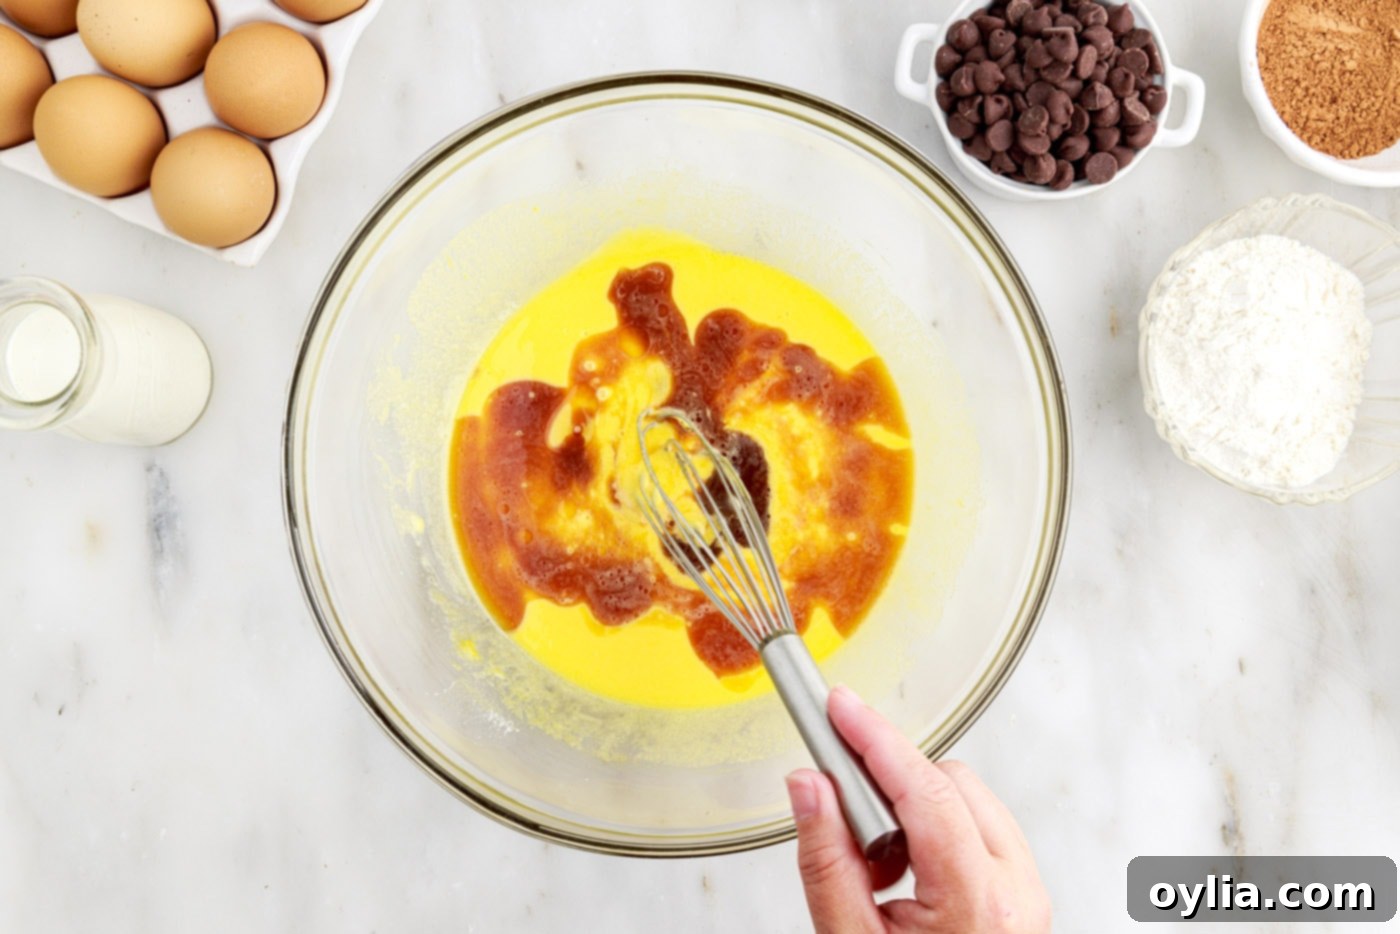
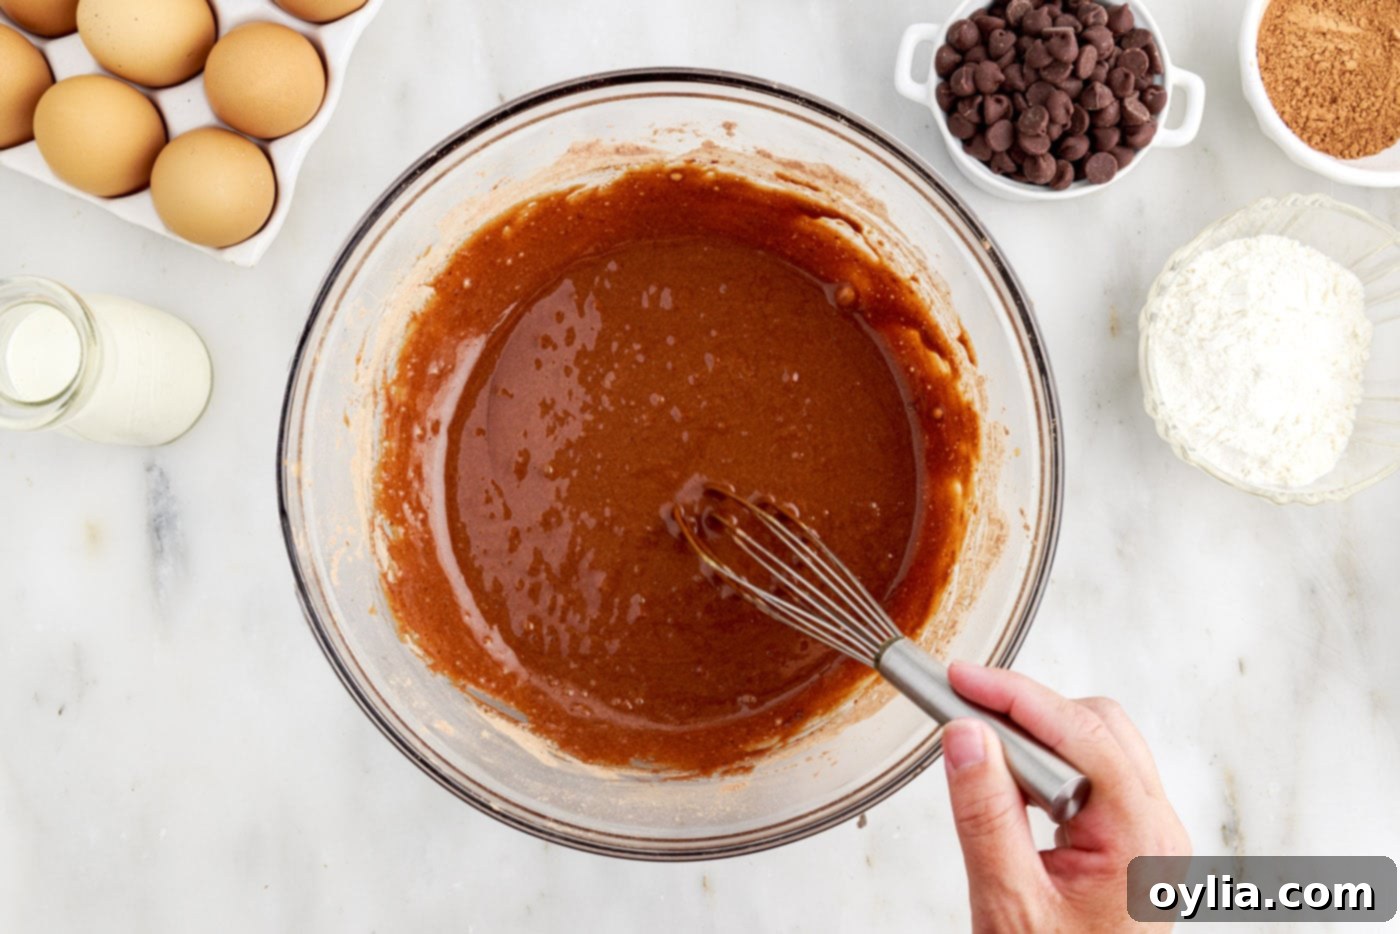
- **Add Wet Ingredients:** Into the thickened egg yolk mixture, whisk in the vanilla extract, vegetable oil, and strong coffee. Mix until thoroughly combined. The oil contributes to the cake’s moistness and flexibility, which is crucial for rolling without cracks.

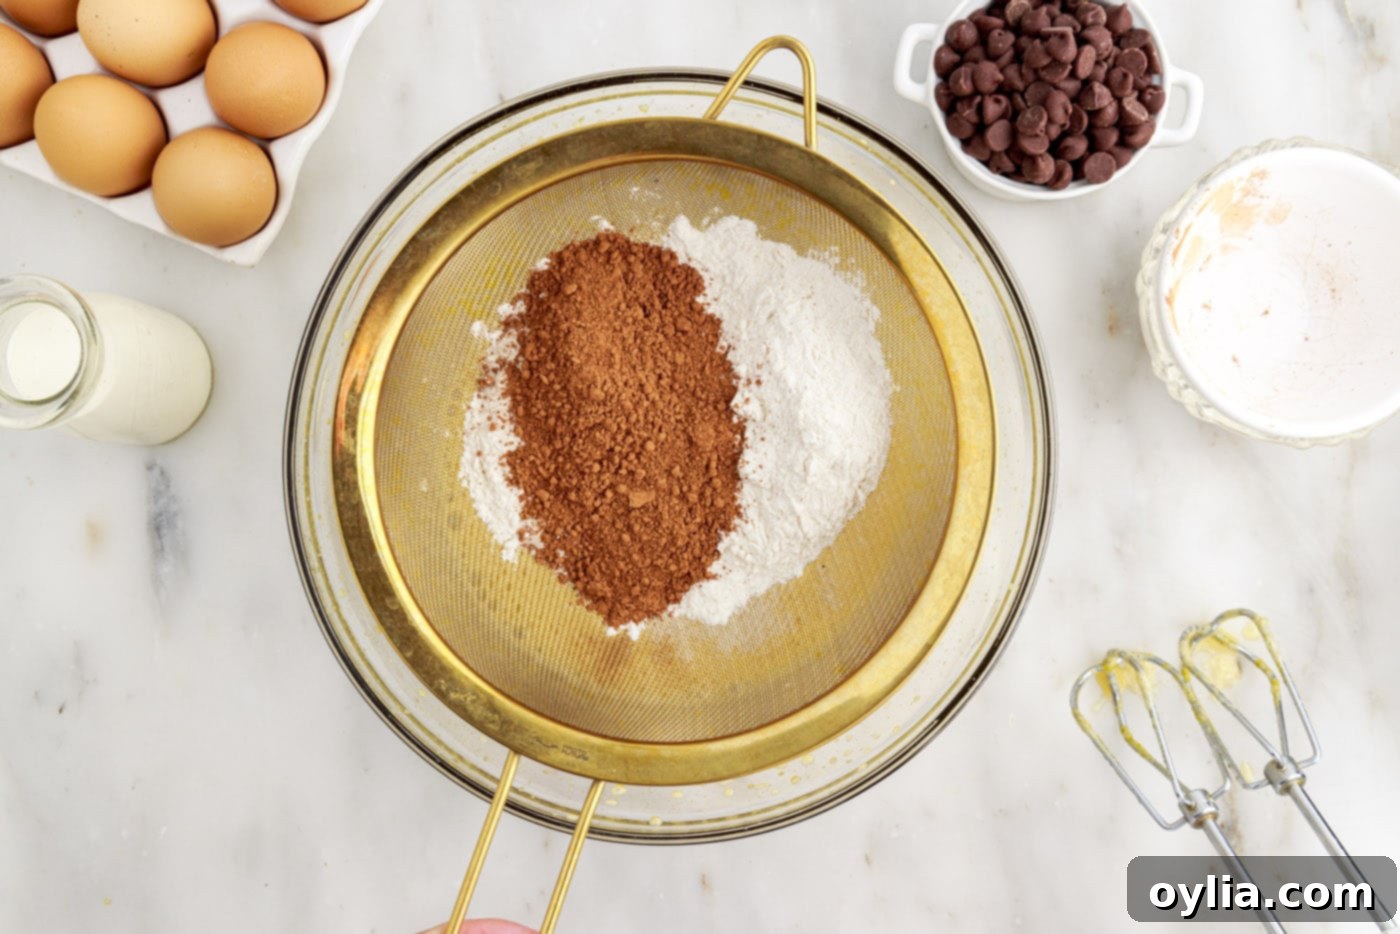
- **Incorporate Dry Ingredients:** Using a fine-mesh sieve, sift the cake flour, unsweetened cocoa powder, and salt directly into the egg yolk mixture. Sifting prevents lumps and ensures an even distribution of dry ingredients. Stir gently with a whisk or spatula until just combined. Be careful not to overmix, as this can develop gluten and lead to a tough cake.


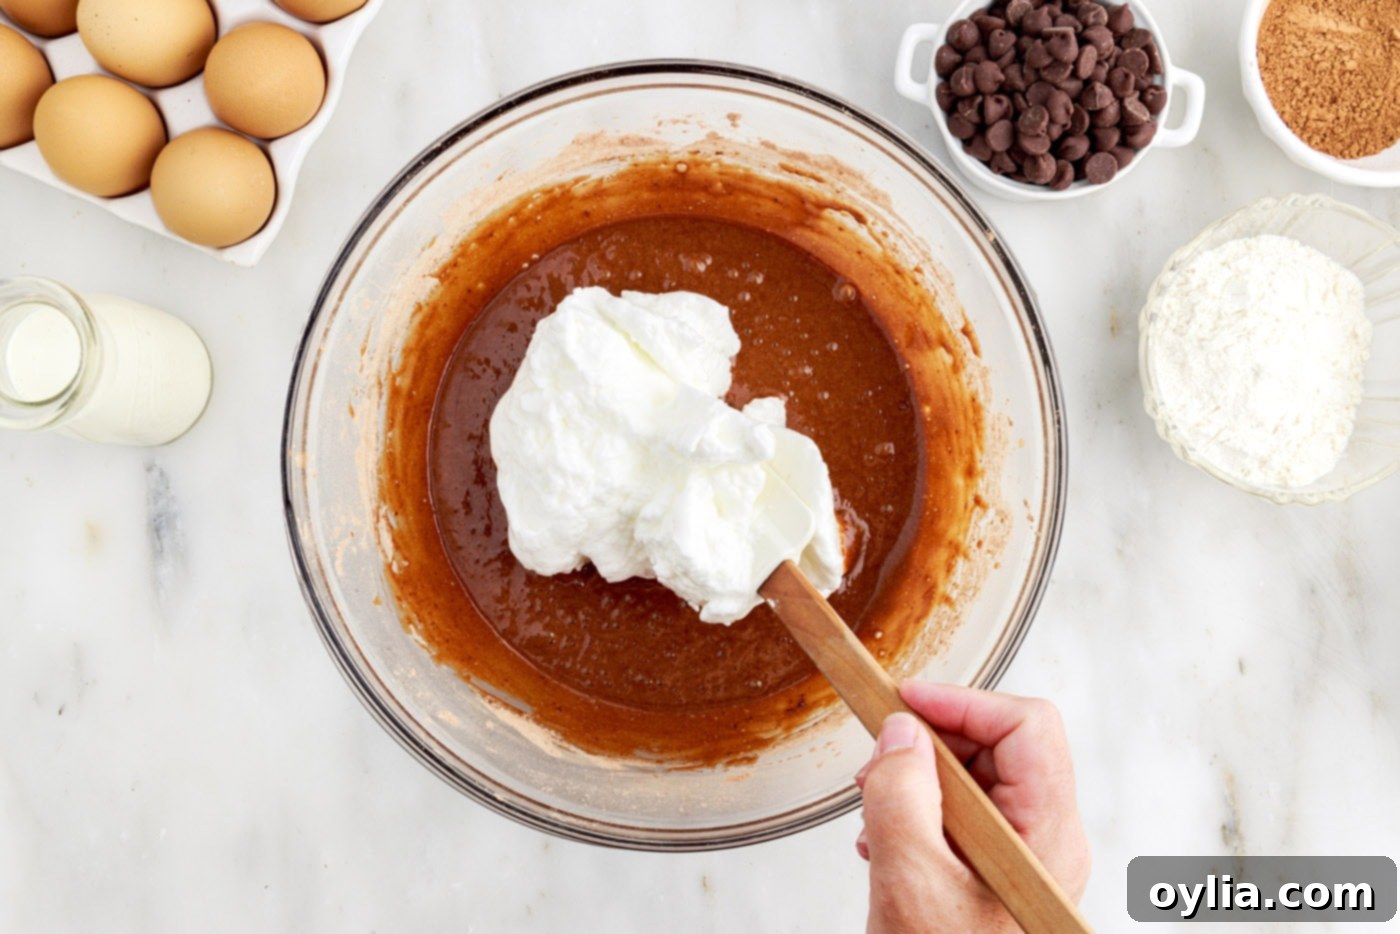
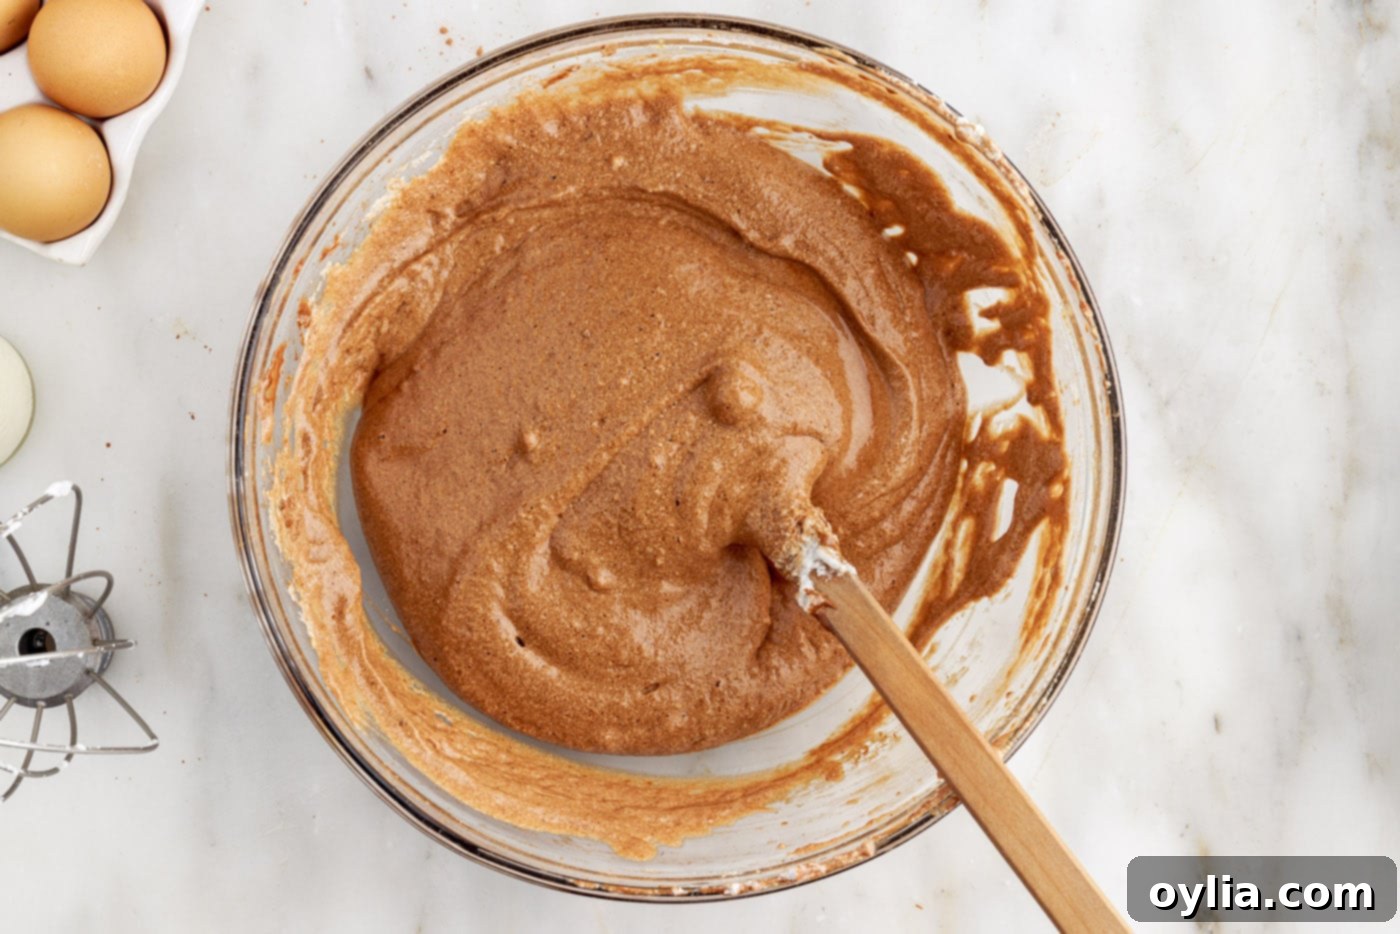
- **Fold in Egg Whites:** Add a third of the whipped egg whites to the chocolate batter and gently fold them in to lighten the mixture. Then, carefully fold in the remaining two-thirds of the egg whites. Use a rubber spatula and a gentle, ‘cut-and-fold’ motion, working from the bottom up, until most of the white streaks have disappeared. It’s vital to work gently to avoid deflating the air you’ve incorporated, which gives the cake its signature light texture.


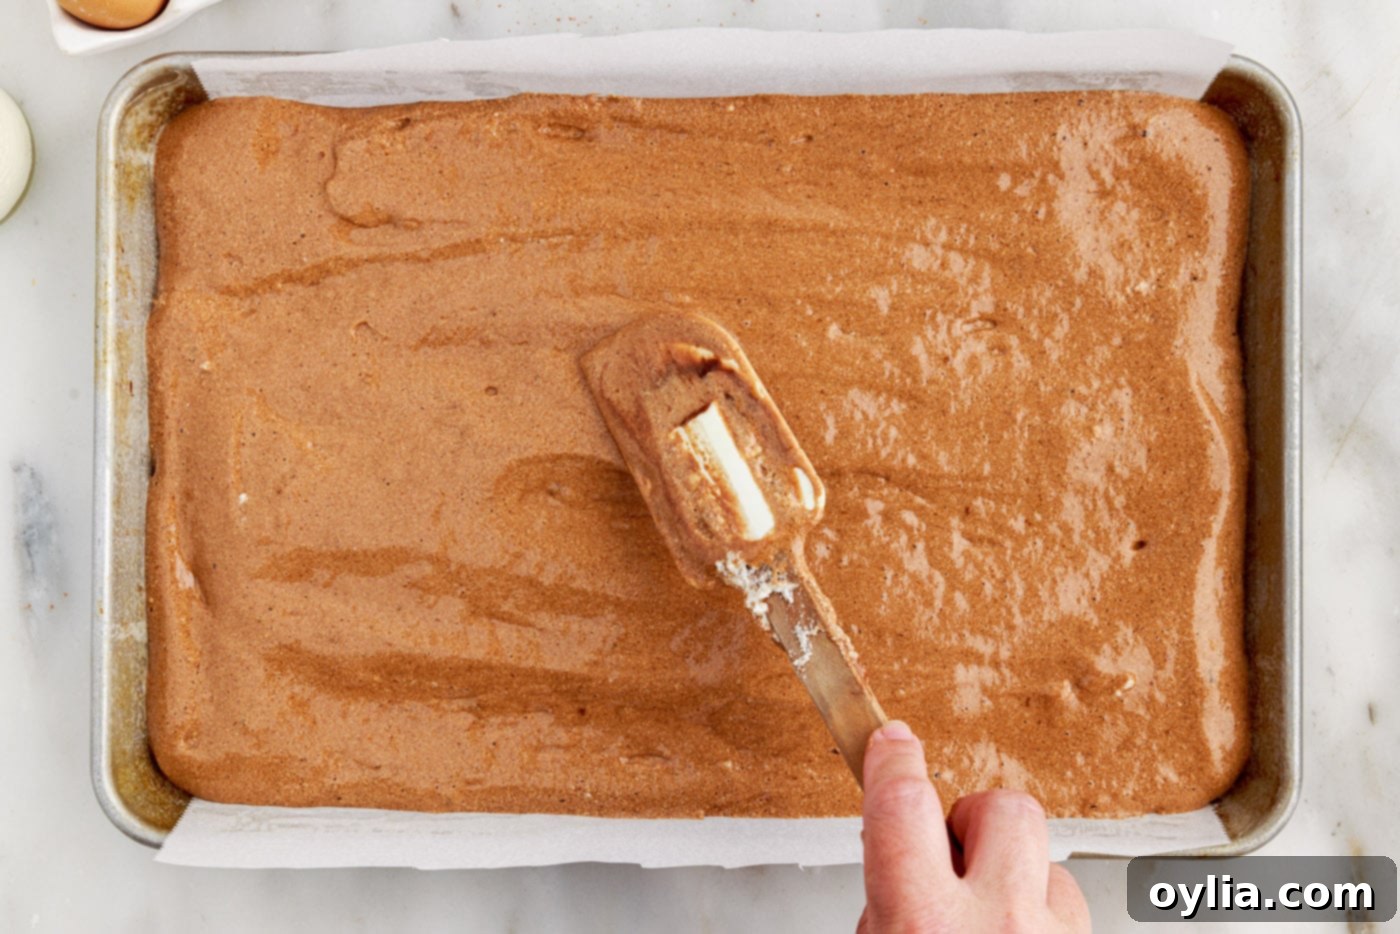
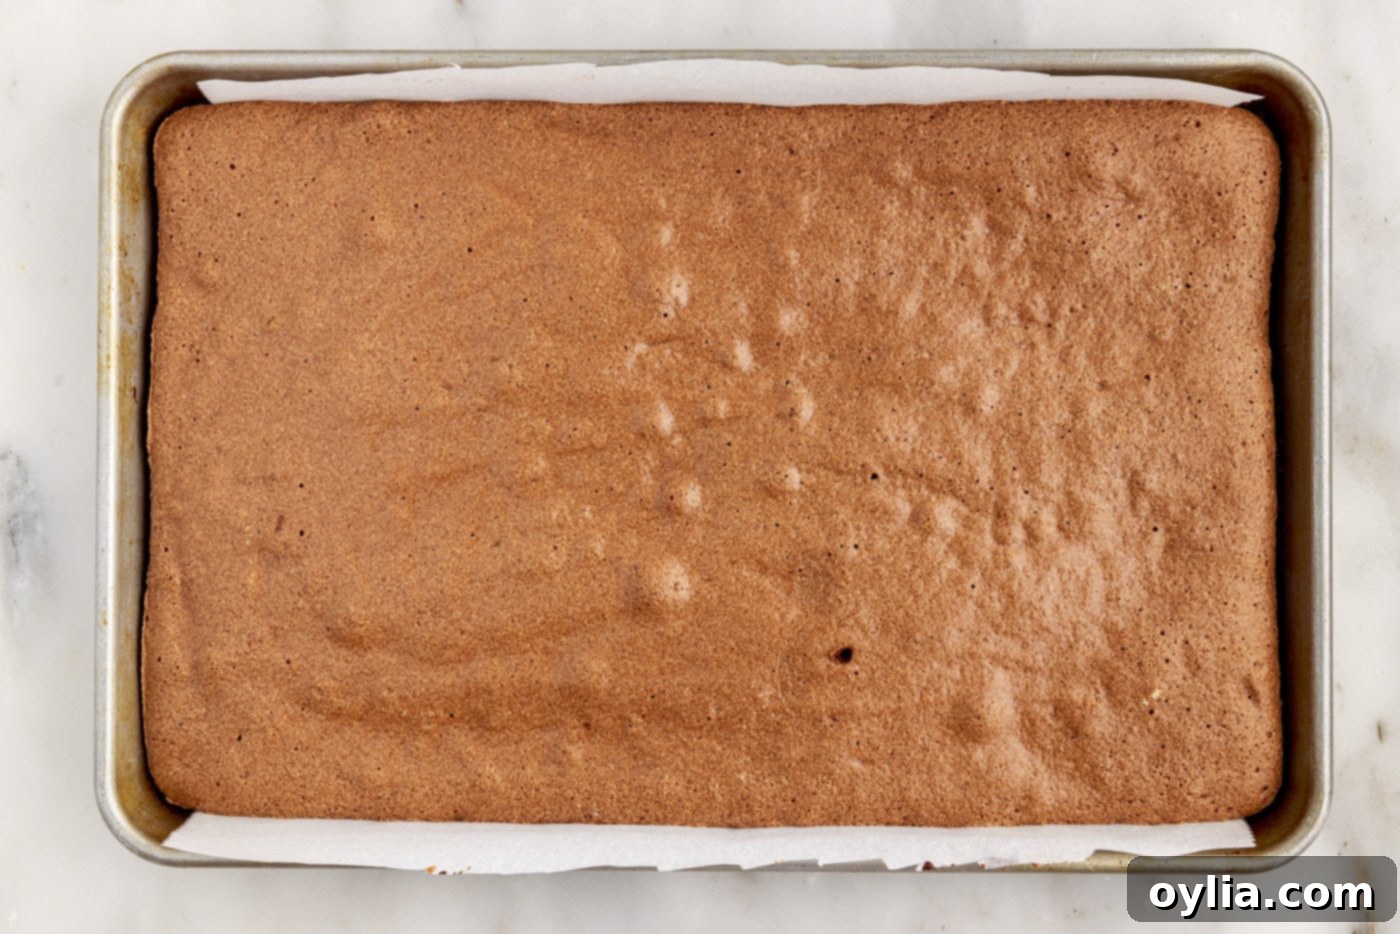
- **Bake the Cake:** Gently spread the fluffy chocolate batter evenly into your prepared jelly roll pan. Use an offset spatula to ensure a smooth, level surface, which will help the cake bake uniformly and roll easily.

- **Check for Doneness:** Bake for 13-15 minutes, or until the cake springs back lightly when touched and a toothpick inserted into the center comes out clean. Overbaking can lead to a dry cake that will crack when rolled, so keep a close eye on it.

- **Initial Cooling and Loosening:** Once baked, remove the cake from the oven and let it cool in the pan for just 3-5 minutes. This brief cooling period helps the cake firm up slightly. Then, run a thin knife around the edges of the pan to ensure the cake is completely loosened, preparing it for the rolling process.
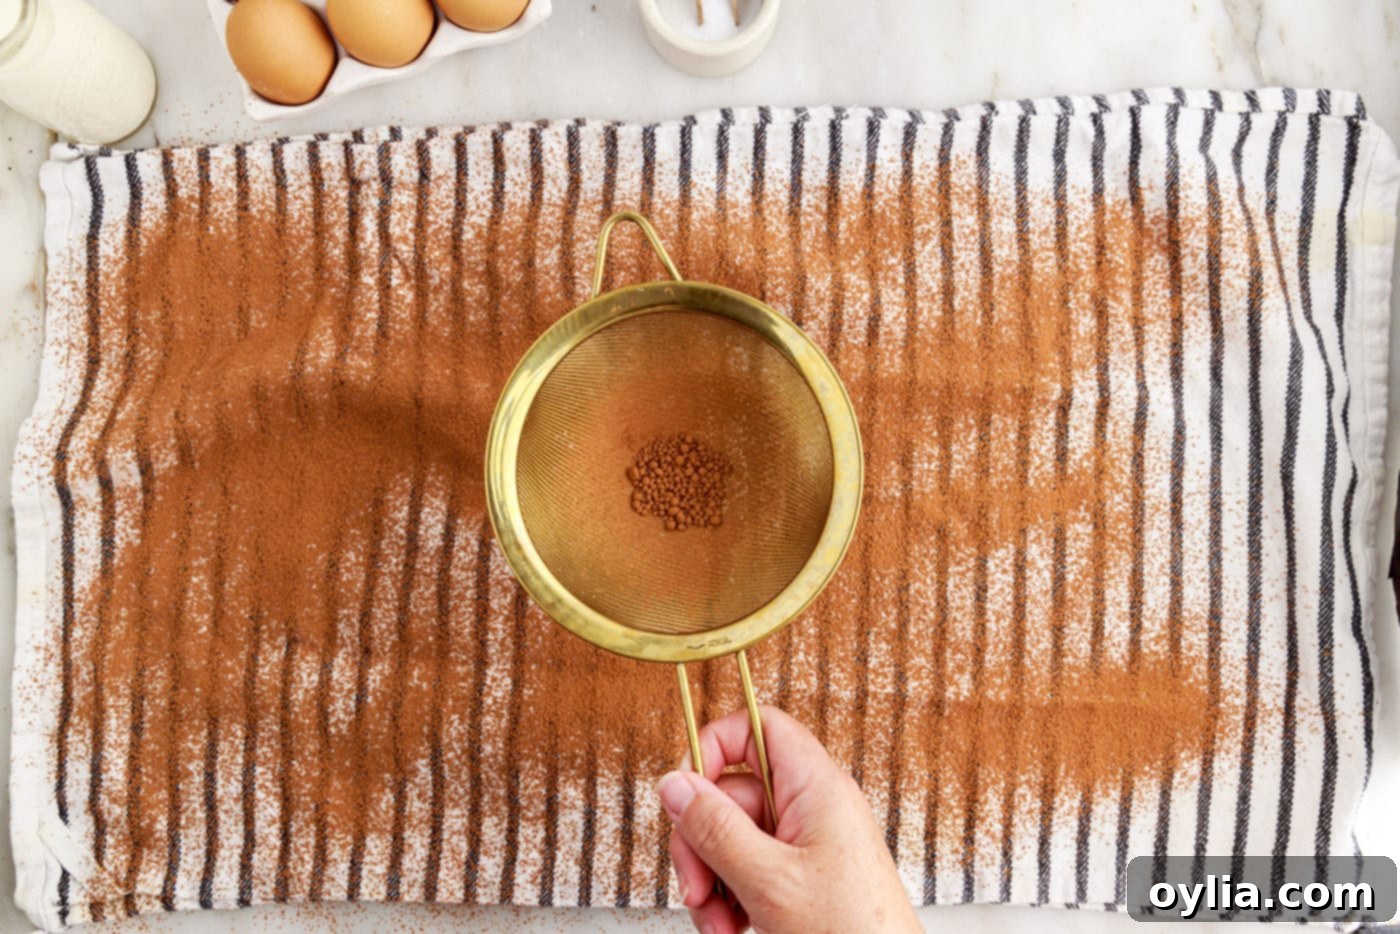
- **Prepare Your Rolling Surface:** Lay out a clean, lint-free kitchen towel or linen on your countertop. Lightly dust this towel with a thin, even layer of unsweetened cocoa powder. This dusting prevents the warm cake from sticking to the towel and adds an extra touch of chocolate flavor to the cake’s exterior.

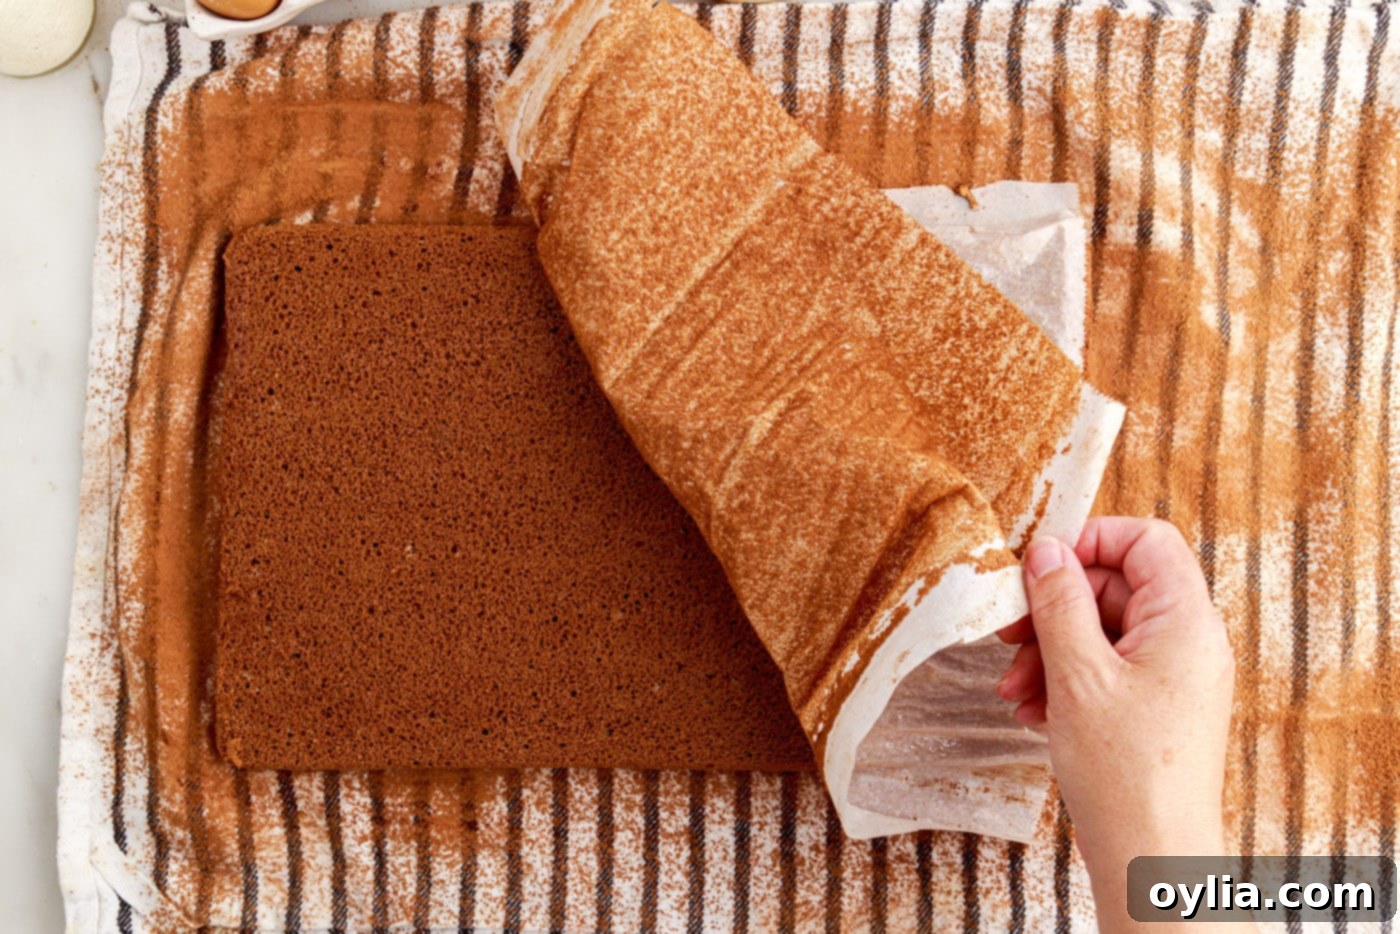
- **Invert and Peel:** Carefully invert the warm cake onto the prepared linen. Gently lift the jelly roll pan away. Slowly and delicately peel off the parchment paper from the cake. The cake should come off easily, leaving its smooth surface exposed. Dust the top of the cake with another light layer of cocoa powder. This second dusting helps with the rolling and adds more flavor.

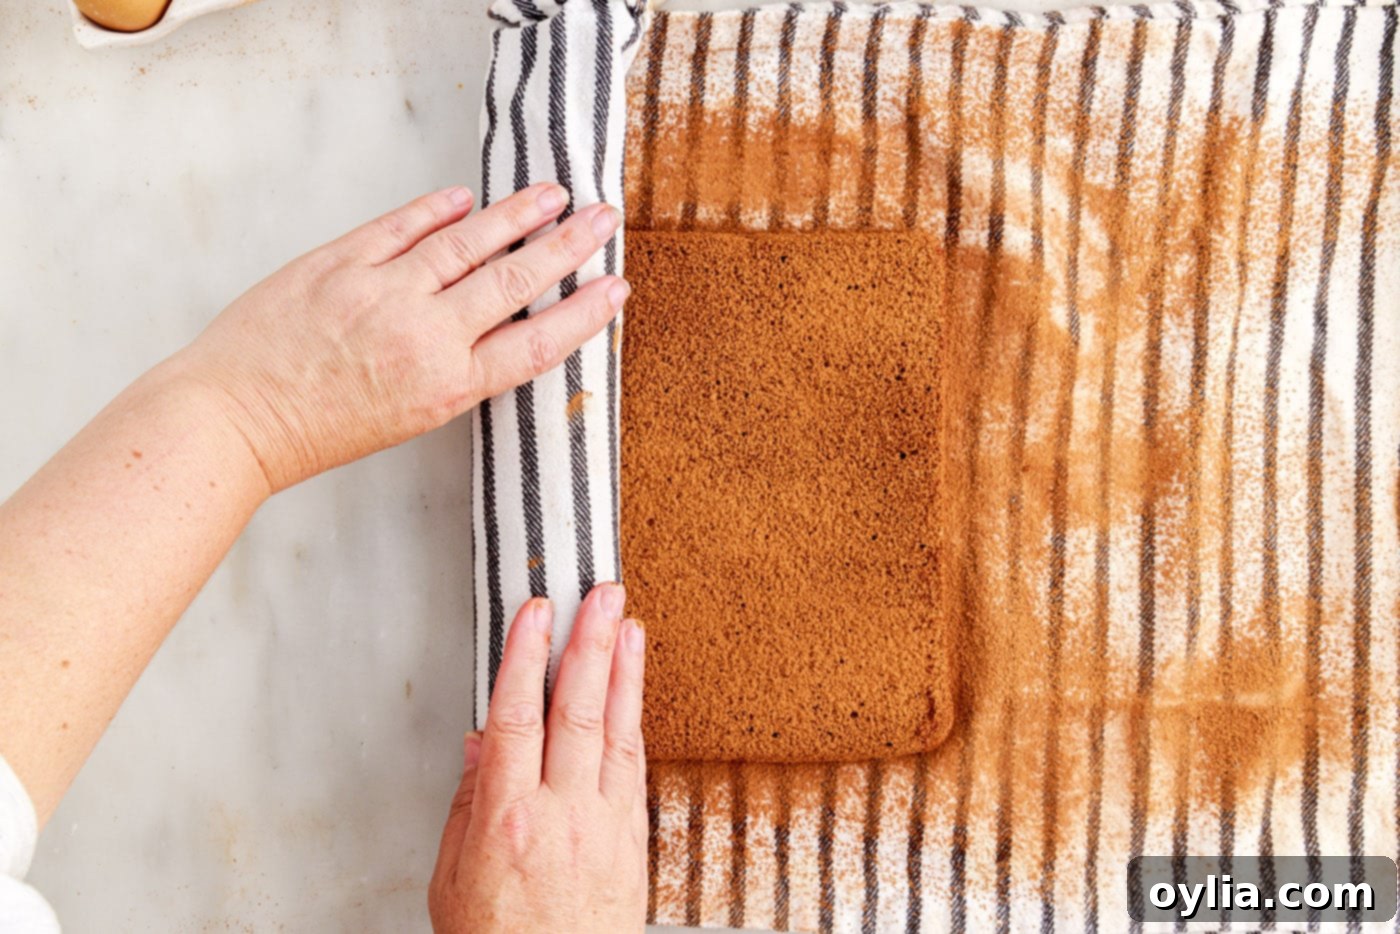
- **The Initial Roll:** Working from one of the shorter sides, slowly and carefully roll the warm cake, along with the linen, into a tight log. The linen will be rolled inside the cake. This step is crucial for training the cake to hold its rolled shape without cracking. Place the rolled cake, seam-side down, on a cooling rack and allow it to cool completely to room temperature, which will take approximately 60 minutes. Patience here is a virtue, as a fully cooled cake is easier to unroll and fill.

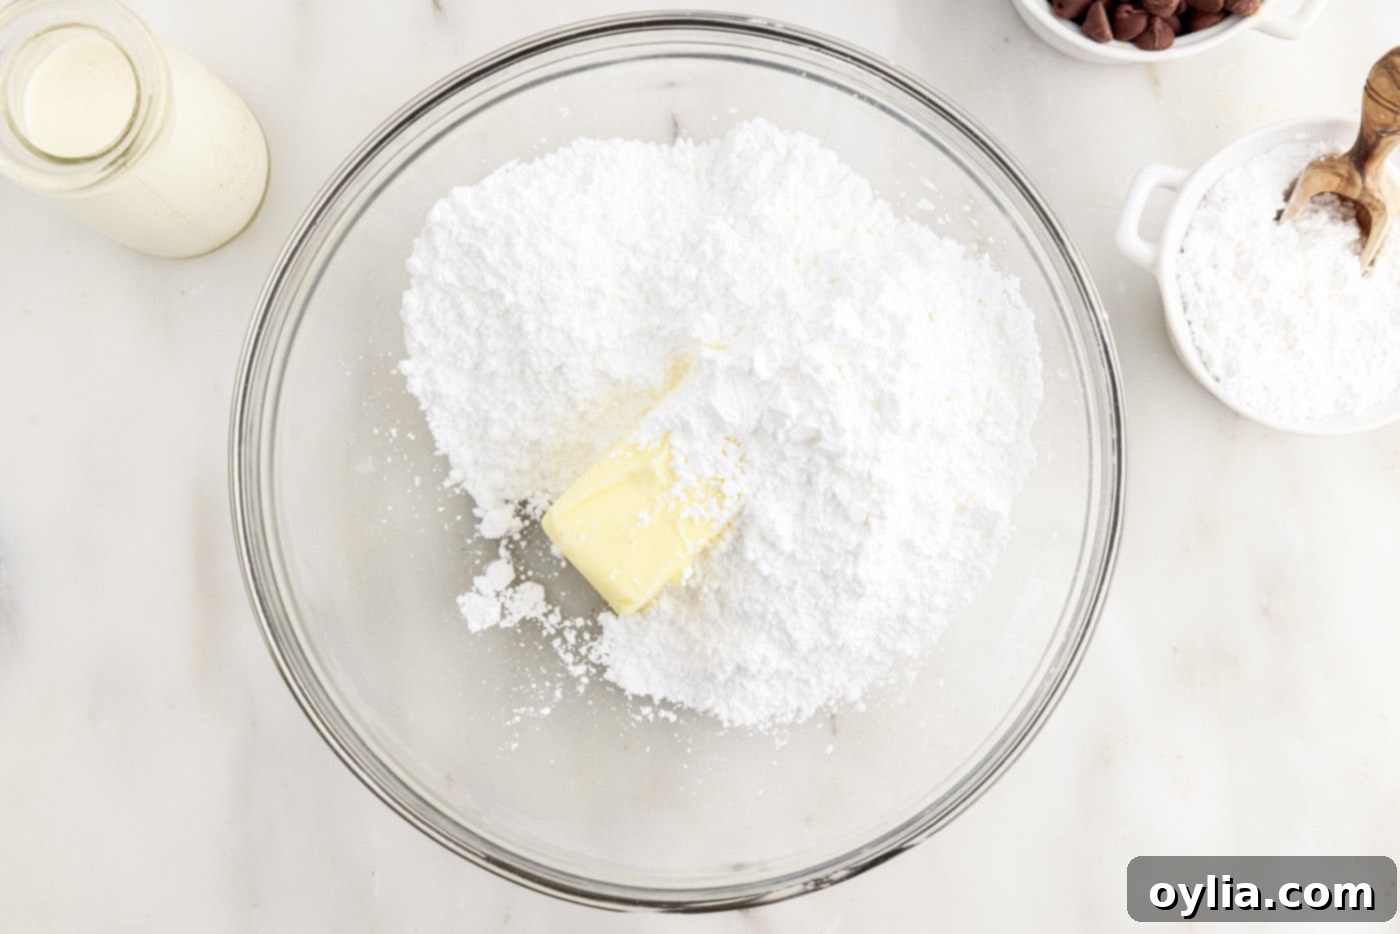
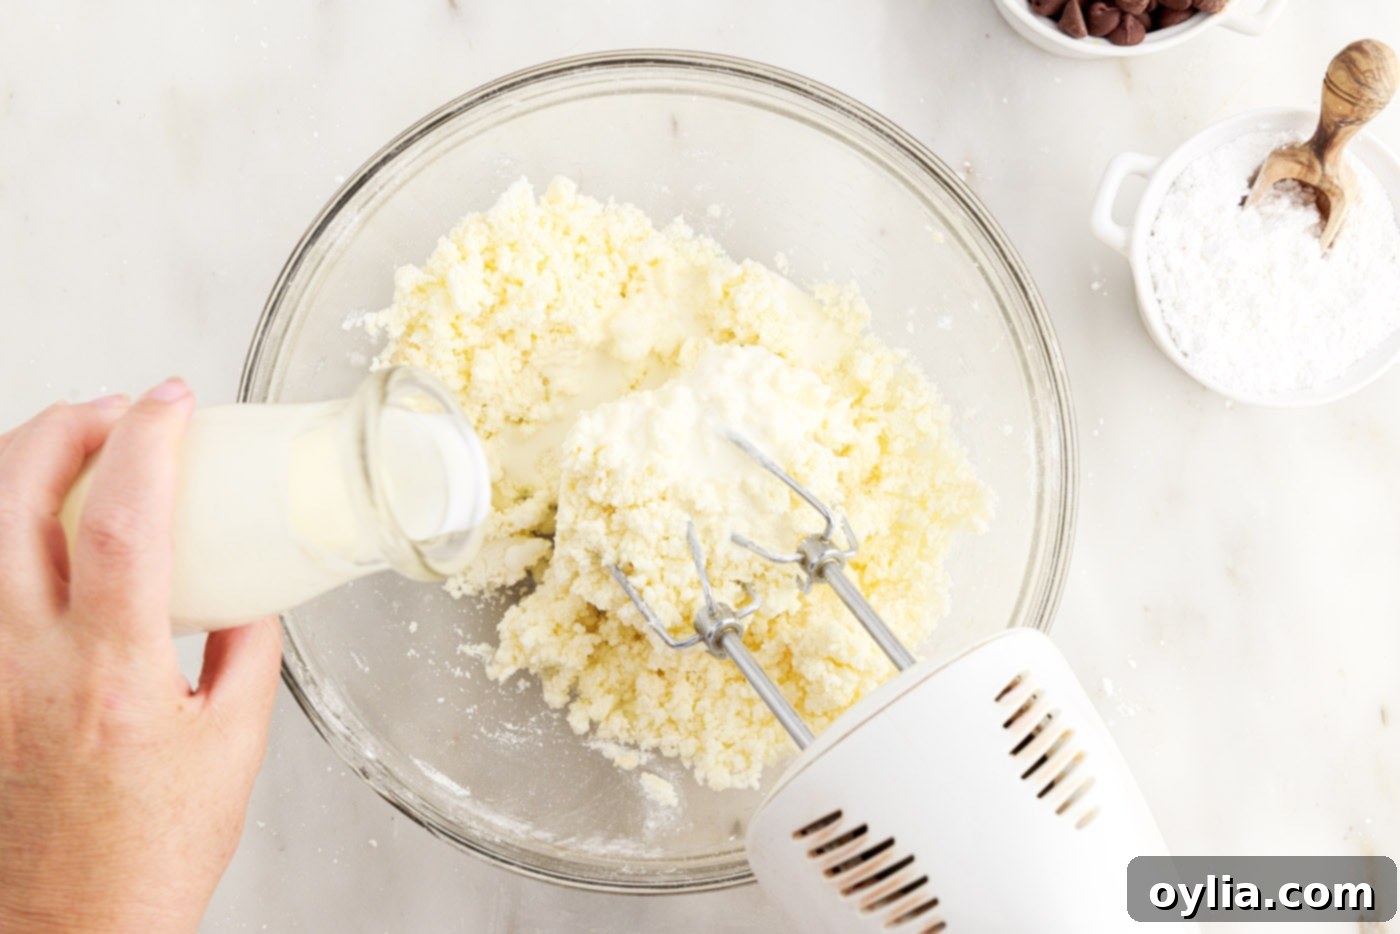
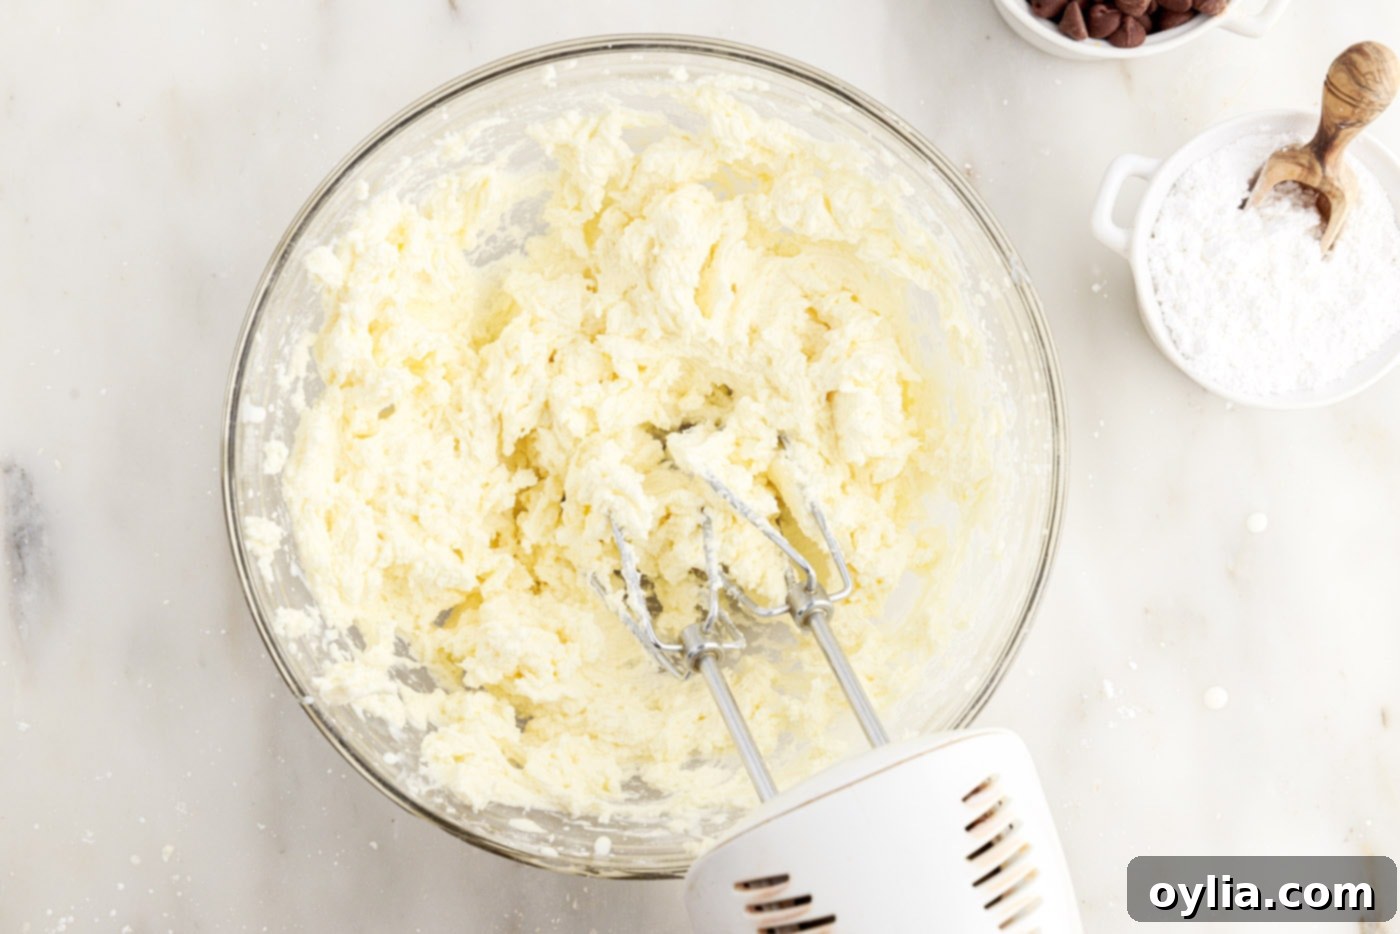
- **Prepare the Buttercream Filling:** While the cake cools, prepare your delightful buttercream. In a mixing bowl, beat together the softened unsalted butter and powdered sugar until well combined. The mixture will initially appear crumbly. Add the vanilla extract, and then slowly drizzle in 3-4 tablespoons of heavy whipping cream while continuing to beat. Continue mixing until the buttercream transforms into a light, fluffy, and spreadable consistency. Adjust cream quantity as needed to reach your desired texture.


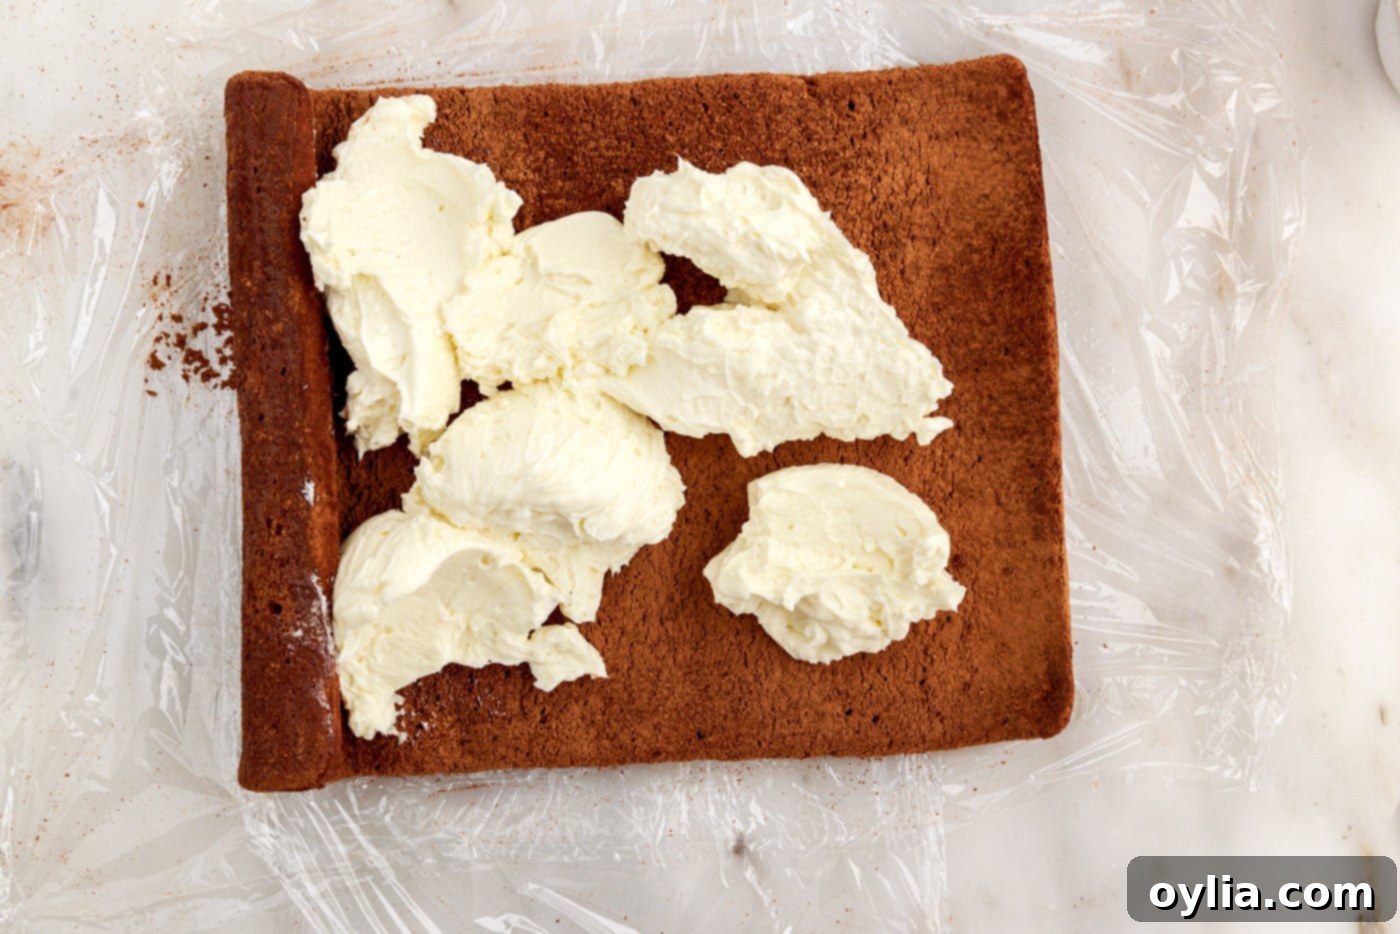
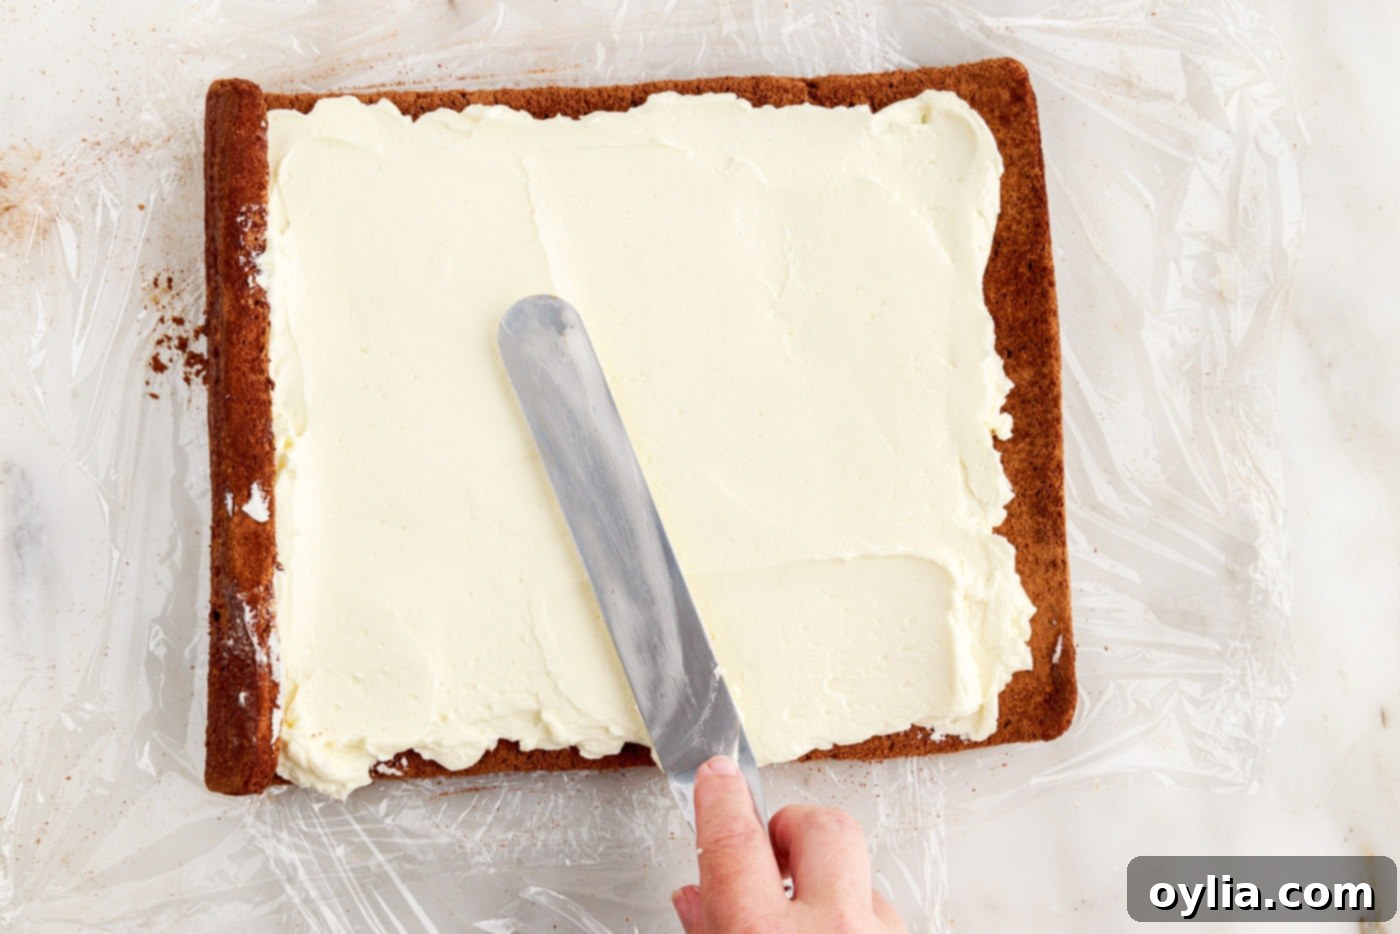
- **Unroll and Fill:** Once completely cooled, gently unroll the cake onto a fresh piece of parchment paper or plastic wrap. The ends may still have a slight curl; it’s best to leave them as they are. Evenly spread the prepared buttercream filling over the entire surface of the cake, leaving about an inch of space clear at the right-hand short edge. This allowance prevents the filling from squishing out excessively when you re-roll the cake.


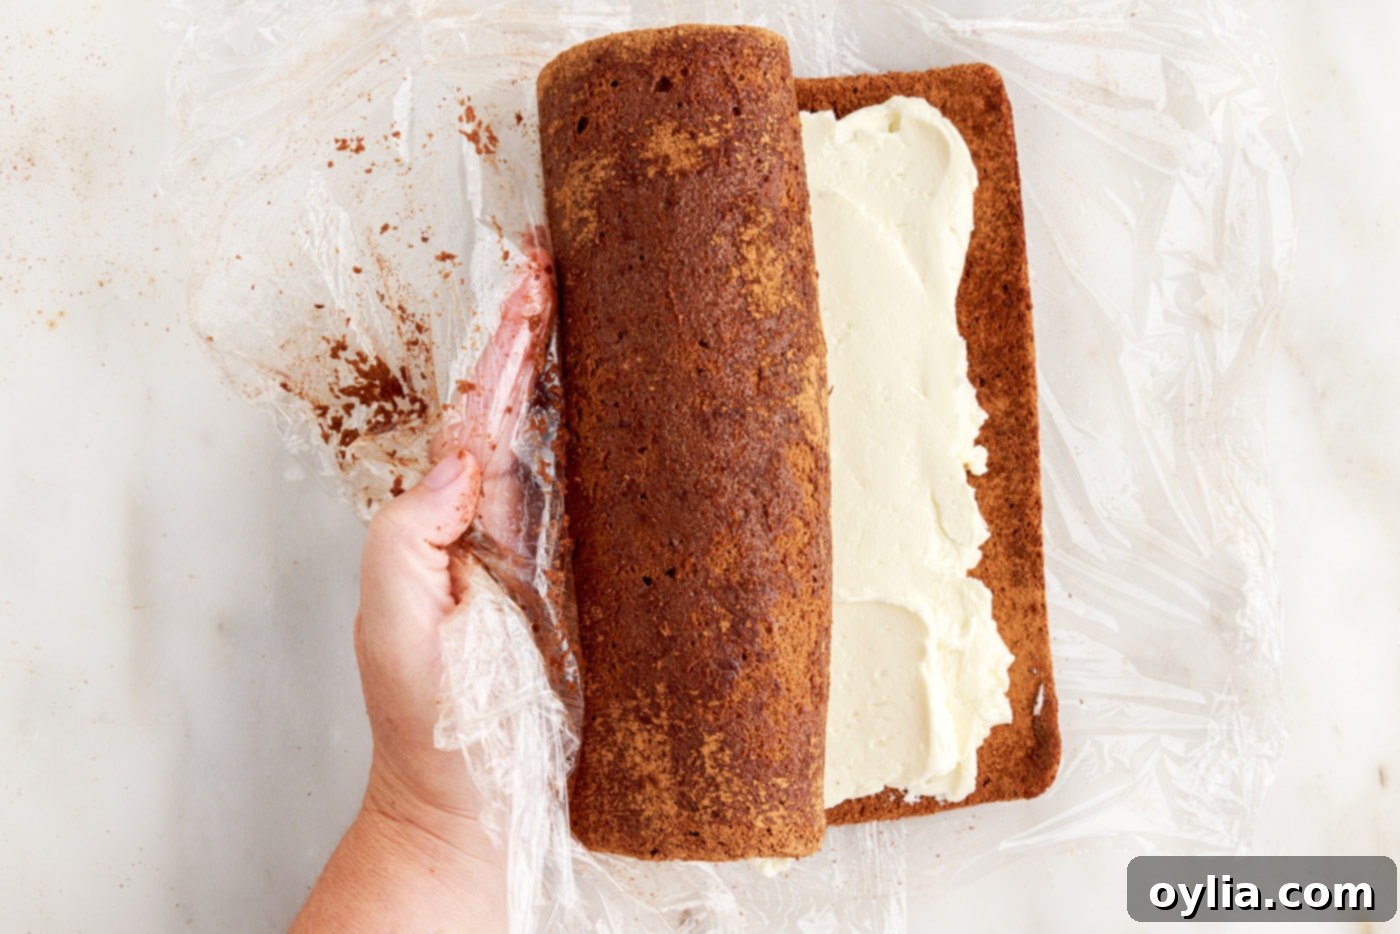
- **Re-Roll the Cake:** Starting from the left-hand short side, carefully re-roll the cake, tucking it as tightly as possible without squeezing out all the filling. Use the parchment or plastic wrap underneath to help you achieve a uniform, compact log. This meticulous re-rolling creates the beautiful spiral effect.

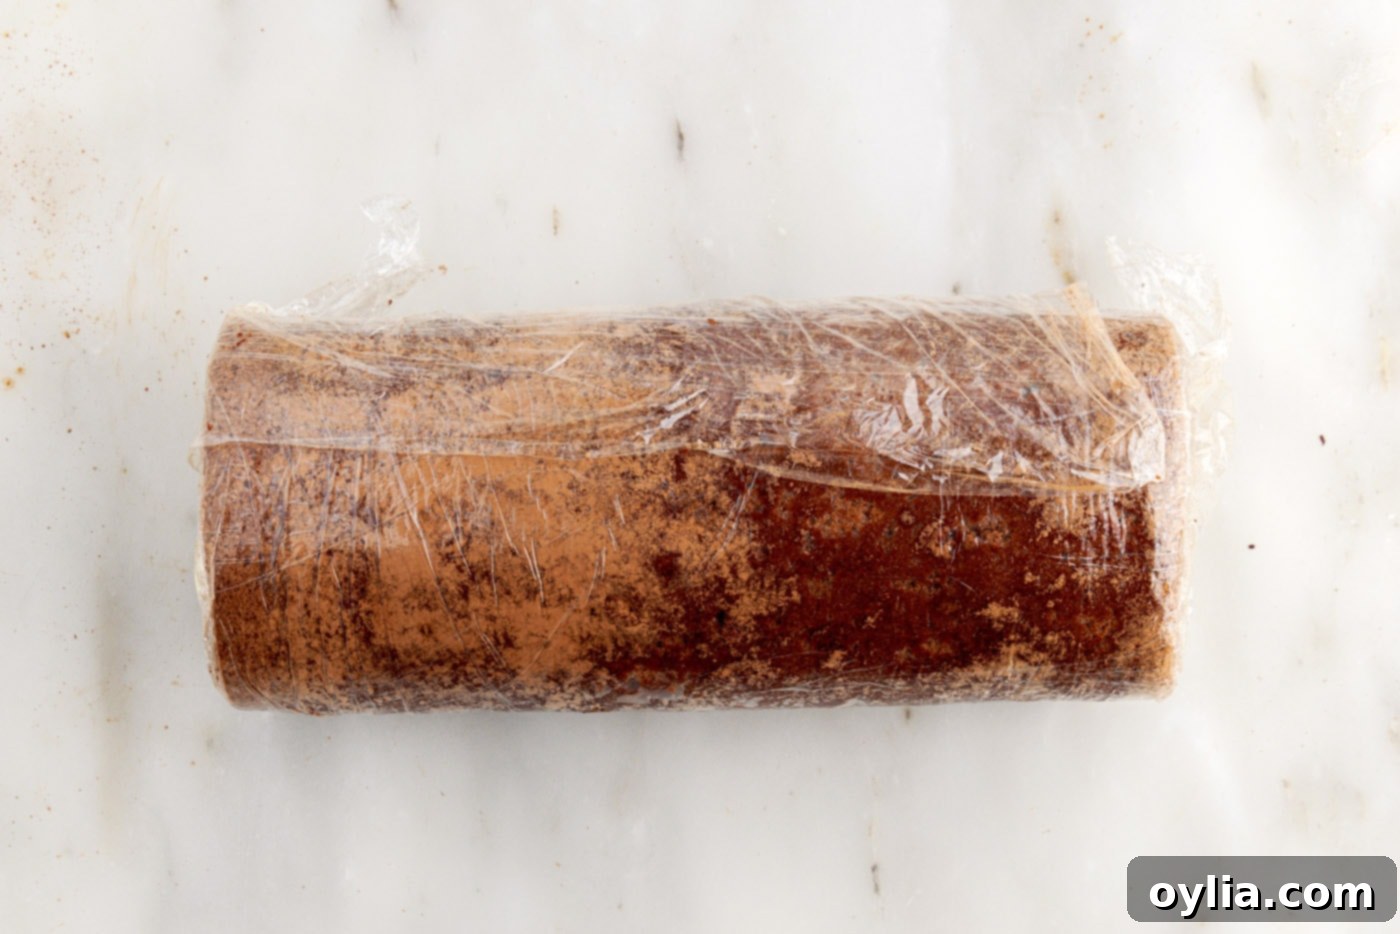
- **Chill to Set:** Once rolled, securely wrap the entire cake log in plastic wrap. This helps it maintain its shape and ensures the filling sets properly. Place the wrapped log in the refrigerator (or freezer for a quicker set) for at least one hour, seam side down. Chilling is essential for firming up the cake and filling, making it much easier to slice neatly later.

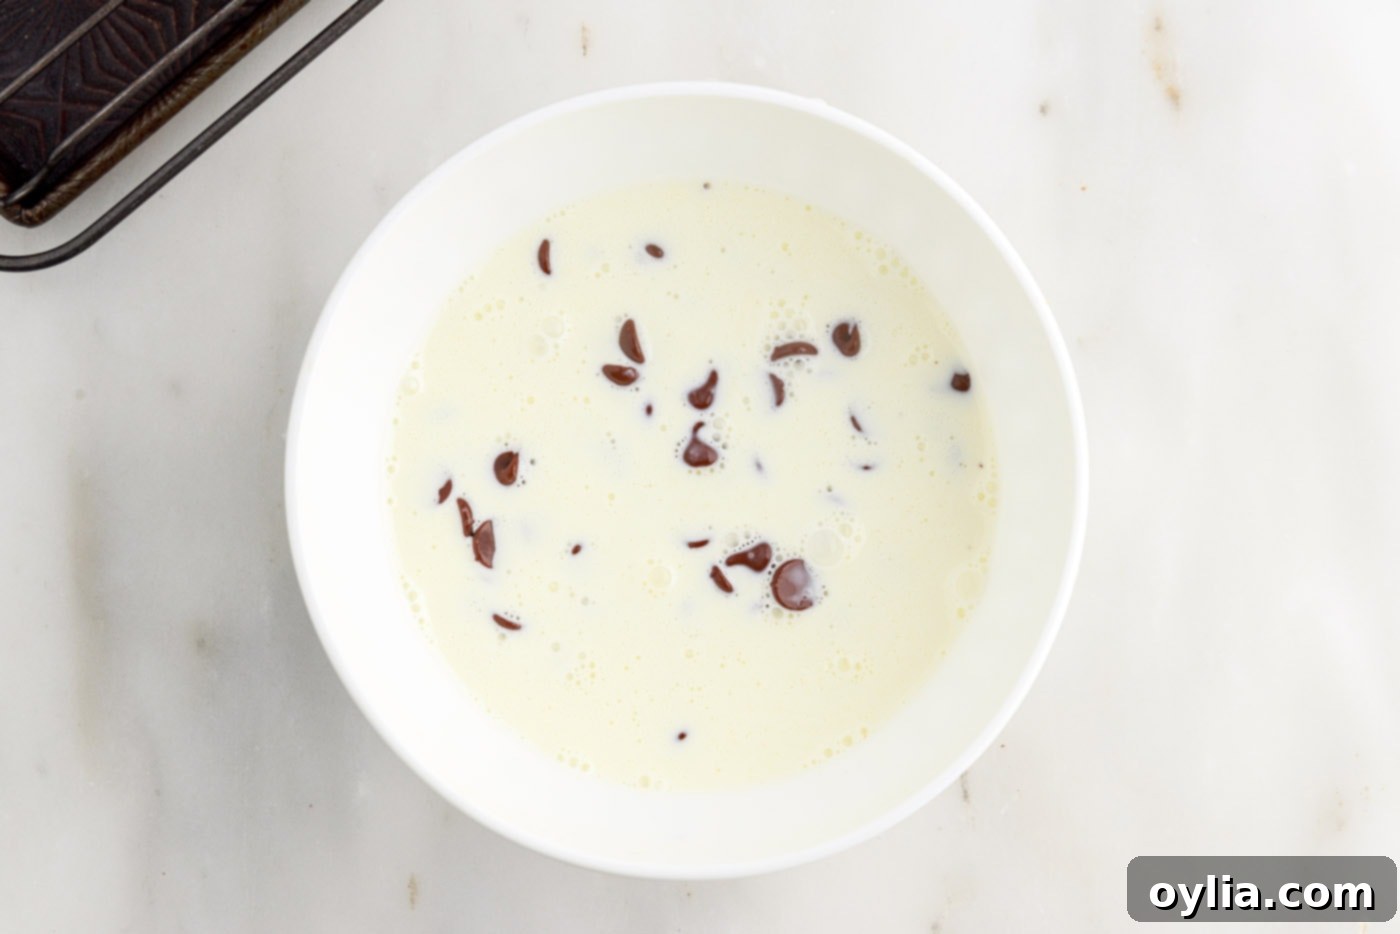
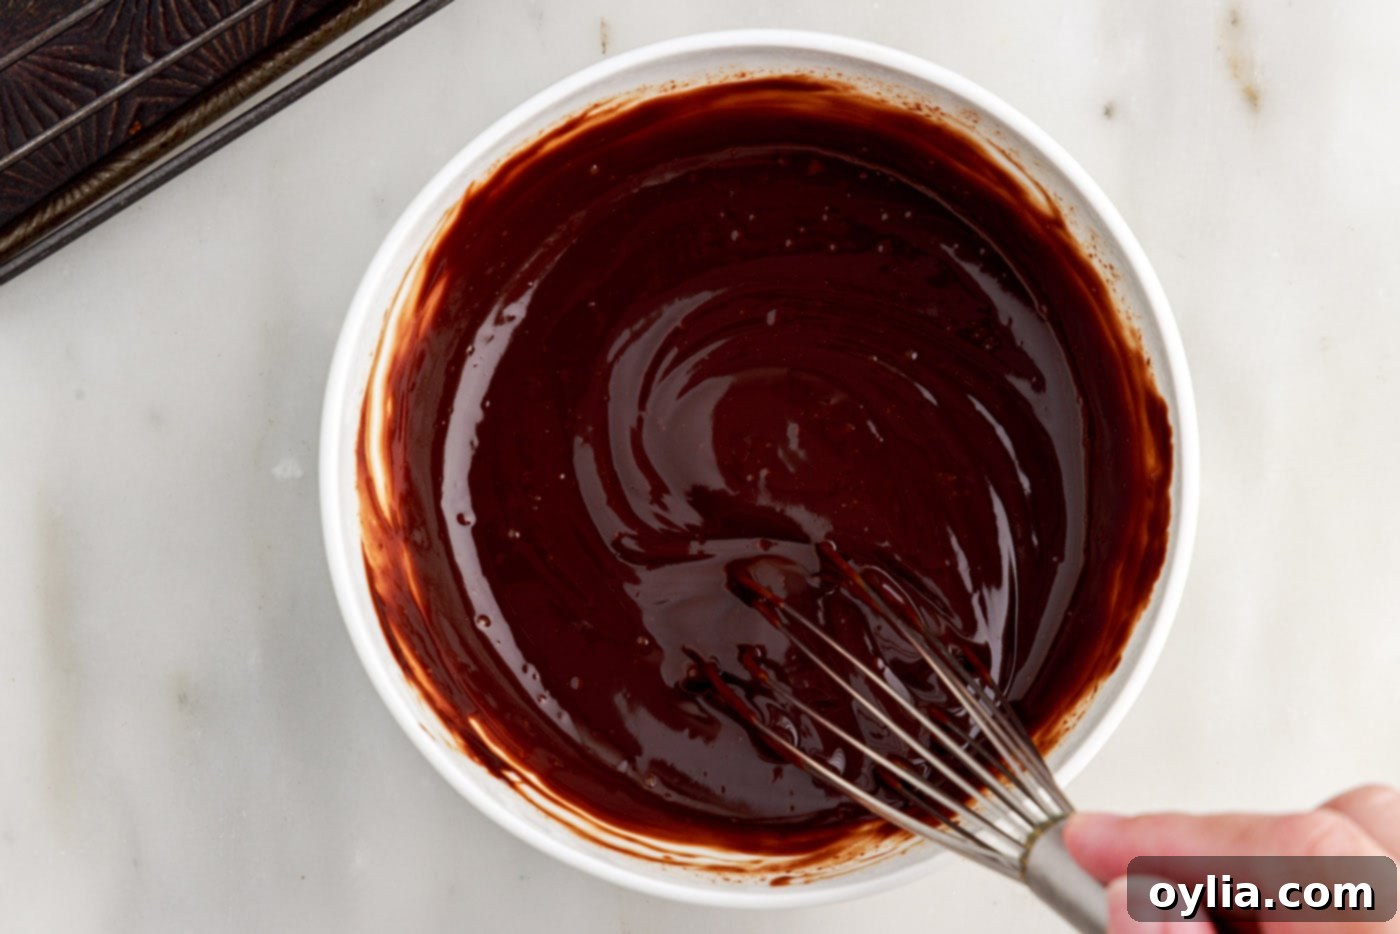
- **Make the Chocolate Ganache:** While the cake chills, prepare the rich chocolate ganache. Heat the heavy whipping cream in a small saucepan over medium heat until it just begins to simmer, but do not let it boil. Remove from heat and pour the hot cream over the chocolate chips in a heatproof bowl. Let it sit undisturbed for 3-5 minutes. This allows the heat from the cream to melt the chocolate. Then, gently whisk the mixture until it transforms into a smooth, glossy, and uniform ganache.


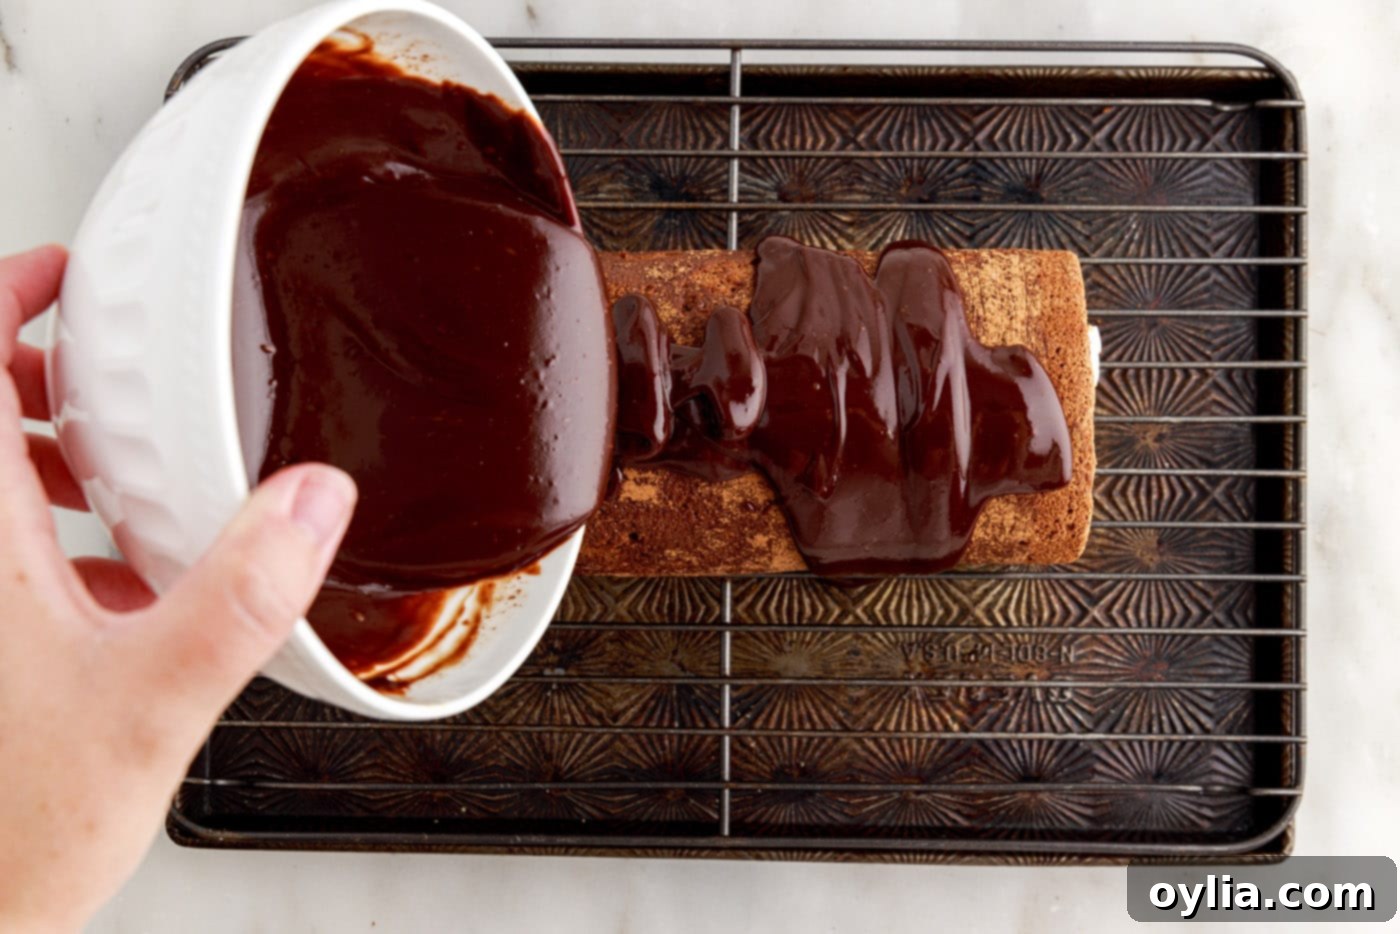
- **Glaze the Cake:** Remove the chilled roll cake from the refrigerator and unwrap it. Place it on a cooling rack set over a baking sheet (to catch any drips). Pour the warm, but not hot, ganache over the top of the cake, allowing it to drip down and elegantly cover the sides. Use an offset spatula to gently spread and ensure an even coating. Allow the ganache to set, which typically takes about 30 minutes at room temperature or 15 minutes in the refrigerator. The ganache should be firm enough to touch but still slightly pliable.

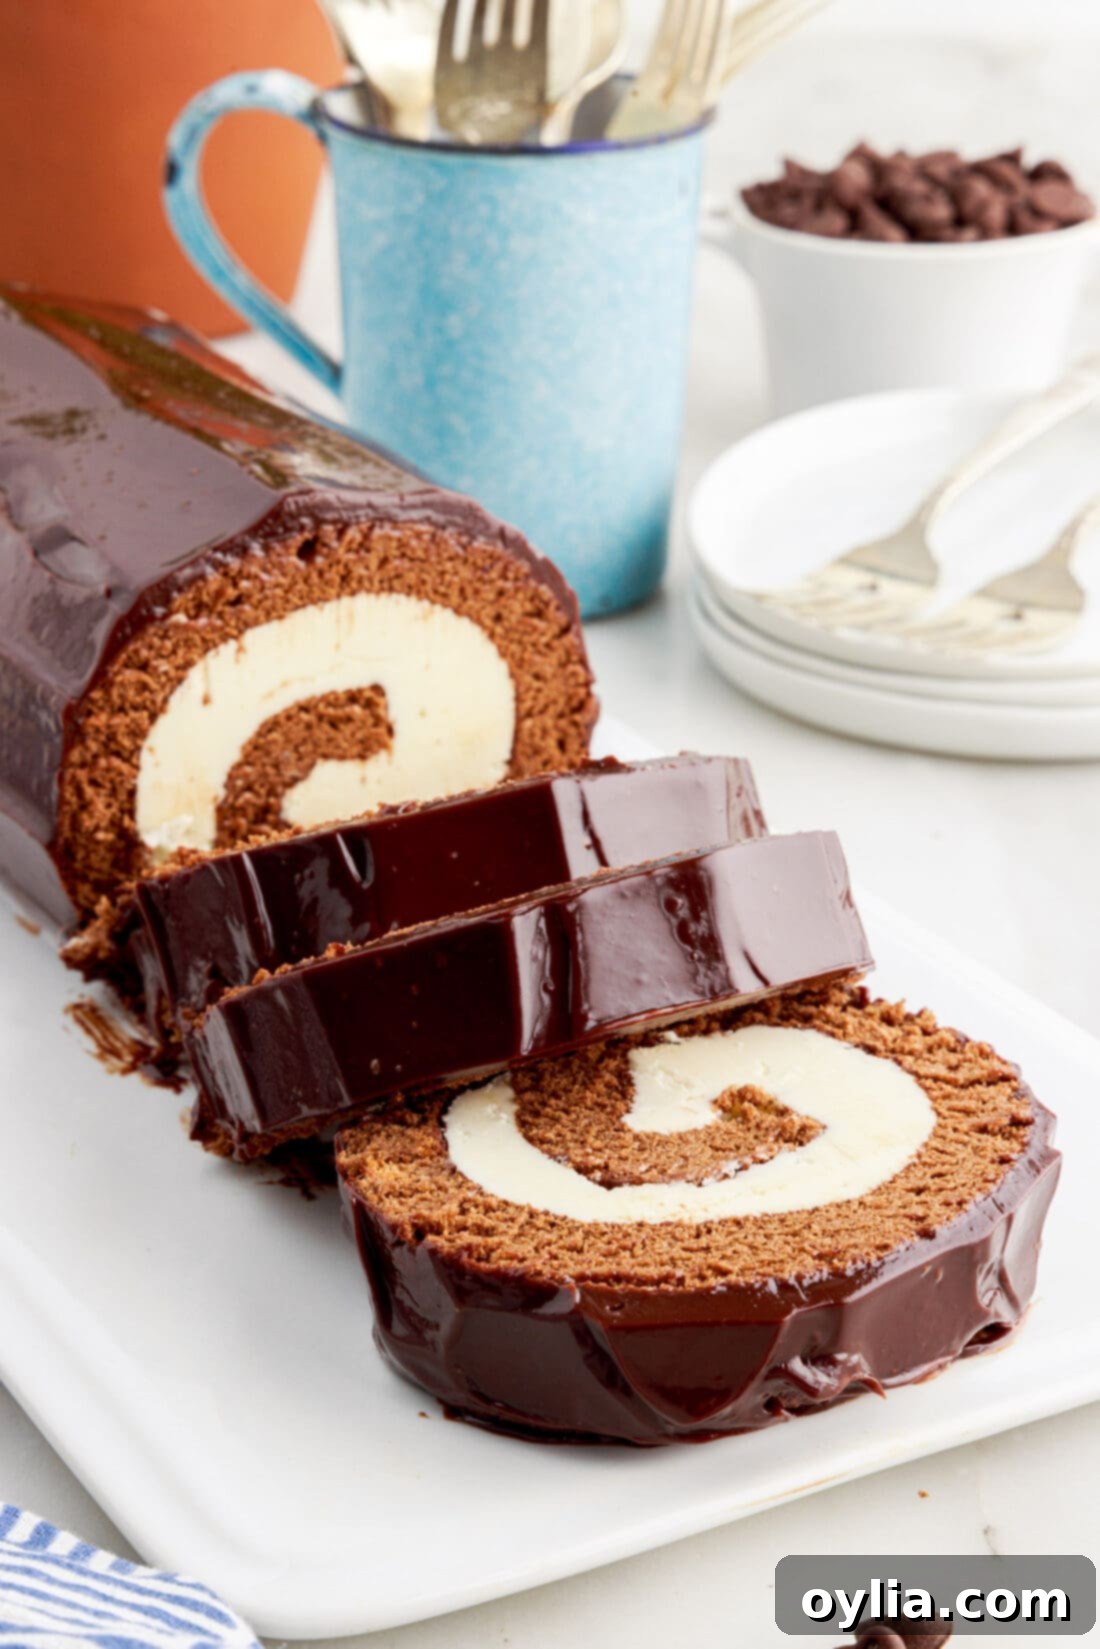
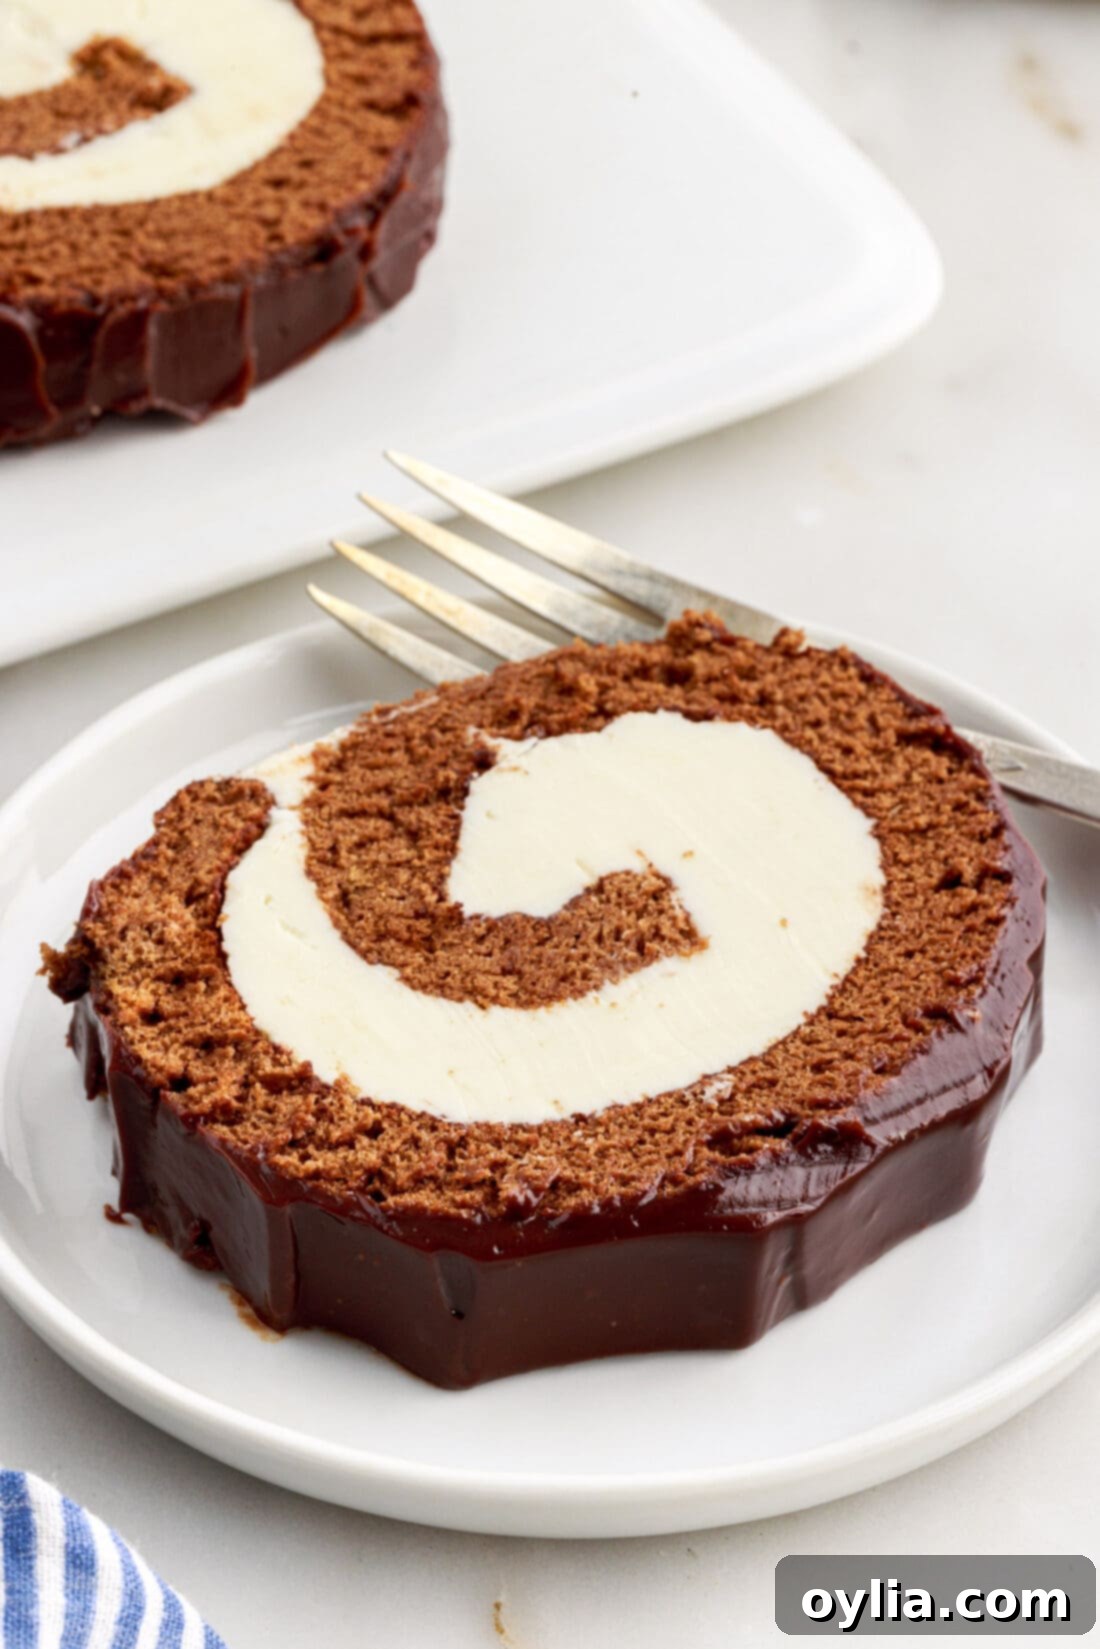
- **Serve and Enjoy:** Once the ganache is set, your magnificent chocolate cake roll is ready to be served! For clean slices, use a sharp, warm knife (you can warm it under hot water and wipe it dry between slices). Slice the roll into approximately 1-inch thick pieces. Each slice reveals a stunning spiral of chocolate cake and creamy filling, promising a truly delightful dessert experience.

Frequently Asked Questions & Expert Tips for Success
To maintain its freshness, flavor, and texture, store your homemade chocolate Swiss roll in an airtight container. Keep it in the refrigerator, where it will remain delicious for 5-7 days. Ensuring it’s airtight prevents the cake from drying out and the ganache from hardening too much.
Absolutely! This chocolate cake roll freezes beautifully, making it an excellent make-ahead dessert. For best results, slice the roll into individual portions before freezing. Wrap each slice tightly in plastic wrap, then place them in an airtight container or a freezer-safe bag. Alternatively, you can freeze the entire roll by wrapping it several times in plastic wrap, followed by a layer of aluminum foil for extra protection against freezer burn. It can be frozen for up to 3 months. When you’re ready to enjoy, simply thaw it in the refrigerator overnight. You can let it come to room temperature for about an hour after thawing in the fridge for optimal texture.
Cracking usually occurs if the cake is overbaked, making it dry and less pliable, or if it cools too much before the initial roll. Ensure you pull the cake from the oven promptly once a toothpick comes out clean. Also, roll it while it’s still warm (after the initial 3-5 minute cooling in the pan), using the linen to help guide and support it. The oil in the batter helps keep it flexible, but careful handling is key.
Yes, this cake roll is a fantastic make-ahead dessert! You can bake the cake and make the buttercream filling a day or two in advance. Store the cooled, rolled cake (wrapped in linen) at room temperature, and keep the buttercream in an airtight container in the fridge. On the day of serving, unroll, fill, re-roll, chill, and then apply the ganache. For a completely finished cake, it can be assembled and stored in the refrigerator for up to 2 days before serving, allowing the flavors to meld beautifully.
For a smooth, glossy ganache, always use high-quality chocolate chips or finely chopped chocolate. Ensure your cream is simmering, not boiling, to prevent scorching. Let the hot cream sit over the chocolate for a few minutes before whisking; this allows the chocolate to melt thoroughly. If your ganache is too thick, add a tiny bit more warm cream. If it’s too thin, let it sit for a few more minutes or chill it slightly until it reaches a spreadable consistency.
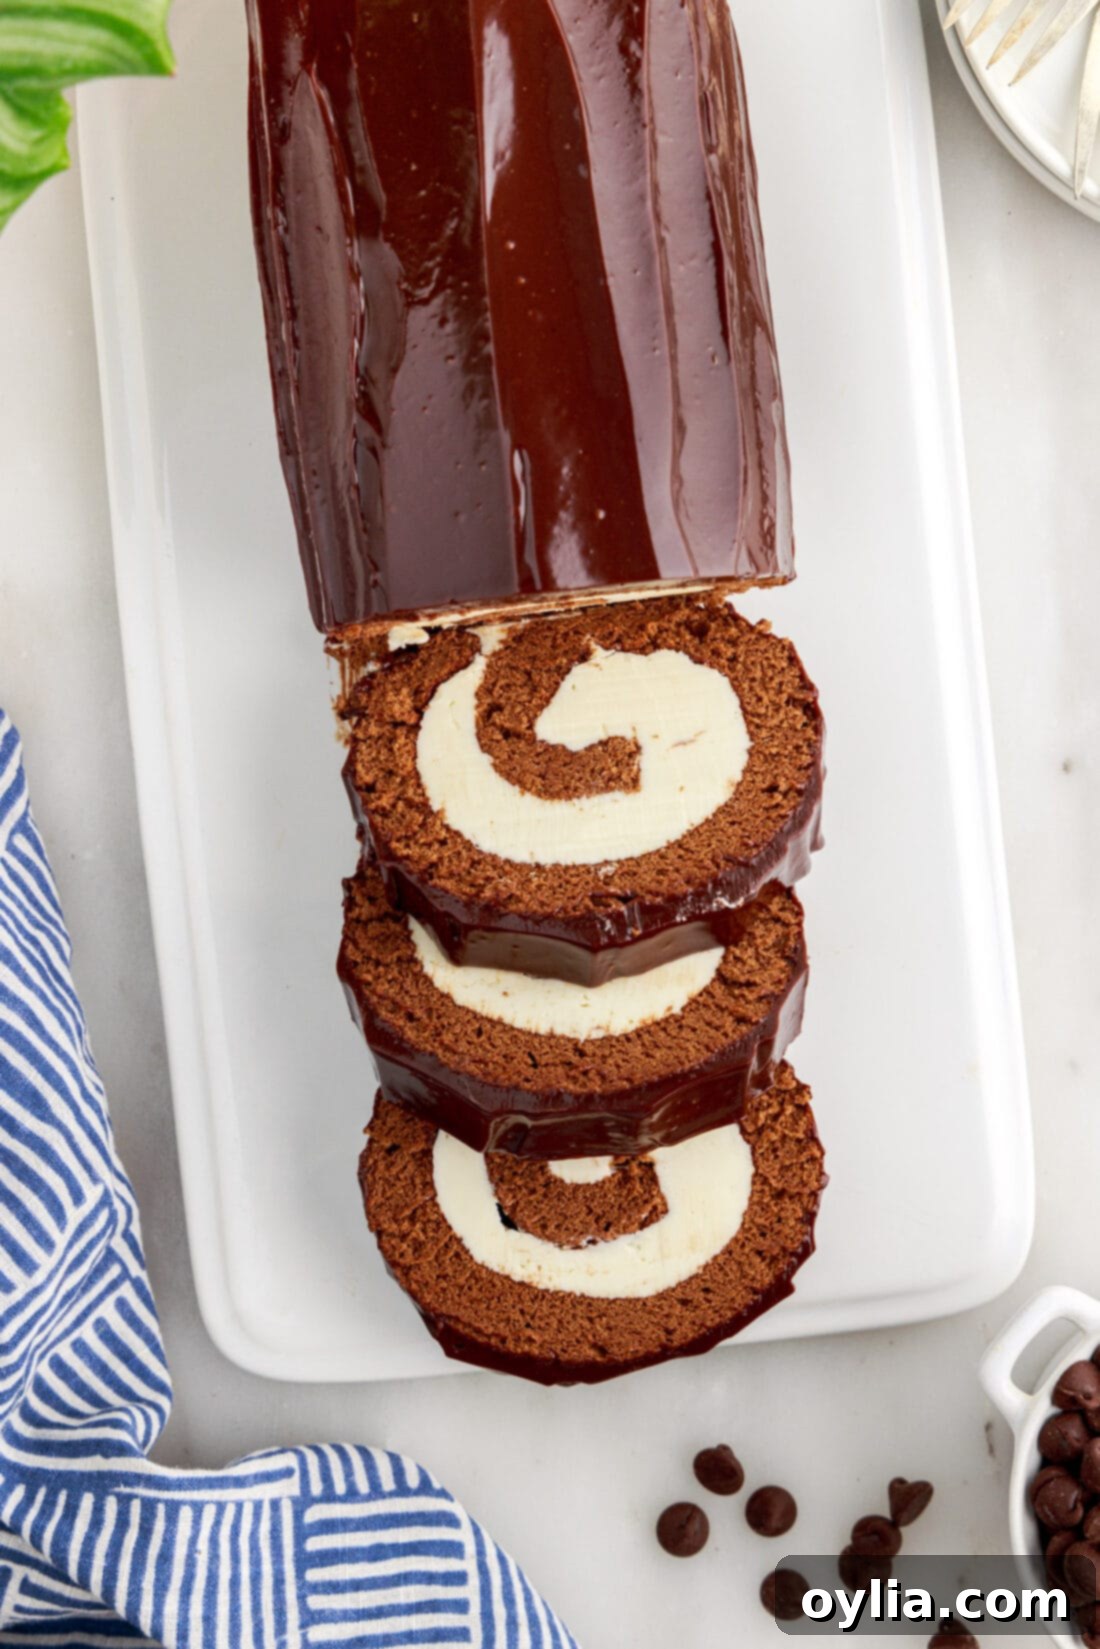
Elegant Serving Suggestions for Your Chocolate Swiss Roll
This magnificent chocolate cake roll is incredibly versatile and perfect for a variety of occasions. Enjoy a slice of its tender chocolate sponge, creamy filling, and rich ganache alongside your morning coffee or a soothing cup of tea for a luxurious start or break to your day. As a dessert, it’s an undeniable showstopper, ideal for dinner parties, holiday gatherings, or any special celebration where you want to truly impress. Its elegant spiral design and rich chocolate appeal make it a universally loved treat. Consider garnishing slices with fresh raspberries, a dusting of powdered sugar, or a small dollop of whipped cream for an added touch of sophistication.
Explore More Decadent Cake Recipes
If you’ve enjoyed baking and tasting this chocolate cake roll, you might love exploring other fantastic cake creations:
- Molten Lava Cake: For an intensely rich and gooey chocolate experience.
- Classic Chiffon Cake: A light and airy cake, perfect for exploring delicate textures.
- Pumpkin Roll: A seasonal favorite, offering similar rolling techniques with a cozy flavor profile.
- Carrot Cake Roll: A delightful twist on classic carrot cake, beautifully rolled with cream cheese frosting.
I absolutely adore sharing my passion for baking and cooking with all of you! To ensure you never miss out on a new recipe or kitchen tip, I offer a convenient newsletter delivered straight to your inbox every time a new recipe posts. Simply subscribe and start receiving your free daily recipes, becoming a part of our wonderful baking community!
Chocolate Cake Roll
IMPORTANT – There are often Frequently Asked Questions within the blog post that you may find helpful. Simply scroll back up to read them!
Print It
Pin It
Rate It
Save ItSaved!
Ingredients
Cake
- 4 large eggs separated, at room temperature
- ¾ cup granulated white sugar divided
- 1 teaspoon vanilla extract
- ¼ cup vegetable oil
- ¼ cup strong coffee
- ½ cup cake flour
- ¼ cup unsweetened cocoa powder plus more for dusting
- ½ teaspoon salt
Buttercream Filling
- ½ cup unsalted butter softened at room temperature
- 2 cups powdered sugar
- 1 teaspoon vanilla extract
- 3-4 Tablespoons heavy whipping cream
Ganache
- ½ cup heavy whipping cream
- ¾ cup semi-sweet chocolate chips or dark chocolate chips
Things You’ll Need
-
Stand mixer
-
Sieve
-
Jelly roll pan
-
Mixing bowls
-
Rubber spatula
-
Whisk
Before You Begin
- Cake flour is really important in this chocolate cake roll recipe – it is light and tender and keeps the cake pliable. If you substitute all-purpose flour, the cake will be more dense and also make risk cracking.
- Leavening comes from the egg whites in the recipe. We whip them to stiff peaks and fold them gently into the batter to give lightness to the cake and aide in rising. A standing mixer works well for whisking egg whites to stiff peaks – you can do it with a hand mixer, but it will take quite a bit longer.
- The coffee in the recipe does not come through in the finished cake. Coffee helps bring out the chocolate flavor and adds moisture to the batter. You can substitute milk or water, if desired.
- There is oil in the batter, which adds moistness and allows flexibility in the cake for rolling. This type of cake works well for a jelly roll – it is thin and pliable and you can roll it without the cake cracking.
- You can fill the swiss roll with sweetened whipped cream instead of the buttercream. I would recommend adding 1-2 tablespoons of instant pudding while whipping to stablilize the whipped cream or use our stabilized whipped cream recipe.
- Store your chocolate cake roll in an air-tight container kept in the refrigerator for 5-7 days.
- To Freeze – Slice the roll into portions, wrap them individually in plastic wrap, then store them in an air-tight container or freezer-safe bag. You can also freeze the whole roll by wrapping it a few times in plastic wrap followed by a layer of aluminum foil. Freeze for up to 3 months. Thaw in the refrigerator overnight. You can let it come to room temperature for about an hour after thawing in the fridge.
Instructions
-
Preheat the oven to 350°F. Line a jelly roll pan with parchment paper and spray with nonstick baking spray. Set aside.
-
Use a standing mixer or electric hand mixer to combine egg whites and 1⁄4 cup sugar. Whip on high speed until egg whites form stiff peaks (5-7 minutes).
-
Meanwhile, whisk together egg yolks and remaining 1⁄2 cup sugar until pale and thickened (1-2 minutes).
-
Whisk in vanilla extract, vegetable oil, and coffee.
-
Sift flour, cocoa powder, and salt into the egg yolk mixture and stir until combined.
-
Gently fold the egg whites into the cake batter until most of the white has been incorporated in. Work gently so that you don’t deflate the egg whites too much.
-
Spread the batter into the prepared jelly roll pan.
-
Bake 13-15 minutes until a toothpick inserted into the cake comes out clean.
-
Remove the cake from the oven and allow to cool for 3-5 minutes. Run a knife around the edges to make sure it is completely loose from the pan.
-
Lay out a clean linen. Dust with a thin layer of cocoa powder.
-
Turn the cake upside down onto the prepared linen and carefully lift off the pan. Gently peel off the parchment paper. Dust the top of the cake with another light layer of cocoa powder.
-
Working from one side, slowly roll the cake – the linen will be rolled into the cake. Place the rolled cake on a cooling rack to cool to room temperature – about 60 minutes.
-
Meanwhile, prepare the filling by beating together the butter and powdered sugar until combined – mixture will be crumbly. Add the vanilla and then slowly drizzle in the heavy cream while beating until a nice fluffy consistency is reached.
-
Gently unroll the room temperature cake onto a piece of parchment paper or plastic wrap. The two ends will still be curled slightly; it’s best to leave them curled.
-
Spread the filling over the cake – leaving about an inch of space at the right-hand short edge (the filling will squish and fill out this space as you re-roll it.
-
Working from the left-hand side, re-roll the cake, tucking it as tightly as you can while maintaining that nice layer of cream cheese filling on the inside.
-
Wrap the log with plastic wrap, to ensure it holds its shape. Chill in the refrigerator (or the freezer) for at least one hour more, seam side down.
-
Prepare the ganache by heating the heavy whipping cream to a simmer. Pour the simmering cream over the chocolate chips and leave to set for 3-5 minutes. Whisk the softened chocolate into the hot cream until a smooth ganache forms.
-
Pour the ganache over the chilled roll cake and spread to cover the top and sides. Allow ganache to set (about 30 minutes at room temperature or 15 minutes in the refrigerator).
-
When ready to serve, slice into approximately 1” pieces.
Nutrition
The recipes on this blog are tested with a conventional gas oven and gas stovetop. It’s important to note that some ovens, especially as they age, can cook and bake inconsistently. Using an inexpensive oven thermometer can assure you that your oven is truly heating to the proper temperature. If you use a toaster oven or countertop oven, please keep in mind that they may not distribute heat the same as a conventional full sized oven and you may need to adjust your cooking/baking times. In the case of recipes made with a pressure cooker, air fryer, slow cooker, or other appliance, a link to the appliances we use is listed within each respective recipe. For baking recipes where measurements are given by weight, please note that results may not be the same if cups are used instead, and we can’t guarantee success with that method.
