Easy Homemade Pickled Red Onions: Your Quick 5-Minute Zesty Condiment Guide
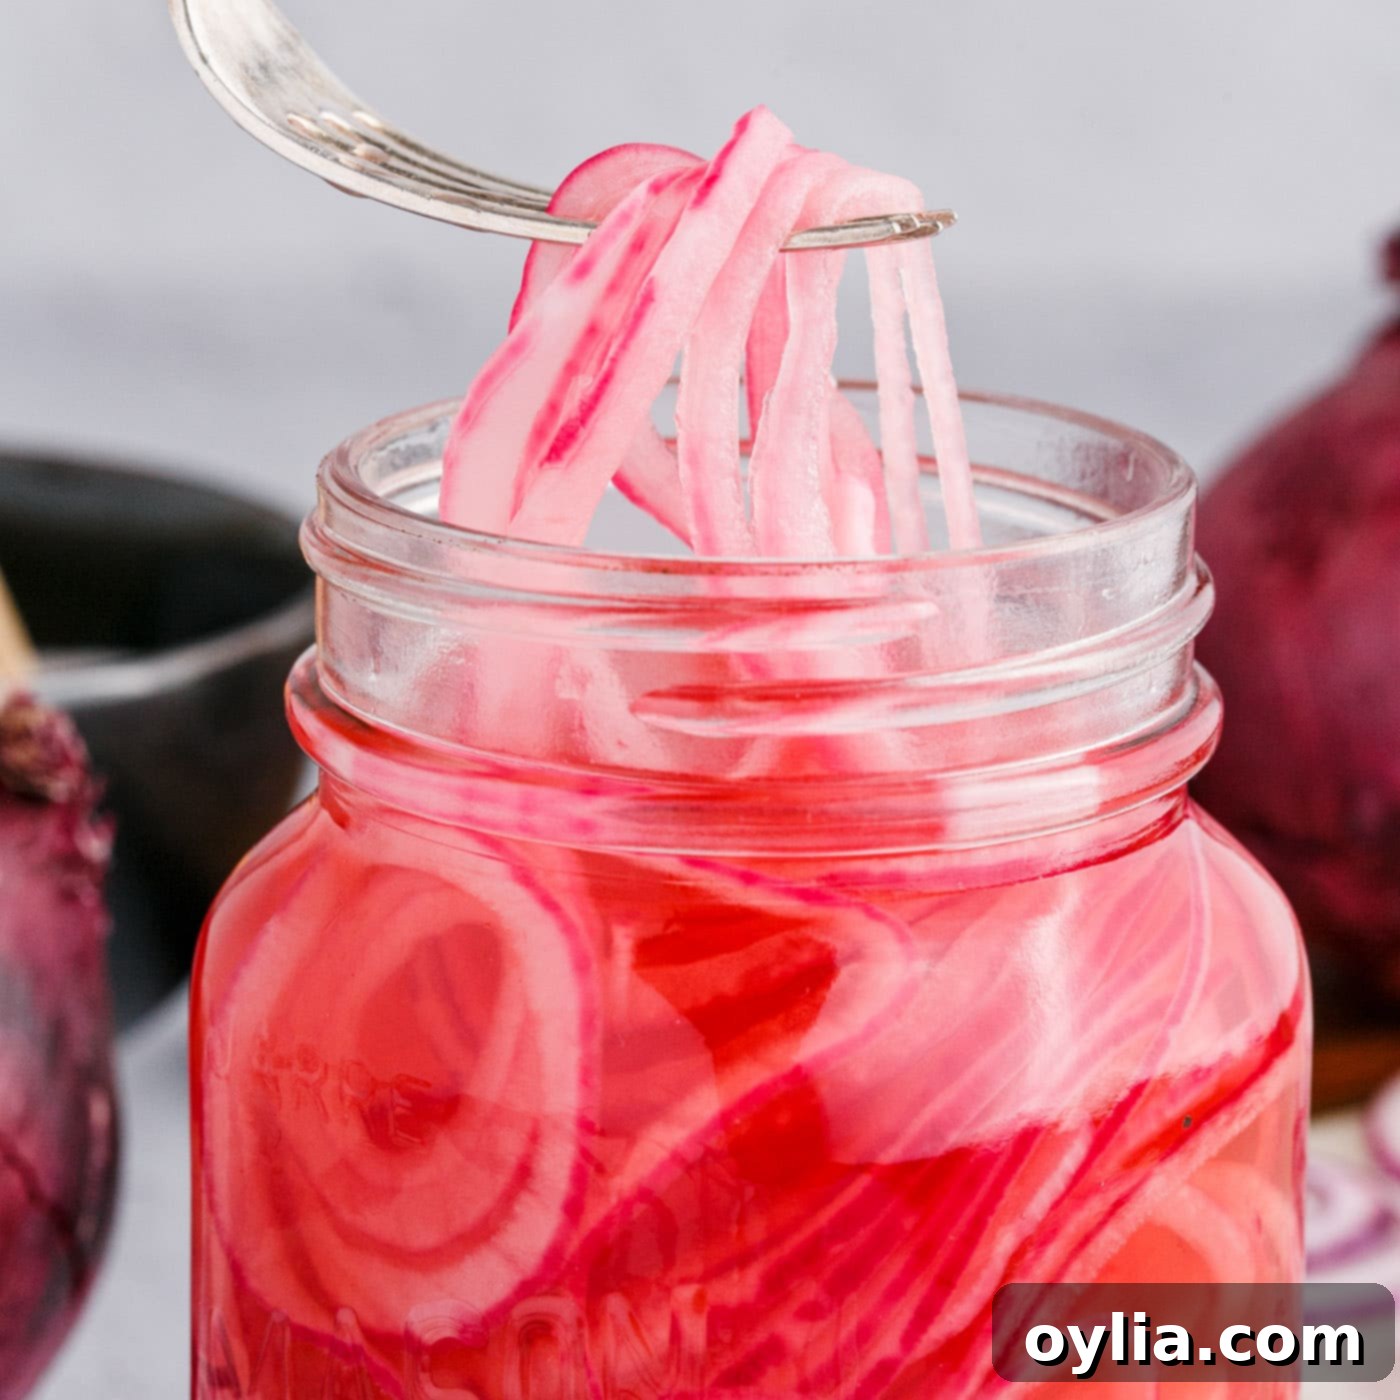
Transform ordinary dishes into culinary delights with these incredibly easy homemade pickled red onions. Requiring just 5 minutes of your time and a mere 5 essential ingredients, this recipe delivers a vibrant, zesty-sweet, and perfectly tangy topping that will elevate sandwiches, salads, tacos, and so much more. Say goodbye to dull meals and embrace the bright, crunchy goodness that these quick-pickled onions bring to your table. They’re not just a condiment; they’re a flavor revolution!
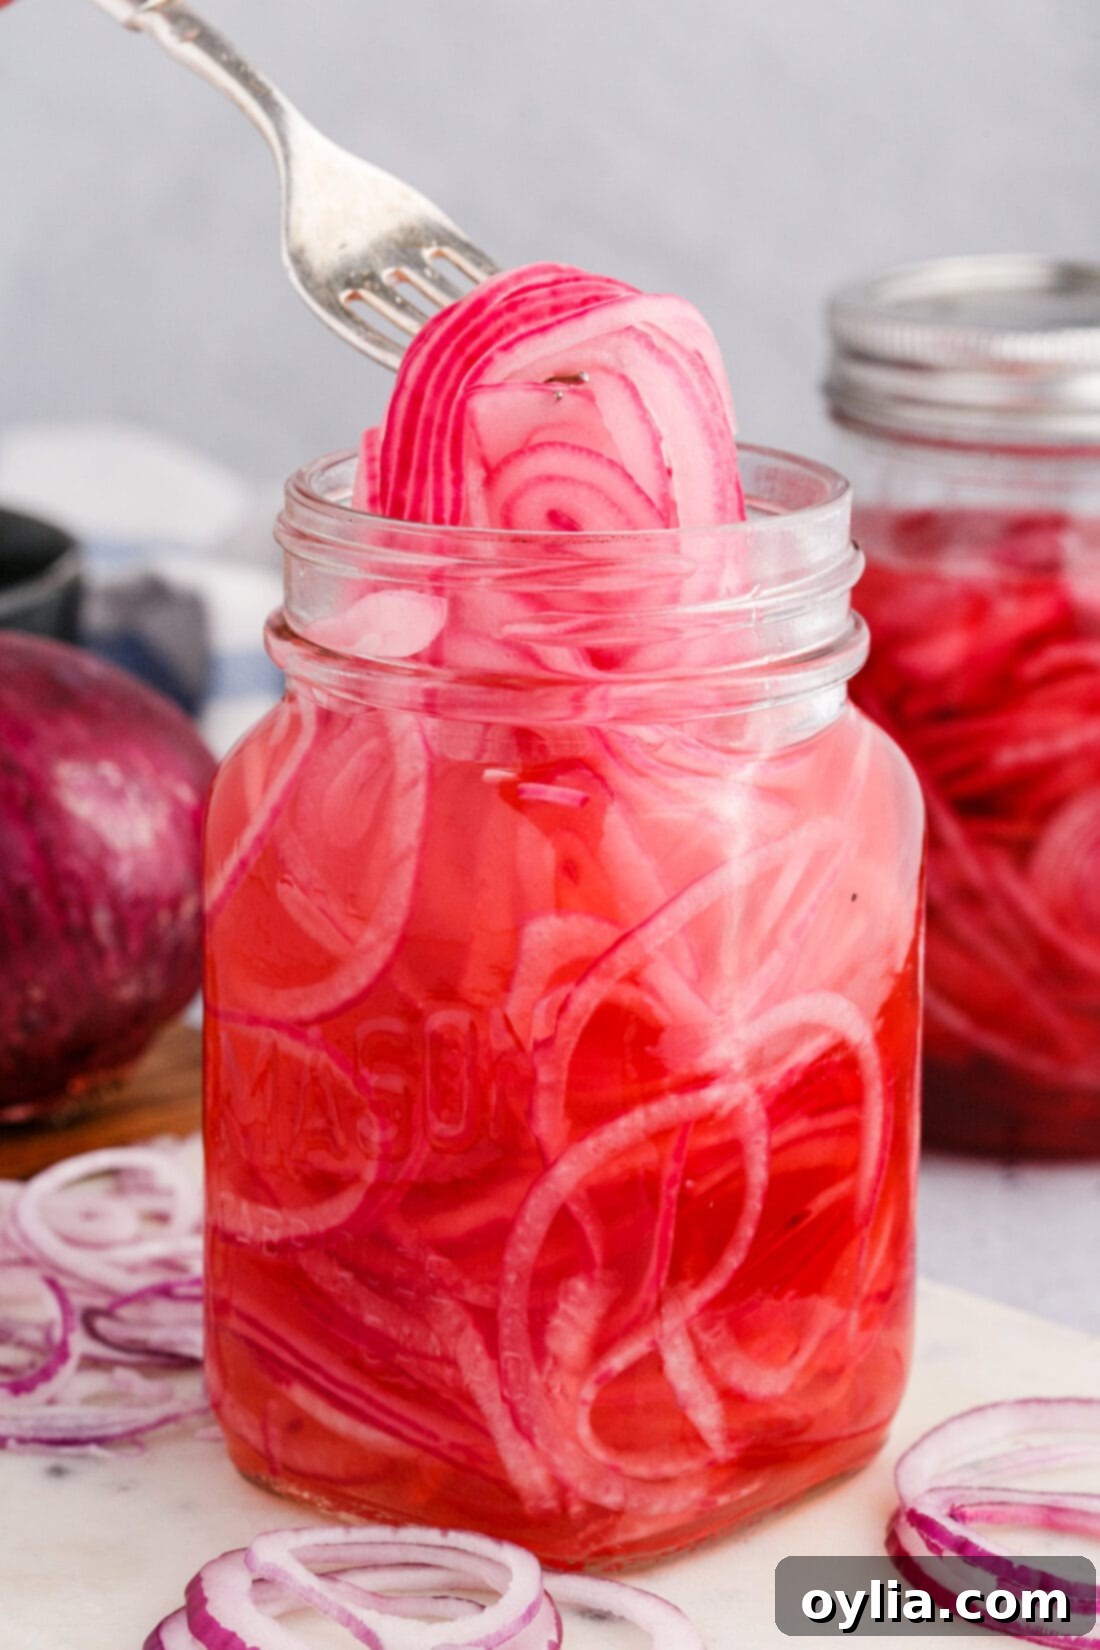
Why This Quick Pickled Onion Recipe is a Must-Try
This pickled red onion recipe stands out for its incredible simplicity and phenomenal results. Just like our popular quick pickled beets, it’s designed for maximum flavor with minimal effort. The beauty of this recipe lies in its elegant short ingredient list: apple cider vinegar, water, granulated sugar, salt, and a large red onion. That’s it! These everyday pantry staples combine to create a brine that quickly transforms the sharp bite of red onion into a mellow, sweet, and tangy crunch. It’s a culinary alchemy that happens right on your countertop.
The process is straightforward: thinly slice your red onion, nestle the slices into a mason jar, then pour a warm, perfectly balanced vinegar mixture over them. The warm brine begins the pickling process immediately, softening the onions slightly while infusing them with an irresistible sweet and sour flavor. There’s no complicated canning equipment or lengthy fermentation involved. Simply seal the jar, let the onions marinate, and within a short time, you’ll have a batch of vibrant, flavor-packed pickled onions ready to enhance almost any meal. This recipe truly proves that the most delicious things can often be the easiest to make.
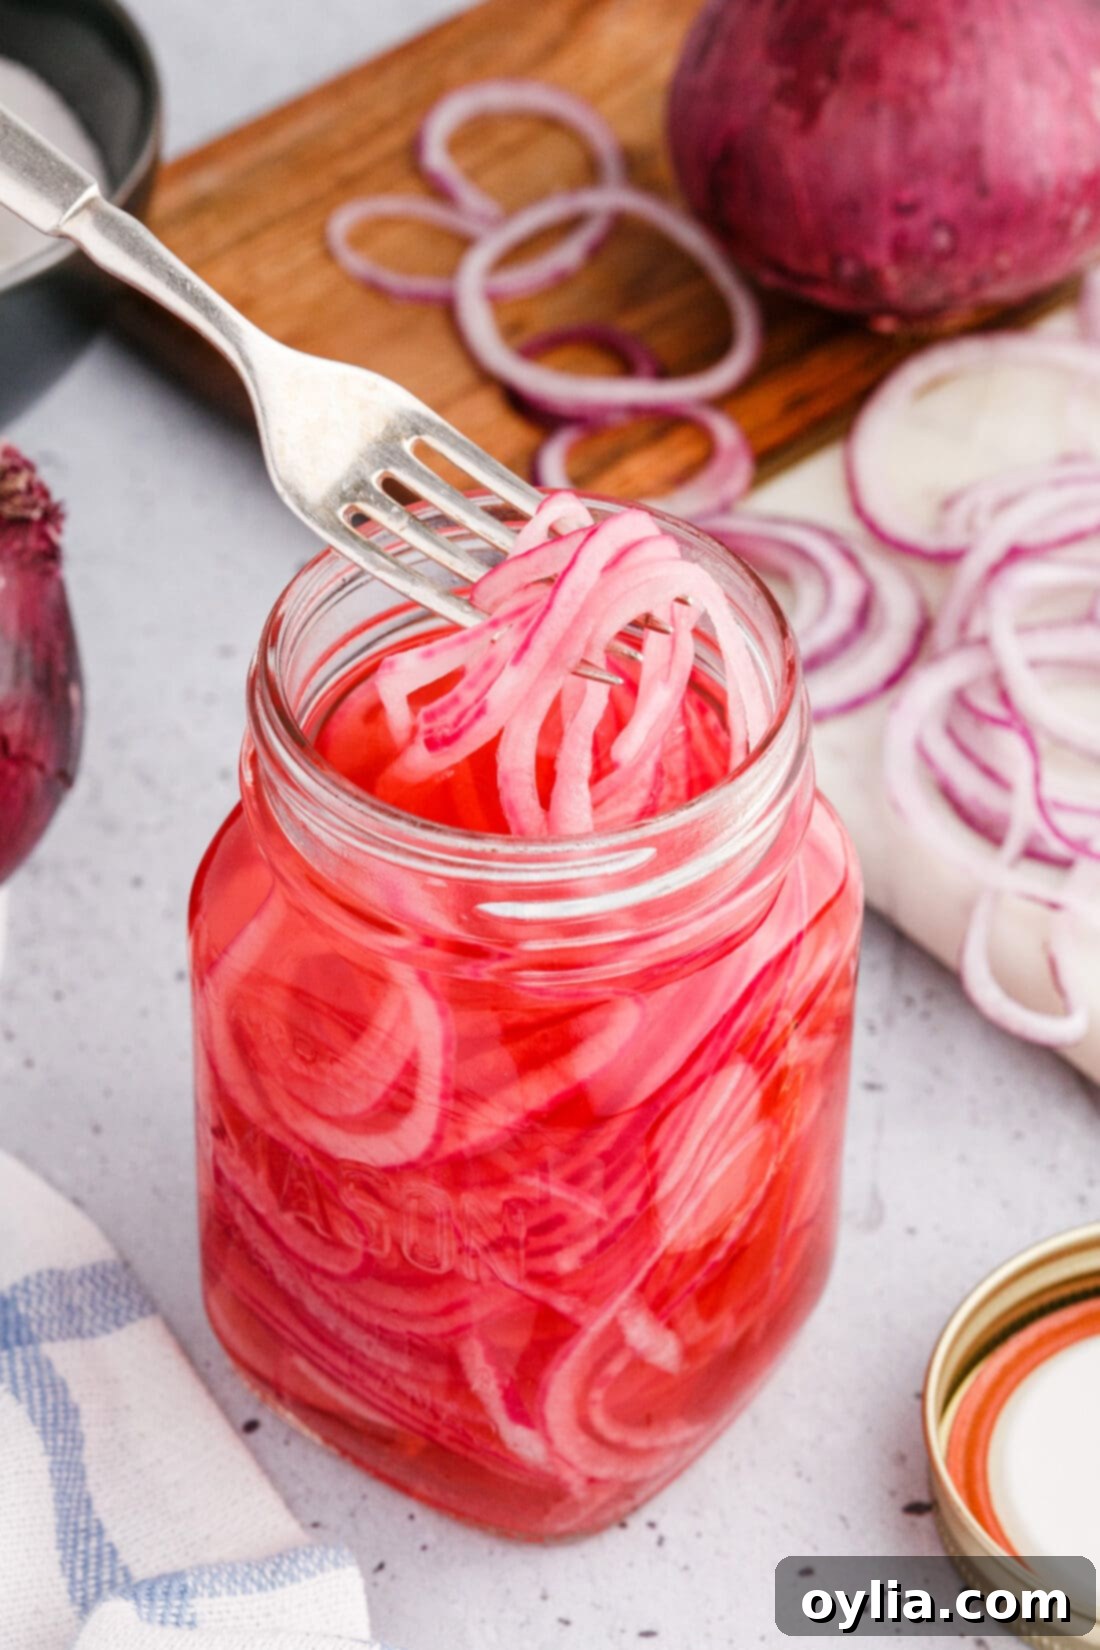
Essential Ingredients and Smart Substitutions for Perfect Pickled Onions
Creating delicious pickled red onions starts with understanding the role each ingredient plays. Below is a detailed look at what you’ll need, along with helpful substitution suggestions to fit your pantry and preferences. For precise measurements and step-by-step instructions, make sure to check out the printable recipe card at the very end of this post!
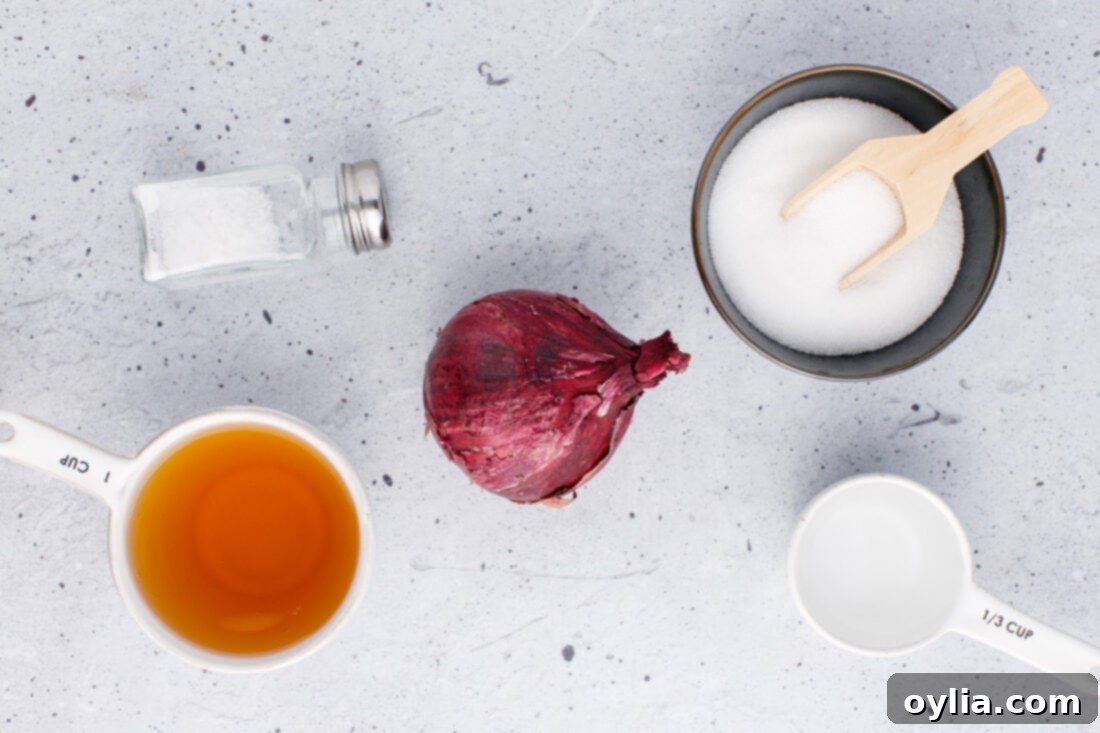
Red Onion
Why red? Red onions are typically preferred for pickling due to their beautiful color, mild sweetness, and satisfying crunch. When pickled, their vibrant purple hue transforms into a stunning bright pink, making them visually appealing in any dish. Their slightly sharper flavor mellows out beautifully in the brine.
Substitution Suggestions: While red onions are highly recommended, you can experiment with other types. Yellow onions will yield a more pungent flavor and a less vibrant color, while sweet onions (like Vidalia) will be milder but may not offer the same striking visual appeal. Shallots can also be pickled for a more delicate flavor, though you’ll need more of them to fill a jar.
Vinegar
Why vinegar? Vinegar is the star of the pickling brine, providing the essential acidity that tenderizes the onions, prevents spoilage, and creates that signature tangy flavor. Our recipe calls for apple cider vinegar, which lends a subtle fruity note and a slightly less aggressive tang compared to white vinegar.
Substitution Suggestions: Distilled white vinegar is a perfect substitute if that’s what you have on hand, offering a clean, sharp acidity. For different flavor profiles, consider white wine vinegar for a slightly softer taste, or even rice vinegar for a milder, Asian-inspired twist. Avoid balsamic or malt vinegar, as their strong flavors can overpower the delicate onion.
Sugar
Why sugar? Sugar plays a crucial role in balancing the sharp acidity of the vinegar, mellowing the onion’s bite, and contributing to the overall sweet-and-sour harmony of the pickled onions. It also aids in the pickling process by drawing out moisture and creating a more pleasant texture.
Substitution Suggestions: Granulated white sugar is standard. You can also use raw cane sugar for a slightly deeper flavor. For natural sweeteners, honey or maple syrup can work, but be mindful that their distinct flavors will alter the final taste. If using liquid sweeteners, you might need to adjust the amount slightly to achieve your desired sweetness level.
Salt
Why salt? Salt is fundamental to pickling, not just for flavor enhancement but also for its preservative qualities and ability to draw out moisture from the onions, contributing to their crisp texture. It helps to balance the sweetness and acidity in the brine.
Substitution Suggestions: Fine sea salt is excellent for this recipe, dissolving easily and providing clean flavor. Kosher salt (without anti-caking agents) is another great choice. Avoid iodized table salt, as the iodine can sometimes cause cloudiness or an off-flavor in pickled goods.
Water
Why water? Water dilutes the vinegar to create a balanced brine that isn’t excessively tart. It’s essential for achieving the perfect harmony between sweet, sour, and savory, ensuring the pickled onions are enjoyable rather than overwhelmingly acidic.
Substitution Suggestions: Regular tap water is perfectly fine, assuming it’s potable. Filtered water can be used for extra purity if you prefer.
How to Make Quick and Easy Pickled Red Onions
These step-by-step photos and instructions are here to help you visualize how incredibly simple it is to make this recipe. For a convenient printable version, complete with precise measurements and full instructions, scroll down to the Jump to Recipe section at the bottom of this post.
Step-by-Step Instructions
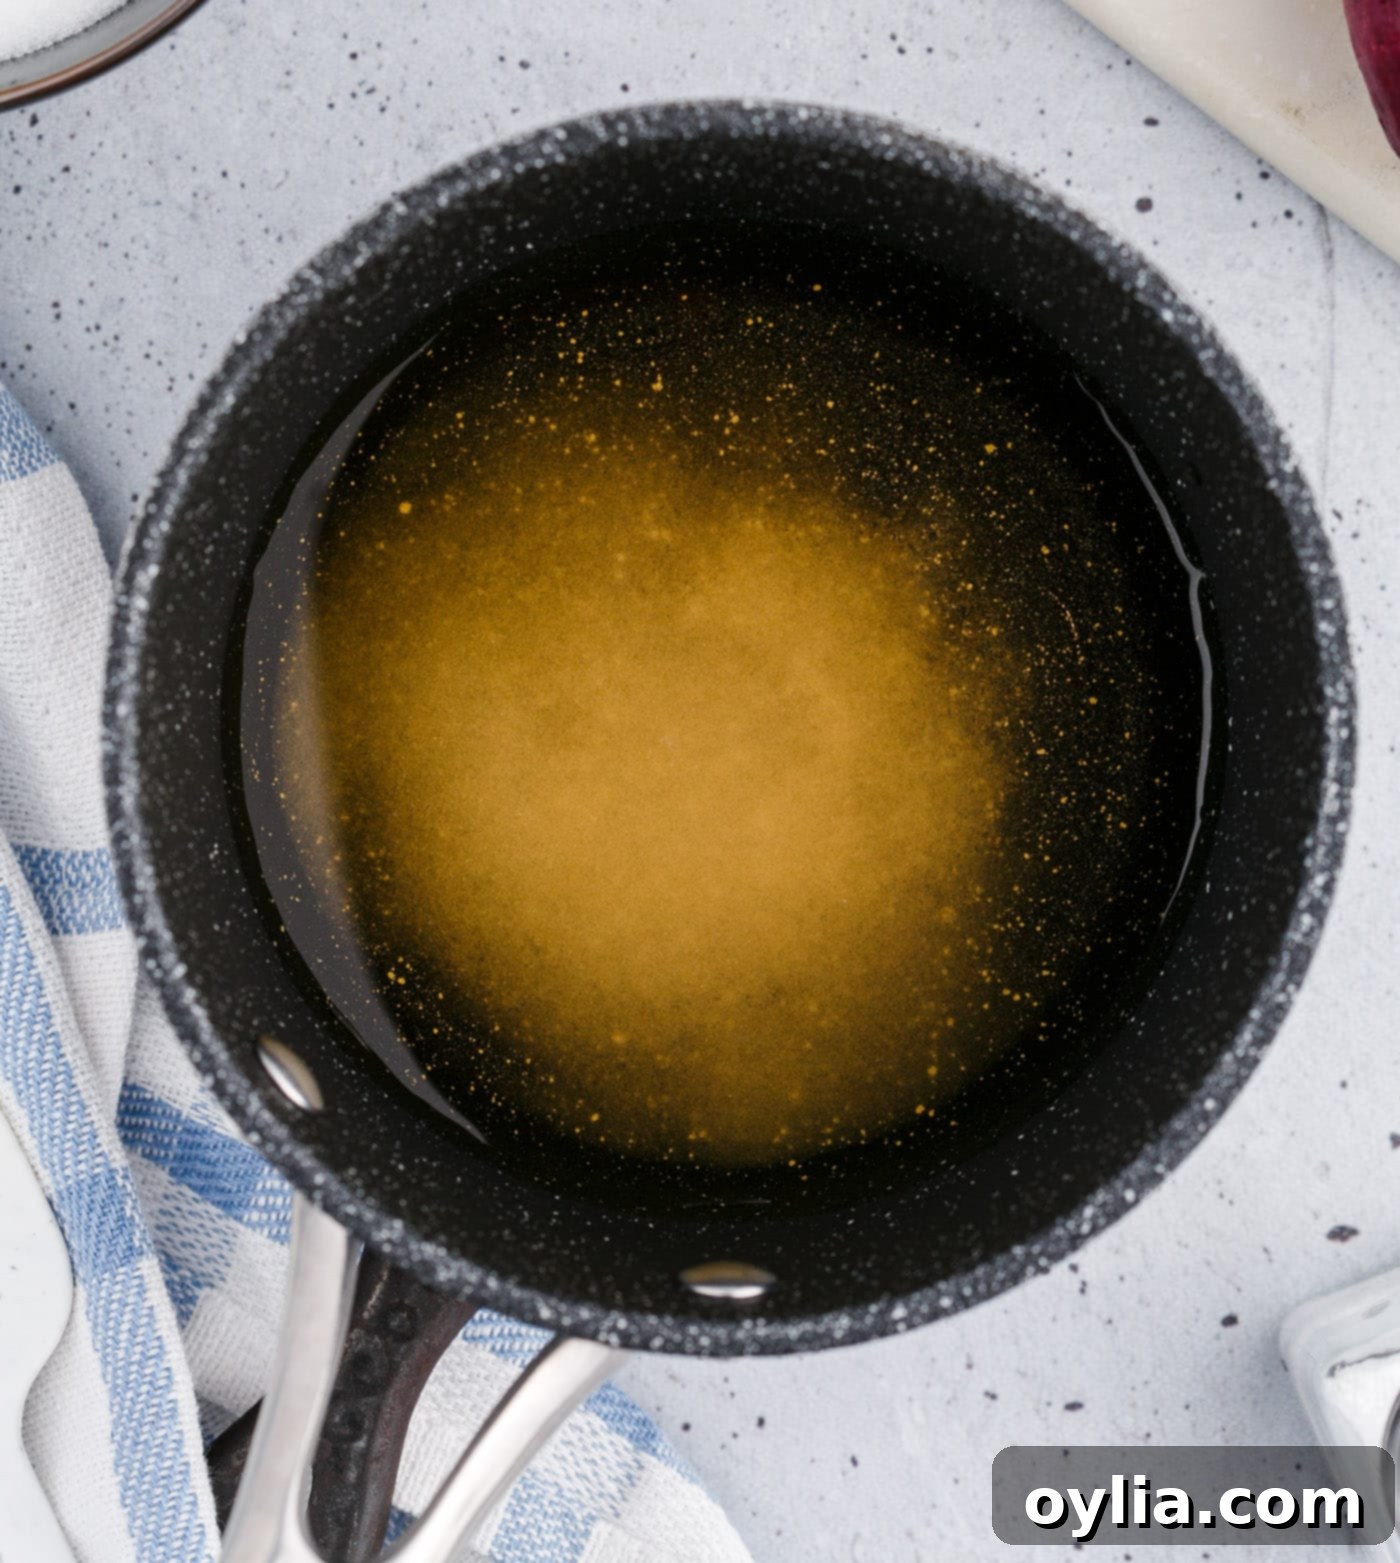
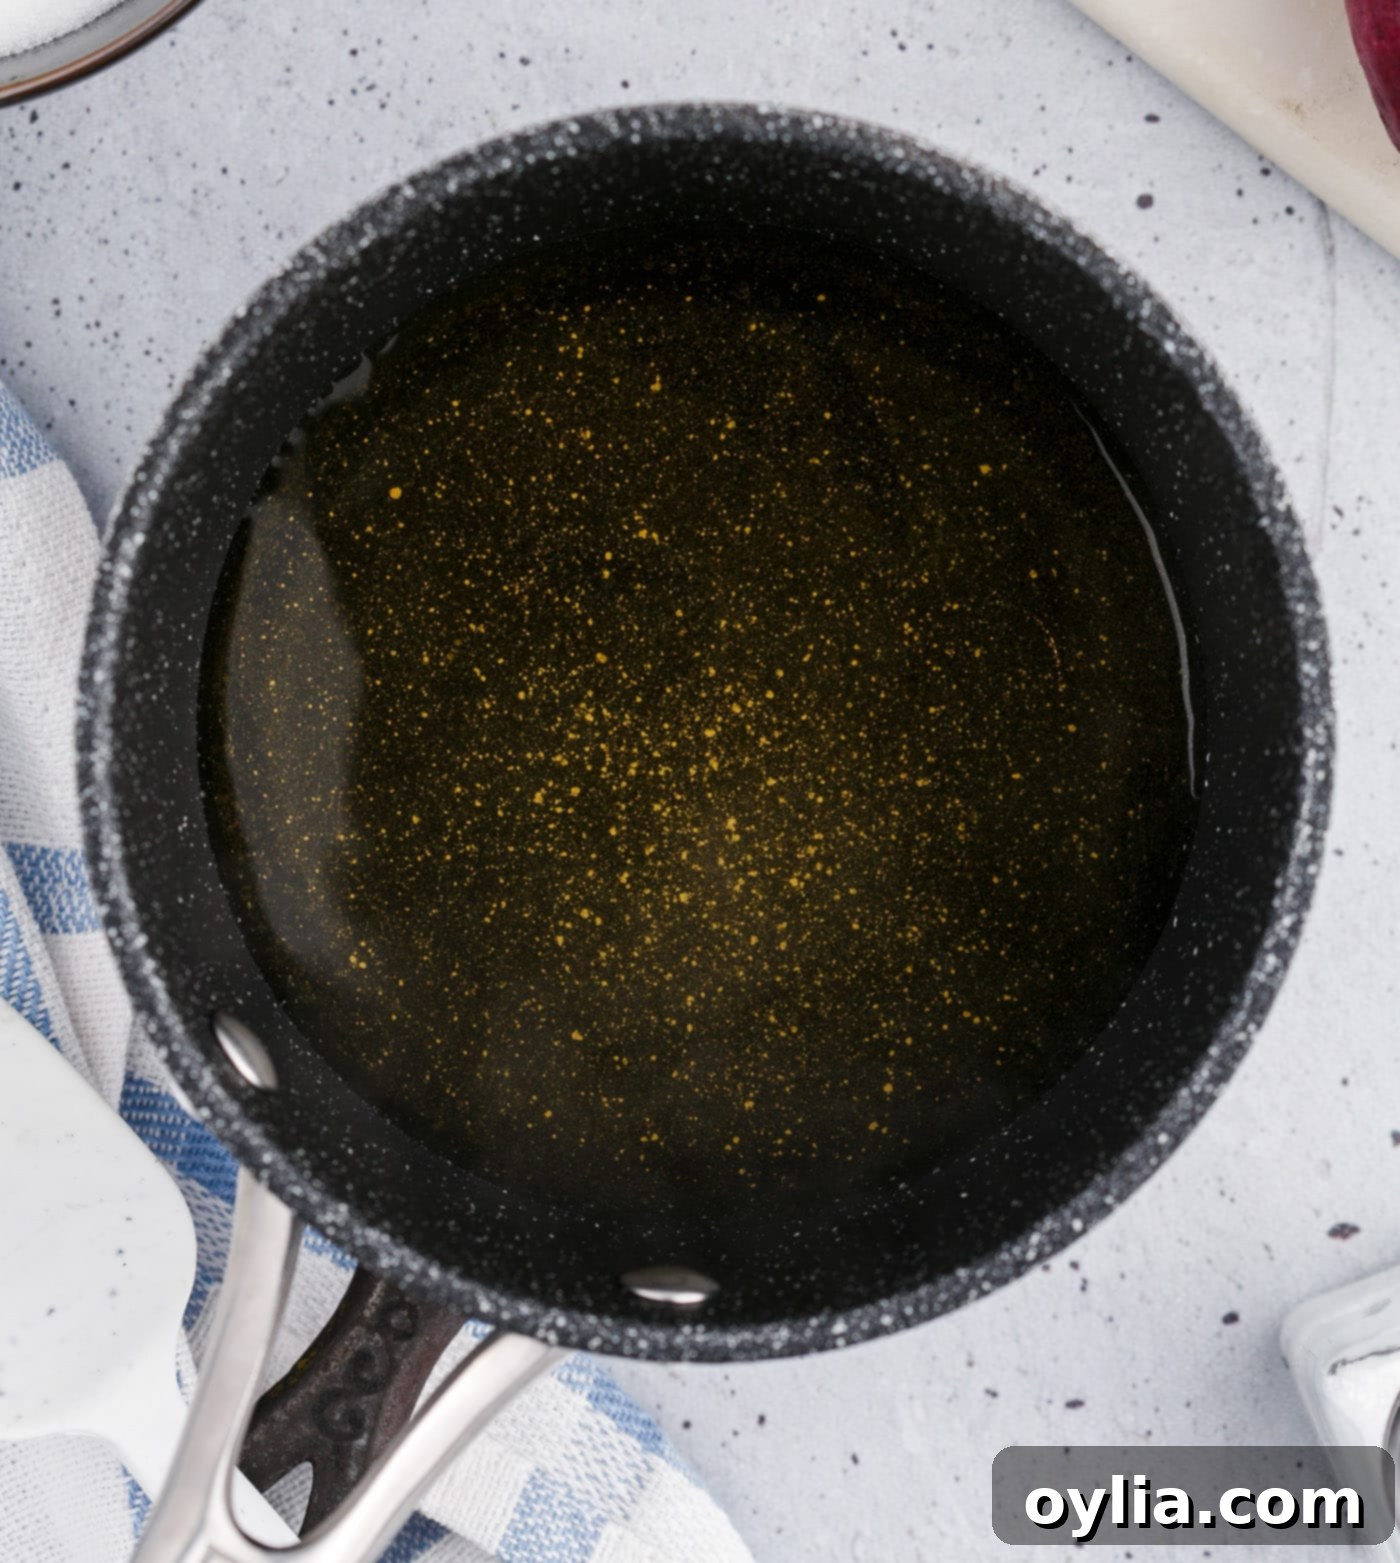
- Prepare the Brine: In a small saucepan, combine all your brine ingredients: apple cider vinegar, water, granulated sugar, and sea salt. Place the saucepan over medium heat and bring the mixture just to a gentle simmer. This step is crucial for dissolving the sugar and salt completely, ensuring an evenly flavored brine. Once it reaches a simmer, immediately remove the pan from the heat. Avoid boiling vigorously, as this can cause some of the vinegar to evaporate, altering the flavor balance.


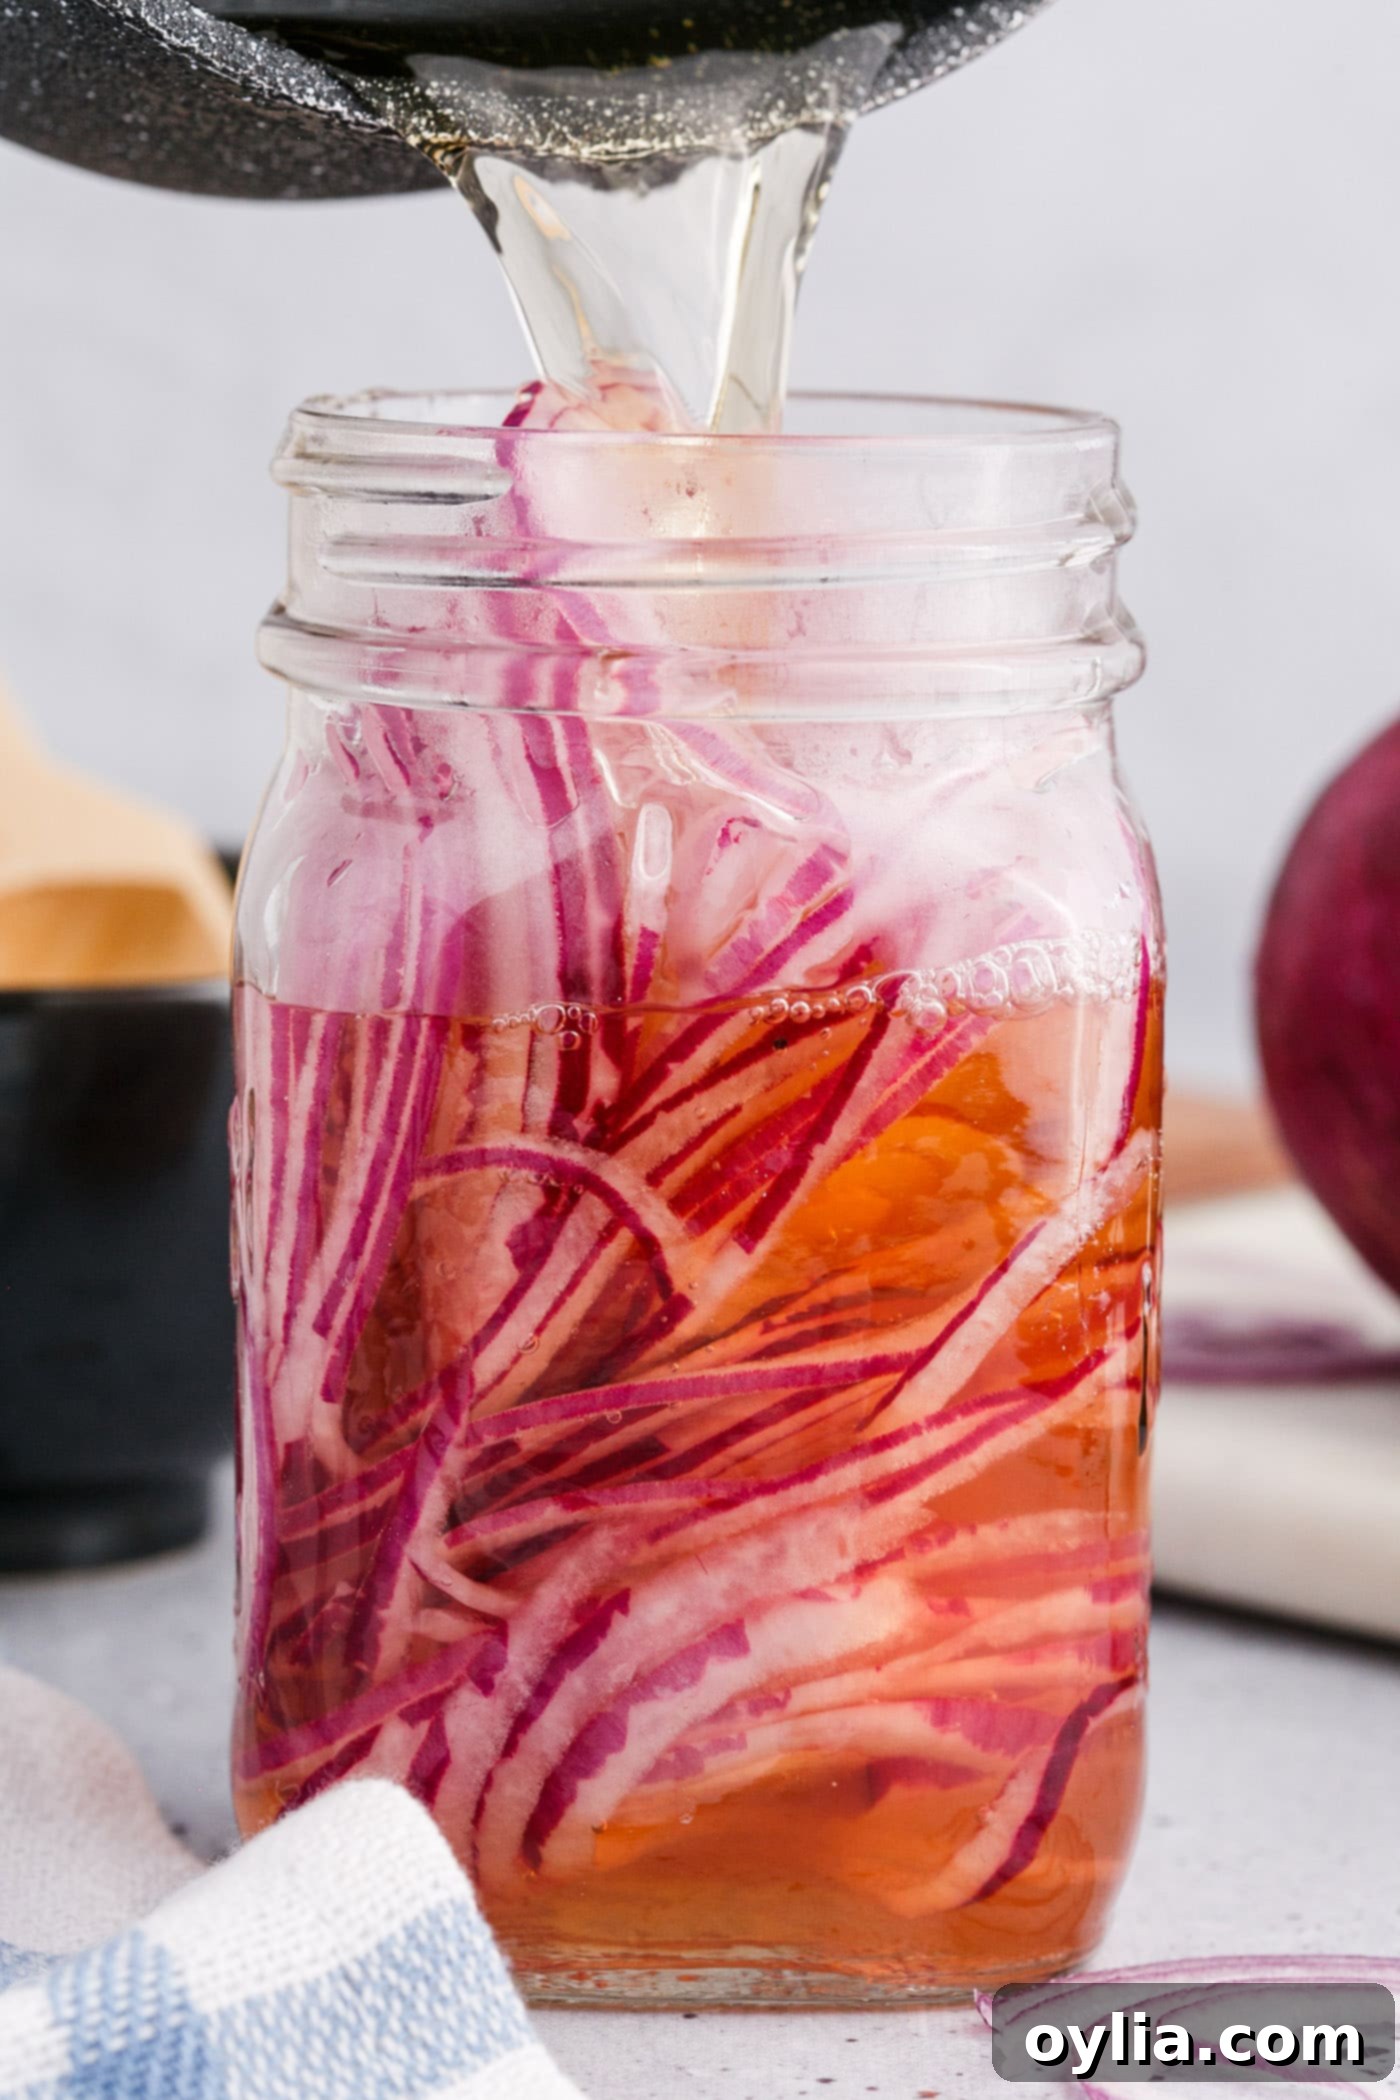
- Slice and Brine the Onions: While your brine is simmering, thinly slice your red onion. Uniformity in slicing is key here, as it ensures even pickling and a consistent texture. A sharp knife works well, but for perfectly thin and consistent slices, a mandoline slicer is highly recommended (use with caution and a guard!). Once sliced, pack the onion slices into a clean pint-sized mason jar. Carefully pour the hot vinegar mixture over the onions, ensuring they are fully submerged. The heat from the brine will immediately begin to soften and “cook” the onions slightly, kickstarting the pickling process.

- Marinate and Chill: Seal the jar tightly with a lid and allow the onions to sit at room temperature for about 45 minutes to 1 hour before their first use. This initial sitting time allows the onions to soften slightly and absorb the flavors of the brine. Once they have cooled completely to room temperature, transfer the jar to the refrigerator.
EXPERT TIP: Sometimes, the onion slices may float slightly above the liquid level. To ensure even pickling, simply flip your jar upside down for half of the marinating duration, then flip it back, or periodically push the onions down with a clean spoon. This helps all the onion slices get properly submerged in the delicious brine.
Frequently Asked Questions & Expert Tips for Pickled Onions
This quick pickled onion recipe is designed for refrigerator storage, not traditional canning. When sealed with an air-tight lid and kept in the refrigerator, your homemade pickled onions will stay fresh and delicious for up to 2 weeks. It’s crucial not to refrigerate them immediately after making them; allow them to cool completely to room temperature first. This allows the pickling process to properly begin and ensures a better texture and flavor.
Absolutely! While red onions are prized for their color and slightly milder flavor when pickled, you can certainly experiment. Sweet onions (like Vidalia or Walla Walla) will yield a very mild, sweet pickled onion. Yellow onions will have a sharper, more pungent flavor. Keep in mind that the vibrant pink color is unique to red onions; other varieties will result in a less colorful product.
For the best results, thin, uniform slices are ideal. This allows the onions to absorb the brine quickly and evenly, ensuring a consistent texture. A sharp chef’s knife can achieve this with practice, but a mandoline slicer (with a safety glove!) is the easiest way to get perfectly consistent, paper-thin slices. Aim for slices that are about 1/8 to 1/16 inch thick.
Yes, this is where you can get creative! To add extra depth and complexity, consider adding whole spices to your brine as it simmers. Popular choices include a few cloves of garlic (smashed or thinly sliced), a teaspoon of black peppercorns, a pinch of red pepper flakes for a kick, a bay leaf, or a few sprigs of fresh dill or thyme. Experiment to find your favorite flavor combinations!
The balance of sweet, sour, and savory is key. If they’re too sour, you might have used too much vinegar or not enough sugar. Next time, try increasing the sugar slightly. If they’re too sweet, reduce the sugar. Too salty? Ensure you’re using the correct type of salt (non-iodized) and measuring accurately. The proportions in this recipe are carefully balanced for a delicious result, but personal preference can vary. Don’t be afraid to adjust slightly in subsequent batches.
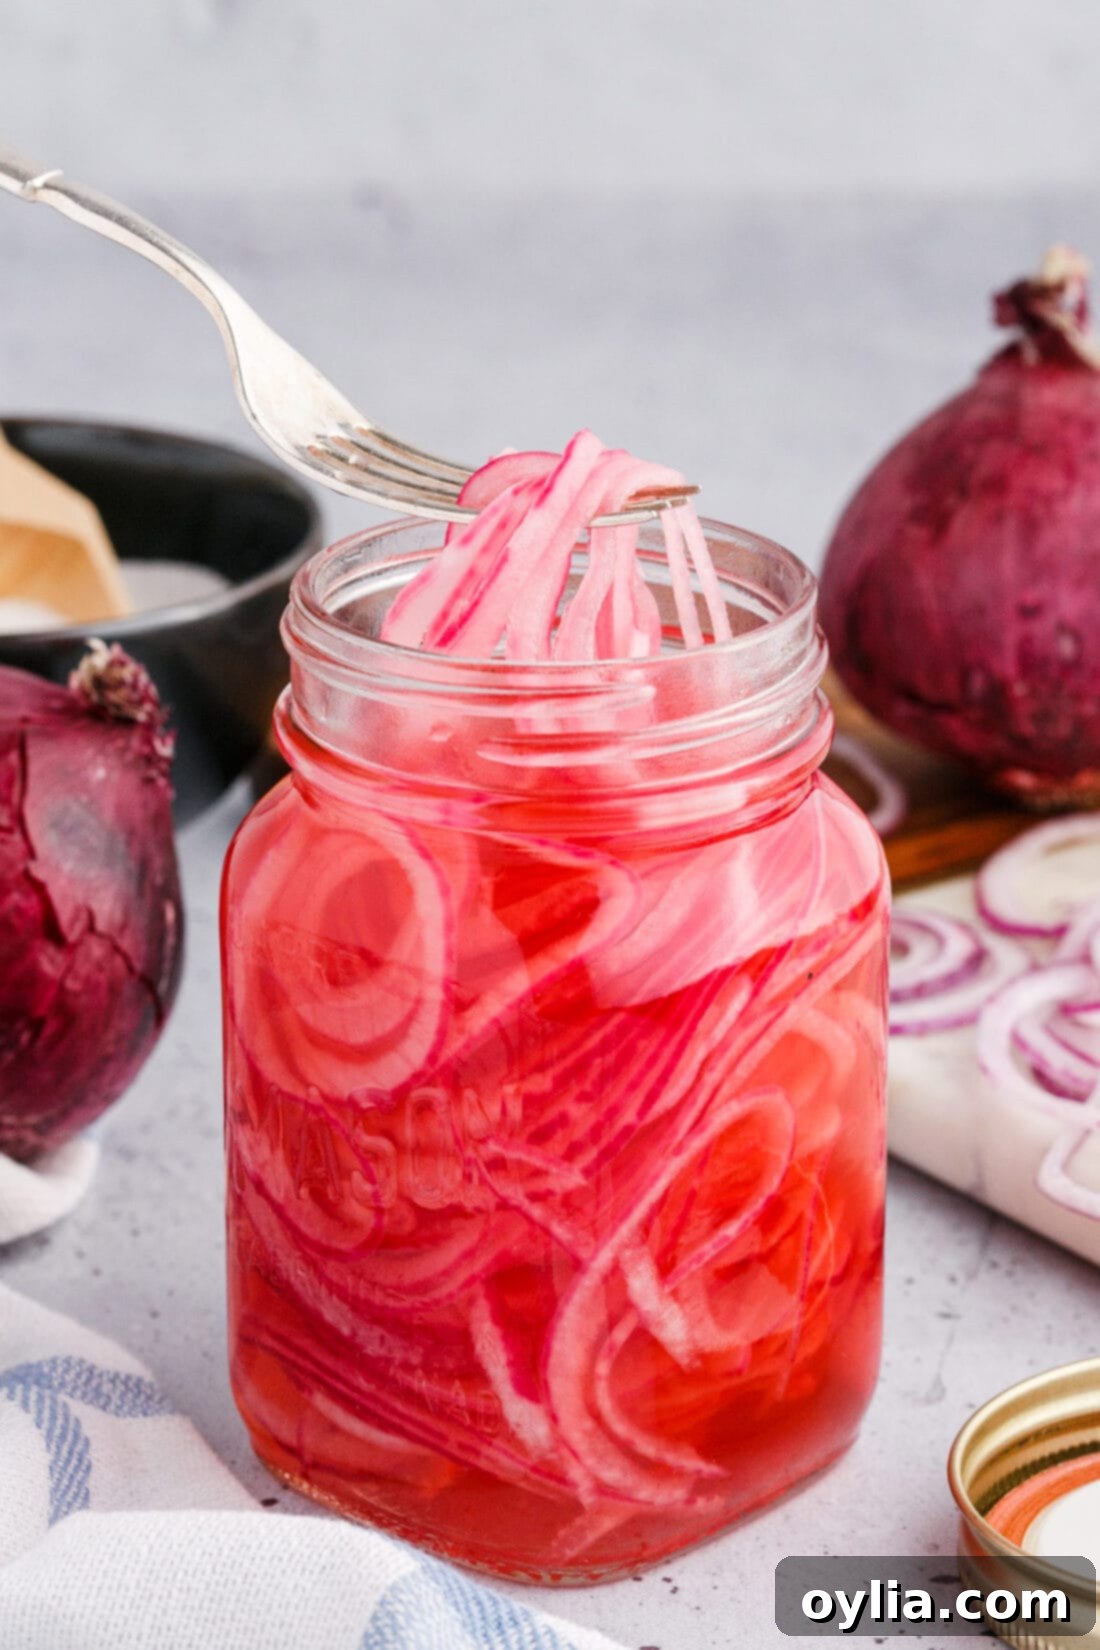
Creative Ways to Serve Your Homemade Pickled Onions
The beauty of homemade pickled red onions lies in their incredible versatility. Their bright, tangy, and slightly sweet flavor profile, coupled with a satisfying crunch, makes them a perfect complement to a vast array of dishes. They cut through richness, add a pop of color, and introduce an exciting textural element. Here are some of our favorite ways to enjoy them:
- Tacos and Mexican Cuisine: This is arguably where pickled red onions shine the most! Pile them high on fish tacos, carne asada, chicken tinga, or even vegetarian bean tacos. They are fantastic on nachos, quesadillas, and enchiladas, offering a refreshing contrast to rich flavors.
- Sandwiches, Burgers, and Wraps: Elevate any sandwich or burger from ordinary to extraordinary. Add them to pulled pork sandwiches, grilled chicken wraps, classic cheeseburgers, or even a simple turkey and avocado sandwich. They provide a much-needed zing.
- Salads and Grain Bowls: Toss them into your favorite green salads, potato salads, or pasta salads for an instant flavor and color boost. They are particularly good in grain bowls with roasted vegetables and protein, adding a bright counterpoint.
- Breakfast and Brunch: Don’t underestimate their power at breakfast! Garnish scrambled eggs, avocado toast, breakfast burritos, or even a savory pancake stack with a few slices for an unexpected but delightful tang.
- Grilled Meats and Seafood: Serve alongside grilled steak, chicken, or fish to cut through the richness and add a fresh, vibrant element. They pair beautifully with fatty fish like salmon.
- Charcuterie Boards: A must-have on any cheese and charcuterie board. Their acidity provides a wonderful contrast to creamy cheeses and savory cured meats.
- Pizza: A scattering of pickled red onions on a white pizza or even a classic pepperoni can add a gourmet touch.
- Beyond: Experiment by adding them to hummus, spreading them on bruschetta, or finely dicing them into dips for an extra layer of flavor.
Remember, while the base recipe is simple, feel free to enhance your pickled onions with additional aromatics like garlic cloves, black peppercorns, red pepper flakes, or fresh herbs such as dill or thyme, added directly to the brine before simmering. The possibilities are endless!
The Magic of Pickling: Why It Works and What You Gain
Pickling is an ancient method of food preservation that has stood the test of time, and for good reason. At its core, quick pickling, as we’re doing with these onions, involves submerging food in an acidic solution – typically vinegar – often with salt, sugar, and sometimes spices. This acidic environment rapidly changes the food’s texture and flavor profile.
For onions, the sharp acetic acid in the vinegar breaks down the cell walls, transforming their pungent raw bite into a softer, more palatable texture. Simultaneously, the acid denatures the compounds responsible for the onion’s characteristic tear-inducing properties, making them much milder. The sugar then balances this acidity, creating the delightful sweet-and-sour taste that makes pickled onions so addictive. This process not only extends the shelf life of the onions by inhibiting bacterial growth but also infuses them with complex, vibrant flavors that are simply unmatched by raw onions.
Opting for homemade pickled onions over store-bought varieties offers several distinct advantages. Firstly, you have complete control over the ingredients. This means you can choose high-quality, fresh produce and adjust the levels of sugar and salt to your personal taste, avoiding artificial preservatives or excessive sodium often found in commercial products. Secondly, the flavor of freshly made pickled onions is incomparably brighter and more nuanced. The quick pickling method allows the natural flavor of the red onion to shine through, complemented by the fresh, zesty brine. Finally, there’s an immense satisfaction that comes from creating something so delicious and versatile with your own hands, knowing exactly what went into it.
More Flavorful Quick & Easy Recipes You’ll Love
If you enjoyed the simplicity and deliciousness of these quick pickled red onions, you’ll love exploring other easy-to-make condiments and treats from our kitchen:
- Quick Pickled Beets
- Homemade Pickled Eggs
- Creamy Homemade Caramel Sauce
- Delicious Homemade Cherry Pie Filling
- Copycat Homemade Claussen Pickles
I absolutely love to bake and cook, and my greatest joy is sharing my kitchen experiences and favorite recipes with all of you! Remembering to come back each day for new inspiration can be tough, which is why I offer a convenient newsletter delivered straight to your inbox every time a new recipe posts. Simply subscribe here and start receiving your free daily recipes, tips, and tricks! Let’s make every meal a delicious adventure.
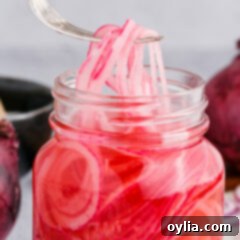
Pickled Red Onions
IMPORTANT – There are often Frequently Asked Questions within the blog post that you may find helpful. Simply scroll back up to read them!
Print It
Pin It
Rate It
Save It
Saved!
Ingredients
- 1 cup apple cider vinegar or distilled white vinegar
- ⅓ cup water
- 1 ½ Tablespoons granulated sugar
- ½ teaspoon sea salt
- 1 large red onion thinly sliced (approx. 200 grams)
Things You’ll Need
-
1 Pint size mason jar
-
Saucepan
-
Sharp knife or mandoline slicer
Before You Begin & Expert Tips
- Vinegar Substitution: Feel free to substitute the apple cider vinegar with distilled white vinegar for a cleaner, sharper tang.
- Sweetener Alternatives: You can swap granulated sugar with natural sweeteners like maple syrup, honey, raw sugar, or cane sugar. Be aware that these may subtly alter the flavor and you might need to adjust quantities to achieve your desired sweetness.
- Storage Life: These refrigerator pickled onions will keep well in an airtight container in the refrigerator for up to 2 weeks. Remember, these instructions are for quick refrigerator pickling, not traditional canning.
- Flavor Enhancements: Don’t hesitate to personalize your pickled onions! Add aromatics to the simmering brine such as smashed garlic cloves, whole peppercorns (black or mixed), a pinch of red pepper flakes for heat, a bay leaf, or fresh herbs like dill or thyme.
- Cooling is Key: Always allow your pickled onions to cool completely to room temperature before refrigerating. This helps the flavors meld and ensures proper storage.
Instructions
-
In a small saucepan, combine all brine ingredients (vinegar, water, sugar, salt) except for the onion. Bring the mixture to a gentle simmer over medium heat, stirring until the sugar and salt are fully dissolved. Remove from heat immediately.
-
Thinly slice your red onion (about 1/8 to 1/16 inch thick) and pack the slices tightly into a clean pint-sized mason jar. Carefully pour the hot vinegar mixture over the onions, ensuring they are fully submerged.
-
Seal the jar with a lid and let the onions sit at room temperature for about 45 minutes to 1 hour before using. Once completely cooled, transfer the jar to the refrigerator for storage.
-
Pro Tip: If some onion slices float above the brine, simply flip your jar upside down for half the marinating time, then flip it back. Alternatively, gently push the onions down with a spoon periodically to ensure even pickling.
The recipes on this blog are tested with a conventional gas oven and gas stovetop. It’s important to note that some ovens, especially as they age, can cook and bake inconsistently. Using an inexpensive oven thermometer can assure you that your oven is truly heating to the proper temperature. If you use a toaster oven or countertop oven, please keep in mind that they may not distribute heat the same as a conventional full sized oven and you may need to adjust your cooking/baking times. In the case of recipes made with a pressure cooker, air fryer, slow cooker, or other appliance, a link to the appliances we use is listed within each respective recipe. For baking recipes where measurements are given by weight, please note that results may not be the same if cups are used instead, and we can’t guarantee success with that method.
