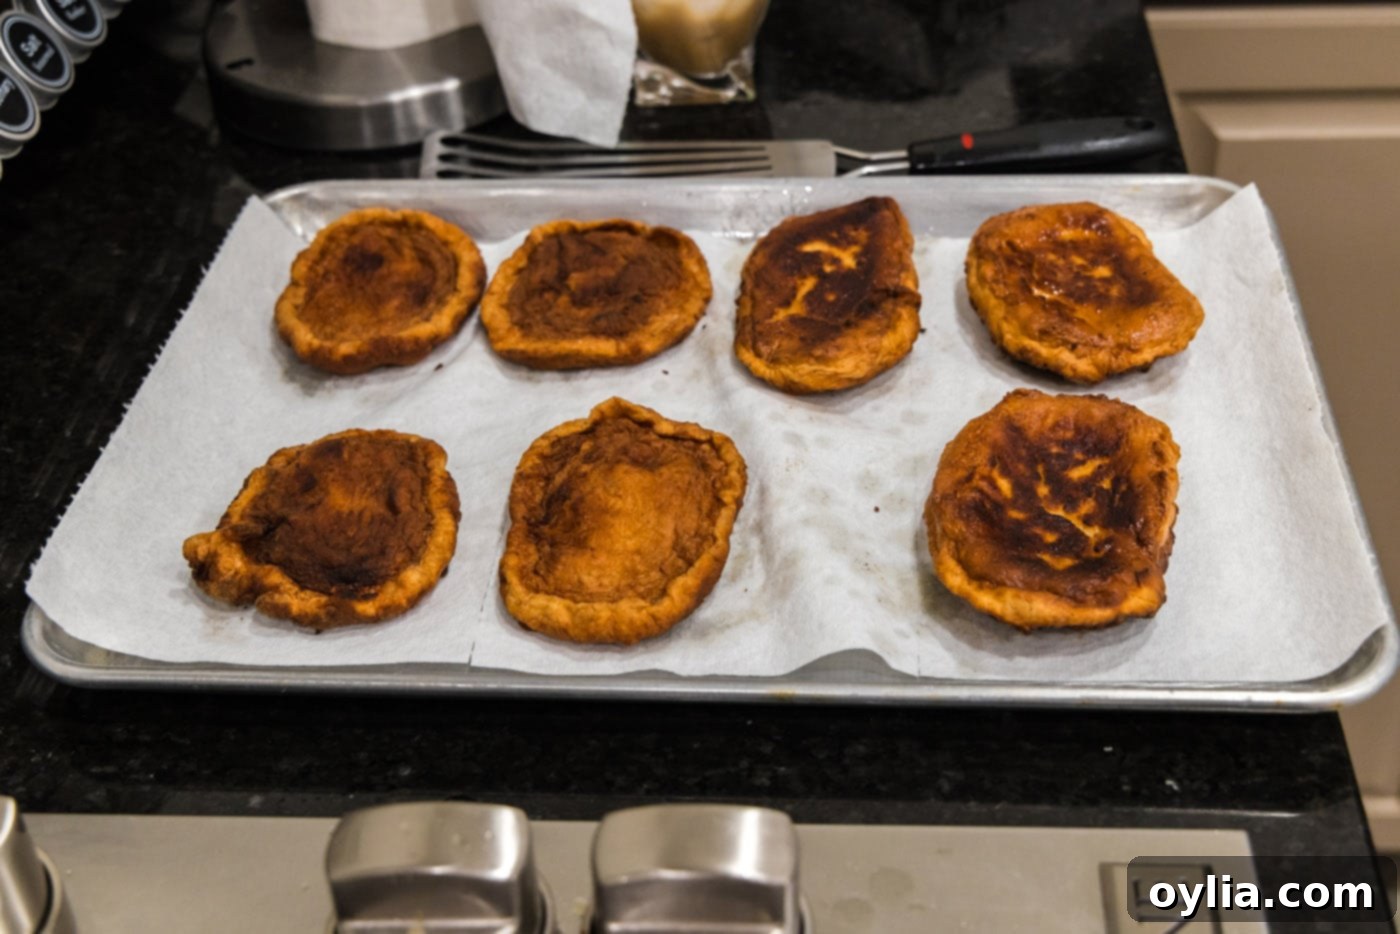
Homemade Korean Fish Cakes (Eomuk) Recipe: Your Guide to Perfect Pan-Fried Delights
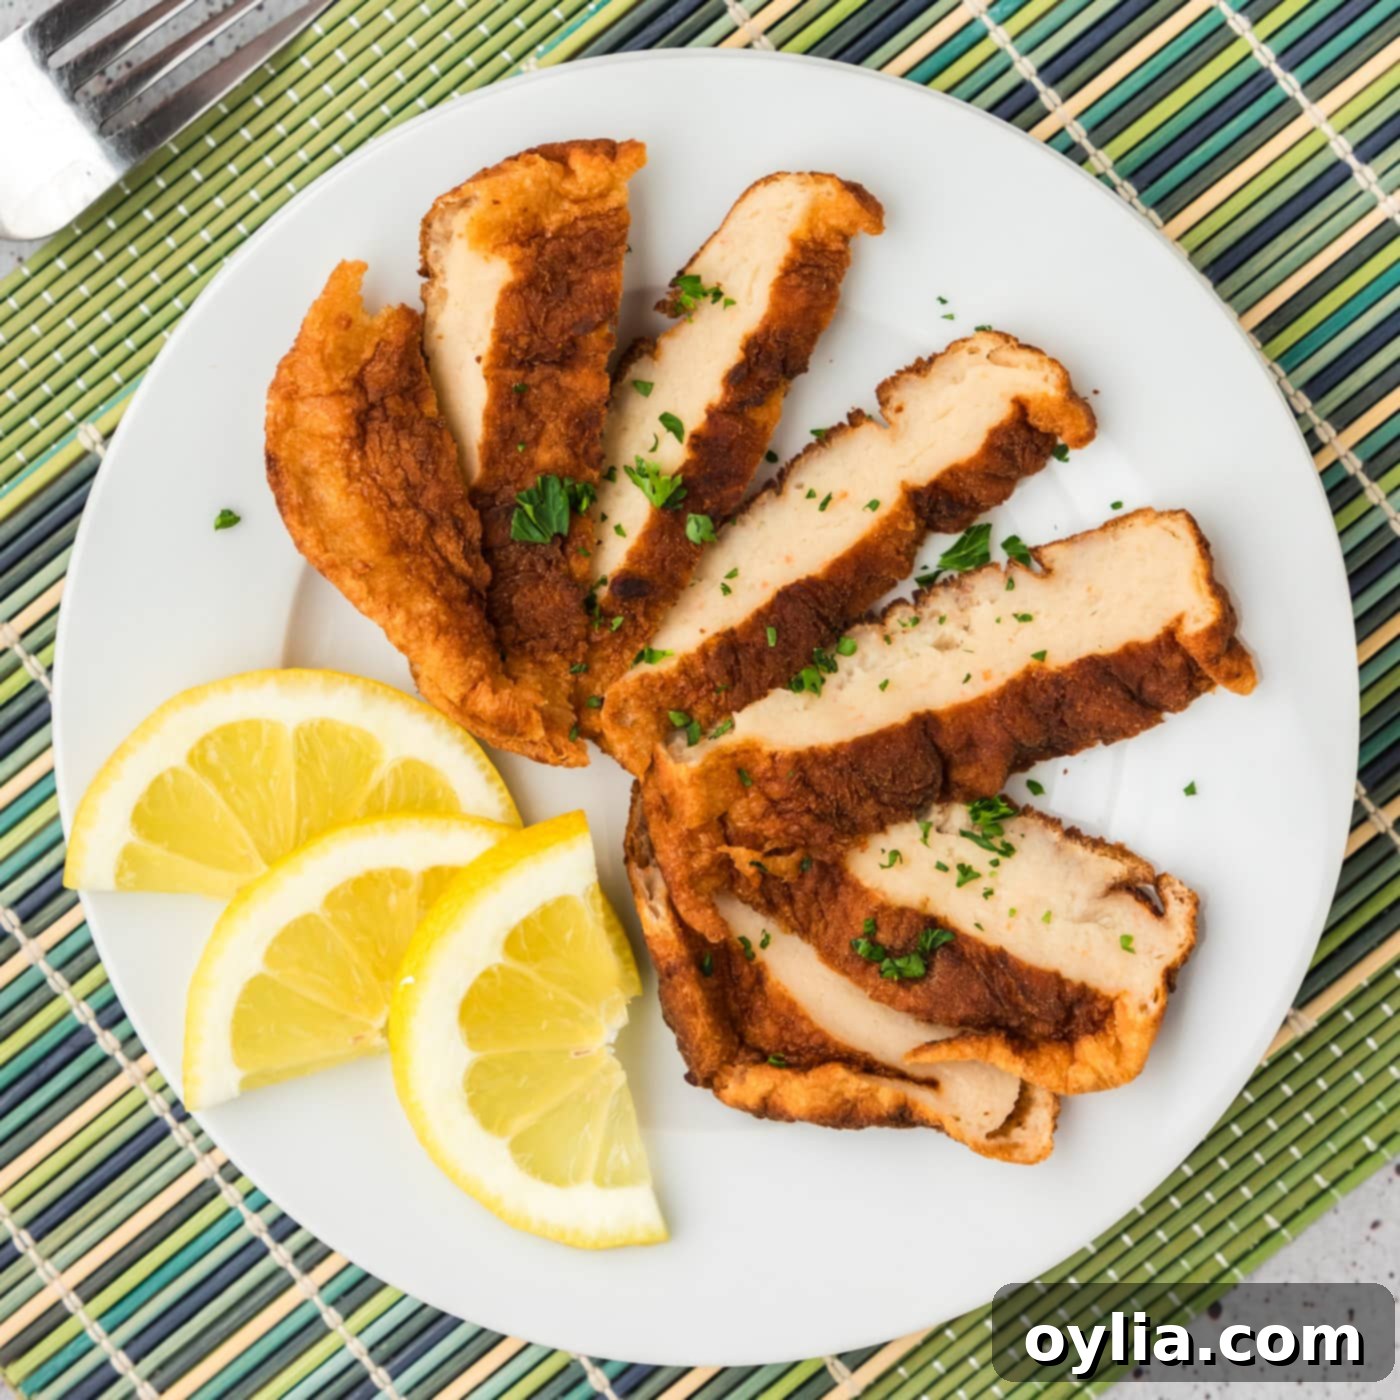
Prepare to delight your taste buds with these exquisite homemade Korean fish cakes, known as Eomuk. This recipe guides you through creating these mouth-watering treats from scratch, ensuring a fresh, flavorful, and incredibly satisfying experience. Forget the store-bought versions; pureeing fresh fish and shrimp, shaping them by hand, and pan-frying until golden brown is a culinary journey you won’t regret. The result is a delightfully chewy texture with a rich, savory umami flavor that perfectly complements any meal.
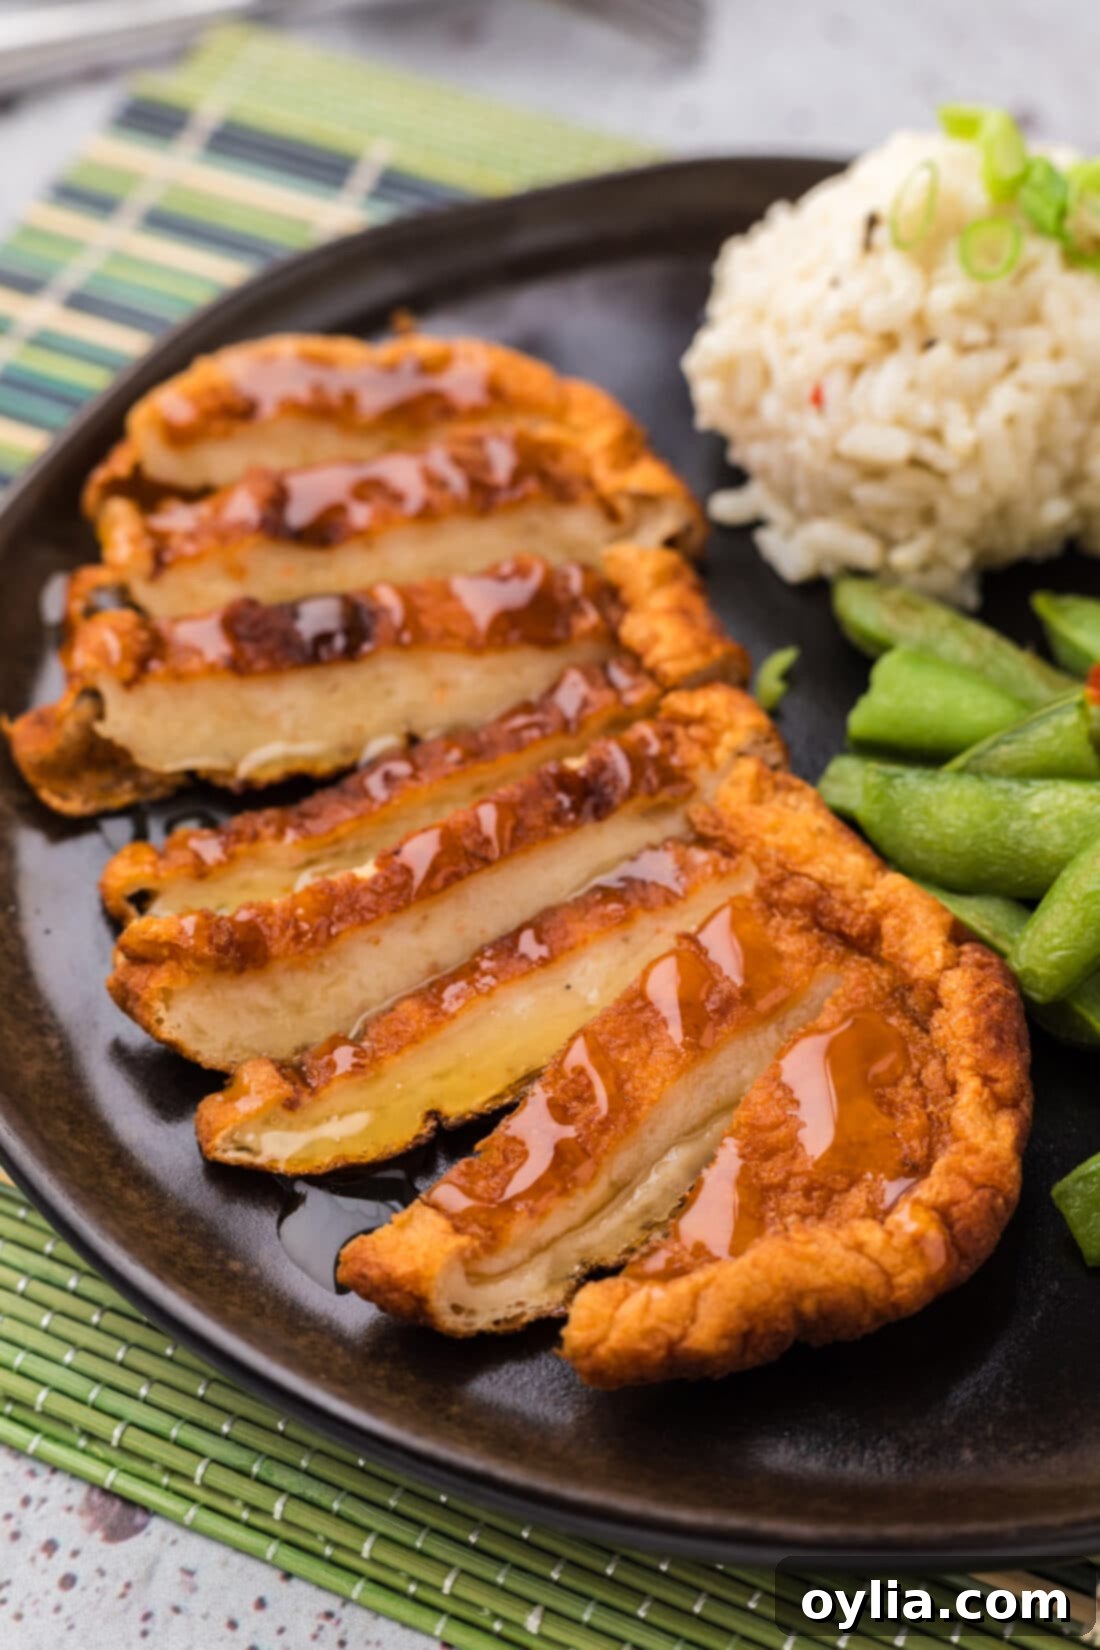
Why This Homemade Korean Fish Cake Recipe is a Must-Try
Korean fish cakes, or eomuk (sometimes used interchangeably with eomuk bokkeum when stir-fried), are a beloved staple in Korean cuisine, frequently enjoyed as a versatile side dish (banchan), a hearty snack, or a delicious addition to soups like tteokbokki. While many recipes might suggest starting with pre-made fish cakes, this recipe elevates the experience by guiding you to craft them entirely from scratch. The fresh ingredients and hands-on process ensure a superior flavor and texture that truly stands out.
Our unique approach uses a flavorful blend of fresh tilapia, orange roughy, and succulent shrimp. This combination isn’t just arbitrary; tilapia offers a mild base, orange roughy contributes a firm texture, and shrimp introduces a delightful sweetness and springiness. Together, they create a depth of umami flavor that’s both complex and incredibly satisfying. The resulting texture is wonderfully chewy yet tender, often compared to a savory, breaded tofu, making them universally appealing. Once pan-fried to a beautiful golden brown, these homemade Korean fish cakes are absolutely delicious, especially when served alongside a bowl of fluffy steamed rice and a medley of fresh, vibrant vegetables.
Making eomuk from scratch might sound daunting, but it’s surprisingly straightforward. The process involves simple steps: pureeing the seafood, combining it with seasonings, shaping, and then pan-frying. This control over ingredients means you avoid artificial additives and can customize the flavor profile to your liking. The effort is well worth it for the unparalleled freshness and authentic taste you’ll achieve right in your own kitchen.
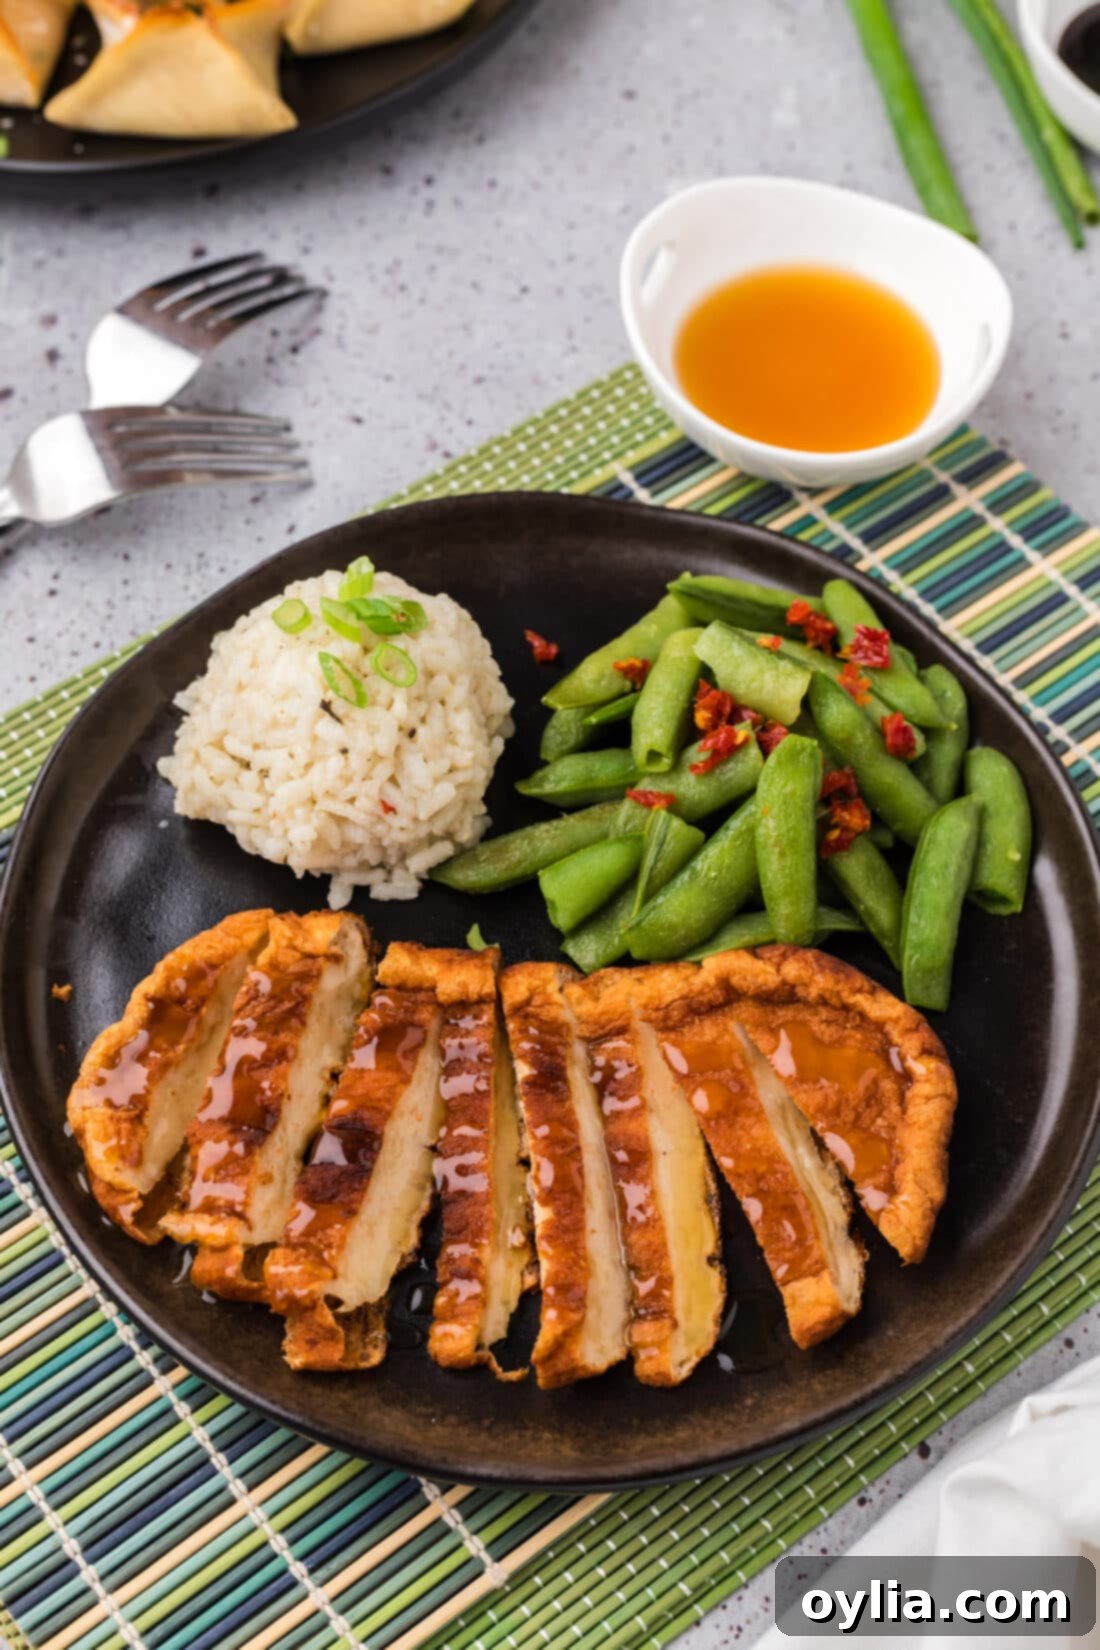
Essential Ingredients for Your Homemade Eomuk
Crafting delicious Korean fish cakes begins with selecting the right ingredients. Below, we’ll delve into the key components and their roles in achieving the perfect flavor and texture. For precise measurements and a comprehensive list, please refer to the printable recipe card at the conclusion of this article.
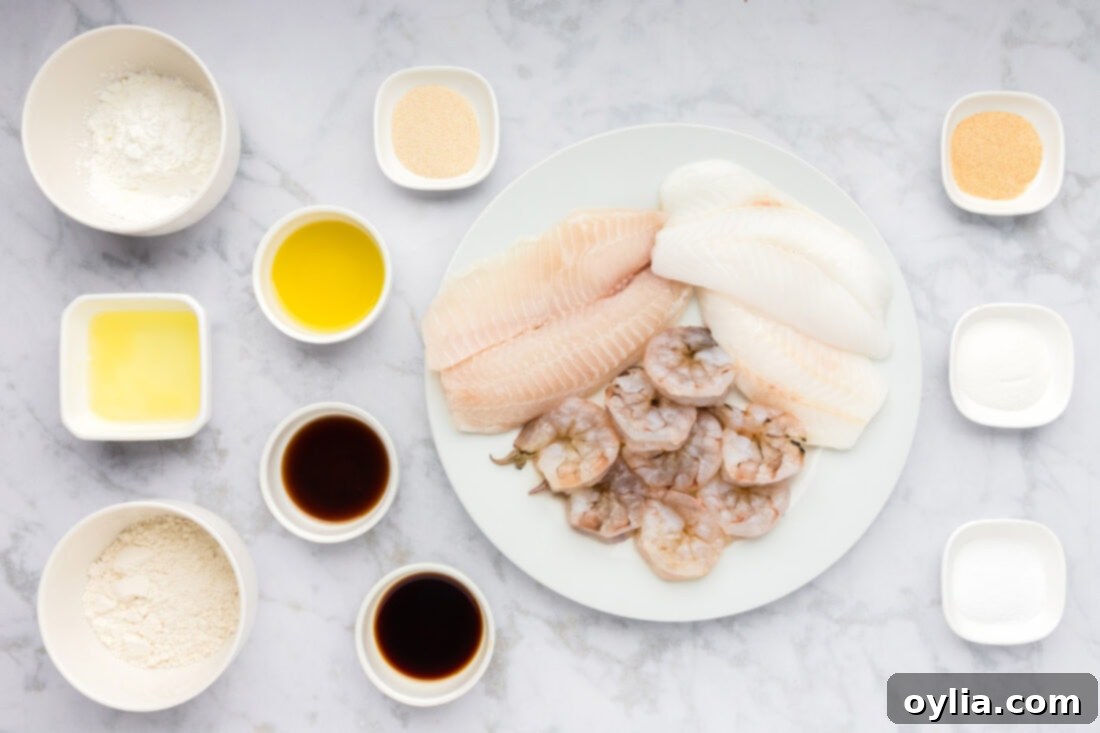
Ingredient Spotlight & Smart Substitutions
The Fish Foundation: Tilapia, Orange Roughy, & Shrimp
FISH – Chef Antoine’s recipe calls for a specific combination of pureed tilapia, orange roughy, and shrimp to achieve the ideal flavor and texture profile for these homemade Korean fish cakes. Tilapia provides a neutral base, while orange roughy adds firmness and body, and shrimp contributes a delicate sweetness and a springy bite that is characteristic of authentic eomuk. The key is to use fresh, high-quality seafood for the best results. If fresh isn’t available, ensure frozen fish and shrimp are thoroughly thawed and patted very dry before processing.
- Substitutions: Don’t have these specific fish? No problem! You can substitute with any lean, white, flaky fish you prefer. Good alternatives include cod, pollock, haddock, or even snapper. Aim for a fish that doesn’t have an overly strong “fishy” flavor, as this can overpower the subtle seasonings. If substituting, try to use a combination of firmer and softer white fish to achieve a balanced texture. Ensure all fish is deboned and skinless before use.
The Essential Binder: Egg White
EGG – The egg white is a non-negotiable ingredient in this recipe. It acts as a crucial binder, holding the fish mixture together as it cooks and preventing the fish cakes from falling apart during pan-frying. The protein in the egg white coagulates with heat, creating a stable structure. Skipping this step would result in crumbly fish cakes that lack the desired integrity. Using just the egg white ensures the cakes remain light in color and texture, without the richness or additional moisture that a whole egg yolk might impart.
Flavor Enhancers & Texture Builders
Beyond the primary seafood, a thoughtful selection of other ingredients contributes to the overall success of these fish cakes:
- All-Purpose Flour & Cornstarch: These starches are vital for binding the mixture further and creating that desirable slightly chewy, yet tender, interior texture. The additional flour for rolling is essential to prevent the sticky dough from adhering to your hands and work surface during shaping.
- Olive Oil: Used in the mixture for richness and moisture, and vegetable oil is needed for pan-frying to achieve a crispy, golden exterior.
- Garlic Powder & Onion Powder: These provide aromatic depth and savory notes, enhancing the umami profile without adding excess moisture that fresh garlic or onion might.
- Soy Sauce & Oyster Sauce: Fundamental to Korean cuisine, these sauces deliver layers of savory, salty, and umami flavors. Oyster sauce, in particular, adds a distinct depth and sweetness.
- Granulated Sugar & Salt: A touch of sugar balances the savory and salty elements, creating a well-rounded flavor. Salt is crucial for seasoning the fish cakes appropriately.
Creative Additions for Customization
ADDITIONS – While delicious as is, feel free to personalize your Korean fish cakes with various additions:
- Vegetables: For added freshness, color, and nutrition, incorporate finely minced vegetables. Options include sweet onion, bell peppers (red or green), green onions (scallions), or finely grated carrots. Ensure they are minced very small so they cook evenly and don’t disrupt the fish cake’s texture. About 1/4 to 1/2 cup of finely minced vegetables should be plenty for this recipe.
- Spice: If you enjoy a kick, a pinch of Korean chili flakes (gochugaru) or a dash of gochujang (Korean chili pepper paste or sauce) can be mixed into the fish cake batter. Start with a small amount and taste as you go, adjusting to your preferred level of heat. This will give your eomuk a spicy depth that many find irresistible.
How to Make Delicious Homemade Korean Fish Cakes
These step-by-step photos and instructions are here to help you visualize how to make this recipe successfully. You can Jump to Recipe to get the printable version of this recipe, complete with precise measurements and instructions at the bottom.
-
Prepare the Seafood Base
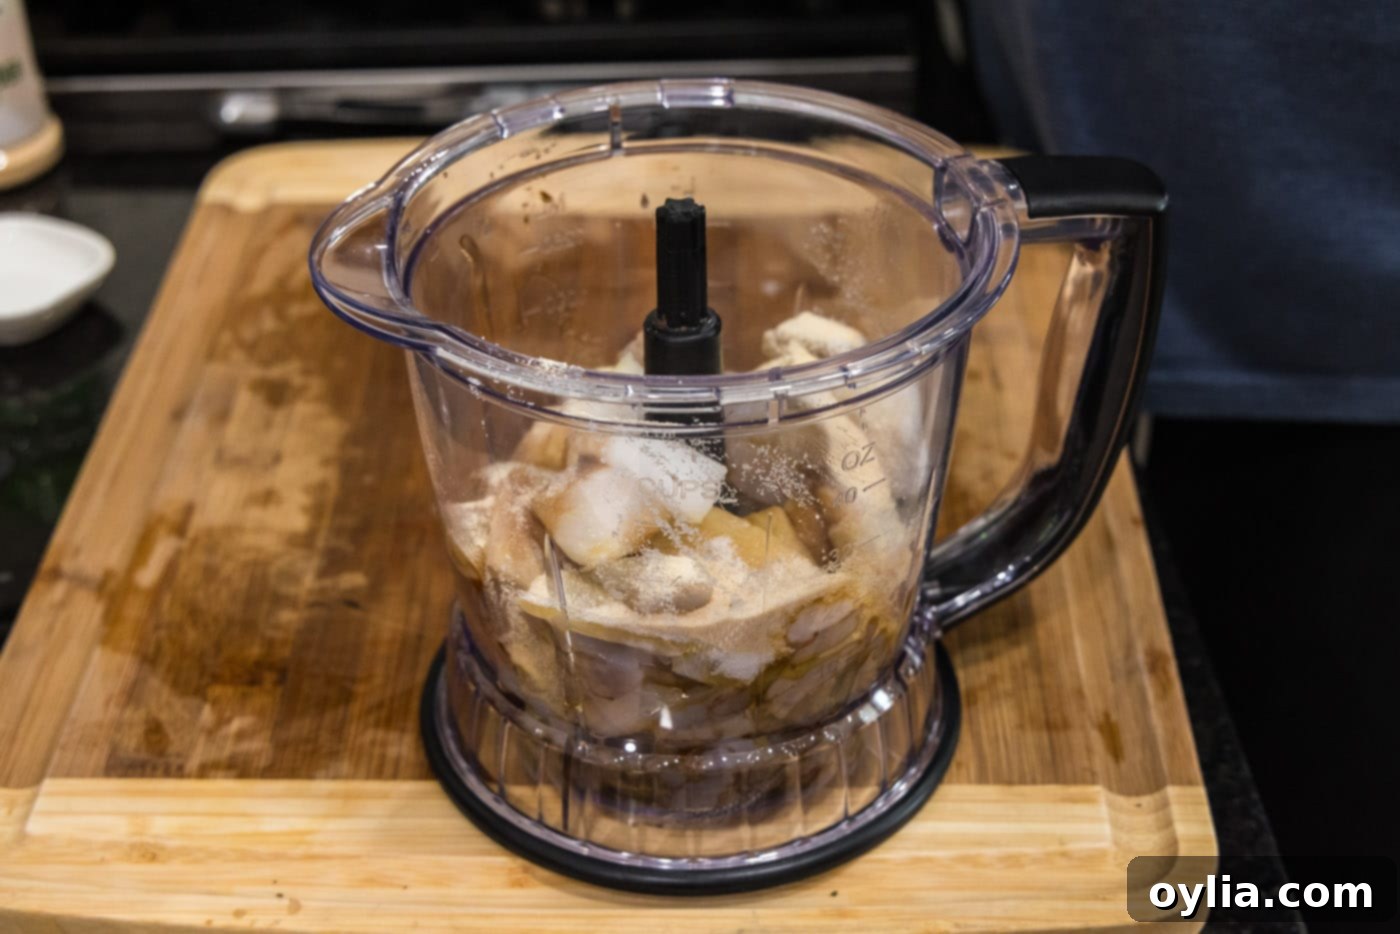
Begin by cutting your fish (tilapia and orange roughy) and shrimp into manageable chunks. This makes it easier for the food processor to achieve a smooth, uniform puree. Place these chunks directly into your food processor bowl. Ensure all bones are removed from the fish, and shrimp are peeled, deveined, and tails are removed for the best texture.

-
Puree and Combine Ingredients
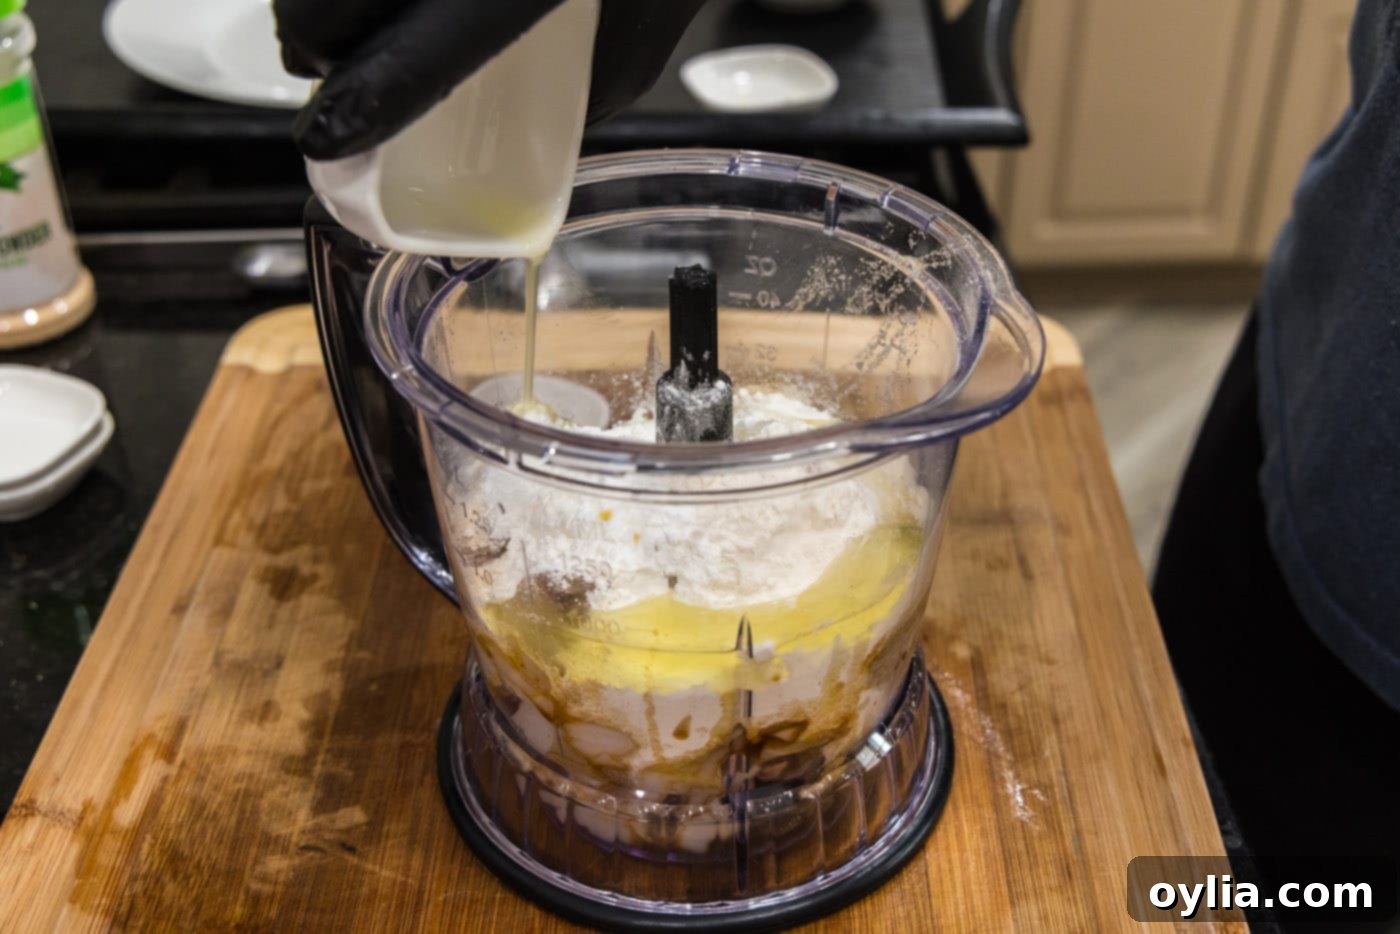
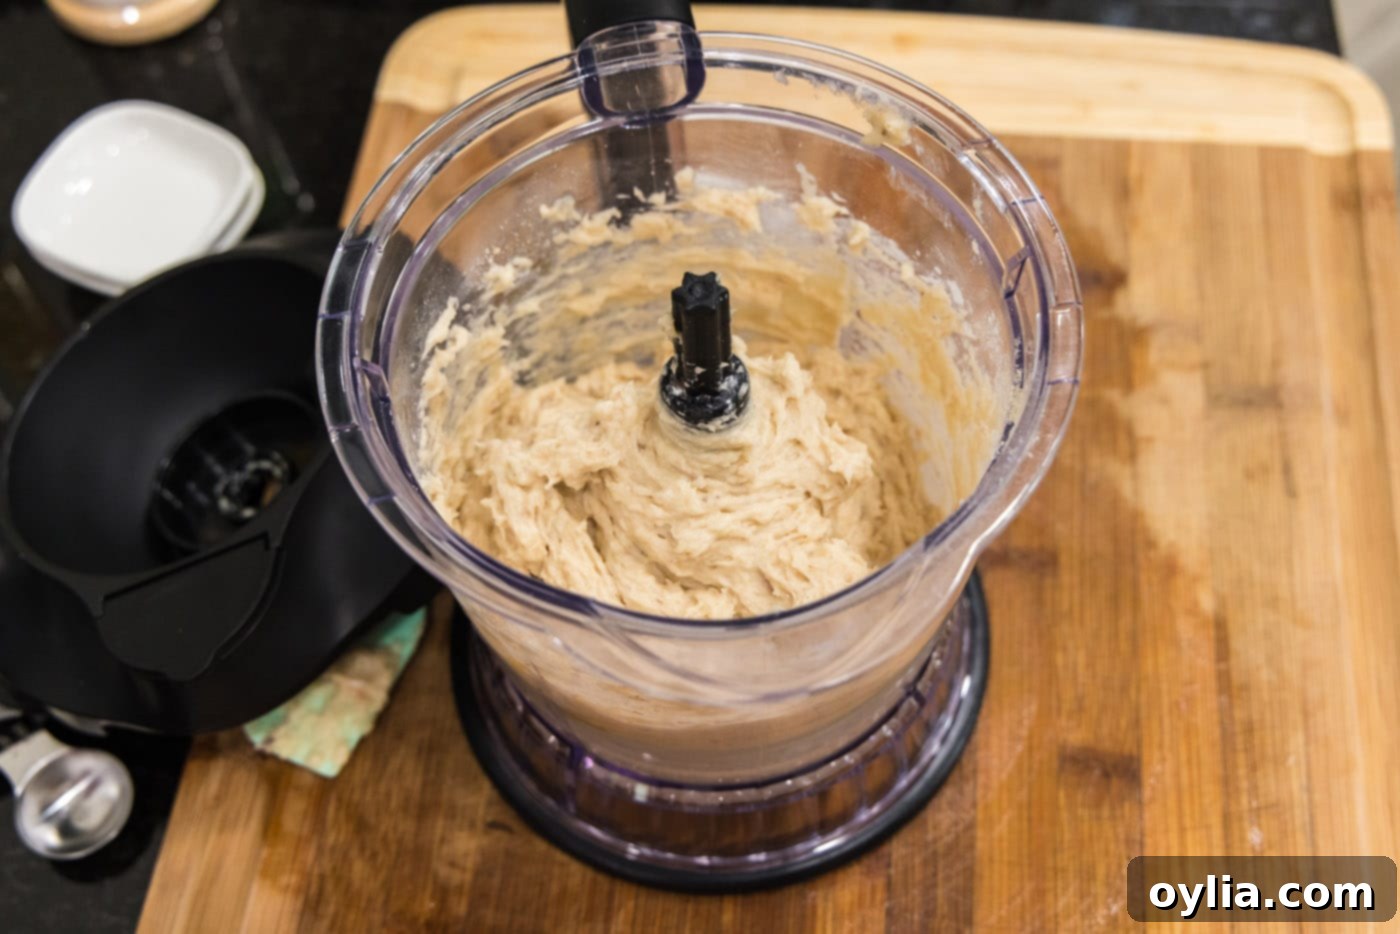
Add all the remaining ingredients (all-purpose flour, cornstarch, olive oil, garlic powder, onion powder, soy sauce, oyster sauce, egg white, granulated sugar, and salt) into the food processor with the fish and shrimp. Process until the mixture forms a thick, sticky paste. It should be smooth but still have some body. Be careful not to over-process, which can make the mixture too watery.


-
Prepare Your Work Surface and Hands
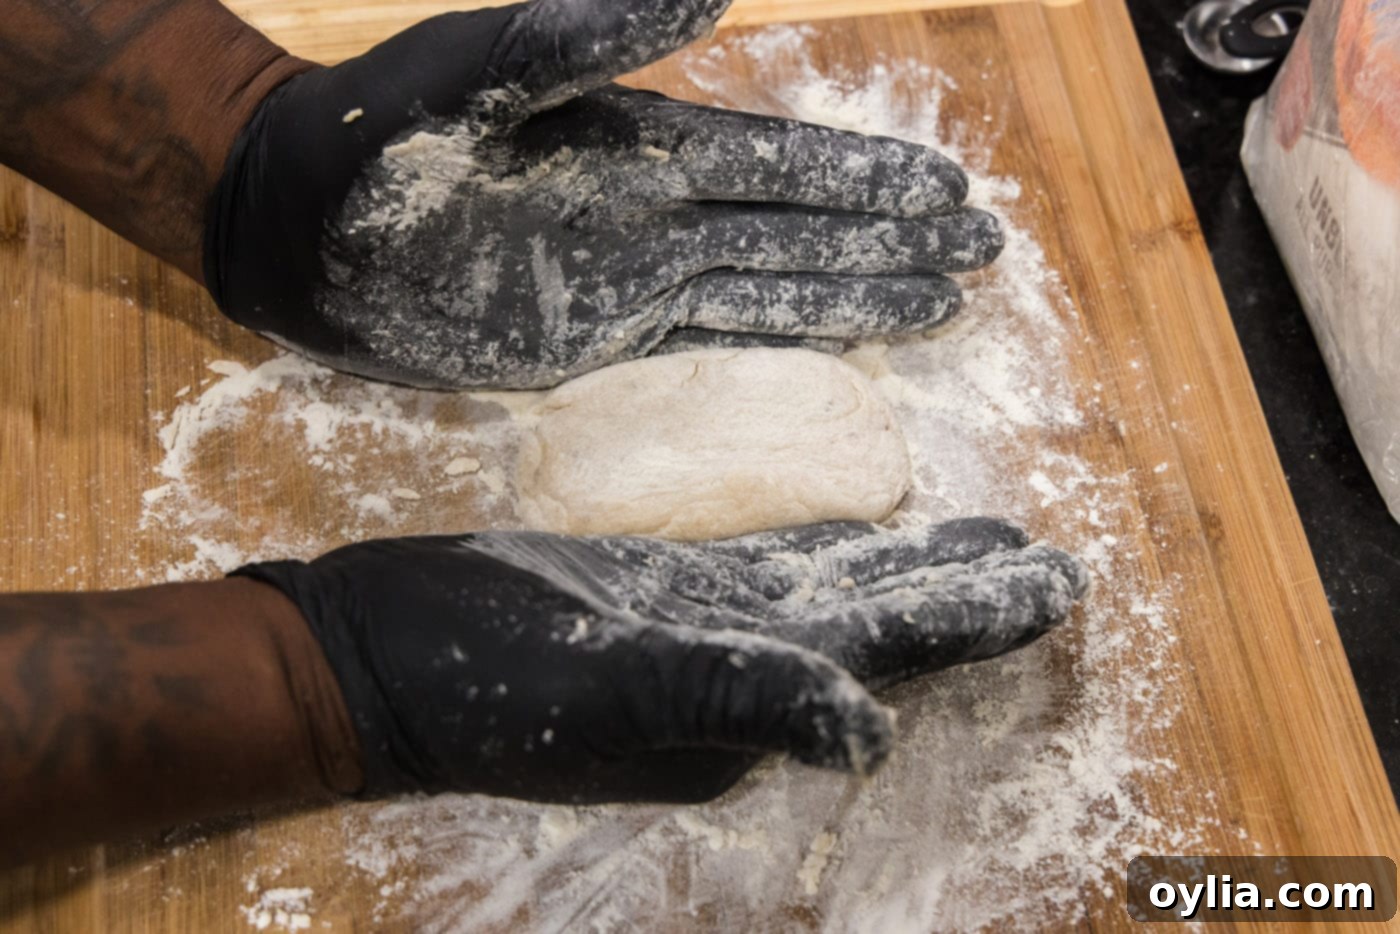
Sprinkle your work surface generously with flour. The fish cake dough will be quite wet and sticky, so this step is critical for easy handling. Don a pair of vinyl gloves and also dust them with a little extra flour. This will create a non-stick barrier, making the shaping process much smoother and less messy.
-
Shape the Fish Cakes
Using a rubber spatula, scoop about 1/2 cup of the fish cake dough onto your floured work surface. With the heel of your gloved hand, gently knead and roll the dough to fully coat it in flour. This helps firm it up slightly and prevents excessive stickiness. Continue to shape the dough into a rough rectangle. You can adjust the thickness to your preference, but a consistent thickness will ensure even cooking. Repeat with the remaining dough.

-
Chill for Firmness
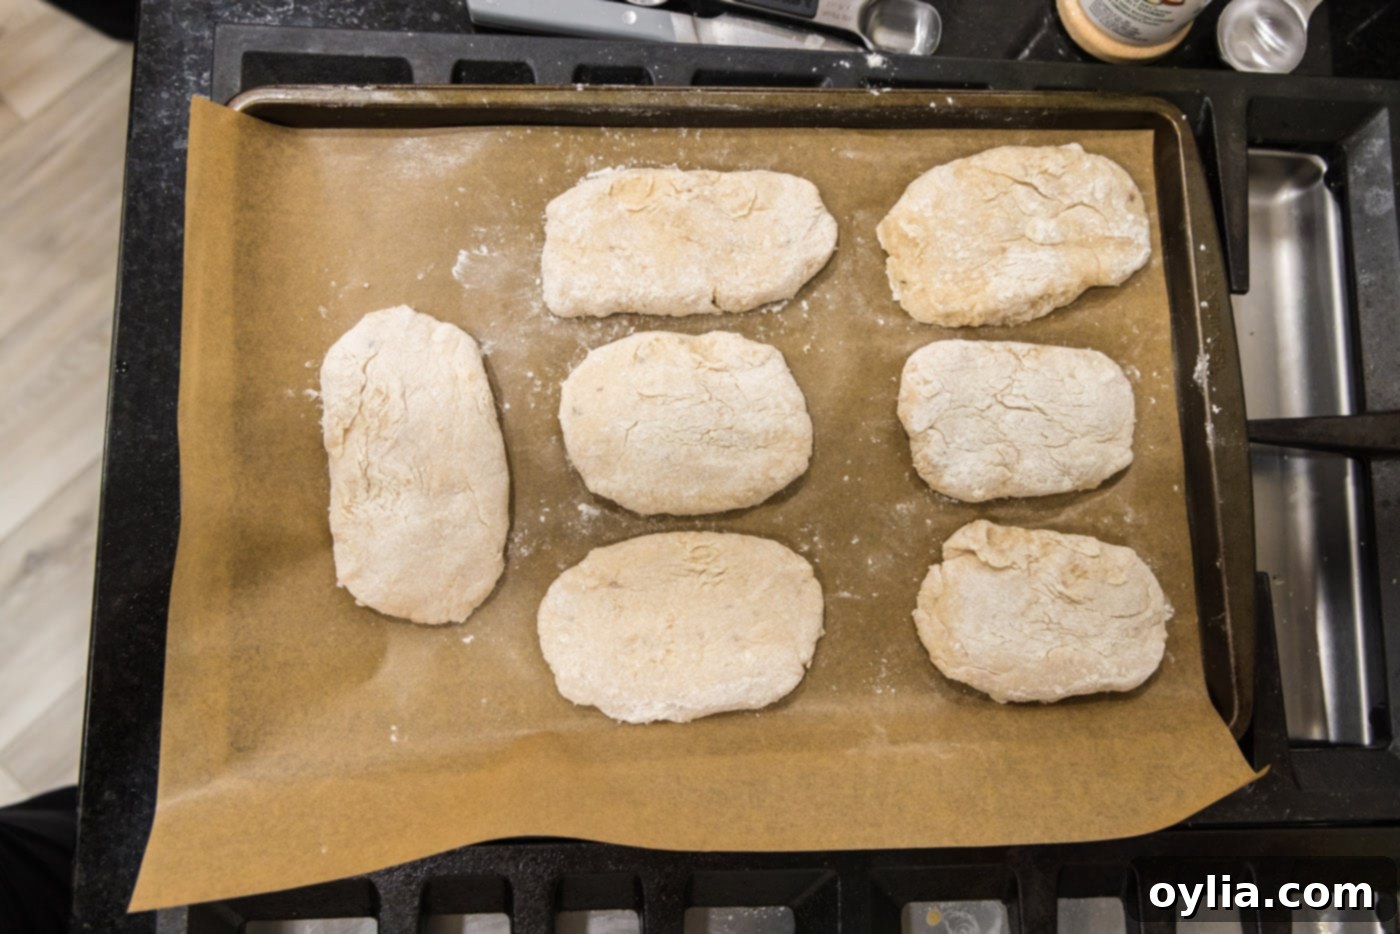
Once shaped, carefully transfer the rectangular fish cakes to a parchment paper-lined baking sheet or plate. This parchment paper prevents sticking. Place the baking sheet in the freezer for 15-20 minutes. This crucial chilling step helps the fish cakes firm up, making them much easier to handle and ensuring they hold their shape perfectly during pan-frying. It also helps prevent them from absorbing too much oil.

-
Heat the Oil for Frying
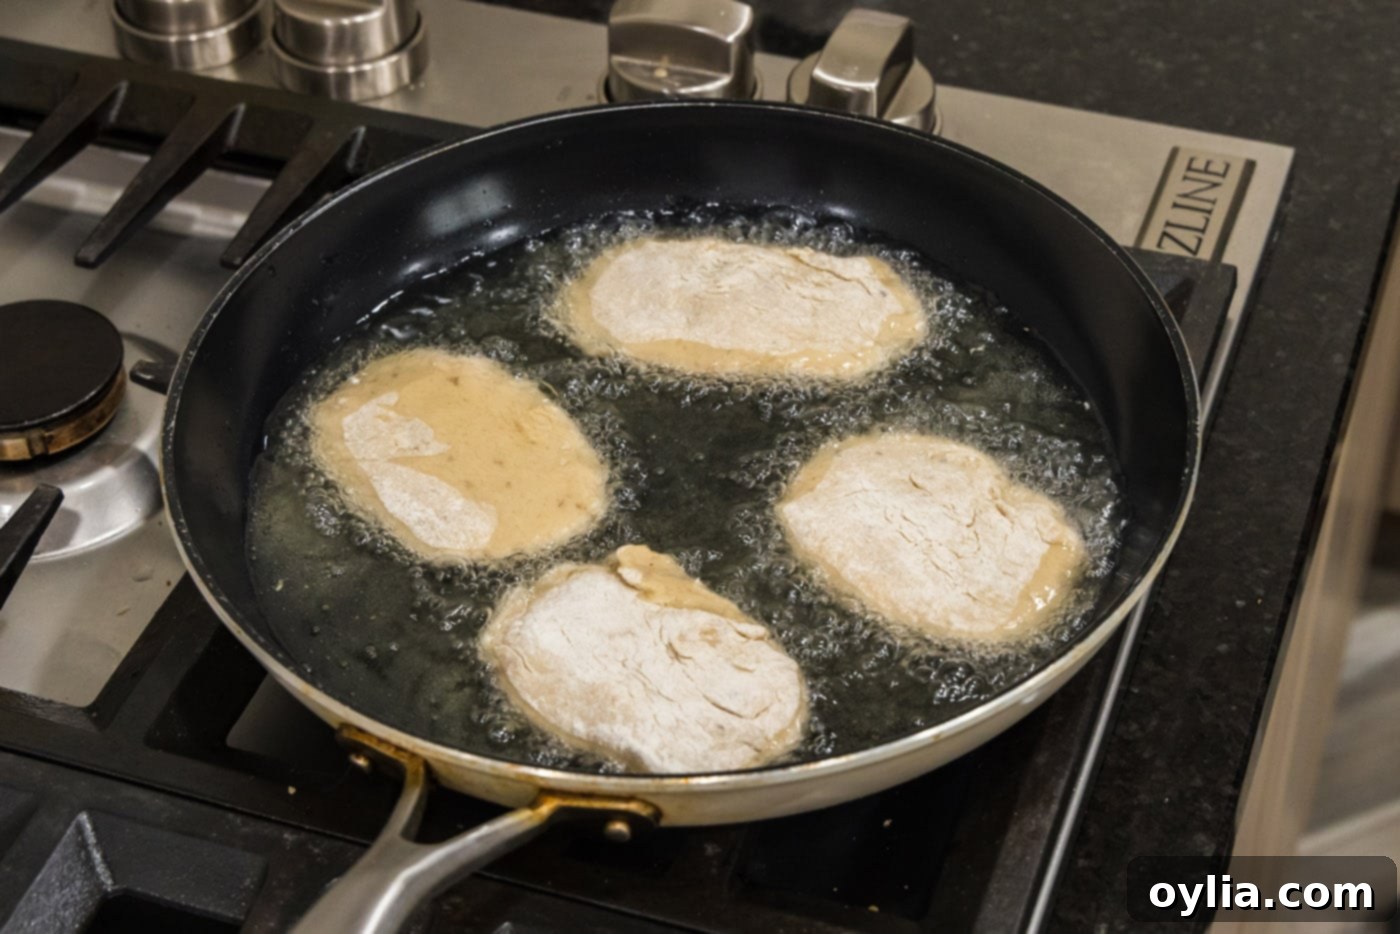
Pour enough vegetable oil (or other neutral oil with a high smoke point) into a large, deep-sided skillet or frying pan to reach about 1/2-inch up the sides. Heat the oil over medium-high heat until it shimmers and reaches approximately 350°F (175°C). If you don’t have a thermometer, you can test the oil by dropping a tiny pinch of flour into it; it should sizzle immediately. Proper oil temperature is crucial: too low, and the fish cakes will be greasy; too high, and they’ll burn before cooking through.
-
Pan-Fry Until Golden
Carefully remove the chilled fish cakes from the freezer. Gently add a few to the hot skillet, ensuring not to overcrowd the pan. Overcrowding can lower the oil temperature and lead to uneven cooking. Remember that the fish cakes will expand slightly as they cook, so allowing space between them is important. Typically, 3-4 fish cakes per batch is ideal, depending on the size of your skillet.

-
Flip and Finish Cooking
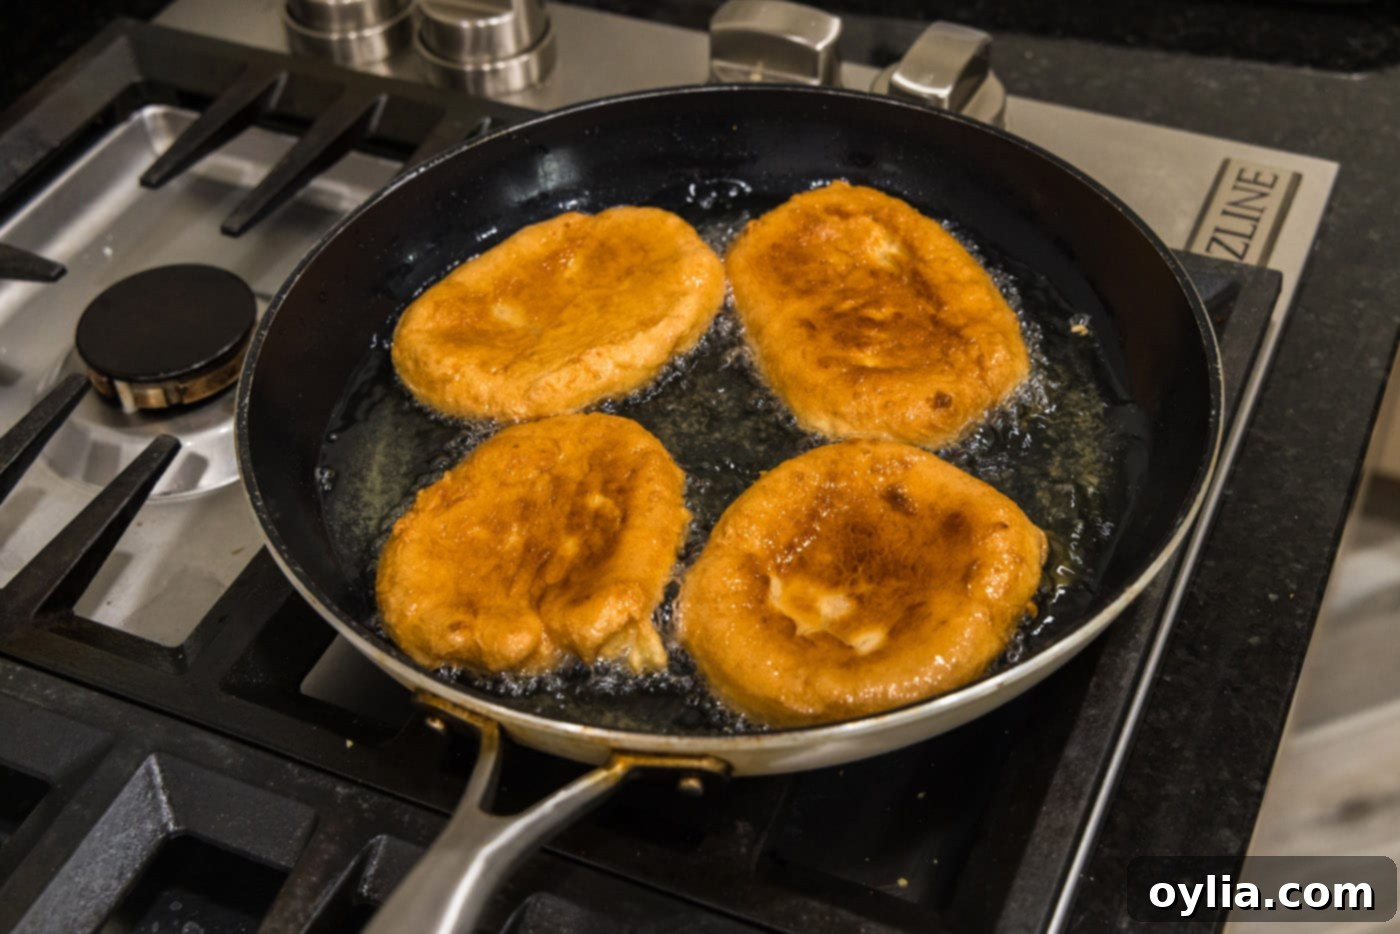
Cook the fish cakes for approximately 3-4 minutes on one side until they develop a beautiful golden-brown crust. Using tongs, carefully flip them over and cook for an additional 3-4 minutes on the other side. You’re looking for an even golden-brown color and a firm, cooked-through texture. The internal temperature should reach 145°F (63°C).

-
Drain and Serve
Once the fish cakes are perfectly golden brown and cooked through, remove them from the skillet using tongs and place them on a paper towel-lined plate or baking pan. The paper towels will absorb any excess oil, ensuring your fish cakes are crispy and not greasy. Serve immediately and enjoy the fruits of your labor!

Frequently Asked Questions & Expert Tips for Eomuk
To maintain their freshness and flavor, homemade Korean fish cakes should be stored in an airtight container. Place them in the refrigerator, where they will stay fresh for up to 3-4 days. Proper storage prevents them from drying out or absorbing other odors from the fridge.
For the best results, reheat leftover fish cakes on a baking sheet in a preheated 350°F (175°C) oven. Heat them until they are warmed through, which usually takes about 10 minutes. This method helps them regain some of their original crispness. Alternatively, an air fryer is an excellent option for reheating, offering an even crispier exterior in less time. Simply place them in a single layer in the air fryer basket and cook at 350°F (175°C) for 5-7 minutes, flipping halfway through.
Absolutely! These Korean fish cakes freeze exceptionally well, whether cooked or uncooked. For best results, we recommend flash-freezing them. Arrange the shaped (uncooked) or cooked and cooled fish cakes in a single layer on a baking sheet. Freeze until solid, which typically takes 1-2 hours. Once frozen, transfer them to an airtight container or a large gallon zip-top freezer bag. They can be frozen for up to 3 months. When ready to use, thaw them overnight in the refrigerator. If frozen raw, fry them according to the recipe instructions. If frozen cooked, reheat them using the oven or air fryer method mentioned above.
Expert Tips for Perfect Eomuk
- Consistency is Key: When pureeing the fish and shrimp, aim for a paste-like consistency. It should be smooth but still thick enough to shape. If it’s too watery, your fish cakes might not hold their shape well.
- Don’t Rush the Chill: The 15-20 minute freezer time is vital. It firms up the dough, making it much easier to handle, shape, and fry without it falling apart or sticking excessively.
- Oil Temperature Matters: Always ensure your oil is at the correct temperature (around 350°F / 175°C) before adding the fish cakes. Too cool, and they’ll soak up oil; too hot, and the outside will burn before the inside cooks.
- Avoid Overcrowding: Fry in batches if necessary. Giving each fish cake enough space in the pan allows for even cooking and a consistent golden-brown crust.
- Custom Shapes: While rectangles are traditional, feel free to experiment with other shapes like circles or ovals using cookie cutters (flour them well!). This can be fun, especially if serving children.
- Batch Cooking & Meal Prep: Make a larger batch and freeze some for quick meals or snacks throughout the week. Having homemade eomuk ready to go is a game-changer for busy schedules.
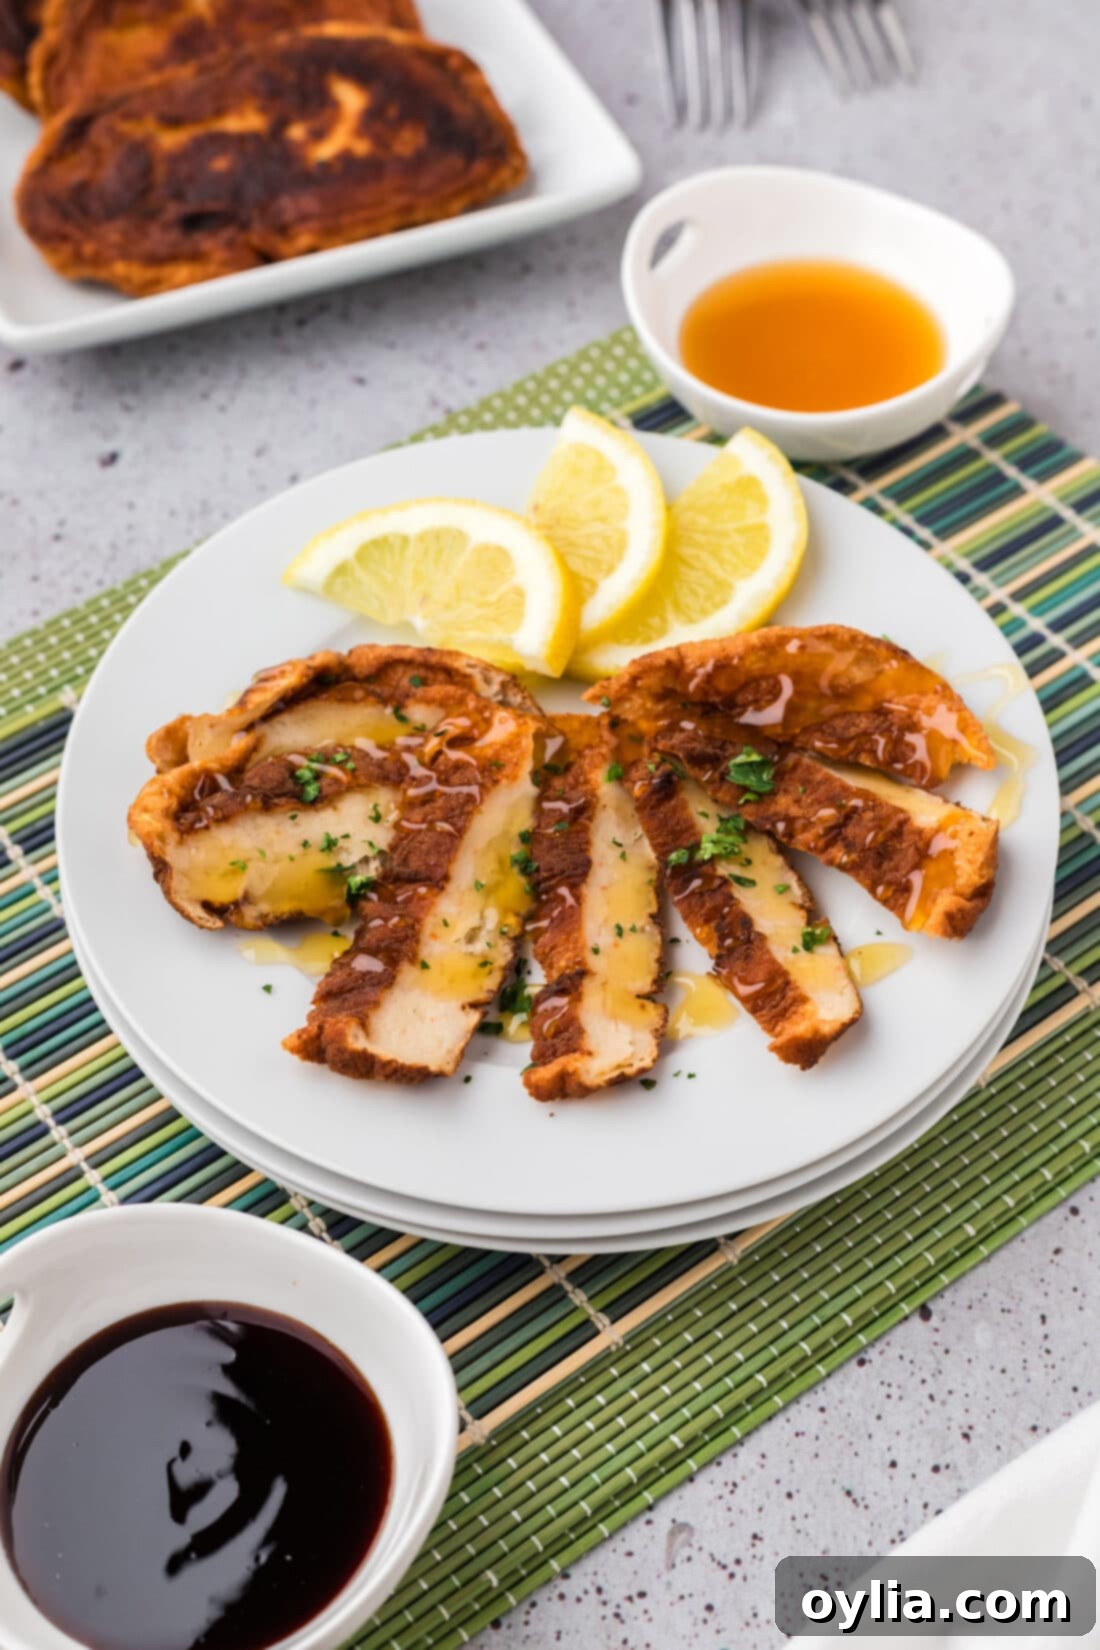
Creative Serving Suggestions for Your Homemade Eomuk
Homemade Korean fish cakes are incredibly versatile and can be enjoyed in numerous ways, showcasing their delightful flavor and texture. Traditionally, they are served as a banchan (Korean side dish), but they also excel as a satisfying appetizer or a component in larger meals. Here are some ideas to inspire you:
- As a Side Dish (Banchan): Serve your golden-brown eomuk warm alongside a variety of other Korean side dishes like kimchi, seasoned bean sprouts, or marinated spinach. Their savory flavor provides a perfect counterpoint to spicier or fresher banchan.
- Appetizer or Snack: These fish cakes make fantastic finger foods for parties or a quick, flavorful snack. Cut them into bite-sized pieces and arrange them appealingly on a platter.
- With Dipping Sauces: Elevate the experience with a complementary dipping sauce. A simple mixture of soy sauce, a splash of rice vinegar, a pinch of sugar, and a sprinkle of sesame seeds works wonderfully. For a spicier kick, try a gochujang-based sauce with a hint of garlic and sesame oil. Sweet chili sauce also pairs beautifully.
- Complete Meal Pairing: The classic way to enjoy eomuk is with a steaming bowl of fluffy white rice and a side of fresh, crisp steamed vegetables, such as snap peas, broccoli, or bok choy. This creates a balanced and wholesome meal.
- In Korean Soups and Stews: While this recipe is for pan-fried eomuk, these homemade fish cakes can also be added to various Korean soups and stews for extra flavor and substance. Slice them thinly and toss them into popular dishes like Tteokbokki (spicy rice cakes) or a simple odengguk (fish cake soup).
- Sandwich or Wrap Filling: Get creative! Slice the fish cakes and use them in sandwiches, wraps, or even as a topping for salads for a unique twist.
However you choose to enjoy them, these homemade Korean fish cakes are sure to be a hit, bringing a taste of authentic Korean comfort food to your table.
More Delicious Related Recipes to Explore
If you loved making these Korean fish cakes, you might enjoy exploring other recipes that share similar flavor profiles or cooking techniques:
- Classic Fish Cakes
- Irresistible Crab Cakes
- Savory Korean Short Ribs (Galbi)
- Crispy Korean Fried Chicken
- Flaky Cod Fish Cakes
I absolutely love to bake and cook, and my greatest joy is sharing my kitchen experiences and culinary creations with all of you! Remembering to come back each day for new ideas can sometimes be a challenge, which is why I offer a convenient newsletter every time a new recipe is posted. Simply subscribe to receive your free daily recipes directly in your inbox and never miss out on delicious inspiration!
Korean Fish Cakes (Eomuk)
IMPORTANT – Don’t forget to scroll up and read the Frequently Asked Questions & Expert Tips within the blog post for more helpful information!
Print It
Pin It
Rate It
Save It
Saved!
Ingredients
- 1 filet tilapia
- 2 filets orange roughy
- ½ pound shrimp peeled, deveined, tails removed
- ¼ cup all purpose flour plus more for rolling
- ¼ cup cornstarch
- 1 ½ Tablespoons olive oil
- 1 teaspoon garlic powder
- 1 Tablespoon onion powder
- 1 teaspoon soy sauce
- 1 teaspoon oyster sauce
- 1 egg white
- 2 teaspoons granulated sugar
- ½ Tablespoon salt
- oil for frying
Things You’ll Need
-
Food processor
-
Rubber spatula
-
Large deep sided skillet
-
Vinyl gloves
-
Tongs
Before You Begin
- Chef Antoine’s recipe utilizes a specific blend of pureed tilapia, orange roughy, and shrimp for homemade Korean fish cakes. For substitutions, any lean, white, flaky fish will work.
- To add a spicy kick, consider incorporating a pinch of Korean chili peppers (gochugaru) or a dash of gochujang (chili pepper paste or sauce) into your fish cake mixture.
Instructions
-
Cut fish and shrimp into chunks. Place in food processor.
-
Combine all ingredients in a food processor, except the extra flour for rolling.
-
Sprinkle work surface with flour. Put on vinyl gloves and add some flour to them to keep the dough from sticking.
TIP – The dough will feel very wet and sticky; therefore, flouring your hands and the work surface are imperative for easy handling.
-
Place 1/2 cup of fish cake dough onto the floured surface using a rubber spatula. Knead with the heel of your gloved hand, rolling to cover completely with flour.
-
Shape into a rough rectangle. Place on a parchment paper-lined baking sheet or plate, and place in the freezer for 15-20 minutes.
-
Pour enough vegetable oil in a skillet to come 1/2-inch up the sides of the pan. Heat over medium-high until shimmering. The temperature should be roughly 350°F (175°C).
-
Remove fish cakes from the freezer and add a few to the skillet. They will expand in size, so 3-4 should be plenty per batch to avoid overcrowding.
-
Cook for 3-4 minutes on one side. Flip and cook an additional 3-4 minutes on the other side, until golden brown and cooked through.
-
Once fish cakes are golden brown and firm, remove them to a paper towel-lined plate or pan to drain any excess oil.
Storage & Reheating Notes
- Storage: Homemade Korean fish cakes should be stored in an air-tight container in the refrigerator for 3-4 days.
- Reheating: Reheat leftover fish cakes on a baking sheet in a 350°F (175°C) oven until warmed through, around 10 minutes or so. For extra crispiness, you can also reheat them in an air fryer at 350°F (175°C) for 5-7 minutes.
- Freezing: We recommend flash-freezing the fish cakes (raw or cooked) on a baking sheet until solid before transferring them to an air-tight container or gallon zip-top bag. Freeze for up to 3 months. Allow raw fish cakes to thaw in the refrigerator before frying according to recipe instructions. Cooked and cooled cakes can also be frozen following the same steps and reheated from frozen or thawed.
Nutrition Information
The recipes on this blog are tested with a conventional gas oven and gas stovetop. It’s important to note that some ovens, especially as they age, can cook and bake inconsistently. Using an inexpensive oven thermometer can assure you that your oven is truly heating to the proper temperature. If you use a toaster oven or countertop oven, please keep in mind that they may not distribute heat the same as a conventional full sized oven and you may need to adjust your cooking/baking times. In the case of recipes made with a pressure cooker, air fryer, slow cooker, or other appliance, a link to the appliances we use is listed within each respective recipe. For baking recipes where measurements are given by weight, please note that results may not be the same if cups are used instead, and we can’t guarantee success with that method.
