Easy Peanut Butter Chicken: Crispy, Savory, and Unforgettably Delicious
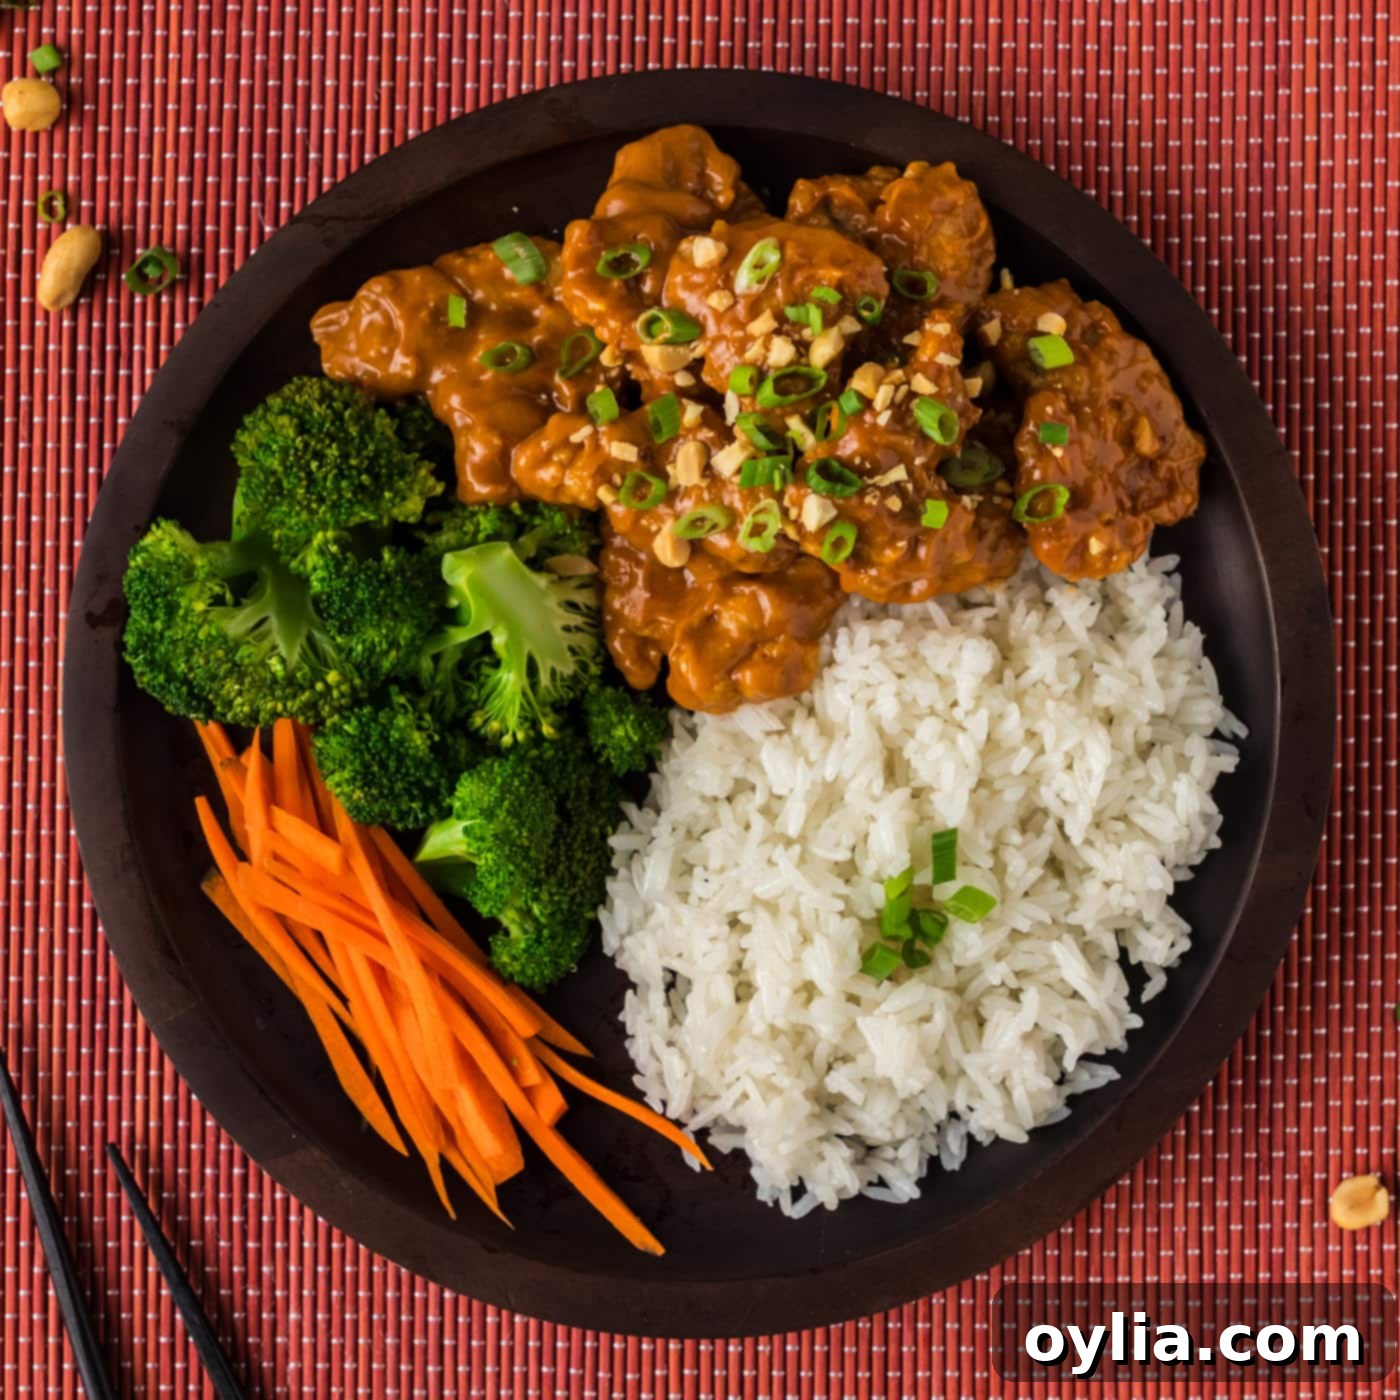
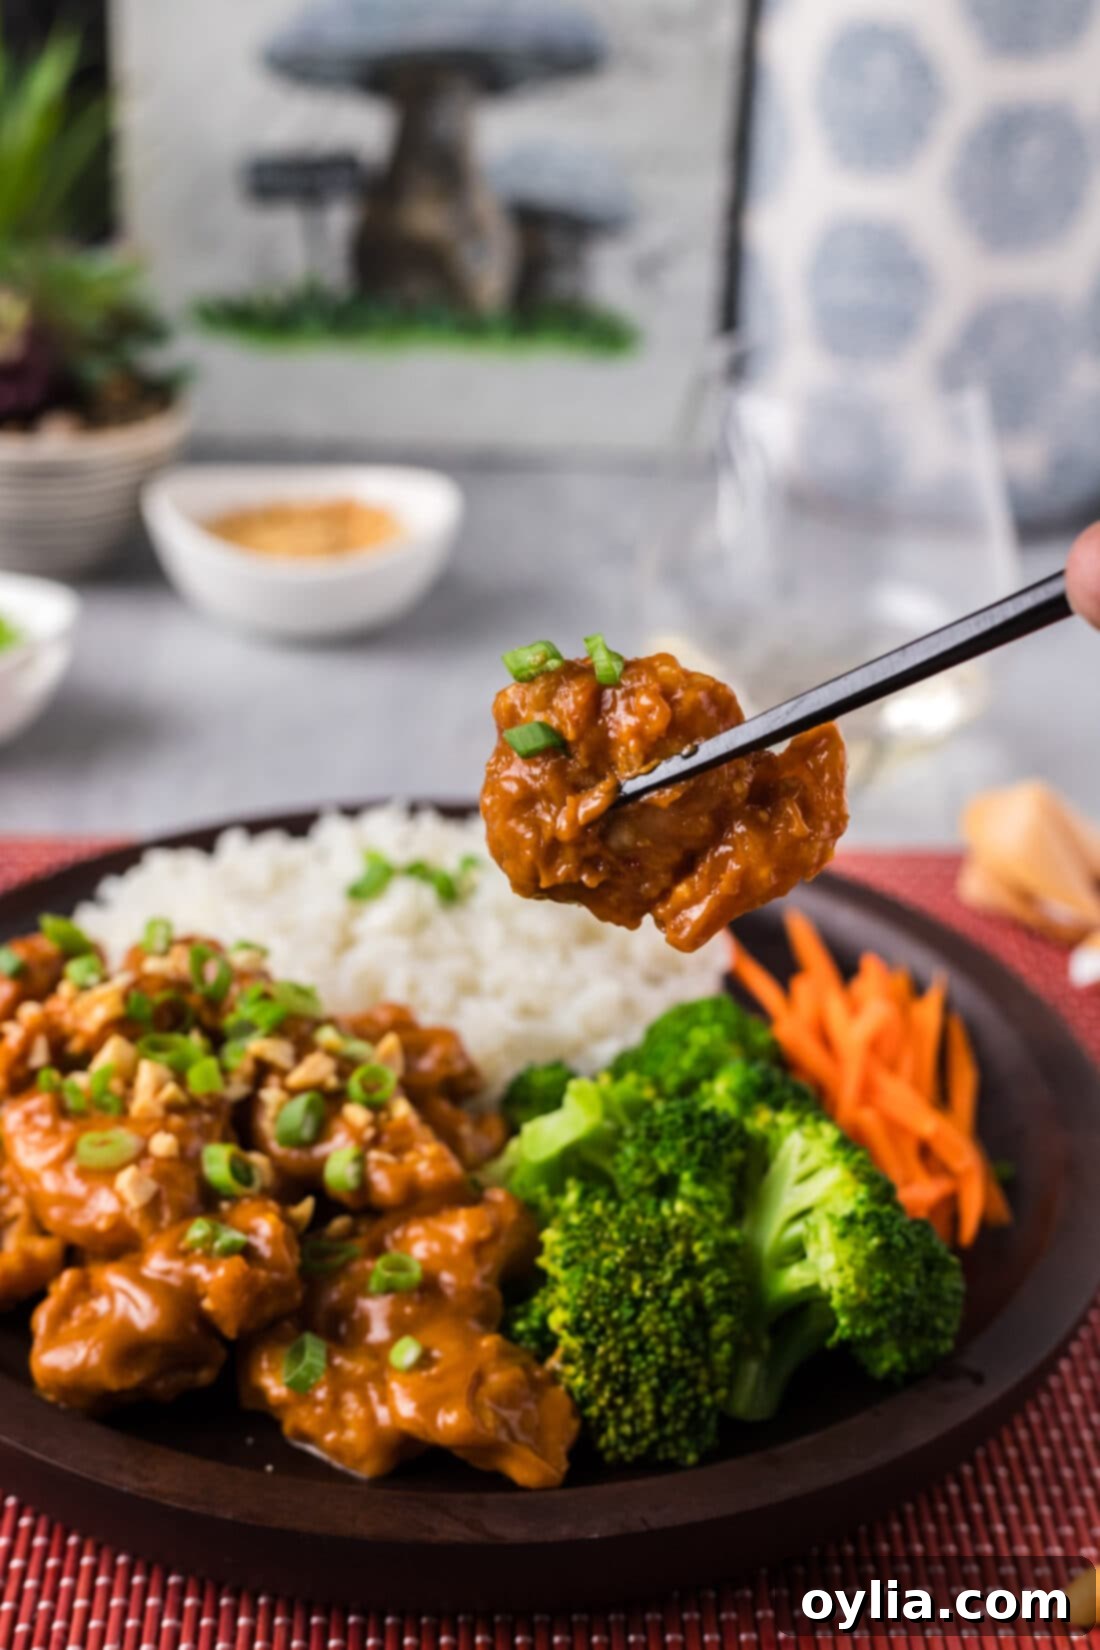
Prepare to be amazed by this incredible **Peanut Butter Chicken recipe**, a culinary fusion that transforms simple ingredients into an extraordinary meal. Imagine perfectly crispy, golden-fried chicken bites lavishly coated in a velvety, rich peanut butter sauce. But this isn’t just any peanut butter sauce – it’s an expertly crafted blend, bursting with the aromatic notes of hot sauce, fresh garlic, pungent ginger, and the irresistible sweetness of Asian sweet chili sauce. The result is a unique, deeply savory, and intensely satisfying umami experience that will challenge your perceptions of peanut butter and become a fast favorite in your kitchen.
Why This Peanut Butter Chicken Recipe Is a Must-Try
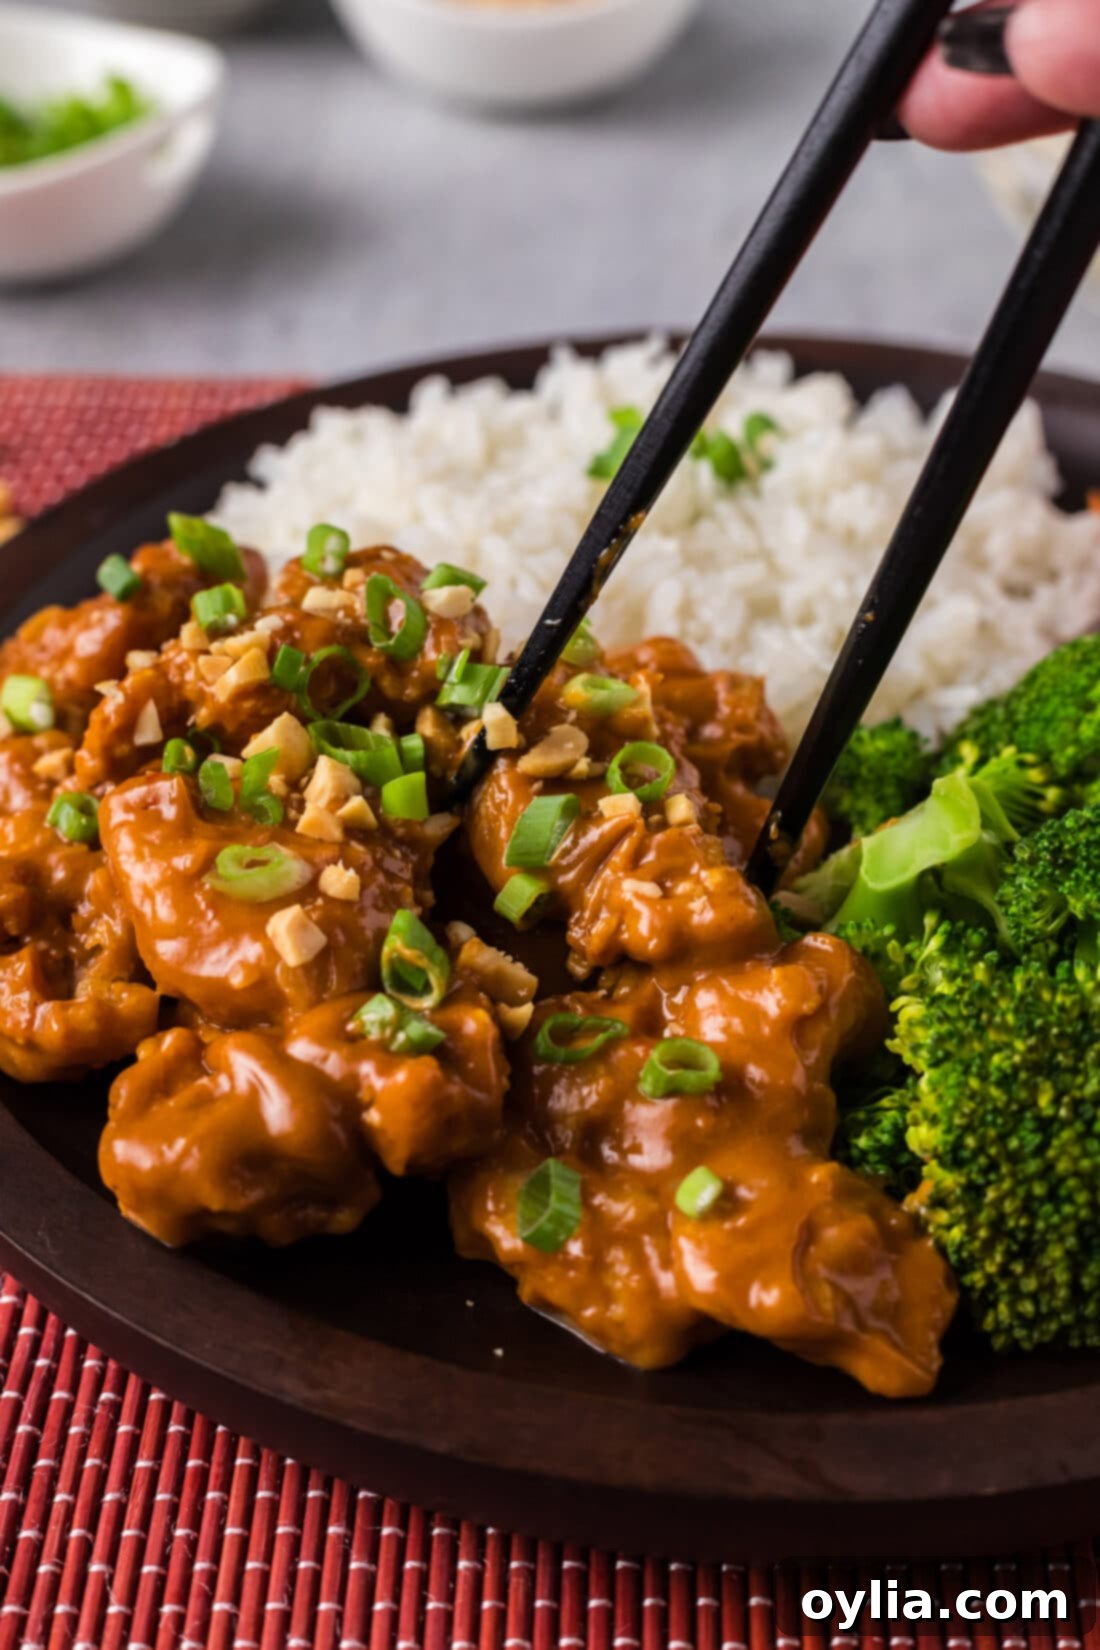
This Peanut Butter Chicken isn’t just another dinner recipe; it’s an exciting journey for your taste buds. The reason it works so well lies in its brilliant balance of flavors and textures. We start with succulent chicken pieces, fried to golden perfection, ensuring a tender interior and an irresistible crispy exterior. This satisfying crunch provides the perfect contrast to the star of the show: a rich, creamy, and undeniably “kickin'” peanut butter sauce.
Many people associate peanut butter solely with sweet applications, like sandwiches or desserts. However, its naturally salty, nutty profile is a powerhouse in savory cooking, providing a depth of flavor that is truly unique. In this Asian-inspired dish, peanut butter acts as a remarkable base, allowing other ingredients to shine and create a complex tapestry of tastes. You’ll experience delightful hints of saltiness from the peanut butter and fish sauce, a touch of sweetness from honey and sweet chili sauce, a robust savory depth from garlic and ginger, and a subtle, building warmth from hot sauce.
The beauty of this recipe is how these seemingly disparate flavors harmonize. Instead of being overpowering, the components meld together to form a truly cohesive and addictive sauce that clings perfectly to the crispy chicken. It’s an umami bomb that will surprise and delight even the most discerning palates. If you’ve never ventured into the world of savory peanut butter dishes beyond a classic peanut butter bread, prepare to be converted by these mouth-watering, crispy-saucy bites. This recipe isn’t just delicious; it’s an adventure in flavor, proving that some of the best culinary creations come from unexpected combinations.
Gather Your Ingredients for Savory Peanut Butter Chicken
Before you dive into cooking, let’s get all your essentials organized! You’ll find the complete list of precise measurements and instructions in the printable recipe card at the very end of this post. For now, here’s an overview of the key components that make this Peanut Butter Chicken so extraordinary.
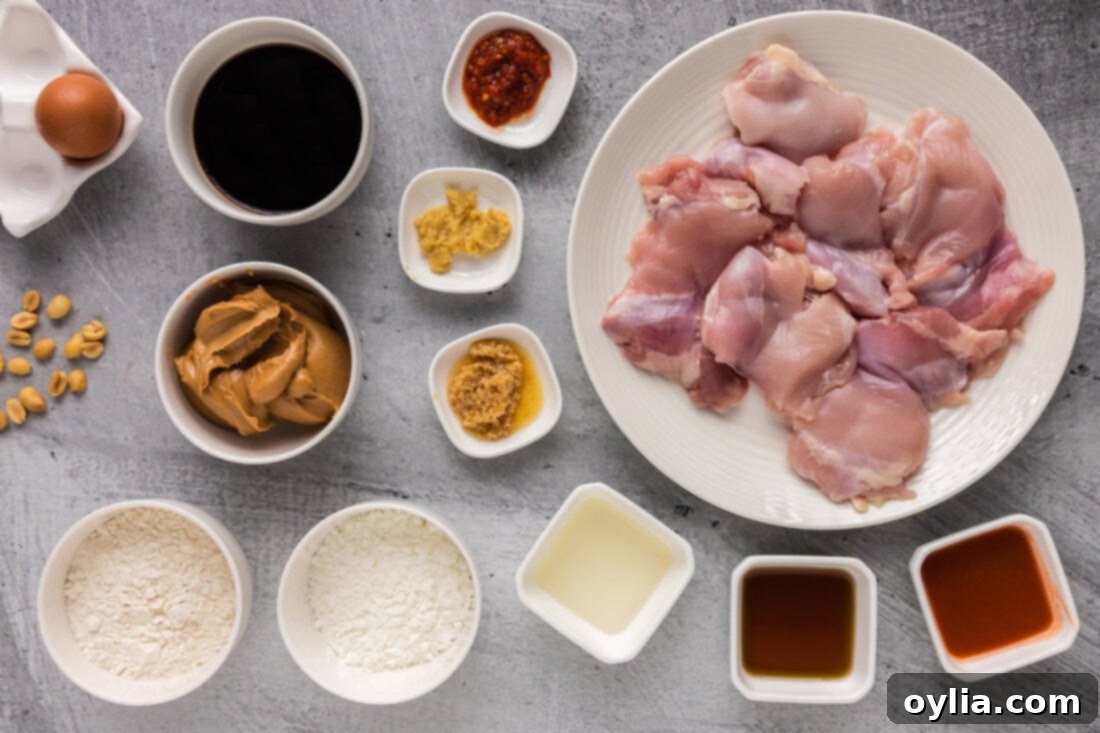
Ingredient Breakdown & Smart Substitutions
Understanding each ingredient’s role and knowing your options can elevate your cooking experience and adapt this delicious recipe to your pantry or preferences:
- CHICKEN – For this recipe, we recommend 1 1/2 pounds of boneless, skinless chicken thighs. Chicken thighs are a fantastic choice because they stay incredibly juicy and tender even after frying, offering a richer flavor than breast meat. However, if you prefer, you can easily substitute with an equal amount of boneless, skinless chicken breasts. If using breasts, cut them into similar 2-inch chunks and be mindful not to overcook them, as they can dry out faster. Ensure the chicken reaches an internal temperature of 165°F (74°C) when cooked.
- CRISPY COATING – To achieve that perfect golden, crunchy exterior, you’ll need a simple breading station.
- All-Purpose Flour: The initial dredge provides a dry surface for the egg to adhere to.
- Large Egg: Acts as a binder, helping the cornstarch stick to the chicken.
- Cornstarch: This is key to achieving that extra-crispy, almost tempura-like crust that holds up wonderfully to the sauce. It creates a lighter, crunchier texture compared to just flour.
- Vegetable Oil: Essential for frying. Choose a neutral-flavored oil with a high smoke point, such as canola, sunflower, or peanut oil.
- SAUCE – The heart of this dish is its complex, irresistible sauce. Each component plays a vital role:
- Creamy Peanut Butter: The foundation of our sauce. Use a good quality, creamy peanut butter (not natural or chunky for the smoothest sauce, unless you prefer a more rustic texture). The slight saltiness of most processed peanut butter brands works well here to balance the sweetness.
- Honey: Provides natural sweetness and a beautiful sheen to the sauce, helping it caramelize slightly. Maple syrup or brown sugar can be used as alternatives if you’re out of honey, though the flavor profile will shift slightly.
- Hot Sauce (e.g., Frank’s RedHot): Adds a tangy kick and a touch of heat without overpowering the other flavors. You can adjust the amount to your spice preference or swap it for sriracha or another favorite hot sauce.
- Fish Sauce: Don’t skip this! Fish sauce is a secret weapon for umami in Asian cuisine. It adds a deep, savory, slightly funky flavor that brings complexity and balances the sweetness of the honey and chili. A dash of soy sauce could be a very mild substitute, but it won’t offer the same depth.
- Minced Garlic: Fresh garlic is crucial for aromatic depth and a pungent kick. Jarred minced garlic can be used in a pinch, but fresh is always best for flavor.
- Minced Ginger: Offers a warm, spicy, and zesty counterpoint to the richness of the peanut butter. Like garlic, fresh ginger provides the best flavor.
- Asian Sweet Chili Sauce: This sauce provides a perfect blend of sweet, tangy, and a mild chili heat, tying all the flavors together. It’s widely available in most grocery stores in the international aisle.
Mastering the Art of Peanut Butter Chicken: Step-by-Step
These step-by-step photos and detailed instructions are here to guide you through making this incredible recipe. For a complete printable version, including all measurements and a quick jump to the recipe card, scroll to the bottom of this post!
Jump to Recipe.
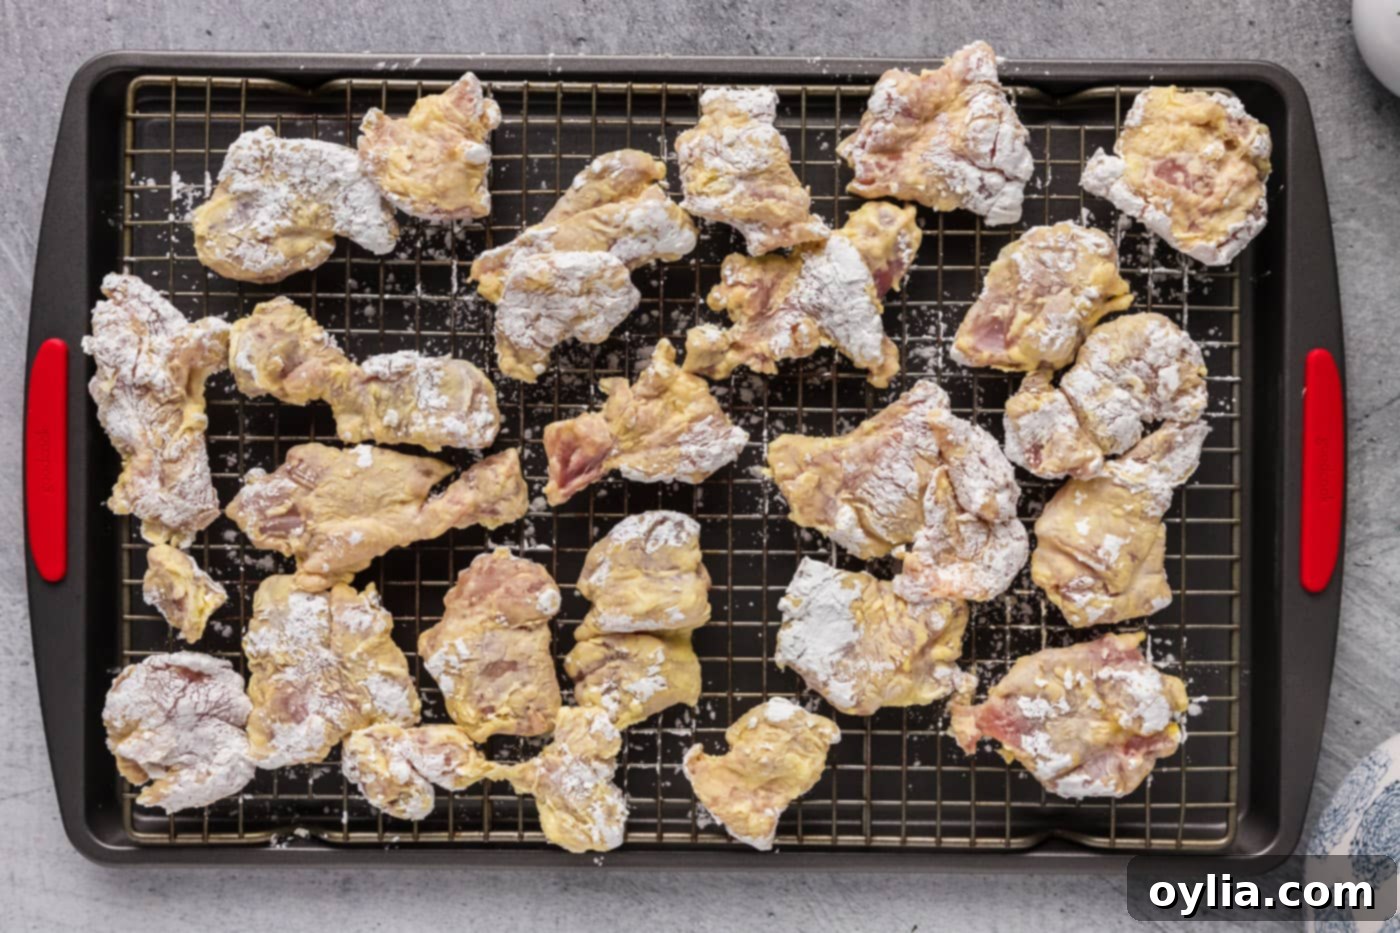
- Prepare Your Workspace: First, set up a wire rack over a sturdy baking sheet. This will be where your breaded chicken waits before frying and where cooked chicken will drain, ensuring maximum crispiness.
- Cut the Chicken: Take your boneless, skinless chicken thighs and cut them into uniform 2-inch chunks. Consistency in size helps ensure even cooking.
- Set Up Breading Stations: Arrange two separate plates: one with cornstarch and another with all-purpose flour. In a medium bowl, whisk your large egg until it’s well beaten. This creates your classic breading assembly line.
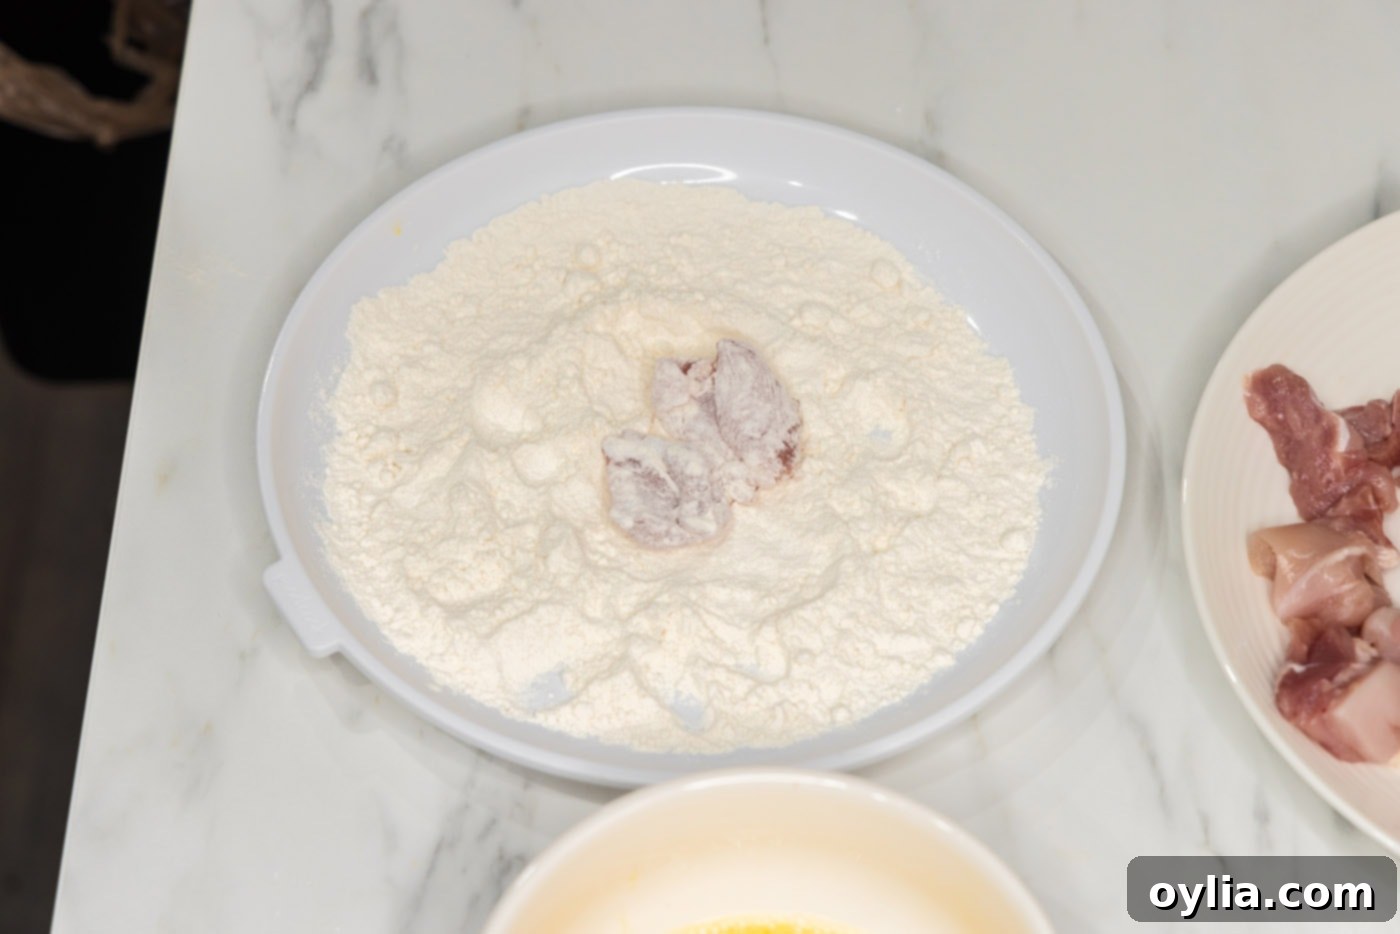
- Dredge in Flour: Take each chicken piece and dredge it thoroughly in the flour, shaking off any excess. The flour creates a dry surface for the egg.

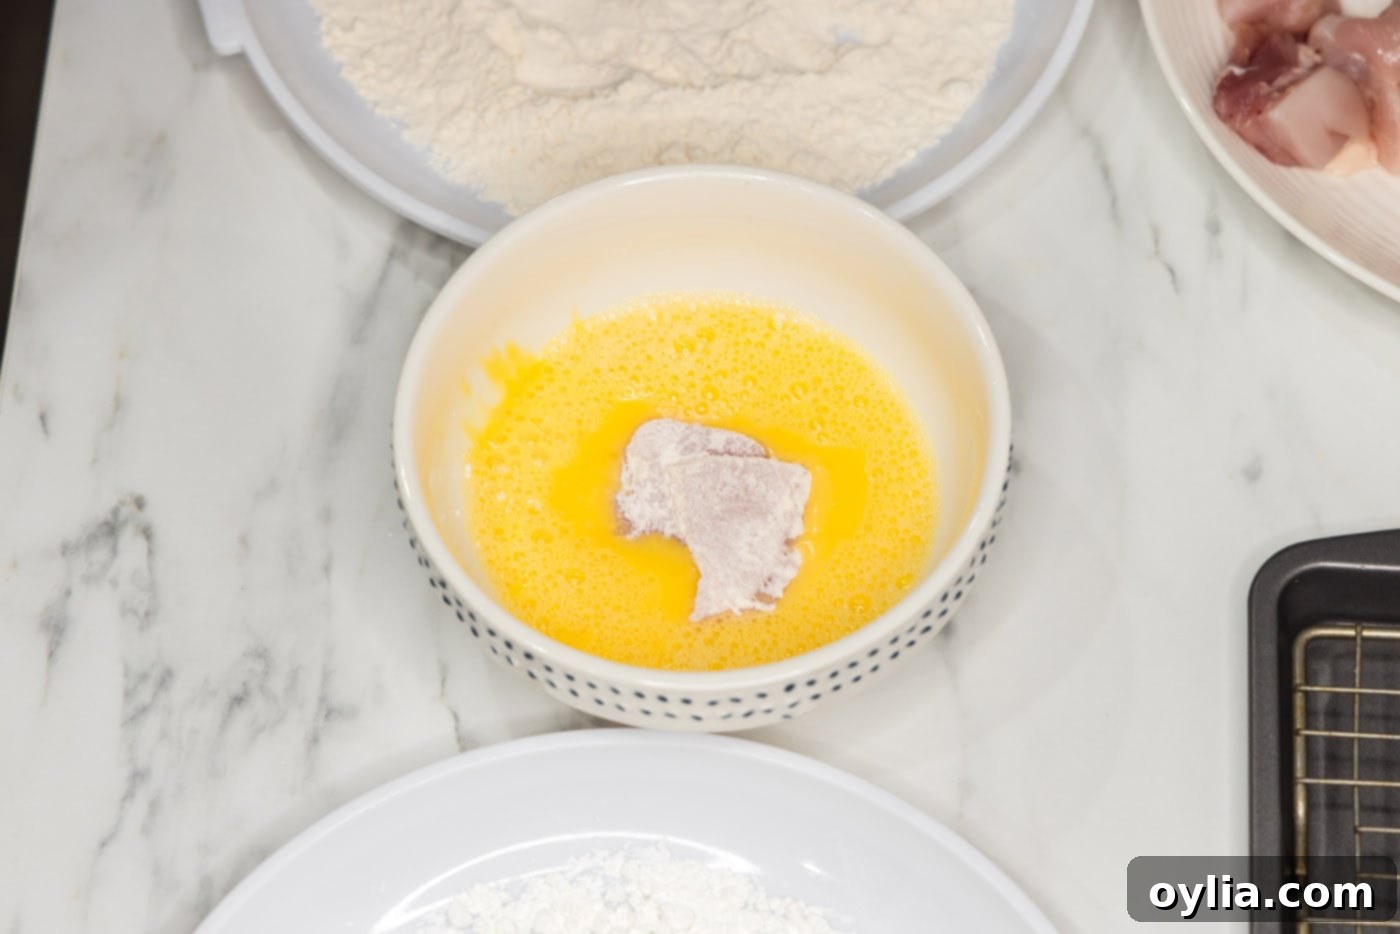
- Dip in Egg: Dip the flour-dredged chicken piece into the whisked egg, allowing any excess to drip off before moving to the next step. This sticky layer is crucial for the cornstarch to adhere.

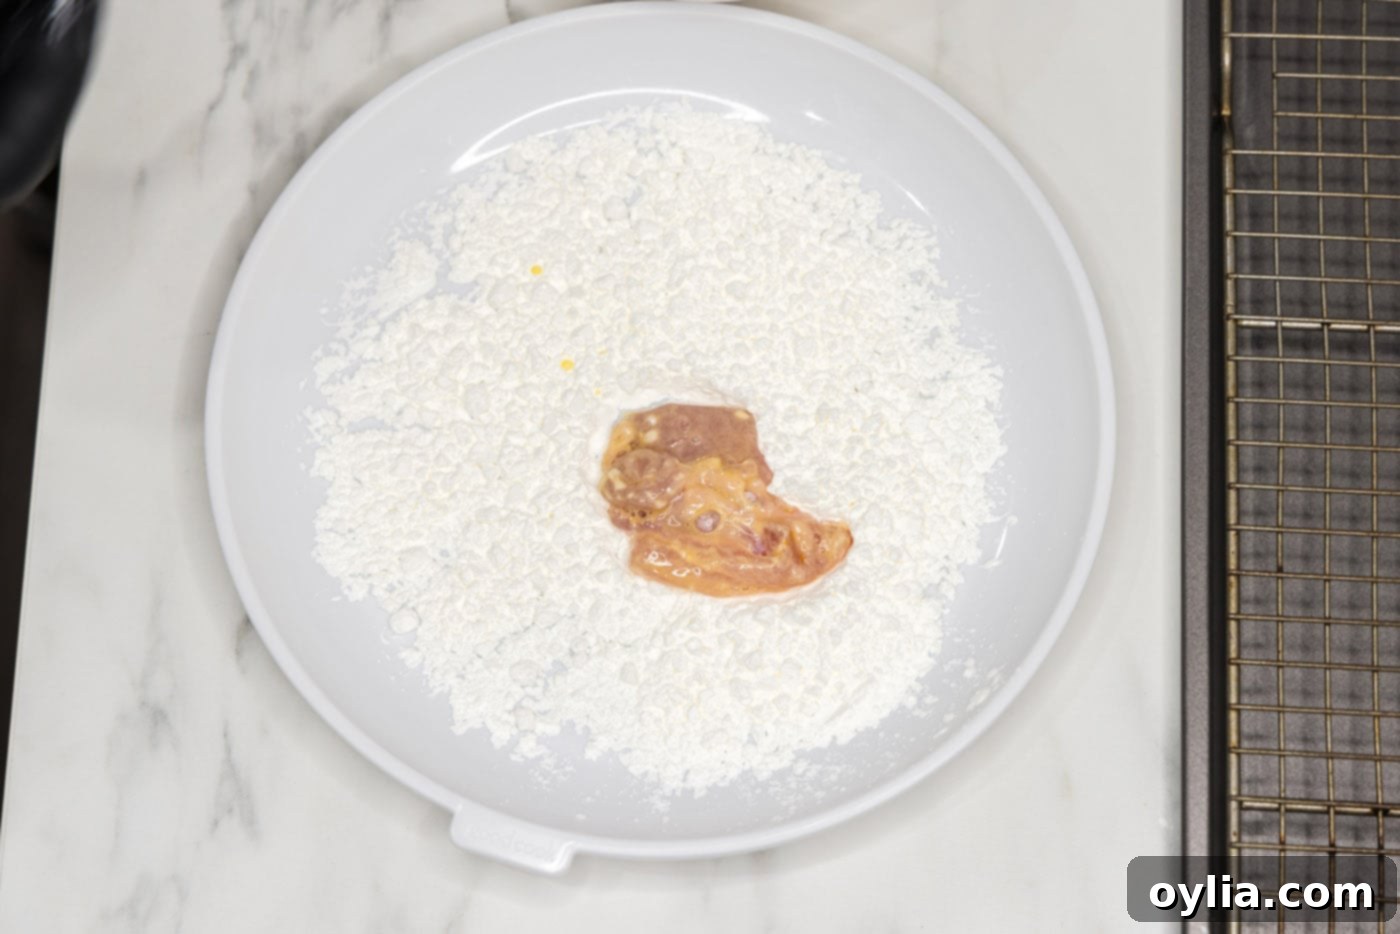
- Coat in Cornstarch: Finally, coat the chicken piece thoroughly in cornstarch, ensuring both sides are evenly covered. Place the fully breaded chicken onto your prepared wire rack. Repeat for all chicken pieces.


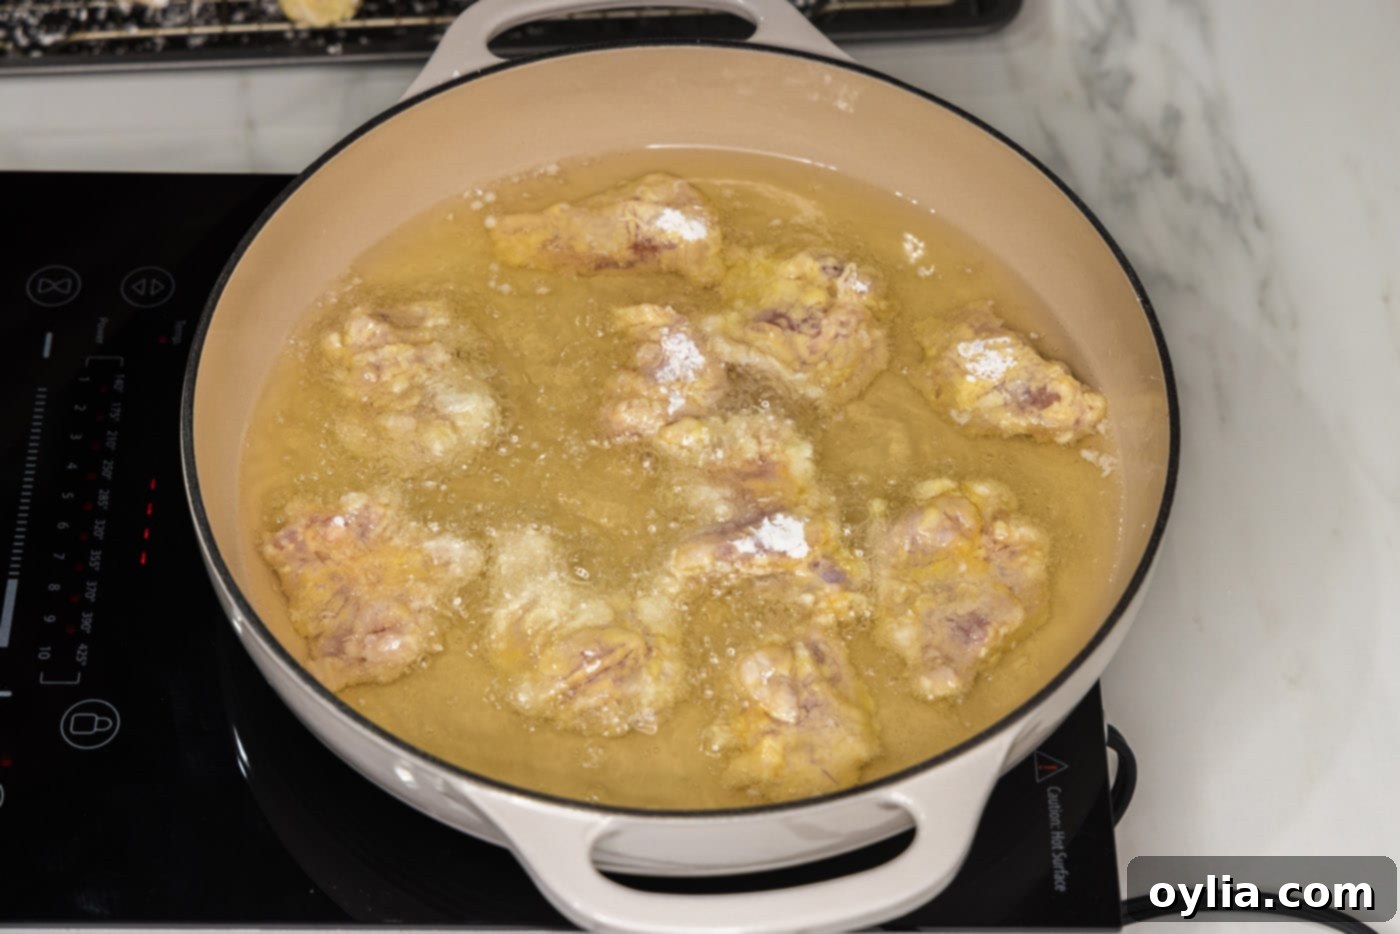
- Heat the Oil: In a deep-sided skillet or Dutch oven, add enough vegetable oil to reach about an inch up the sides. Heat the oil over medium-high heat until it reaches a temperature of 350°F (175°C). Using a thermometer is key for perfect frying.
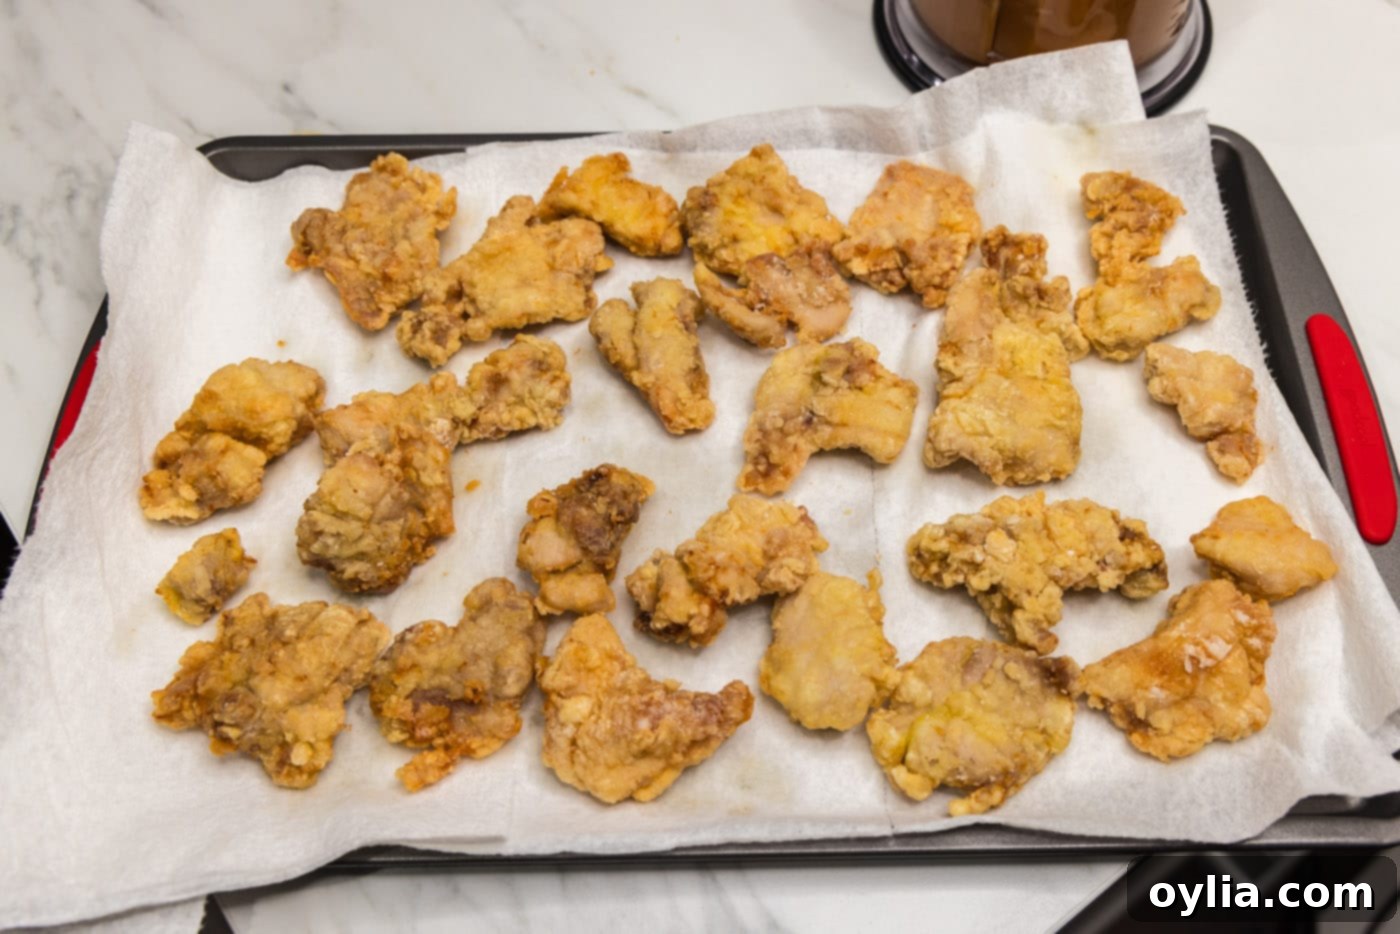
- Prepare for Draining: Lay a few sheets of paper towels on a plate or cutting board. This will be where you place the cooked chicken to absorb excess oil.
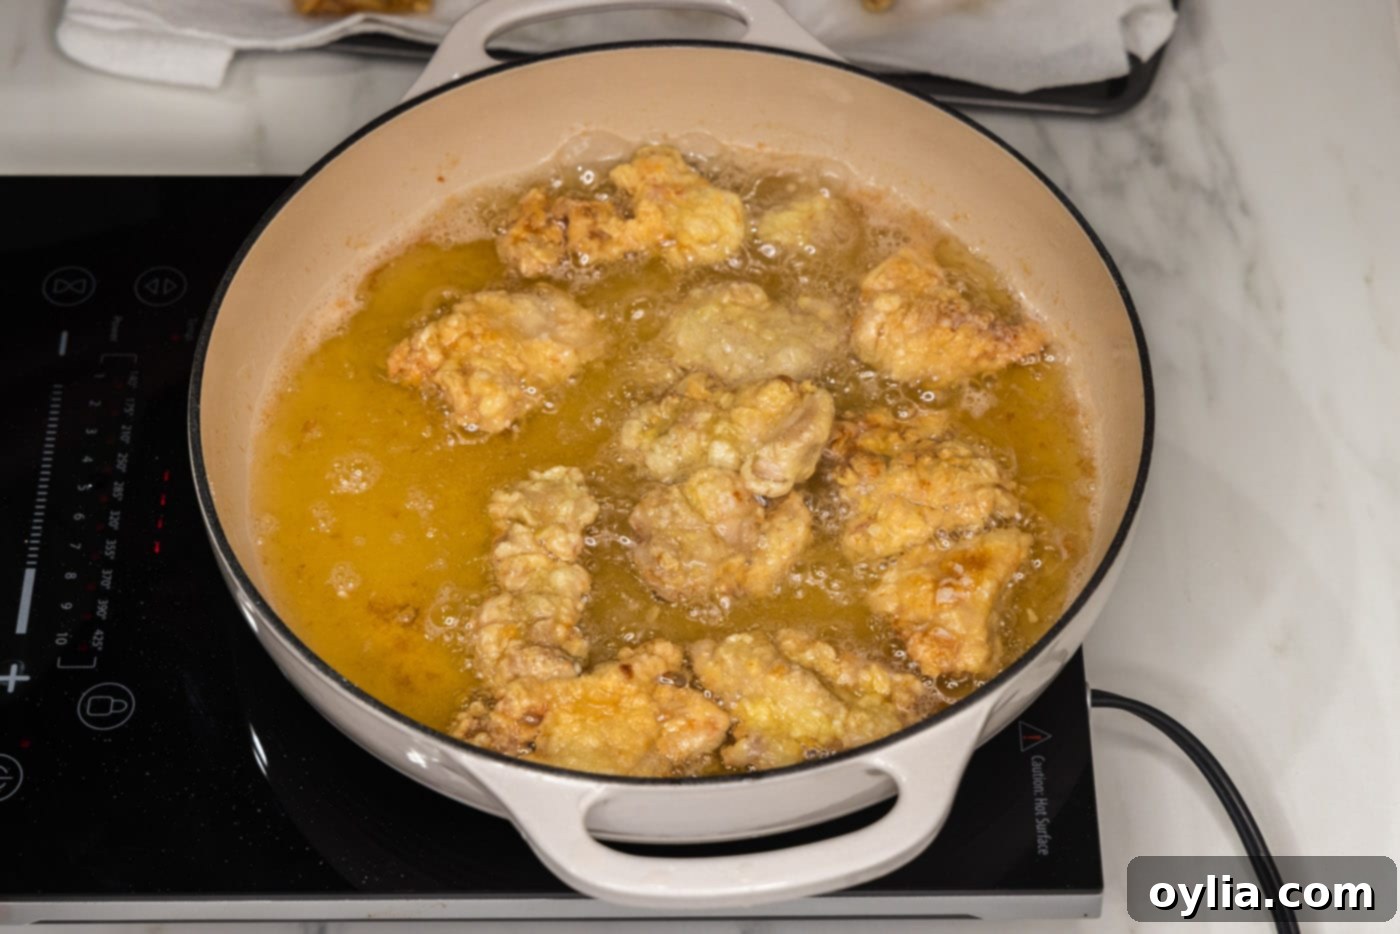
- Fry the Chicken: Carefully place the prepared chicken pieces into the hot oil. Avoid overcrowding the pan; cook in batches if necessary to maintain oil temperature and ensure even crisping. Fry for 2-3 minutes per side, turning once or twice, until the chicken is golden brown and beautifully crispy.


- Drain Cooked Chicken: Once cooked, use a slotted spoon or tongs to transfer the crispy chicken pieces to the paper towels to drain any excess oil.

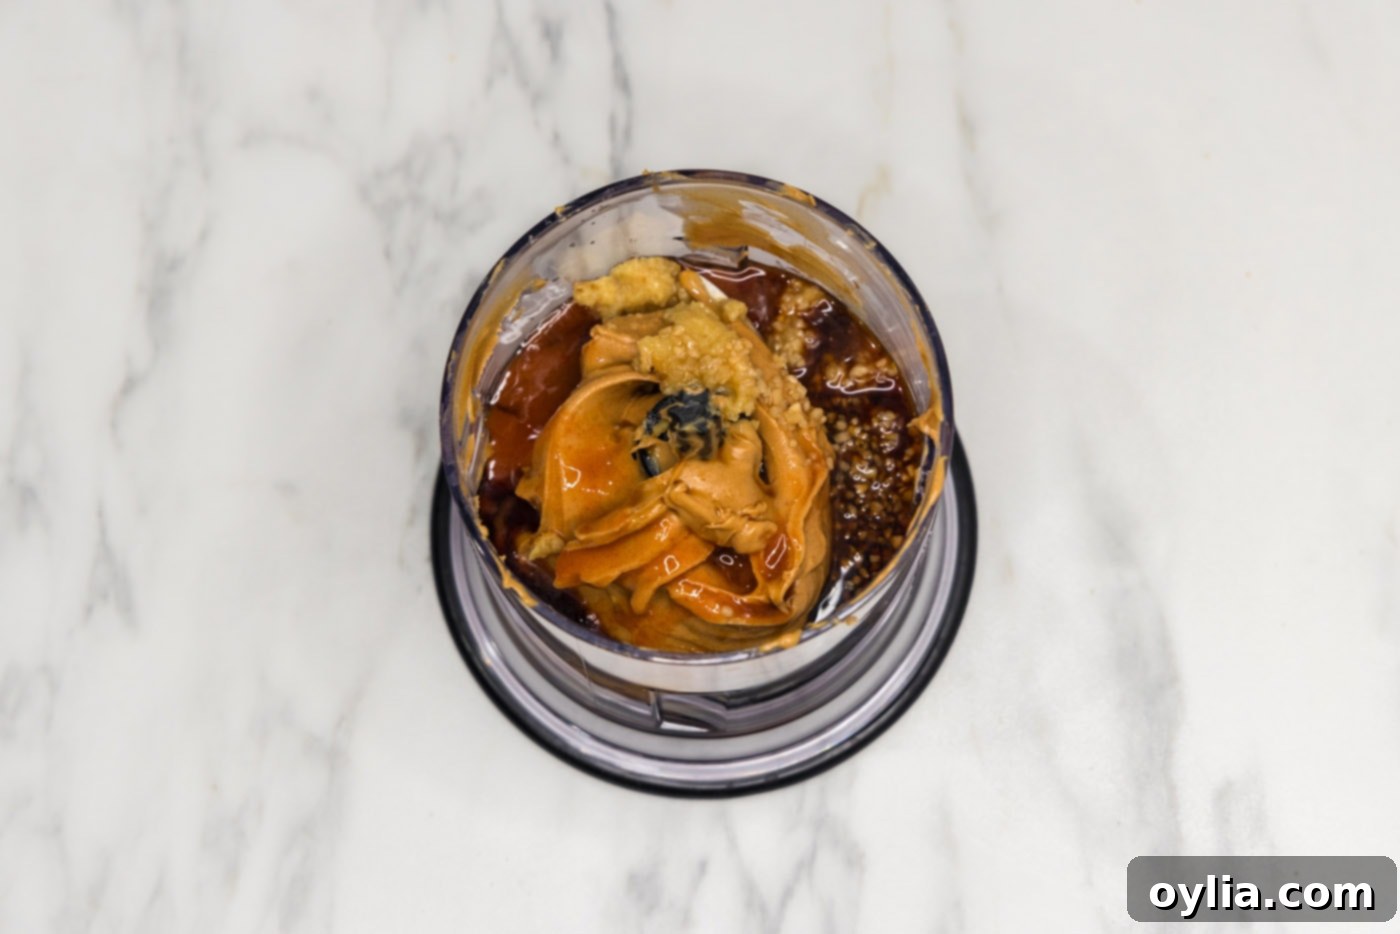
- Craft the Peanut Butter Sauce: To prepare the star sauce, gather all your sauce ingredients and combine them in a mini food chopper or a blender. Blend until the sauce is completely smooth and creamy.
CHEF’S TIP – It’s crucial to resist the urge to taste test the sauce on its own! The flavors are very concentrated and strong before they interact with the chicken. Trust the process; once combined with the crispy chicken, the sauce mellows beautifully, its rich and complex flavors complementing the fried chicken perfectly, creating a harmonious and utterly delicious experience.

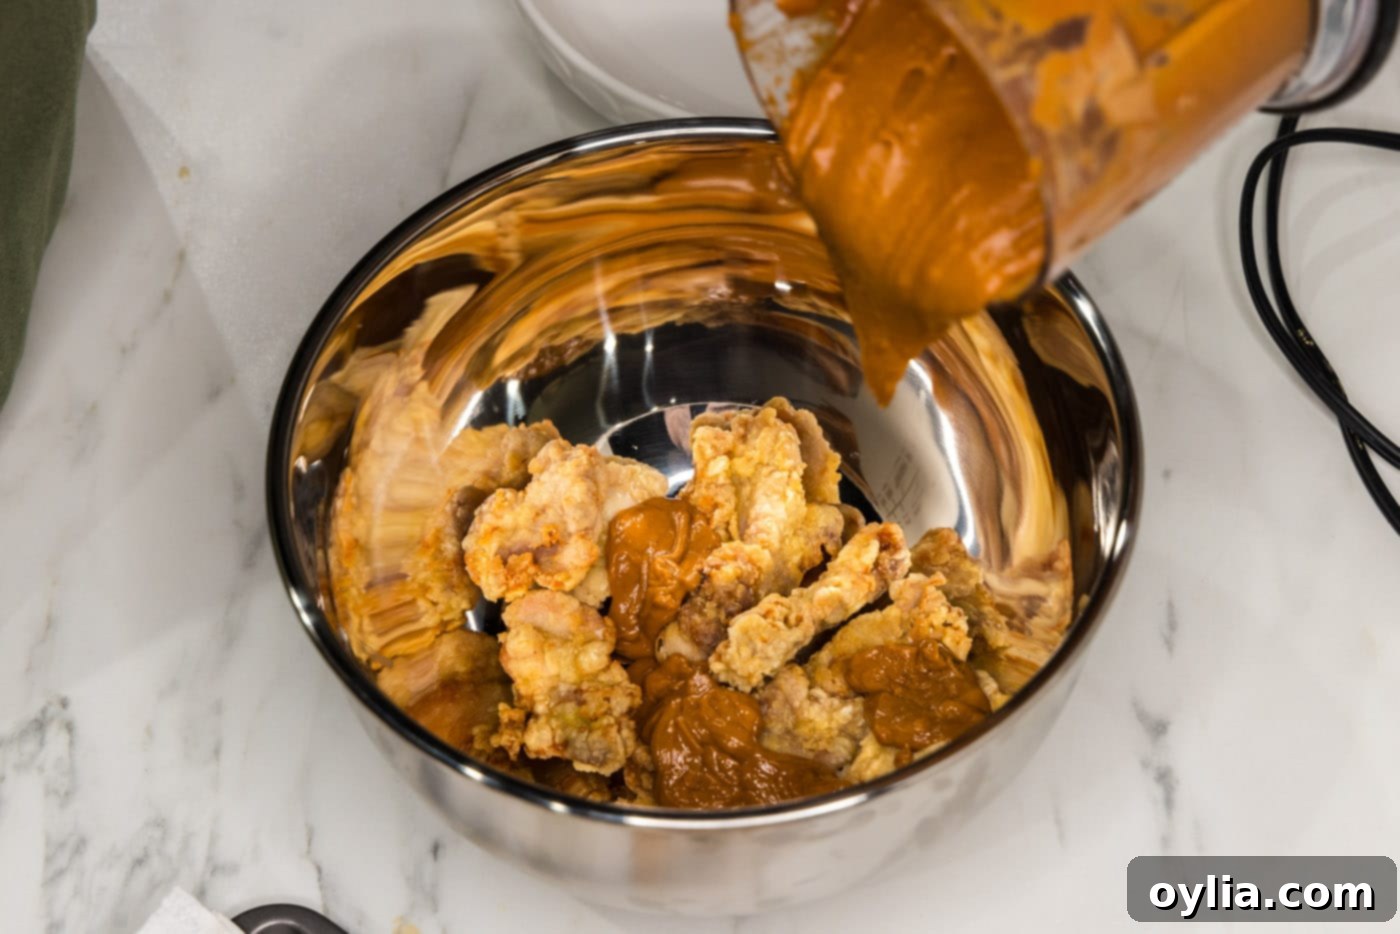
- Coat the Chicken: Transfer the cooked, drained chicken pieces into a large mixing bowl. Pour the freshly blended peanut butter sauce over the chicken. Using a rubber spatula, gently turn and toss the chicken until every piece is thoroughly coated in the luxurious sauce. Serve immediately and enjoy!

Frequently Asked Questions & Expert Tips for Perfect Peanut Butter Chicken
Leftover Peanut Butter Chicken is best stored in an airtight container in the refrigerator for up to 3 days. While the chicken might lose a bit of its initial crispiness when reheated, the flavor of the sauce remains fantastic. Reheat gently in a skillet or microwave until warmed through.
Absolutely! Boneless, skinless chicken breasts are a perfectly acceptable substitute in equal amounts. The choice often comes down to personal preference for texture and fat content. If you’re using chicken breasts, cut them into similar 2-inch pieces and be careful not to overcook them, as they tend to dry out more easily than thighs. Always ensure the chicken reaches a safe internal temperature of 165°F (74°C), which you can easily verify with an instant-read thermometer.
Yes, you can! For a healthier or less messy alternative, baking or air frying works well.
For Baking: After breading, place chicken on a greased baking sheet with a wire rack. Bake at 400°F (200°C) for 18-25 minutes, flipping halfway, until golden and cooked through.
For Air Frying: Preheat your air fryer to 375°F (190°C). Spray the breaded chicken with a little oil, then air fry in batches for 10-15 minutes, shaking the basket halfway, until crispy and golden.
The spice level is easily customizable! For more heat, add an extra dash of hot sauce or a pinch of red pepper flakes to the sauce. If you prefer it milder, reduce the amount of hot sauce or omit it entirely. The sweet chili sauce provides a gentle warmth, so you’ll still get a great flavor even without the extra kick.
Absolutely! The peanut butter sauce can be prepared up to 2-3 days in advance and stored in an airtight container in the refrigerator. When you’re ready to use it, let it come to room temperature or gently warm it slightly to make it easier to coat the chicken. This is a great time-saver for busy weeknights.
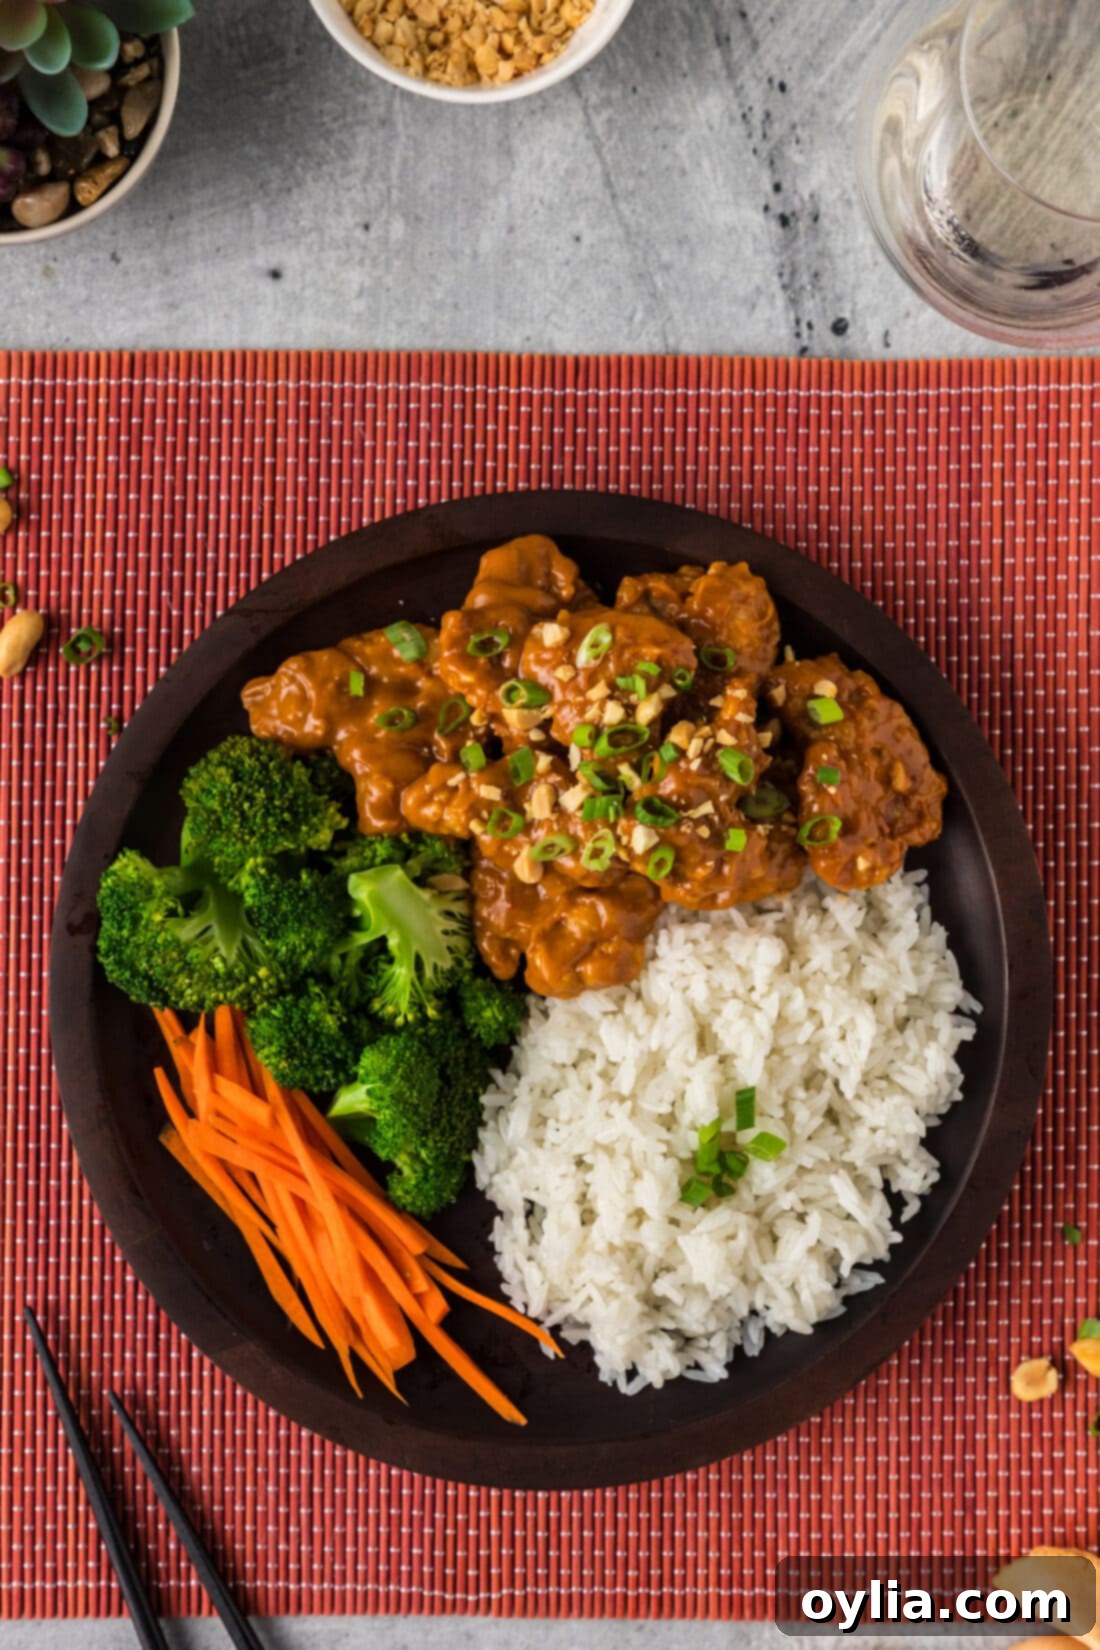
Delightful Serving Suggestions for Your Peanut Butter Chicken
This Peanut Butter Chicken is incredibly versatile and pairs wonderfully with a variety of sides to create a complete and satisfying meal. Here are some of our favorite ways to serve it:
- Classic Rice Pairing: Serve it generously over a bed of fluffy jasmine rice, basmati rice, or even brown rice for a wholesome meal. The rice soaks up the extra sauce beautifully.
- Noodle Nirvana: Toss the chicken and sauce with cooked ramen noodles, udon, or even simple spaghetti for a hearty and comforting dish.
- Low-Carb Options: For a lighter, low-carb meal, spoon the chicken and sauce over cauliflower rice, spiralized zucchini noodles, or a generous helping of steamed or roasted vegetables like broccoli and bell peppers.
- Crisp Green Salad: Balance the richness of the chicken with a refreshing side salad. A simple salad with a light vinaigrette would be perfect.
- Garnish for Extra Flavor and Appeal: Elevate your presentation and flavor by garnishing with thinly sliced green onions (scallions), a sprinkle of toasted sesame seeds, chopped peanuts for extra crunch, or fresh cilantro.
- Drink Pairings: A crisp, light-bodied white wine like a Sauvignon Blanc or an off-dry Riesling would complement the sweet and savory notes. For a non-alcoholic option, iced green tea or a light ginger ale works well.
Explore More Delicious Chicken Recipes
If you loved this unique chicken dish, you might enjoy exploring other flavorful chicken recipes from our collection:
- Garlic Chicken
- Chicken Curry
- Hunan Chicken
- Kung Pao Chicken
I’m passionate about baking and cooking, and I love sharing my kitchen adventures with all of you! To make sure you never miss out on a new recipe, I offer a convenient newsletter delivered right to your inbox. Simply subscribe here and start receiving your free daily recipes!
Peanut Butter Chicken
IMPORTANT – There are often Frequently Asked Questions within the blog post that you may find helpful. Simply scroll back up to read them!
Print It
Pin It
Rate It
Save ItSaved!
Ingredients
- 1 ½ pounds boneless skinless chicken thighs
- ½ cup cornstarch
- ½ cup all purpose flour
- 1 large egg
- vegetable oil for frying
Peanut Butter Sauce
- 1 ½ cups creamy peanut butter
- 1 cup honey
- 1 ½ Tablespoons Franks red hot sauce
- 1 ½ Tablespoons fish sauce
- 1 Tablespoon minced garlic
- ½ Tablespoon minced ginger
- 1 Tablespoon Asian sweet chili sauce
Things You’ll Need
-
Baking sheet
-
Wire cooling racks
-
Large deep sided skillet
-
Mini food processor or mini chopper
Before You Begin
- We use a mini chopper to mix up the sauce for the smoothest consistency. You can also mix it by hand with a whisk, but it won’t be as smooth or emulsified.
- You can easily substitute boneless, skinless chicken breasts for thighs if preferred. Adjust cooking time accordingly to prevent drying out.
Instructions
-
Place wire rack over a baking sheet to prepare for breaded chicken.
-
Cut chicken thighs into uniform 2-inch chunks for even cooking.
-
Put cornstarch on one plate and all-purpose flour on another plate to set up your breading stations.
-
In a medium bowl, whisk the egg until well beaten.
-
Dredge chicken pieces, one at a time, in flour, shaking off any excess.
-
Dip the flour-dredged chicken in the egg, allowing excess to drip off.
-
Coat the chicken piece thoroughly in cornstarch, ensuring both sides are covered. Place on the wire rack.
-
Add enough vegetable oil to a deep sided skillet to come an inch up the sides. Heat over medium-high heat until the oil temperature reaches 350 F (175 C).
-
Lay paper towels out on a plate or cutting board to drain cooked chicken.
-
Place prepared chicken pieces into the hot oil, filling the pan without crowding. Cook for 2-3 minutes on each side, turning once or twice. Chicken should be crispy and cooked through.
-
Move cooked chicken pieces to the paper towels to drain excess oil.
-
To prepare the sauce, add all sauce ingredients to a mini food chopper or blender and blend until smooth and creamy.
TIP – The sauce will taste very strong and concentrated if you try it before combining with the chicken. We highly suggest you refrain from taste testing until it’s mixed with the fried chicken, as the flavors mellow and beautifully complement each other.
-
Place cooked chicken pieces into a large mixing bowl and add the sauce. Use a rubber spatula to carefully turn and coat the chicken evenly. Serve immediately.
Expert Tips & FAQs
- Chicken should be cooked to an internal temperature of 165°F (74°C), registered on an instant-read thermometer, for food safety.
- This recipe makes approximately 3 cups of sauce. We typically use about 2 cups to generously coat the chicken, leaving you with delicious leftovers. You can serve the extra sauce on the side for dipping or drizzle it over your rice or noodles if desired.
- Store any leftovers in an airtight container in the refrigerator for up to 3 days. While the chicken’s crispiness may slightly diminish upon reheating, the incredible flavor of the sauce will remain.
- For an even crispier coating, consider a “double fry” method: fry the chicken until lightly golden, remove and rest for a few minutes, then fry again briefly until deep golden and extra crunchy.
- To enhance the Asian flavors, a sprinkle of toasted sesame seeds or fresh cilantro as a garnish adds a wonderful touch just before serving.
Nutrition
The recipes on this blog are tested with a conventional gas oven and gas stovetop. It’s important to note that some ovens, especially as they age, can cook and bake inconsistently. Using an inexpensive oven thermometer can assure you that your oven is truly heating to the proper temperature. If you use a toaster oven or countertop oven, please keep in mind that they may not distribute heat the same as a conventional full sized oven and you may need to adjust your cooking/baking times. In the case of recipes made with a pressure cooker, air fryer, slow cooker, or other appliance, a link to the appliances we use is listed within each respective recipe. For baking recipes where measurements are given by weight, please note that results may not be the same if cups are used instead, and we can’t guarantee success with that method.
