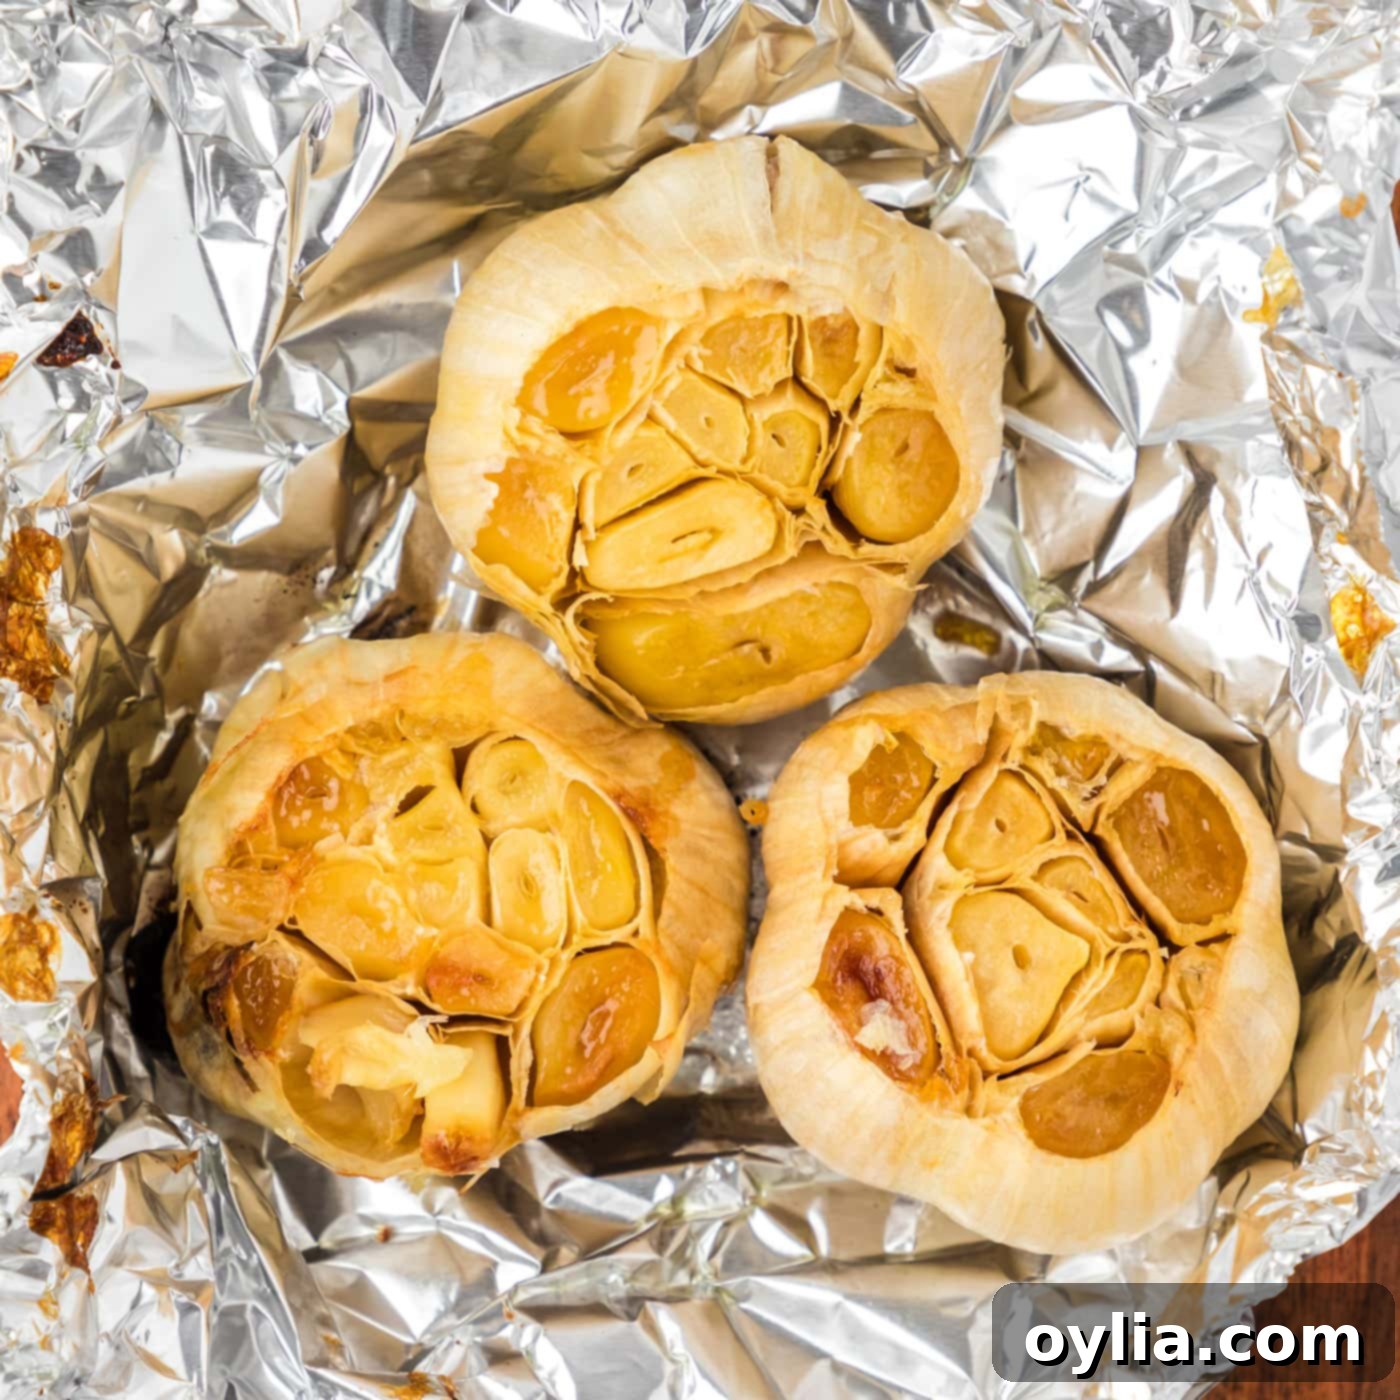
Easy Roasted Garlic Recipe: Unlock Mellow, Caramelized Flavor for Every Dish
Discover the simple secret to creating incredibly soft, delicate, and golden-brown roasted garlic that will become your new favorite culinary obsession. With just a few basic ingredients – fresh garlic bulbs, a drizzle of olive oil, and the warmth of your oven – you can transform pungent raw garlic into a sweet, creamy paste that elevates an astonishing array of dishes. Prepare to slather this heavenly spread on everything imaginable, from crusty bread to succulent steaks, and integrate its rich flavor into all your go-to recipes.
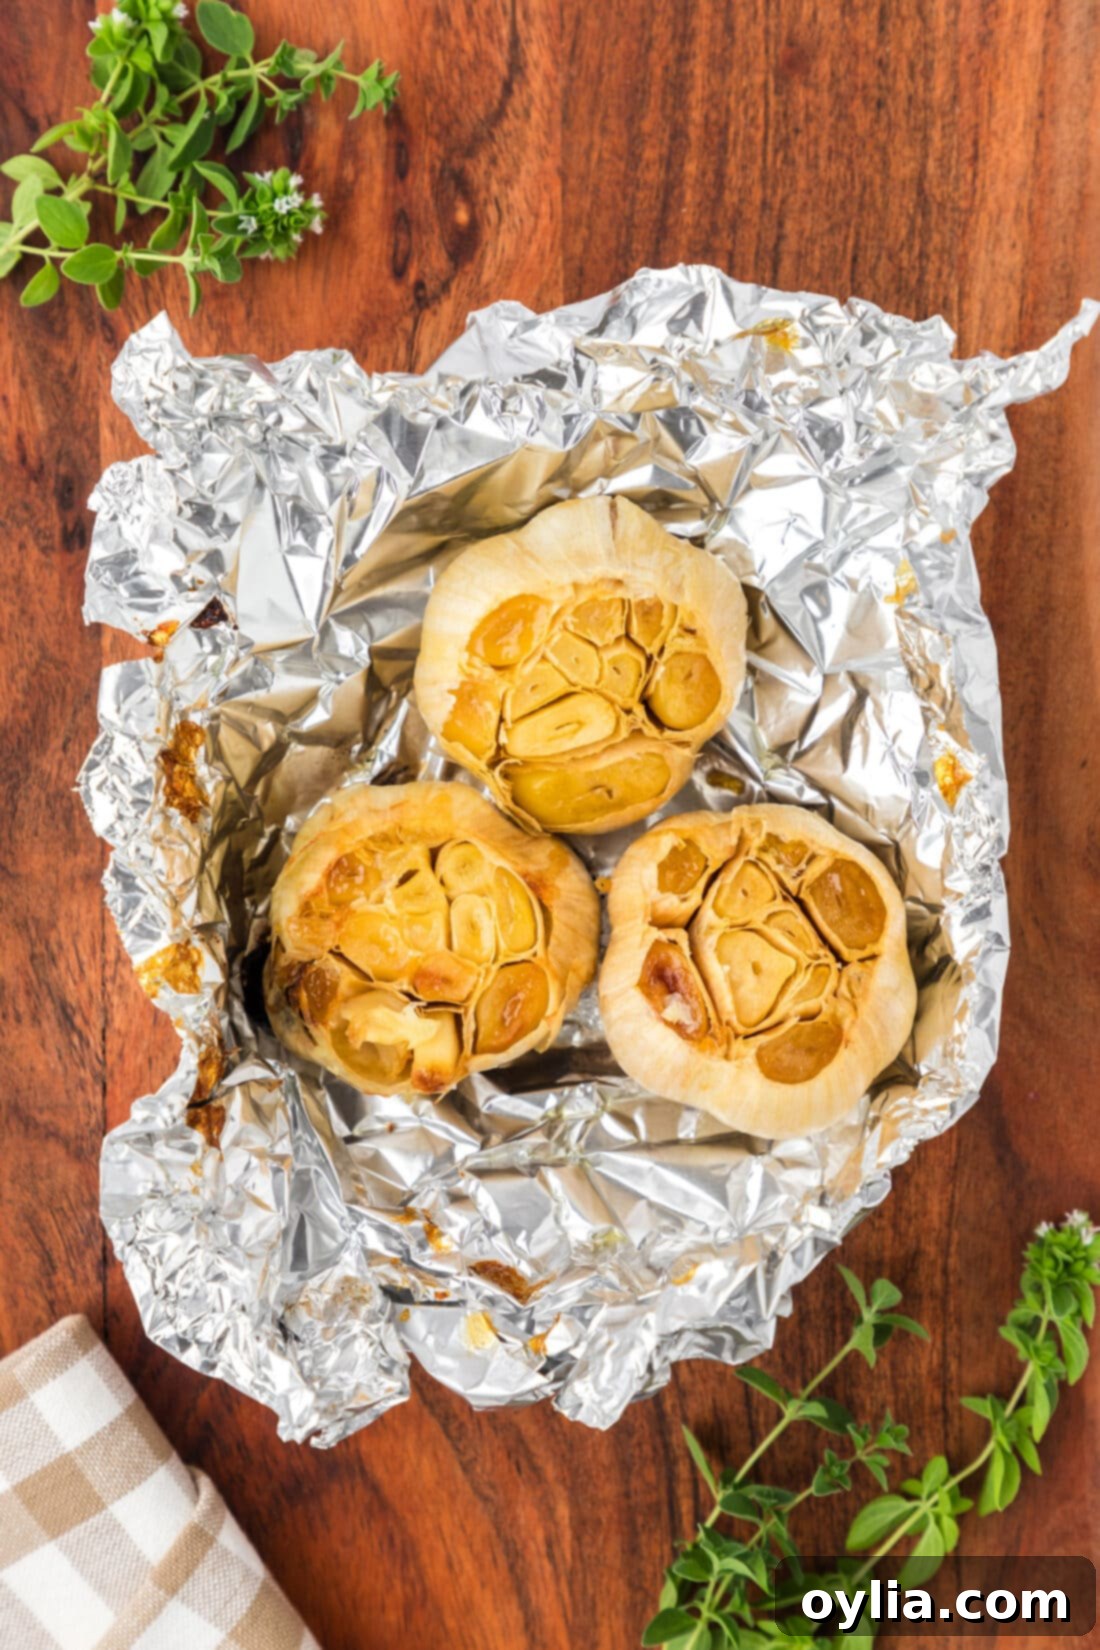
Why This Simple Roasted Garlic Recipe Is a Must-Try
This recipe isn’t just about roasting garlic; it’s about unlocking a depth of flavor and a creamy texture that is simply unattainable with raw garlic. It works so perfectly every time because it relies on minimal effort and a handful of basic elements to achieve culinary magic. The process transforms the sharp, pungent notes of raw garlic into a mellow, sweet, and highly aromatic paste through slow caramelization in the oven.
By wrapping the garlic bulbs in aluminum foil with a generous drizzle of olive oil, we create a steamy, protective environment. This ensures the garlic cloves don’t dry out or burn, but rather slowly soften and caramelize to a delicate golden-brown perfection. The olive oil also infuses the garlic with a rich, fruity undertone, enhancing its natural sweetness. This method is incredibly forgiving and consistently delivers tender, flavorful bulbs ready to be incorporated into an endless array of dishes.
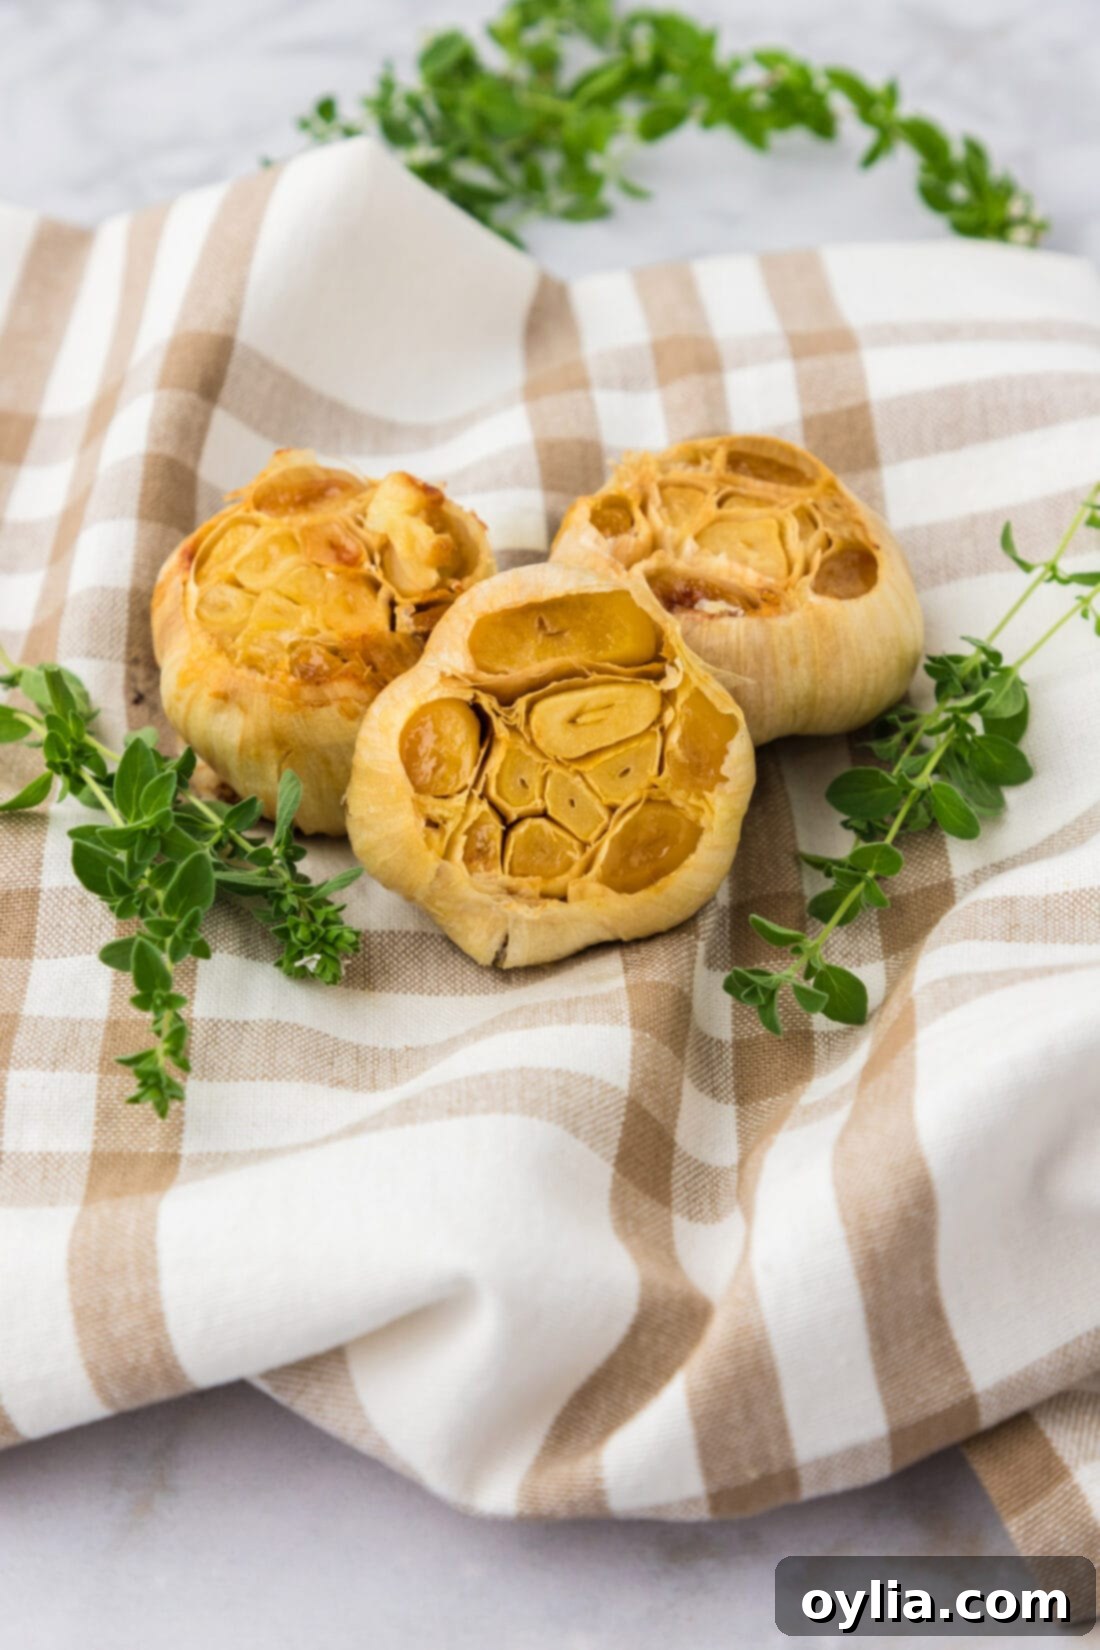
Imagine the delightful addition of this soft roasted garlic to creamy mashed potatoes, homemade hummus, hearty soups, and savory sauces. Its versatility knows no bounds! The beauty of roasting garlic is that you control the outcome: the longer the bulbs roast, the more intense and rich their flavor becomes, and the creamier their consistency. This simple technique is not just easy to master; it’s a fundamental skill that will elevate your home cooking to new heights, adding a gourmet touch without the fuss.
Simple Ingredients for Perfect Roasted Garlic
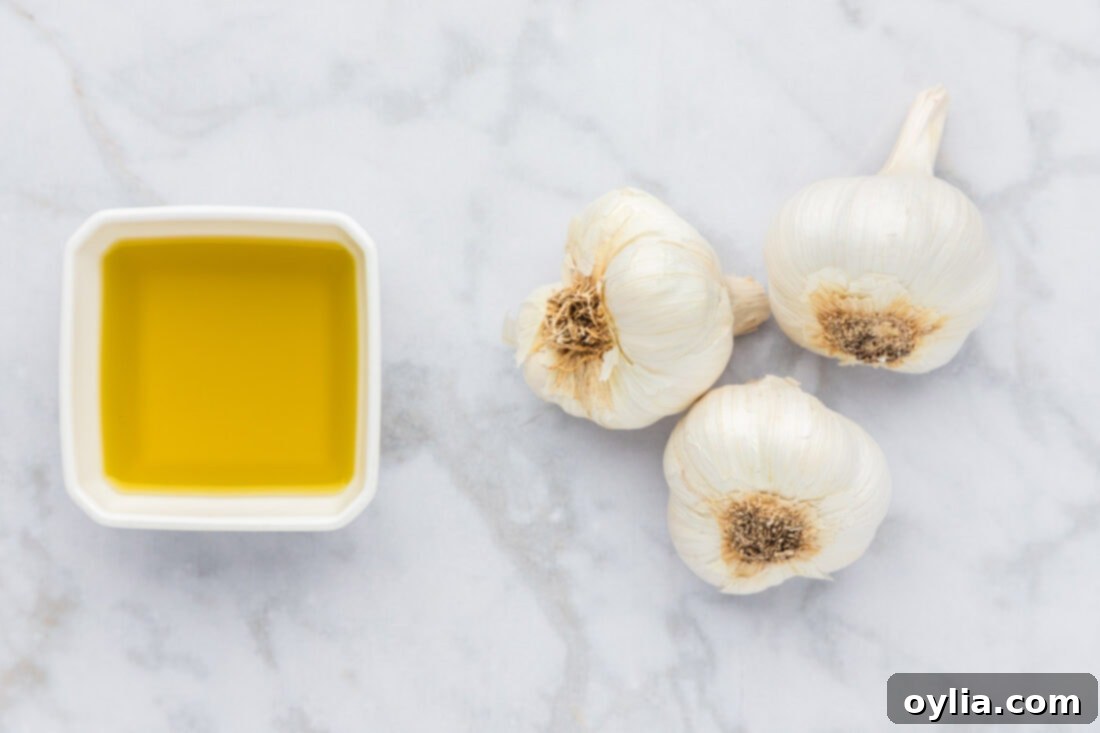
You’ll be amazed at how few ingredients are needed to create such a flavorful culinary staple. This recipe champions simplicity, focusing on the natural deliciousness of garlic enhanced by a touch of good quality olive oil. For exact measurements, ingredient details, and a printable version of this recipe, please refer to the recipe card at the very end of this post.
Ingredient Information and Expert Substitution Tips
While the ingredient list is short, understanding each component ensures the best roasted garlic possible.
GARLIC – The star of our show! We typically roast our garlic bulbs for approximately 60 minutes to achieve a wonderfully soft, spreadable paste consistency. This longer roasting time allows the natural sugars within the garlic to fully caramelize, resulting in a deeper, sweeter flavor. However, if you prefer a slightly firmer, yet still tender, consistency – perfect for chopping and adding to dishes – you can reduce the roasting time to 40-45 minutes. A good indicator of doneness is when the tops of the cloves are beautifully golden-brown and can be effortlessly pierced with a fork or a small knife. Feel free to use any variety of garlic you prefer, though common white garlic works perfectly. Avoid garlic that feels soft or hollow, as this indicates it’s past its prime.
OLIVE OIL – This is more than just a flavor enhancer; it’s crucial for the texture. The olive oil plays a vital role in preventing the garlic cloves from drying out or becoming brittle during the roasting process. It helps to retain moisture, ensuring the bulbs come out tender and creamy. A simple drizzle over the exposed, cut side of the garlic bulbs is all that’s needed. While extra virgin olive oil offers the best flavor, any good quality olive oil will work. You could also experiment with other neutral oils like avocado oil, or even a flavored oil for an extra layer of taste, though olive oil is traditional and highly recommended for its complementary notes.
OPTIONAL ADDITIONS: For an extra layer of flavor, consider sprinkling a pinch of sea salt, a crack of black pepper, or a tiny sprig of fresh rosemary or thyme over the cut garlic before wrapping it in foil. These additions can subtly enhance the roasted garlic without overpowering its natural sweetness.
How to Make Roasted Garlic: A Step-by-Step Guide
These step-by-step photos and detailed instructions are provided to help you visualize each stage of making this delicious roasted garlic recipe. For a convenient printable version, complete with precise measurements and instructions, simply Jump to Recipe at the bottom of this post.
- Preheat Oven: Begin by preheating your oven to 400°F (200°C). This ensures the oven is at the correct temperature for even roasting the moment you place the garlic inside, leading to consistent caramelization.
- Prepare Garlic Bulbs: Carefully remove any very loose, papery outer layers from the garlic bulbs. You don’t need to strip them completely; leaving a few layers on helps to protect the cloves and keep the bulb intact during roasting. This step also makes the bulbs easier to handle.
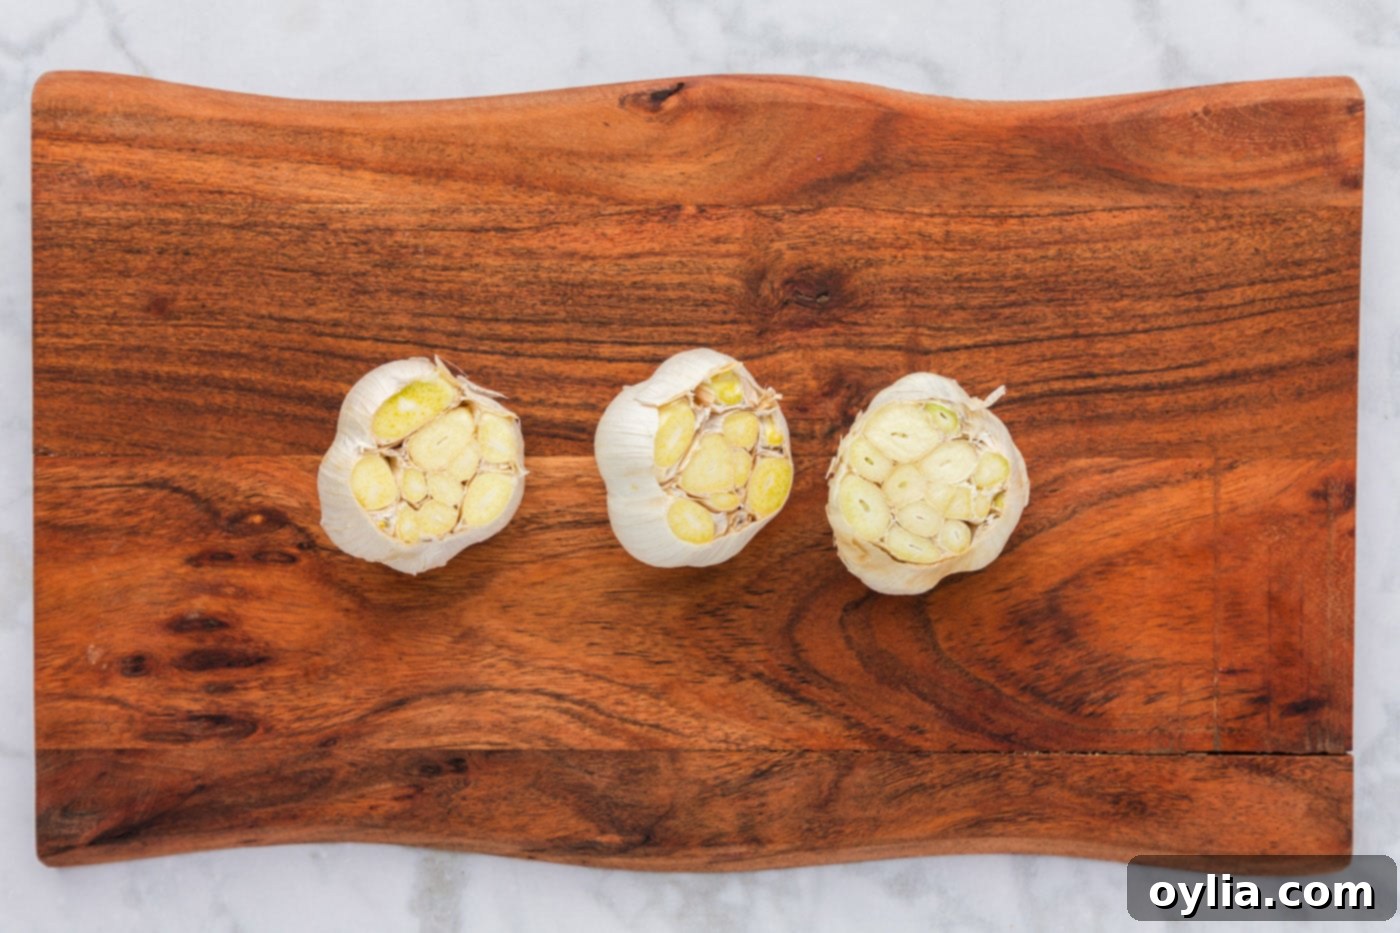
- Slice Garlic Tips: Lay each garlic bulb sideways on a cutting board. Using a sharp knife, carefully slice off about a quarter to a half-inch from the very top (the non-root end) of each bulb. This exposes the individual garlic cloves, allowing the olive oil to penetrate and the heat to work its magic, while still keeping the cloves connected at the root end.
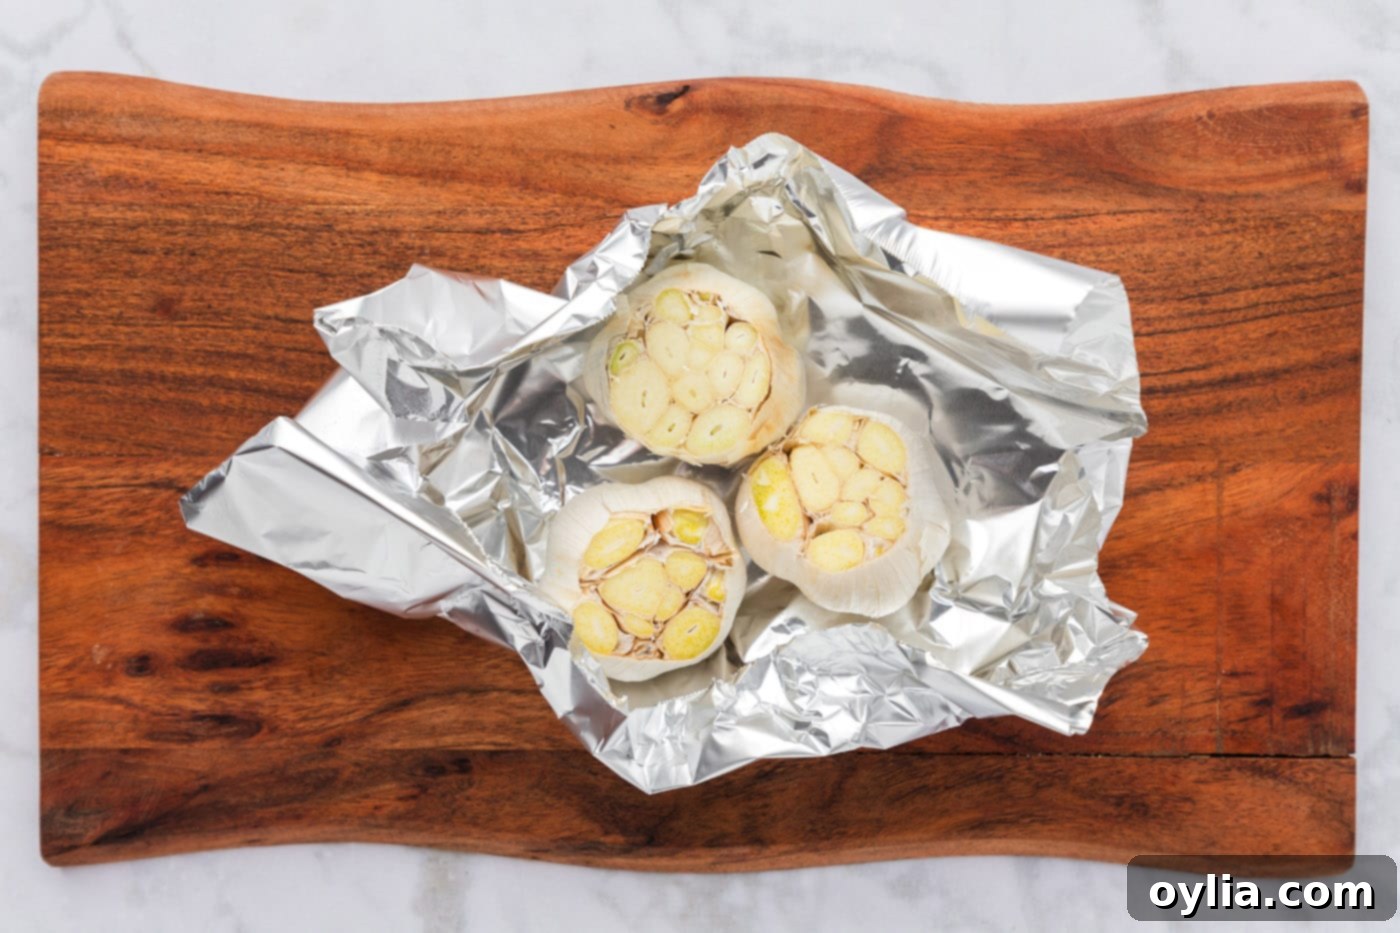
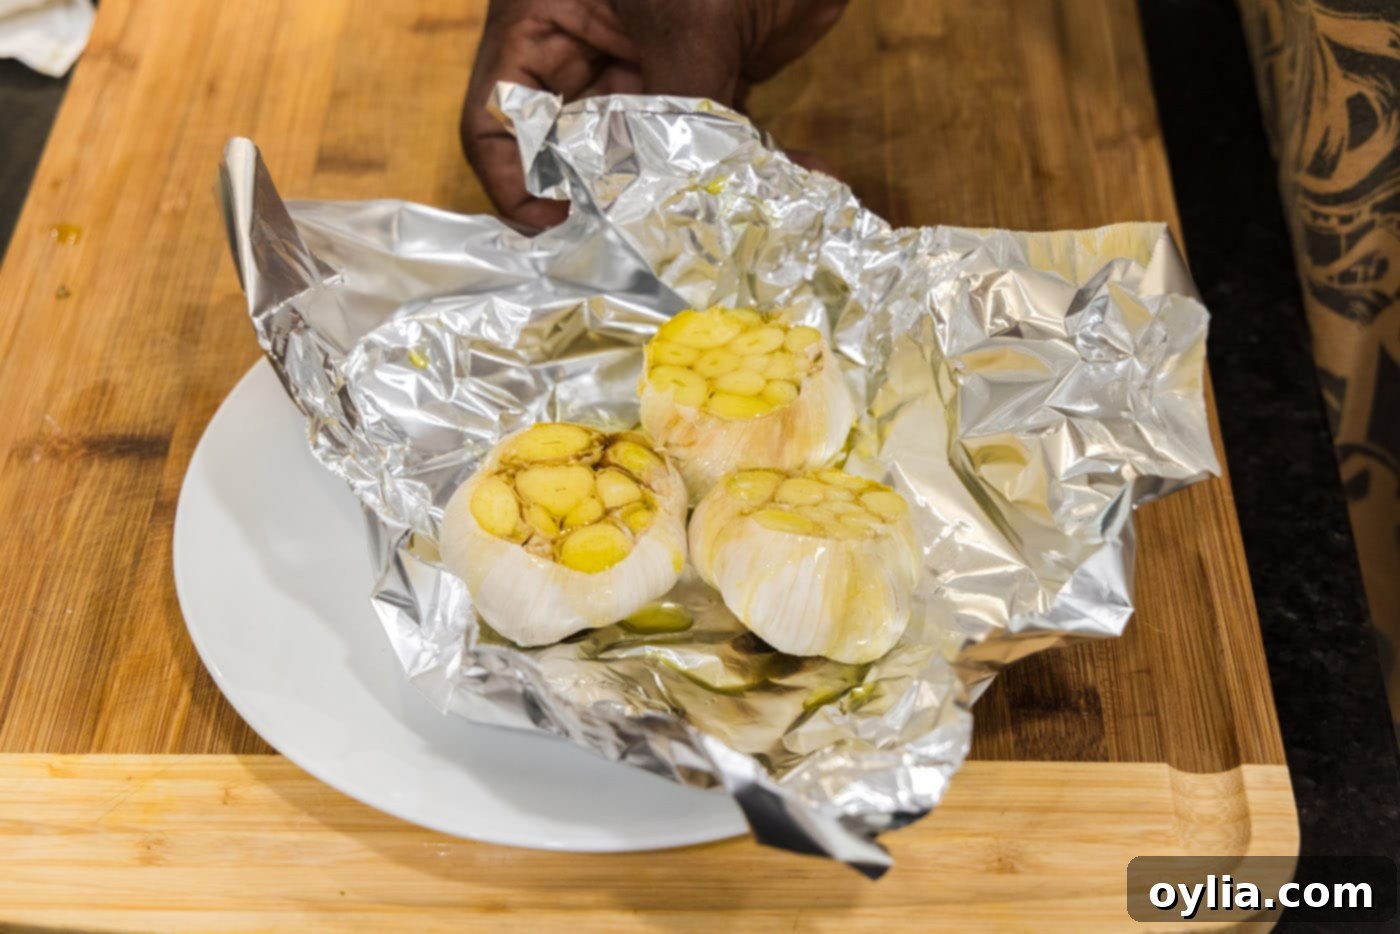
- Drizzle with Olive Oil: Place the prepared garlic bulbs, with their root sides down, onto a large piece of aluminum foil. Drizzle the exposed, cut tops of the garlic cloves generously with olive oil. Ensure that each exposed clove gets a coating of oil, as this is essential for moisture retention and optimal caramelization.
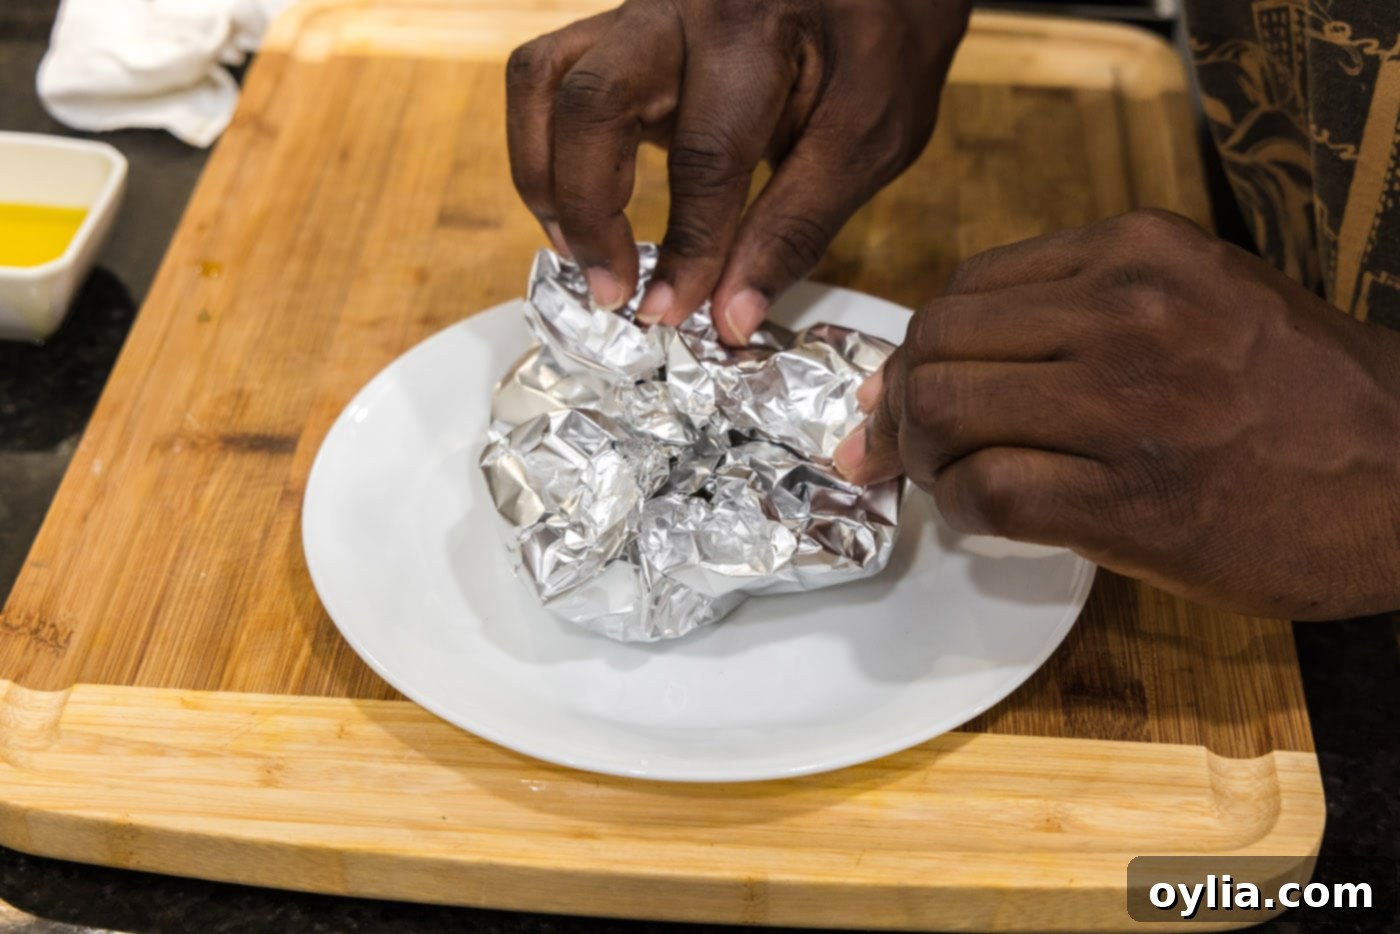
- Wrap and Bake: Carefully close up the aluminum foil around the garlic bulbs, creating a tightly sealed packet. This foil packet acts like a mini-steamer, trapping moisture and heat, which helps the garlic cloves to soften and prevents them from drying out. Place the foil-wrapped garlic on a baking sheet – this makes it easier to transfer to and from the oven and catches any potential drips. Bake in the preheated oven for 45-60 minutes, or until the cloves are golden brown and very tender when pierced.
Frequently Asked Questions & Expert Tips for Roasting Garlic
Storing roasted garlic properly is key to enjoying its delicious flavor for longer. Once roasted and cooled, you can store it in an airtight container in the refrigerator for up to 5 days. For optimal use, we highly recommend gently squeezing the softened cloves out from their papery skins, or even mashing them into a paste, before storing. This makes them ready to use whenever inspiration strikes. If you plan on keeping your roasted garlic for more than 5 days, extend its shelf life by placing the separated cloves or mashed garlic in a shallow container or jar and completely covering them with fresh olive oil. Ensure all garlic is submerged. This creates an anaerobic environment that helps preserve its freshness and moisture for up to 2 weeks in the refrigerator. Always use clean utensils when retrieving garlic from oil to prevent contamination.
While roasting whole bulbs is common, individual cloves can also be roasted for quicker results or specific uses. To roast individual garlic cloves, first peel them completely. Then, place the peeled cloves on a baking sheet lined with aluminum foil. Drizzle them lightly with olive oil and then wrap the cloves securely in the aluminum foil to form a packet. Roast them in a 400°F (200°C) oven for approximately 25-40 minutes, depending on how soft and caramelized you desire them to be. Similar to whole bulbs, the cloves are perfectly roasted when they are tender and easily pierced with a fork or knife, with a lovely golden hue.
Freezing roasted garlic is an excellent way to have this flavor enhancer on hand whenever you need it. Begin by removing the soft, roasted cloves from their skins. You have two main options for freezing: you can either leave them as whole, individual cloves or mash them into a smooth paste. For whole cloves, simply place them in an airtight freezer-safe container or a sealed zip-top bag, removing as much air as possible. For mashed roasted garlic, a clever trick is to portion it into tablespoon-sized amounts and scoop them into ice cube trays. Once frozen solid, transfer the garlic cubes to a freezer bag. Roasted garlic can be stored in the freezer for up to 2 months. When you’re ready to use it, simply thaw it at room temperature or add it directly to warm dishes.
We recommend roasting garlic at 400°F (200°C). This temperature provides a good balance, allowing the garlic to slowly caramelize and soften without burning. Lower temperatures would take significantly longer, while higher temperatures risk scorching the garlic before it fully softens and develops its sweet flavor. The foil packet further helps regulate the heat and retain moisture, ensuring consistently perfect results.
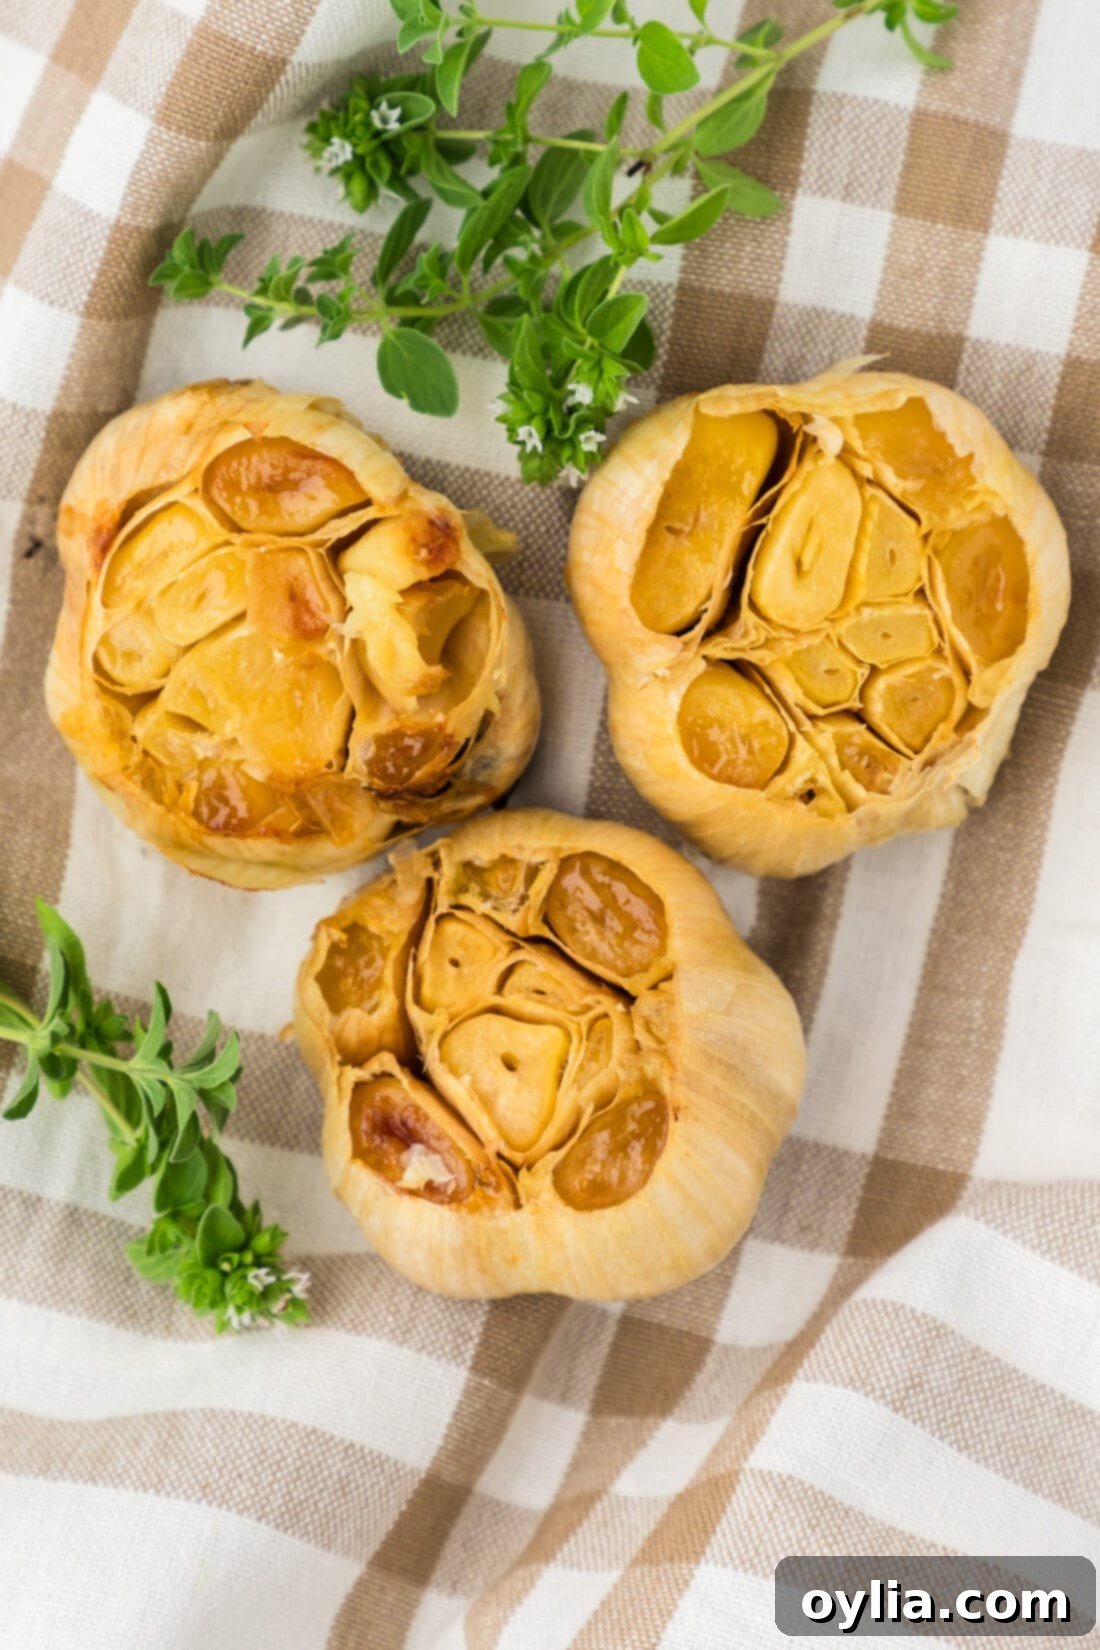
You’ll know your roasted garlic is perfectly done when the cloves are soft enough to be easily squeezed from their skins or pierced with a fork. They should have a beautiful golden-brown color on top, indicating proper caramelization. If they still feel firm, simply reseal the foil packet and return them to the oven for another 10-15 minutes, checking periodically. Trust your senses – the aroma will also be noticeably sweet and earthy.
Creative Ways to Enjoy Your Delicious Roasted Garlic
Now that you’ve mastered how to roast garlic, the real fun begins: incorporating its incredible flavor into your favorite meals! Our recipe yields a consistency that is akin to a soft, utterly spreadable paste, making it incredibly versatile. Here are some mouth-watering suggestions to inspire your culinary creativity:
- Fantastic Spreads: The most straightforward way to enjoy roasted garlic is as a spread. Squeeze the warm, soft cloves directly onto warm, crusty bread, toasted baguette slices, or crackers for a simple yet sophisticated appetizer. It’s also divine when mashed and mixed with softened butter to create a rich compound butter – perfect for finishing steaks, grilled chicken, or slathering on corn on the cob.
- Elevate Your Proteins: Press a few cloves into the rich pan juices of a thick, juicy steak or blend it into a marinade for chicken, pork, or fish. The mellow flavor adds depth without being overpowering.
- Soups, Stews, and Sauces: Stir mashed roasted garlic into your favorite creamy soups (like potato or tomato), hearty stews, or pasta sauces. It provides a sweet, umami richness that deepens the overall flavor profile. Consider blending it into a quick weeknight marinara or a luxurious Alfredo sauce.
- Dips and Dressings: Transform your homemade hummus, guacamole, or creamy vegetable dips with a generous spoonful of roasted garlic. Whisk it into salad dressings (like vinaigrettes or creamy ranch) for an extra layer of savory goodness.
- Roasted Vegetables: Toss roasted garlic with other roasted vegetables like broccoli, asparagus, or root vegetables for an intensified side dish. Its caramel notes complement the natural sweetness of the vegetables beautifully.
- Flavorful Mashes: Fold it into mashed potatoes, mashed cauliflower, or other root vegetable purees for an incredibly aromatic and creamy texture.
- Pizza and Flatbread Topping: Spread a thin layer of mashed roasted garlic directly onto your pizza dough or flatbread before adding other toppings for an instant flavor boost.
- Sandwiches and Wraps: Use it as a savory spread on sandwiches and wraps instead of mayonnaise or other condiments for a unique and delicious twist.
The possibilities are truly endless, limited only by your imagination. What’s your favorite way to utilize a fresh batch of tender, sweet roasted garlic? Don’t hesitate to experiment and discover new ways to enjoy this incredible ingredient!
Explore More Delicious Garlic Recipes
If you’re a true garlic lover, you’ll be thrilled to discover even more ways to incorporate this versatile ingredient into your cooking. Here are some of our other popular garlic-infused recipes that we know you’ll adore:
- Irresistible Garlic Knots
- Savory Garlic Chicken with Parsley
- Homemade Garlic Butter Sauce
- Quick & Easy Garlic Green Beans
- Ultimate Cheesy Garlic Bread
- Creamy Garlic Mashed Potatoes
I absolutely love to spend my time in the kitchen, experimenting with new flavors and perfecting classic recipes, and then sharing all my culinary experiences with you! It can be challenging to remember to check back daily for new recipe inspiration, which is why I offer a convenient newsletter delivered straight to your inbox every time a new recipe is published. Simply subscribe here and start receiving your free daily dose of delicious recipes, tips, and tricks!

How to Roast Garlic
IMPORTANT – There are often Frequently Asked Questions within the blog post that you may find helpful. Simply scroll back up to read them!
Print It
Pin It
Rate It
Save ItSaved!
Ingredients
- 3 bulbs fresh garlic
- olive oil
Things You’ll Need
-
Baking sheet
-
Aluminum foil
Before You Begin
- For a wonderfully soft, paste-like consistency, roast your garlic bulbs for about 60 minutes. If you prefer a slightly firmer but still tender result, suitable for chopping, aim for 40-45 minutes. The garlic is done when the tops are golden and the cloves can be easily pierced with a fork or knife.
- A generous drizzle of olive oil is crucial. It helps maintain moisture, preventing the garlic from drying out or becoming brittle during roasting. Apply it directly to the cut surface of the bulbs before wrapping and baking.
Instructions
-
Preheat your oven to 400°F (200°C) to ensure it’s ready for roasting.
-
Remove any very loose, papery outer layers from the garlic bulbs, but leave enough to keep the bulbs intact.
-
Lay each bulb on its side and carefully slice off about a quarter to half an inch from the very top (non-root end) of the garlic cloves, exposing them.
-
Place the garlic bulbs, root side down, onto a large piece of aluminum foil. Drizzle the exposed, cut tops of the cloves generously with olive oil.
-
Seal the aluminum foil tightly around the garlic bulbs to create a packet, then place it on a baking sheet. Bake in the preheated oven for 45-60 minutes, or until the cloves are golden-brown and very tender.
Expert Tips & FAQs
- To store roasted garlic in the refrigerator for up to 5 days, remove the cloves from the head or mash them, then place them in an airtight container. For longer storage (up to 2 weeks), cover the cloves completely with olive oil in a jar to retain moisture.
- For individual roasted cloves, peel them first, drizzle with oil, wrap in foil, and roast at 400°F for 25-40 minutes until soft and easily pierced.
- To freeze roasted garlic, remove cloves from the head. You can freeze them whole or mashed. Store in an airtight container or zip-top bag for up to 2 months. Mashed garlic can be frozen in tablespoon portions using ice cube trays. Thaw at room temperature before use.
- The ideal roasting temperature is 400°F (200°C) for optimal caramelization and softening without burning.
- Roasted garlic is done when the cloves are golden-brown and easily squeezed from their skins or pierced with a fork. If still firm, roast for a bit longer.
Nutrition
The recipes on this blog are tested with a conventional gas oven and gas stovetop. It’s important to note that some ovens, especially as they age, can cook and bake inconsistently. Using an inexpensive oven thermometer can assure you that your oven is truly heating to the proper temperature. If you use a toaster oven or countertop oven, please keep in mind that they may not distribute heat the same as a conventional full sized oven and you may need to adjust your cooking/baking times. In the case of recipes made with a pressure cooker, air fryer, slow cooker, or other appliance, a link to the appliances we use is listed within each respective recipe. For baking recipes where measurements are given by weight, please note that results may not be the same if cups are used instead, and we can’t guarantee success with that method.
