The Best Fluffy & Moist Classic Vanilla Cupcakes Recipe: Your Go-To Guide
Prepare to fall in love with your new favorite classic vanilla cupcake recipe. With an irresistibly fluffy texture, a wonderfully moist crumb, and a flavor that’s pure vanilla bliss, these cupcakes are truly a timeless treat. Whether you’re celebrating a birthday, hosting a special event, or simply craving a sweet indulgence, these pillowy-soft delights are designed to impress. Forget dry, bland cupcakes – this recipe promises a tender, light, and perfectly sweetened experience that will have everyone asking for more.
Why This Is Your New Favorite Vanilla Cupcake Recipe
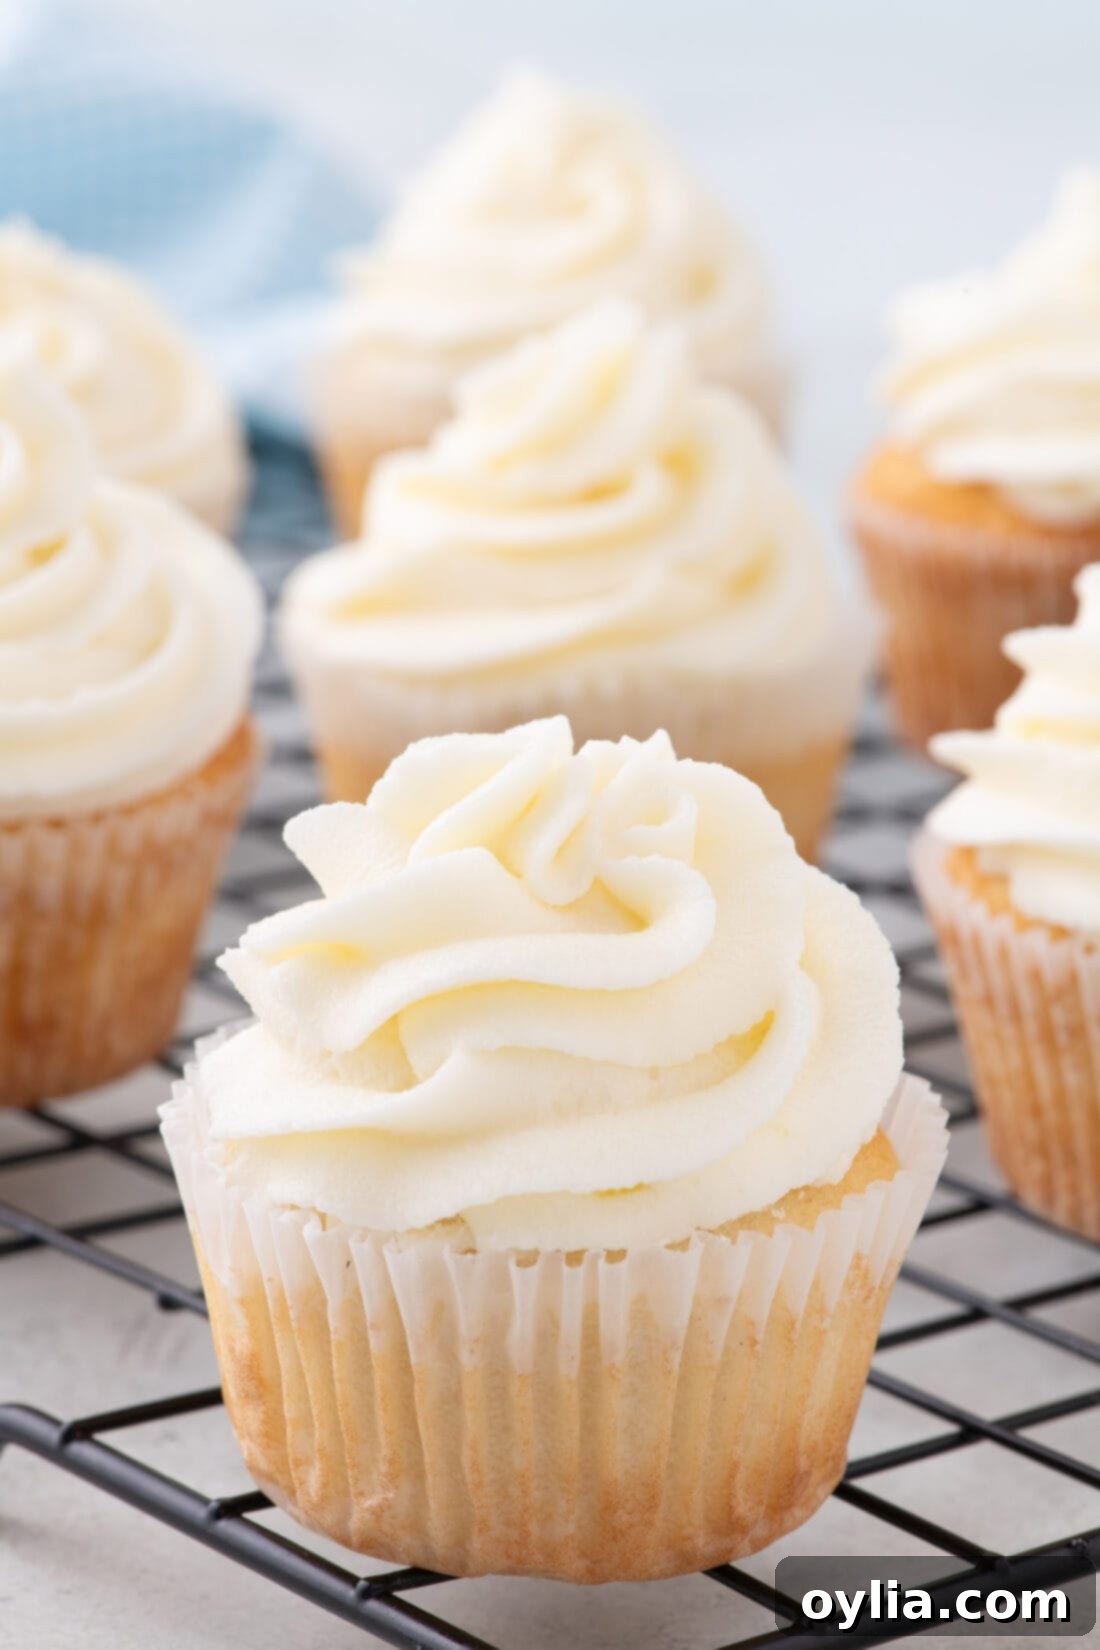
What makes these vanilla cupcakes stand out from the rest? It’s all about the perfect balance of ingredients and a simple technique that yields consistent, spectacular results every time. These cupcakes are more than just “good” – they’re wonderfully moist, impeccably soft, and boast a delicate, light crumb that practically melts in your mouth. Unlike many recipes that can lead to dense or dry results, our method ensures a fluffy, tender texture that truly defines what a classic vanilla cupcake should be.
This isn’t just a recipe; it’s a reliable foundation for any celebration. Their perfectly sweetened vanilla base serves as the ideal canvas for a wide array of frostings. While they pair exquisitely with classic vanilla buttercream or rich chocolate buttercream, their versatility means you can experiment with virtually any frosting flavor you desire, from fruity to nutty. They’re the ultimate all-occasion treat, simple enough for a weeknight indulgence yet elegant enough for a party centerpiece.
Essential Ingredients for Perfect Vanilla Cupcakes
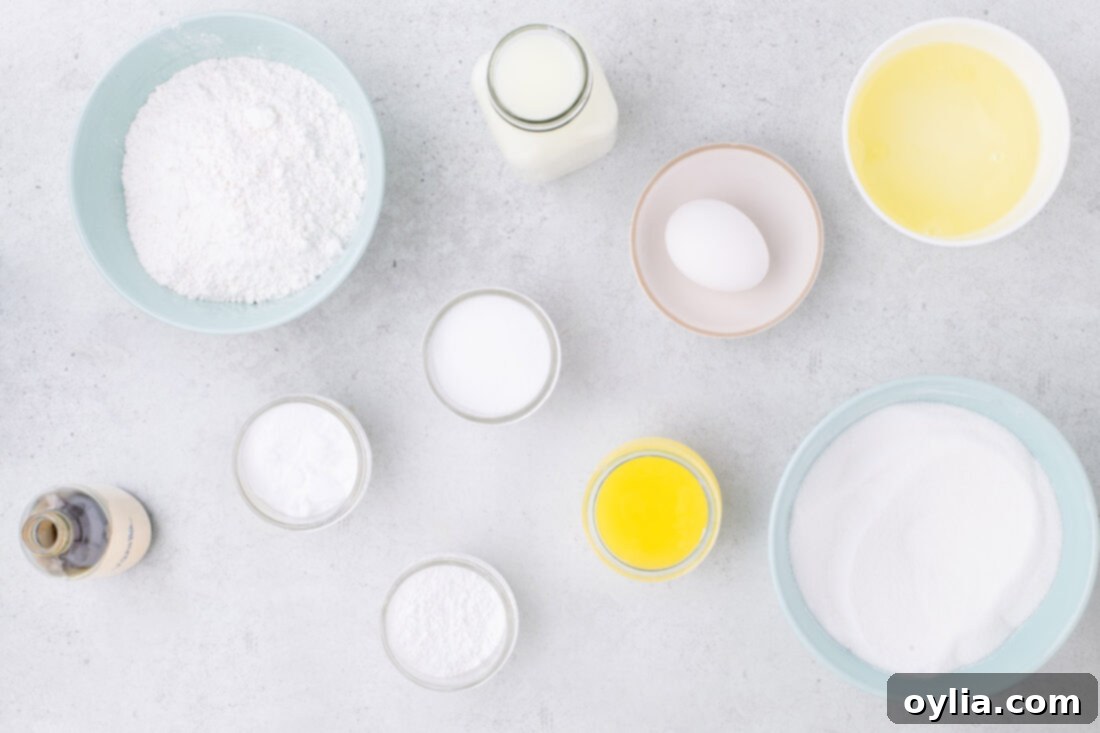
Crafting these delicious vanilla cupcakes requires a handful of common baking staples, most of which you likely already have in your pantry. The quality of these ingredients, however, makes a significant difference in the final taste and texture. Below, you’ll find a visual guide to the key components. For precise measurements, detailed instructions, and a convenient printable version of this recipe, please refer to the comprehensive recipe card located at the end of this post.
Ingredient Breakdown & Expert Substitution Tips
Understanding each ingredient’s role is key to baking success. Here’s a closer look at what goes into our classic vanilla cupcakes and how to handle potential substitutions:
- FLOUR – The secret to that incredibly pillowy soft and tender texture in these vanilla cupcakes lies in using cake flour. It has a lower protein content than all-purpose flour, which means less gluten development, resulting in a softer crumb. When measuring flour, precision is paramount. If you don’t have a kitchen scale (which we highly recommend for baking accuracy), use the “scoop and sweep” method:
- First, aerate your flour by whisking it in its container.
- Then, gently spoon the flour into your measuring cup until it’s slightly overflowing.
- Finally, level the top with the flat back edge of a butter knife.
Avoid scooping directly from the bag or packing the flour down, as this can add too much flour, leading to dry, dense cupcakes. Additionally, always check that your baking soda and baking powder are not expired before you begin to ensure the perfect rise and a light, airy texture.
- VANILLA – As the star flavor of these best-tasting vanilla cupcakes, the quality of your vanilla extract is non-negotiable. For a rich, deep, and authentic vanilla flavor, always opt for pure vanilla extract. Artificial vanilla flavorings simply won’t deliver the same nuanced aroma and taste. If you want to elevate the flavor even further, consider using vanilla bean paste, which includes tiny specks of vanilla bean for a gourmet touch.
- BUTTERMILK – Buttermilk is a hero ingredient in this recipe, contributing significantly to the cupcakes’ moistness and tender crumb thanks to its acidity, which reacts with the baking soda. If you don’t have buttermilk on hand, don’t worry! You can easily make your own with a couple of pantry staples:
- Homemade Buttermilk Substitute: Simply combine 8 ounces (1 cup) of whole milk with 1 tablespoon of white vinegar or lemon juice. Stir it gently and let it sit for 5-10 minutes until it slightly curdles.
- Sour Cream Alternative: Another excellent substitute is to use a 1:1 ratio of sour cream to whole milk. For example, if the recipe calls for ¾ cup buttermilk, use ½ cup sour cream and ¼ cup whole milk, whisked together.
- BUTTER – We use melted unsalted butter in this recipe. Butter adds richness, flavor, and contributes to the moist texture. Melting it ensures it easily incorporates into the batter without overmixing. Using unsalted butter gives you control over the overall salt content in your recipe.
- EGGS – This recipe calls for both egg whites and a whole egg, and it’s crucial that they are at room temperature. Room temperature eggs emulsify better with the other ingredients, leading to a smoother, more uniform batter and a lighter, fluffier cupcake. The egg whites contribute to the light and airy structure, while the whole egg adds a bit more richness and binding.
- SUGAR – Granulated sugar not only sweetens the cupcakes but also helps to keep them moist and tender. When creamed with butter (though this recipe uses melted butter and mixes it with liquids), it creates air pockets that contribute to the light texture.
Step-by-Step: How to Make Irresistible Vanilla Cupcakes
These step-by-step photos and instructions are here to help you visualize how to make this recipe perfectly. For a complete printable version of this recipe, including exact measurements and detailed instructions, scroll down to the full recipe card at the bottom of this post. You can Jump to Recipe now if you prefer.
- Prepare Your Oven and Muffin Pans: First, preheat your oven to 350°F (175°C). This ensures the oven is at the correct temperature when your batter is ready, which is vital for proper rising. Line two 12-cup cupcake pans with 24 cupcake liners. This recipe typically yields between 22-24 cupcakes, depending on how full you fill them.
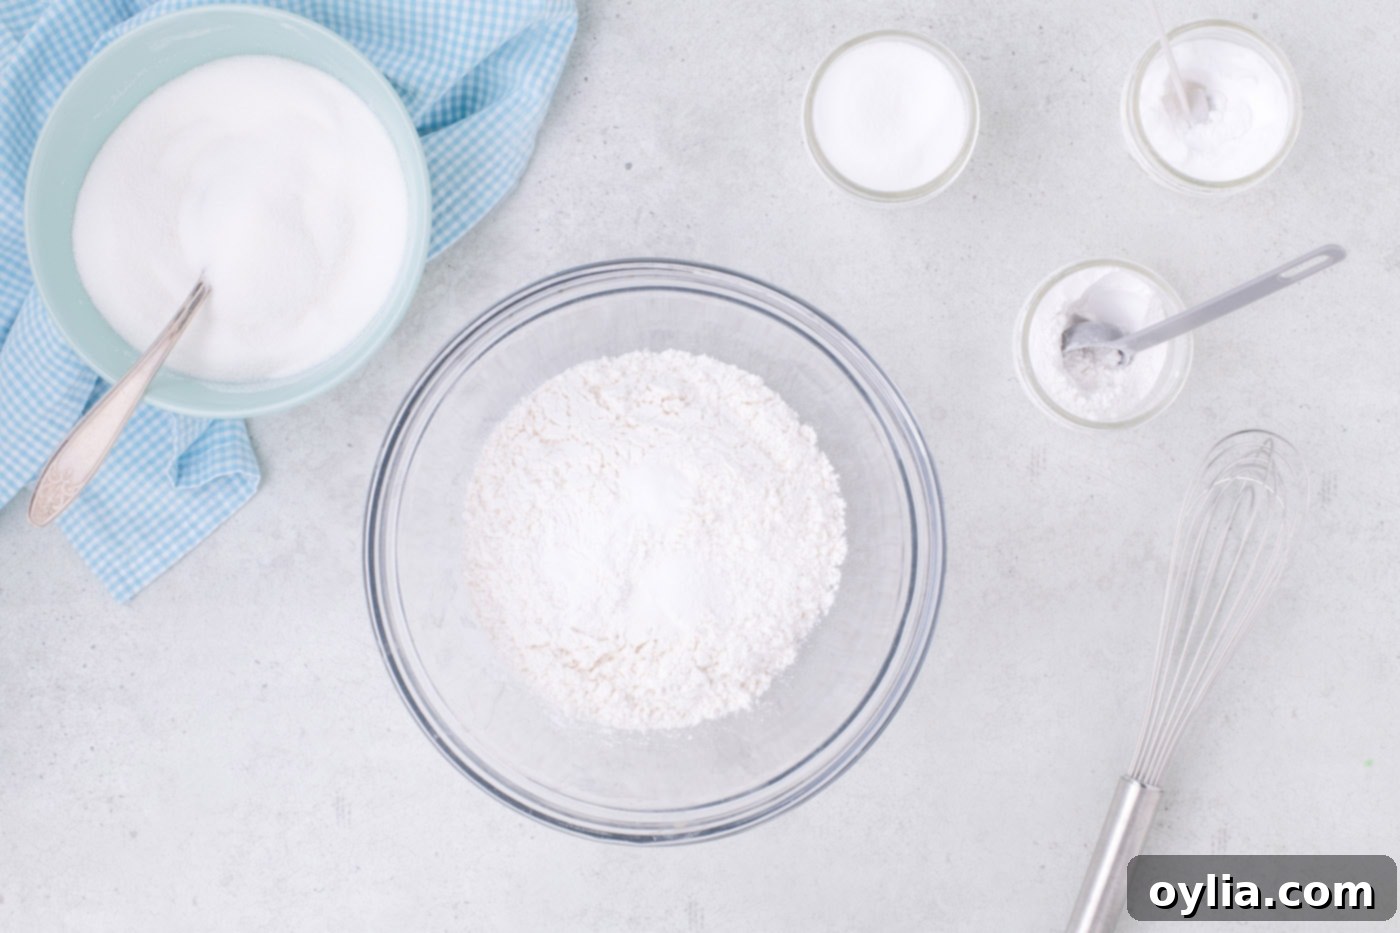
- Combine Dry Ingredients: In a medium-sized mixing bowl, thoroughly whisk together the cake flour, granulated sugar, baking powder, baking soda, and salt. Whisking ensures these dry ingredients are well combined and evenly distributed, preventing lumps and ensuring a consistent rise. Set this bowl aside.

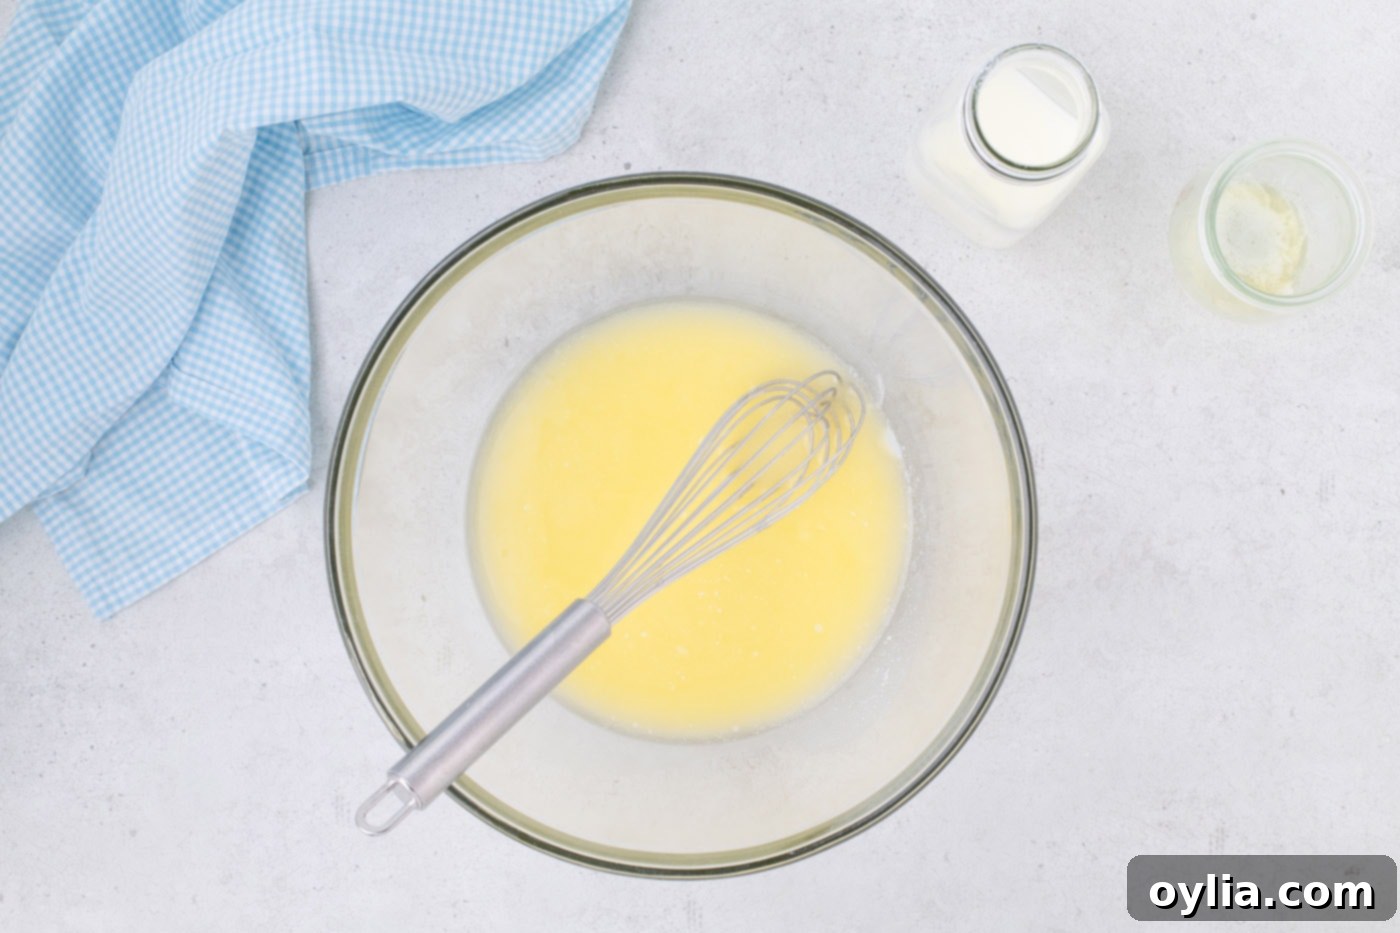
Whisking together the essential dry ingredients for the cupcake batter. - Mix Wet Ingredients (Part 1): In a separate, large bowl, whisk together the buttermilk and melted butter. Ensure the butter isn’t too hot, as this could curdle the buttermilk or cook the eggs in the next step.

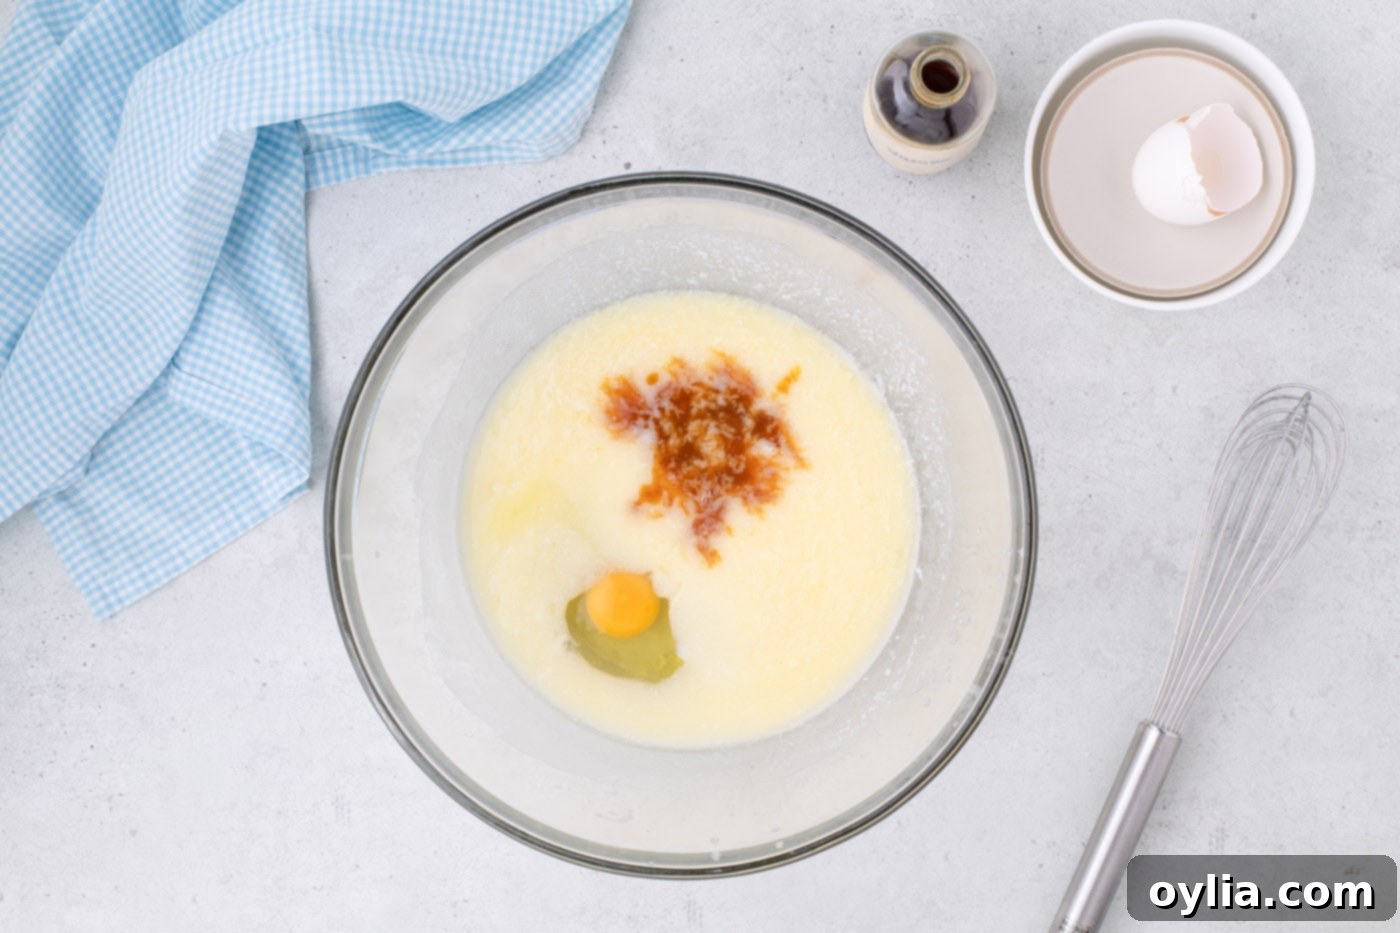
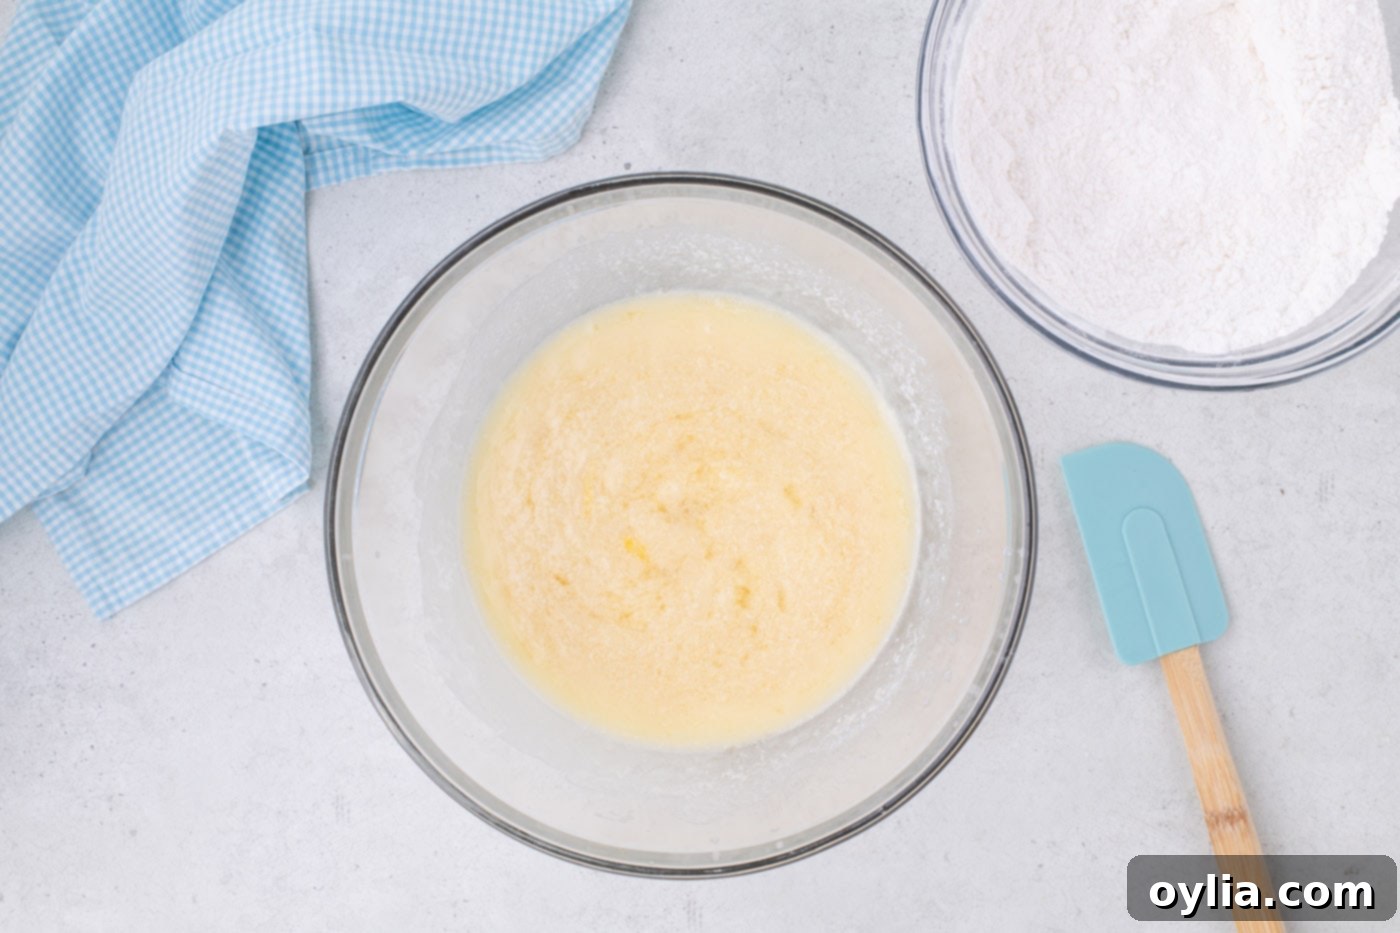
Combining buttermilk and melted butter for the liquid base. - Mix Wet Ingredients (Part 2): To the buttermilk and butter mixture, whisk in the pure vanilla extract, egg whites, and the whole egg. Continue whisking until the mixture is smooth and well combined. Remember, room temperature eggs are key for a homogenous batter.

Adding vanilla, egg whites, and the whole egg to the wet mixture. 
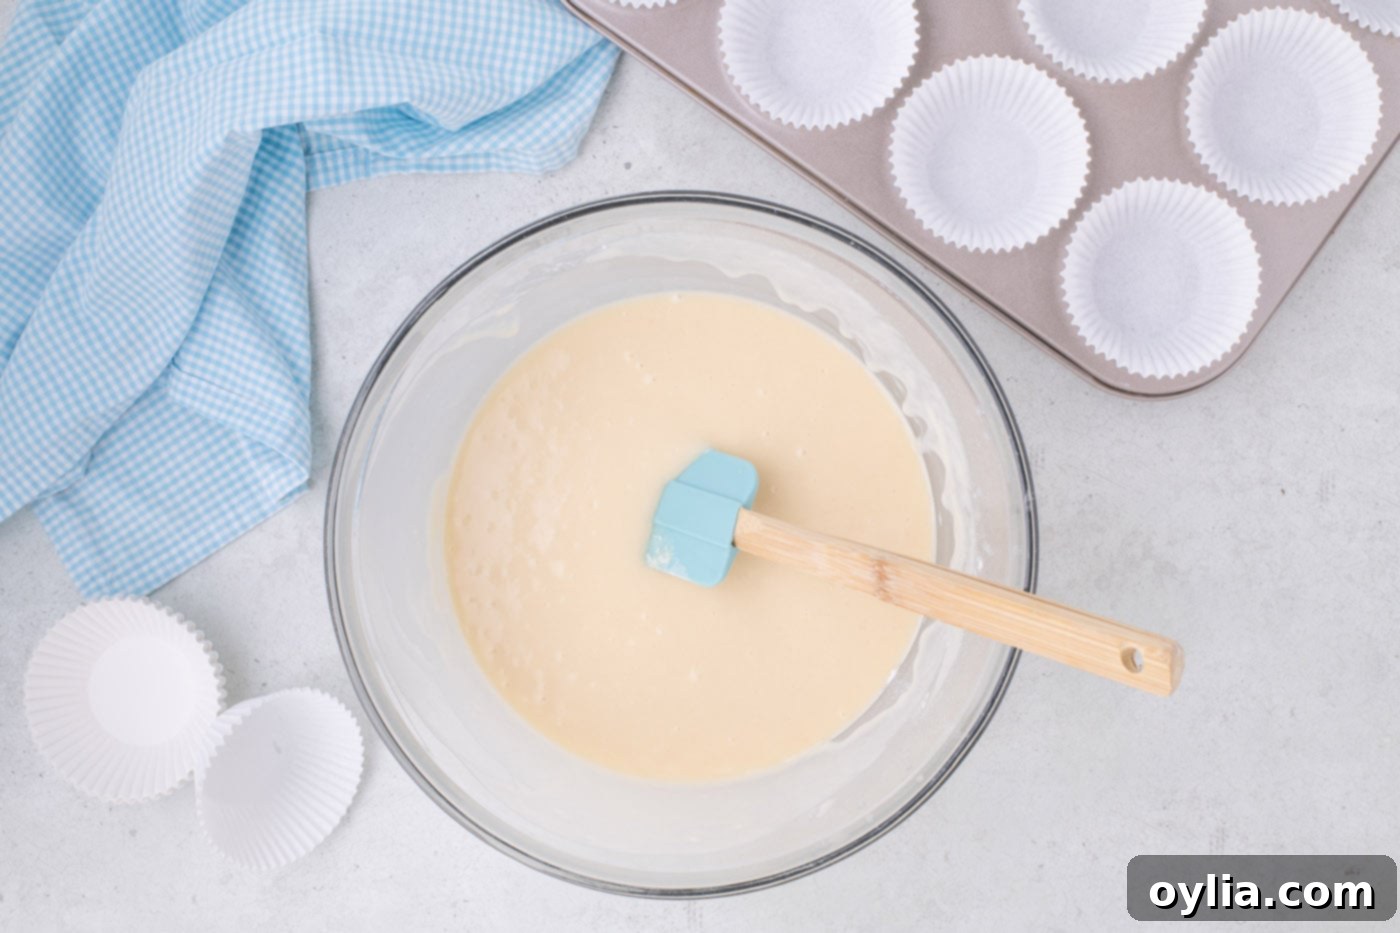
The beautifully whisked wet ingredients, ready for the dry mixture. - Combine Wet and Dry Ingredients: Gradually sprinkle the flour mixture into the wet egg mixture in three additions. After each addition, gently fold the flour in until just combined.
Expert Tip for Mixing: I highly recommend using a soft silicone spatula for this step. Its flexibility allows you to thoroughly incorporate the dry ingredients into the wet without over-stirring. Overmixing the batter is a common mistake that can activate the gluten in the flour, leading to dense, tough cupcakes instead of the desired light and fluffy texture. Stop mixing as soon as no dry streaks of flour remain.

Gently folding the flour into the wet ingredients with a rubber spatula. - Fill Cupcake Liners: Place 24 cupcake liners into two 12-cup cupcake pans. This helps them hold their shape and ensures even baking.
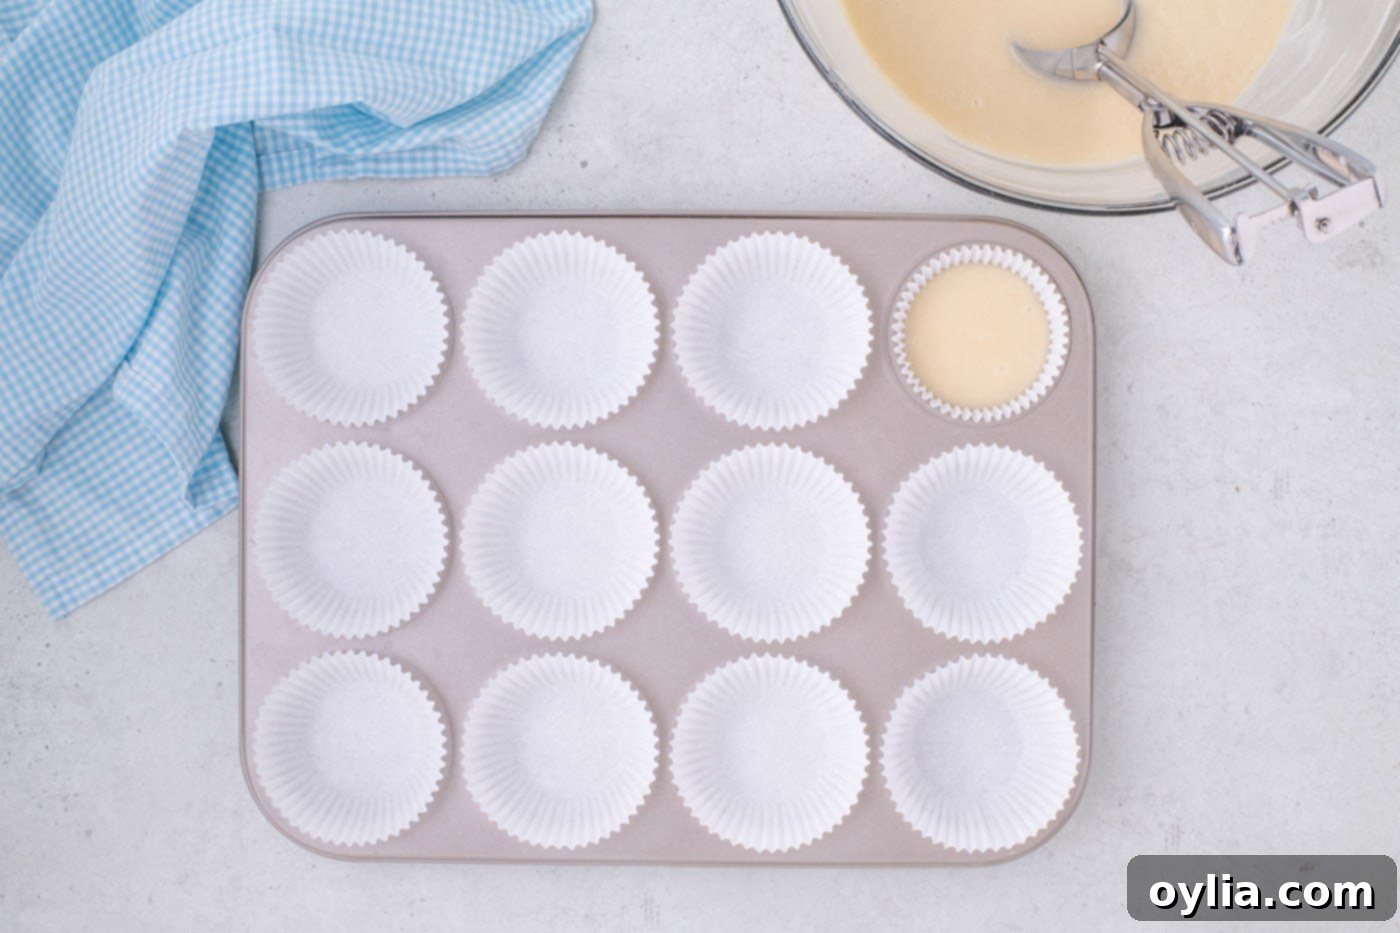
- Portion the Batter: Using a large cookie scoop (or an ice cream scoop for consistent sizing), fill each cupcake liner two-thirds full with the batter. This ensures proper rising without overflowing and helps create those beautiful domed tops.

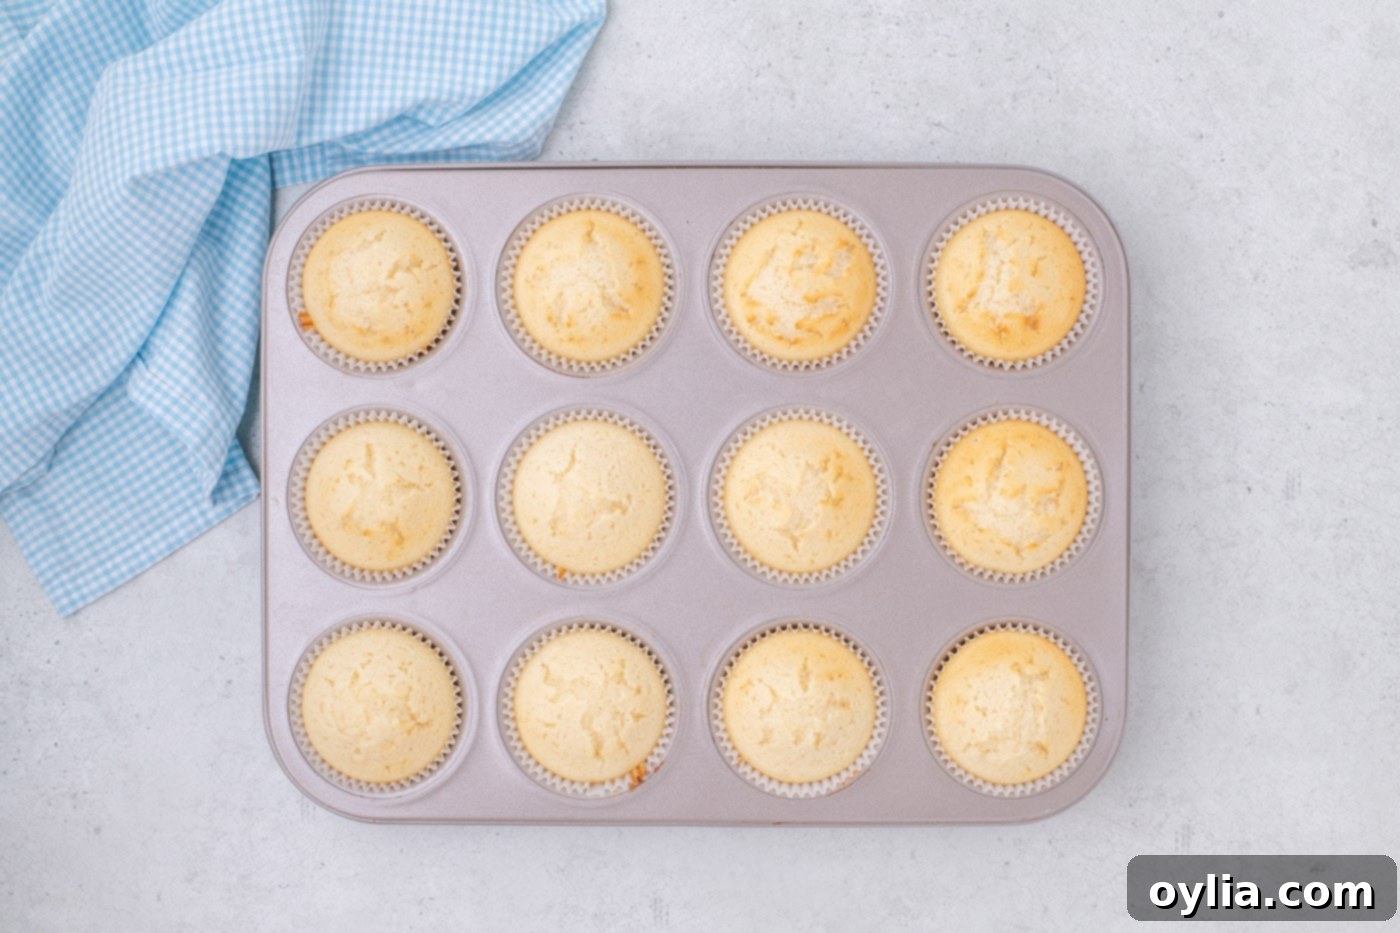
Filling cupcake liners with the perfectly mixed vanilla cupcake batter. - Bake to Perfection: Place the cupcake pans in your preheated oven and bake for 10 to 12 minutes. For even baking, especially if using two pans, rotate the pans halfway through the baking time. To check for doneness, insert a toothpick into the center of a cupcake. It’s ready if the toothpick comes out clean, free of wet cake batter. Avoid opening the oven door too early or too frequently, as this can cause the cupcakes to sink.

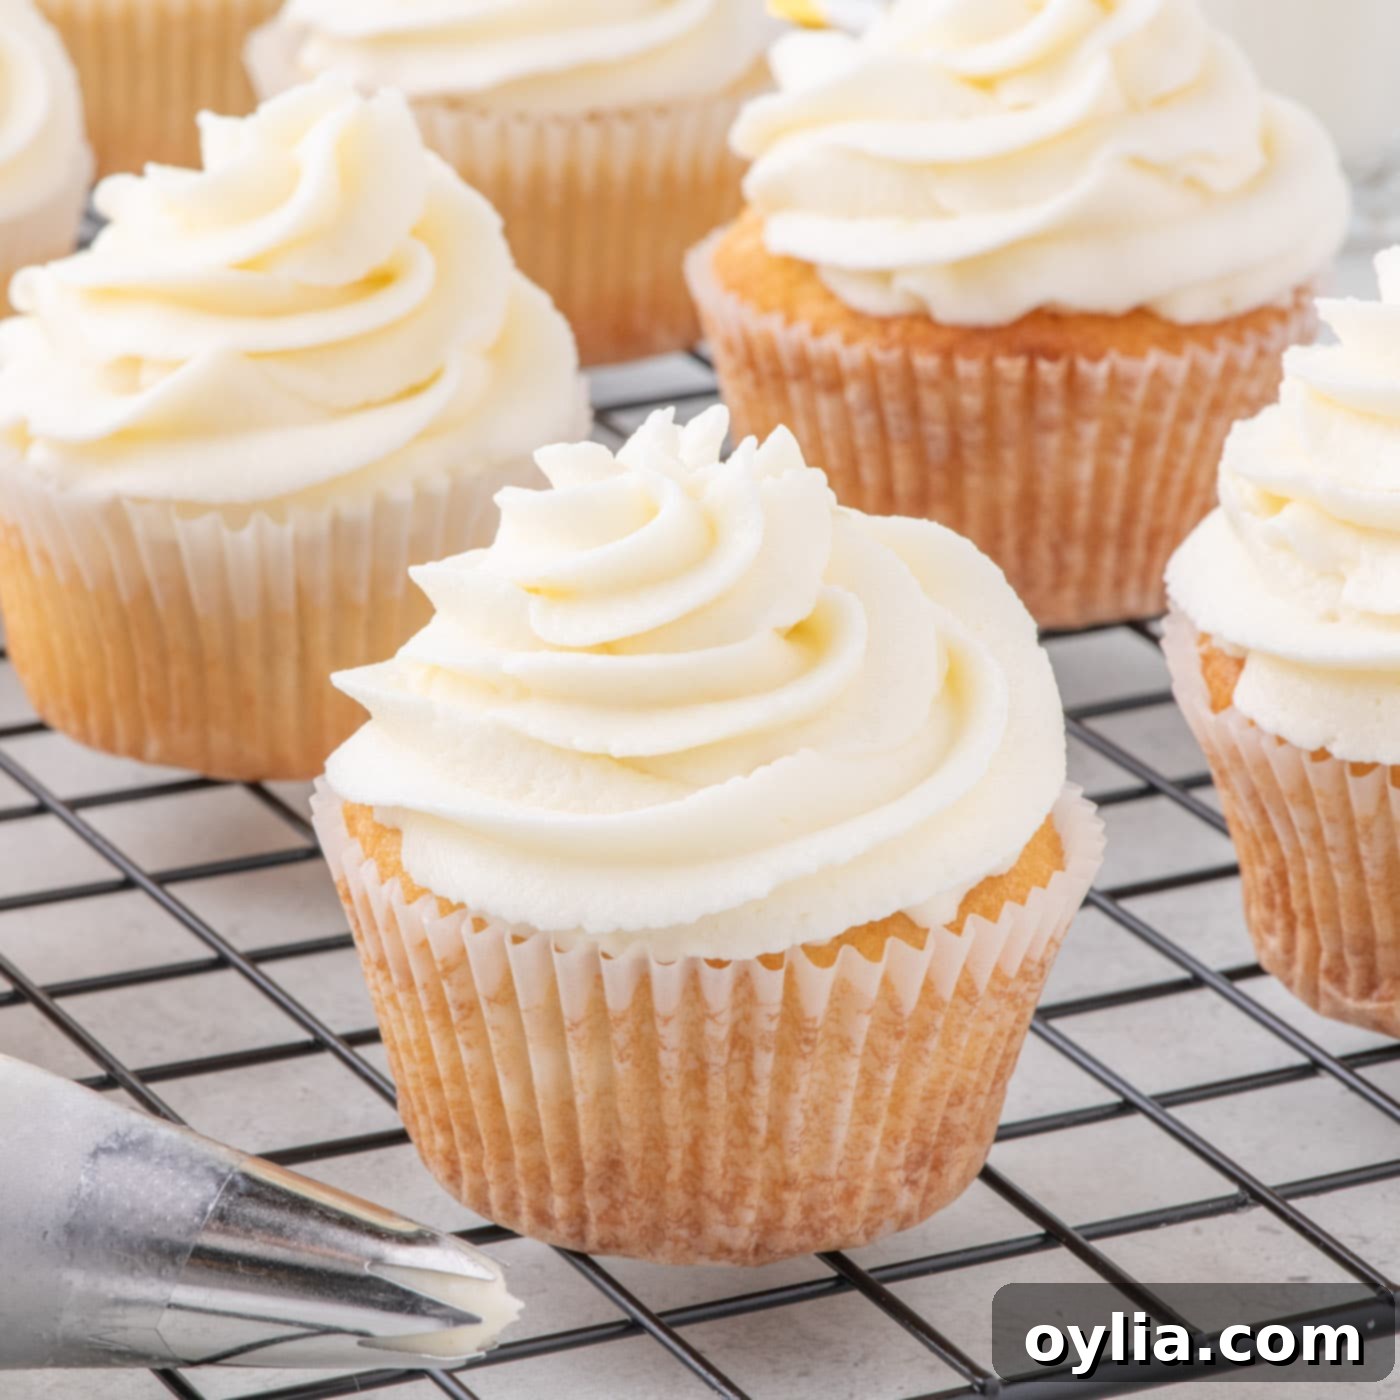
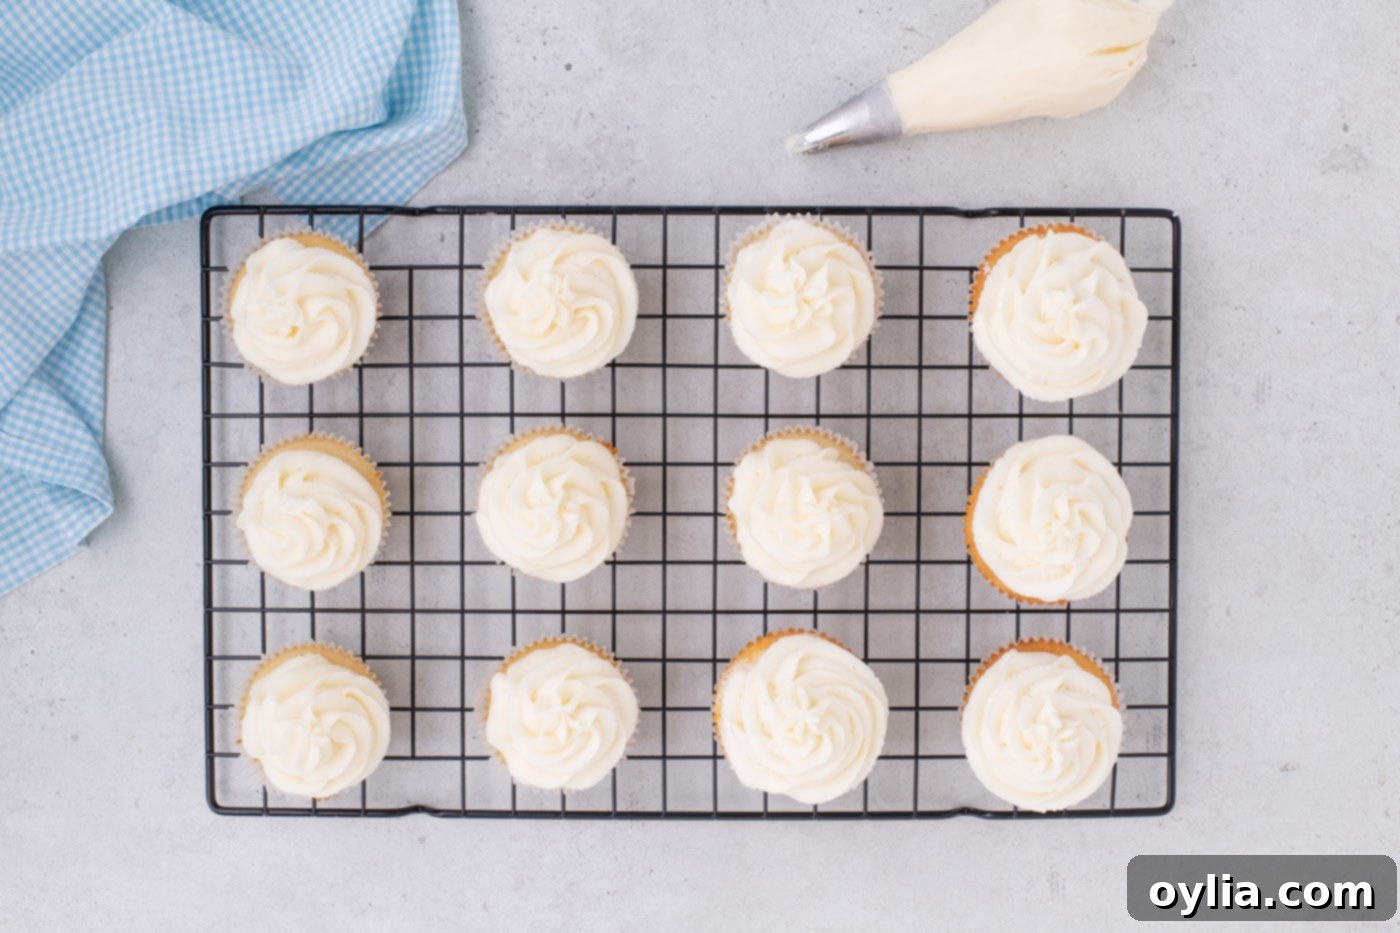
Golden brown vanilla cupcakes fresh out of the oven. - Cool and Frost: Once baked, remove the cupcake pans from the oven and place them on a wire rack to cool for about 10 minutes. This initial cooling in the pan helps them set. After 10 minutes, carefully transfer the cupcakes directly onto the wire rack to cool completely. Cooling completely before frosting is crucial; otherwise, your frosting will melt. Once fully cooled, it’s time for the fun part: pipe them with your favorite homemade or store-bought frosting!

Beautifully frosted vanilla cupcakes, ready to be enjoyed.
Frequently Asked Questions & Expert Tips for Vanilla Cupcakes
To maintain their freshness and delightful texture, I highly recommend storing your frosted vanilla cupcakes in an airtight container in the refrigerator. They will remain wonderfully delicious for up to 5 days after baking. Before serving, let the cupcakes sit out at room temperature for approximately 15-20 minutes. This allows the butter in the frosting and cake to soften slightly, bringing them back to their optimal, pillowy texture. Any baked good containing butter tends to firm up when chilled, so a little time at room temperature makes a big difference in enjoyment!
Absolutely, these vanilla cupcakes are perfect for making ahead! You can prepare, bake, and allow the cupcakes to fully cool completely before storing them. Place them in an airtight container or a dedicated cupcake carrier. If stored unfrosted, they will stay fresh at room temperature overnight. If frosted, store them in the refrigerator as mentioned above. This makes them an ideal choice for parties or events, allowing you to get most of the work done in advance.
Yes, homemade vanilla cupcakes freeze exceptionally well, especially if unfrosted. Once they have completely cooled, arrange the cupcakes in a single layer in an airtight container or a heavy-duty freezer bag. For best results, they can be frozen for up to 3 months. When you’re ready to enjoy them, simply thaw them at room temperature for a few hours. Once thawed, you can frost them with your favorite buttercream or serve them as is. Freezing is a fantastic way to enjoy fresh-tasting cupcakes anytime!
Dense or gummy cupcakes are typically the result of two main culprits: improper measurement of dry ingredients or over-mixing your batter. To avoid this, always use the “scoop and sweep” method to measure your cake flour, or better yet, use a kitchen scale for precision. Furthermore, to achieve that signature light and fluffy texture, it is crucial not to over-stir your batter. Excessive mixing develops the gluten in the flour too much, which leads to a tough, chewy, and dense cupcake. Mix until just combined, and no more!
Achieving that beautiful, perfectly domed top on your cupcakes is a baker’s dream! Here are a few tips:
- Correct Oven Temperature: Ensure your oven is accurately preheated to 350°F (175°C). An oven thermometer is highly recommended.
- Fill Evenly: Use a cookie scoop to fill each liner consistently, about two-thirds full. Under-filling leads to flat tops, while over-filling can cause them to overflow.
- Fresh Leavening Agents: Always use fresh baking powder and baking soda. Expired leavening agents won’t provide the lift needed for a good dome.
- Don’t Open the Oven: Resist the urge to open the oven door during the first 8-10 minutes of baking. A sudden drop in temperature can cause the cupcakes to sink or bake unevenly.
While cake flour is highly recommended for its low protein content and ability to create a tender crumb, you can make a substitute if it’s all you have. For every cup of cake flour, use 1 cup of all-purpose flour minus 2 tablespoons, and then replace those 2 tablespoons with 2 tablespoons of cornstarch. Sift this mixture together thoroughly several times to ensure it’s well combined. While this substitute will work, be aware that the cupcakes might not be quite as soft and tender as those made with true cake flour.
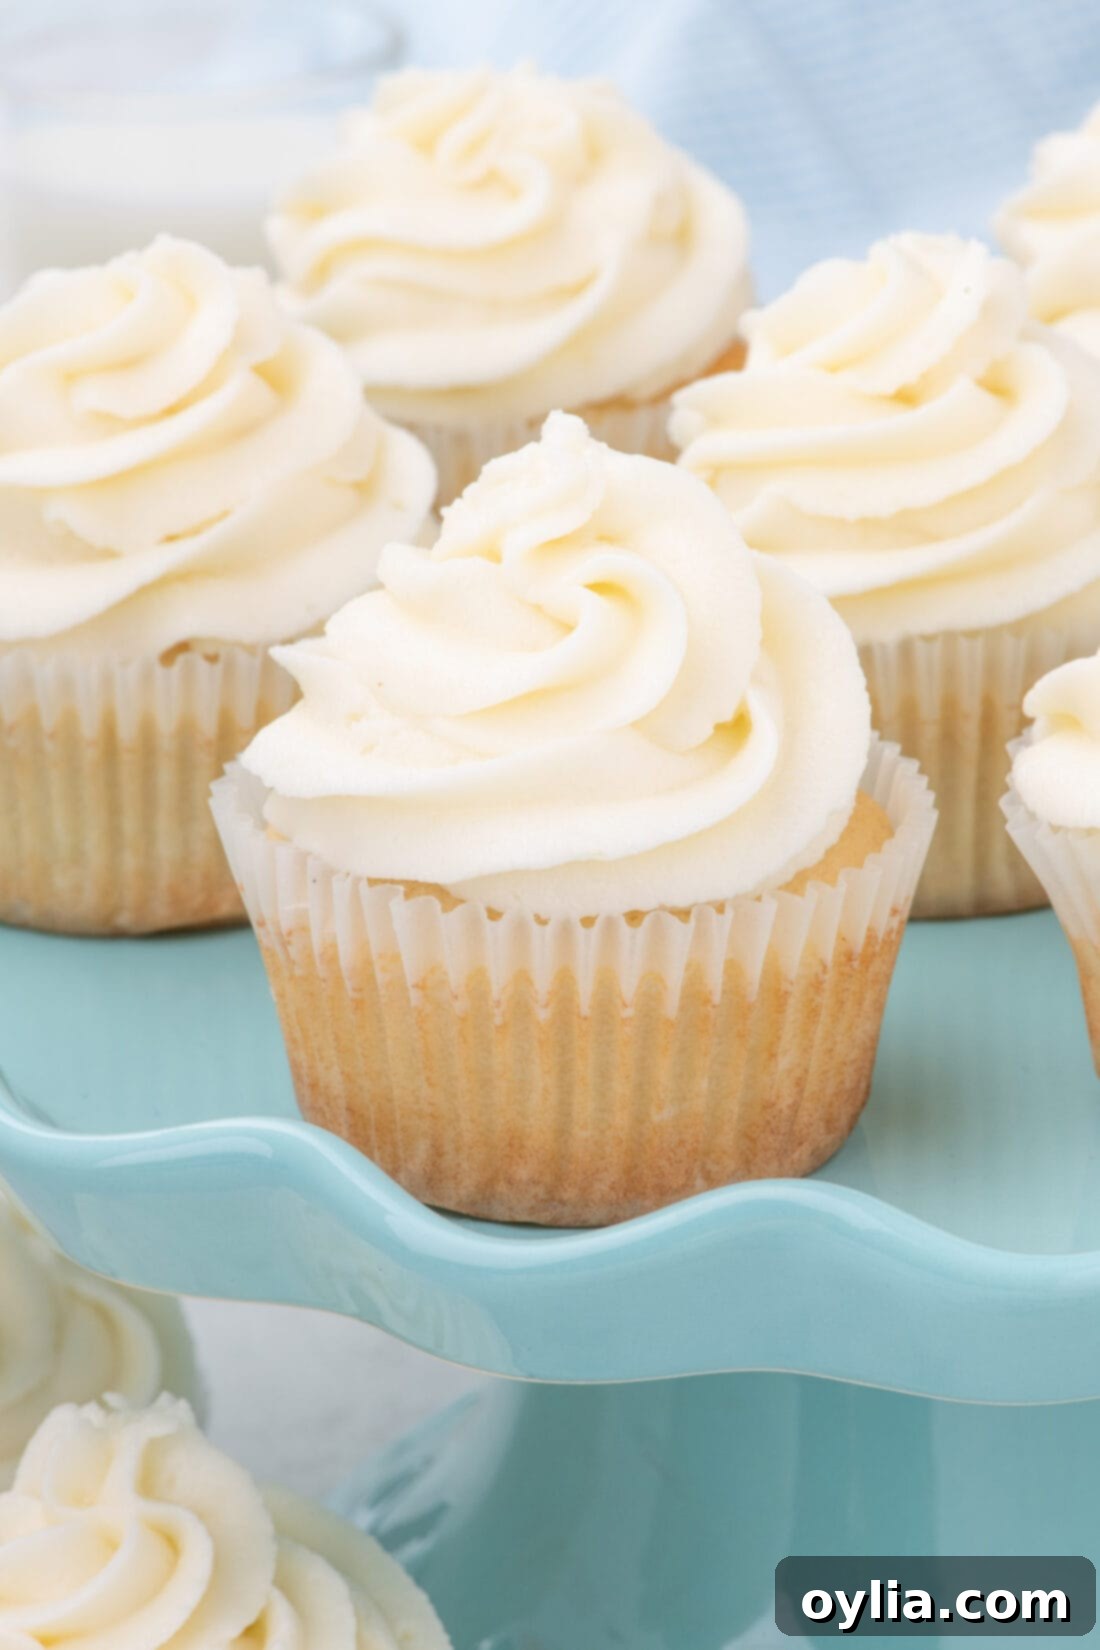
Creative Serving Suggestions for Your Vanilla Cupcakes
Vanilla cupcakes are truly the chameleons of the dessert world – their neutral yet delightful flavor provides the best neutral base for an endless variety of different flavored frostings and toppings. This makes them incredibly versatile for any occasion or preference. Here are a few of our favorite frosting pairings and creative ideas to elevate your vanilla cupcakes:
- Fruity & Fresh: Pair them with a vibrant Cherry Frosting for a burst of seasonal flavor, or a light Lemon Cream Cheese Frosting for a zesty twist. Fresh berries like raspberries or strawberries also make excellent garnishes.
- Classic & Creamy: You can never go wrong with a rich and silky Buttercream Frosting. Or, for a slightly tangy and incredibly smooth option, our Cream Cheese Frosting adds a lovely depth.
- Rich & Indulgent: For those who love a deeper flavor, try a nutty Brown Butter Frosting which adds a caramel-like note, or a decadent Chocolate Fudge Frosting for the ultimate chocolate-vanilla combination.
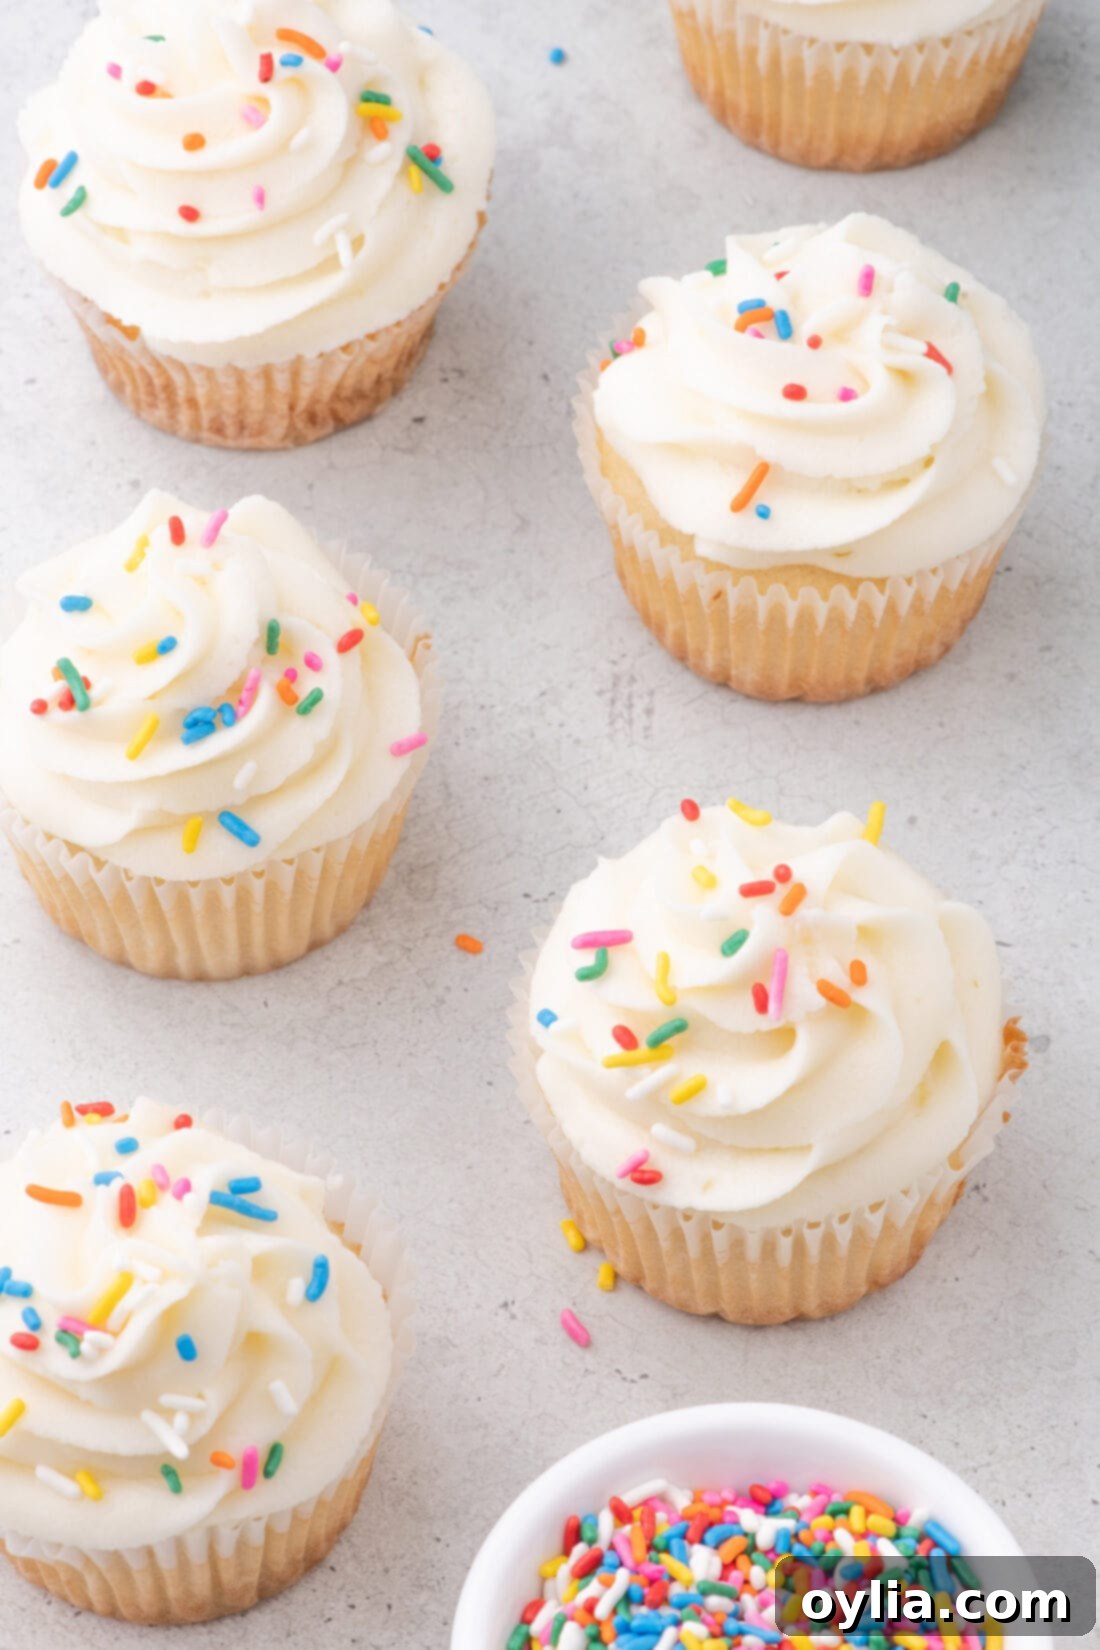
- Fun & Festive Toppings: Beyond frosting, get creative with your garnishes! Sprinkle with colorful rainbow sprinkles, crushed cookies (like Oreos or Biscoff), toasted coconut flakes, mini chocolate chips, or even a drizzle of caramel or hot fudge sauce. For a more sophisticated look, edible flowers or a dusting of cocoa powder can be beautiful.
The options are truly endless, allowing you to customize these simple vanilla cupcakes for any taste or theme. These cupcakes are excellent whether served chilled or at room temperature, making them convenient for entertaining. No matter how you choose to enjoy them, prepare for a delightful treat!
Explore More Delicious Cupcake Recipes
If you’ve enjoyed making and tasting these classic vanilla cupcakes, you’re in for a treat! Our kitchen is filled with an array of other fantastic cupcake recipes, each offering a unique flavor profile and baking experience. Expand your baking repertoire with these irresistible variations:
- Red Velvet Cupcakes: A timeless classic with a hint of cocoa and a striking color, usually topped with cream cheese frosting.
- Pound Cake Cupcakes: Rich, dense, and buttery, these are a more substantial and satisfying cupcake option.
- Chocolate Peanut Butter Cupcakes: The ultimate combination of sweet chocolate and savory peanut butter in a delightful cupcake form.
- Raspberry White Chocolate Cupcakes: An elegant choice featuring a fruity surprise filling and a smooth white chocolate buttercream.
Each recipe is crafted with care to ensure delicious results every time. Happy baking!
I love to bake and cook and share my kitchen experience with all of you! Remembering to come back each day can be tough, that’s why I offer a convenient newsletter every time a new recipe posts. Simply subscribe and start receiving your free daily recipes!
Vanilla Cupcakes
IMPORTANT – There are often Frequently Asked Questions within the blog post that you may find helpful. Simply scroll back up to read them!
Print It
Pin It
Rate It
Save ItSaved!
Ingredients
- 2 ⅓ cups cake flour 276g
- 1 ¼ cups granulated sugar 248g
- 2 teaspoons baking powder
- ½ teaspoon baking soda
- ½ teaspoon kosher salt
- 1 cup unsalted butter melted, 226g
- 2 egg whites at room temperature
- 1 large egg at room temperature
- 2 teaspoons pure vanilla extract
- ¾ cup buttermilk at room temperature, 170g
Things You’ll Need
-
Kitchen scale
-
Rubber spatula
-
Mixing bowls
-
Whisk
-
2 Cupcake pan two 12 cavity pans
Before You Begin
- *This recipe will yield anywhere from 22-24 cupcakes (it all depends on how generously you scoop the batter into your cupcake liners.
- It is important to properly measure your dry ingredients. If you don’t have a kitchen scale, I would recommend using the stir, scoop, and sweep method for best results.
- Make sure your baking powder and soda are not expired before beginning.
- The most important ingredient to this best-tasting vanilla cupcake is the quality of the vanilla extract. If you can, try to use only pure vanilla extract as the artificial vanilla won’t give you that same depth of flavor.
Instructions
-
Preheat the oven to 350°F.
-
In a medium-sized bowl, whisk together the cake flour, sugar, baking powder, baking soda, and salt. Set aside.
-
In a large bowl, whisk together the buttermilk and melted butter.
-
Whisk in the vanilla extract, egg whites, and whole egg.
-
Sprinkle the flour mixture into the egg mixture in 3 additions (folding in the flour until just combined)
TIP – I like to use a soft silicone spatula to make sure the flour mixture is evenly folded into the egg mixture without the risk of over-stirring.
-
Place 24 cupcake liners into two 12-cup cupcake pans.
-
Using a large cookie scoop, fill the cupcake liners two-thirds full.
-
Place the cupcake pans in the oven and bake for 10 to 12 minutes rotating the pans halfway through for even baking. Check for doneness by inserting a toothpick into the center of the cupcake, it is ready if the toothpick comes out free of cake batter.
-
Place the cupcake pans on a wire rack to cool for about 10 minutes. Once cooled transfer the cupcakes onto the wire rack and pipe them with your favorite homemade or store-bought frosting.
Expert Tips & FAQs
- I would recommend storing your cupcakes in the refrigerator, they are good to eat up until 5 days of baking. Let the cupcakes sit out at room temperature for about 15 minutes to let them soften up before eating (any baked item containing butter will feel more solid if eaten cold).
- Make Ahead – You can prepare, bake, and allow the cupcakes to fully cool before storing them in an air-tight container or cupcake carrier. They will be fine to sit at room temperature overnight.
- Freezing – Store the fully cooled cupcakes in a single layer in an air-tight container or heavy duty freezer bag and freeze for up to 3 months. Thaw at room temperature and frost.
Nutrition
The recipes on this blog are tested with a conventional gas oven and gas stovetop. It’s important to note that some ovens, especially as they age, can cook and bake inconsistently. Using an inexpensive oven thermometer can assure you that your oven is truly heating to the proper temperature. If you use a toaster oven or countertop oven, please keep in mind that they may not distribute heat the same as a conventional full sized oven and you may need to adjust your cooking/baking times. In the case of recipes made with a pressure cooker, air fryer, slow cooker, or other appliance, a link to the appliances we use is listed within each respective recipe. For baking recipes where measurements are given by weight, please note that results may not be the same if cups are used instead, and we can’t guarantee success with that method.
