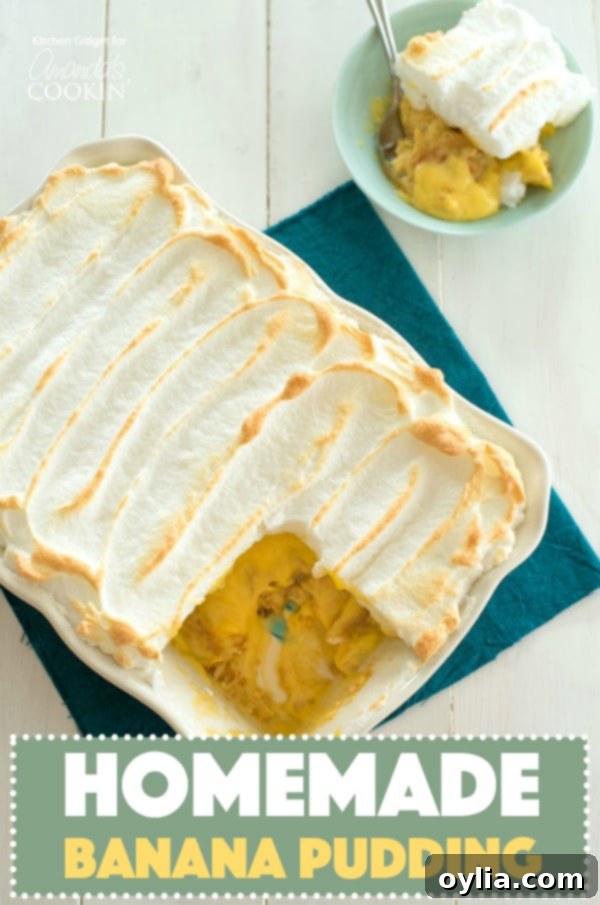
The Ultimate Homemade Banana Pudding: Creamy, Dreamy, and Topped with Golden Meringue
Are you searching for a dessert that will leave everyone at your table asking for the recipe? Look no further! This incredibly easy and utterly delicious homemade banana pudding is exactly what you need. Featuring a cloud-like meringue topping and a rich, velvety pudding from scratch, it’s a showstopper. Combined with classic vanilla wafers and perfectly sliced bananas, this homemade banana pudding recipe promises a taste of pure Southern comfort and is guaranteed to be an unforgettable hit!
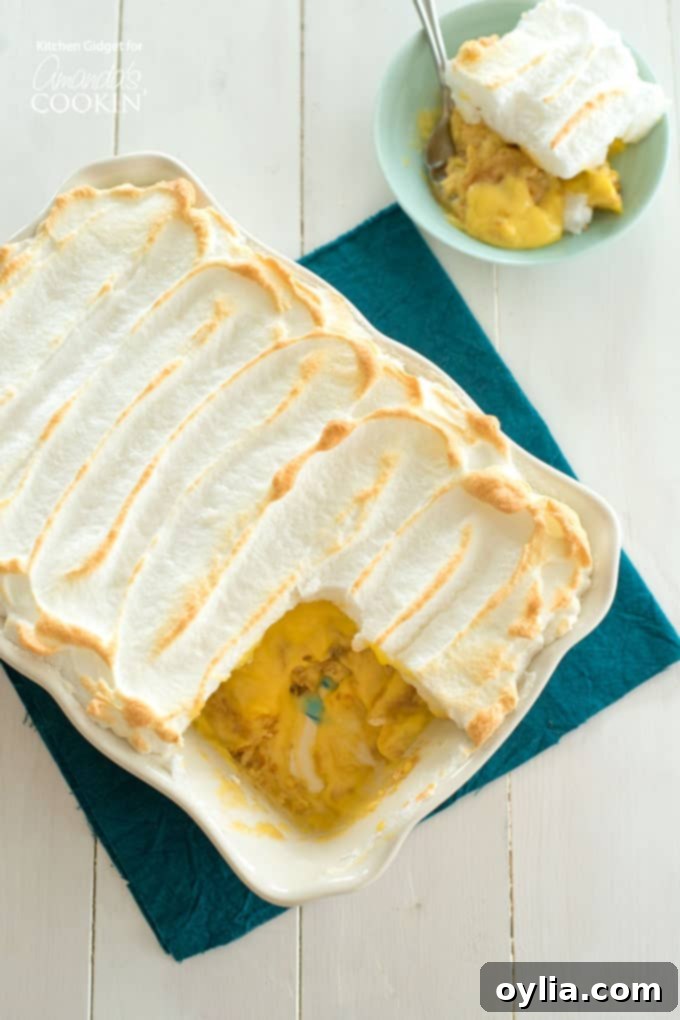
Experience the Magic of Authentic Homemade Banana Pudding
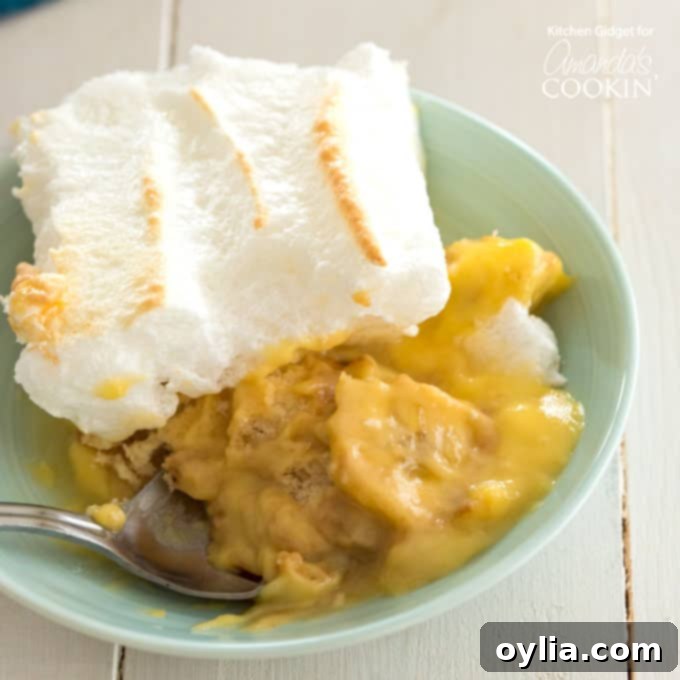
My journey to perfecting this homemade banana pudding began a few years ago during a wonderful vacation in North Carolina. We stumbled upon a charming roadside buffet, famous for its Carolina BBQ, and among the incredible spread of dishes, there were huge, inviting trays of banana pudding. One bite, and I knew it was the best banana pudding I had ever tasted. Each spoonful revealed perfect layers of tender vanilla wafer cookies, sweet and slightly firm sliced bananas, and a truly exceptional, real vanilla pudding made from scratch. The crowning glory was a heavenly cloud of fluffy meringue, perfectly toasted to a golden hue. As I savored every last morsel, I was determined to recreate this culinary masterpiece in my own kitchen.
This classic dessert truly shines all year round, but it holds a special place during the warmer months. Because it’s largely a no-bake creation, it’s ideal for summer gatherings when you want to keep the oven use to a minimum. While some regions might still be experiencing cooler temperatures, here in my part of the world, summer heat is in full swing. I realized this just recently when I was baking a Taco Pizza Appetizer – my days of long oven baking were numbered! But that’s perfectly fine, as I absolutely adore simple, refreshing summer potluck desserts, much like these delightful No-bake Pineapple Cheesecake Bars. This banana pudding effortlessly fits into that category, offering a cool, creamy escape from the heat.
The Secret to Irresistible Southern Banana Pudding: Pudding from Scratch
The true heart of an authentic Southern banana pudding lies in its custard, made entirely from scratch. This is where the magic happens! Our recipe uses rich egg yolks to create an incredibly creamy, luxurious pudding that boxed mixes simply cannot replicate. And don’t worry, those egg whites won’t go to waste! They are ingeniously transformed into a light, airy, marshmallow-like meringue topping, adding a beautiful texture and a hint of sweetness that perfectly balances the creamy base. This dual use of the eggs is a testament to traditional Southern cooking, ensuring every part contributes to the delightful experience.
While the meringue is a hallmark of this classic dessert, we understand that sometimes you might want to avoid turning on the oven or broiler, especially on a sweltering day. In such cases, this pudding also tastes absolutely divine when topped with freshly whipped cream. It offers a different, yet equally delightful, creamy contrast. If you opt for whipped cream, you can save the egg whites for another culinary purpose, perhaps for an omelet, an angel food cake, or even a batch of delicate macarons.
RELATED: Craving another beloved classic dessert recipe? You absolutely must try this Ambrosia Salad! It’s a famously nostalgic dish that graces most potlucks, BBQ’s, and family gatherings across the South. This vintage recipe masterfully combines fruit cocktail, pineapple tidbits, vibrant mandarin oranges, cheerful maraschino cherries, and soft marshmallows to create a satisfying and refreshingly sweet dessert that evokes pure nostalgia!
Ingredients You Will Need for this Classic Banana Pudding
- 3/4 cup granulated sugar, divided (for pudding and meringue)
- 1/3 cup all-purpose flour
- 1/2 teaspoon salt
- 4 large eggs, separated (yolks for pudding, whites for meringue)
- 2 cups whole milk (for optimal creaminess)
- 2 teaspoons pure vanilla extract (essential for flavor)
- 2 large or 3 medium fully ripe bananas (yellow with a few brown speckles, not overly mushy)
- 40-50 classic vanilla wafers (Nabisco brand is traditional)
- 1/8 teaspoon cream of tartar (optional, but highly recommended for stable meringue)
- 1 tablespoon fresh lemon juice (optional, to prevent banana browning)
Helpful Kitchen Tools to Make Your Banana Pudding Perfect
- Stand mixer (or a hand mixer for the meringue)
- Whisk (for smooth pudding)
- Spatula (for stirring and spreading)
- 2-quart Baking dish (for layering and presentation)
- Large saucepan (for cooking the custard)
- Double boiler (optional, but great for preventing scorching)
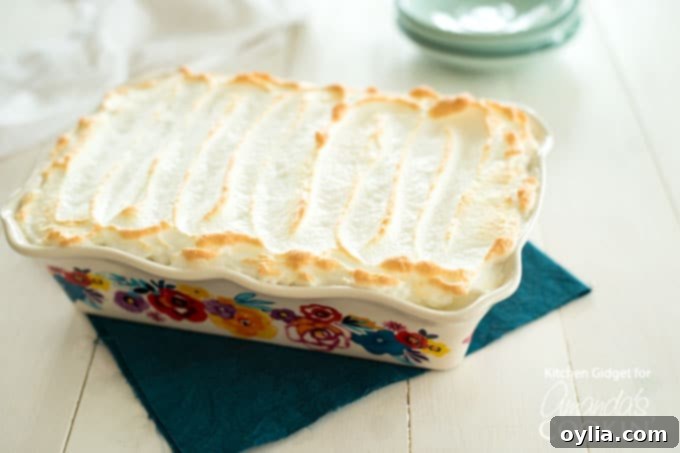
Tips & Tricks for Perfect Homemade Banana Pudding Every Time
You might think that preparing a rich, creamy custard from scratch sounds complicated, but I promise you, it’s surprisingly simple! While opening a box of instant pudding mix is undeniably easy, it simply cannot compare to the depth of flavor and luscious texture of a truly homemade banana pudding. The effort is minimal, but the reward is immense. Here are my essential tips to ensure your homemade banana pudding is absolutely flawless:
- Choose the Right Cookies: Stick with classic vanilla wafers. I’ve seen variations using other butter or shortbread cookies, but for that authentic Southern banana pudding experience, nothing beats the soft, subtly sweet crunch of vanilla wafers as they soak up the creamy pudding. They are simply the real deal!
- Banana Selection is Key: Opt for ripe, but not overly-ripe, bananas. They should be vibrant yellow with a few small brown speckles on the skin. Avoid green bananas (too starchy) or completely brown ones (too mushy and intensely sweet). Once sliced, immediately toss your bananas with a splash of fresh lemon juice. This simple step is a game-changer, preventing them from turning unappetizingly brown, especially if you plan to prepare this magnificent dessert the day before serving.
- Mastering the Custard – No Scorching Allowed!: The custard is the heart of this dish. To prevent it from burning or developing a scorched flavor, cook it over medium-low heat and stir constantly. It takes about 10 minutes of dedicated stirring until it thickens beautifully. If you’re prone to scorching things, or just want extra peace of mind, consider using a double boiler. Alternatively, you can place a heatproof bowl over a pot of simmering water (ensure the bowl doesn’t touch the water) to gently cook the custard. Trust me, every minute of stirring is absolutely worth it for that silky-smooth consistency.
- Meringue Perfection: For a light, fluffy, and stable meringue, cleanliness is paramount! Ensure your electric mixer’s bowl and beaters are thoroughly clean and bone dry. Even a tiny bit of grease or moisture can hinder the egg whites from whipping up properly. Sometimes, as an extra precaution, I wipe my bowl and beaters down with a bit of white vinegar to ensure there’s absolutely no greasy residue left. Grease is the enemy of egg whites; it will prevent them from fluffing up and forming those desired stiff peaks. The addition of cream of tartar, while optional, also helps to stabilize the meringue and achieve that perfect volume.
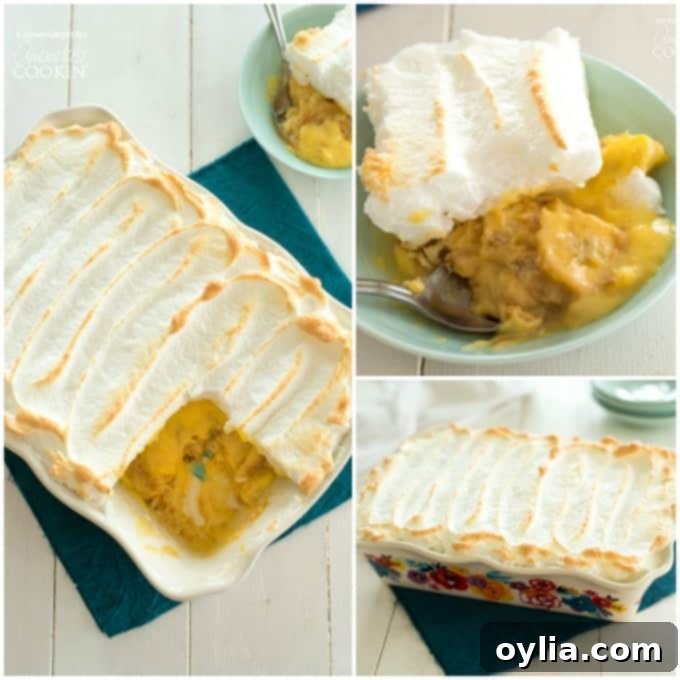
Assembling and Chilling Your Banana Pudding Masterpiece
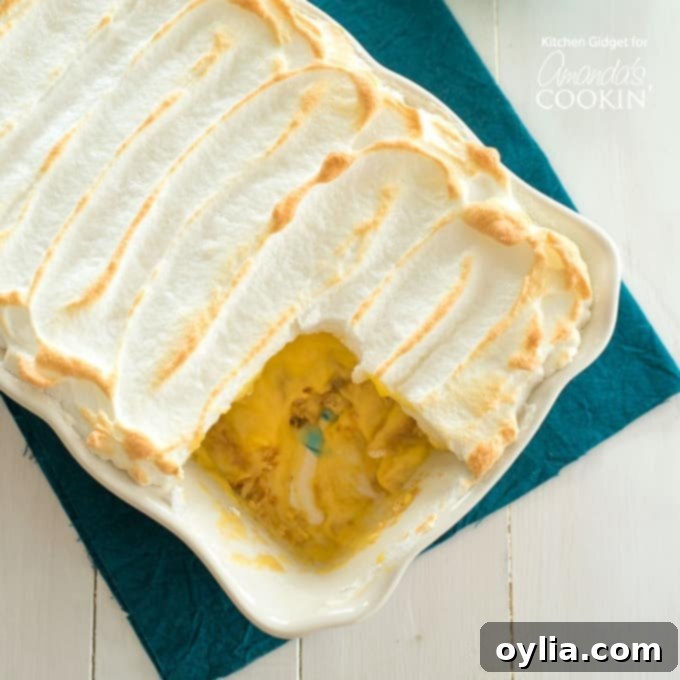
Once your creamy custard is prepared and your meringue is whipped to perfection, it’s time for the delightful assembly! All the components are carefully layered in your chosen baking dish – typically a 2-quart dish works best. You’ll start with a foundation of crisp vanilla wafers, followed by a layer of sliced bananas, and then a generous dollop of that luscious homemade pudding. This layering process is repeated, building up the delightful textures and flavors that make this dessert so special. Finally, the magnificent meringue is spread over the top, ensuring it gracefully touches the edges of the dish to create a perfect seal and prevent shrinkage. The meringue then gets toasted to a beautiful golden brown in the oven or under the broiler for just a few minutes, adding a subtly caramelized flavor and a lovely visual appeal.
The very last, but crucial, step is chilling this exquisite dessert. Patience is a virtue here! If you attempt to serve it immediately after toasting the meringue, the pudding will likely be too runny, and the flavors won’t have fully melded. Chilling for at least 4-6 hours, or ideally overnight, allows the pudding to set beautifully, firming up to that perfect creamy consistency. It also gives those vanilla wafers a chance to soften, transforming them into tender, cake-like layers that soak up all the wonderful banana and vanilla flavors. And there you have it – a truly authentic and divine homemade banana pudding from scratch, ready to impress and delight!
More Delicious Ways to Enjoy Bananas!
If you find yourself with an abundance of ripe bananas after making this incredible pudding, don’t let them go to waste! Bananas are incredibly versatile and perfect for a wide array of sweet treats. This decadent Banana Cake with Vanilla Cream Cheese Frosting is calling your name – it’s moist, flavorful, and a fantastic way to use up those extra ripe fruits. Or, explore some more of our favorite banana-centric recipes right here on the blog. We have something for every banana lover, from the refreshing Banana Cream Lush recipe, with its delightful layers of creaminess, to the fun and vibrant Banana Split Dessert that brings all the joy of an ice cream parlor to your kitchen. And for those who love a dessert that combines two classics, our famous Banana Pudding Poke Cake is an absolute must-try!
Even More Banana-Inspired Recipes to Love
- Banana Cookies: Soft, chewy, and bursting with banana flavor, these cookies are a comforting treat.
- Easy Banana Cake: A straightforward recipe for a moist and flavorful cake that’s perfect for any occasion.
- Banana Cream Pie: A classic pie with a rich banana custard filling and whipped cream topping.
- Single Serve Bananas Foster: A quick and elegant dessert, perfect for a cozy night in.
- Banana Fritters: Crispy on the outside, soft and sweet on the inside – a delightful fried treat.
- Banana Nut Bread: The quintessential way to use up ripe bananas, resulting in a moist and flavorful loaf.
- Easy Banana Cake: (Repeat for emphasis, or ensure unique link/description) Another fantastic option for a simple yet delicious banana cake.
Ready to Bake? Jump to the Recipe Card!
Scroll down for the full, printable recipe card with detailed instructions and exact measurements. Get ready to create the most incredible homemade banana pudding with meringue your taste buds have ever experienced!
Homemade Banana Pudding
IMPORTANT – There are often Frequently Asked Questions within the blog post that you may find helpful. Simply scroll back up to read them!
Print It
Rate It
Save ItSaved!
Ingredients
- ½ cup sugar (for the pudding)
- ⅓ cup all-purpose flour
- ½ teaspoon salt
- 4 large egg yolks
- 2 cups milk
- 2 teaspoons vanilla extract
- 40-50 vanilla wafers
- 2 large fully ripe bananas or 3 medium
- 1 tablespoon lemon juice optional
For the meringue:
- 4 large egg whites
- ¼ cup sugar (for the meringue)
- ⅛ teaspoon cream of tartar optional, helps stabilize meringue
Instructions
-
Prepare for Meringue: Preheat your oven to 425°F (220°C) or turn your broiler on high, preparing for the meringue topping.
-
Make the Pudding: In a large, heavy-bottomed saucepan, whisk together 1/2 cup of the sugar, all-purpose flour, and salt until well combined. Gradually whisk in the egg yolks and then the milk until the mixture is smooth with no lumps remaining. Cook this mixture over medium-low heat, stirring constantly with a whisk or spatula, until it thickens to a creamy pudding consistency, which typically takes about 10 minutes. It should be thick enough to coat the back of a spoon. Remove the saucepan from the heat immediately and stir in the vanilla extract.
-
Prepare Bananas: Slice your ripe bananas approximately 1/4-inch thick. If you are using lemon juice to prevent browning, gently toss the banana slices with the lemon juice in a small bowl.
-
Assemble Layers: In a 2-quart baking dish, arrange a single layer of vanilla wafers across the bottom. Top this layer with half of the prepared banana slices, spreading them evenly. Then, spoon half of the warm homemade pudding over the bananas and wafers, ensuring good coverage. Repeat these layers: another layer of vanilla wafers, the remaining half of the bananas, and finally, the rest of the creamy pudding.
For the Meringue:
-
Whip Egg Whites: In a very clean and dry bowl of an electric mixer (or using a hand mixer), beat the reserved egg whites and cream of tartar (if using) on medium speed. Continue beating until soft peaks form, which usually takes about 30 seconds to a minute. Gradually, while the mixer is still running, add the remaining 1/4 cup of sugar, 1 tablespoon at a time. Increase the speed to high and continue beating until stiff, glossy peaks form and the meringue holds its shape firmly.
-
Top and Toast: Carefully spoon or spread the meringue over the assembled pudding, making sure the meringue touches all edges of the dish. This prevents the meringue from shrinking significantly. Place the dish in the preheated oven (425°F/220°C) and bake for 5-7 minutes, or place it under the broiler for a shorter period (watch carefully!) until the meringue is beautifully golden brown.
-
Chill Before Serving: Once the meringue is toasted, remove the banana pudding from the oven. Allow it to cool at room temperature for a bit, then transfer it to the refrigerator. It is crucial to chill this dessert for at least 4-6 hours, or ideally overnight, before serving. Chilling allows the pudding to fully set and for the vanilla wafers to soften, resulting in the perfect texture and flavor. Enjoy your exquisite homemade banana pudding!
Nutrition
The recipes on this blog are tested with a conventional gas oven and gas stovetop. It’s important to note that some ovens, especially as they age, can cook and bake inconsistently. Using an inexpensive oven thermometer can assure you that your oven is truly heating to the proper temperature. If you use a toaster oven or countertop oven, please keep in mind that they may not distribute heat the same as a conventional full sized oven and you may need to adjust your cooking/baking times. In the case of recipes made with a pressure cooker, air fryer, slow cooker, or other appliance, a link to the appliances we use is listed within each respective recipe. For baking recipes where measurements are given by weight, please note that results may not be the same if cups are used instead, and we can’t guarantee success with that method.
