Easy Homemade Strawberry Pie with Jello: A Classic No-Bake Recipe for Summer
Have you ever experienced the sheer delight of a truly perfect homemade Strawberry Pie? If not, then you are certainly in for a treat! This cherished classic recipe features a simple yet brilliant ingredient: strawberry gelatin, or “Jello,” as my grandma affectionately called it. Her secret to the most vibrant, perfectly set, and incredibly delicious strawberry pie filling was always Jello. It not only makes the filling wonderfully easy to slice but also enhances the sweet, juicy flavor of fresh strawberries, creating a dessert that’s impossible to resist.
This delightful pie holds a top spot on our list of favorite strawberry desserts, right alongside our beloved Strawberry Icebox Cake. It’s a taste of nostalgia and pure summer joy in every bite.
Why This Jello Strawberry Pie Recipe Works So Well
This easy berry pie is truly a marvel, especially during the peak of spring and early summer when plump, sweet strawberries are abundant and at their very best. There’s nothing quite like the taste of fresh, in-season berries, and this recipe allows their natural sweetness to shine through.
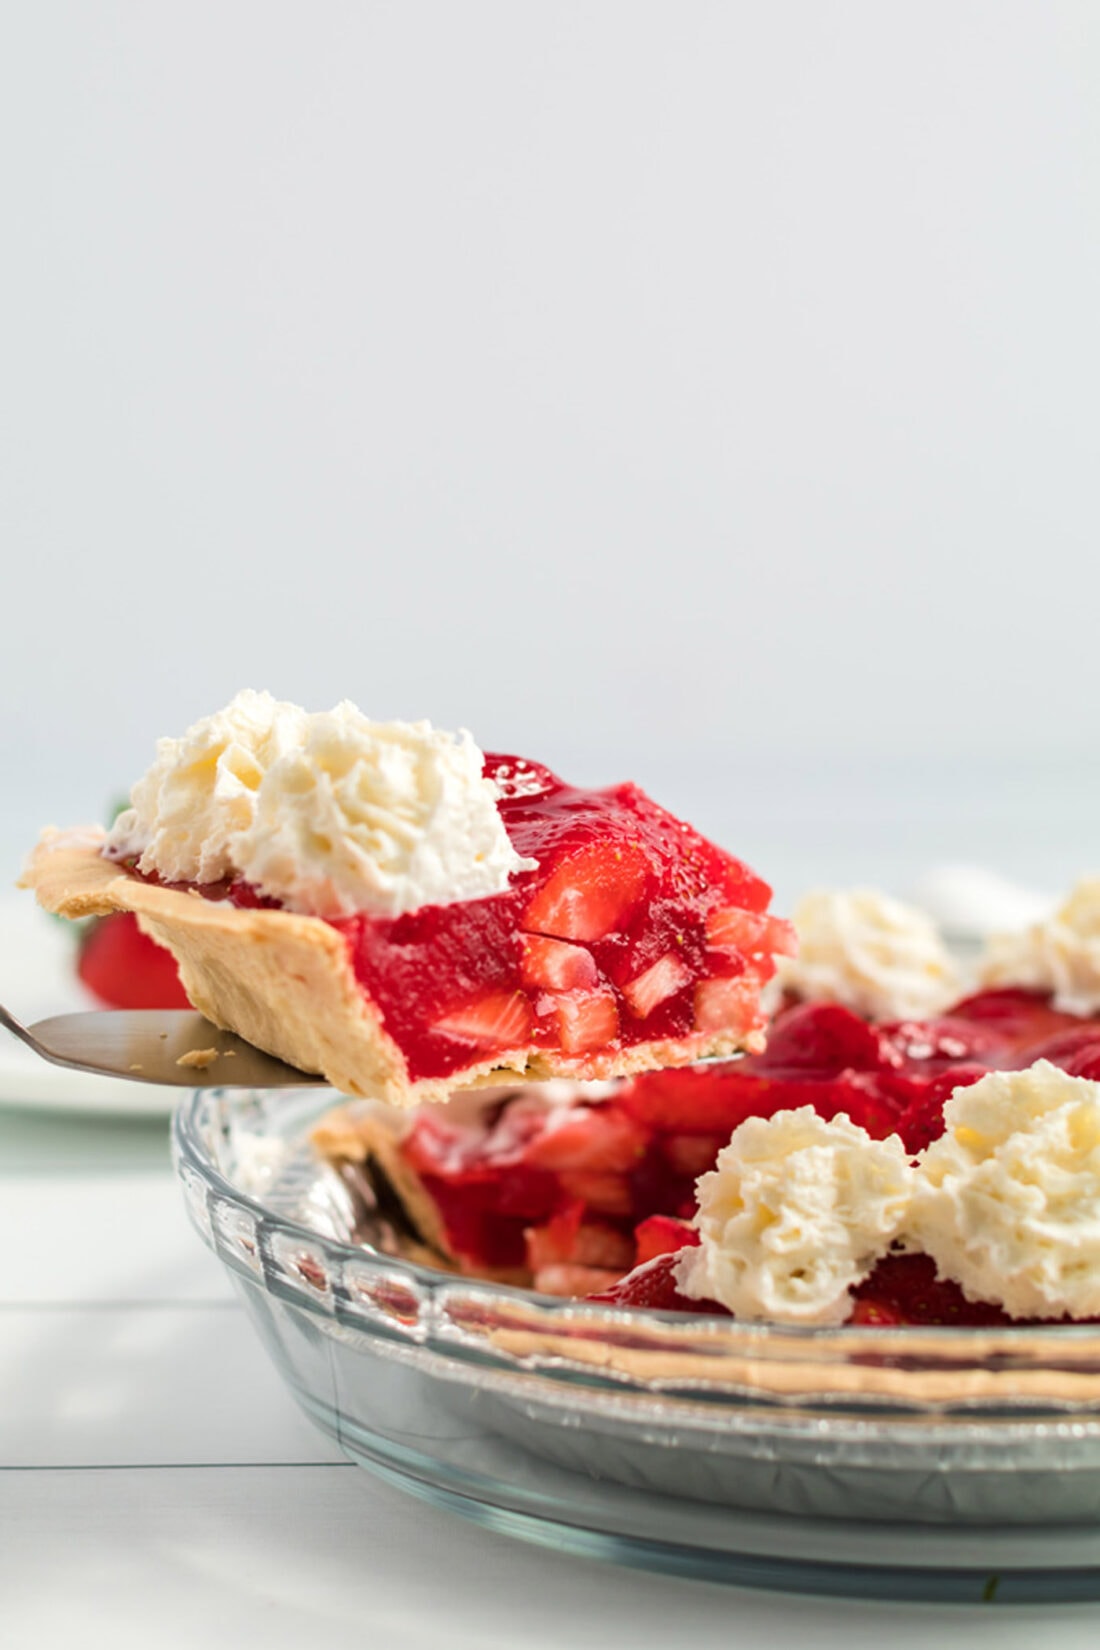
What makes this particular recipe stand out? Primarily, it’s the ingenious use of strawberry gelatin. While some might consider it an “old-fashioned” approach these days (which I find amusing, as it was a staple when I was growing up!), it’s incredibly effective. The Jello acts as a perfect binder, creating a firm yet tender filling that holds its shape beautifully when sliced. This means no more messy, runny pie slices – just clean, elegant wedges every time. The gelatin also intensifies the strawberry flavor and gives the pie its signature vibrant red hue, making it as appealing to the eyes as it is to the palate.
Beyond its structural integrity and enhanced flavor, this pie offers immense convenience. Aside from baking the crust, the filling is virtually no-bake. This makes it a fantastic option for warmer months when you want to minimize oven use. Its straightforward preparation and impressive presentation also make it an ideal dessert for potlucks, family gatherings, picnics, and any occasion where you need a reliable crowd-pleaser. It travels well and always gets rave reviews. It’s a simple recipe that delivers maximum impact, making it a timeless favorite for a reason!
Ingredients You Will Need for This Delicious Pie
Gathering your ingredients is the first exciting step to creating this mouth-watering strawberry pie. The beauty of this recipe lies in its simplicity, requiring only a few common items. For precise measurements, detailed instructions, and a printable version, please refer to the complete recipe card at the end of this post.
- Frozen or Refrigerated Pie Crust: A store-bought crust makes this recipe incredibly quick and convenient. You can also use a homemade crust if you prefer.
- Granulated Sugar: To sweeten the filling to perfection.
- Cornstarch: This acts as a thickening agent, ensuring the Jello filling has the ideal consistency.
- Water: The liquid base for our gelatin mixture.
- Strawberry Gelatin (Jello): The star ingredient that gives the pie its vibrant color, intense strawberry flavor, and perfect set. A 3-ounce box is typically sufficient.
- Fresh Strawberries: The fresher, the better! Look for ripe, plump, and sweet berries. Remember to remove the stems and quarter them for even distribution in the pie.
- Canned Whipped Cream: For a delightful and easy garnish that adds a touch of creamy sweetness.
Selecting the Best Strawberries for Your Pie
The success of any strawberry pie hinges on the quality of your berries. When selecting fresh strawberries, look for ones that are:
- Bright Red: A deep, uniform red color indicates ripeness. Avoid berries with green or white patches.
- Plump and Firm: They should feel firm to the touch, not mushy or shriveled.
- Fragrant: Ripe strawberries will have a sweet, appealing aroma.
- Free from Mold: Inspect the container carefully for any signs of mold or bruising.
Using peak-season strawberries will truly elevate the flavor of your pie, making it an unforgettable dessert experience.
How to Make This Easy Strawberry Pie
You’re truly going to appreciate how simple and straightforward this recipe is. While it does involve a little stovetop cooking for the filling and the crucial step of pre-baking your pie crust, the majority of the magic happens hands-free in your refrigerator. Let’s walk through the steps to create this stunning dessert.
- Prepare the Pie Crust: Begin by following the baking instructions provided on your chosen pie crust package. Whether it’s frozen or refrigerated, bake it until golden brown and fully cooked. Once out of the oven, transfer it to a wire rack and allow it to cool completely. A perfectly cooled crust is essential to prevent the filling from becoming soggy.
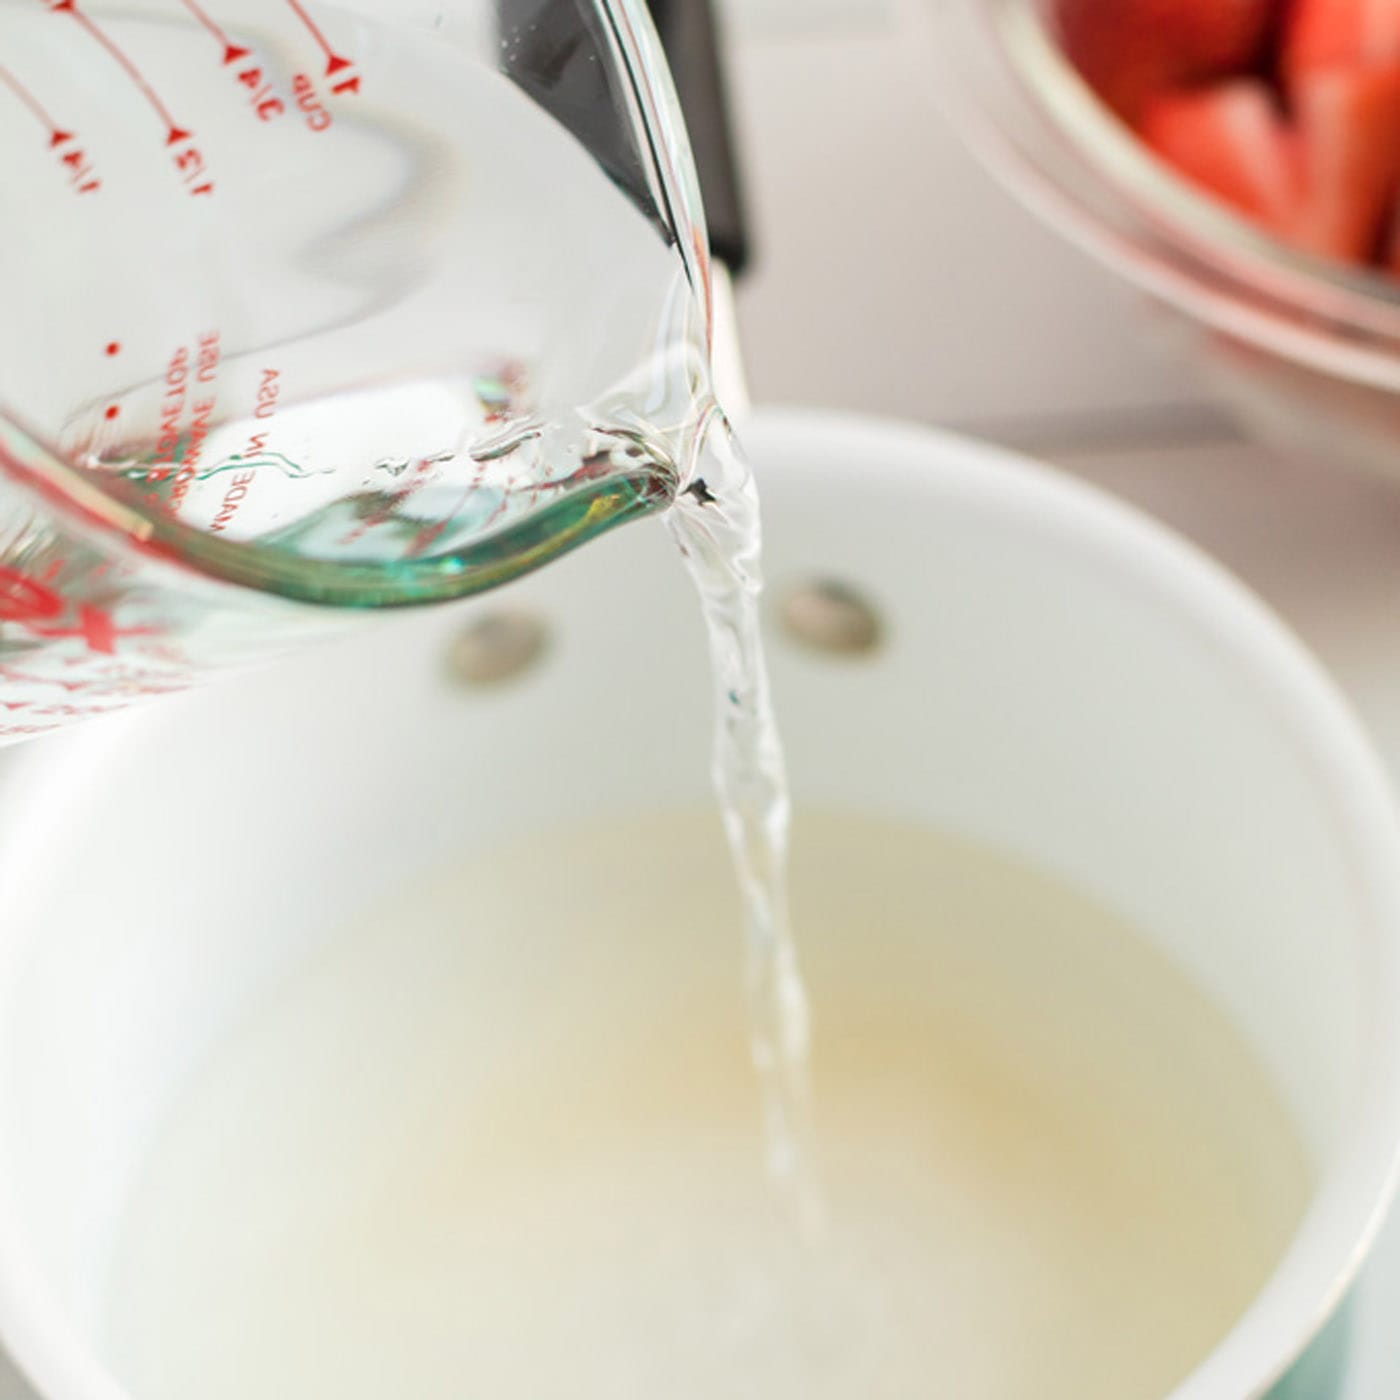
- Create the Gelatin Mixture: In a medium saucepan, whisk together the granulated sugar and cornstarch until well combined. This dry mix ensures there are no lumps when the liquid is added. Slowly pour in the water, whisking continuously until the mixture is smooth and lump-free.
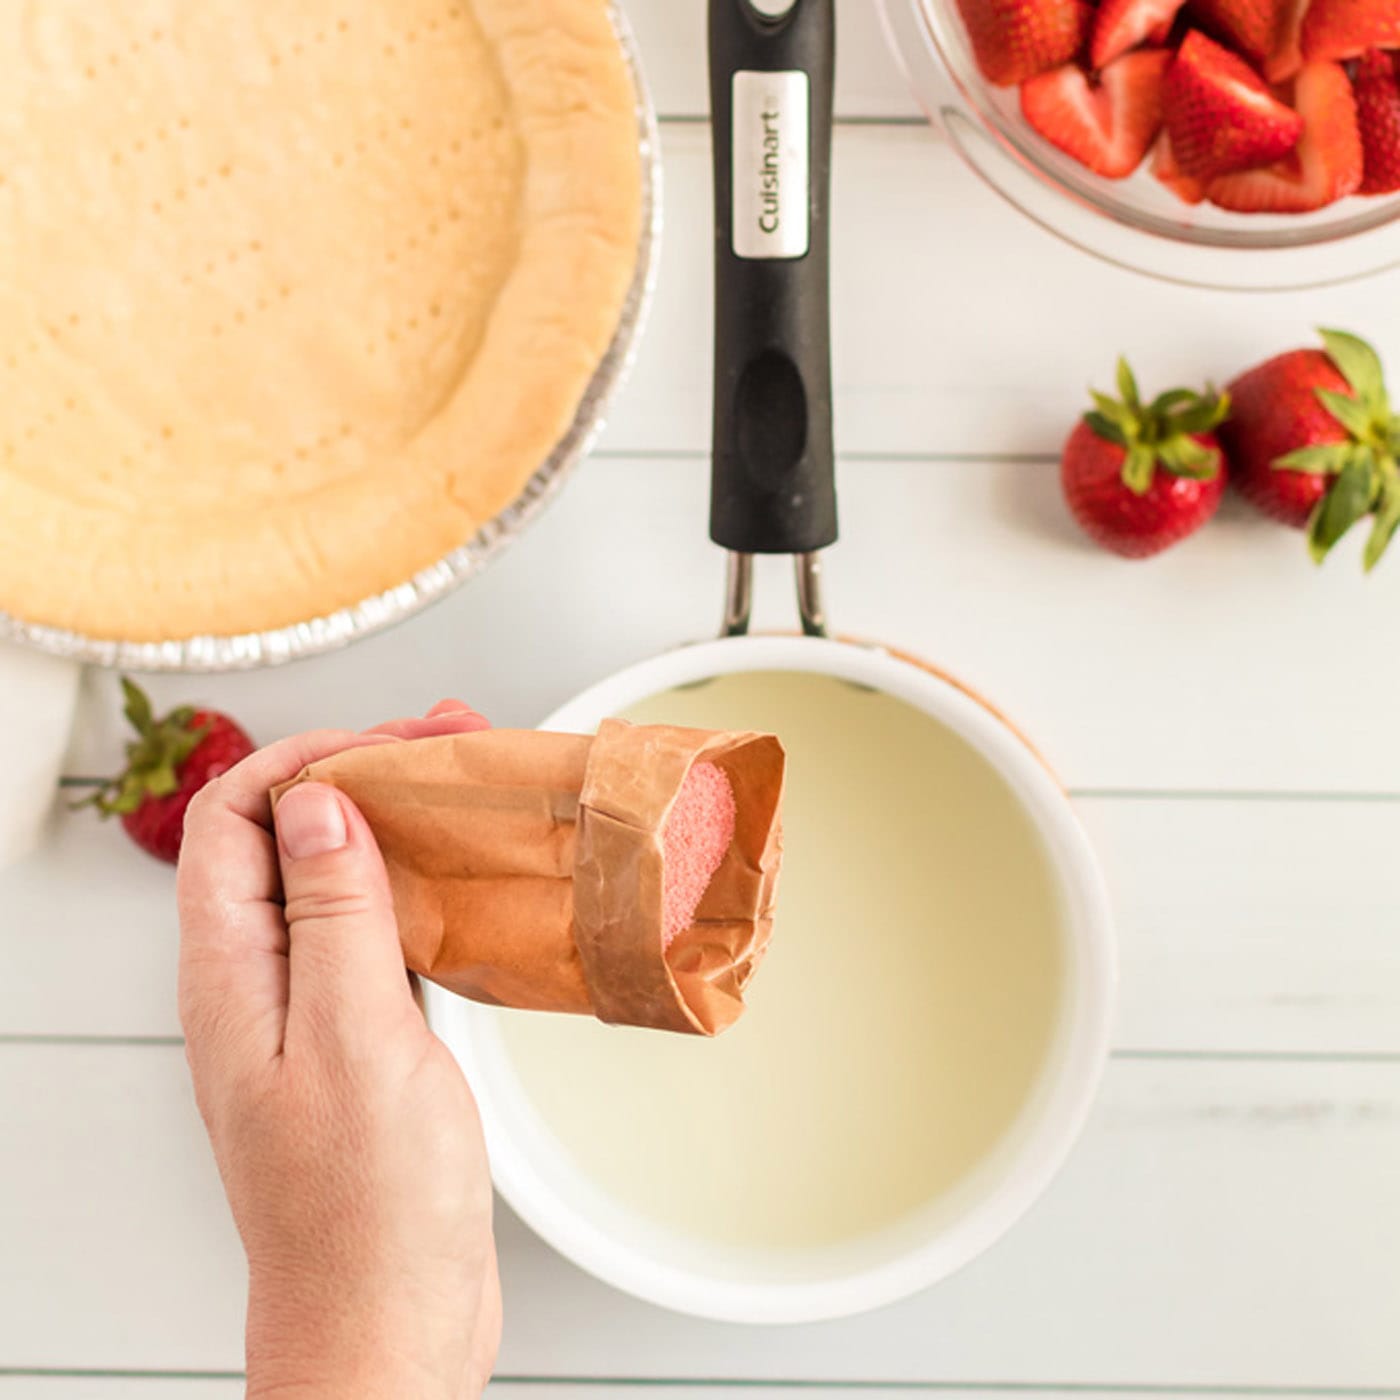
- Cook and Thicken the Filling: Place the saucepan over medium heat and bring the mixture to a boil. Continue to cook and stir constantly for about 2 minutes, or until the mixture has noticeably thickened. It should coat the back of a spoon. Remove the saucepan from the heat immediately, and then stir in the strawberry gelatin powder until it is completely dissolved. The heat from the mixture will help it dissolve quickly and thoroughly.


- Chill the Filling: Transfer the gelatin mixture to a bowl and refrigerate it for 15-20 minutes, or until it has slightly cooled and begun to thicken ever so slightly. It should still be pourable but not piping hot. This step is crucial to prevent the hot mixture from cooking the fresh strawberries or making the crust soggy.
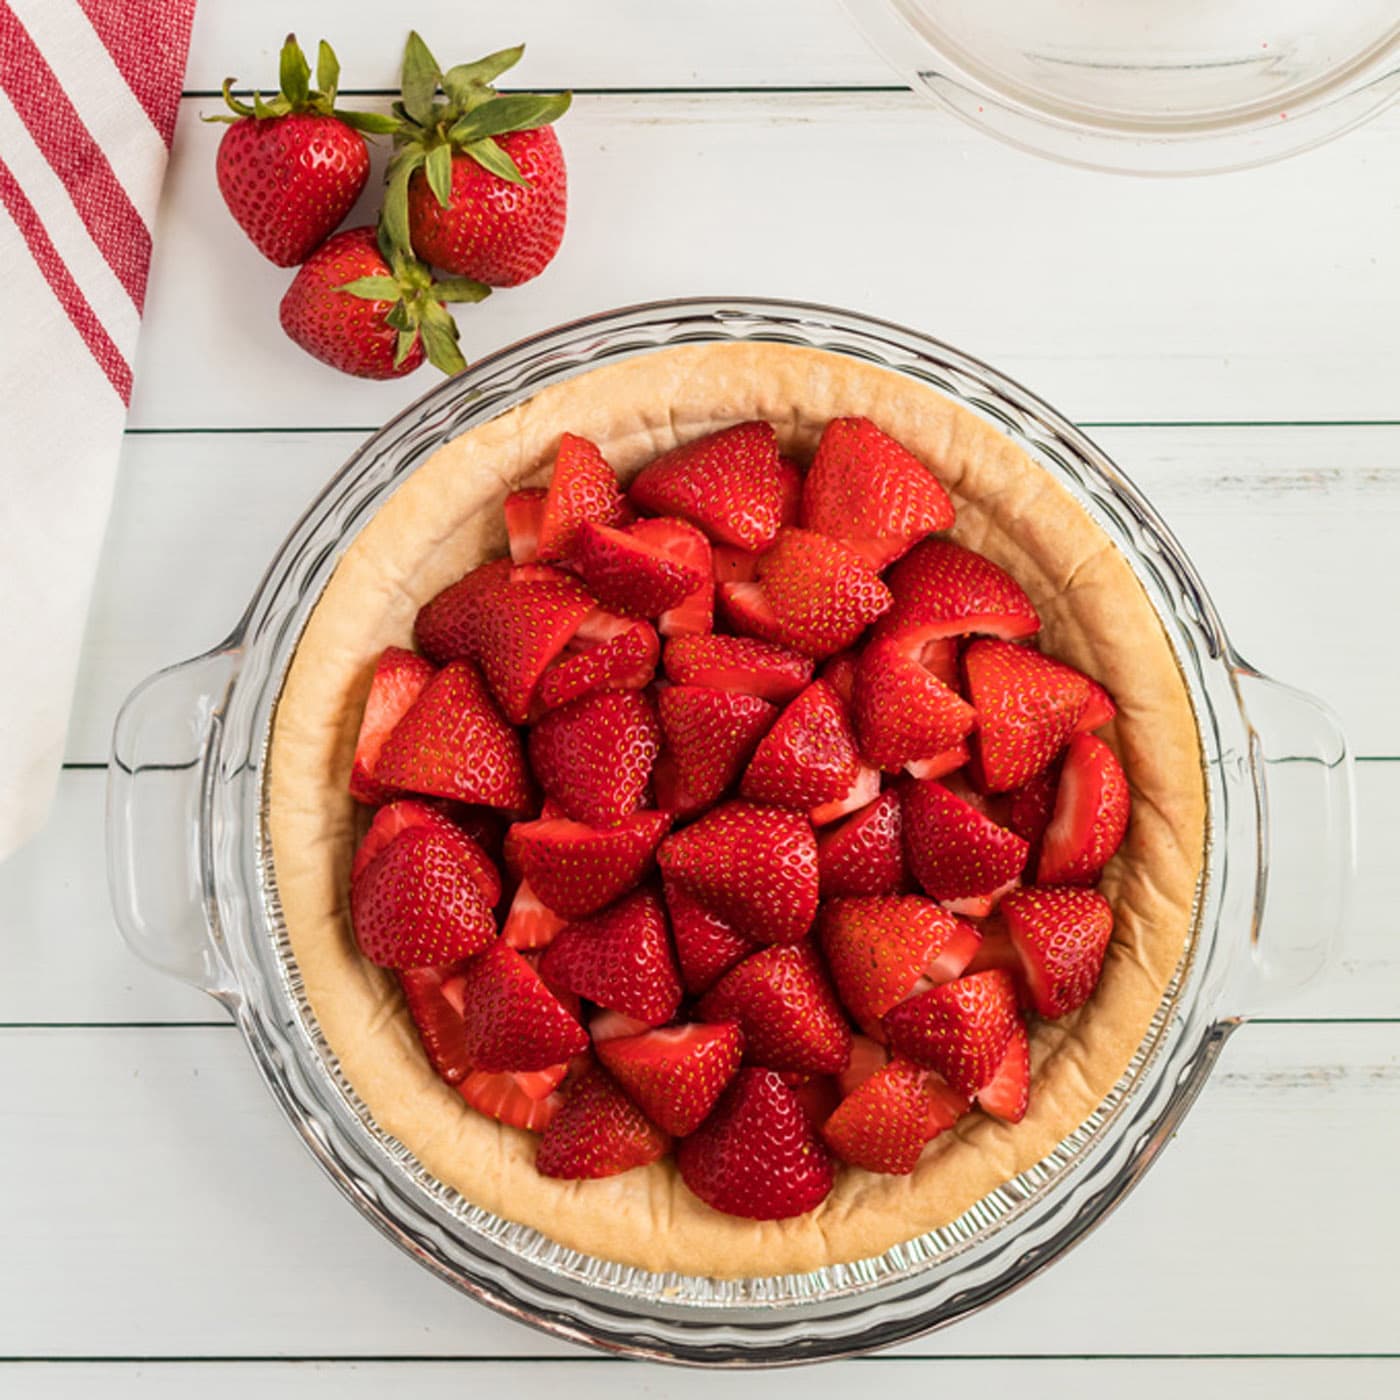
- Arrange the Strawberries: While the filling is cooling, artfully arrange your fresh, quartered strawberries in the baked and completely cooled pie crust. You can create a visually appealing pattern or simply spread them evenly.

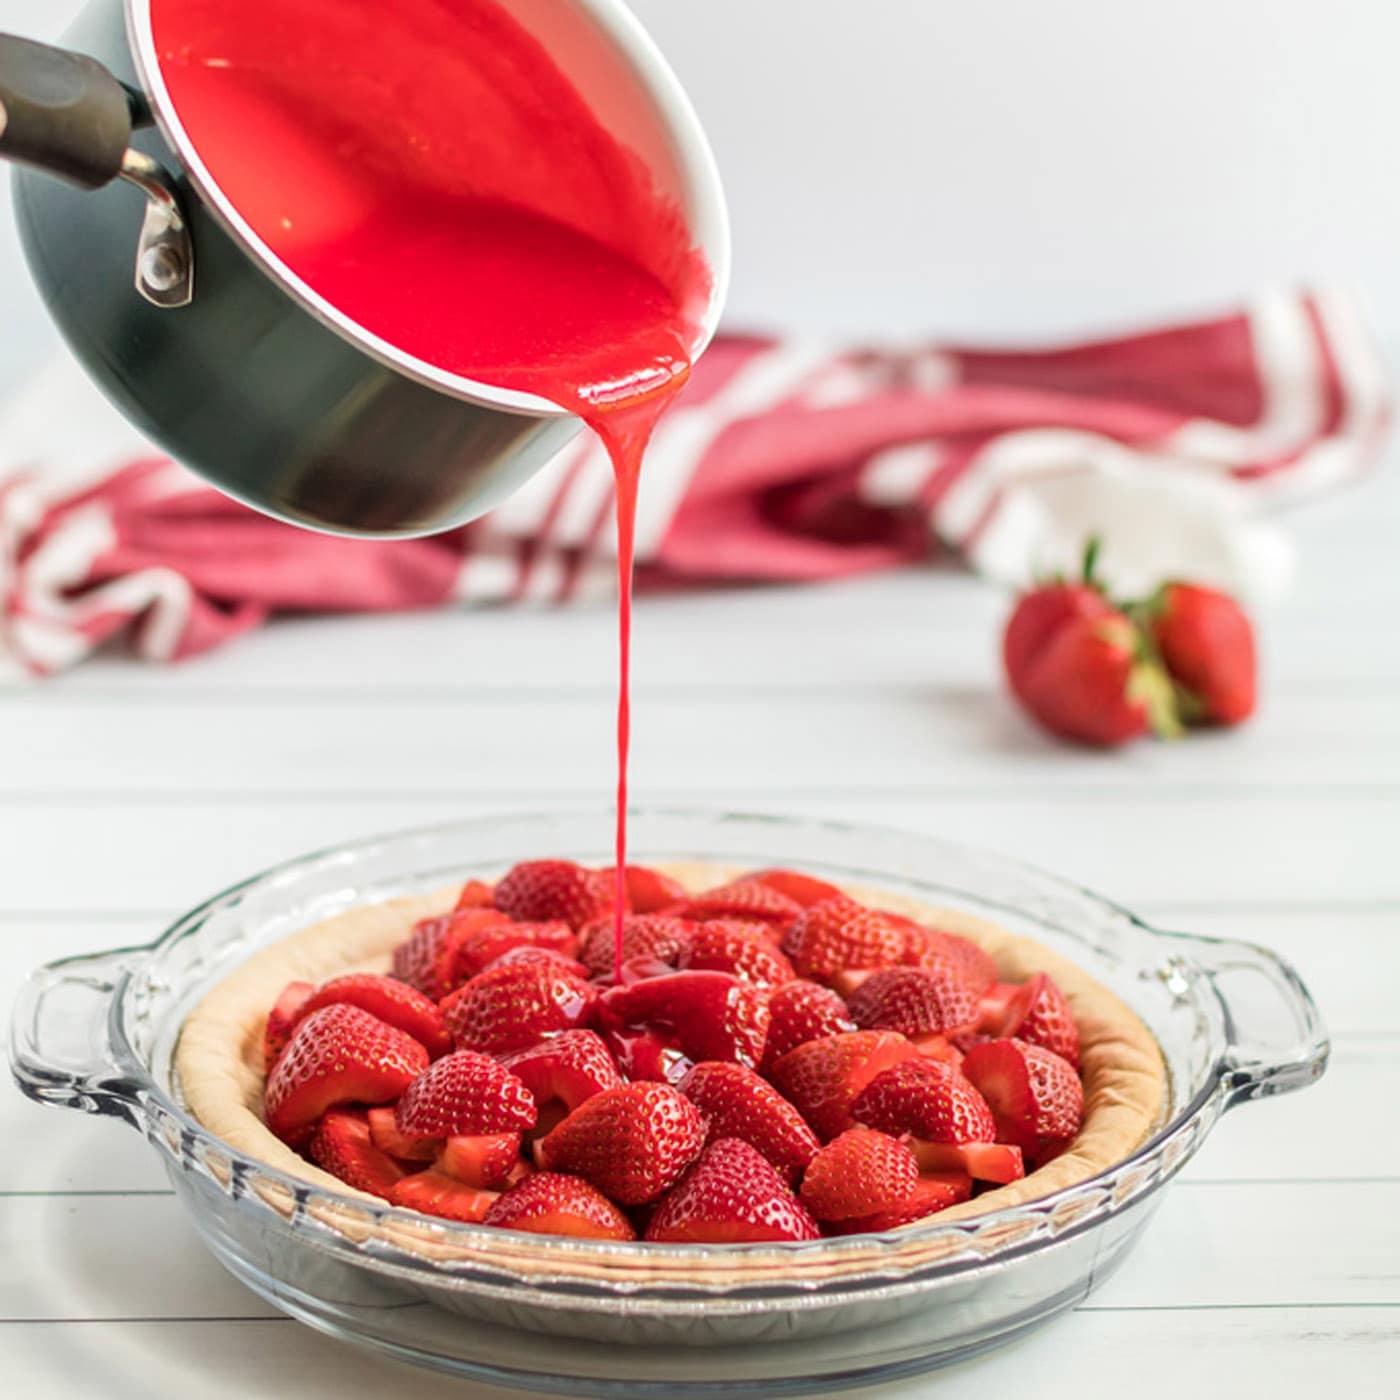
- Combine and Chill to Set: Carefully pour the slightly cooled gelatin mixture over the arranged berries in the pie crust. Ensure the berries are fully coated. Once poured, gently transfer the pie to the refrigerator and chill for at least 2-3 hours, or until the filling is completely set and firm. This extended chill time is vital for the pie to achieve its perfect sliceable consistency.

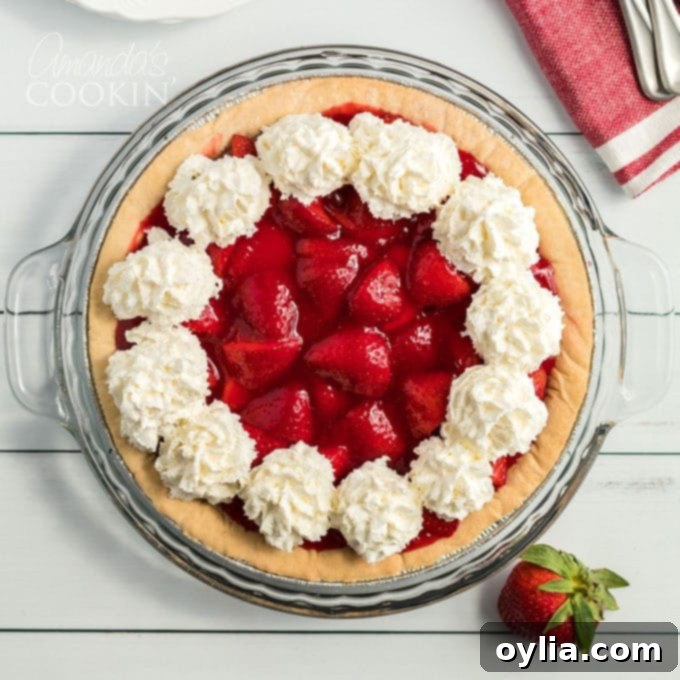
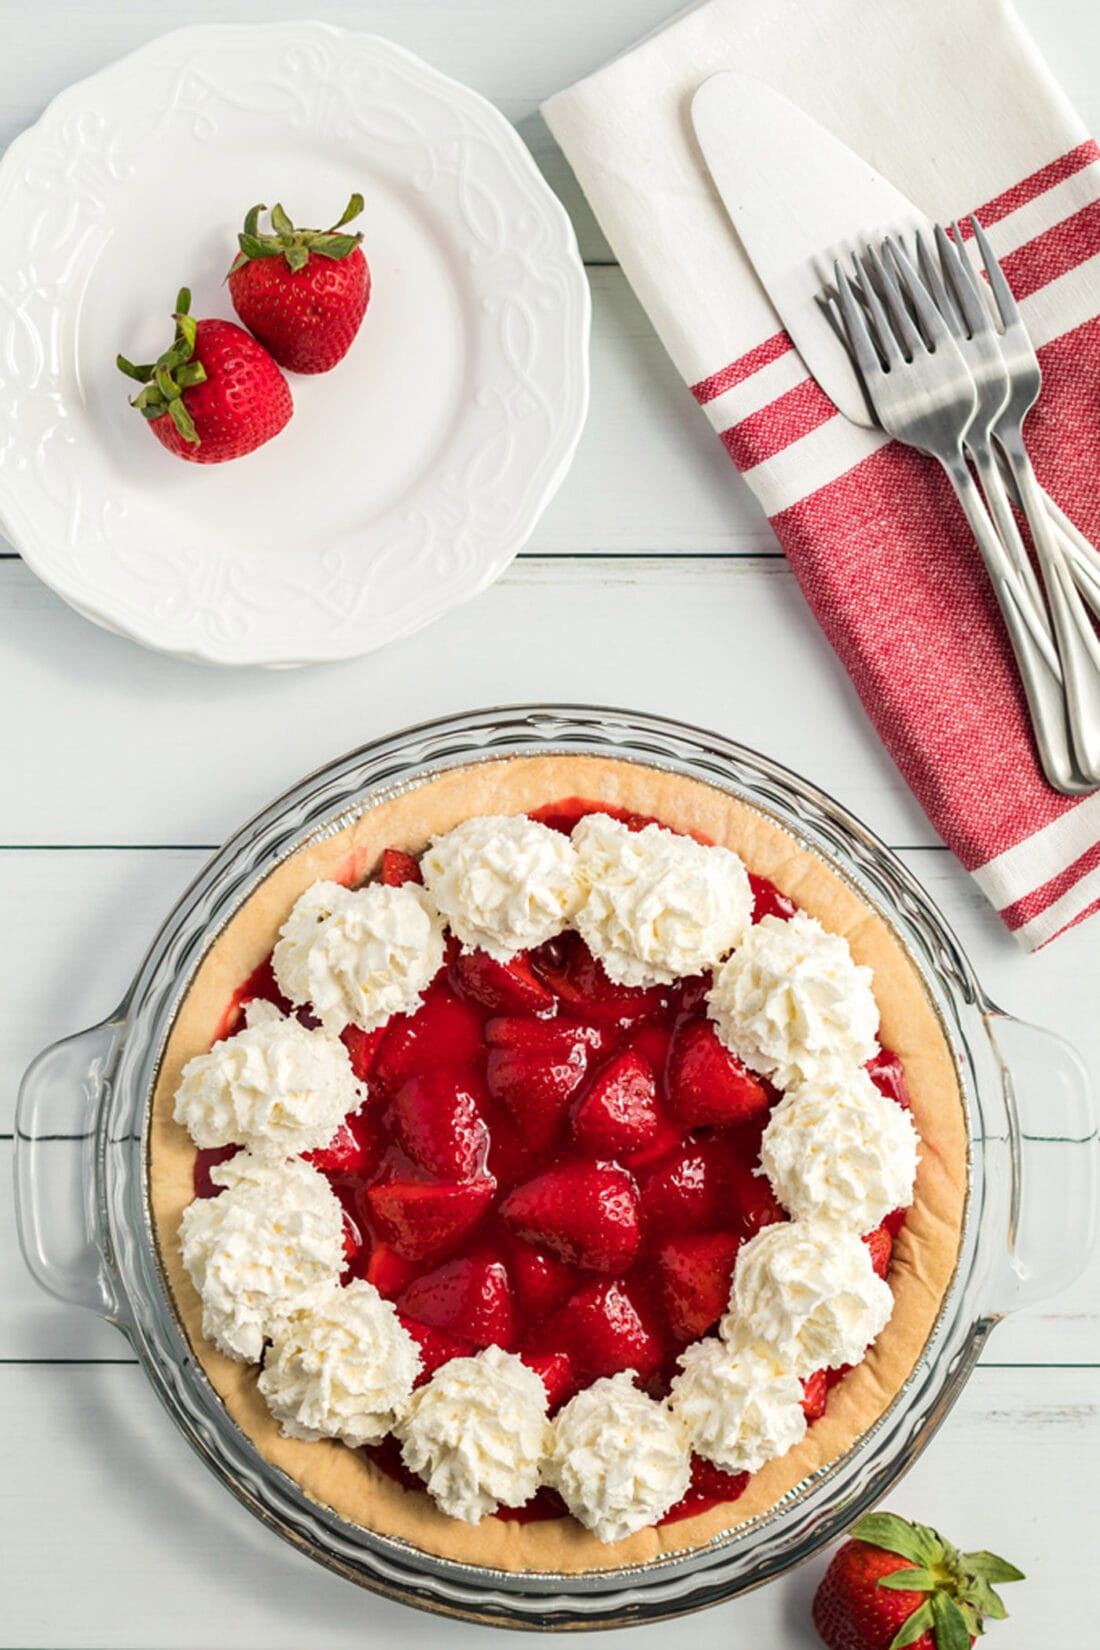
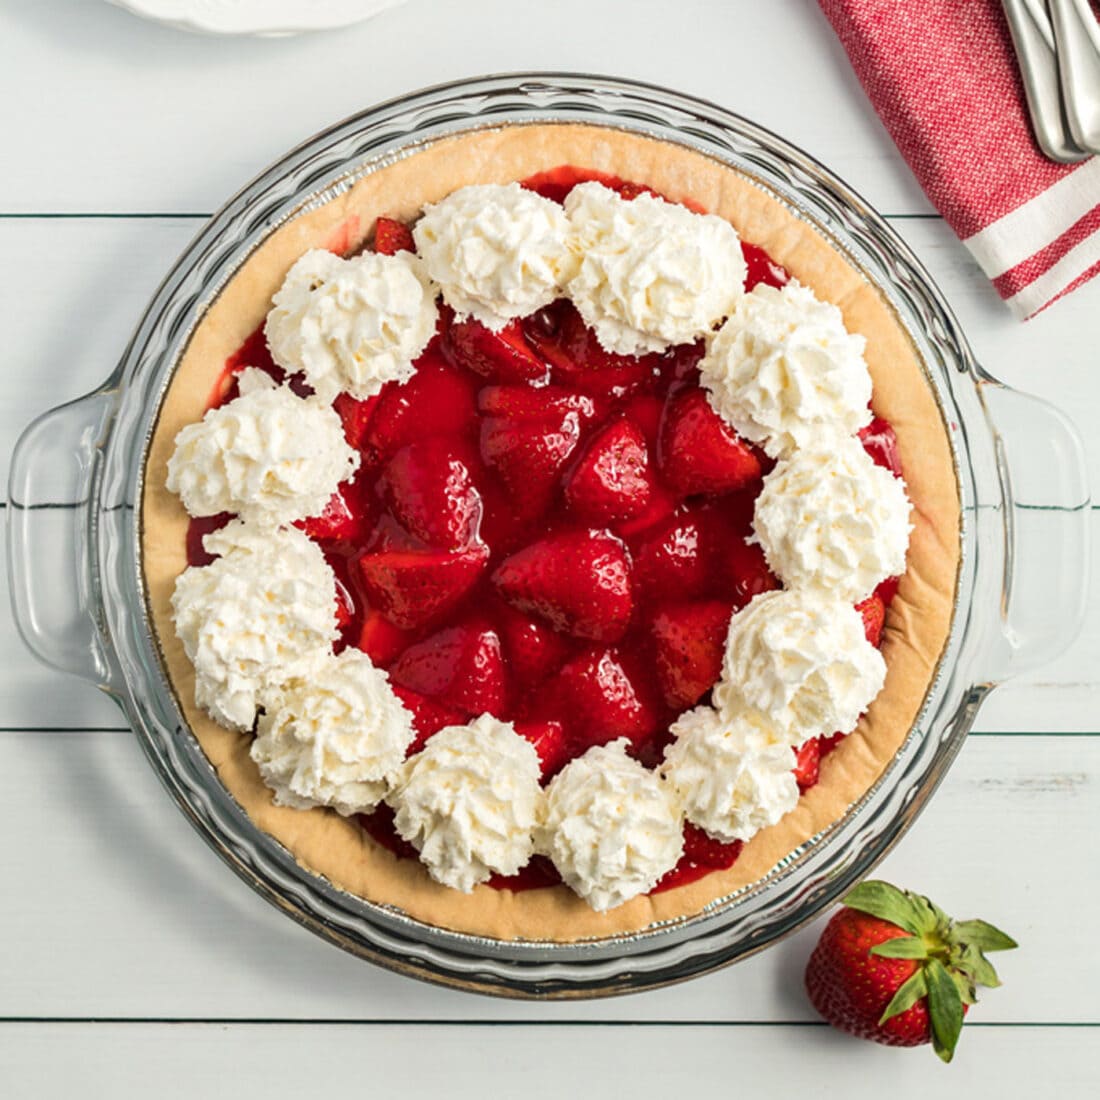
- Garnish and Serve: Just before serving, take your can of whipped cream and elegantly garnish the top outer edges of the pie with dollops. This adds a beautiful finish and an extra layer of creamy goodness. Slice and enjoy!
Tips for Success & Variations
- Crust Alternatives: While a traditional baked pie crust is fantastic, feel free to experiment. A graham cracker crust or even a shortbread crust would be equally delicious and offer a different texture.
- Homemade Whipped Cream: For an extra special touch, make your own fresh whipped cream by whisking heavy cream with a little powdered sugar and vanilla extract until stiff peaks form.
- Add a Hint of Citrus: A teaspoon of lemon zest added to the gelatin mixture can brighten the overall flavor profile.
- Mixed Berry Pie: While this is a strawberry pie, you could experiment with adding a handful of other berries like raspberries or blueberries for a delightful mixed berry twist. Ensure they are also quartered or halved if large.
- Preventing a Soggy Crust: Make sure your pie crust is completely cooled before adding the filling. You can also brush the inside of the baked crust with a thin layer of melted white chocolate or egg white and bake for an extra minute to create a moisture barrier.
Serving and Storing Your Strawberry Pie
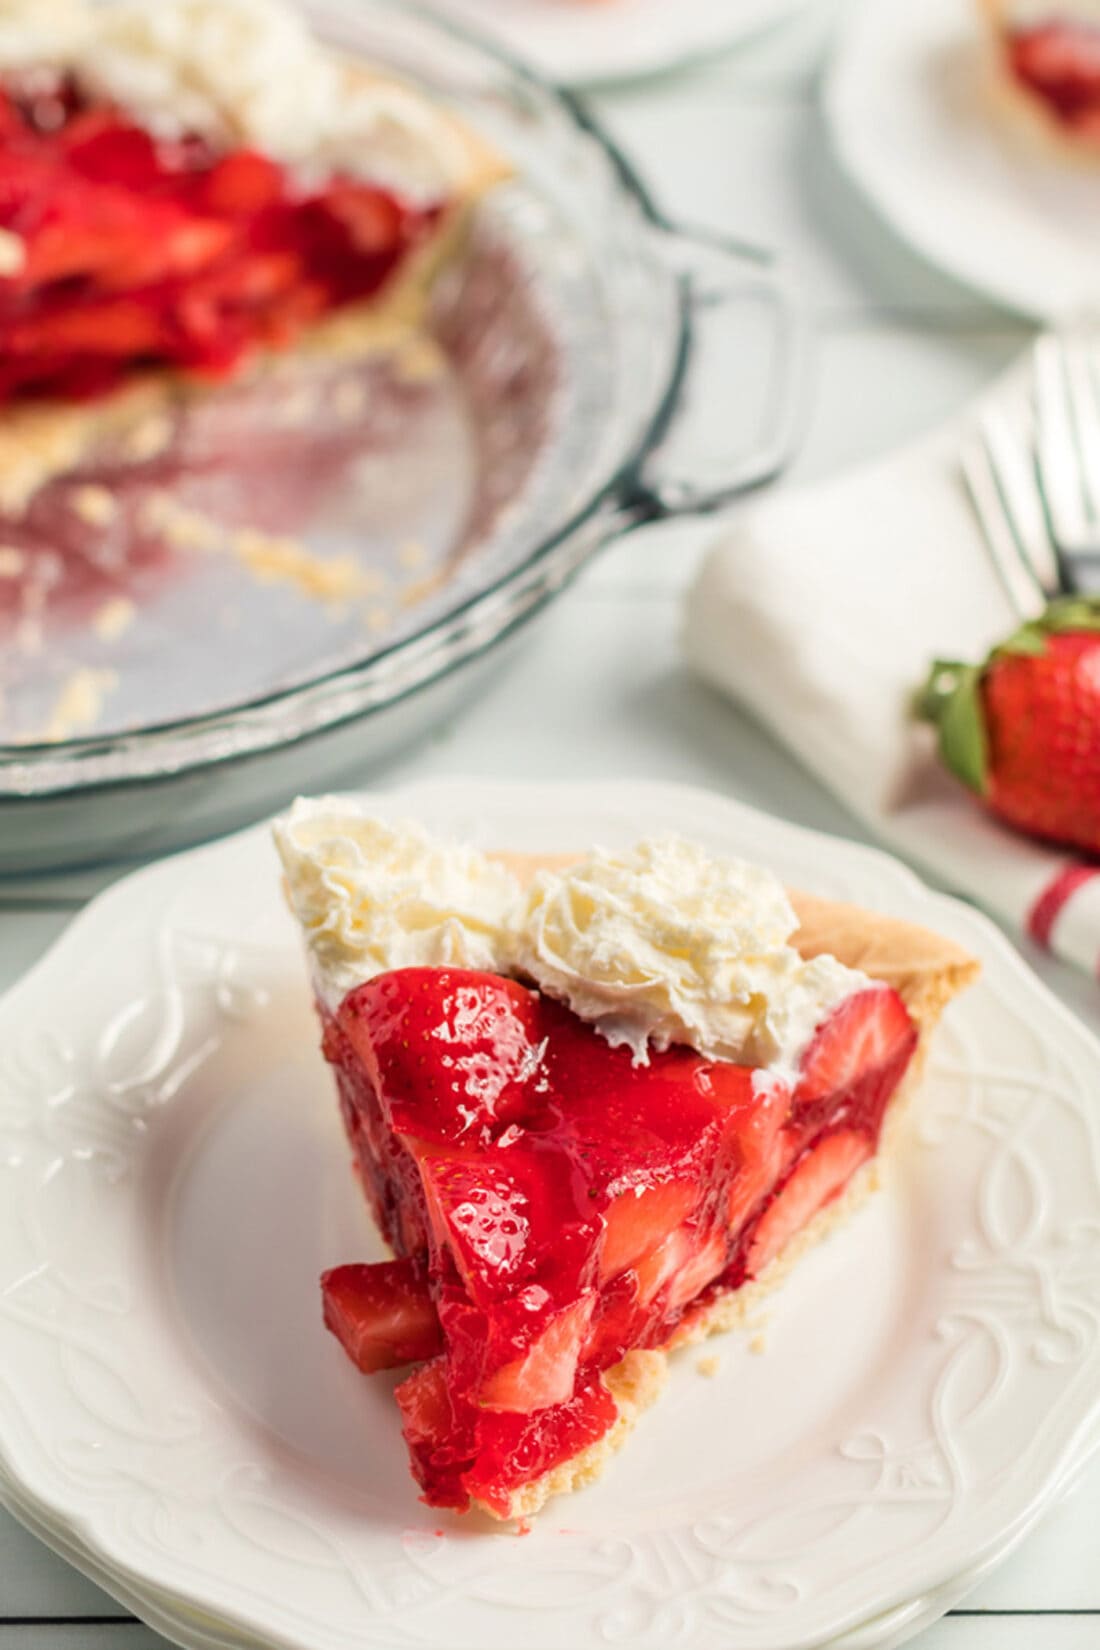
This pie is best served chilled. While delicious on its own, it’s often garnished with whipped cream. For an extra indulgent treat, a scoop of vanilla ice cream pairs wonderfully with a slice of this pie. To store any leftovers, cover the pie loosely with plastic wrap or aluminum foil and keep it in the refrigerator. It will remain fresh and delicious for 2-3 days. The crust might soften slightly over time, but the filling will hold up beautifully.
Frequently Asked Questions About Strawberry Pie
- Can I use frozen strawberries?
- While fresh strawberries are highly recommended for the best texture and flavor, you can use frozen. Thaw them completely, drain any excess liquid to prevent a watery pie, and pat them dry before arranging them in the crust.
- Why does my pie filling not set?
- Ensure you allow the gelatin mixture to come to a full boil and thicken for the recommended 2 minutes. Also, make sure the pie chills for a minimum of 2-3 hours in the refrigerator. Insufficient chill time is the most common reason for a runny pie.
- Can I make this pie ahead of time?
- Absolutely! This pie is a fantastic make-ahead dessert. You can prepare it a day in advance and store it in the refrigerator. If you’re using canned whipped cream for garnish, add it just before serving for the best appearance and texture.
- Do I have to use a store-bought crust?
- No, a homemade pie crust will work just as well, if not better! Just ensure it’s fully baked and cooled before adding the strawberry filling.
If you’re planning an early summer party and want to take full advantage of the glorious in-season strawberries, be sure to check out our other fantastic strawberry recipes:
- Strawberry Jello Pretzel Salad
- Strawberry Shortcake
- Strawberry Shortcake Trifle
- And this amazing Strawberry Salsa!
More Delightful Summer Recipes
- Classic Blueberry Pie
- Creamy Strawberry Dream Dessert
- Refreshing Pineapple Dream Dessert
Strawberry Pie
This easy homemade strawberry pie recipe uses gelatin for a perfectly set, vibrant, and delicious filling, just like Grandma used to make. It makes the strawberry pie filling super easy to slice and oh so delicious.
Cuisine: American
Servings: 12 slices
Total Time: 3 hrs 25 mins
Calories: 186
Author: Amanda Davis
IMPORTANT – There are often Frequently Asked Questions within the blog post that you may find helpful. Simply scroll back up to read them!
Rate It
Ingredients
- 1 frozen or refrigerated pie crust
- ¾ cup granulated sugar
- 2 Tablespoons cornstarch
- 1 cup water
- 3 ounce box strawberry gelatin (Jello)
- 4 cups fresh strawberries, stems removed and quartered
- 1 can whipped cream (for garnish)
Things You’ll Need
- Measuring cups and spoons
- Liquid measure
- Whisk
- Saucepan
- Wire cooling racks
- Pie plate
Instructions
- Follow baking instructions on pie crust package. Cool completely on a wire rack.
- In a saucepan, whisk together the sugar and cornstarch. Slowly add the water and whisk until smooth. Bring mixture to a boil. Cook and stir until thickened, about 2 minutes. Remove from the heat; stir in strawberry gelatin until dissolved.
- Refrigerate the gelatin mixture until slightly cooled, 15-20 minutes.
- Arrange the quartered fresh strawberries evenly in the baked and cooled pie crust.
- Pour the slightly cooled gelatin mixture over the berries. Gently transfer the pie to the refrigerator and chill until completely set, typically 2-3 hours.
- Just before serving, garnish the top outer edges of the pie with dollops of whipped cream. Slice and enjoy!
Watch How to Make It!
Nutrition Facts (per slice)
Serving: 1 slice | Calories: 186 cal | Carbohydrates: 32g | Protein: 2g | Fat: 6g | Saturated Fat: 3g | Cholesterol: 8mg | Sodium: 94mg | Potassium: 102mg | Fiber: 1g | Sugar: 22g | Vitamin A: 75IU | Vitamin C: 28.2mg | Calcium: 20mg | Iron: 0.6mg
Tried this Recipe? Pin it for Later!
Follow on Pinterest @AmandasCookin or tag #AmandasCookin!
The recipes on this blog are tested with a conventional gas oven and gas stovetop. It’s important to note that some ovens, especially as they age, can cook and bake inconsistently. Using an inexpensive oven thermometer can assure you that your oven is truly heating to the proper temperature. If you use a toaster oven or countertop oven, please keep in mind that they may not distribute heat the same as a conventional full sized oven and you may need to adjust your cooking/baking times. In the case of recipes made with a pressure cooker, air fryer, slow cooker, or other appliance, a link to the appliances we use is listed within each respective recipe. For baking recipes where measurements are given by weight, please note that results may not be the same if cups are used instead, and we can’t guarantee success with that method.
This post was originally published here on May 23, 2019.
