Irresistible Classic Pea Salad Recipe: Creamy, Crunchy, and Perfectly Savory
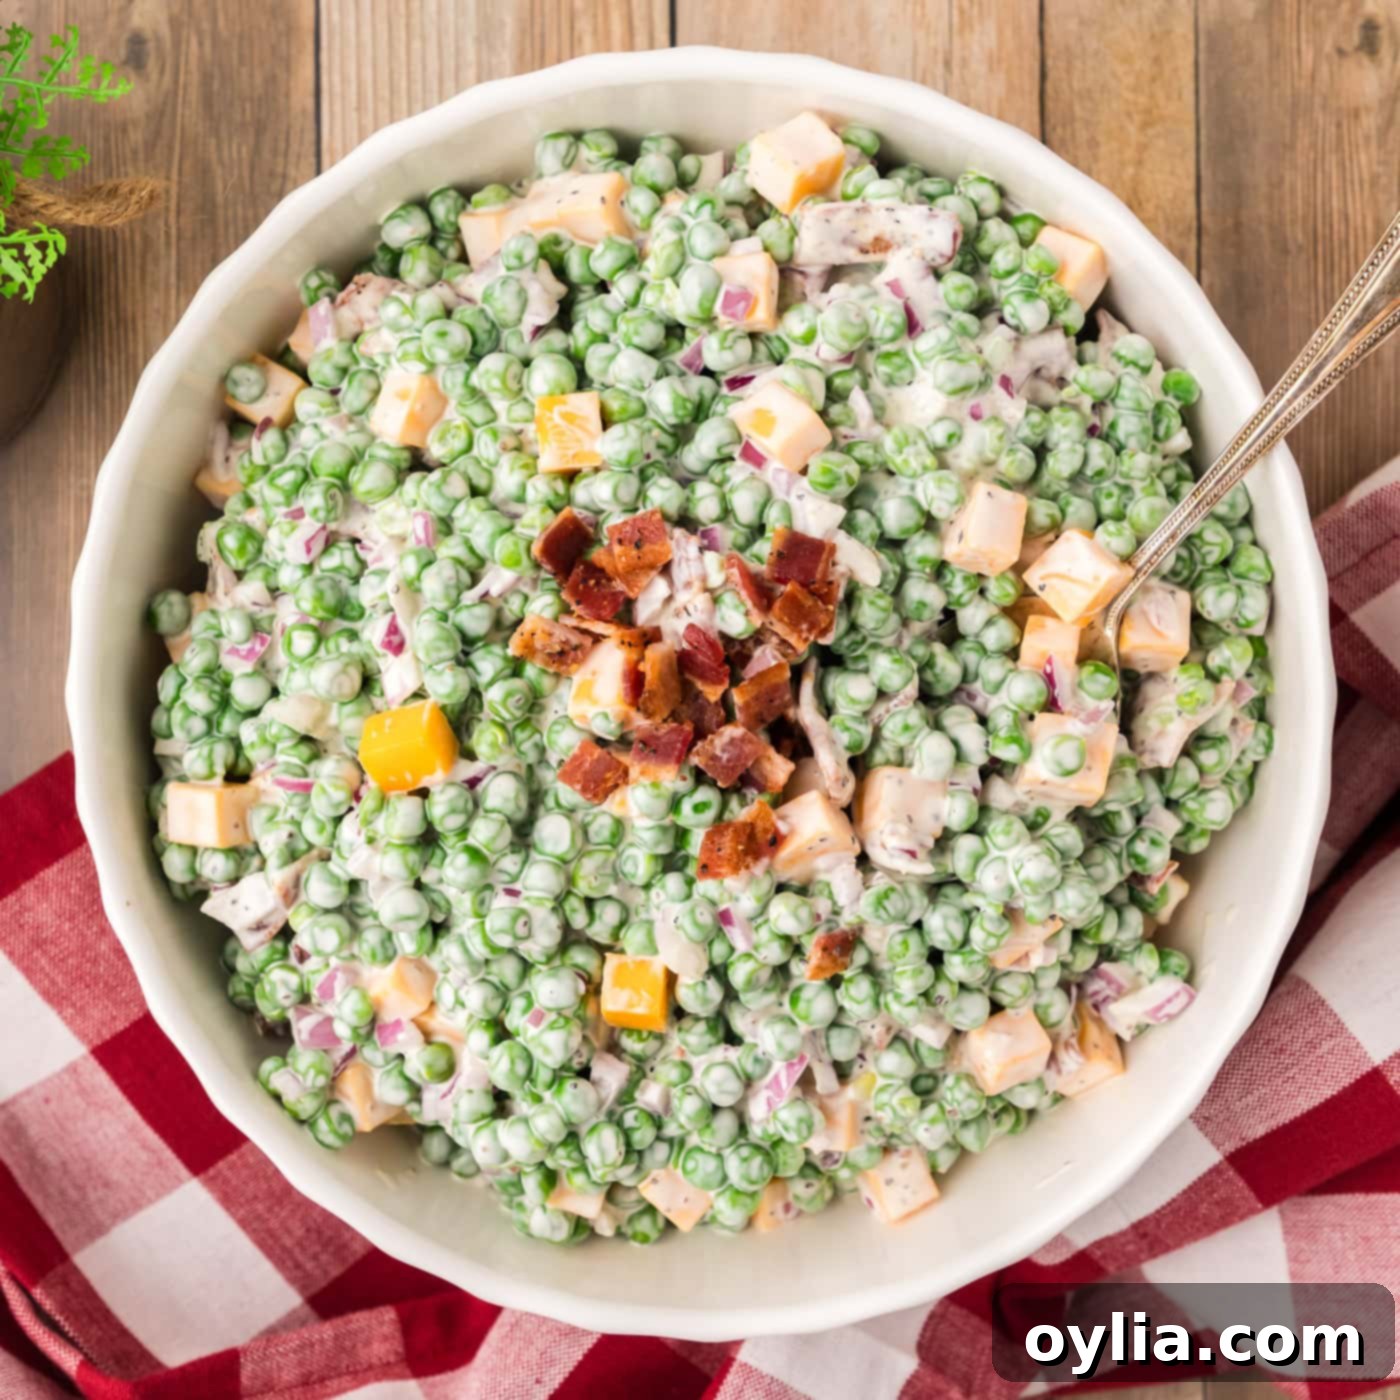
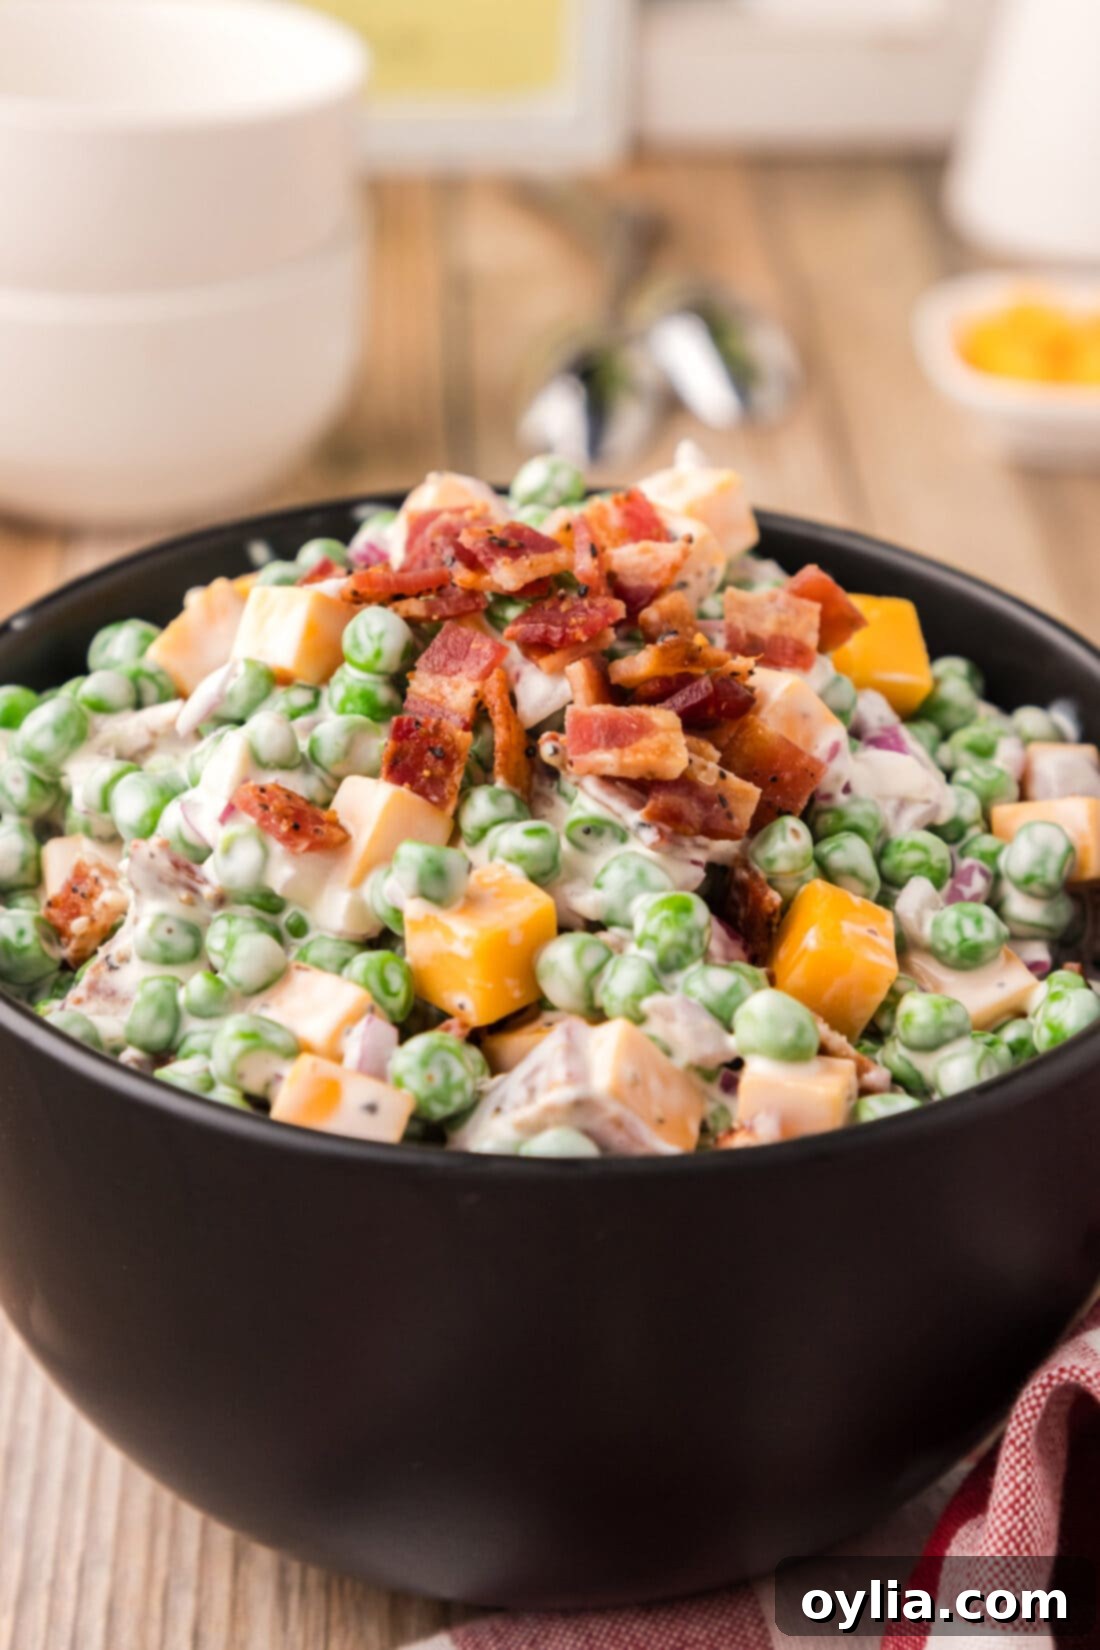
Step into a world of nostalgic flavors with our incredibly easy and utterly delicious classic pea salad. This beloved side dish combines the freshness of sweet peas with the savory crunch of crispy bacon, the sharp bite of diced red onion, and the creamy texture of cubed cheddar cheese, all generously coated in a luscious, tangy dressing. It’s a timeless recipe that promises a delightful medley of textures and tastes in every spoonful, making it an instant favorite at any gathering, from casual backyard barbecues to festive holiday spreads.
Why This Creamy Pea Salad is a Must-Try Side Dish
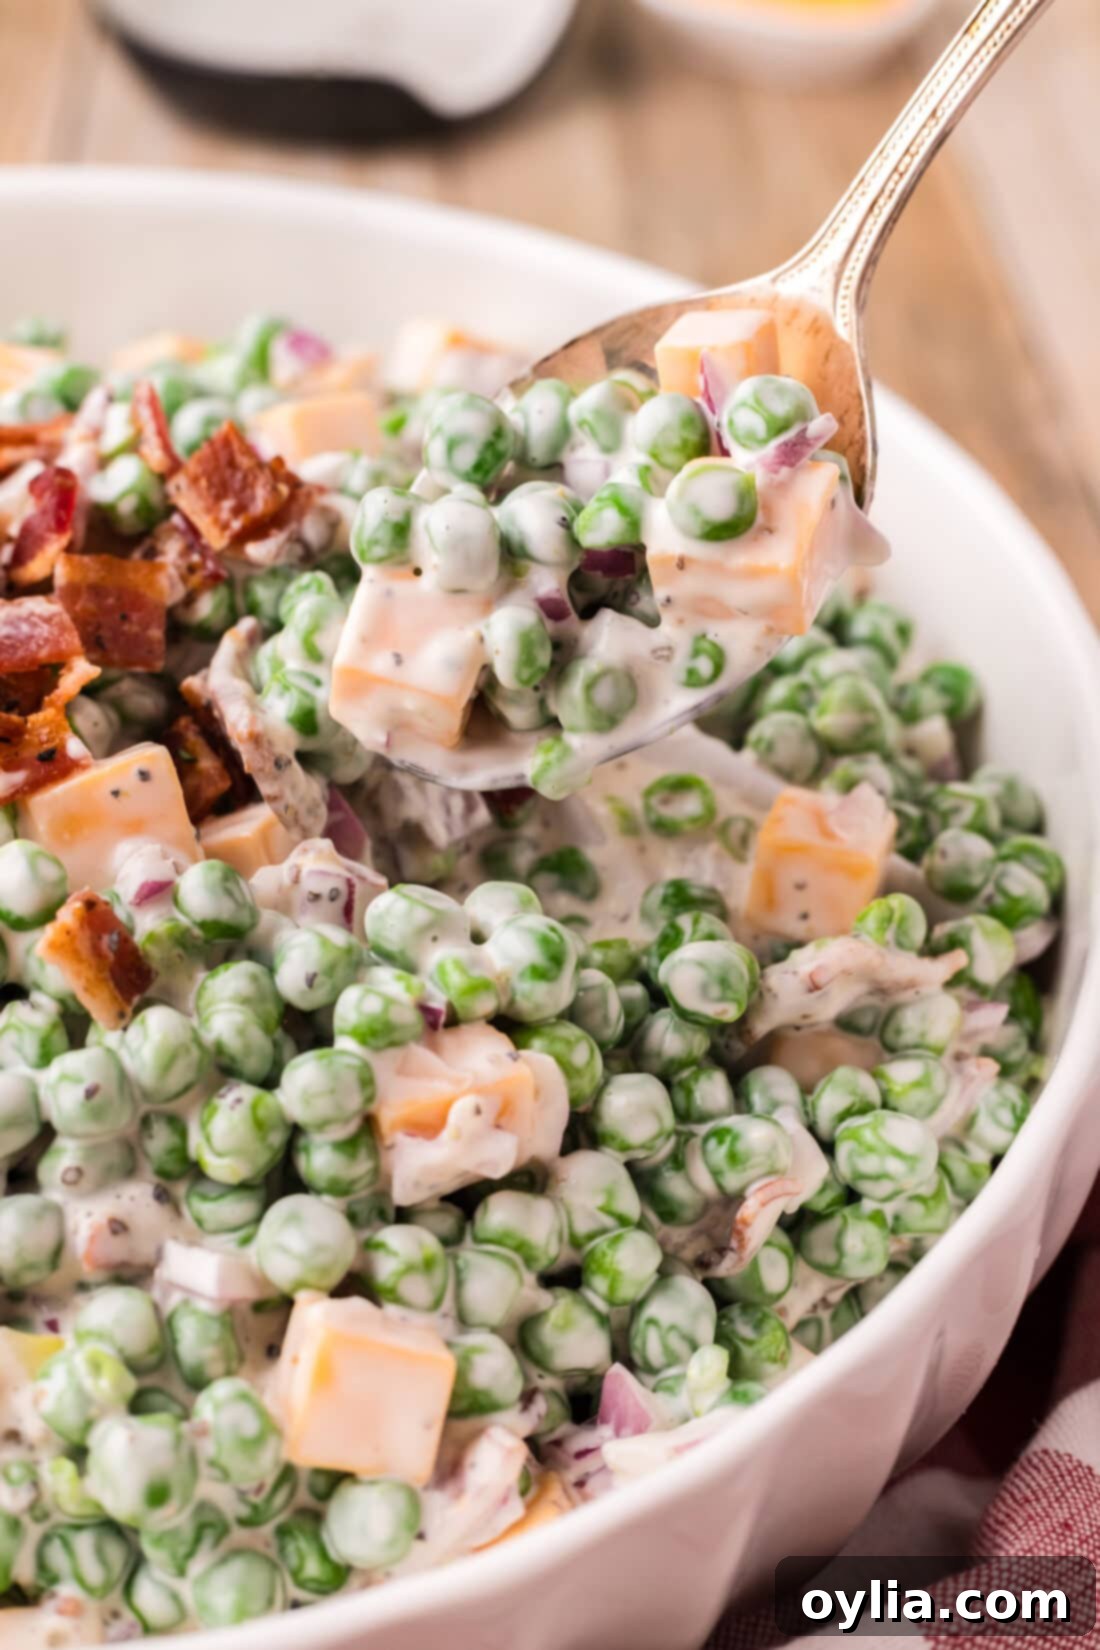
This classic pea salad recipe isn’t just a simple dish; it’s a comforting staple, deeply ingrained in the fabric of American home cooking. It’s the kind of side dish that instantly evokes memories of warm family reunions, bustling potlucks, and leisurely backyard barbecues. Its enduring popularity stems from its incredible ability to transform humble frozen peas into a truly delightful culinary experience. The magic lies in the perfect interplay of textures and flavors that captivate your palate with every single bite.
Imagine the satisfying crunch from perfectly rendered crispy bacon and finely diced red onions, perfectly balanced by the tender, sweet bursts of thawed peas. Then, add the rich, creamy cubes of cheddar cheese, all brought together by a luscious, tangy dressing. This harmonious blend provides a little bit of everything for your taste buds, making it far more than just “another salad.” Even if you typically aren’t the biggest fan of peas, this creamy bacon pea salad will likely convert you. The smoky, salty notes of bacon are simply irresistible when paired with the inherent sweetness of peas, creating an addictive combination that will have everyone reaching for seconds. Its straightforward preparation and ability to be made ahead also make it a host’s dream, ensuring a stress-free addition to any meal.
What You’ll Adore About This Classic Pea Salad
There are countless reasons why this creamy pea salad has stood the test of time and continues to be a beloved recipe. Here are just a few aspects that make it truly special:
- **Effortlessly Delicious:** Despite its rich and complex flavor profile, this classic pea salad is surprisingly easy to whip up. A handful of common ingredients come together to create a dish that tastes like it required hours of meticulous preparation.
- **Versatile for Any Occasion:** Whether you’re hosting a casual summer barbecue, preparing for a festive holiday dinner, heading to a community potluck, or simply looking for a refreshing weeknight side, this pea salad fits seamlessly into any menu.
- **A Symphony of Textures:** Forget bland salads! This recipe delivers an exciting textural experience, contrasting the satisfying crunch of the bacon and fresh red onion with the tender sweetness of peas and the creamy chewiness of cheddar cheese.
- **Make-Ahead Mastery:** Planning is made simple with this dish. You can easily prepare it the day before your event, allowing the flavors to meld and deepen in the refrigerator. This means less stress on your big day and more time to enjoy your guests.
- **Guaranteed Crowd-Pleaser:** It’s a rare salad that appeals to almost everyone, but this pea salad often manages it. Even skeptics of peas frequently find themselves pleasantly surprised and asking for the recipe.
- **Highly Customizable:** While perfect as is, this recipe is also a fantastic canvas for your personal touches. Add extra vegetables, different cheeses, or fresh herbs to make it uniquely yours.
Essential Ingredients for Your Perfect Pea Salad
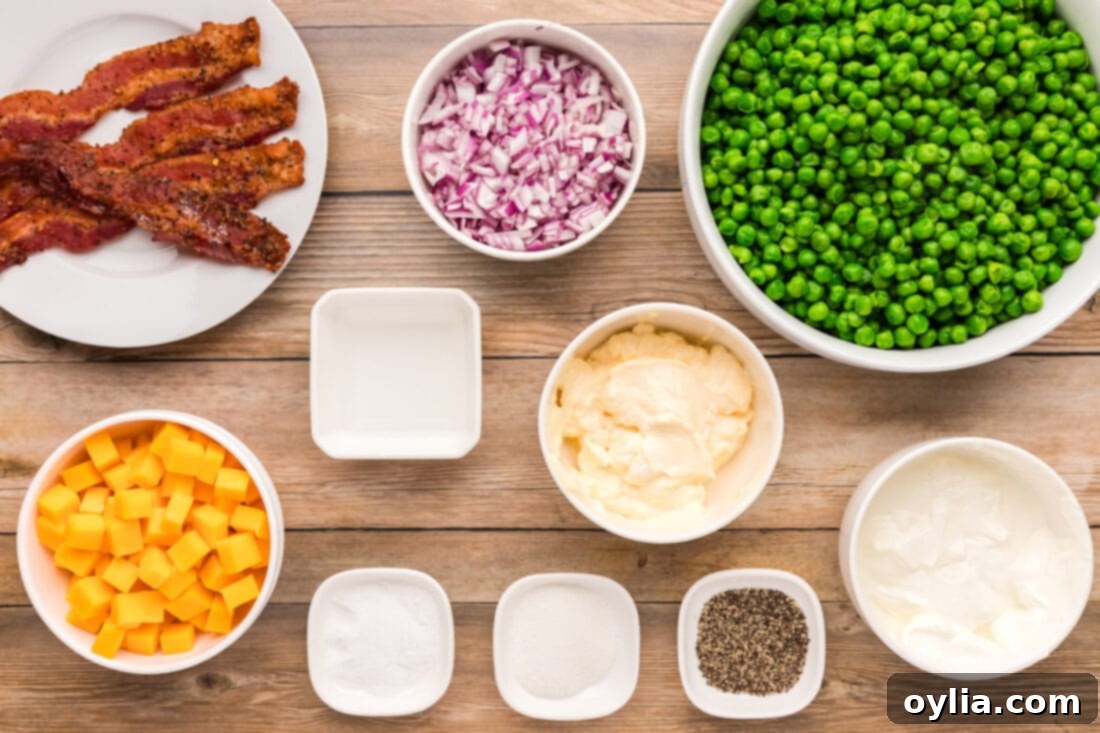
Crafting this delightful pea salad requires just a handful of readily available, fresh ingredients. The magic happens when these simple components are combined to create a rich and satisfying side dish. Below, we’ll outline the core items you’ll need. For a detailed list of all precise measurements and comprehensive step-by-step instructions, please refer to the printable recipe card conveniently located at the conclusion of this post.
Ingredient Spotlight & Smart Substitution Suggestions
To truly master this classic pea salad, it’s helpful to understand the role each ingredient plays and to know what alternatives you can use without compromising on taste or texture. Here’s a detailed breakdown:
- PEAS: This recipe specifically calls for **frozen peas**. We emphasize frozen because they are flash-frozen at their peak, locking in their natural sweetness and maintaining a firm, tender texture that is essential for this salad. Before you begin mixing, ensure they are thoroughly thawed. You can achieve this by simply letting them sit at room temperature for a few hours, or by running them under cool water in a colander until defrosted. We highly recommend avoiding canned peas, as their softer, often mushy texture can significantly detract from the salad’s overall appeal.
- BACON: The smoky, salty star that transforms this dish! You’ll need about 5 slices of bacon, cooked until perfectly crispy, meticulously drained of any excess grease, and then chopped into small, bite-sized pieces. The crispiness of the bacon is paramount for providing that wonderful textural contrast. For a less messy cooking experience, consider preparing your bacon in the oven or using an air fryer, both of which yield consistently crispy results. If you prefer a vegetarian version, or simply want to explore alternatives, smoked almonds or even crispy fried onions can offer a similar savory crunch.
- DRESSING: The creamy, tangy heart of this classic pea salad! Our homemade dressing is a beautifully balanced concoction featuring equal parts **sour cream** and **mayonnaise**. This combination provides a rich, smooth base with a delightful tang. To brighten the flavors and add a subtle zing, white vinegar is incorporated, while a small amount of sugar works wonders to balance the acidity and enhance the inherent sweetness of the peas. Don’t forget a generous seasoning of black pepper and a touch of salt to bring all the flavors into perfect harmony.
- Mayo Alternatives: For a lighter version, feel free to use light or low-fat mayonnaise and sour cream. If you lean towards a more piquant, tangier flavor, Miracle Whip can be an excellent substitute for traditional mayonnaise.
- Vinegar Swaps: Should white vinegar not be readily available, apple cider vinegar is a fantastic alternative, offering a slightly fruitier, milder acidic note that complements the other ingredients beautifully.
- CHEESE: We strongly advocate for using **cubed cheddar cheese** in this recipe. The small, firm cubes not only add a lovely textural element but also hold their shape beautifully within the creamy dressing, offering satisfying pockets of cheesy goodness. Both sharp cheddar, which provides a more robust and pronounced cheese flavor, and mild cheddar, for a softer, creamier essence, work wonderfully. While shredded cheese can be used in a pinch, it tends to blend into the dressing more, reducing the distinct cheesy bites that cubed cheddar provides. Consider other semi-hard cheeses like Colby Jack for a slight variation.
- RED ONION: Finely diced **red onion** is a crucial component, offering a crisp texture and a zesty, pungent kick that beautifully cuts through the richness of the creamy dressing and bacon. If you find red onion too strong, a simple trick is to soak the diced onion in a bowl of cold water for 10-15 minutes before adding it to the salad; this significantly mellows its intensity. Alternatively, for a milder onion flavor and color, you can substitute with thinly sliced green onions (scallions).
Crafting Your Delicious Pea Salad: A Simple Step-by-Step Guide
Preparing this incredibly satisfying classic pea salad is remarkably simple and doesn’t require any advanced culinary skills. Just a few easy steps stand between you and a bowl of creamy, crunchy perfection! Below, we’ll walk you through each stage of the process. For precise measurements of all ingredients and a convenient printable version of this recipe, please scroll down to the complete recipe card at the very end of this post.
These step by step photos and instructions are here to help you visualize how to make this recipe. You can Jump to Recipe to get the printable version of this recipe, complete with measurements and instructions at the bottom.
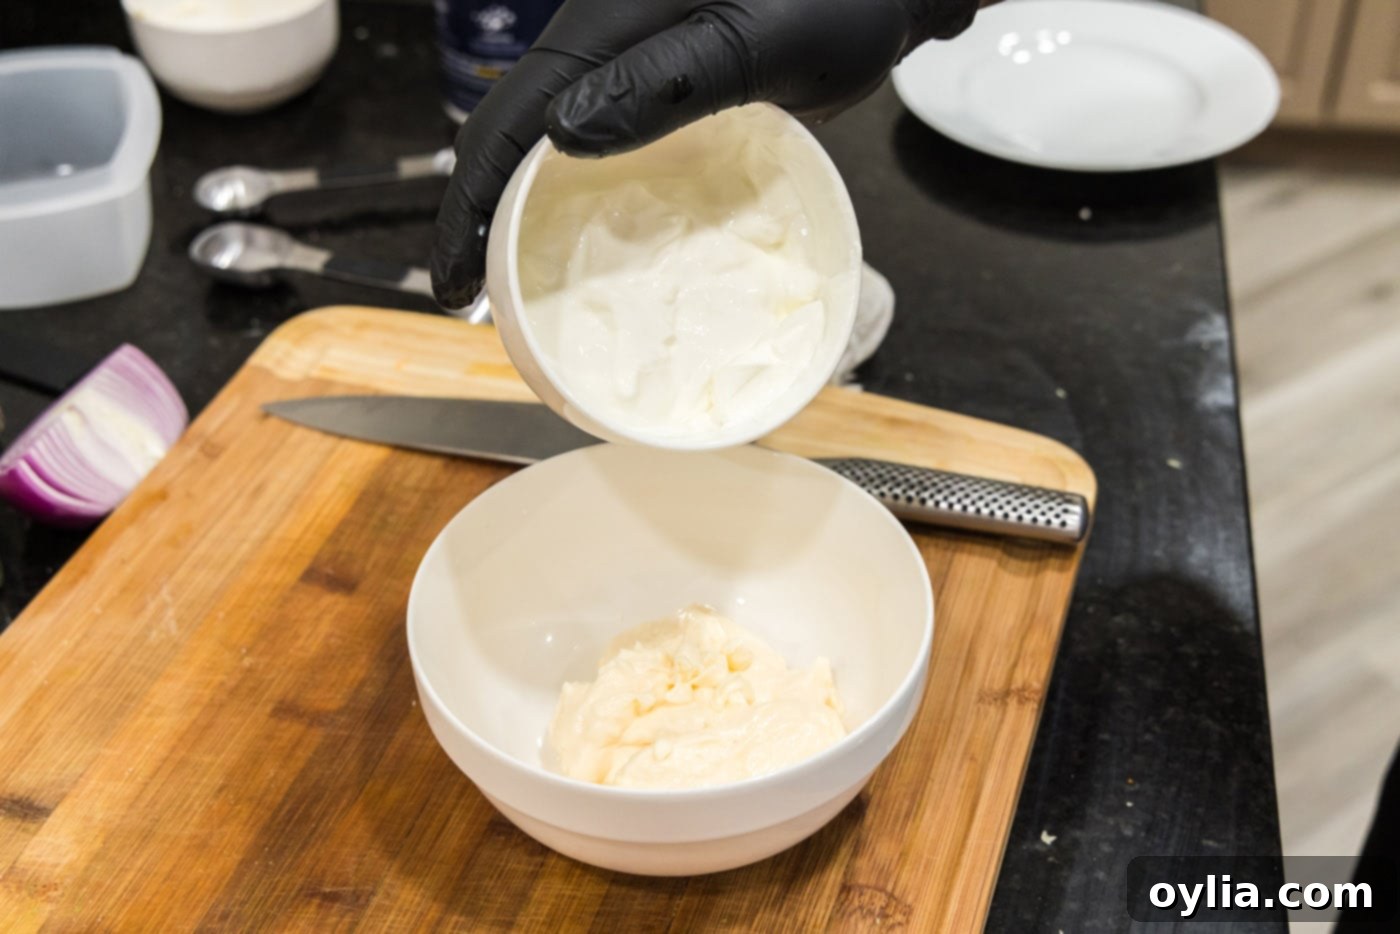
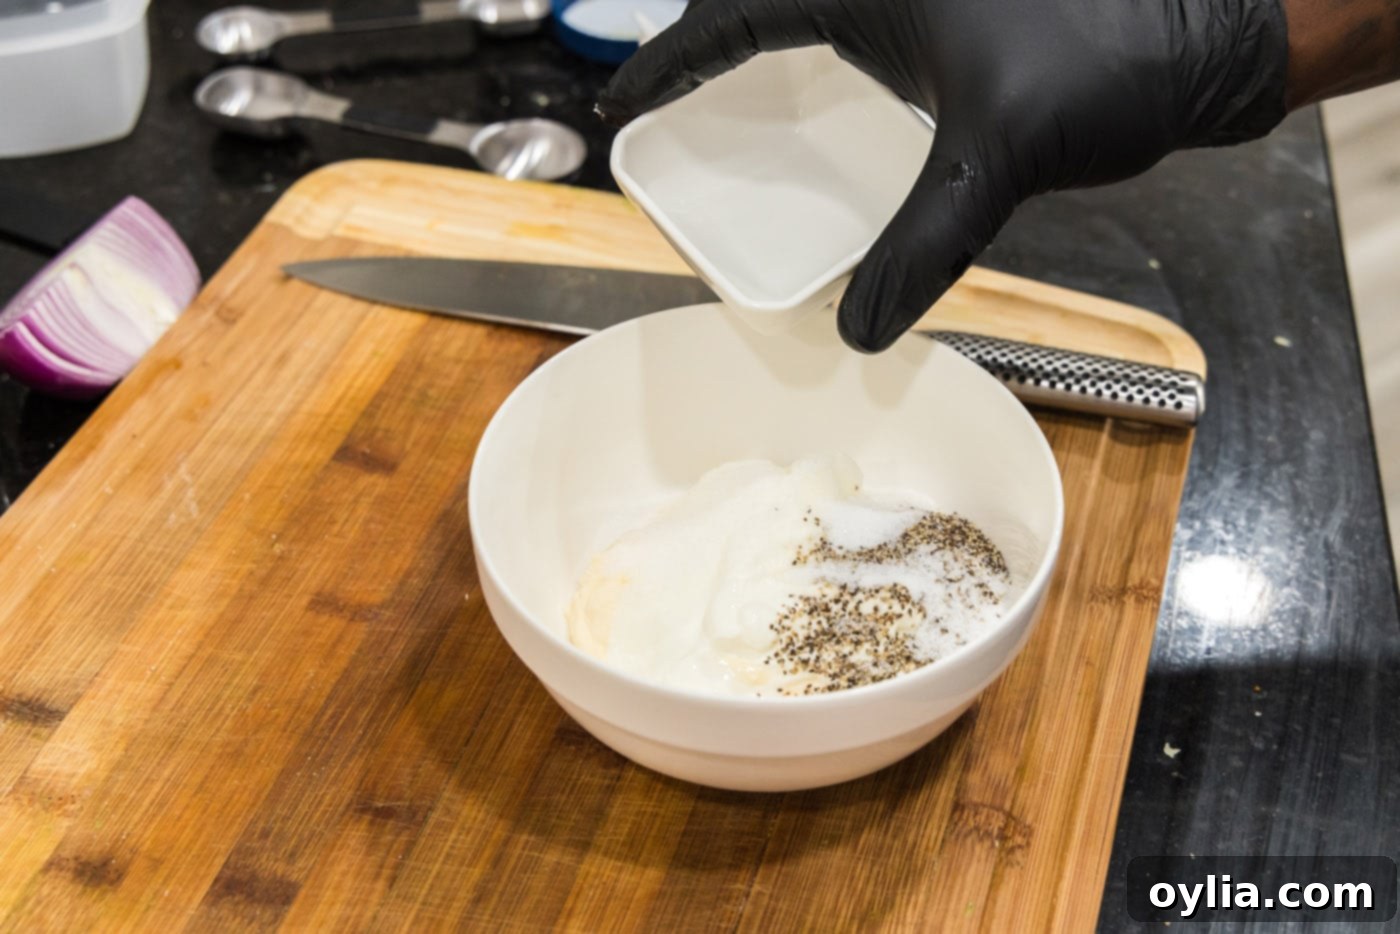
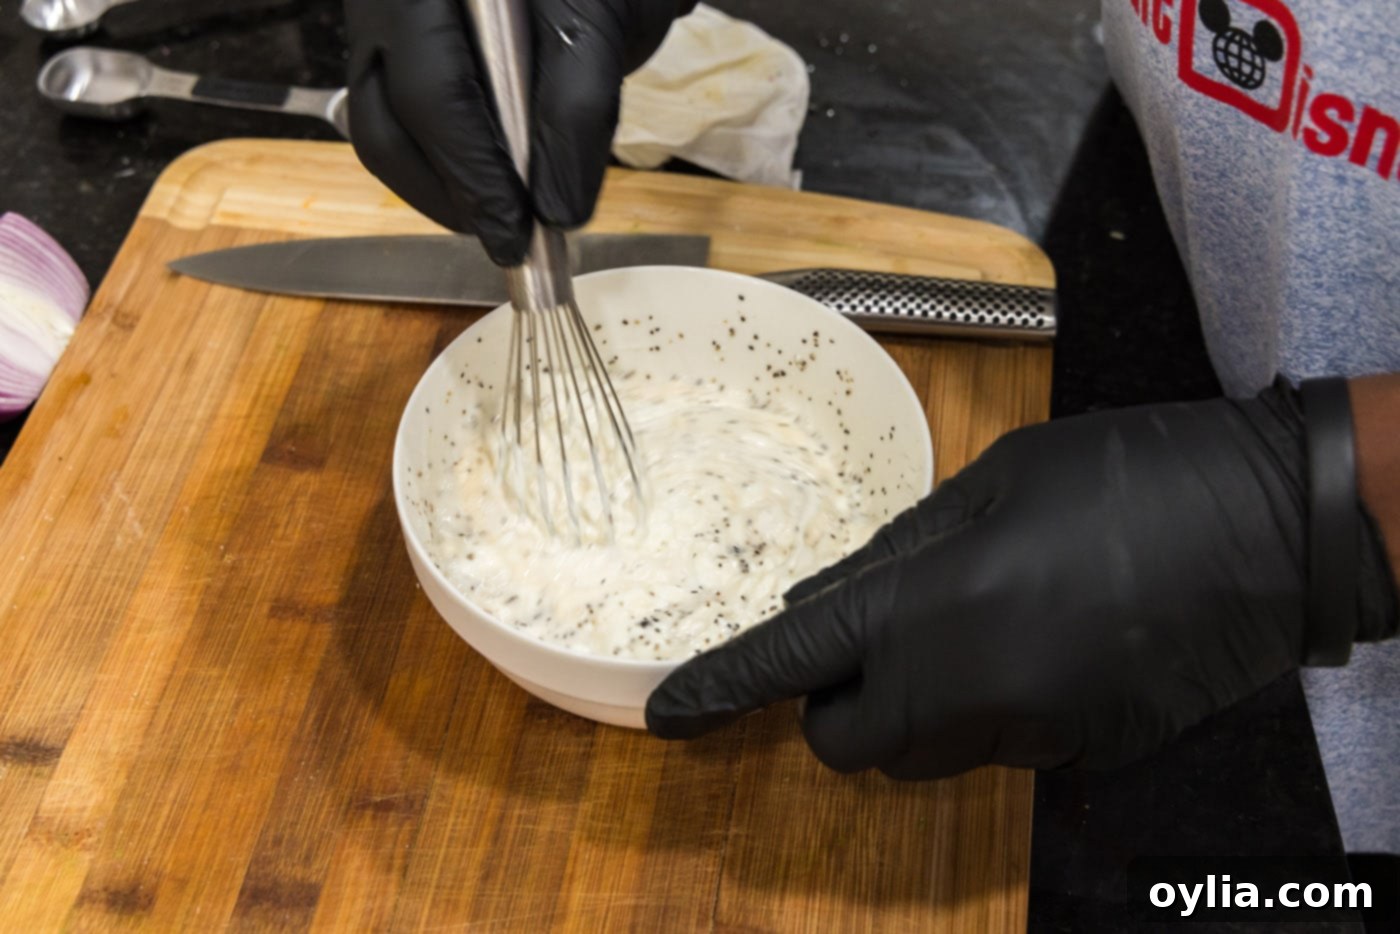
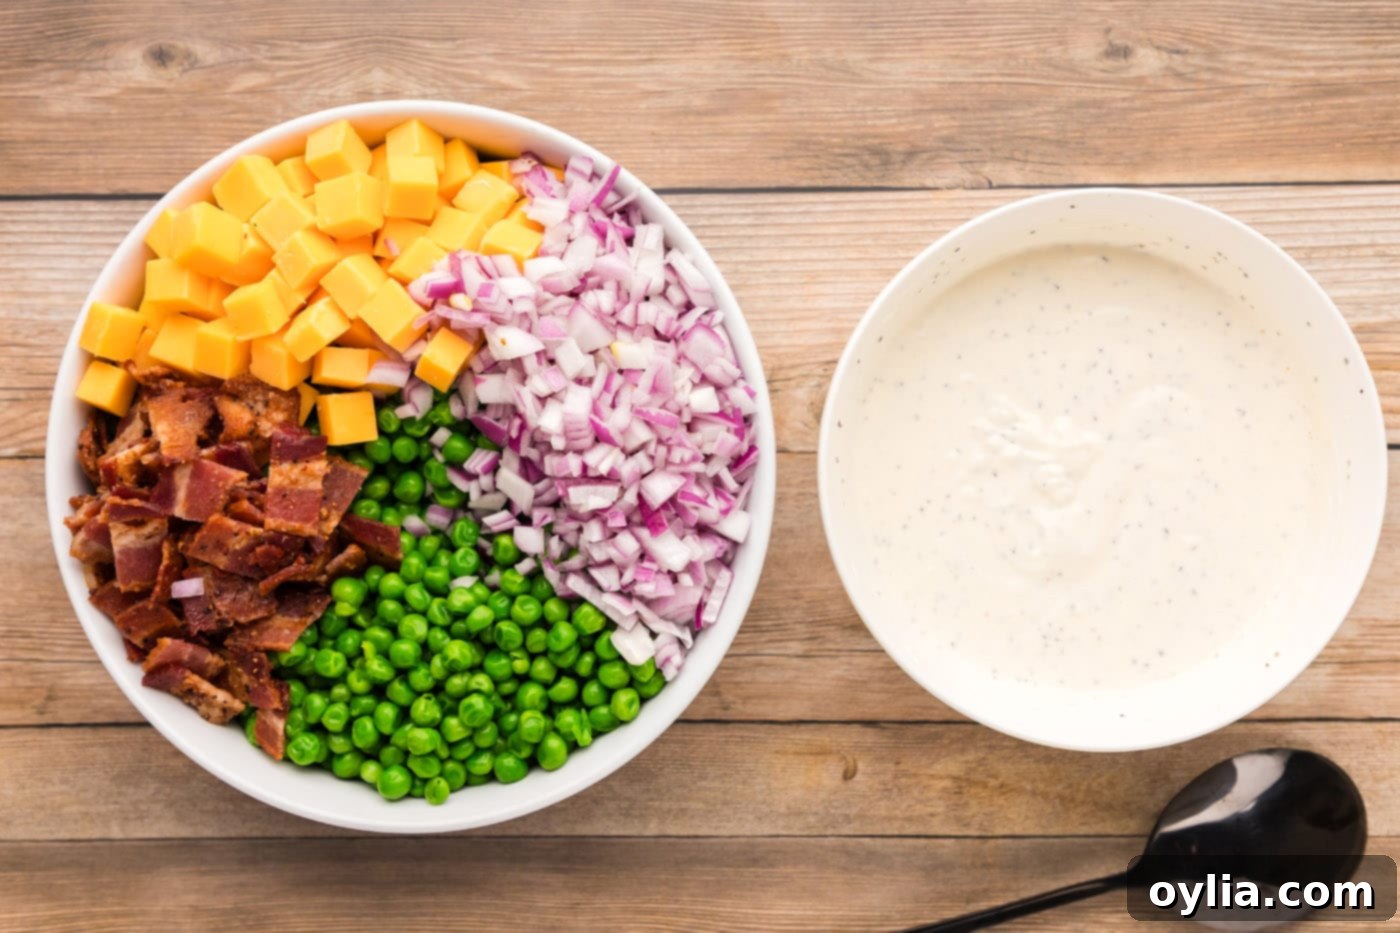
- **Prepare the Creamy Dressing:** Begin by preparing the luscious dressing that will bind all your delicious ingredients. In a medium-sized mixing bowl, combine the sour cream, mayonnaise, white vinegar, black pepper, salt, and sugar. Using a whisk, vigorously beat these ingredients together until the mixture is perfectly smooth, creamy, and all components are thoroughly incorporated. This forms the flavorful foundation of your pea salad.


- **Combine Solid Ingredients:** In a separate, generously sized large mixing bowl, carefully combine your thoroughly thawed frozen peas, finely diced red onion, the wonderfully crispy chopped bacon, and your perfectly cubed cheddar cheese. Give these ingredients a gentle toss to ensure they are evenly distributed, preparing them for the delicious dressing.

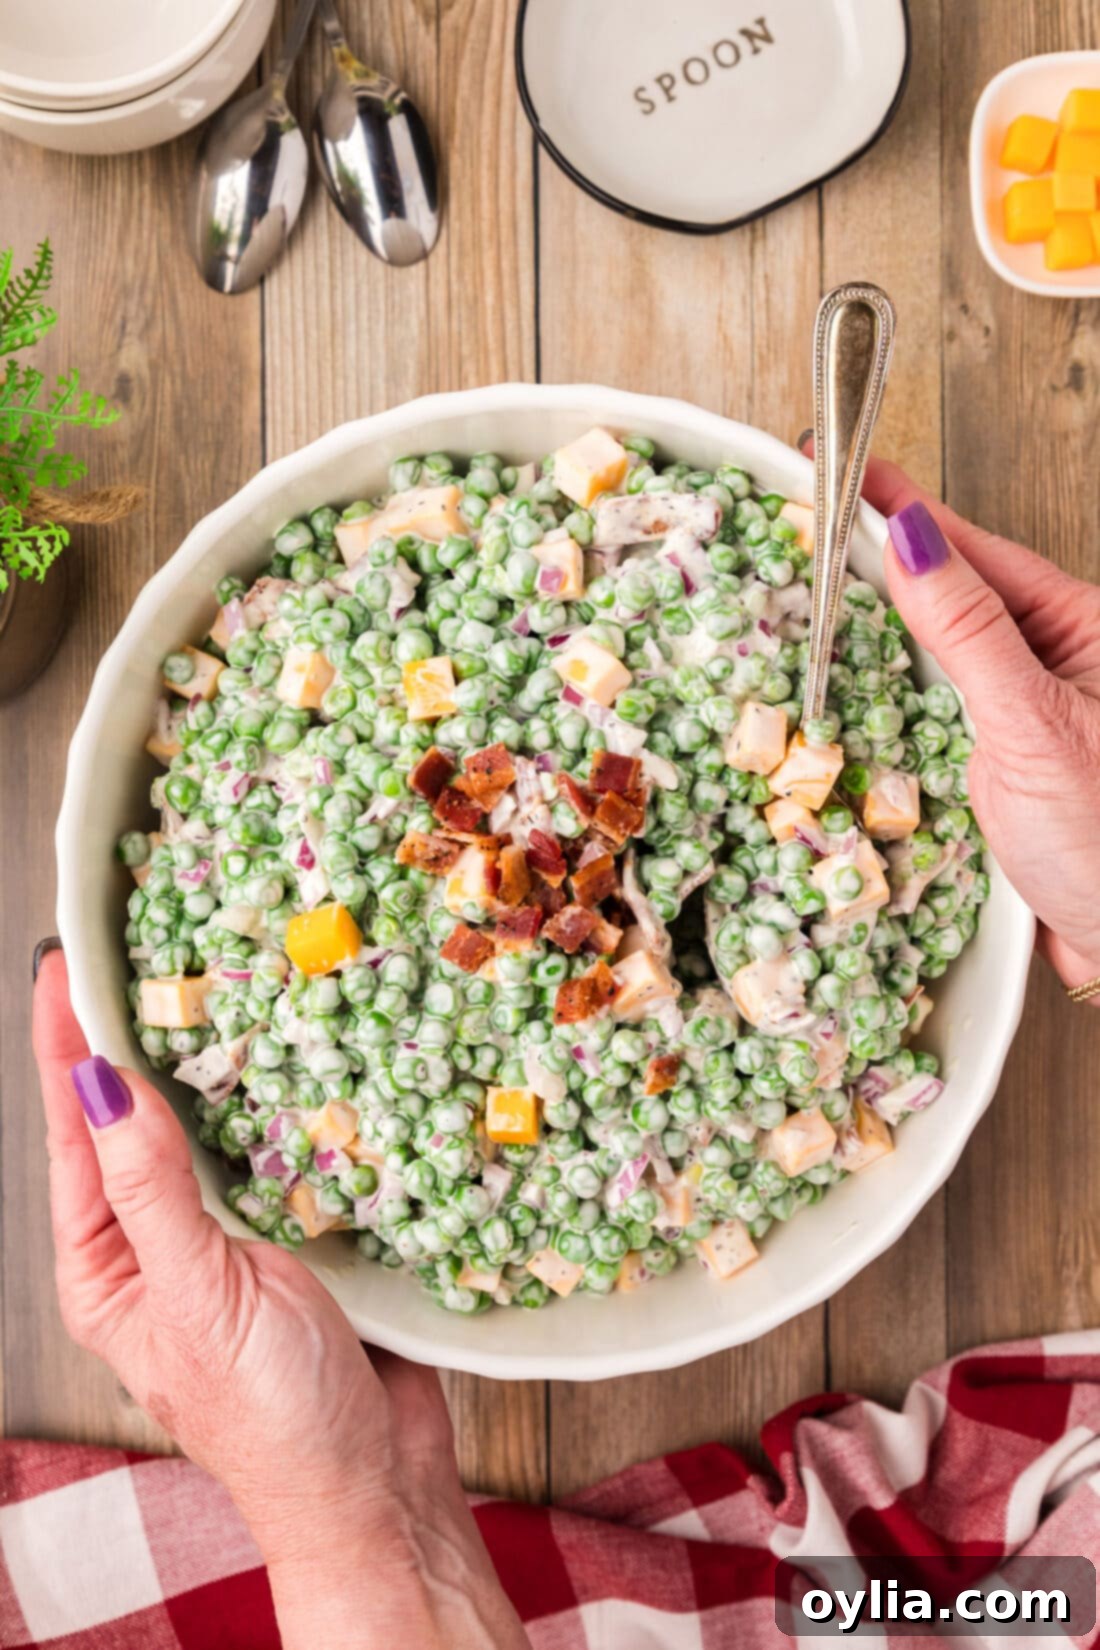
- **Dress the Salad:** Now, pour the freshly prepared creamy dressing over the mixed ingredients in the large bowl. Using a rubber spatula, gently fold everything together. The key to this step is gentleness; you want to ensure all the peas, bacon, onion, and cheese are beautifully coated with the dressing without crushing the delicate peas or breaking apart the cheddar cubes.
- **Chill and Serve:** Once thoroughly mixed and looking perfectly appetizing, cover the bowl tightly. You can use plastic wrap, aluminum foil, or a fitted lid. Transfer the covered bowl to the refrigerator and allow the pea salad to chill for a minimum of 2 hours. This crucial chilling time allows the flavors to deepen and meld, creating a more harmonious and delicious salad. Just before serving, give the salad one final, gentle stir to redistribute the ingredients and ensure every spoonful is perfect.
Frequently Asked Questions & Expert Tips for the Best Pea Salad
To ensure your pea salad remains as delicious as possible, store any leftovers in a clean, airtight container. Keep it diligently refrigerated, and it will maintain its optimal freshness and flavor for up to 4 days. Always remember to keep this mayonnaise-based salad chilled, especially if it’s part of an outdoor spread, to ensure food safety and enjoyment.
Absolutely! Pea salad is an exceptional make-ahead dish, making it a perfect choice for streamlining your meal preparation for parties, holidays, or any event. You can easily assemble this entire salad a day in advance, or even the night before you plan to serve it. Simply ensure it is tightly wrapped with plastic wrap or stored in a secure airtight container in the refrigerator. This allows ample time for all the incredible flavors to fully meld and deepen, often resulting in an even more flavorful salad the next day!
Unfortunately, freezing pea salad is strongly not recommended. The primary culprit is the mayonnaise-based dressing, which contains emulsions that tend to break down and separate when subjected to freezing temperatures and subsequent thawing. This process typically results in a watery, oily, and unappetizing consistency that significantly diminishes the salad’s palatability. Additionally, the delicate textures of the peas and cheese can become mushy and unpleasant after freezing. For the best experience, enjoy this salad fresh or after a good chill in the refrigerator.
While it’s technically possible to use canned peas, we wholeheartedly recommend sticking to frozen peas for this particular salad. Canned peas are typically much softer in texture and often have a different, less vibrant flavor profile due to the canning process. When incorporated and mixed with the other ingredients, they tend to break apart easily, leading to a mushy and less appealing texture rather than the desired firm, tender bite that frozen peas provide. Frozen peas truly excel here, retaining their crispness and natural sweetness, which are crucial for the best classic pea salad experience.
This creamy pea salad recipe is wonderfully adaptable and encourages customization! Feel free to experiment with additions to tailor it to your personal taste. Some popular and delicious variations include:
- **Hard-boiled eggs:** Chopped hard-boiled eggs add extra protein and a lovely creamy dimension.
- **Celery:** For an extra layer of crispness and a subtle, refreshing taste.
- **Water chestnuts:** If you crave even more crunch, finely diced water chestnuts are a fantastic addition.
- **Fresh herbs:** A sprinkle of fresh dill, chives, or parsley can significantly brighten the flavors and add a beautiful visual touch.
- **Crispy fried onions:** For a different kind of onion flavor and a delightful crunch, you can add these in addition to or instead of fresh red onion.
- **Sweet bell peppers:** Finely diced red or yellow bell peppers can add color and a mild, sweet crunch.
Don’t hesitate to experiment and discover your own perfect combination!
Chilling is absolutely paramount for this pea salad, and it’s a step you shouldn’t skip! While it might be tempting to serve it immediately, allowing the salad to chill for at least 2 hours (and ideally longer, even overnight) provides critical time for the flavors to meld and deepen beautifully. During this period, the peas absorb the tangy and savory notes from the dressing, the bacon’s smokiness permeates the entire dish, and the overall taste becomes much more harmonious, complex, and enjoyable. It also ensures the salad is served refreshingly cold, which is precisely how this type of creamy side dish is meant to be savored.
Delightful Serving Suggestions for Your Creamy Pea Salad
This classic creamy pea salad is an incredibly versatile and flavorful side dish that complements a wide array of main courses and other sides. Its refreshing crunch, creamy texture, and rich flavor make it particularly well-suited for heartier meals, especially during warmer weather or at festive gatherings. Here are some delightful ways to incorporate your freshly made pea salad into your next meal:
- **The Ultimate Potluck & BBQ Partner:** This salad is a quintessential addition to any potluck, picnic, or barbecue spread. Its vibrant colors and irresistible taste make it a natural fit alongside other beloved side dishes. Consider pairing it with Mom’s Best Potato Salad, a refreshing Broccoli Salad, or a crisp green salad for a varied and appealing buffet that everyone will adore.
- **Perfect with Grilled Meats:** The creamy tanginess of the pea salad beautifully cuts through the richness and smokiness of grilled meats. Serve it as a refreshing counterpoint to perfectly grilled chicken breasts, succulent BBQ ribs, classic hot dogs, juicy cheeseburgers, or colorful vegetable and meat skewers.
- **A Fantastic Sandwich & Slider Companion:** Elevate your casual meals by enjoying a generous scoop of pea salad alongside your favorite sandwiches. It pairs wonderfully with tender pulled pork sandwiches, savory turkey sliders, or even a classic deli sandwich, adding an extra layer of texture and a burst of creamy flavor.
- **Holiday Feasts:** Don’t reserve this gem just for summer! Pea salad makes an excellent, refreshing counterpoint to the often heavier dishes found at holiday meals, offering a light yet incredibly satisfying element that brightens the entire plate.
- **Picnics & Outdoor Events:** Easy to transport and a breeze to serve, pea salad is a true MVP for any outdoor dining occasion. Just remember to keep it well-chilled in a cooler until it’s time to enjoy, ensuring its crispness and refreshing qualities are at their peak.
For the absolute best taste and textural experience, always remember to serve your pea salad thoroughly chilled. The cold temperature significantly enhances its refreshing qualities and ensures every ingredient maintains its delightful structure.
Explore More Crowd-Pleasing Potluck Side Dish Recipes
If you’re looking to complete your meal, planning a large gathering, or simply in need of more fantastic, crowd-pleasing recipes for your next potluck, barbecue, or family get-together, we’ve got you covered. Dive into these other highly-rated side dish recipes that are sure to be a hit:
- Creamy & Classic Egg Salad
- Crunchy & Flavorful Broccoli Salad
- Easy & Delicious Tuna Pasta Salad
- Vibrant & Zesty Italian Pasta Salad
- Mom’s Best Homemade Potato Salad
- Nana’s Hearty Macaroni Salad
I absolutely adore spending time in the kitchen, experimenting with new flavors, and perfecting classic dishes to share with all of you! Remembering to come back each day for new inspiration can be tough, which is why I offer a convenient newsletter delivered straight to your inbox every time a fresh recipe is posted. Simply subscribe here and embark on a delicious journey of receiving your free daily recipes, designed to inspire your next culinary creation.
Classic Creamy Pea Salad with Bacon
IMPORTANT – There are often Frequently Asked Questions within the blog post that you may find helpful. Simply scroll back up to read them!
Print It
Pin It
Rate It
Save ItSaved!
Ingredients
- 24 ounces frozen peas (two 12-ounce bags, thoroughly thawed)
- ½ cup diced red onion
- 5 slices bacon (cooked until crispy, drained, and finely chopped)
- ½ cup cubed cheddar cheese (sharp or mild, for best texture)
Dressing
- ½ cup sour cream
- ½ cup mayonnaise
- 2 Tablespoons white vinegar (or apple cider vinegar)
- 2 teaspoons black pepper (freshly ground for best flavor)
- ½ Tablespoon table salt (adjust to taste)
- ½ Tablespoon sugar (to balance tanginess)
Things You’ll Need
-
Set of Mixing Bowls
-
Durable Whisk
-
Heat-Resistant Rubber Spatula
Before You Begin & Expert Tips
- For an enhanced tangy flavor profile in your dressing, consider substituting Miracle Whip for the regular mayonnaise.
- If white vinegar isn’t readily available, or if you prefer a slightly milder, fruitier tang, apple cider vinegar makes an excellent and equally effective substitute.
- It’s crucial that your frozen peas are completely thawed before you incorporate them into the salad. To speed up this process, you can easily rinse them under cold running water in a colander until they are fully defrosted.
- The crispiness of the bacon is key to the delightful texture of this salad! Ensure your bacon is cooked until perfectly crisp, then meticulously drain it of any excess fat before chopping. For a cleaner, less messy method, consider cooking your bacon in the oven or an air fryer.
- Cubed cheese offers a superior texture and more distinct cheesy bites compared to shredded cheese. Opt for good quality sharp or mild cheddar cubes for the best results and visual appeal.
- This pea salad is a fantastic make-ahead dish, perfect for parties or events. You can prepare it up to 24 hours in advance and store it tightly covered in the refrigerator. The flavors will beautifully deepen and meld overnight.
- Store any leftover pea salad in a sealed, airtight container in the refrigerator for up to 4 days, ensuring it remains fresh and delicious.
- If the flavor of raw red onion is too strong for your preference, a simple trick is to soak the diced onion in cold water for 10-15 minutes. Drain thoroughly before adding it to the salad to mellow its pungency.
- For an extra layer of visual appeal and a burst of fresh flavor, consider garnishing your finished pea salad with a sprinkle of fresh chopped parsley, chives, or even a dusting of paprika just before serving.
Instructions
-
In a medium bowl, whisk together the sour cream, mayonnaise, white vinegar, black pepper, salt, and sugar until the dressing is perfectly smooth and all ingredients are evenly combined.
-
In a large bowl, combine the thoroughly thawed peas, finely diced red onion, crispy chopped bacon, and cubed cheddar cheese. Toss these ingredients gently to ensure an even distribution.
-
Pour the prepared creamy dressing over the mixture in the large bowl. Using a rubber spatula, carefully fold all ingredients together until everything is well-coated with the luscious dressing, being mindful not to crush the peas or break the cheese.
-
Cover the bowl tightly with plastic wrap, aluminum foil, or a fitted lid. Chill the salad in the refrigerator for at least 2 hours. This crucial chilling period allows the flavors to deepen and meld beautifully. Before serving, give it one final gentle stir.
Nutrition Information (Per Serving)
The recipes on this blog are tested with a conventional gas oven and gas stovetop. It’s important to note that some ovens, especially as they age, can cook and bake inconsistently. Using an inexpensive oven thermometer can assure you that your oven is truly heating to the proper temperature. If you use a toaster oven or countertop oven, please keep in mind that they may not distribute heat the same as a conventional full sized oven and you may need to adjust your cooking/baking times. In the case of recipes made with a pressure cooker, air fryer, slow cooker, or other appliance, a link to the appliances we use is listed within each respective recipe. For baking recipes where measurements are given by weight, please note that results may not be the same if cups are used instead, and we can’t guarantee success with that method.
