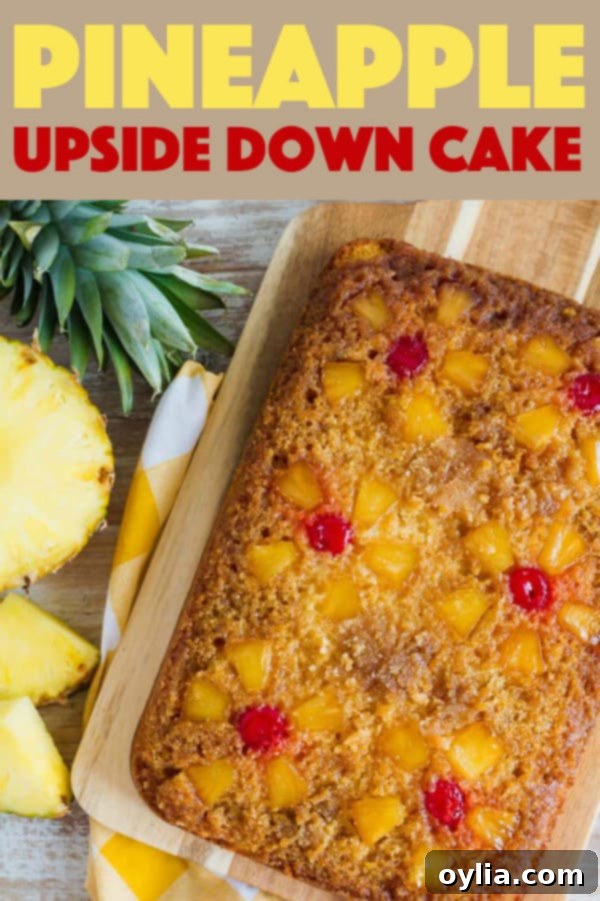
The Ultimate Classic Pineapple Upside Down Cake: A Timeless Family Favorite Recipe
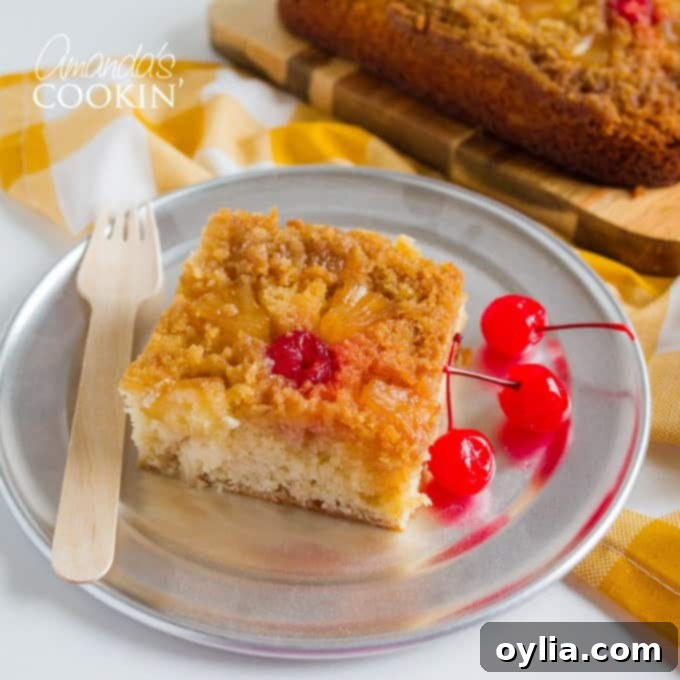
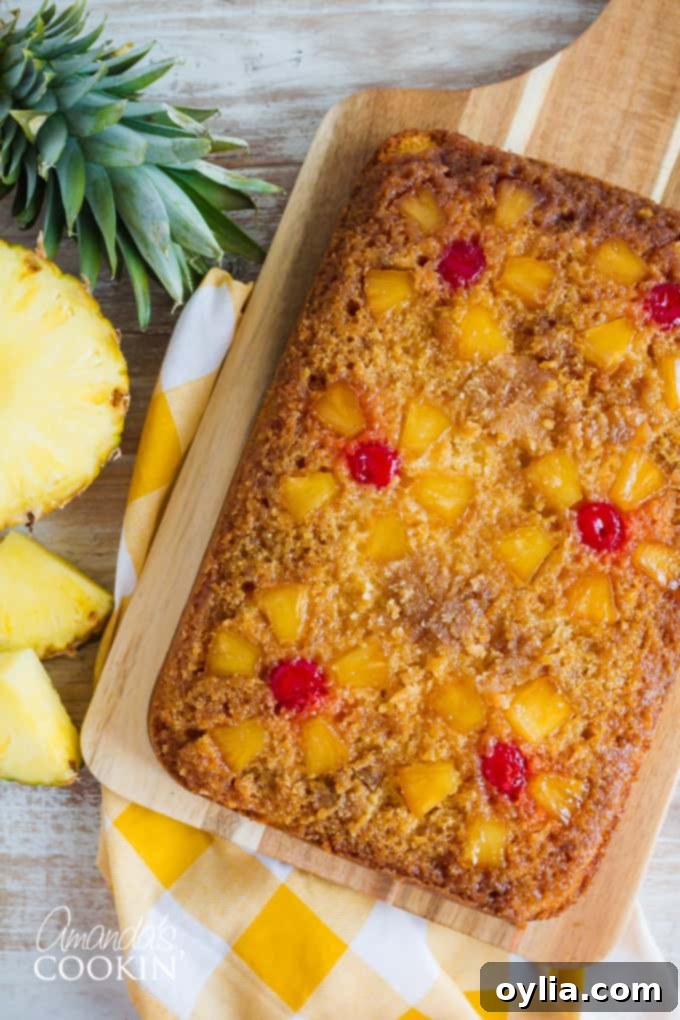
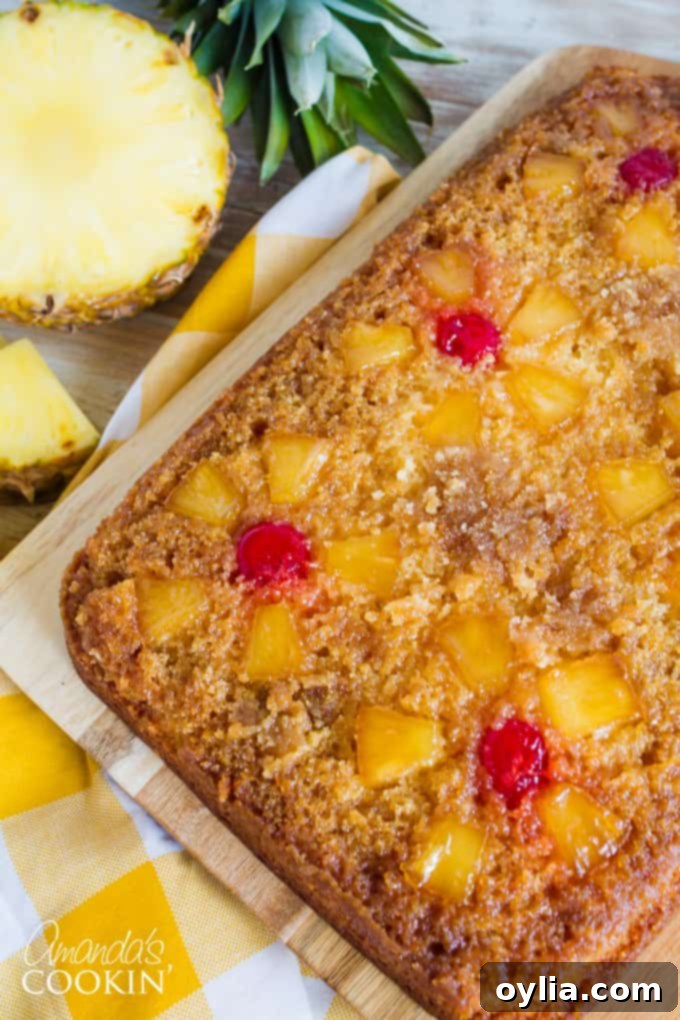
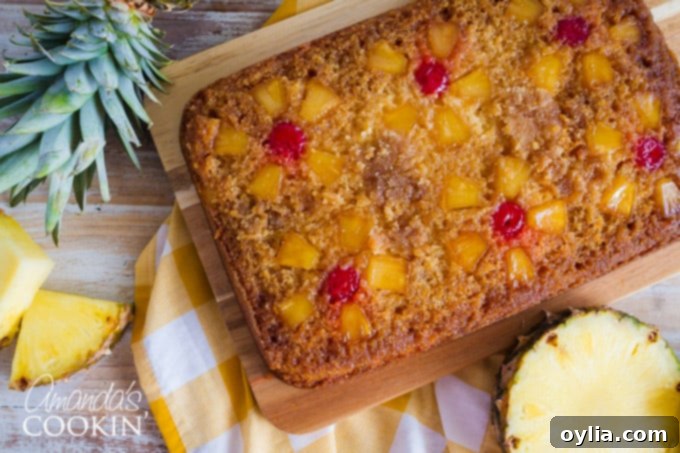
Prepare to fall in love with this classic pineapple upside down cake! It’s a cherished family recipe, renowned for its perfectly moist yellow cake base and an irresistible buttery brown sugar topping, adorned with succulent pineapple and bright maraschino cherries. Each slice offers a delightful contrast: moist and tender on the inside, wonderfully sweet on top, and boasting a slight crunch around the edges. This is truly dessert perfection, just the way a classic should be!
Why This Pineapple Upside Down Cake is a Beloved Classic
This particular cake recipe for pineapple upside down cake has been a staple in my kitchen for longer than I can remember. Its enduring popularity stems from its comforting familiarity and consistently delicious results. The beauty of an upside-down cake lies in its effortless elegance; the topping bakes directly onto the bottom of the pan, then becomes the glorious top once inverted. It’s a true showstopper without any complicated frosting or decorating required.
I’ve actually shared a version of this recipe before, highlighting how versatile it is, especially when prepared as a cake in a cast iron skillet. That method yields two charming skillet cakes, perfect for smaller gatherings or a cozy dessert. However, this recipe is incredibly adaptable, easily scaling up to produce one larger, impressive cake using a standard 13×9 baking pan, ideal for family celebrations or holiday feasts.
Crafting the Perfect Topping: Pan Pointers
One key observation I’ve made over my many years of baking this pineapple cake is how the choice of baking pan can influence the final result, particularly concerning the luscious buttery topping. During my last bake, using a glass pan, I noticed an overabundance of butter that actually dribbled out of the pan after I inverted the cake. While delicious, it was a bit messier than usual.
When I use a metal pan, this excess butter issue typically doesn’t occur. Metal pans tend to conduct heat more evenly and can absorb some of the butter, resulting in a perfectly caramelized topping without any overflow. If you plan to use a glass pan, which can retain heat more intensely, I recommend reducing the amount of butter in the topping by a couple of tablespoons when melting it in the oven. This small adjustment can prevent a buttery overflow and ensure your cake remains perfectly contained and beautiful. Always keep an eye on your cake, as oven temperatures can vary.
More Pineapple Delights You’ll Love
If you’re a devoted fan of pineapple, then you’re in for a treat! Beyond this classic, we have an array of super popular pineapple-infused recipes that are just as delightful and easy to make. Be sure to explore these other fantastic options to satisfy your pineapple cravings:
- Our exceptionally popular Pineapple Upside Down Cake in Cast Iron Skillet, a charming and rustic alternative.
- The incredibly simple and satisfying Pineapple Dump Cake, perfect for a quick and delicious dessert.
- A dreamy and refreshing Pineapple Dream dessert, ideal for warmer weather.
- Adorable Mini Pineapple Upside Down Cakes, great for individual servings or party treats.
- And of course, my all-time favorite, a classic Pineapple Cake!
The Role of Cooking Spray in Achieving Perfection
Ensuring your cake doesn’t stick to the pan is crucial for a beautiful presentation. The fine folks at Pam Cooking Spray recently asked me to try out their new formula. Naturally, I decided to test it with this very recipe, by generously spraying the pan before adding any other ingredients. Traditionally, I’ve relied solely on the melted butter in the topping to prevent sticking, believing it would do the job. However, I often found myself gently coaxing a few stubborn pieces of fruit off the pan after inversion.
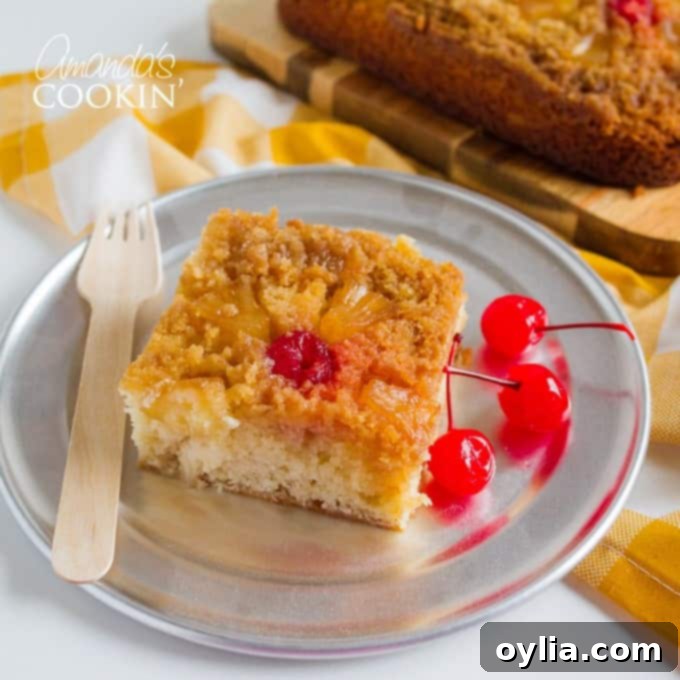
I was pleasantly surprised by the results after using the cooking spray. Absolutely nothing stuck! The cake inverted beautifully and flawlessly onto the serving platter, leaving behind a perfectly intact, vibrant pineapple and cherry topping. This small extra step truly makes a difference in ensuring a picture-perfect pineapple upside down cake every time. It’s a simple trick that eliminates any worries about your beautiful creation adhering to the pan.
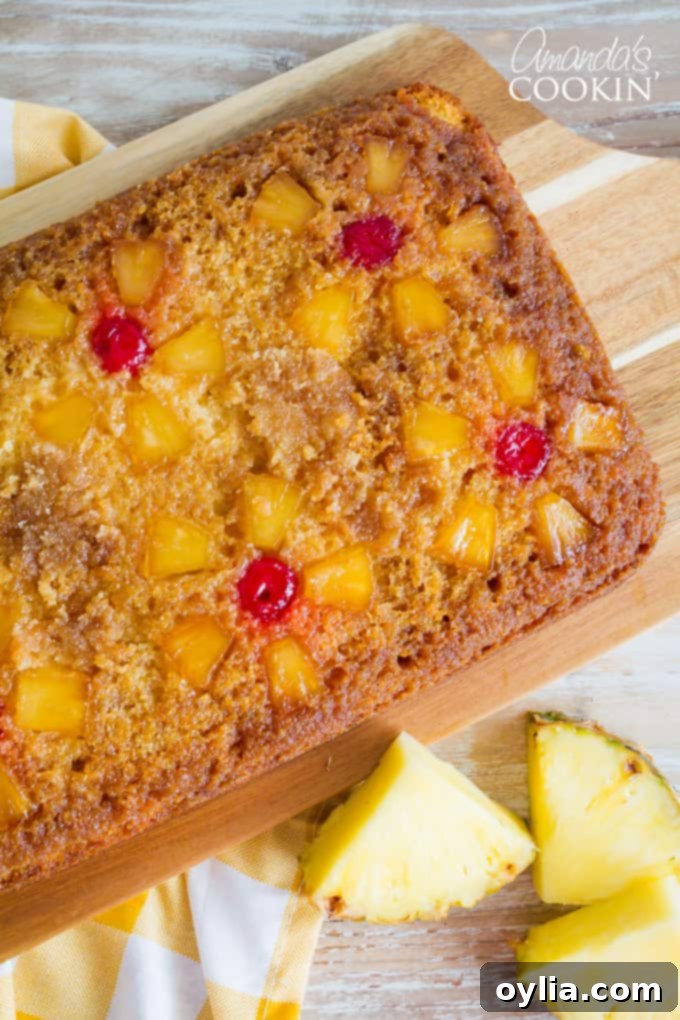
You can find the full printable version of this classic Pineapple Upside Down Cake recipe, along with detailed instructions, at the end of this post!
Essential Ingredients for Your Pineapple Upside Down Cake
Gathering all your ingredients before you begin is key to a smooth baking process. This recipe calls for a balance of pantry staples and fresh additions to create both the rich, moist cake and the dazzling caramelized topping. Here’s what you’ll need to make this incredible dessert:
Cake Batter:
- 2 1/4 cups cake flour
- 1 1/2 cups sugar
- 1/4 cup shortening
- 1/2 cup cold unsalted butter, cut into thin slices (essential for texture!)
- 3/4 cup milk
- 3 large eggs
- 2 1/2 teaspoons baking powder
- 1 teaspoon salt
- 1 1/2 teaspoons vanilla extract (for that warm, inviting flavor)
Topping:
- 1/2 cup unsalted butter, melted
- 2 cups packed brown sugar (the secret to deep caramelization)
- 1 15-oz can pineapple chunks (drained, but save that juice for later!)
- Maraschino cherries (for a pop of color and extra sweetness)
Helpful Kitchen Tools to Make Baking a Breeze
Having the right tools on hand can significantly simplify the baking process and ensure your pineapple upside down cake turns out perfectly. These are the essential items I recommend for this recipe:
- 13×9 baking pan: The ideal size for this family-sized cake.
- Stand mixer or hand mixer: To effortlessly combine your cake batter ingredients.
- Measuring cups and spoons: For accurate ingredient proportions.
- Cutting board: Essential for the inversion step.
Mastering the Batter: Tips for Success
To help guide you through each step of this delightful recipe, I’ve put together a video demonstrating the process. It’s always best practice to have all your ingredients measured out and ready to go – a concept known as “mise en place.” Drain your pineapple chunks ahead of time, and while your butter is melting in the oven for the topping, you can start mixing up the cake batter.
FAIR WARNING – I am by no means a professional videographer! There’s a moment in the video where I accidentally overlapped the end of a segment, and another where my camera hand wandered off to show the mixing bowl instead of the pan as I was adding the brown sugar. Haha! So feel free to have a laugh at my amateur video abilities, but rest assured, the instructions themselves are foolproof!
Perfect for Any Occasion: Easter, Thanksgiving, and Beyond
This pineapple upside down cake is more than just a dessert; it’s a celebration. It’s the perfect choice for festive occasions like Easter or Thanksgiving, offering a refreshing alternative to traditional pies. Its vibrant presentation and sweet, tangy flavor profile make it a standout on any holiday dessert table. It’s a classic, yes, but one that never fails to impress and delight guests of all ages. Whether you’re gathering for a holiday, a family reunion, or just a simple weekend treat, this cake fits the bill perfectly.

More Festive Dessert Ideas
Looking for even more delightful Easter dessert ideas? We’ve got you covered with a selection of recipes perfect for springtime celebrations and beyond. From elegant trifles to playful cupcakes, these desserts are sure to bring joy to your table:
- Carrot Cake Trifle: Layers of deliciousness in a stunning presentation.
- Easter Chick Cupcakes: Adorable and fun for the kids (and adults!).
- Rice Krispie Nests: A simple, no-bake treat that’s always a hit.
- Checkerboard Cake for Easter: A visually impressive cake that’s surprisingly easy to make.
- Frosted Sugar Cookie Bars: Soft, chewy, and topped with a sweet frosting.
- Homemade French Silk Pie: Rich and decadent, a true classic.
Pineapple Upside Down Cake
IMPORTANT – There are often Frequently Asked Questions within the blog post that you may find helpful. Simply scroll back up to read them!
Print It
Pin It
Rate It
Save It
Saved!
Ingredients
Cake batter:
- 2 ¼ cups cake flour
- 1 ½ cups sugar
- ¼ cup shortening
- ½ cup unsalted butter cold, cut into thin slices
- ¾ cup milk
- 3 large eggs
- 2 ½ teaspoons baking powder
- 1 teaspoon salt
- 1 ½ teaspoons vanilla extract
Topping:
- ½ cup unsalted butter
- 2 cups brown sugar packed
- 15 oz pineapple chunks canned
- 6 oz maraschino cherries jarred
Instructions
-
Preheat your oven to 375 degrees Fahrenheit and position a rack in the center. Liberally spray a 13×9 inch baking pan with Pam Cooking Spray or your preferred non-stick spray. This crucial step helps ensure the fruit topping doesn’t stick.
-
Begin by preparing the topping. Place 1/2 cup of unsalted butter directly into the prepared baking pan. Place the pan in the preheated oven for just a few minutes until the butter is completely melted. Watch it carefully to prevent burning.
-
Carefully remove the hot pan from the oven. Evenly sprinkle 2 cups of packed brown sugar over the melted butter. Next, thoroughly drain the pineapple chunks, reserving the juice if you plan to store any leftovers.
-
Arrange the drained pineapple chunks on top of the brown sugar. You can create attractive “flowers” by arranging 5-6 chunks in a circle. Place a bright maraschino cherry in the center of each pineapple flower. A 13×9 inch pan typically accommodates about 6 such flower arrangements.
-
Now, prepare the cake batter. In a stand mixer bowl (or a large bowl with a hand mixer), combine all the cake batter ingredients. Mix on low speed for about 30 seconds to just incorporate everything, then increase the speed to medium and mix for a full 5 minutes. Remember to occasionally scrape down the sides of the bowl to ensure all ingredients are well combined.
-
Don’t be concerned if you notice a few small bits of butter still visible in the batter; this is perfectly normal for this recipe and will not affect the cake’s beautifully moist texture once baked!
-
With care and relative quickness, gently pour the prepared cake batter over the pineapple and cherry topping in the pan. Distribute the batter evenly, moving around the pan as you pour to avoid displacing any of the fruit arrangements below. A gentle touch here is key to maintaining your beautiful design.
-
Bake the cake for 35-40 minutes. You’ll know it’s ready when the sides are bubbly and the top has turned a lovely golden brown. Once baked, remove the pan from the oven and let it cool on a wire rack for precisely 10 minutes. This cooling period is vital for the topping to set properly.
-
After 10 minutes, place a sturdy, flat cutting board or serving platter upside down over the baking pan. Using oven mitts for protection, firmly invert the pan onto the board. Lift the pan carefully. If any of the luscious topping or fruit sticks to the pan, don’t worry! Simply use an icing spatula to gently scoop it up and patch any bare spots on top of your magnificent cake. Serve warm or at room temperature.
Nutrition
The recipes on this blog are tested with a conventional gas oven and gas stovetop. It’s important to note that some ovens, especially as they age, can cook and bake inconsistently. Using an inexpensive oven thermometer can assure you that your oven is truly heating to the proper temperature. If you use a toaster oven or countertop oven, please keep in mind that they may not distribute heat the same as a conventional full sized oven and you may need to adjust your cooking/baking times. In the case of recipes made with a pressure cooker, air fryer, slow cooker, or other appliance, a link to the appliances we use is listed within each respective recipe. For baking recipes where measurements are given by weight, please note that results may not be the same if cups are used instead, and we can’t guarantee success with that method.
This post was originally published on this blog on Oct. 3, 2011, and has been updated to provide even more helpful tips and details for baking the perfect Pineapple Upside Down Cake.
