Easy Pizza Sliders: Your Ultimate Guide to Cheesy, Irresistible Mini Pizzas on a Bun
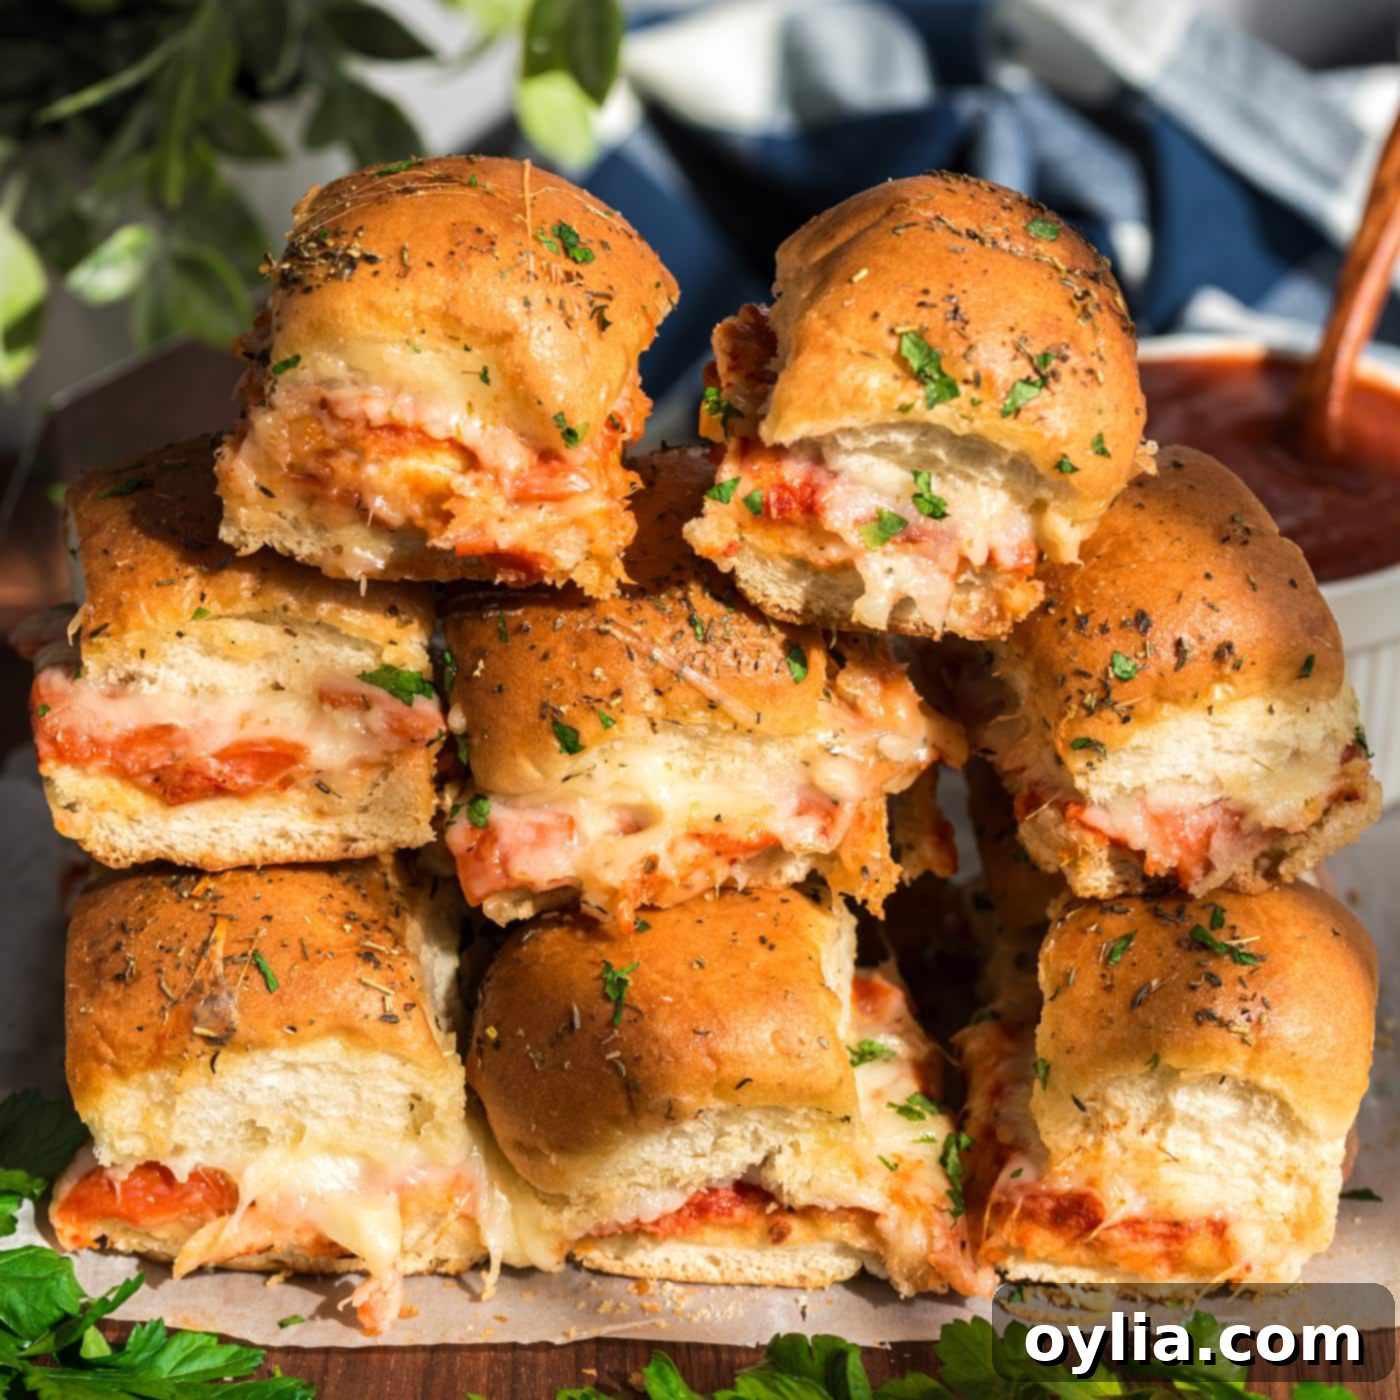
Prepare for an explosion of flavor with these incredible pizza sliders! Nestled between soft, buttery dinner rolls, each bite-sized pizza is generously loaded with your favorite savory toppings and layers of gooey, melted mozzarella cheese. This recipe isn’t just a snack; it’s a massive hit designed to please everyone at any gathering, from lively game days to casual family dinners and festive parties. Simple to assemble and utterly delicious, these pizza sliders are guaranteed to become a go-to favorite in your recipe collection.
Why These Pizza Sliders Are an Instant Hit: Unbeatable Ease and Flavor
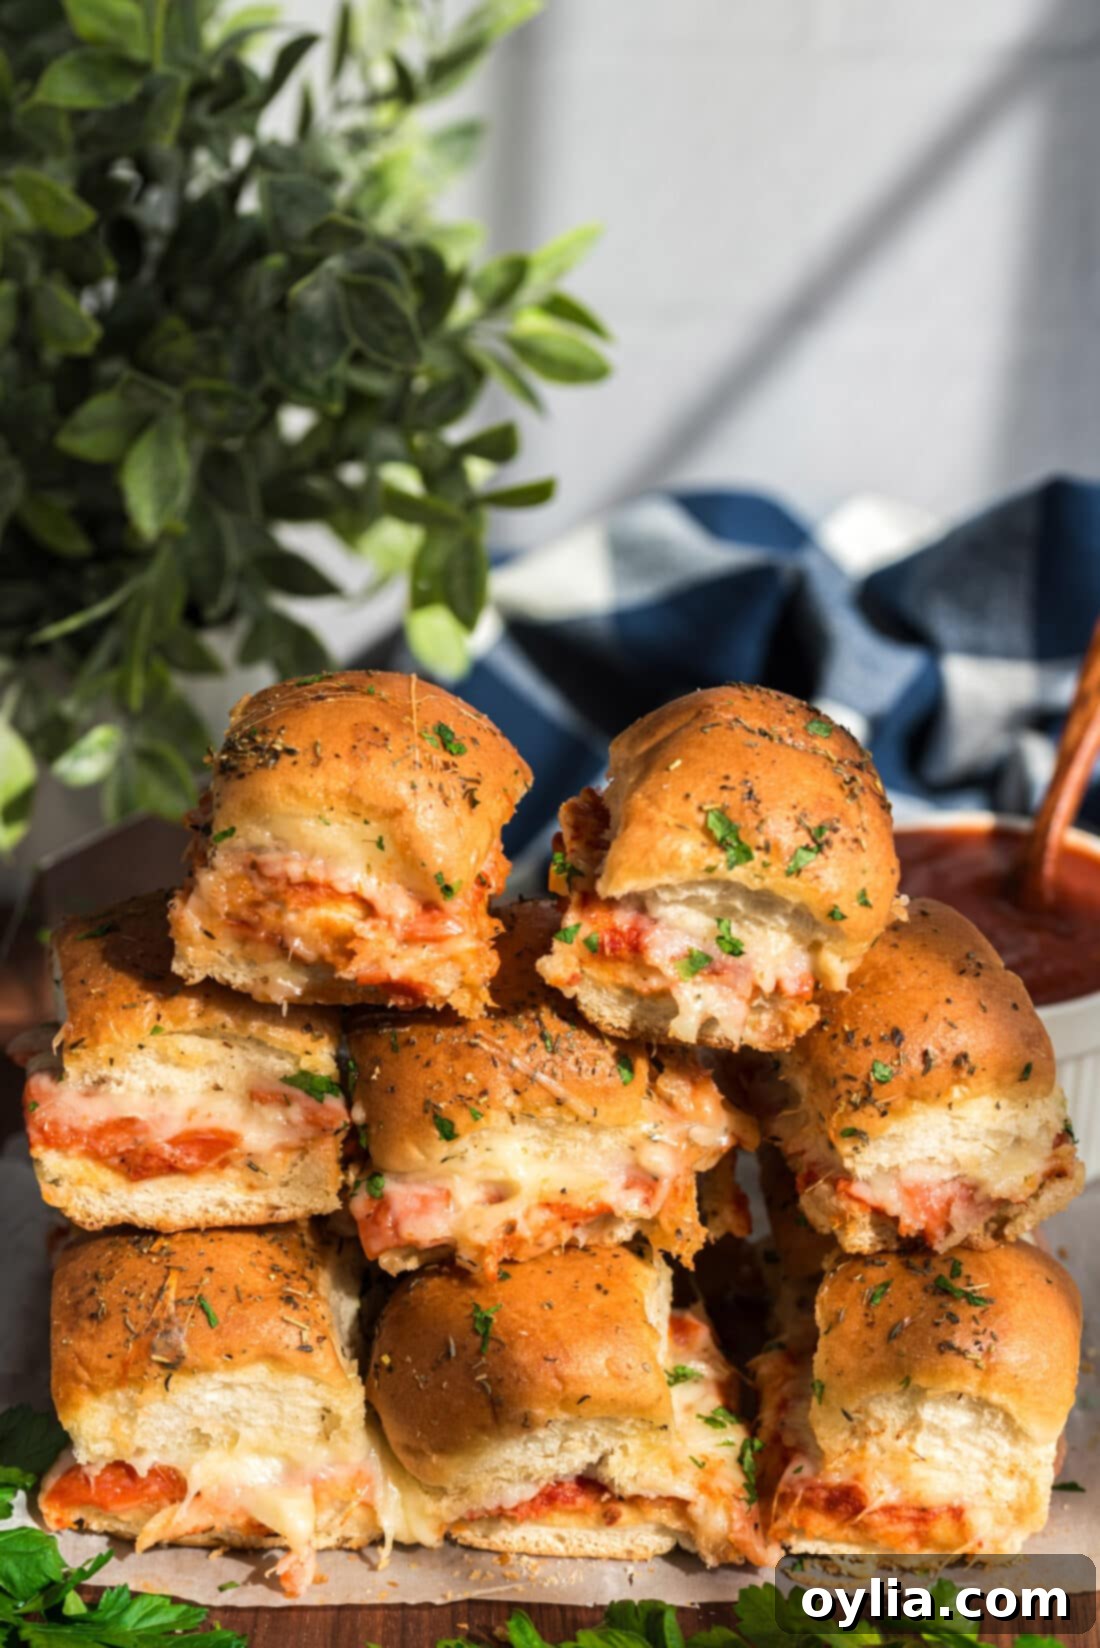
Pizza sliders stand out as one of the quickest, easiest, and most satisfying hot appetizers you can whip up, making them perfect for any occasion – be it a lively party, an exciting game day, or simply whenever a craving for a bite-sized pizza snack strikes. Their widespread appeal lies in their incredible simplicity and customizable nature. The process is straightforward: start with soft dinner rolls, layer them with your favorite pizza sauce, pile on a generous amount of savory toppings like pepperoni, blanket everything with melty mozzarella cheese, brush the tops with a seasoned buttery glaze, then bake until they’re golden brown and bubbly. That’s truly all there is to achieving these irresistible mini masterpieces!
What makes this recipe truly shine is its versatility. You’re not just making food; you’re creating a customizable experience. Each slider can be a miniature canvas for different flavors, catering to various tastes and dietary preferences. They require minimal active cooking time, making them ideal for busy hosts or those seeking a fuss-free meal. Plus, the combination of warm, soft bread, tangy sauce, savory fillings, and gooey cheese is universally loved, guaranteeing smiles all around. Let’s dive into creating these delightful pizza sliders!
Gather Your Ingredients for the Best Pizza Sliders
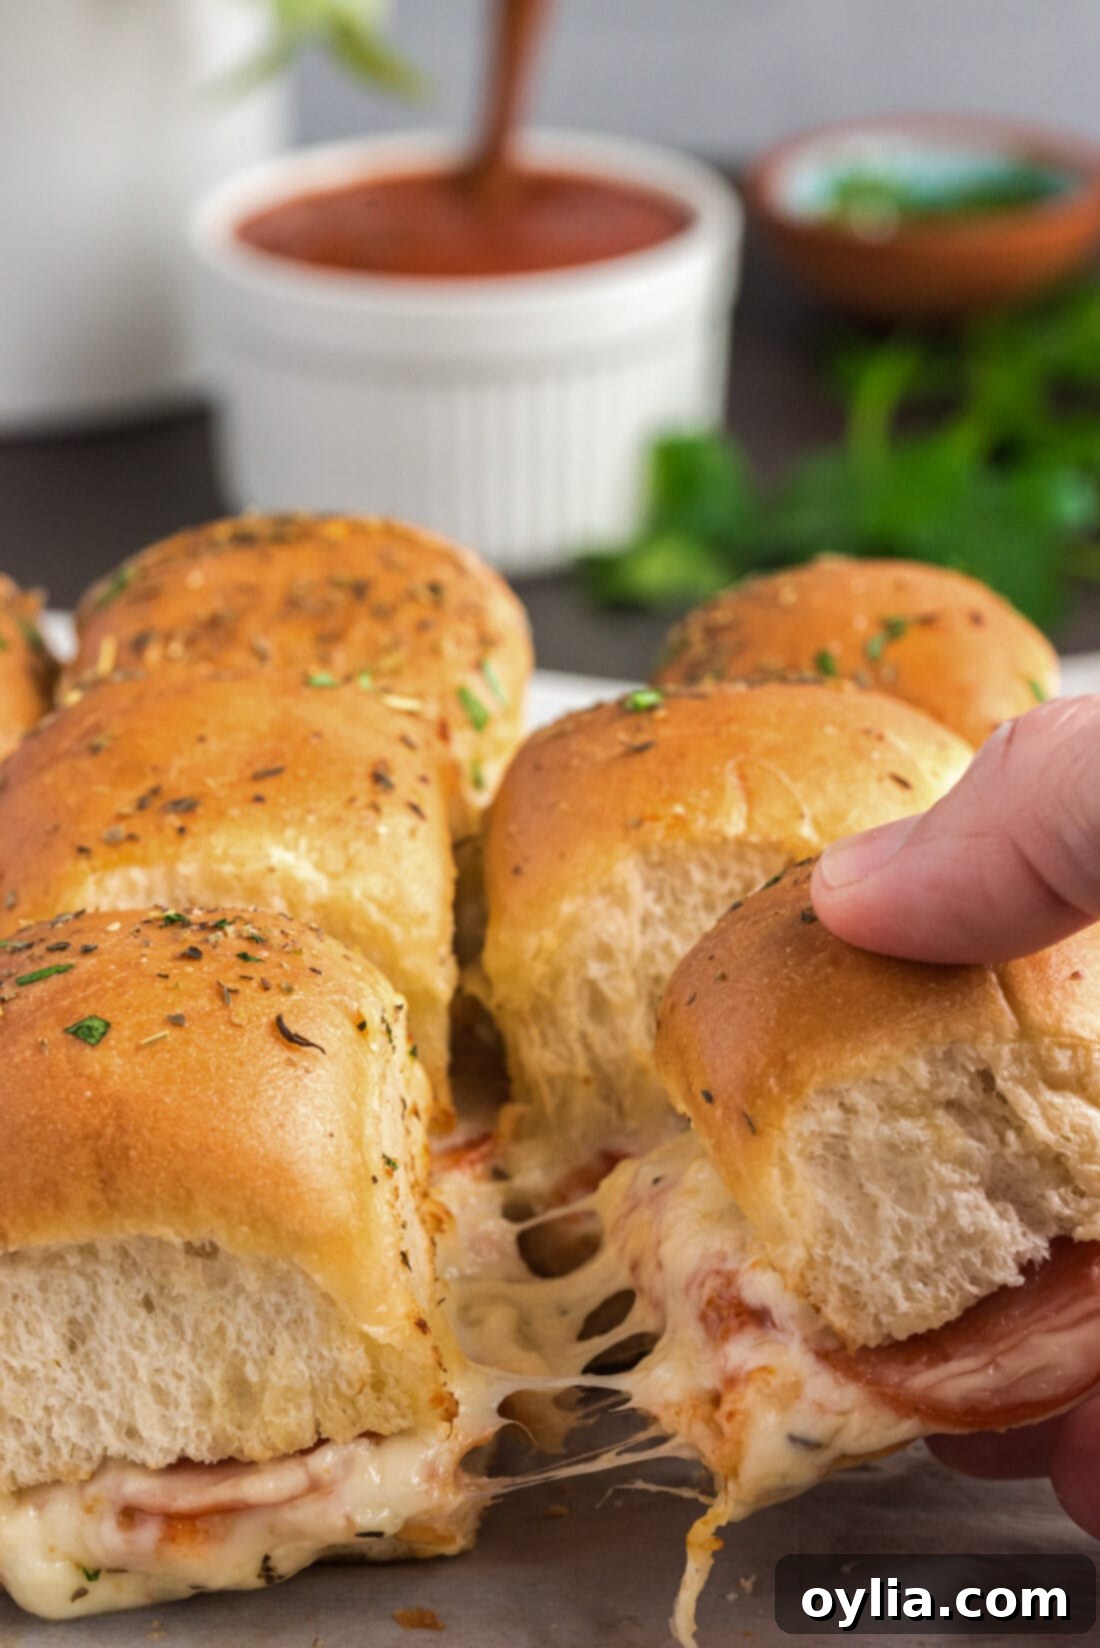
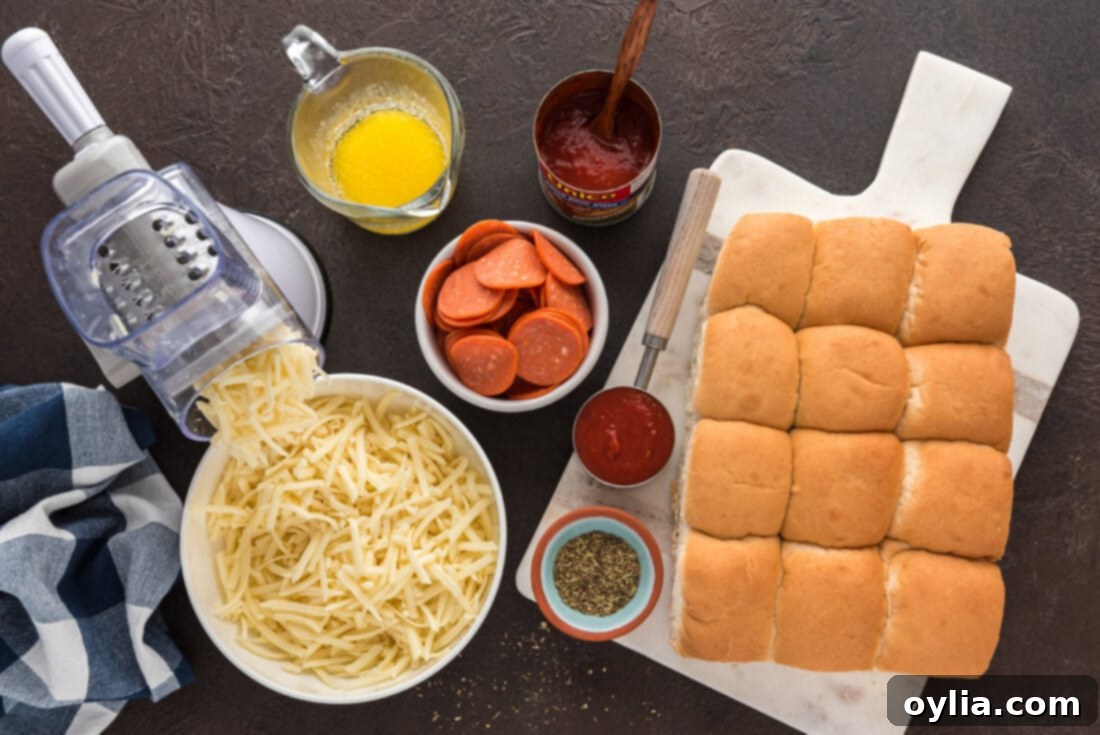
To embark on this delicious journey, you’ll need a handful of simple ingredients, most of which you likely already have in your pantry or can easily find at any grocery store. For precise measurements, detailed quantities, and comprehensive instructions, please refer to the convenient printable recipe card located at the very end of this post. This ensures you have all the specifics at your fingertips for a perfect batch of pizza sliders every time.
Ingredient Spotlight: Tips, Tricks, and Tasty Substitutions
Let’s dive deeper into the key ingredients for these irresistible pizza sliders, along with some fantastic substitution suggestions to help you customize them to your heart’s content and ensure you can always make them, no matter what’s in your pantry.
SLIDERS – The foundation of any great slider is a soft, flavorful bun. For these pizza sliders, you have excellent options. Classic slider buns offer a neutral canvas, allowing the pizza flavors to truly shine. However, we highly recommend using Hawaiian rolls for an added touch of subtle sweetness that beautifully complements the savory pizza toppings. The slight sweetness of Hawaiian rolls creates a delightful sweet and savory balance that many find irresistible. For those who love a baking project and truly want to elevate their sliders, consider making your own homemade Hawaiian rolls – they’re an even better option for unparalleled freshness and flavor. Other great choices include brioche buns for a richer, buttery taste or potato rolls for an extra soft texture.
SAUCE – The heart of any pizza is its sauce! Here at Amanda’s Cookin’, we’re particularly fond of our rich and vibrant homemade pizza sauce. Crafting your own allows you to control the freshness and depth of flavor, making a noticeable difference. However, we understand that time is often a luxury. If you’re looking to save a little extra time without compromising on taste, any high-quality store-bought pizza sauce will absolutely do the trick. You can also experiment with marinara sauce for a slightly different herby profile, or even a zesty garlic parmesan sauce for an added kick.
CHEESE – What’s pizza without gooey, stretchy, melted cheese? Both shredded and sliced mozzarella cheese work wonderfully for this recipe. While pre-shredded cheese is convenient, for the absolute best results – meaning extra melty, incredibly delicious, and smooth cheese pull – we strongly recommend shredding your mozzarella cheese straight from the block. Block mozzarella melts more uniformly and has a richer texture. Feel free to mix things up by adding a blend of cheeses like provolone for an extra sharp flavor, or a sprinkle of Monterey Jack for even more meltiness. A dash of grated Parmesan cheese on top just before serving can also add a salty, umami finish.
ADDITIONS & TOPPINGS – This is where you can truly make these pizza sliders your own! While pepperoni is a classic choice, don’t limit yourself. You can easily substitute pepperoni with our savory homemade pizza sausage, or even combine both for a meat lover’s dream. The possibilities don’t stop there! Incorporate your favorite pizza vegetables such as vibrant green peppers, earthy mushrooms, sweet onions, or briny black olives. For a unique twist, consider adding chopped ham, cooked bacon bits, or even sliced jalapeños for a spicy kick. If you plan on adding any fresh vegetables, we highly recommend quickly sautéing them beforehand. This ensures they are perfectly cooked through and tender when the sliders come out of the oven, preventing a watery or undercooked texture. The same preparation applies to any raw meat additions, such as sausage; crumble and cook it partially or fully before layering it onto the sliders to ensure proper doneness and safety.
How to Assemble and Bake Irresistible Pizza Sliders
These step-by-step photos and detailed instructions are here to guide you visually through the process of making this incredibly satisfying recipe. For a quick reference or to get the full printable version of this recipe, complete with precise measurements and comprehensive instructions, you can Jump to Recipe at the bottom of this page. Get ready to create some magic!
- Preheat your oven to a welcoming 350°F (175°C) and generously grease a 13×9 inch baking dish to ensure no sticky surprises.
- Melt the butter in a small saucepan over medium heat until it’s liquid gold, or simply pop it into the microwave for a quick melt.
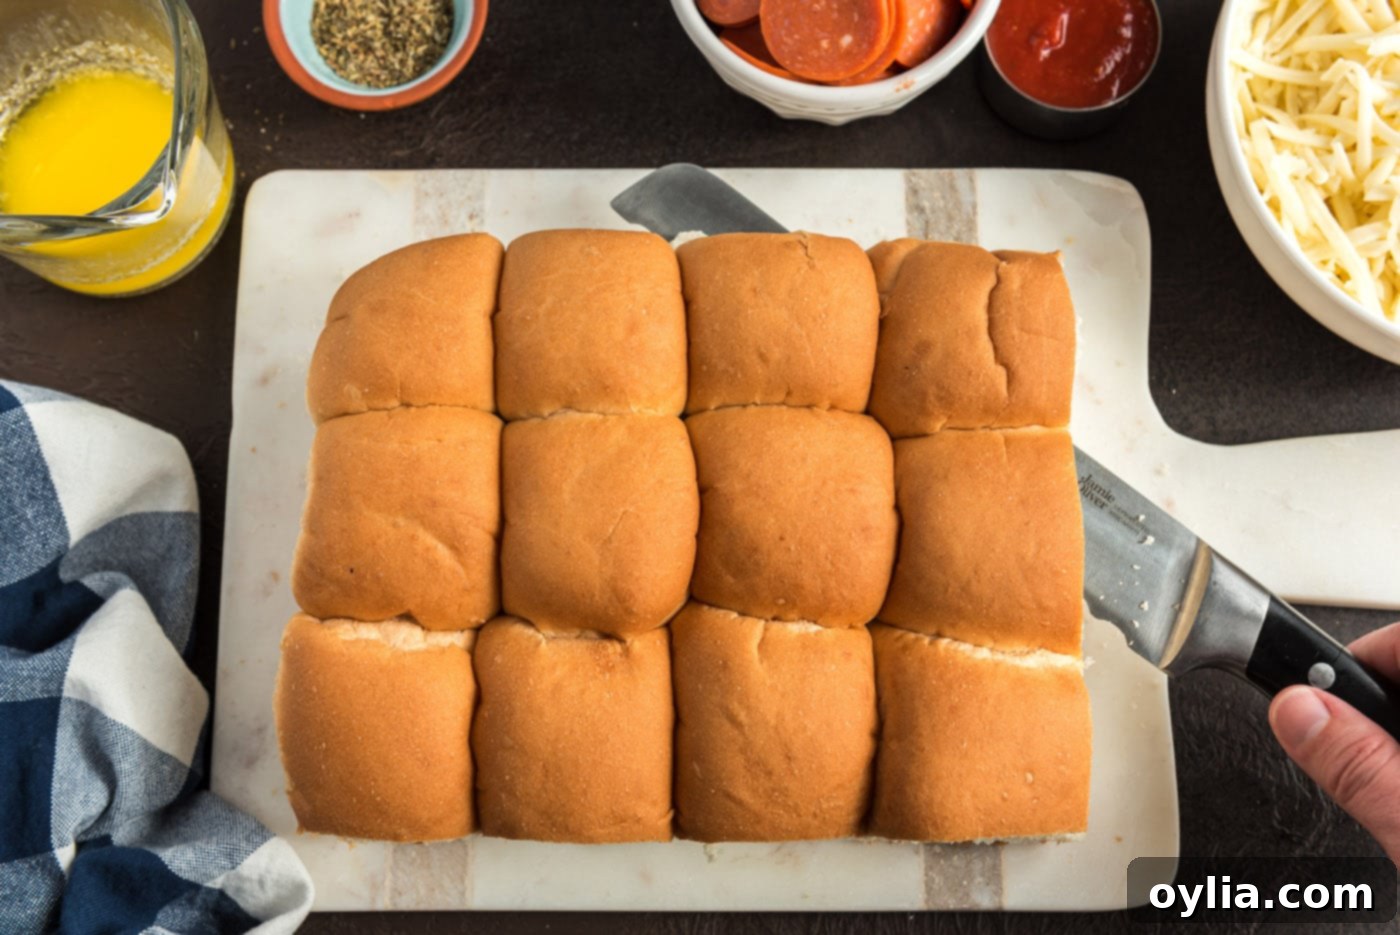
- Carefully slice the entire block of slider buns horizontally across the middle, separating the tops from the bottoms, and gently set the tops aside for later.

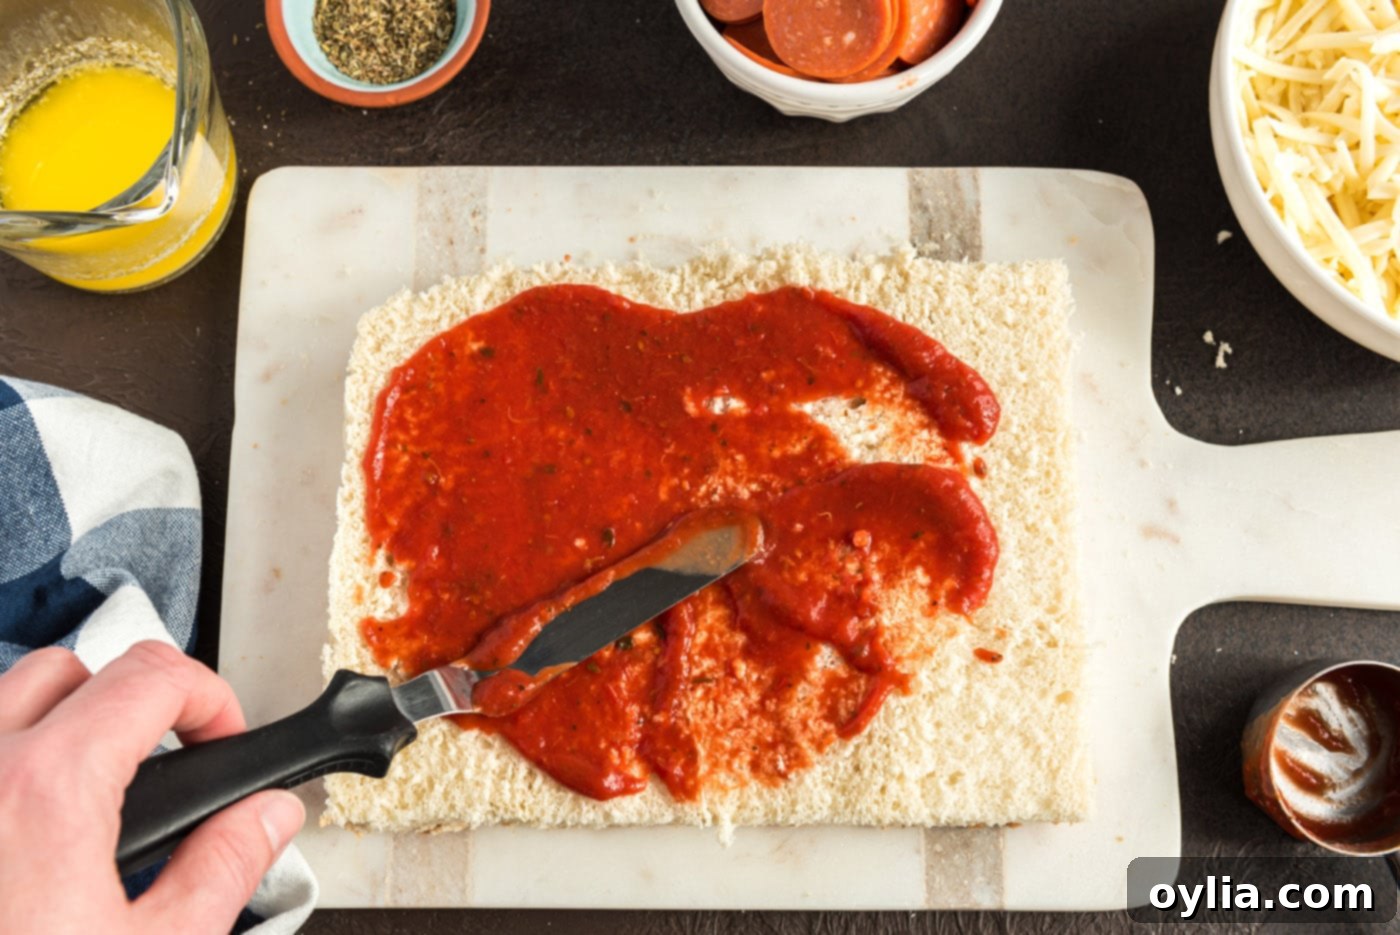
- Evenly spread your delicious pizza sauce over the bottom halves of the buns, making sure to reach all the edges. Then, carefully place these sauced bun bottoms into your prepared baking dish.

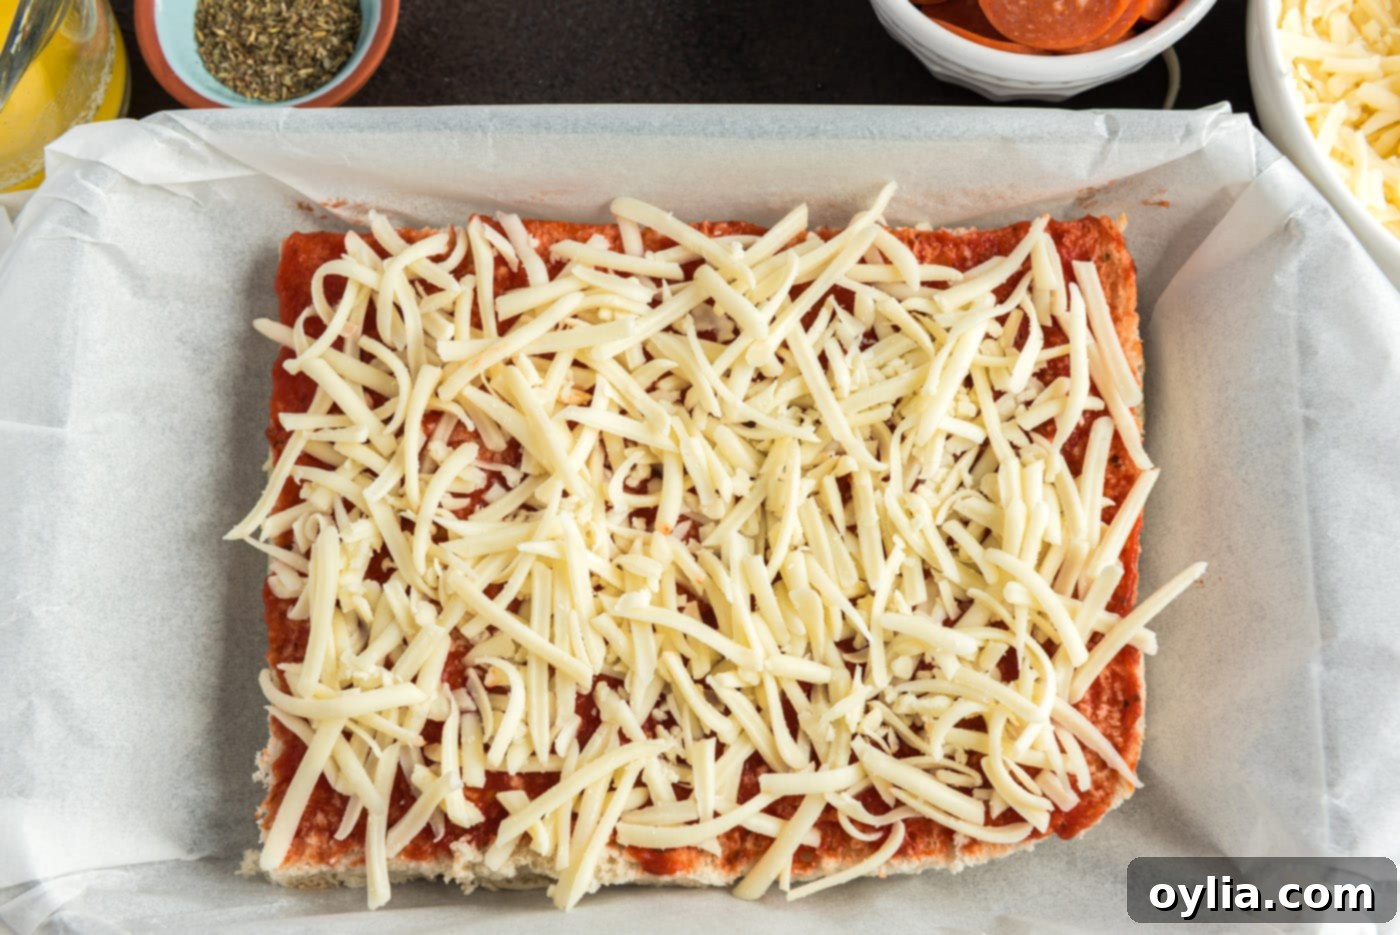
- Now, sprinkle the first cup of mozzarella cheese generously over the top of the pizza sauce, creating a delightful cheesy foundation.

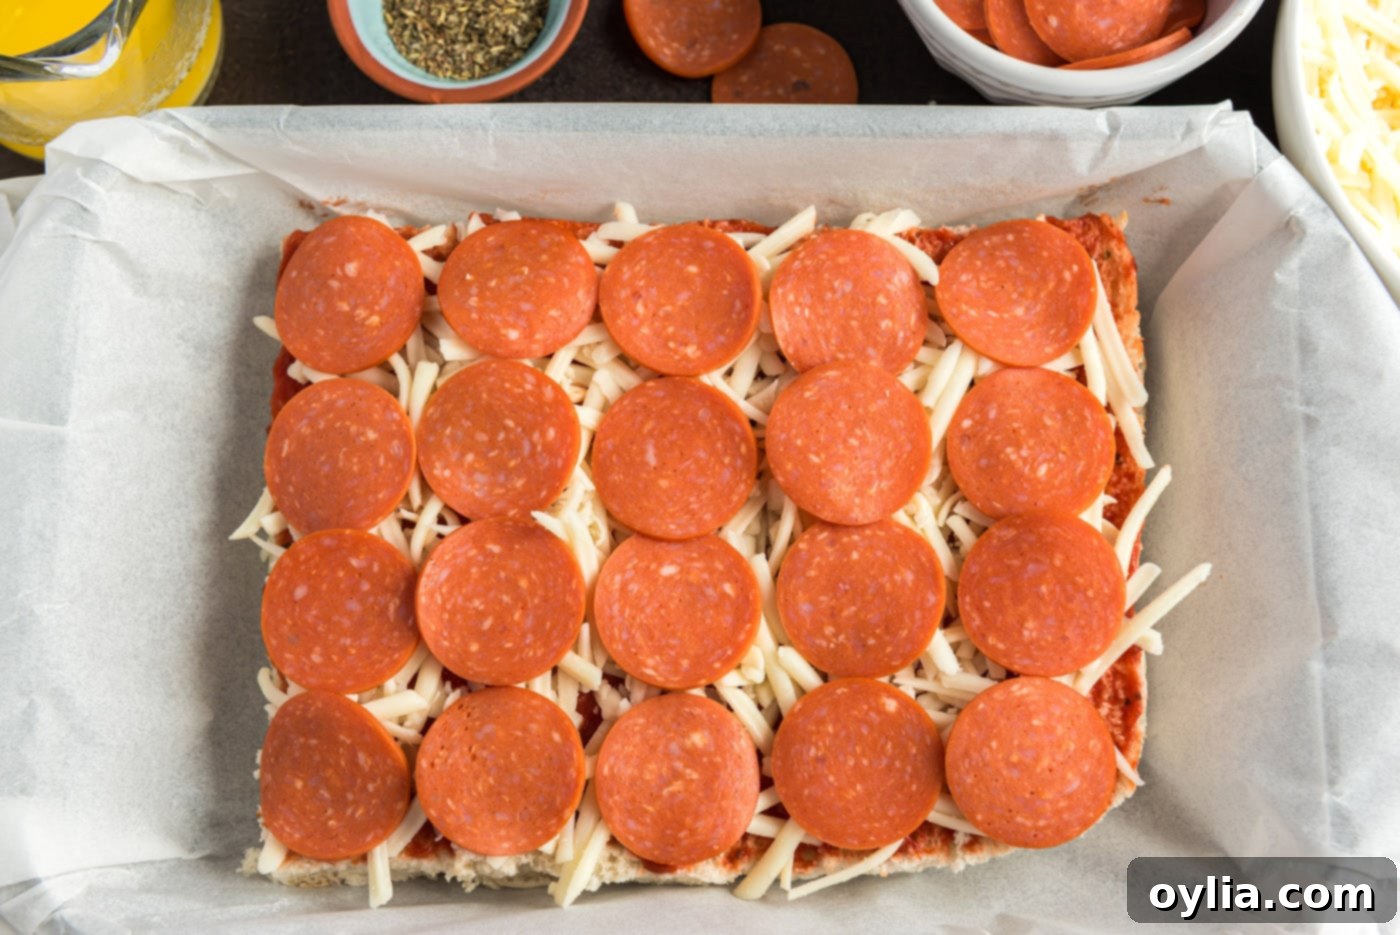
- Carefully arrange the pepperoni slices to form a full, even layer over the cheese. Overlap them slightly to ensure every slider gets a piece of that classic pepperoni flavor.

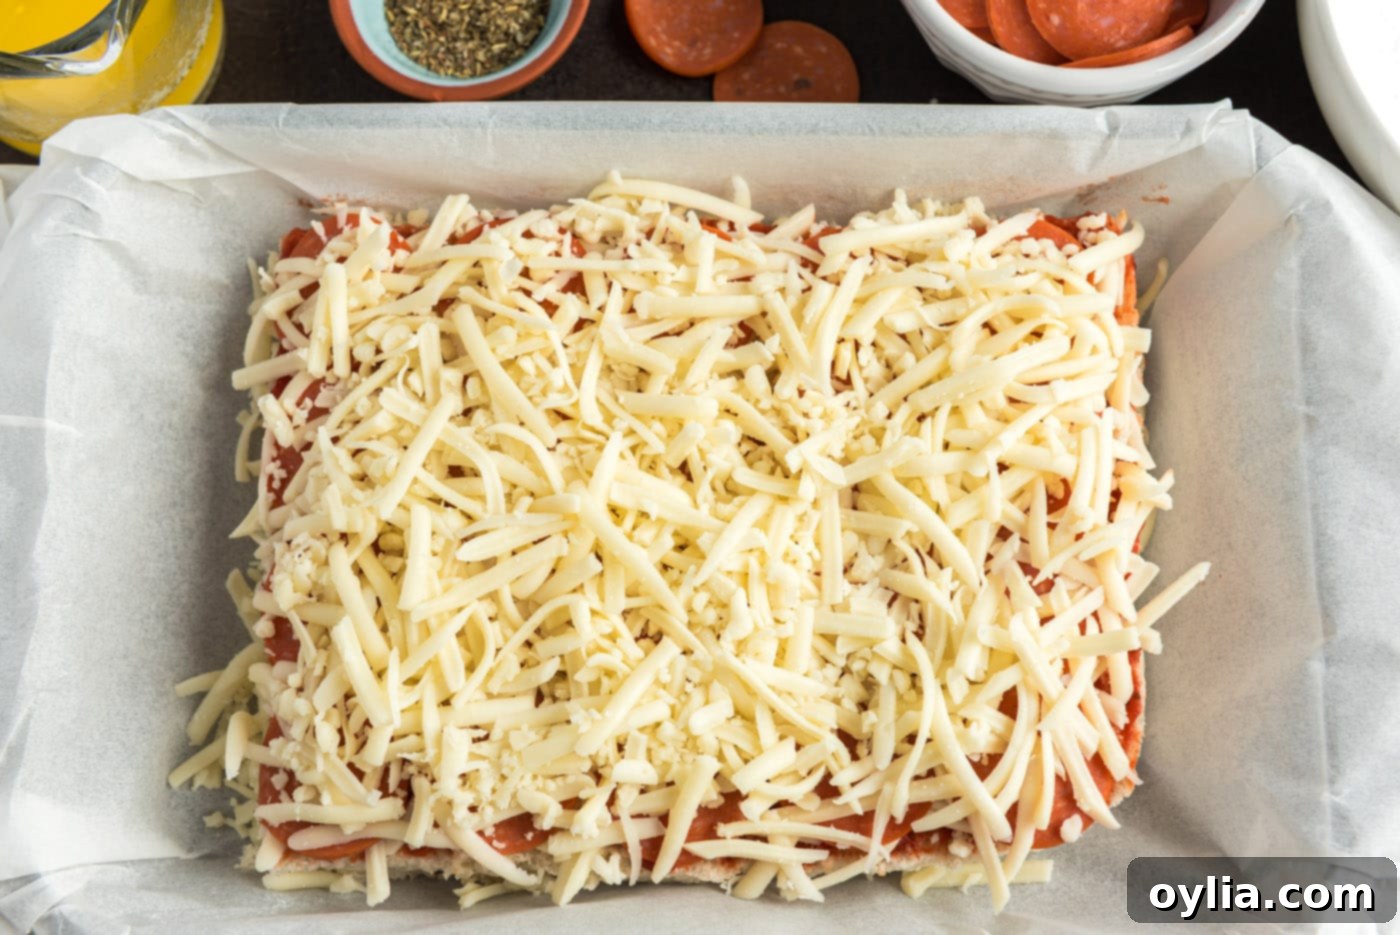
- Now, sprinkle the remaining 1 cup of mozzarella cheese over the pepperoni, creating a generous top layer that promises ultimate melty goodness.

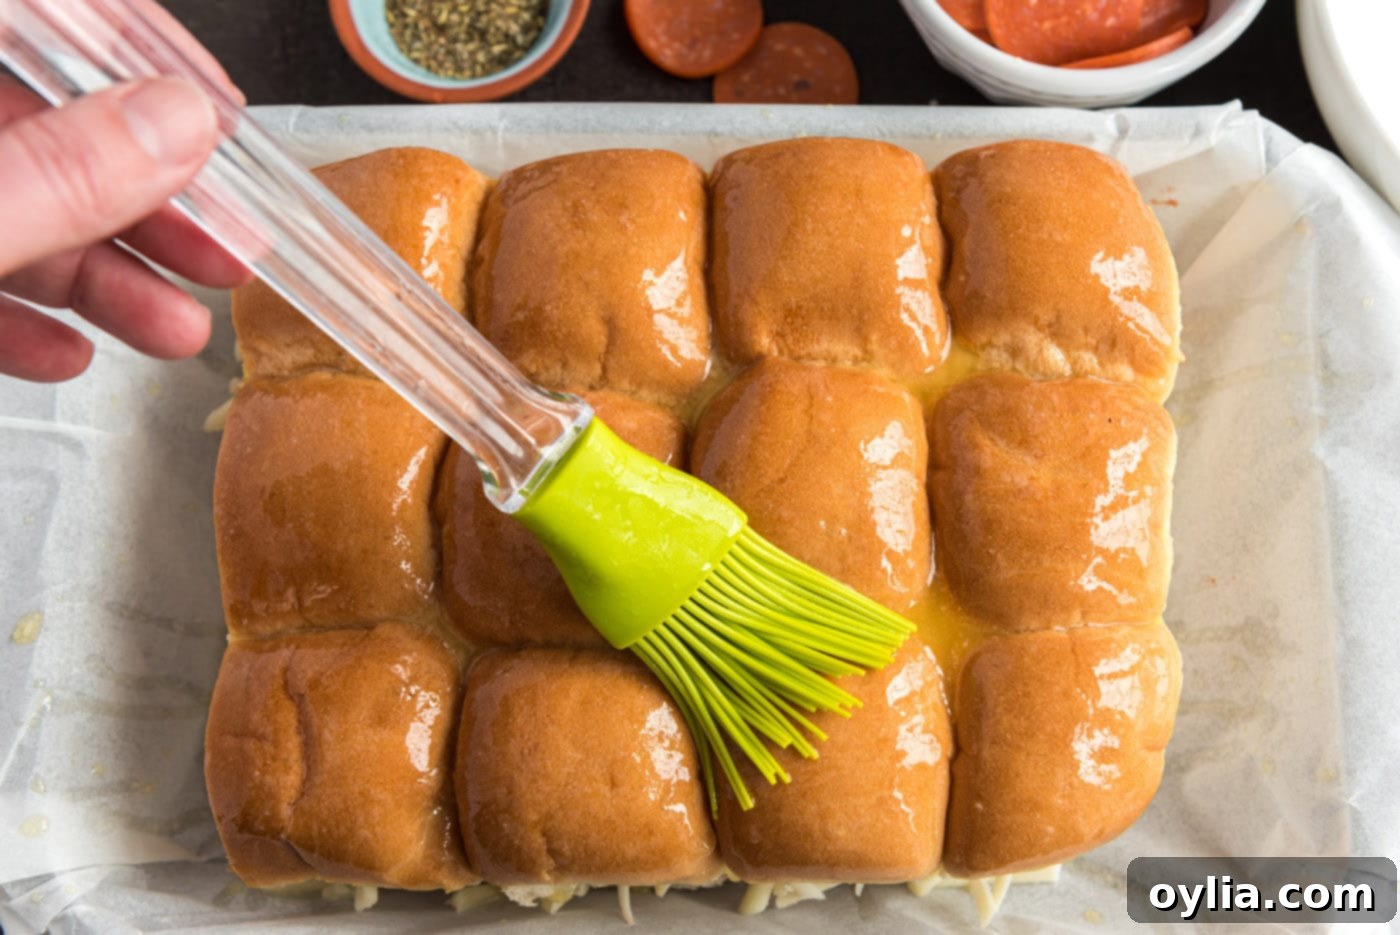
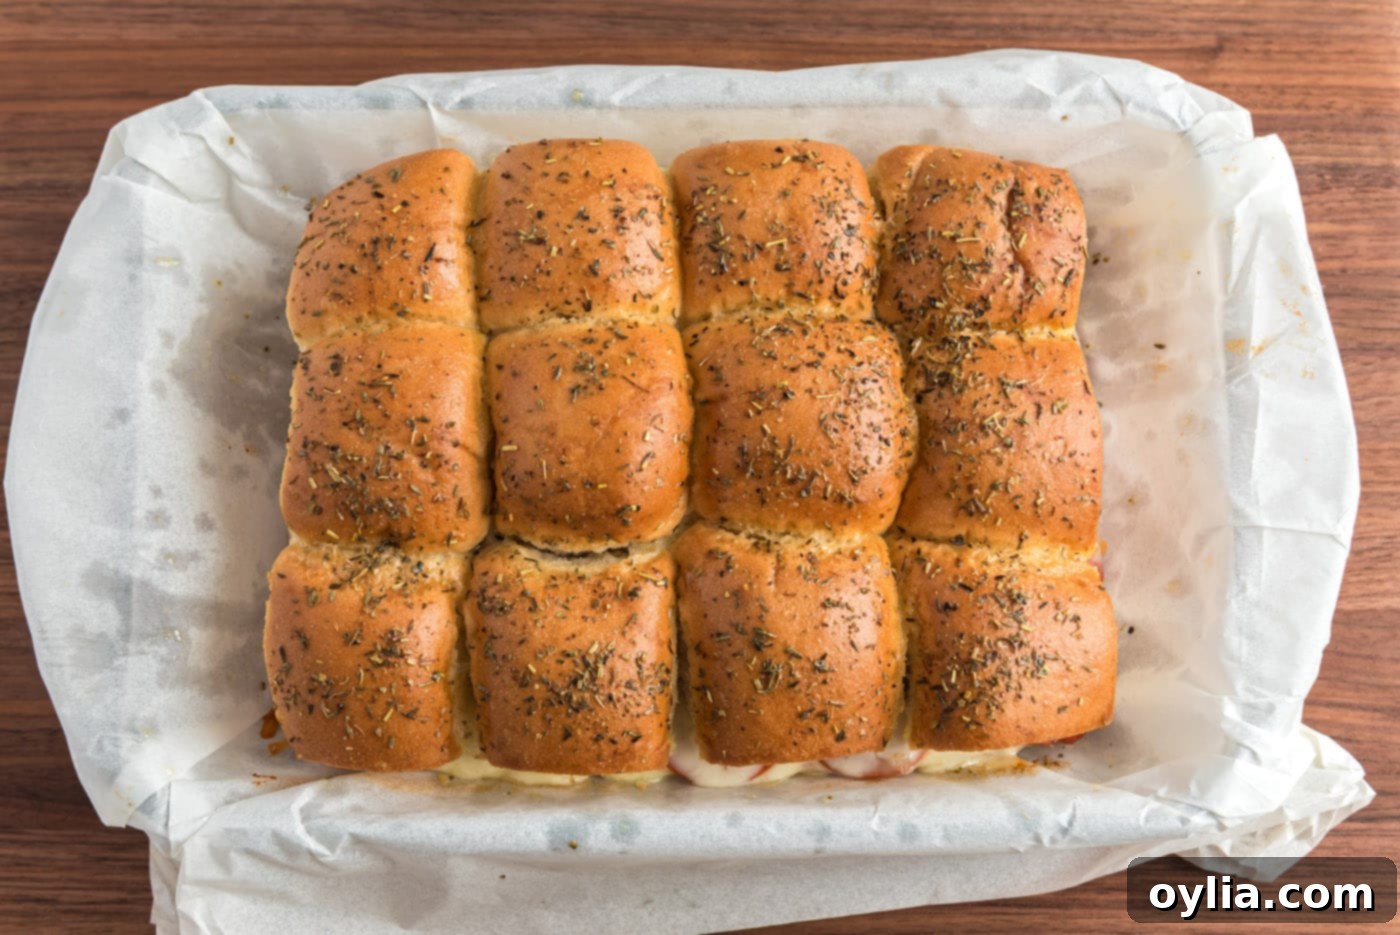
- Gently place the reserved tops of the rolls back onto their respective bottoms, completing your slider sandwiches. Then, using a pastry brush, generously baste the tops with the melted butter, ensuring an even, golden coating.

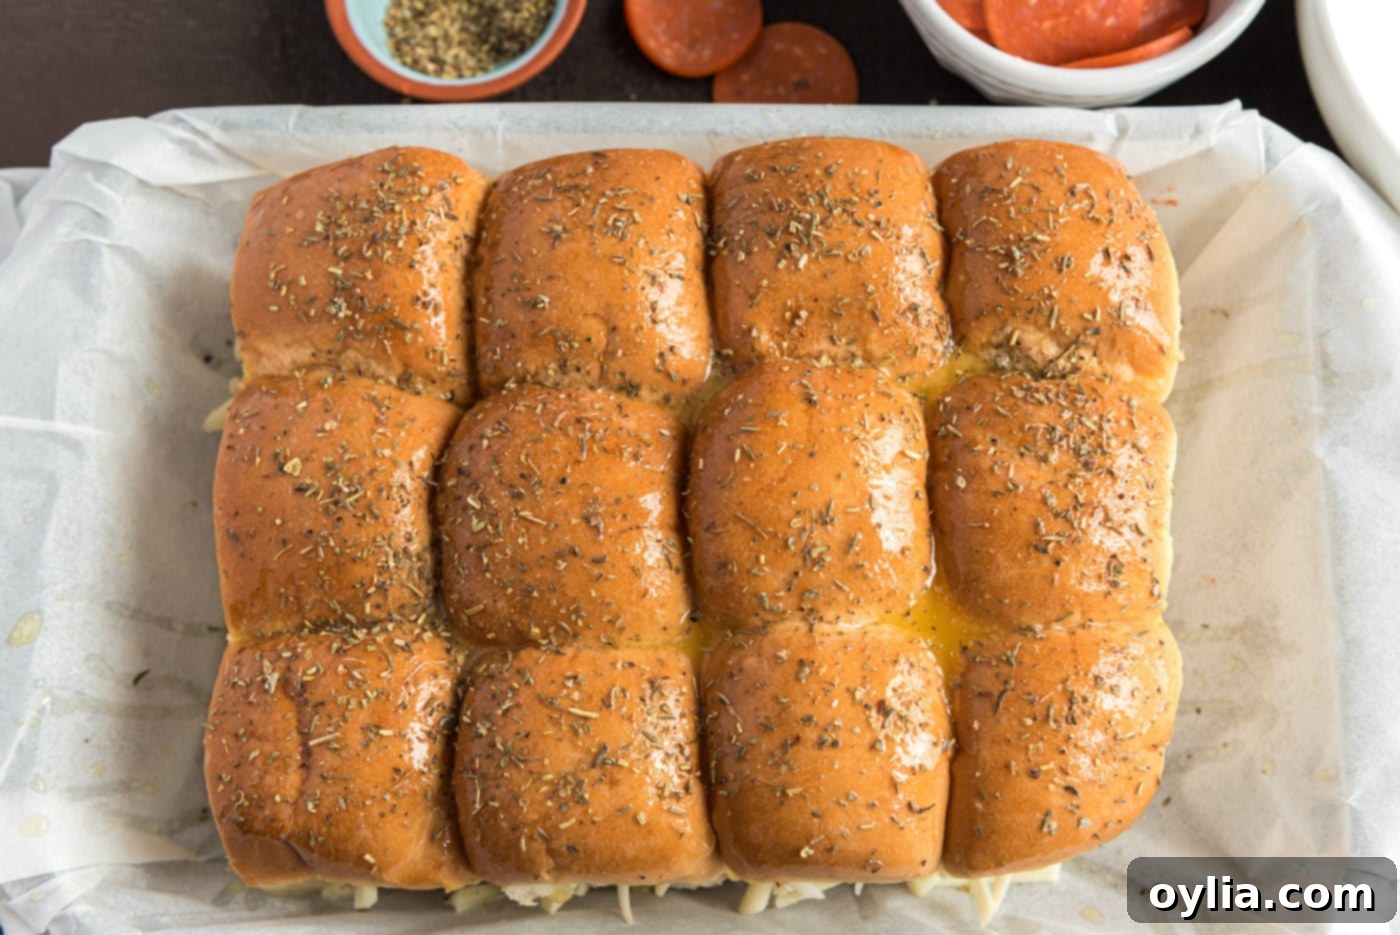
- Finish by sprinkling a touch of oregano or Italian seasoning over the buttery tops for that authentic pizza aroma and flavor. Cover the entire baking dish snugly with aluminum foil.

- Bake the sandwiches for approximately 20 minutes, or until the cheese within is perfectly melted and bubbly, and the butter has fully absorbed into the rolls, resulting in beautifully golden-brown and slightly crispy tops. Uncover for the last 5 minutes if you desire extra browning.

Frequently Asked Questions & Expert Tips for Perfect Pizza Sliders
Here are some common questions and invaluable tips to help you master these pizza sliders, ensuring they are always a delicious success!
Pizza sliders are undeniably at their absolute best when enjoyed fresh, straight from the oven, while the cheese is still gooey and the buns are soft and warm. However, if you find yourself with leftovers (a rare but possible occurrence!), they can be stored quite well. Place them in an airtight container and keep them in the refrigerator for up to 3 days. To reheat, the best method is to pop them back into a 350°F (175°C) oven, covered loosely with aluminum foil, until they are heated through and the cheese is melty again. This helps the buns retain their softness and prevents them from drying out. Alternatively, for a quicker reheat, you can use an air fryer on its reheat function for a few minutes until warmed through and slightly crispy.
Absolutely! Pizza sliders can be a fantastic make-ahead option for parties or busy days, with a few strategic considerations to keep them from becoming soggy. You can assemble them an hour or two in advance, and they’ll be perfectly fine. However, if you plan on preparing them much longer than that, say the morning of an evening event, it’s crucial to prevent the buns from absorbing too much moisture from the sauce. A great trick is to create a barrier: first, layer the bottom buns with a slice of provolone or mozzarella cheese, or even a layer of pepperoni slices, directly on the bread before adding the pizza sauce. This physical barrier will help protect the bread from becoming soggy. Another excellent option, particularly if you want to prep several hours ahead or even the day before, is to assemble the sliders up to step 8 (before the sauce layer), then refrigerate them. You can then serve the pizza sauce on the side for dipping, giving guests full control and ensuring perfectly fresh buns. When ready to bake, follow the directed baking instructions.
Soggy slider buns can indeed be a common concern, but they are easily avoidable with a few simple techniques. The primary culprits for soggy buns are often using too much pizza sauce or letting the assembled sliders sit for an extended period before baking. To combat this, ensure you apply a moderate, even layer of pizza sauce rather than drenching the buns. As mentioned in the “make ahead” tip, creating a protective barrier is key: spread a layer of shredded cheese or a layer of pepperoni slices directly onto the bottom buns before adding the pizza sauce. This acts as a shield, preventing the sauce’s moisture from soaking into the bread. Additionally, for best results, aim to bake the sliders within an hour or two of assembly. If you must prep further in advance, consider serving the sauce on the side for dipping.
While regular slider buns work well, Hawaiian rolls are truly exceptional for pizza sliders. Their inherent sweetness wonderfully complements the savory pizza fillings, creating a fantastic flavor contrast. Beyond that, their soft, pillowy texture bakes up beautifully, soaking in the buttery topping without becoming overly dense. For a richer flavor, brioche buns are a luxurious alternative. If you prefer a slightly denser, more rustic feel, potato rolls can also be a good choice. Ultimately, choose a bun that is soft and can hold up to the fillings without falling apart.
Absolutely! Making vegetarian pizza sliders is incredibly easy and delicious. Simply omit the pepperoni (and any other meat additions like sausage). You can replace them with a variety of your favorite vegetable toppings such as bell peppers, mushrooms, onions, black olives, spinach, or even roasted red peppers. For a heartier vegetarian option, consider adding crumbled cooked plant-based sausage or a layer of fresh basil. Just remember the tip to pre-sauté any fresh vegetables with high water content (like mushrooms or spinach) to prevent them from making the sliders watery during baking.
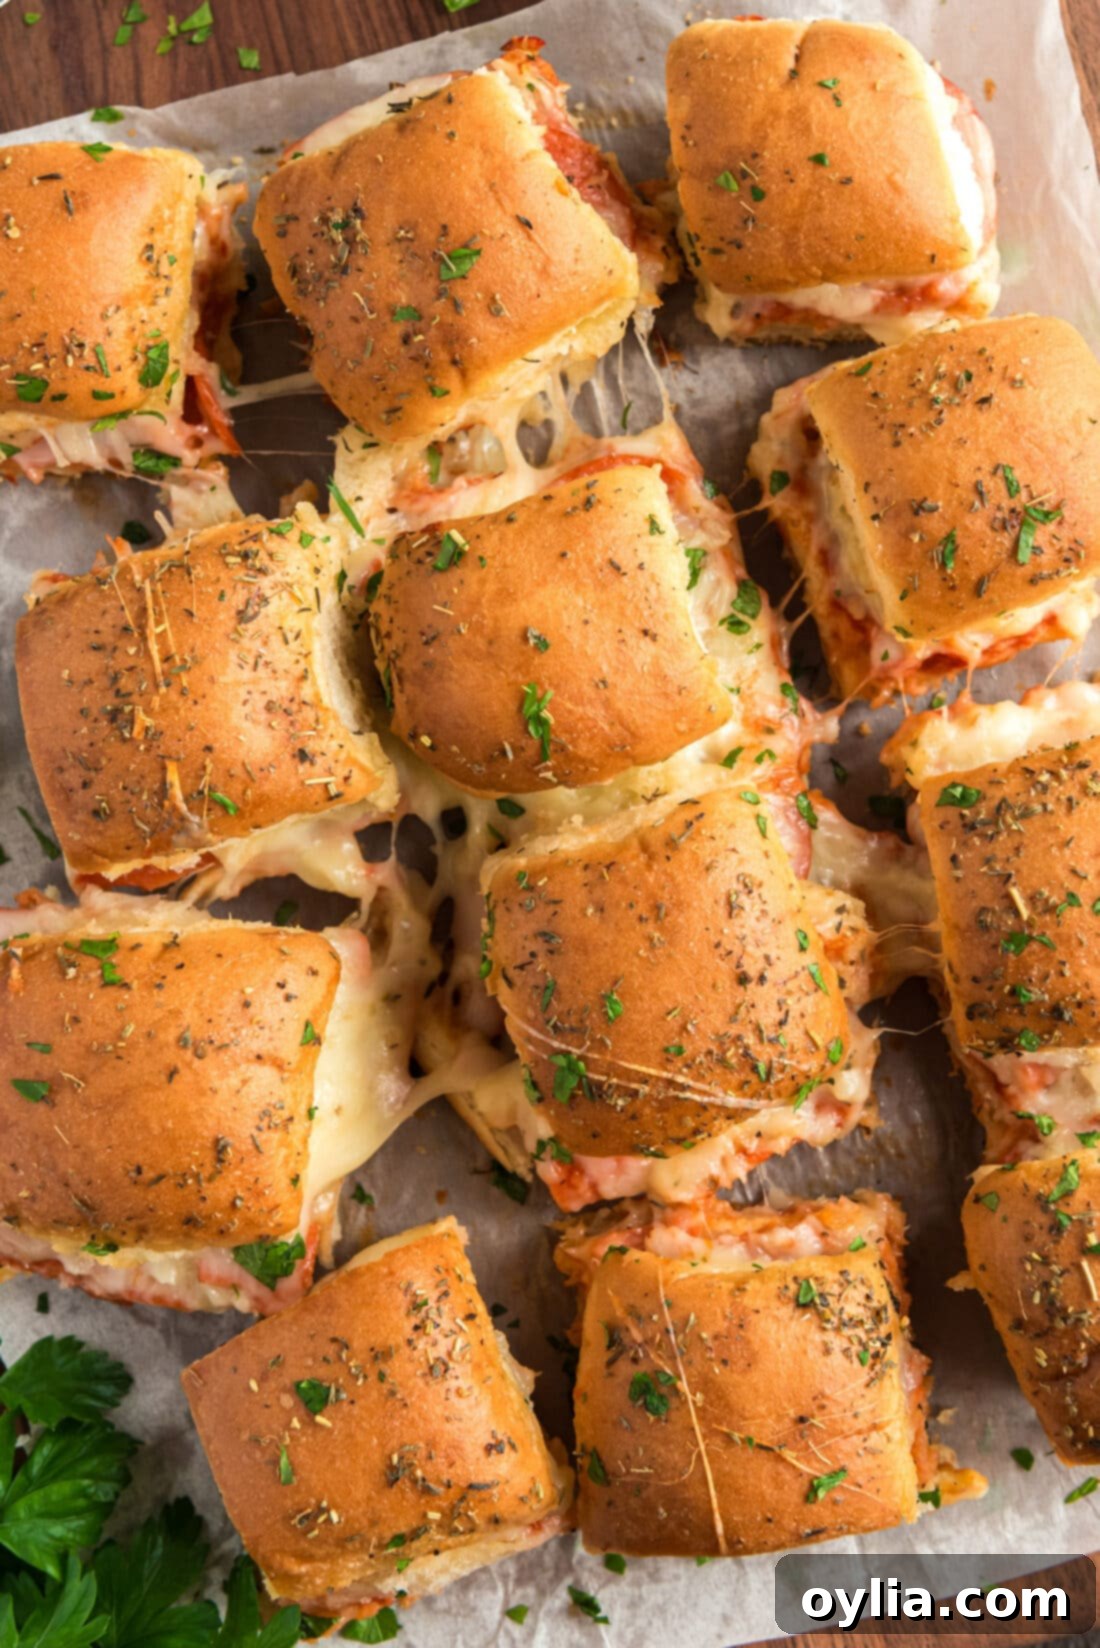
Creative Serving Suggestions for Your Pizza Sliders
These versatile pizza sliders are wonderfully adaptable, serving equally well as a satisfying main course for a casual family dinner or as an incredibly popular appetizer for lively parties and laid-back get-togethers. To elevate the experience, consider serving the sliders with a variety of dipping sauces on the side. Classic options like extra pizza sauce or warm marinara sauce are always a hit, but don’t shy away from offering creamy ranch dressing or a zesty garlic aioli for those who enjoy a different flavor profile. For an extra touch of gourmet appeal, you can optionally garnish the top of the buns with a light sprinkle of freshly grated Parmesan cheese and a dash of red pepper flakes before serving. This adds both flavor and a beautiful presentation.
Pairing these sliders with simple side dishes can turn them into a complete meal. A crisp green salad with a light vinaigrette offers a refreshing contrast, while a classic Caesar salad complements the Italian flavors perfectly. For a heartier meal, consider serving them alongside crispy waffle fries, a bowl of tomato soup, or even a vibrant pasta salad. Don’t forget the drinks! Lemonade, iced tea, or even a light soda make great accompaniments. These easy pizza sliders are truly a lifesaver for those last-minute events or when you simply need a quick, crowd-pleasing option. They’re an absolute must-have for football parties, game nights, or any gathering where delicious, fuss-free food is desired. Enjoy crafting and devouring these delightful bites!
Explore More Delicious Slider Recipes
If you’ve fallen in love with the ease and deliciousness of these pizza sliders, you’re in for a treat! Sliders are a fantastic category of recipes that offer endless customization and are perfect for any occasion. Here are some more of our favorite slider recipes that are just as easy and guaranteed to be a hit:
- Italian Sliders: Packed with deli meats and cheeses, these are a savory delight.
- Roast Beef Sliders: Tender roast beef and melted cheese, a classic comfort food.
- Cheeseburger Sliders: All the flavors of a classic burger in miniature form.
- Mississippi Pot Roast Sliders: Slow-cooked goodness on a bun.
- Chicken Parmesan Sliders: A delicious twist on a beloved Italian dish.
I love to bake and cook and share my kitchen experience with all of you! Remembering to come back each day can be tough, that’s why I offer a convenient newsletter every time a new recipe posts. Simply subscribe and start receiving your free daily recipes!
Pizza Sliders
IMPORTANT – There are often Frequently Asked Questions within the blog post that you may find helpful. Simply scroll back up to read them!
Print It
Rate It
Save It
Saved!
Prevent your screen from going dark
Course:
Appetizer
Cuisine:
American
12
sliders
40 minutes
263
Amanda Davis
Ingredients
-
12
slider buns
or Hawaiian rolls, for that perfect sweet-savory balance -
2
cups
mozzarella cheese
shredded, preferably from a block for best melt -
7
ounces
pepperoni slices
or your favorite pizza toppings -
¼
cup
pizza sauce
homemade or your preferred store-bought brand -
¼
cup
unsalted butter
melted, for a golden, rich topping -
2
teaspoons
Italian seasoning
or dried oregano, for aromatic flavor
Things You’ll Need
-
13×9 baking dish -
Saucepan -
Aluminum foil
Before You Begin: Essential Tips for Success
- Sauce Selection: While we cherish our homemade pizza sauce for its fresh, vibrant flavor, a high-quality store-bought sauce is a perfectly acceptable and time-saving alternative. Choose a brand you love for the best results.
- Cheese Matters: For the ultimate melty, gooey cheese experience, we highly recommend shredding your mozzarella cheese directly from a block rather than using pre-shredded varieties. Block cheese melts more evenly and yields a superior texture. Feel free to experiment with a blend of mozzarella and provolone for added depth of flavor.
- Topping Creativity: Don’t limit yourself to just pepperoni! These sliders are incredibly versatile. Consider adding our savory pizza sausage, bell peppers, mushrooms, onions, or black olives. Remember, if you’re incorporating fresh vegetables or raw meats like sausage, it’s crucial to pre-cook them partially or fully before adding them to the sliders. Sautéing vegetables briefly prevents them from releasing too much water and making the sliders soggy, while cooking meats ensures they are thoroughly done by the time the sliders are baked. This step guarantees optimal texture and flavor in every bite.
- Avoiding Soggy Buns: To prevent the buns from becoming overly moist, consider placing a thin layer of cheese or pepperoni directly on the bottom buns before spreading the sauce. This creates a barrier, protecting the bread. Also, avoid over-saucing.
- Make-Ahead Strategy: If preparing ahead, assemble the sliders up to the point of adding the sauce, or use the barrier method (cheese/pepperoni under sauce). For longer waits, consider serving the sauce on the side for dipping after baking to ensure the buns remain fresh.
Instructions
-
Preheat your oven to 350°F (175°C) and generously grease a 13×9 inch baking dish to prevent sticking and ensure easy cleanup.
-
Melt the unsalted butter in a small saucepan over medium heat until fully liquid, or microwave it in a heat-safe bowl for about 30-60 seconds until melted.
-
Carefully slice the entire block of slider buns in half horizontally, separating the tops from the bottoms. Place the bottom halves into the greased baking dish.
-
Evenly spread the pizza sauce over the bottom sections of the buns. Use a moderate amount to ensure full flavor without oversaturating the bread.
-
Sprinkle 1 cup of mozzarella cheese over the sauced bun bottoms, creating a delicious, melty layer.
-
Arrange the pepperoni slices (or your chosen toppings) in a single, overlapping layer over the cheese, ensuring even distribution for every slider.
-
Generously sprinkle the remaining 1 cup of mozzarella cheese over the pepperoni layer, creating a tempting cheesy top.
-
Carefully place the tops of the rolls back onto the assembled sliders. Then, using a pastry brush, baste the tops generously with the melted butter for a rich, golden crust.
-
Sprinkle the Italian seasoning or oregano evenly over the buttered tops. Cover the baking dish securely with aluminum foil.
-
Bake the sandwiches for 20 minutes, or until the cheese is beautifully melted and bubbly, and the butter has fully absorbed into the rolls, giving them golden, irresistible tops. For extra crispiness, remove the foil for the last 5 minutes of baking.
Expert Tips & FAQs
- Storage & Reheating: While best enjoyed fresh, leftover pizza sliders can be stored in an airtight container in the refrigerator for up to 3 days. Reheat in a 350°F (175°C) oven, covered with foil, until heated through. For a quick option, use an air fryer’s reheat function. Avoid microwaving for best texture.
- Make Ahead Strategies: You can assemble pizza sliders 1-2 hours in advance. For longer prep, prevent soggy buns by creating a barrier: first, layer cheese or pepperoni directly onto the bottom buns before adding sauce. This protects the bread from moisture. Another option is to fully assemble all layers except the pizza sauce, refrigerate, and then add the sauce just before baking, or serve it on the side for dipping. Assemble up to step 8 and refrigerate if prepping ahead, then bake as directed.
- Preventing Soggy Buns: To avoid soggy sliders, use a moderate amount of pizza sauce and utilize a barrier (cheese or pepperoni) directly on the bottom bun. Do not let assembled sliders sit for too long before baking.
- Customization is Key: Feel free to experiment with various cheeses (provolone, cheddar jack) and toppings. Just remember to pre-cook any raw meats (like sausage) and sauté high-moisture vegetables (like mushrooms, onions, bell peppers) to ensure they cook through and don’t make the sliders watery.
- Browning the Tops: If your sliders aren’t as golden as you’d like after 20 minutes, simply remove the aluminum foil and bake for an additional 3-5 minutes, keeping a close eye on them to prevent burning.
Nutrition Information
Serving:
1
slider
|
Calories:
263
cal
|
Carbohydrates:
17
g
|
Protein:
10
g
|
Fat:
17
g
|
Saturated Fat:
8
g
|
Polyunsaturated Fat:
1
g
|
Monounsaturated Fat:
6
g
|
Trans Fat:
0.4
g
|
Cholesterol:
41
mg
|
Sodium:
403
mg
|
Potassium:
80
mg
|
Fiber:
1
g
|
Sugar:
3
g
|
Vitamin A:
272
IU
|
Vitamin C:
0.4
mg
|
Calcium:
129
mg
|
Iron:
1
mg
Tried this Recipe? Pin it for Later!
Follow on Pinterest @AmandasCookin or tag #AmandasCookin!
The recipes on this blog are tested with a conventional gas oven and gas stovetop. It’s important to note that some ovens, especially as they age, can cook and bake inconsistently. Using an inexpensive oven thermometer can assure you that your oven is truly heating to the proper temperature. If you use a toaster oven or countertop oven, please keep in mind that they may not distribute heat the same as a conventional full sized oven and you may need to adjust your cooking/baking times. In the case of recipes made with a pressure cooker, air fryer, slow cooker, or other appliance, a link to the appliances we use is listed within each respective recipe. For baking recipes where measurements are given by weight, please note that results may not be the same if cups are used instead, and we can’t guarantee success with that method.
This post originally appeared here on Jun 29, 2016 and has since been updated with new photos and expert tips, and expanded content for an even better reader experience.
