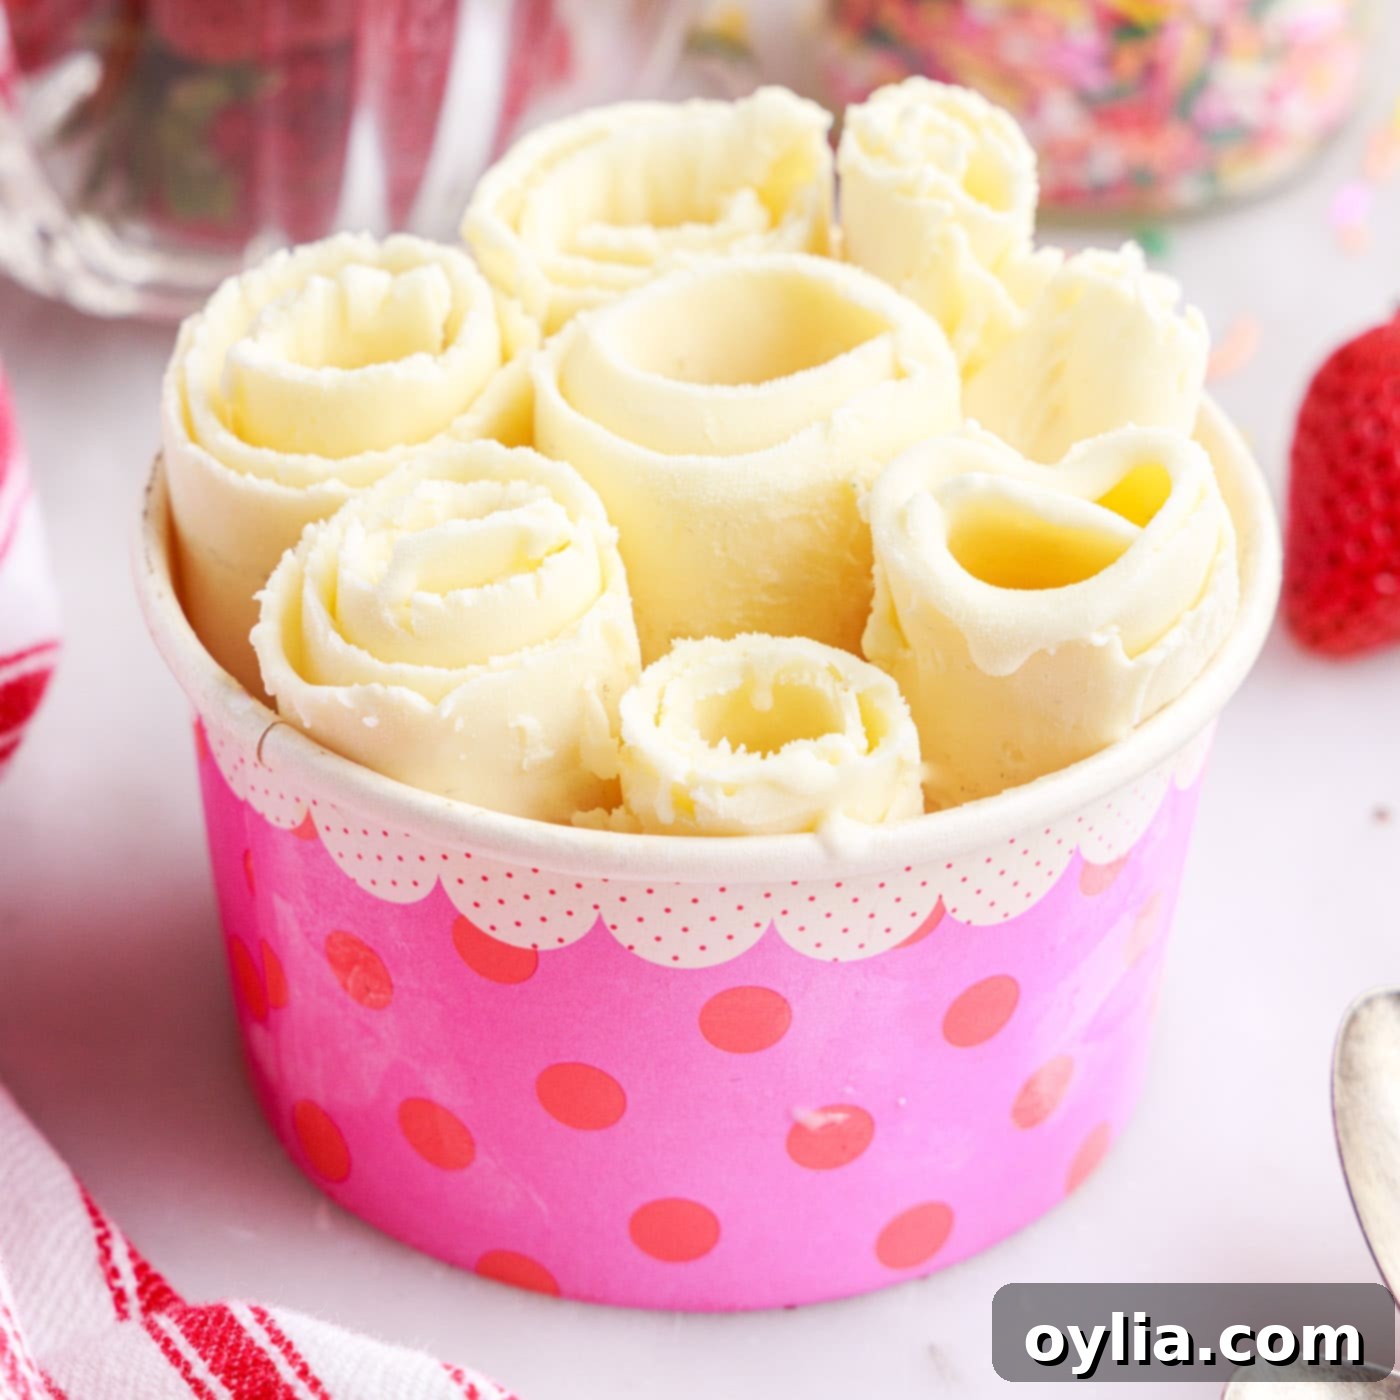
Easy & Delicious: How to Make 4-Ingredient Vanilla Rolled Ice Cream at Home
Prepare to amaze your taste buds and impress your friends with this incredibly simple, yet utterly delightful, 4-ingredient vanilla rolled ice cream recipe! This isn’t just a dessert; it’s an experience, offering the perfect creamy canvas for an endless array of toppings, from fresh berries and crunchy nuts to decadent candies and rich sauces. Forget complex machinery or lengthy processes – we’re bringing the fun of rolled ice cream right into your kitchen with minimal effort and maximum flavor.

Why This Rolled Ice Cream Recipe is a Game Changer
If you’ve ever watched videos of rolled ice cream being made and thought, “I wish I could do that at home!” – consider your wish granted. Our recipe takes the mystery out of this trending dessert, showing you how to achieve perfect, elegant rolls with a handful of simple ingredients and basic kitchen tools you likely already own: a sheet pan, a whisk, and a couple of spatulas. No fancy ice cream maker required!
This method draws inspiration from the popular no-churn ice cream technique, relying on the magical properties of sweetened condensed milk to deliver its irresistible sweetness and incredibly creamy texture. Unlike traditional ice cream, which can sometimes be too firm, rolled ice cream offers a uniquely softer consistency that’s both delightful on the palate and surprisingly easy to work with when properly prepared. It’s a wonderfully unique and interactive way to enjoy a frozen treat, turning dessert into an exciting spectacle right in your own kitchen.
The Science Behind No-Churn Creaminess
The secret to our rolled ice cream’s success lies in the balance of heavy cream and sweetened condensed milk. Heavy cream, when whipped, incorporates air, giving the ice cream its light, fluffy structure. Sweetened condensed milk, on the other hand, is a powerhouse ingredient. It provides all the necessary sweetness, eliminating the need for granulated sugar, and its high sugar and milk solids content acts as a natural emulsifier and anti-freeze, preventing the formation of large, icy crystals. This results in a remarkably smooth, soft, and scoopable (or in this case, rollable) texture without the need for an ice cream machine to churn away ice crystals. Understanding this fundamental balance is key to mastering homemade rolled ice cream.
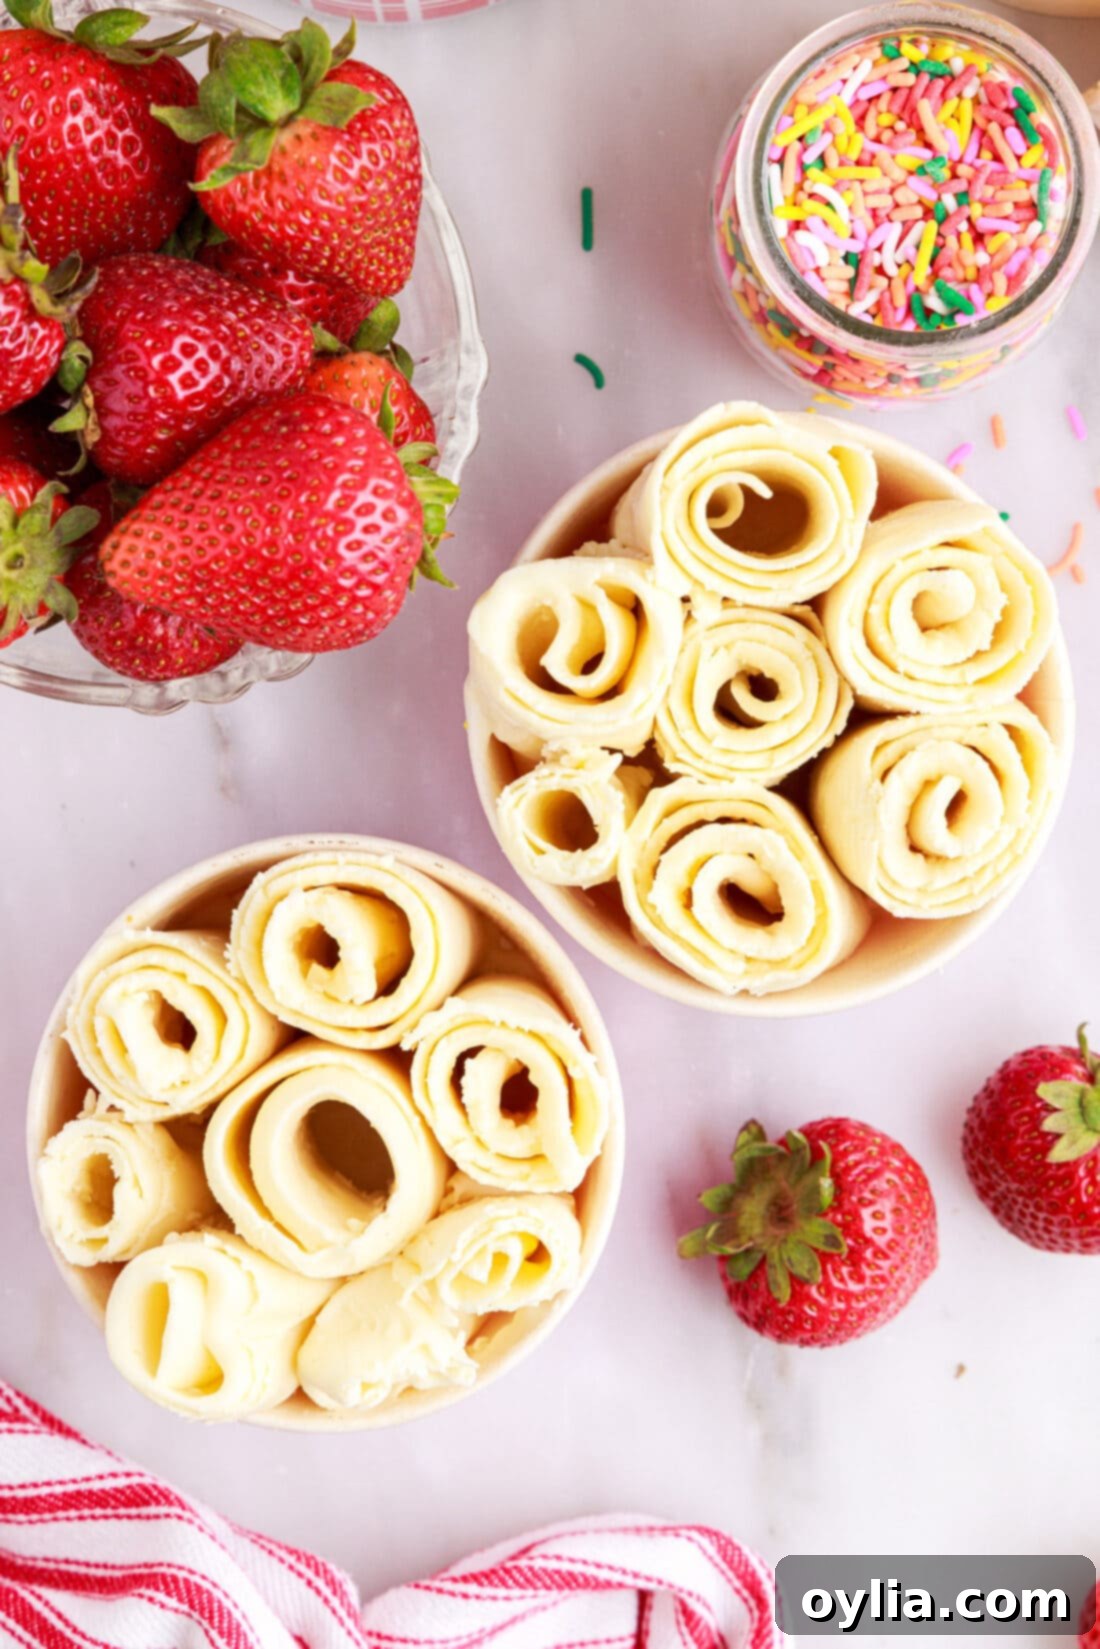
Ingredients You Will Need for Vanilla Rolled Ice Cream
One of the best features of this rolled ice cream recipe is its simplicity. You only need four core ingredients, making it an accessible and budget-friendly treat. While the exact measurements and detailed instructions are available in the printable recipe card at the end of this post, let’s briefly look at the stars of our show. We recommend using high-quality ingredients for the best flavor outcome, as each plays a crucial role in the final texture and taste of your homemade rolled ice cream.
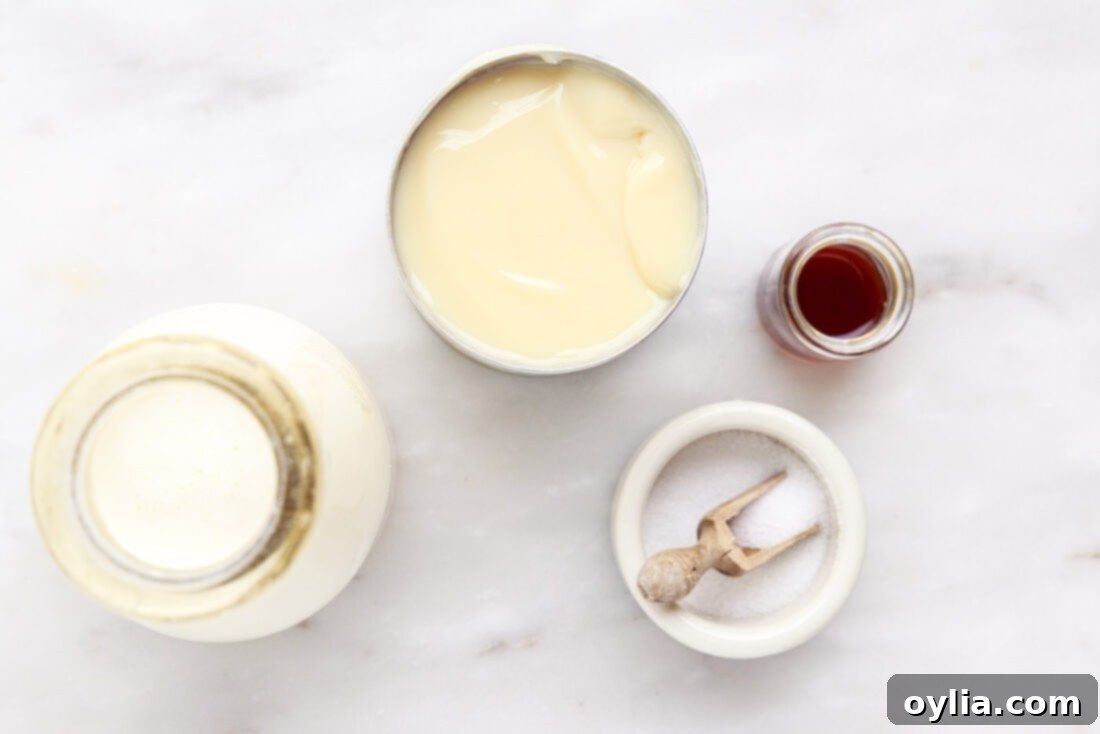
Ingredient Info and Substitution Suggestions
Each ingredient contributes uniquely to the final product. Understanding their roles is key to achieving perfect rolled ice cream.
The Foundation: Heavy Cream and Sweetened Condensed Milk
ICE CREAM BASE – The delicate balance between sweetened condensed milk and heavy cream is the heart of this recipe. This ratio is critical, especially for a pure vanilla base where no other mix-ins significantly alter the texture. If your ice cream turns out too soft and melts before you can even form a roll, it means your mixture has too much sweetened condensed milk, or not enough heavy cream. Conversely, if the ice cream is brittle and snaps rather than curling into smooth rolls, you need a higher proportion of sweetened condensed milk to prevent it from becoming too icy. Different brands of sweetened condensed milk can also vary slightly in consistency and sugar content, so don’t be afraid to experiment with small adjustments based on your initial results. Always refer to the recipe card for our recommended starting ratio.
Heavy Cream: Also known as heavy whipping cream, this ingredient provides the essential fat content that gives the ice cream its rich, luxurious mouthfeel. When whisked, it incorporates air, creating a light and fluffy texture. Ensure your heavy cream is very cold before mixing for optimal results.
Sweetened Condensed Milk: This is the superstar of no-churn ice cream. It provides all the sweetness needed and, more importantly, its high sugar content and unique composition prevent large ice crystals from forming during freezing. This results in the smooth, dense, and pliable consistency essential for rolled ice cream. Quality matters here, so choose a reputable brand.
Flavor Enhancers: Vanilla Extract and Sea Salt
Pure Vanilla Extract: For a classic vanilla rolled ice cream, using pure vanilla extract is non-negotiable. It provides a deep, aromatic vanilla flavor that imitation vanilla simply cannot match. This simple addition elevates the entire dessert, ensuring a rich and satisfying taste. Don’t skimp on quality here!
Sea Salt: A tiny pinch of sea salt might seem insignificant, but it plays a vital role. Salt doesn’t just add flavor; it enhances the sweetness of the condensed milk and balances the richness of the cream, bringing out the best in all the other ingredients. It creates a more complex and satisfying flavor profile.
Customizing Your Rolled Ice Cream Base (Flavor Variations)
While this recipe focuses on a delicious vanilla base, the possibilities for flavor variations are endless! Once you master the basic vanilla, you can get creative:
- Chocolate: Whisk in 2-3 tablespoons of unsweetened cocoa powder with the other ingredients, or melt some chocolate chips and swirl them into the base before freezing.
- Coffee: Add 1-2 teaspoons of instant espresso powder or strong cold-brew concentrate to the mixture.
- Fruit: Blend a small amount of fruit puree (like strawberry or mango) into the base mixture. Be careful not to add too much liquid, as this can affect the texture.
- Matcha: Incorporate 1-2 teaspoons of ceremonial grade matcha powder for a vibrant green and earthy flavor.
Remember, when adding liquid or powdery mix-ins, you might need to slightly adjust the heavy cream/sweetened condensed milk ratio to maintain the ideal consistency for rolling. Start with small additions and adjust as needed.
How to Make Rolled Ice Cream: Step-by-Step Guide
These step-by-step photos and instructions are here to help you visualize how to make this recipe. You can Jump to Recipe to get the printable version of this recipe, complete with measurements and instructions at the bottom.
- Prepare Your Freezing Surface: Prior to preparing the ingredients, place a full-size sheet pan with rimmed edges (or quarter sheet pans for smaller batches) into the freezer. It’s crucial that there is ample space for the sheet pan to set perfectly level. Allow the pan to chill in the freezer for at least 15 minutes, but ideally several hours or overnight in advance. A super-cold pan is essential for rapid freezing and successful rolling.
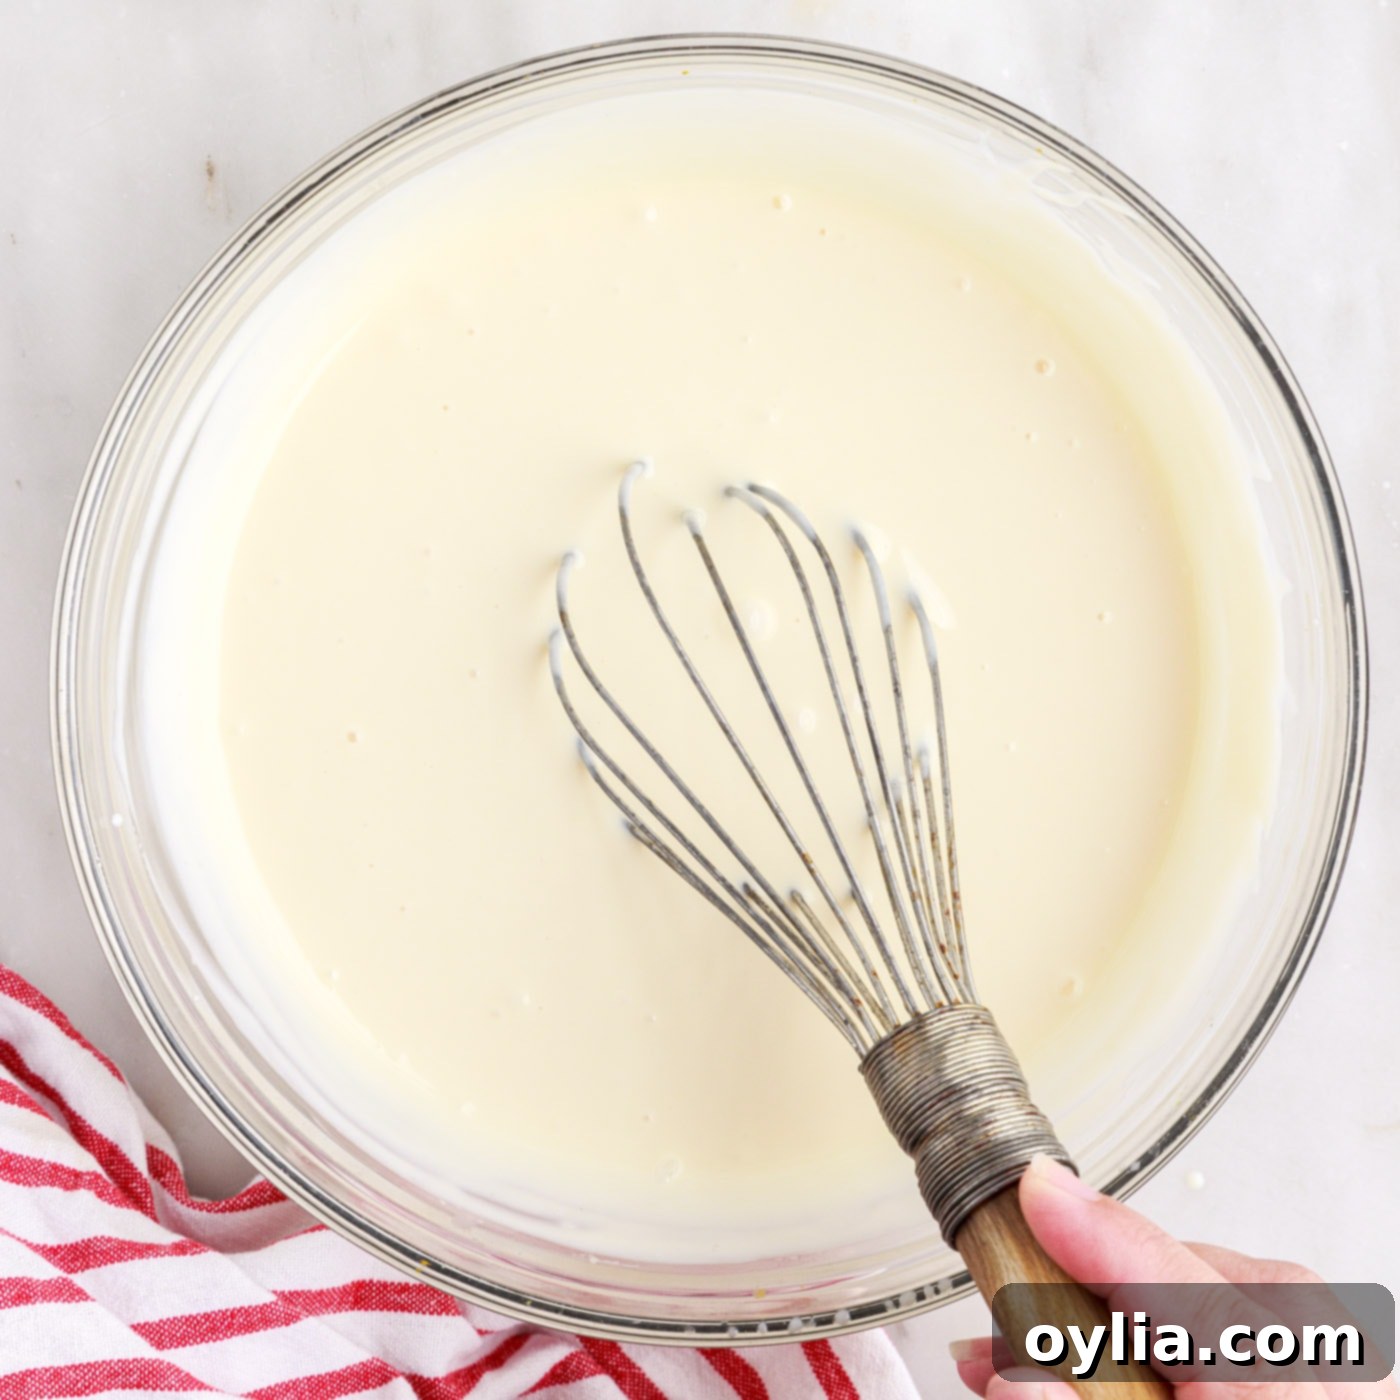
- Mix the Base: In a large bowl, whisk together all of the ingredients (heavy cream, sweetened condensed milk, vanilla extract, and sea salt) until thoroughly combined and smooth. There’s no need to whip the cream to stiff peaks, just ensure everything is evenly incorporated.
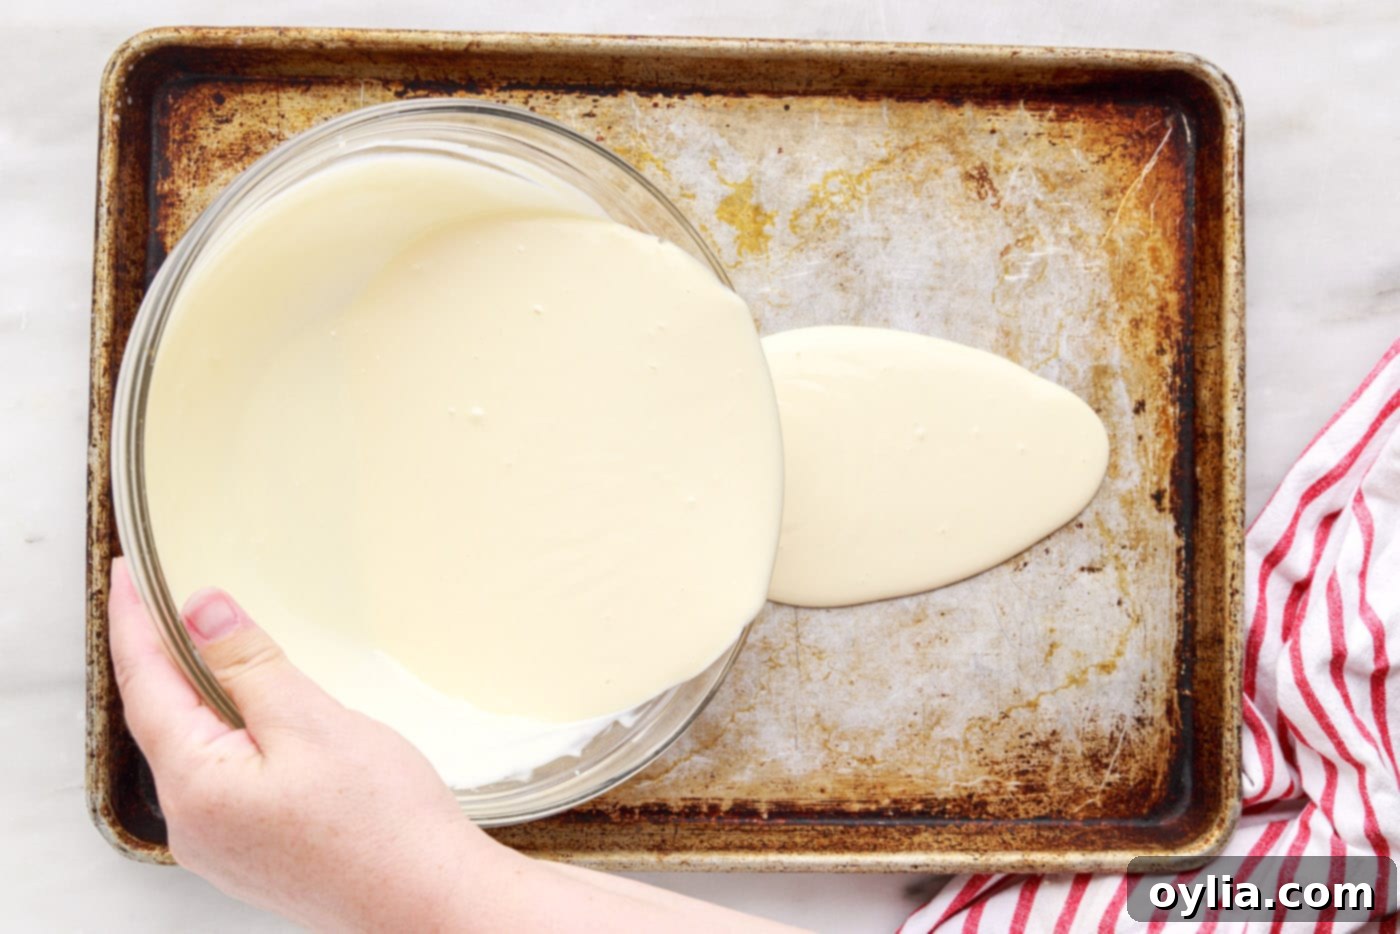
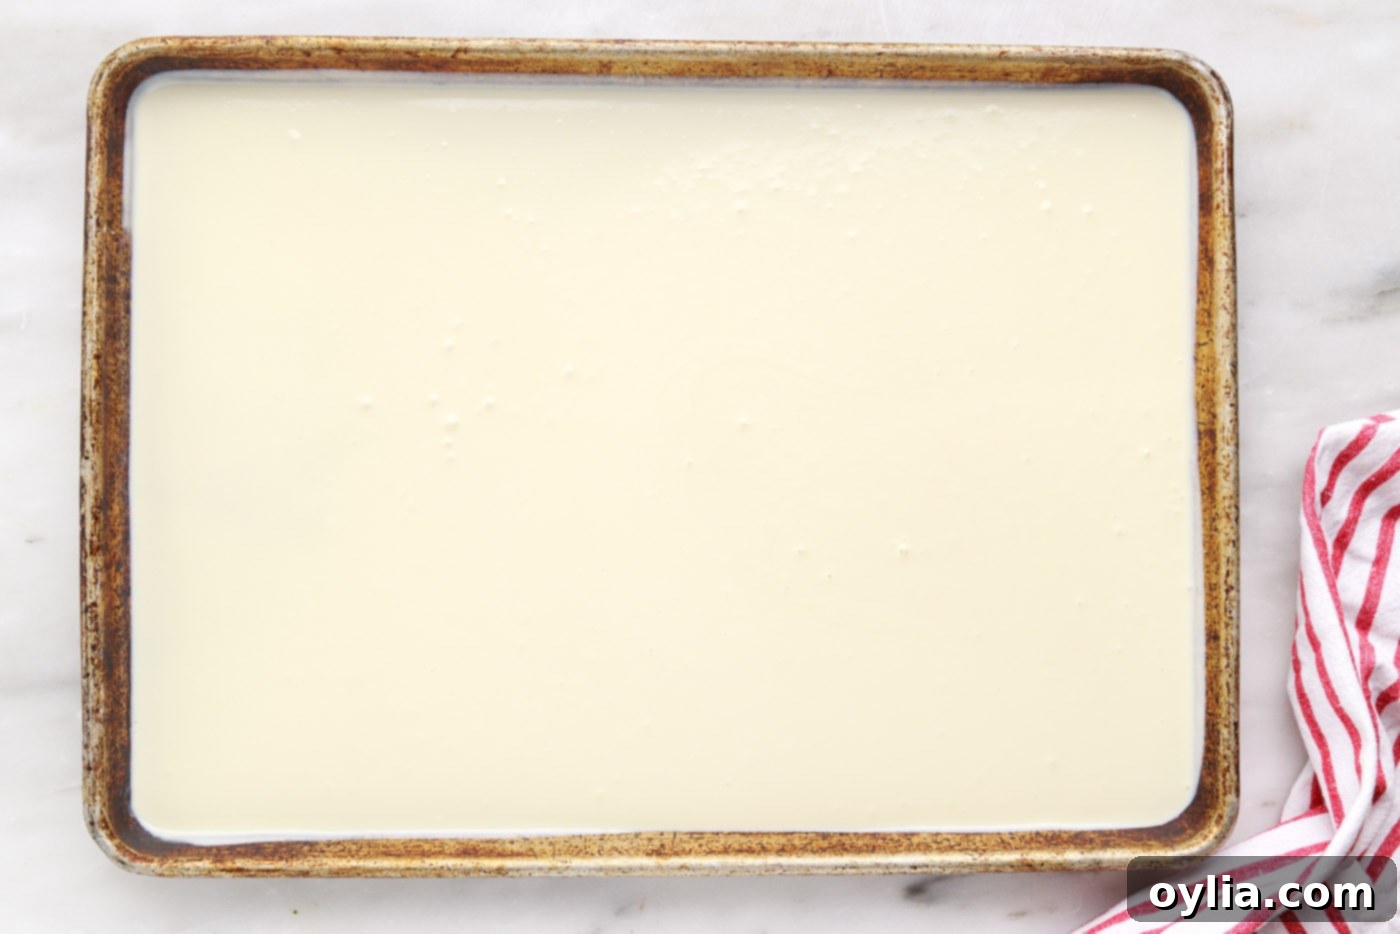
- Pour and Spread: Carefully remove the chilled pan from the freezer. Pour a portion of the ice cream mixture onto the pan. Use a large icing spatula or offset spatula to spread the cream mixture evenly across the entire bottom of the sheet pan, creating a thin, smooth layer. The layer should be approximately 1⁄8” thick, or even thinner if you can manage. The thinner the layer, the faster it freezes and the easier it is to roll. Work quickly to prevent the pan from warming up too much.
- Freeze Until Solid: Place the pan with the spread mixture back into the freezer. Freeze for at least 2-3 hours, or until the ice cream is completely solid and firm to the touch. The freezing time may vary depending on your freezer’s efficiency and the thickness of your ice cream layer.
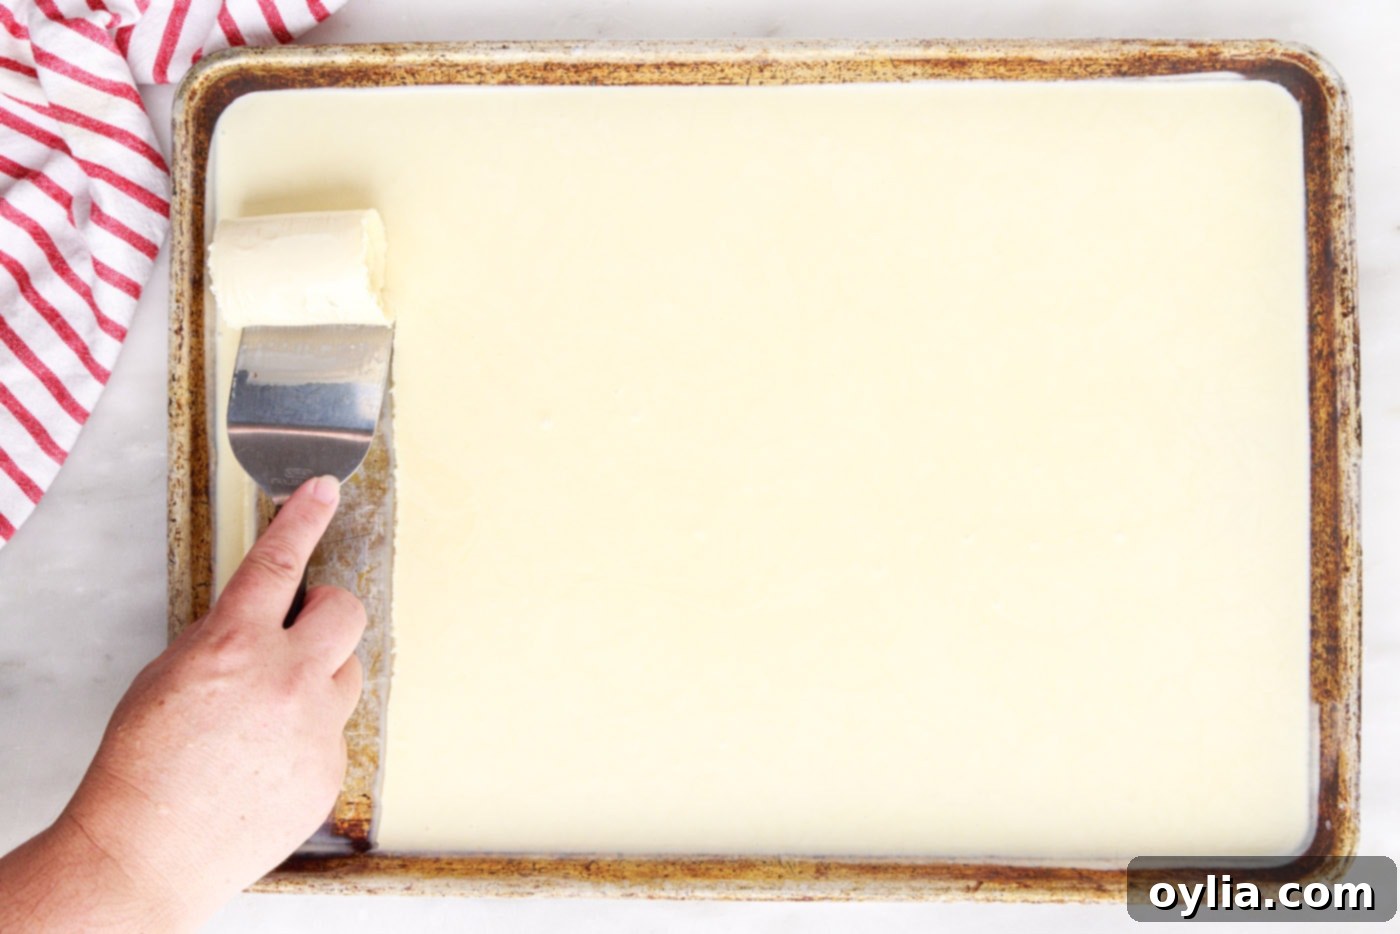
- Roll the Ice Cream: This is the fun part! Working quickly, retrieve the frozen pan. Using a sturdy 3-inch wide straight spatula (or a pair of metal ice cream scrapers if you have them), gently lift the edge of the ice cream. Then, with a confident, consistent motion, glide your spatula across the sheet pan at about a 45-degree angle to create beautiful rolls of ice cream. If it’s too soft, return to the freezer briefly. If too hard and brittle, let it sit out for a minute. Transfer the freshly made rolls immediately into a paper cup, bowl, or serving dish.
Frequently Asked Questions & Expert Tips for Perfect Rolled Ice Cream
Once rolled, transfer the individual rolls into an airtight container and store them in the freezer for up to 1 month. For the remaining base mixture that hasn’t been rolled, you can cover the sheet pan tightly with plastic wrap and return it to the freezer, or pour the unrolled base back into a sealed container and refrigerate it. The unrolled base mixture will stay good in the refrigerator for up to 3-4 days, allowing you to make fresh rolls on demand.
You can use any size metal pan (or multiple pans) as long as they have a rim. The key is to pour just enough base mixture into the pan to spread a thin, solid layer – there’s no such thing as “too thin” when it comes to rolled ice cream experiments! Freeze this thin layer, roll it, and then repeat the process with the remaining base mixture. Store any un-used base in the refrigerator in between pours. Many home chefs find that using smaller quarter sheet pans is ideal, as it allows for smaller, more manageable batches, ensuring the pan stays colder and the ice cream is easier to roll before it starts to melt.
For the initial spreading, a large icing spatula or an offset spatula works perfectly to create that thin, even layer. For the actual rolling process, a sturdy 3-inch wide straight spatula or a set of professional ice cream scrapers (often found in Asian markets or online) are your best tools. The straight edge and firm blade allow you to get under the frozen ice cream and push it to create smooth, consistent rolls. The key is a clean, sharp edge and a comfortable handle for control.
Achieving perfect rolls can take a little practice, and several factors can affect success:
- Too Soft/Melting: The ice cream base might be too warm, or the pan wasn’t cold enough. Your room temperature could also be too high. Ensure both the pan and the base mixture are extremely cold. Return the pan to the freezer for a few more minutes, or if the base is too soft due to ingredient ratio, refer to the note in the recipe card about adjusting heavy cream or condensed milk.
- Too Brittle/Breaking: This usually means the ice cream is too hard, indicating a higher proportion of heavy cream to condensed milk, or it’s been frozen for too long/at too low a temperature. Let the pan sit out for 30-60 seconds to slightly soften before attempting to roll again.
- Layer Too Thick: Thick layers are much harder to roll. Aim for about 1/8 inch or thinner.
- Incorrect Spatula Angle or Pressure: Experiment with the angle of your spatula (a 45-degree angle usually works best) and the amount of pressure you apply. It requires a firm, steady, and swift motion.
Serving Suggestions for Your Homemade Rolled Ice Cream
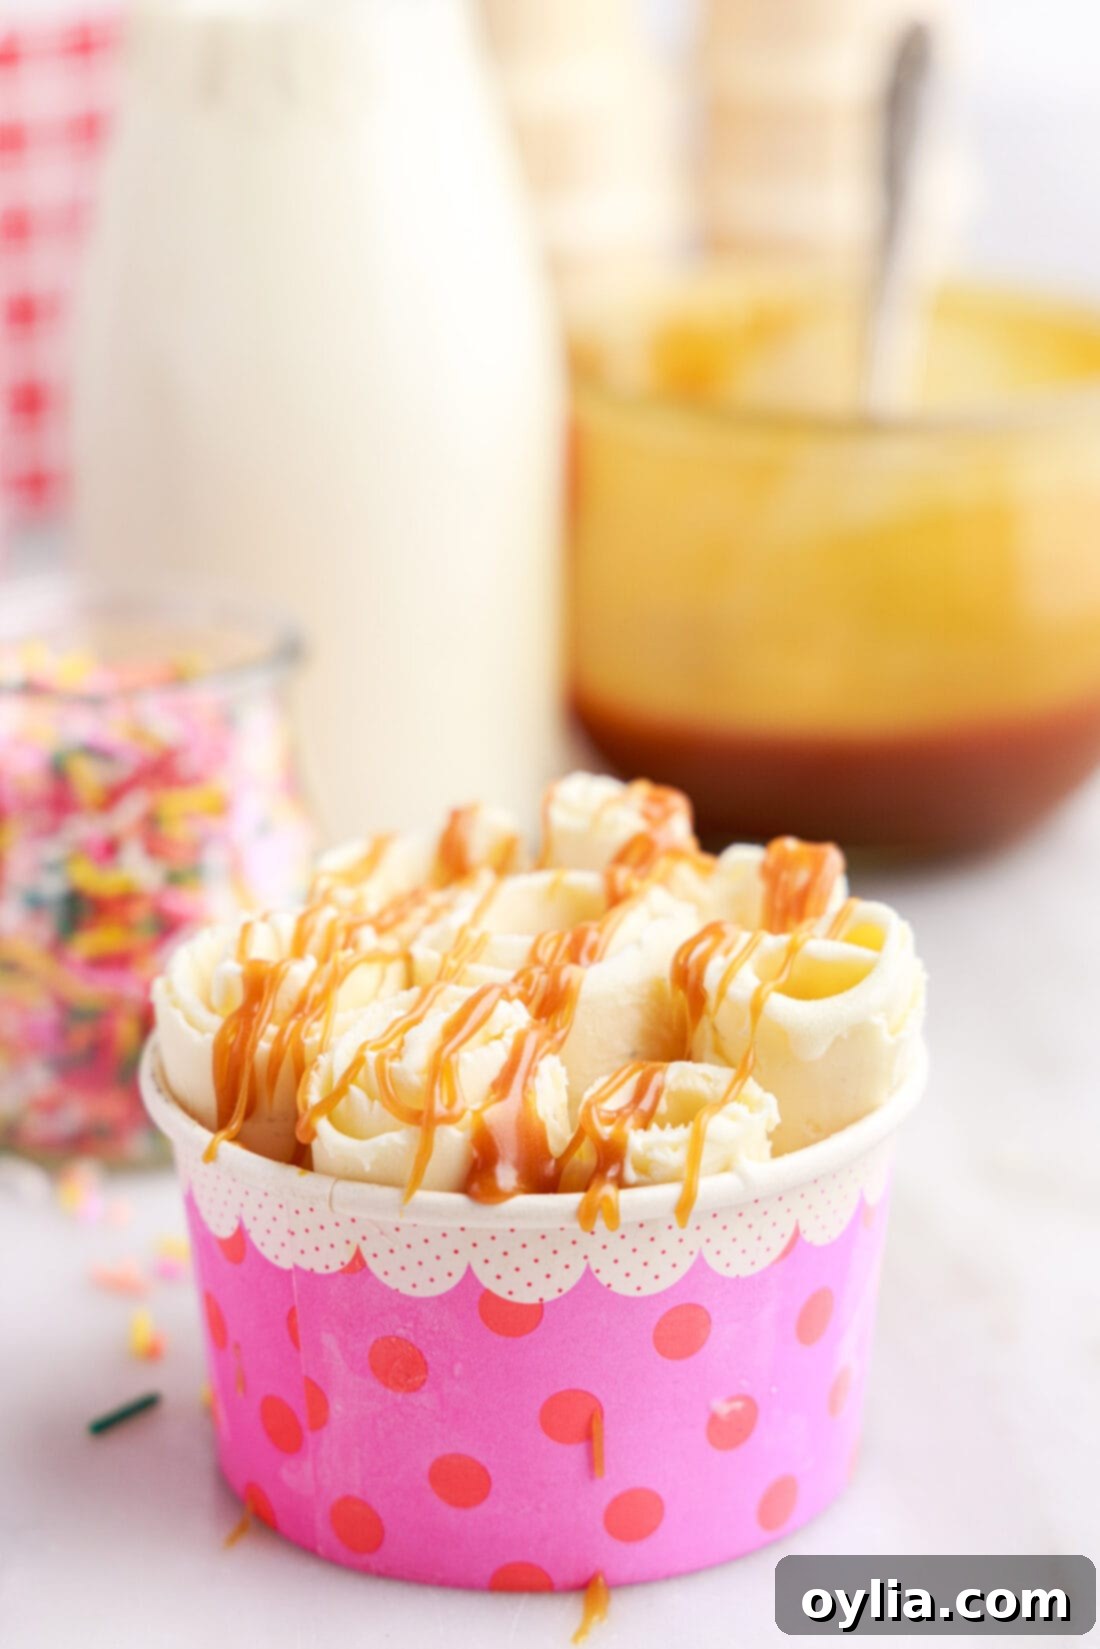
The beauty of a simple vanilla base is its incredible versatility. Once your beautiful rolled ice cream is ready, it’s time to let your creativity shine with an array of toppings. Think of your rolled ice cream as a blank canvas waiting for your masterpiece!
Endless Topping Possibilities:
- Fresh Fruits: Sliced strawberries, blueberries, raspberries, banana, kiwi, or mango add a burst of freshness and natural sweetness.
- Candy & Chocolate: Crushed Oreos, mini chocolate chips, M&Ms, chopped peanut butter cups, sprinkles, or gummy bears are always a hit.
- Crunchy Additions: Crushed pretzels, granola, chopped nuts (peanuts, almonds, walnuts), or even a crumbled cookie can add delightful texture.
- Sauces & Syrups: A generous drizzle of chocolate syrup, caramel sauce, strawberry sauce, or hot fudge will take your rolled ice cream to the next level.
- Creamy Delights: A dollop of whipped cream and a cherry on top for a classic sundae feel.
Remember, rolled ice cream has a softer consistency than traditional hard-packed ice cream and tends to melt quickly. Therefore, it’s essential to work swiftly during the rolling and decorating process. If you’re not serving immediately, quickly transfer the rolls to a container and place them back in the freezer. Be mindful of your indoor temperature; highly hot or humid environments can make the rolling process more challenging, so consider cranking up the AC or working in a cooler spot in your home.
More Delicious Ice Cream Recipes to Try
If you’ve fallen in love with homemade frozen treats, we have plenty more recipes to satisfy your sweet tooth:
- Classic No-Churn Ice Cream
- Rich Homemade Chocolate Ice Cream
- Indulgent Rocky Road Ice Cream
- Creamy Peanut Butter Chocolate Chip Ice Cream
- Refreshing Homemade Mint Chocolate Chip Ice Cream
I love to bake and cook and share my kitchen experience with all of you! Remembering to come back each day can be tough, that’s why I offer a convenient newsletter every time a new recipe posts. Simply subscribe and start receiving your free daily recipes!

Rolled Ice Cream
IMPORTANT – There are often Frequently Asked Questions within the blog post that you may find helpful. Simply scroll back up to read them!
Print It
Pin It
Rate It
Save ItSaved!
Ingredients
- 2 cups heavy whipping cream
- ½ cup sweetened condensed milk
- ¼ teaspoon sea salt
- 1 ½ teaspoons pure vanilla extract
Things You’ll Need
-
Sheet pan
-
Whisk
-
Mixing bowls
-
3″ wide straight spatula
Before You Begin
- The ratio of sweetened condensed milk to heavy cream is really important, particularly when there are no additional mix-ins to this vanilla ice cream. If you find that the ice cream is too soft and won’t roll without melting into a puddle before you can get it off the pan…you need to add more heavy cream (or less sweetened condensed milk) to the mixture. If the ice cream is brittle and breaks instead of rolls, you need a greater portion of sweetened condensed milk. Different brands of sweetened condensed milk may make a difference also.
- If your ice cream won’t roll and you need to adjust the proportions, simply set the sheet pan out of the freezer for a few minutes to soften, then scrape/pour the mixture back into a bowl, adjust ingredients and try again.
- You can use any size pan (or pans) – as long as they are metal and have a rim. Pour just enough base mixture into the pan to spread a thin, solid layer (there was no such thing as “too thin” in my experiments) and freeze, then roll, then repeat.. Store the rest of the base mixture in the refrigerator in between pours. I preferred using quarter sheet pans and doing smaller batches at a time.
- No churn ice cream requires no added sugar (it gets its sweetness from the sweetened, condensed milk). It is a softer set ice cream than traditional ice cream. Because it is so soft set, work quickly to roll the ice cream and transfer it to a container for immediate serving. You can roll the ice cream and store in the freezer until ready to serve.
Instructions
-
Prior to preparing the ingredients, place a full size sheet pan with rimmed edges into the freezer. Be sure there is ample space for the sheet pan to set level. Allow the pan to chill in the freezer for at least 15 minutes up to several hours in advance.
-
Whisk together all of the ingredients in a large bowl.
-
Pour the mixture into the prepped pan. Use a large icing spatula to spread the cream mixture evenly across the entire bottom of the sheet pan, into a thin smooth layer. The layer should be quite thin, about 1⁄8” thick, even thinner if you can manage.
-
Freeze for at least 2-3 hours, until the ice cream is solid.
-
Working quickly with a 3” wide straight spatula – gently lift the edge of the ice cream and then glide your spatula across the sheet pan to make rolls of ice cream. Transfer the rolls into a paper cup or bowl for serving.
Nutrition
The recipes on this blog are tested with a conventional gas oven and gas stovetop. It’s important to note that some ovens, especially as they age, can cook and bake inconsistently. Using an inexpensive oven thermometer can assure you that your oven is truly heating to the proper temperature. If you use a toaster oven or countertop oven, please keep in mind that they may not distribute heat the same as a conventional full sized oven and you may need to adjust your cooking/baking times. In the case of recipes made with a pressure cooker, air fryer, slow cooker, or other appliance, a link to the appliances we use is listed within each respective recipe. For baking recipes where measurements are given by weight, please note that results may not be the same if cups are used instead, and we can’t guarantee success with that method.
We hope you enjoy making and devouring this easy homemade rolled ice cream as much as we do! It’s a fantastic recipe to involve the whole family, from mixing the base to choosing and adding toppings. Don’t forget to share your creations and tag us on social media!
