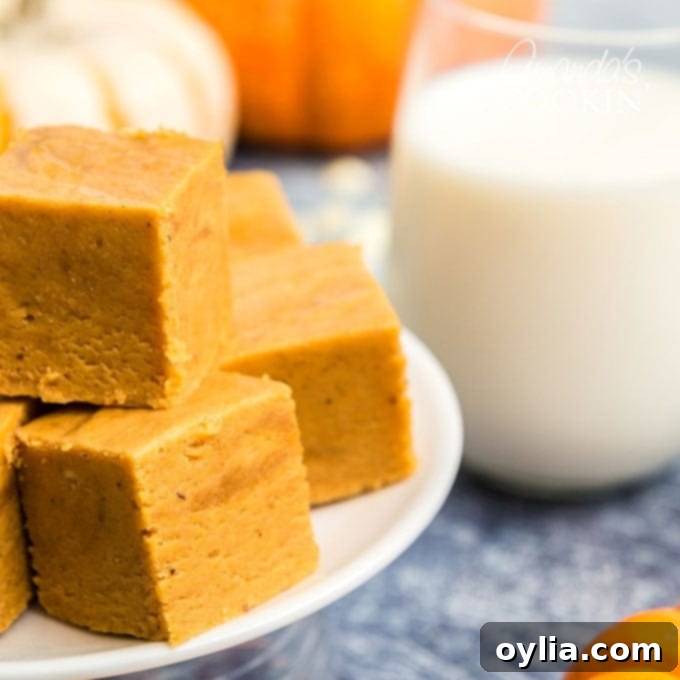
Easy Pumpkin Pie Fudge: Your Ultimate Guide to a Perfect Fall Dessert
As the leaves begin to turn vibrant shades of red and gold, and a crisp coolness fills the air, there’s nothing quite like the comforting aroma of pumpkin spice wafting from the kitchen. If you adore classic fudge and everything pumpkin, then this incredibly easy pumpkin pie fudge recipe is an absolute must-try. It’s the quintessential fall treat, perfect for cozy evenings, holiday gatherings, and of course, a delightful addition to your Thanksgiving dessert spread. This creamy, spiced confection captures all the beloved flavors of pumpkin pie in a convenient, bite-sized square, making it an irresistible finger food dessert for any autumn table.
Around here, we have a serious sweet tooth when it comes to pumpkin desserts. The versatility of pumpkin allows for so many delicious creations beyond just pie. While this pumpkin fudge certainly holds a special place in our hearts, some of our other cherished recipes include the wonderfully moist Pumpkin Roll cake, the layered indulgence of Pumpkin Lasagna, and the surprisingly simple yet amazing Pumpkin Magic Cake. Each offers a unique way to celebrate the season’s favorite gourd, but for sheer ease and crowd-pleasing appeal, this fudge is truly hard to beat.
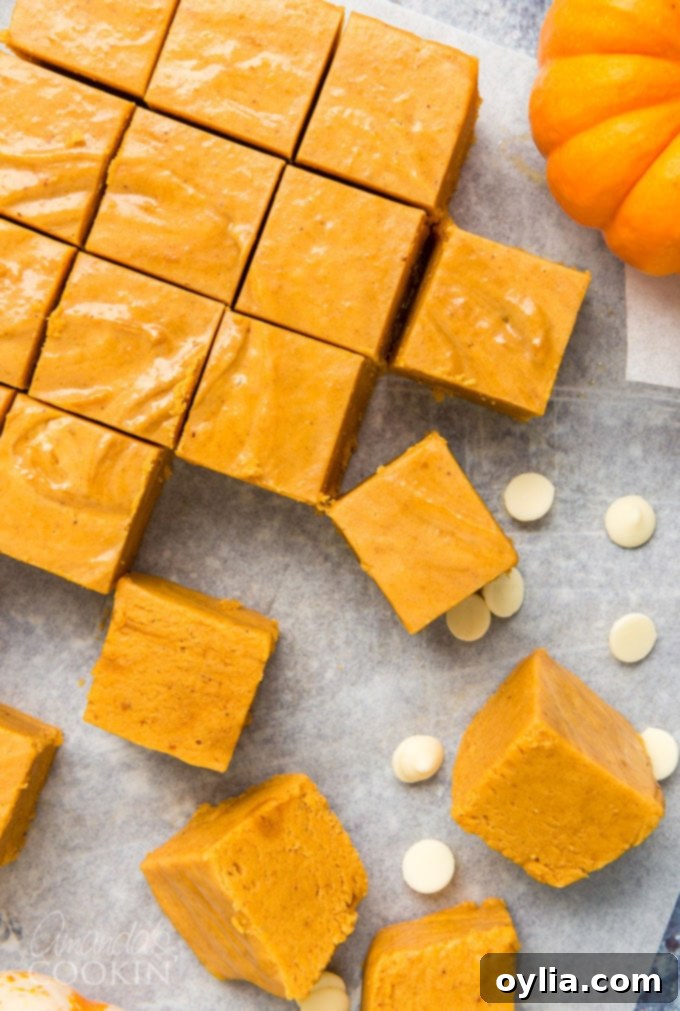
Effortless Elegance: Why This Pumpkin Fudge Recipe Shines
This easy pumpkin fudge recipe is a true testament to the fact that incredibly delicious desserts don’t have to be complicated or time-consuming. With minimal effort, you can create a batch of rich, creamy, and perfectly spiced fudge that tastes like it came straight from a gourmet confectionery. Its simplicity makes it an ideal choice for busy holiday seasons or for those new to candy making. It’s also an excellent recipe to prepare for holiday potlucks, family gatherings, or any occasion where you want to impress with a homemade touch without the stress.
The beauty of this recipe lies in its straightforward process and readily available ingredients. Forget about complex techniques or obscure components. We’re talking about pantry staples transformed into a luxurious treat. The result is a velvety smooth fudge, bursting with the warm, inviting flavors of pumpkin and a delicate blend of autumn spices, all harmoniously balanced by sweet white chocolate. It’s an indulgence that truly captures the spirit of the fall season.
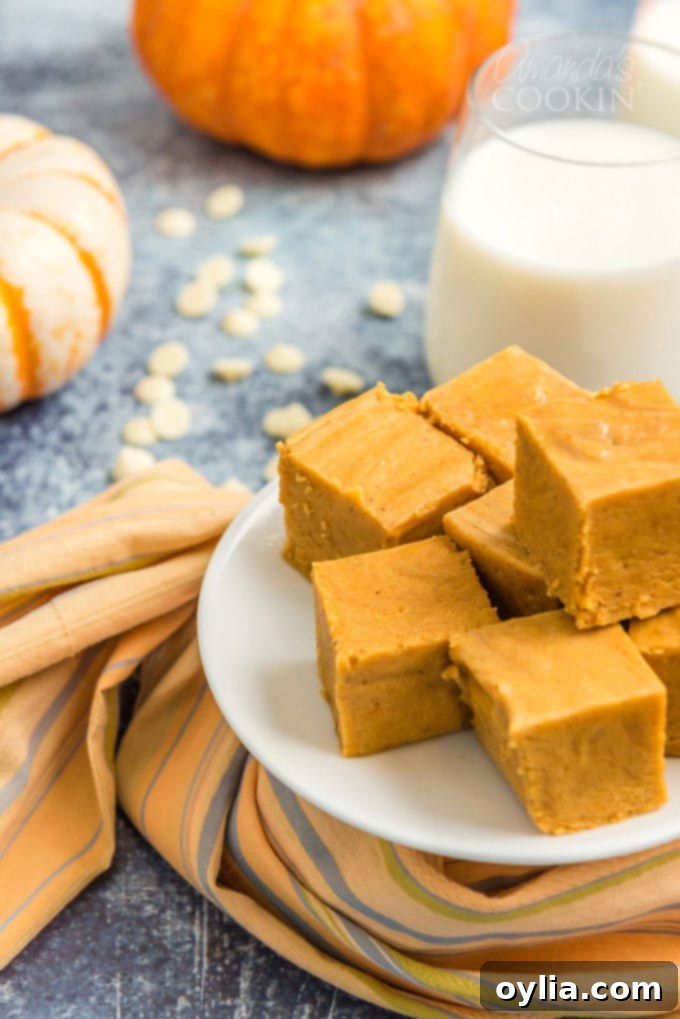
Essential Ingredients for Your Perfect Pumpkin Pie Fudge
One of the many advantages of this pumpkin pie fudge recipe is that you likely already have most of the necessary ingredients tucked away in your pantry. This means less running to the grocery store and more time enjoying the delicious results! We’ll guide you through each component, offering tips and insights to ensure your fudge turns out perfectly every time. For those who enjoy a truly homemade touch, you can even make your own marshmallow fluff if you prefer, though store-bought works wonderfully for convenience.
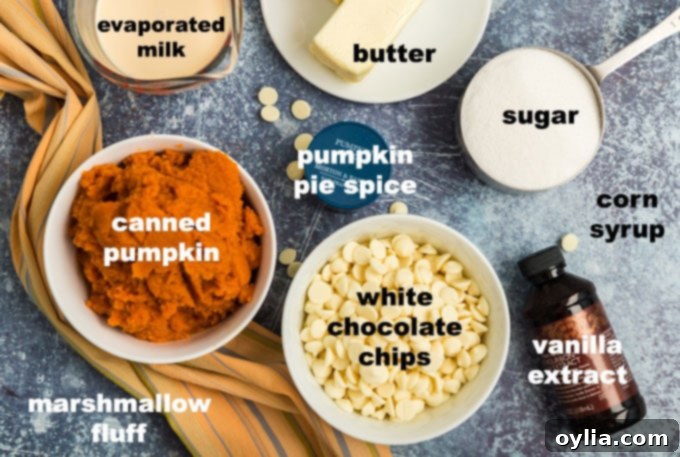
- Unsalted Butter: When embarking on baking projects and dessert making, unsalted butter is always my preference. It gives you precise control over the salt content in your recipe. However, if salted butter is all you have on hand, it will still work perfectly fine; just be mindful of the overall sweetness and consider reducing any additional salt if you usually add it.
- Granulated Sugar: Regular white granulated sugar is key here, providing the necessary sweetness and contributing to the fudge’s classic crystalline structure. Don’t substitute with brown sugar or powdered sugar for this specific recipe, as it will alter the texture significantly.
- Evaporated Milk: This is a crucial distinction! This recipe specifically calls for evaporated milk, not sweetened condensed milk. Evaporated milk is unsweetened and has about 60% of the water removed, resulting in a richer, creamier liquid than regular milk, which is perfect for fudge. Sweetened condensed milk is already very sweet and thick, and its use would drastically change the outcome.
- Canned Pumpkin: You’ll only need one cup of canned pumpkin for this recipe, which means you might have some leftover from a standard can. This is a fantastic opportunity to explore our other delightful pumpkin recipes, or simply double this fudge batch to make more for gifting or sharing! Always ensure you’re using plain canned pumpkin puree, not pumpkin pie filling, which already contains spices and sugar.
- Light Corn Syrup: Just a small amount of light corn syrup plays a vital role in the texture of our fudge. It helps prevent sugar crystallization, which can make fudge grainy, ensuring a smoother, creamier consistency. Think of it as your secret weapon for perfectly smooth fudge.
- Pumpkin Pie Spice: For convenience and consistent flavor, we typically use a pre-made, purchased pumpkin pie spice blend. These blends usually contain cinnamon, nutmeg, ginger, and cloves. However, if you have a favorite homemade mixture or want to customize the spice level, feel free to use your own! Freshly ground spices can add an extra layer of aroma and flavor.
- White Chocolate Chips: Regular bagged white chocolate chips are completely acceptable and work well for this recipe. However, for a truly decadent experience, I often reach for Ghirardelli white chocolate chips. Their higher quality and smoother melt contribute to an even richer, more luxurious fudge. The white chocolate is essential for both flavor and for helping the fudge set properly.
- Marshmallow Fluff: This ingredient is a game-changer for creamy fudge. Marshmallow fluff (also known as marshmallow creme) contributes to the incredibly smooth, soft texture of the fudge and helps it set without becoming too hard. It’s one of those ingredients that, for the joy it brings, you simply must indulge!
- Pure Vanilla Extract: Don’t underestimate the power of pure vanilla extract. It enhances all the other flavors in the fudge, adding a touch of warmth and complexity that rounds out the entire profile. Always opt for pure vanilla for the best taste.
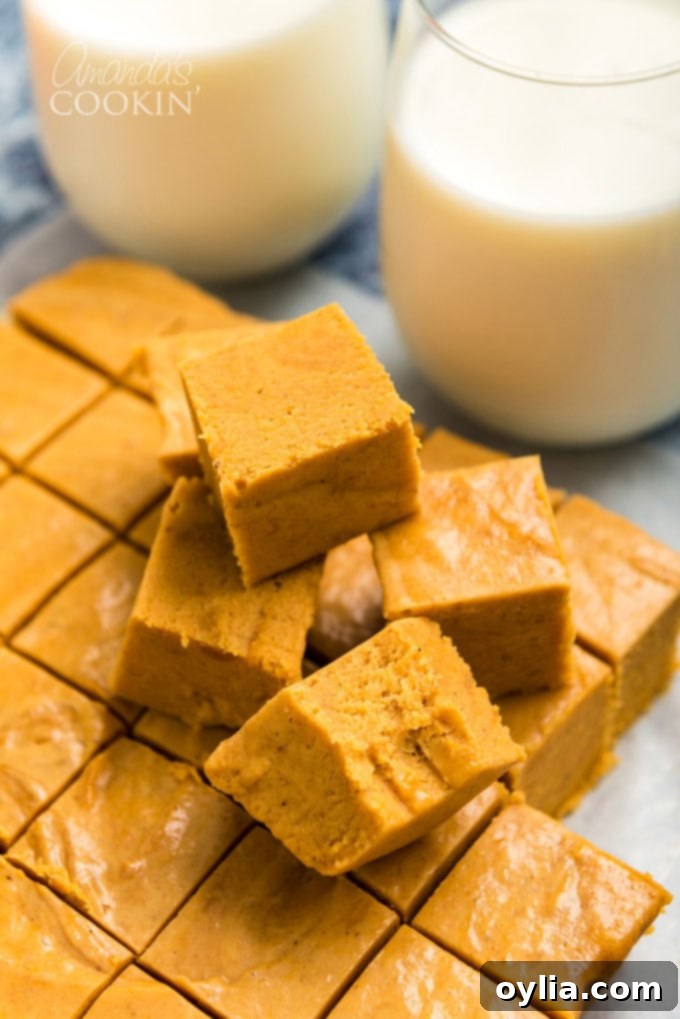
Once you’ve gathered all your ingredients, the hardest part of making this delightful pumpkin pie fudge isn’t the cooking itself, but the anticipation of waiting for it to cool and set! Patience truly is a virtue in candy making. If you try to cut into the fudge before it has completely cooled and firmed up, it will likely be too soft and taste overly sweet because the sugar crystals haven’t properly set. Trust the process, allow ample cooling time, and don’t hesitate to use the refrigerator to speed up the chilling process for optimal texture and flavor. A properly cooled fudge will have that perfect, melt-in-your-mouth creaminess.
Mastering the Art of Fudge: Essential Tips for Success
Making fudge is more an art of precision than a test of culinary genius, and a few key factors can make all the difference between perfect, creamy squares and a batch that doesn’t quite set or turns out too dry. Understanding these nuances will help you achieve consistent, delicious results every time.
- The primary culprit when fudge fails to harden is often related to the cooking temperature and the rate at which it’s heated. When making fudge, it’s absolutely essential to reach the specific “soft-ball stage” on a candy thermometer (235°F / 113°C). However, simply reaching this temperature isn’t enough; the flame or heat setting must be adjusted correctly.
- If you cook the mixture too fast (i.e., with too high a flame), enough water won’t evaporate from the mixture. This excess moisture will prevent the sugar from crystallizing properly, resulting in fudge that remains too soft or won’t set at all.
- Conversely, if you keep the flame too low, it will take an excessively long time for the mixture to reach the target temperature. During this prolonged cooking period, too much water will evaporate, leaving you with dry, crumbly, or overly hard fudge. The goal is a balanced evaporation rate.
- The recipe instructs to begin cooking over medium heat. This initial phase allows all the ingredients to melt and combine smoothly without scorching. Once everything is well-integrated, you then increase the heat to medium-high. This critical adjustment is designed to help the mixture reach the correct consistency and temperature (235°F) within a specific timeframe, typically 10-20 minutes. If your mixture reaches temperature significantly faster than this, it’s a strong indicator that your flame was too high, and the fudge may not set correctly. Pay close attention to these heat adjustments and the timing for truly successful fudge.
Step-by-Step Guide: Crafting Your Delicious Pumpkin Pie Fudge
Follow these simple instructions carefully to create a batch of creamy, flavorful pumpkin pie fudge that will be the star of your fall dessert table. Precision in candy making is key, so pay attention to the temperatures and timings for the best results!
- Prepare Your Pan: Begin by lining a 9×9 inch baking dish with aluminum foil. Make sure there’s enough foil hanging over all four edges; these overhangs will serve as convenient handles for lifting the fudge out of the pan once it’s set. Lightly coat the foil with cooking spray to prevent sticking. This preparation step is crucial for easy removal and clean, perfect squares.
- Combine and Heat: In a medium-sized, heavy-bottomed saucepan, melt the unsalted butter over medium heat. Once melted, stir in the granulated sugar, evaporated milk, canned pumpkin, light corn syrup, and pumpkin pie spice. Mix thoroughly until all ingredients are well combined. After combining, increase the heat to medium-high.
- Boil and Reach Soft-Ball Stage: Continue cooking the mixture, stirring constantly at first to ensure the sugar dissolves and nothing sticks to the bottom. Once it comes to a rolling boil, you can stir less frequently but still often enough to prevent sticking. Insert a reliable candy thermometer and continue cooking until the mixture reaches exactly 235 degrees F (113 degrees C), which is known as the “soft-ball stage.” This precise temperature is vital for the fudge’s texture. Depending on your stove and interpretation of “medium-high” heat, this stage can be reached anywhere from 10 to 20 minutes. Do not rush this step, and trust your thermometer!
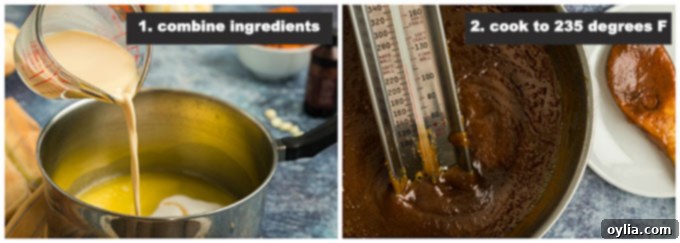
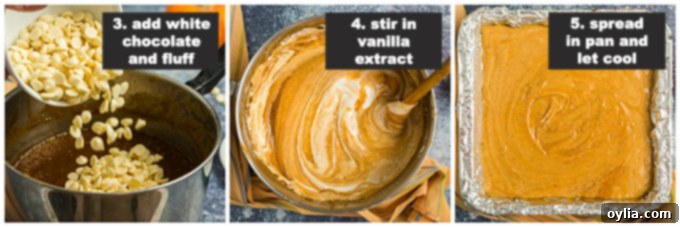
- Remove and Stir: Immediately remove the saucepan from the heat once it reaches 235°F. Quickly stir in the white chocolate chips, marshmallow fluff, and pure vanilla extract. Continue stirring vigorously until all ingredients are completely melted and thoroughly blended into a smooth, homogenous mixture. The residual heat from the fudge will melt the chocolate and fluff.
- Pour and Cool: Pour the hot fudge mixture into the prepared 9×9 inch pan. Use a spatula to spread it evenly into the corners. Now comes the hard part: resisting the urge to cut into it! Let the fudge stand undisturbed at room temperature for a minimum of 2 hours, or until it is completely cool and firm to the touch. This slow cooling process is essential for the sugar crystals to properly form and for the fudge to achieve its characteristic texture.
- Chill and Cut: For best results and clean cuts, refrigerate the cooled fudge for at least one hour before attempting to slice it. The chilling process firms it up even further, making it much easier to cut into perfect squares. Once chilled, lift the fudge out of the pan using the foil handles, peel away the foil, and slice into your desired square size.
More Irresistible Fall & Thanksgiving Dessert Ideas
While this pumpkin pie fudge is sure to be a hit, the autumn season, particularly Thanksgiving, offers an abundance of opportunities to explore other delightful pumpkin and fall-inspired treats. Here are some more fantastic dessert ideas to complement your holiday table or simply satisfy your seasonal cravings:
- If you are a pumpkin pie purist and believe there’s nothing quite like the classic, make sure to check out my perfect pumpkin pie recipe for a truly traditional and delicious outcome.
- For those who gravitate towards cake over pie, my pumpkin magic cake recipe is an absolute dream. It’s another incredibly easy option, as it starts with a doctored cake mix, meaning maximum flavor with minimal effort!
- If you’re simply looking for a robust and satisfying cake recipe, try making a classic pumpkin cake. It’s moist, spiced, and a perfect canvas for cream cheese frosting.
- Are spreads and dips more your thing for a lighter, more versatile treat? Indulge in some luscious whipped pumpkin butter, fantastic on toast, pancakes, or just by the spoonful.
- And I certainly haven’t forgotten about all the cheesecake lovers out there! You absolutely must dig into some rich and creamy pumpkin cheesecake with rum whipped topping for an elevated, festive dessert.
- Pumpkin-y sweets aren’t just reserved for dessert; you can also enjoy some for breakfast with these fluffy pumpkin oatmeal pancakes, a perfect start to any fall morning.
- To wash down all these delectable treats, why not enjoy a comforting caffeine-free pumpkin spice drink? It offers all the warm flavors without the jolt.
- For charming, individual portions, pumpkin hand pies are sweet little fall treats, easy to share and perfect for a casual gathering.
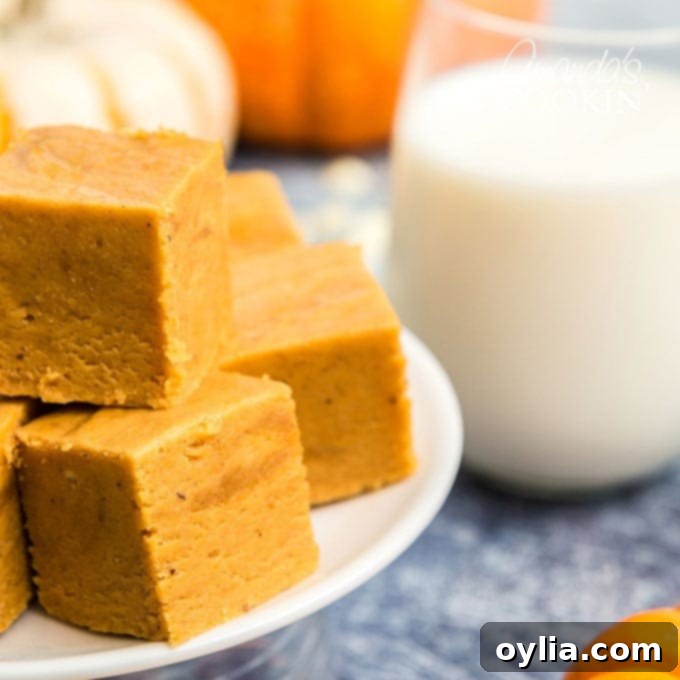
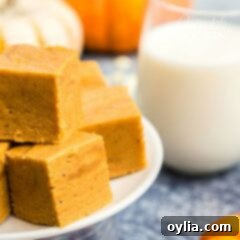
Easy Pumpkin Pie Fudge
IMPORTANT – There are often Frequently Asked Questions within the blog post that you may find helpful. Simply scroll back up to read them!
Print It
Rate It
Save ItSaved!
Ingredients
- ¾ cup unsalted butter
- 3 cups sugar
- ⅔ cup evaporated milk 5-oz can
- 1 cup canned pumpkin
- 2 tablespoon light corn syrup
- 2 ½ teaspoons pumpkin pie spice
- 9 oz white chocolate chips 1 1/3 cups
- 7 oz marshmallow fluff
- 1 teaspoon vanilla extract
Before You Begin
- This fudge is sweet. If you prefer desserts that aren’t overly sweet, you can add 1/4 teaspoon salt OR use salted butter instead of unsalted.
- Be sure to let the fudge cool completely and then chill in for a few hours for best results.
- There is a main culprit when it comes to fudge that isn’t hardening. When you make fudge you have to reach a certain temperature on the candy thermometer, BUT you also have to have the flame adjusted correctly. If you cook it too fast (too high a flame) enough water won’t evaporate and the fudge won’t set. If you have the flame too low it will take too long to reach temperature, causing too much water to evaporate and leaving you with dried out fudge.
- The recipe states to begin over medium heat and after all the ingredients are combined, then you increase the heat to medium-high. This is important to reach the correct consistency and to reach the right temperature within 10-20 minutes. If it took less than that time to reach temperature then likely your flame was too high and it cooked too fast.
Instructions
-
Line a 9×9 baking dish with aluminum foil so that there’s extra hanging over all four edges to use as handles. Lightly coat foil with cooking spray.
-
Melt butter over medium heat in a medium saucepan. Stir in the sugar, milk, pumpkin, corn syrup, and pumpkin pie spice and increase heat to medium-high.
-
Cook, stirring constantly, until mixture comes to a boil. Continue cooking, stirring frequently, until a candy thermometer reads 235 degrees F (soft-ball stage). This can take anywhere from 10-20 minutes depending on your interpretation of “medium-high” heat.
-
Remove pan from heat. Stir in white chocolate, marshmallow fluff, and vanilla until well blended.
-
Pour hot fudge mixture into the prepared pan. Let stand 2 hours or until completely cool.
-
Refrigerate for one hour before cutting fudge into squares.
Nutrition
The recipes on this blog are tested with a conventional gas oven and gas stovetop. It’s important to note that some ovens, especially as they age, can cook and bake inconsistently. Using an inexpensive oven thermometer can assure you that your oven is truly heating to the proper temperature. If you use a toaster oven or countertop oven, please keep in mind that they may not distribute heat the same as a conventional full sized oven and you may need to adjust your cooking/baking times. In the case of recipes made with a pressure cooker, air fryer, slow cooker, or other appliance, a link to the appliances we use is listed within each respective recipe. For baking recipes where measurements are given by weight, please note that results may not be the same if cups are used instead, and we can’t guarantee success with that method.
This post originally appeared here on Oct 15, 2015.
