Easy Homemade Bounty Bars: Your Ultimate No-Bake Coconut Chocolate Delight
Craving a classic candy bar experience but want to skip the store-bought versions filled with artificial ingredients? Look no further! Making your own homemade Bounty Bars, famously known as Mounds Bars in North America, is incredibly simple and takes less than 30 minutes of active preparation. These delightful treats feature a luscious, sweet coconut filling generously enrobed in a smooth, decadent layer of chocolate. Perfect for satisfying even your most intense candy bar cravings, this no-bake recipe delivers an authentic taste and texture that rivals your favorite childhood indulgence.
Whether you’re a seasoned baker or a beginner in the kitchen, this recipe is designed for success. With just a handful of ingredients and straightforward steps, you’ll be creating a batch of these irresistible coconut chocolate bars in no time. Imagine biting into that perfect combination of tender, moist coconut and crisp, rich chocolate – a truly heavenly experience!
Why This Homemade Bounty Bar Recipe is a Must-Try
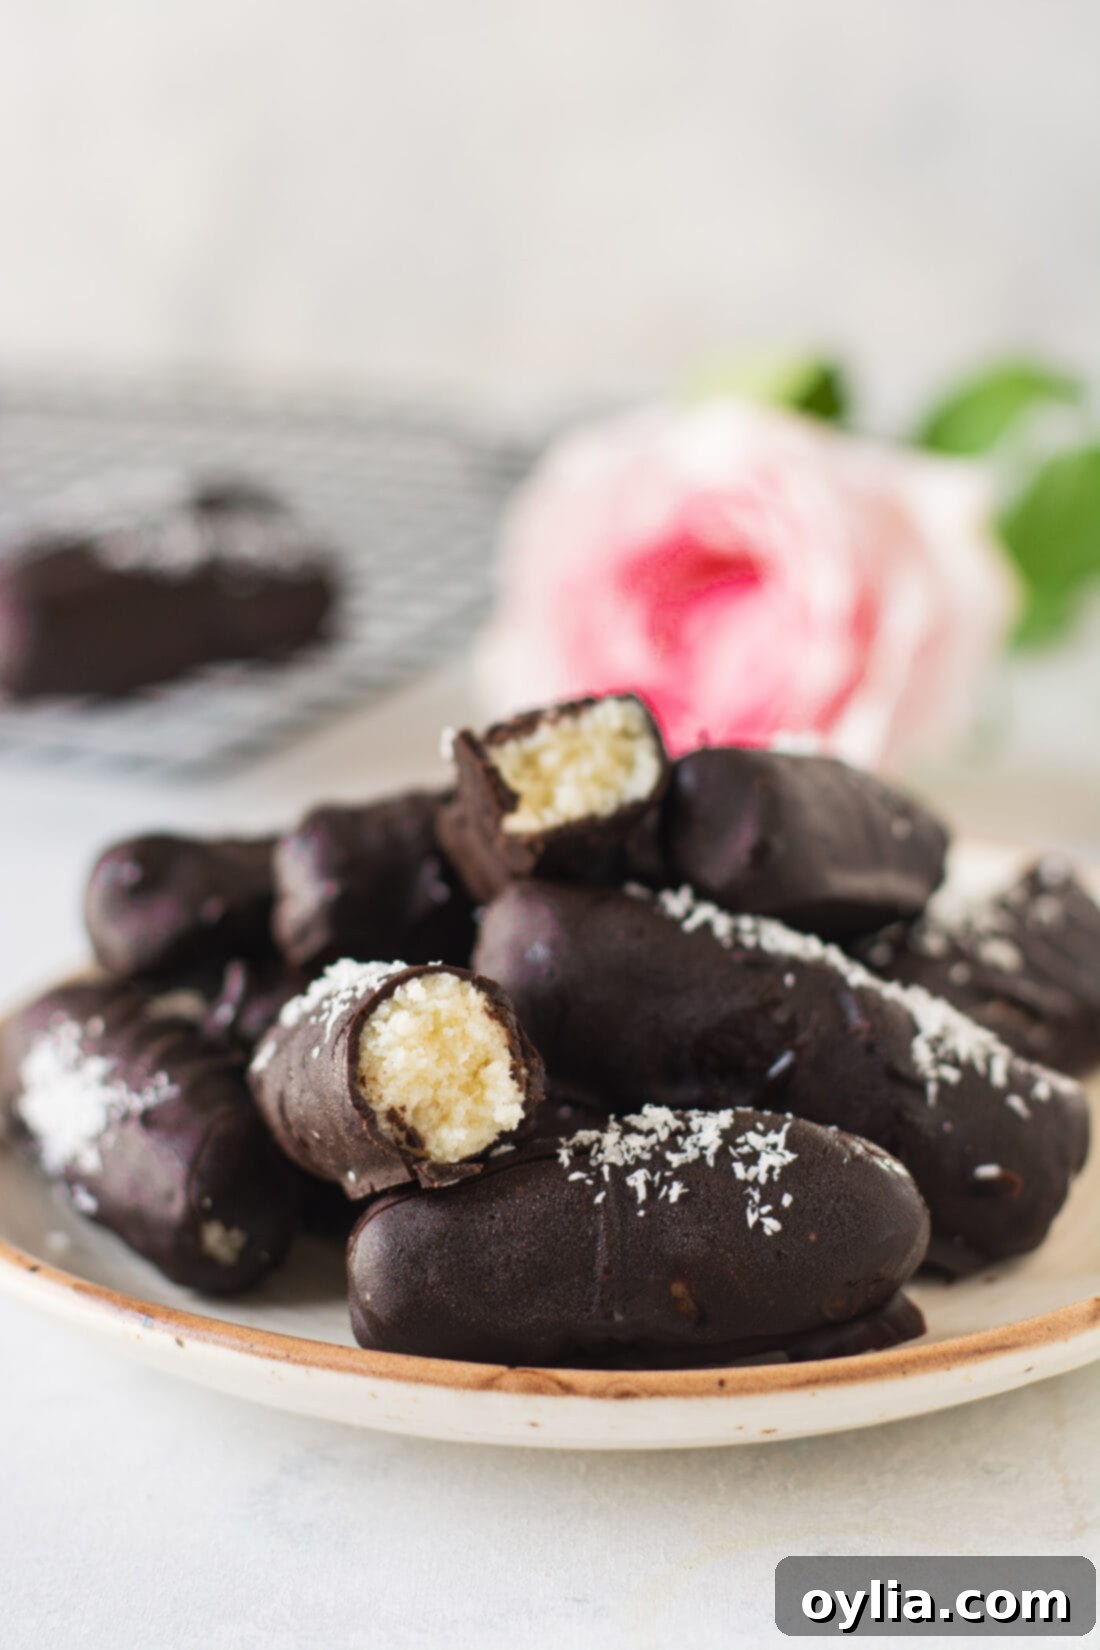
Creating your own candy bars at home is not only a fun activity for both adults and kids, but the delicious rewards are even sweeter. This particular recipe stands out for several reasons, guaranteeing a delightful experience from start to finish. Our homemade Bounty Bars boast a wonderfully chewy, moist coconut center that perfectly mimics the texture and rich flavor of the popular candy bars you cherish from the store. You’ll be amazed at how authentically satisfying they are!
One of the biggest advantages of this recipe is that no baking is required. This makes it a fantastic option for warmer weather, or when you simply want to whip up a quick dessert without turning on the oven. You’ll only need 5 simple ingredients to bring these treats to life, most of which you likely already have in your pantry. While traditional Bounty Bars are often covered in rich dark chocolate, just like we’ve done here to achieve that classic taste, this recipe is incredibly versatile. You have the freedom to customize your chocolate coating with milk chocolate or semi-sweet chocolate if you prefer a milder or sweeter flavor profile. This flexibility ensures that your homemade coconut chocolate bars are perfectly tailored to your personal taste.
Beyond the ease and deliciousness, making candy at home gives you control over the ingredients, allowing you to choose high-quality components and even adapt the recipe for dietary needs, as we’ll explore later. It’s a fantastic way to enjoy a classic treat with a homemade touch that truly makes a difference.
Essential Ingredients for Your Homemade Coconut Chocolate Bars
Gathering your ingredients is the first step towards creating these delectable homemade Bounty Bars. The beauty of this recipe lies in its simplicity, requiring only a few key components to achieve that signature coconut and chocolate flavor. For precise measurements, a detailed list, and step-by-step instructions, be sure to check the printable recipe card at the very end of this post.
Key Ingredients Breakdown:
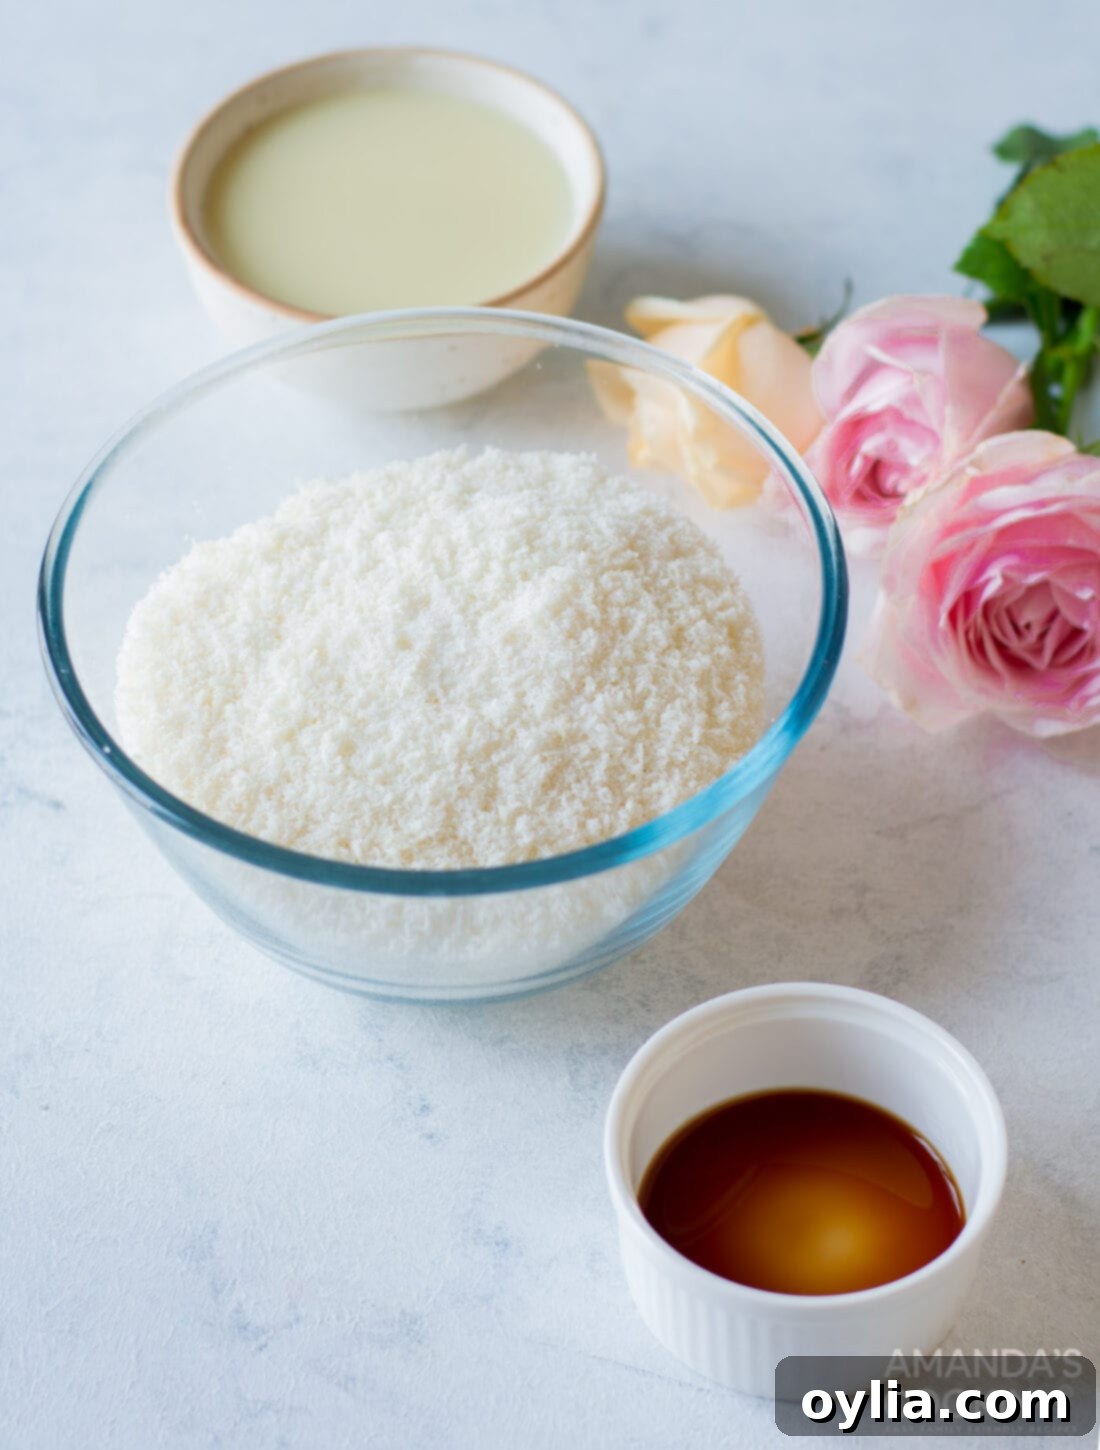
- COCONUT: For an authentic Bounty Bar texture, you will need desiccated coconut. This type of coconut is specifically processed to be finer and dryer than standard unsweetened shredded coconut. Its delicate texture is crucial for creating that dense yet tender coconut filling. While desiccated coconut is widely available, you might find it in the health food aisle of your local grocery store.
- SWEETENED CONDENSED MILK: This ingredient acts as the binder and the primary sweetener for our coconut filling. It provides the necessary moisture and creates the irresistibly chewy consistency. Its rich, milky sweetness perfectly complements the coconut flavor.
- VANILLA EXTRACT: A touch of vanilla extract elevates the overall flavor profile, adding warmth and depth that balances the sweetness of the coconut and chocolate.
- SALT: Just a pinch of salt is essential to enhance all the other flavors, particularly bringing out the sweetness of the coconut and the richness of the chocolate. It helps to prevent the bars from tasting overly sweet and adds a subtle complexity.
- CHOCOLATE: Traditionally, Bounty Bars are known for their luxurious dark chocolate coating, which offers a delightful contrast to the sweet coconut filling. We recommend using good quality chopped dark chocolate for the best melting and setting results. However, if you prefer a sweeter experience, milk chocolate or semi-sweet chocolate will also work beautifully and allow you to customize these candy bars to your liking. Choose a chocolate you genuinely enjoy eating on its own!
Expert Tip on Coconut Substitution: If you absolutely cannot find desiccated coconut, you can substitute unsweetened shredded coconut. However, be aware that shredded coconut has a higher moisture content and a coarser texture. If using shredded coconut, you may need to slightly reduce the amount of sweetened condensed milk to achieve the correct dough-like consistency. Adjust gradually until the mixture holds together when pressed.
Crafting Your Own Homemade Bounty Bars: A Step-by-Step Guide
These step-by-step photos and detailed instructions are here to guide you visually through the process of making this irresistible recipe. For a convenient printable version of this recipe, complete with precise measurements and full instructions, you can Jump to Recipe at the bottom of this page.
-
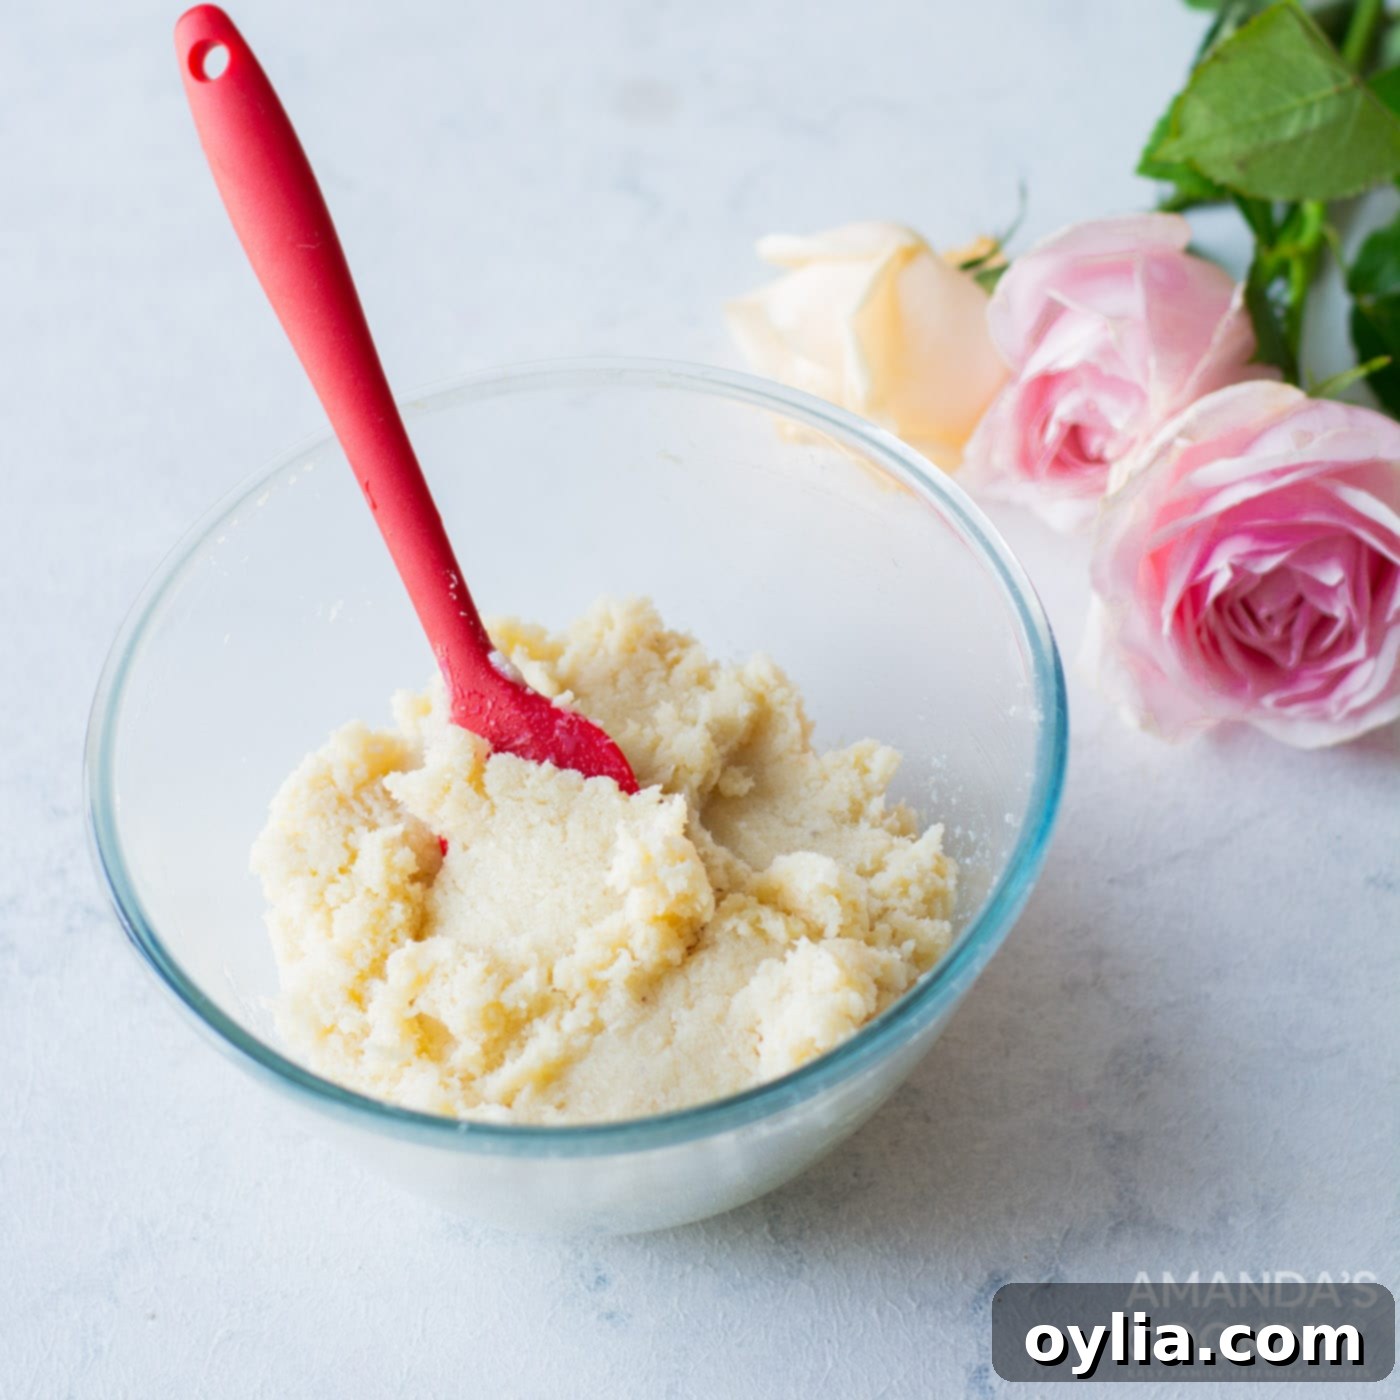
Prepare the Coconut Filling: In a large mixing bowl, combine your desiccated coconut, sweetened condensed milk, a pinch of salt, and vanilla extract. Using a sturdy rubber spatula or clean hands, mix all the ingredients thoroughly until they are well incorporated. The mixture should come together to form a cohesive, dough-like consistency that is easy to handle. If it feels too wet, add a tiny bit more coconut; if too dry, a touch more condensed milk.
EXPERT TIP: As mentioned, desiccated coconut is ideal. If substituting with unsweetened shredded coconut, start with a slightly reduced amount of sweetened condensed milk and add more only if needed, as shredded coconut retains more moisture. The goal is a firm, pliable “dough.”

-
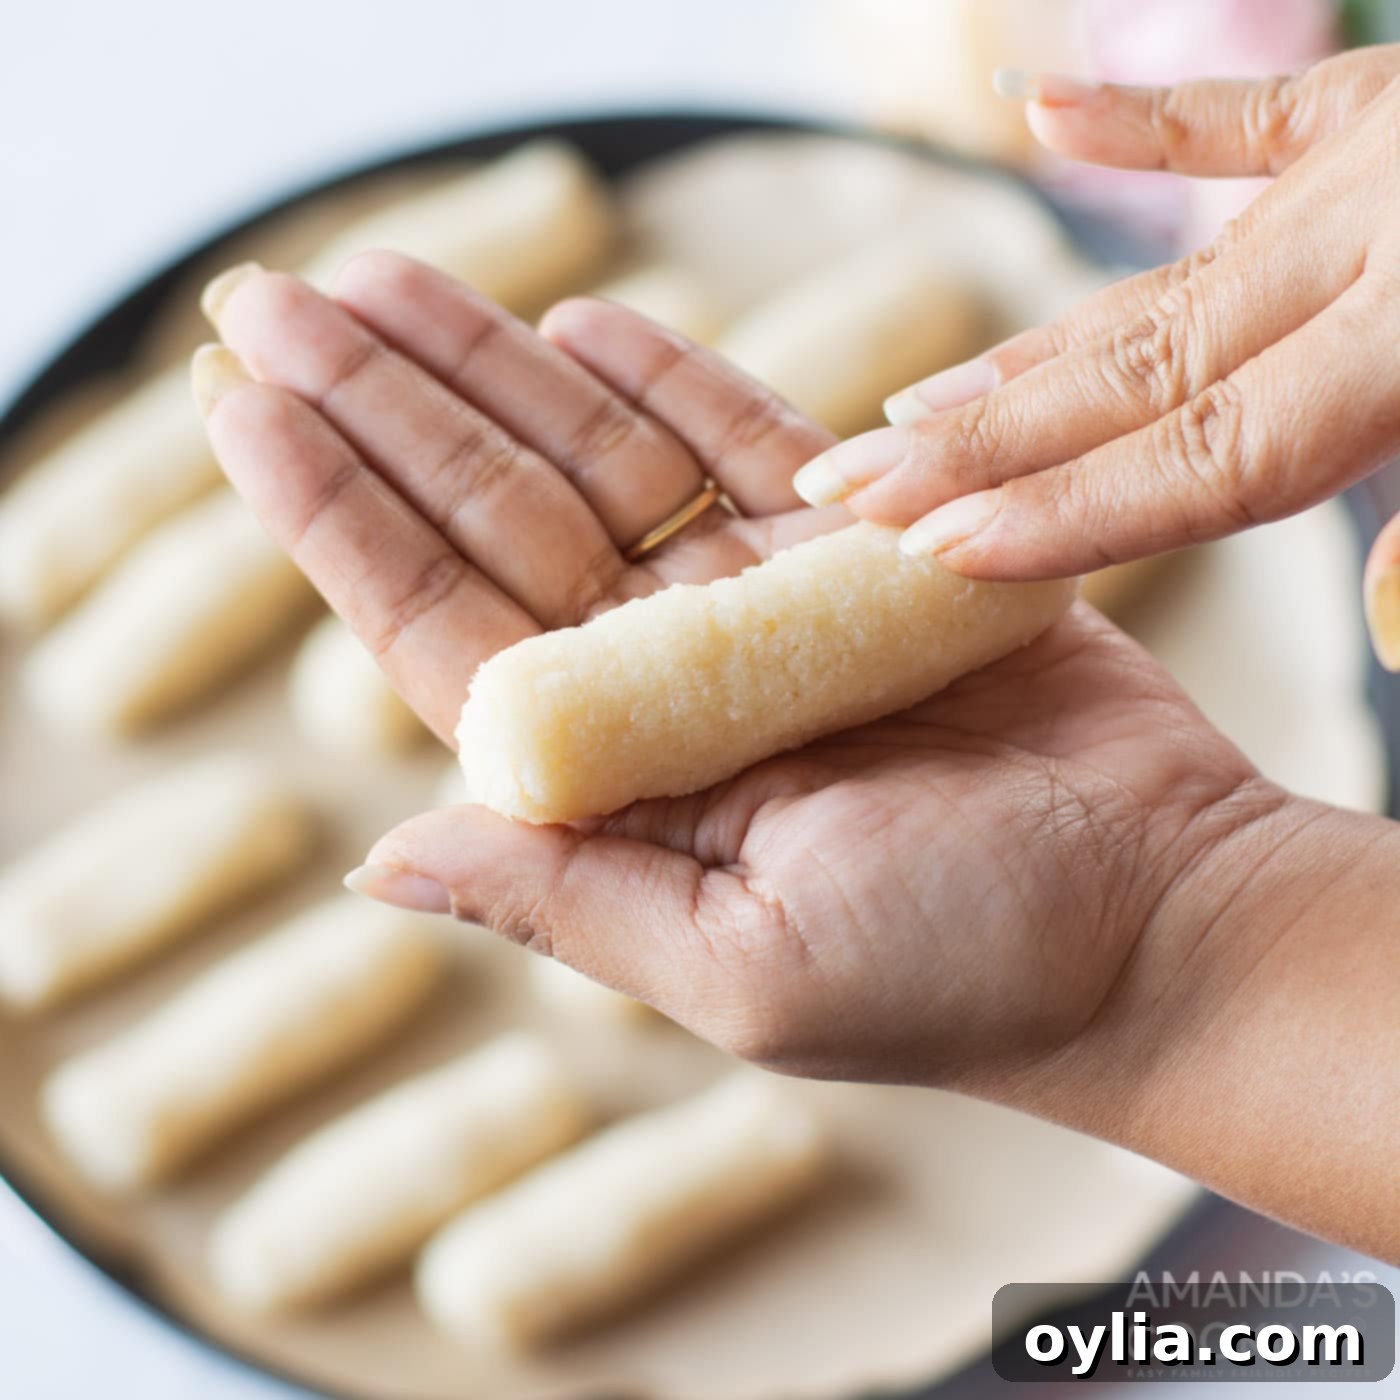
Shape the Bars: Once your coconut mixture is ready, use an ice cream scoop (a 1.5-tablespoon size works well) or a regular spoon to portion out the mixture. Take each portion and roll it gently between your palms, shaping it into a compact cylindrical bar, similar in size and shape to a store-bought Bounty or Mounds bar. Ensure they are firm so they hold their shape during chilling and dipping.

-
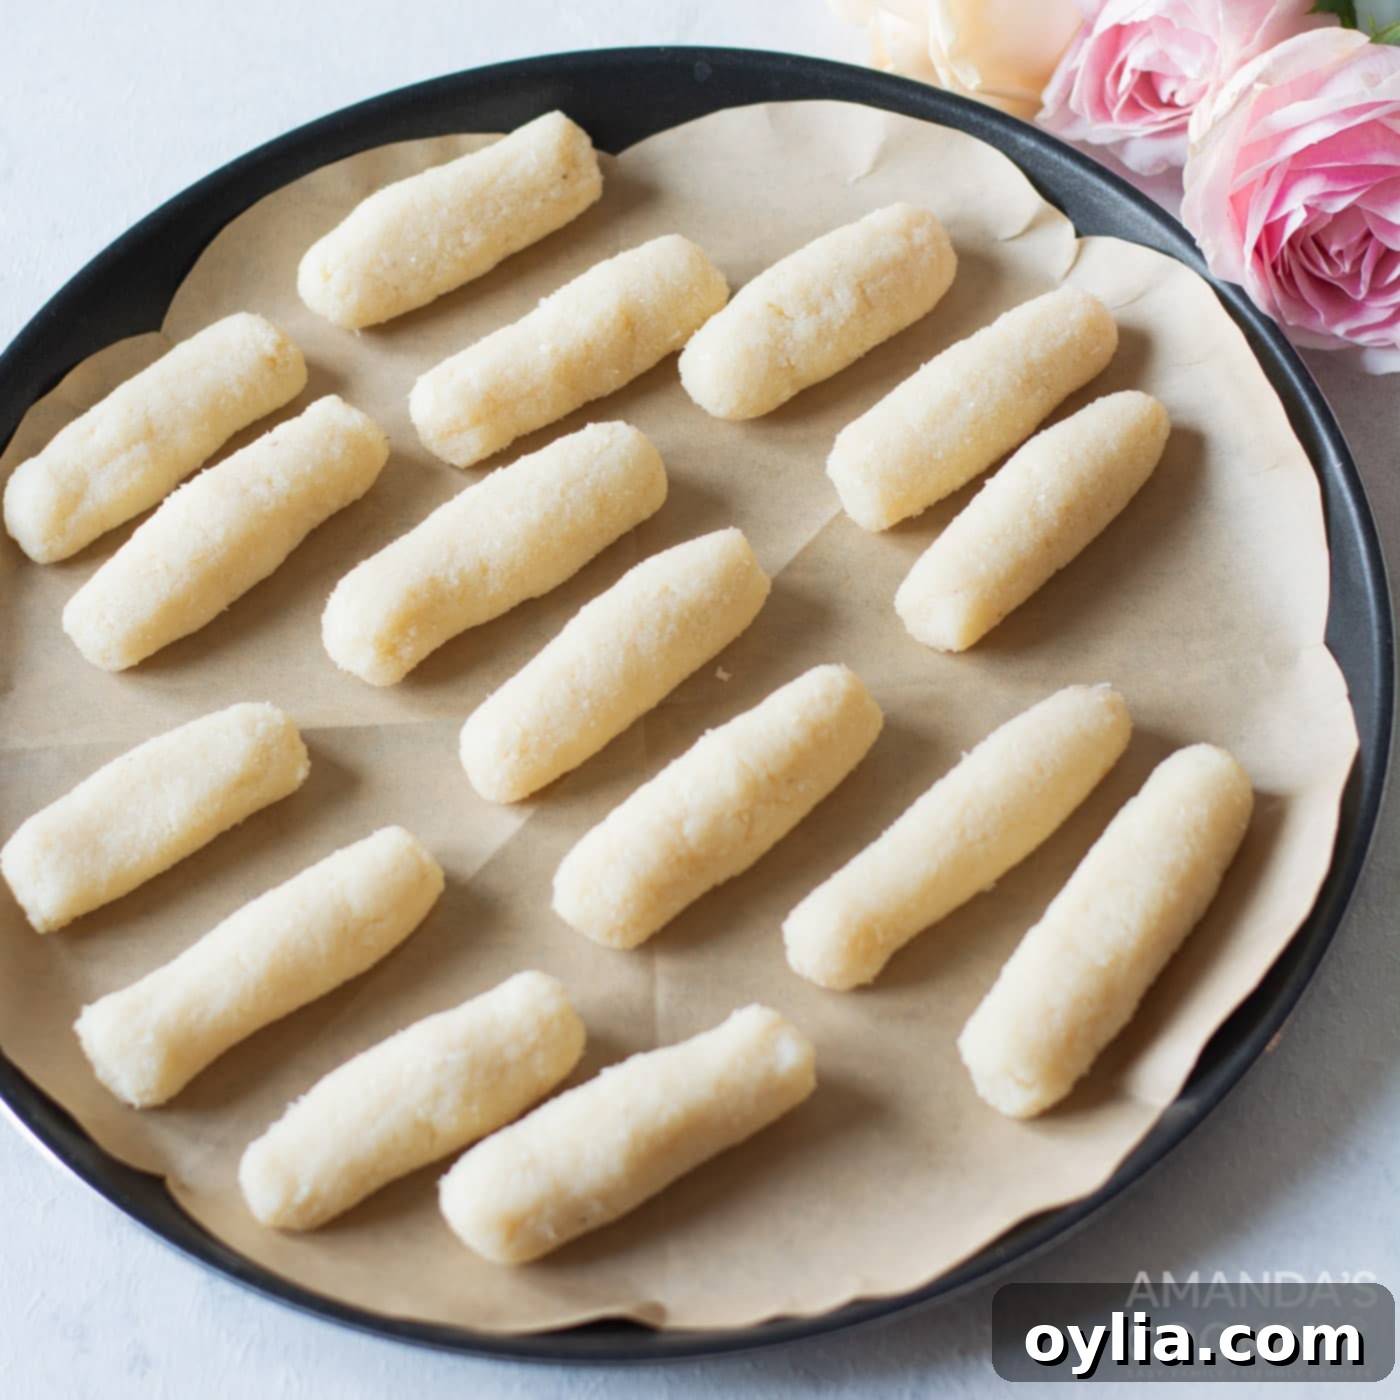
Chill the Coconut Centers: Arrange the shaped coconut cylinders on a baking sheet or tray that has been lined with parchment paper. This prevents sticking and makes cleanup easier. Place the tray in the refrigerator for at least an hour to allow the coconut centers to firm up completely. This chilling step is crucial, as firm centers are much easier to dip in chocolate without falling apart. For a quicker set, you can pop them in the freezer for about 30 minutes.

-
Melt the Chocolate: While your coconut bars are chilling, prepare your chocolate coating. Melt the chopped chocolate in a double boiler or carefully in a microwave at 30-second intervals, stirring in between, until it is completely smooth and beautifully shiny. For an even thinner, more glossy coating that’s easier to work with, you can optionally stir in a tablespoon of unsalted butter or a neutral-flavored vegetable oil (like coconut oil or canola oil) once the chocolate is melted.
-
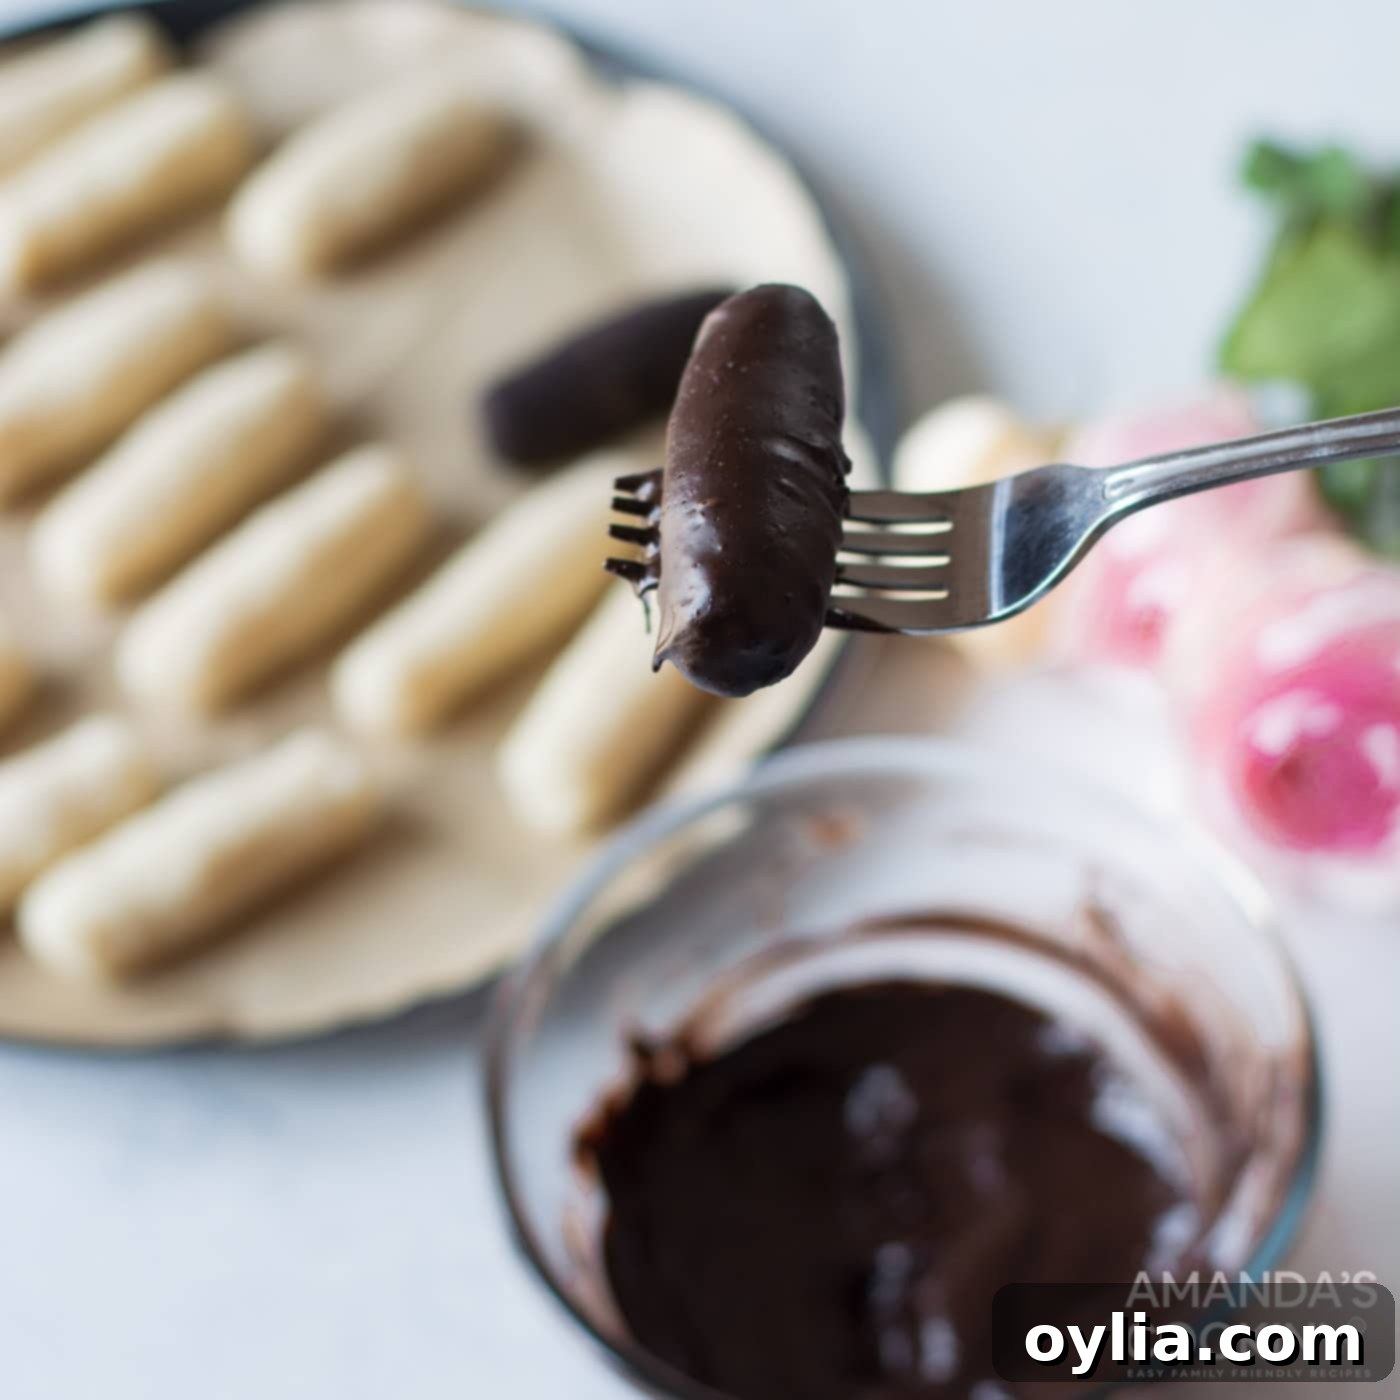
Dip in Chocolate: Carefully remove the chilled coconut bars from the refrigerator or freezer. Using a fork (a two-tine meat fork or a regular dining fork works well), gently dip each coconut bar into the melted chocolate. Ensure all sides are completely coated, allowing any excess chocolate to drip off before placing it back onto the parchment-lined baking sheet. Work quickly, as the cold coconut will help the chocolate set faster.

-
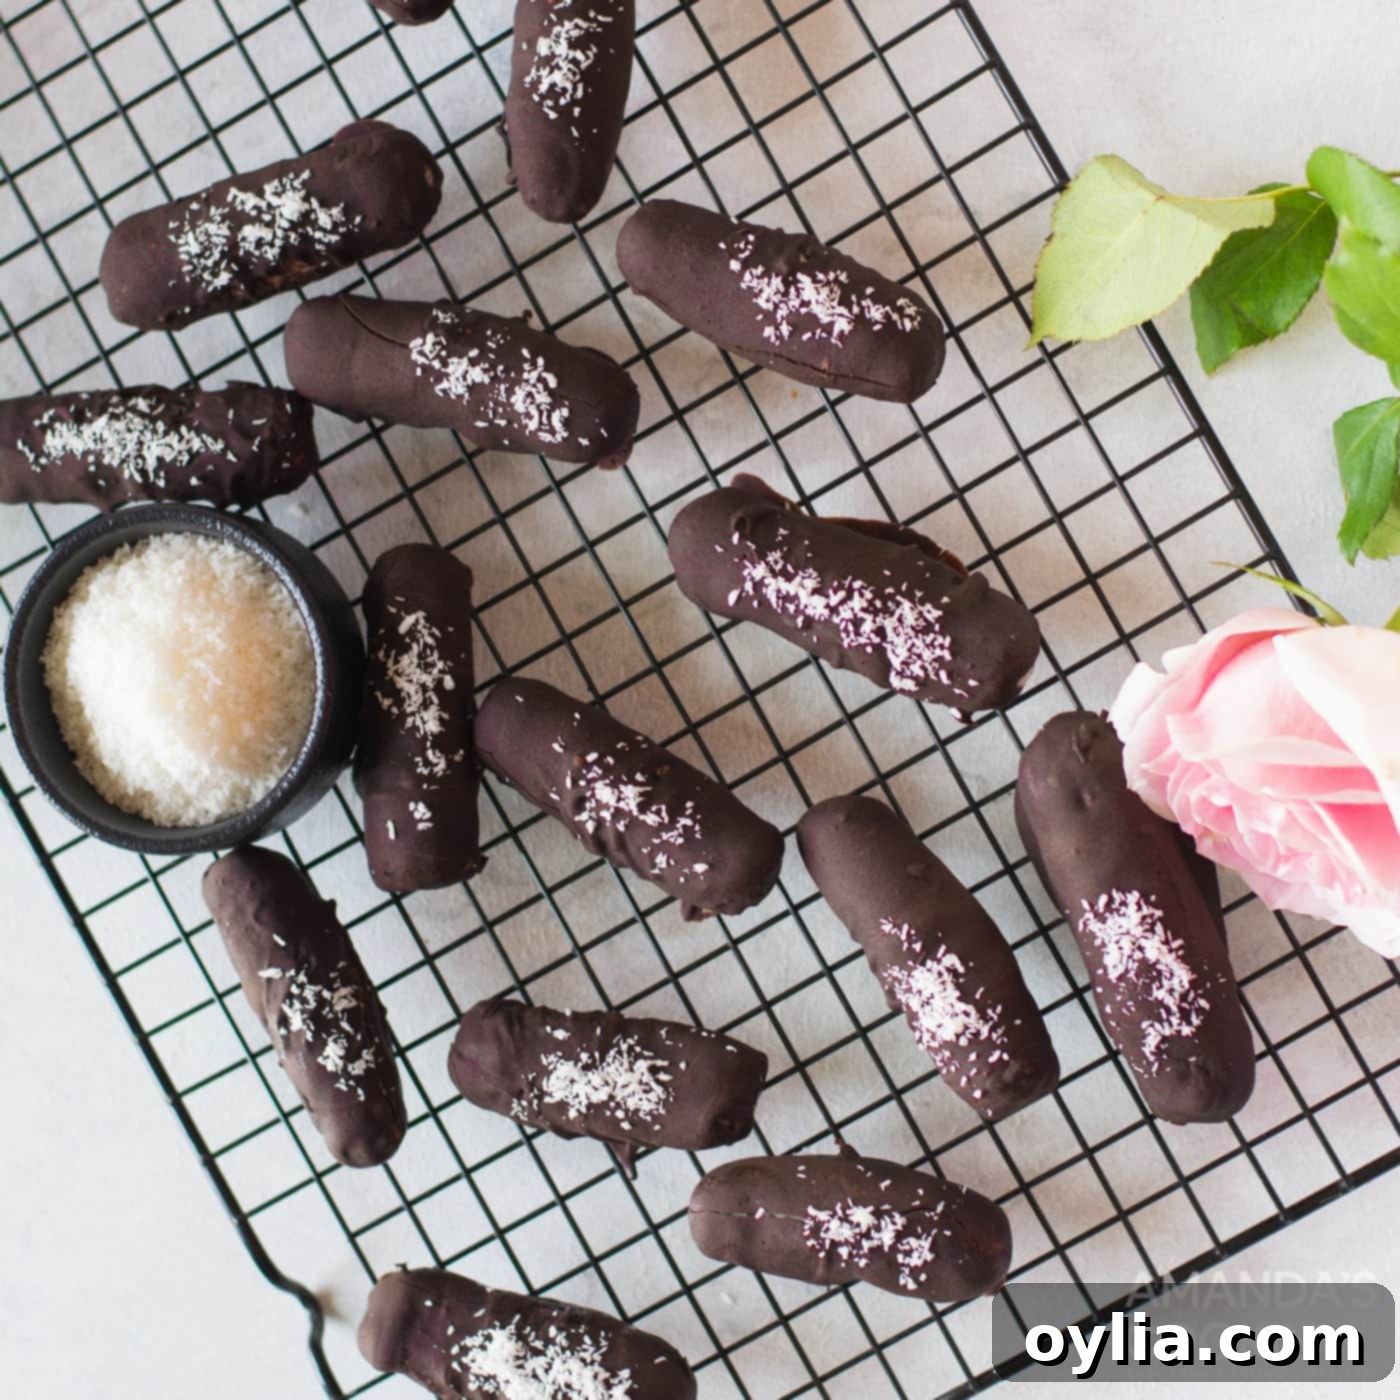
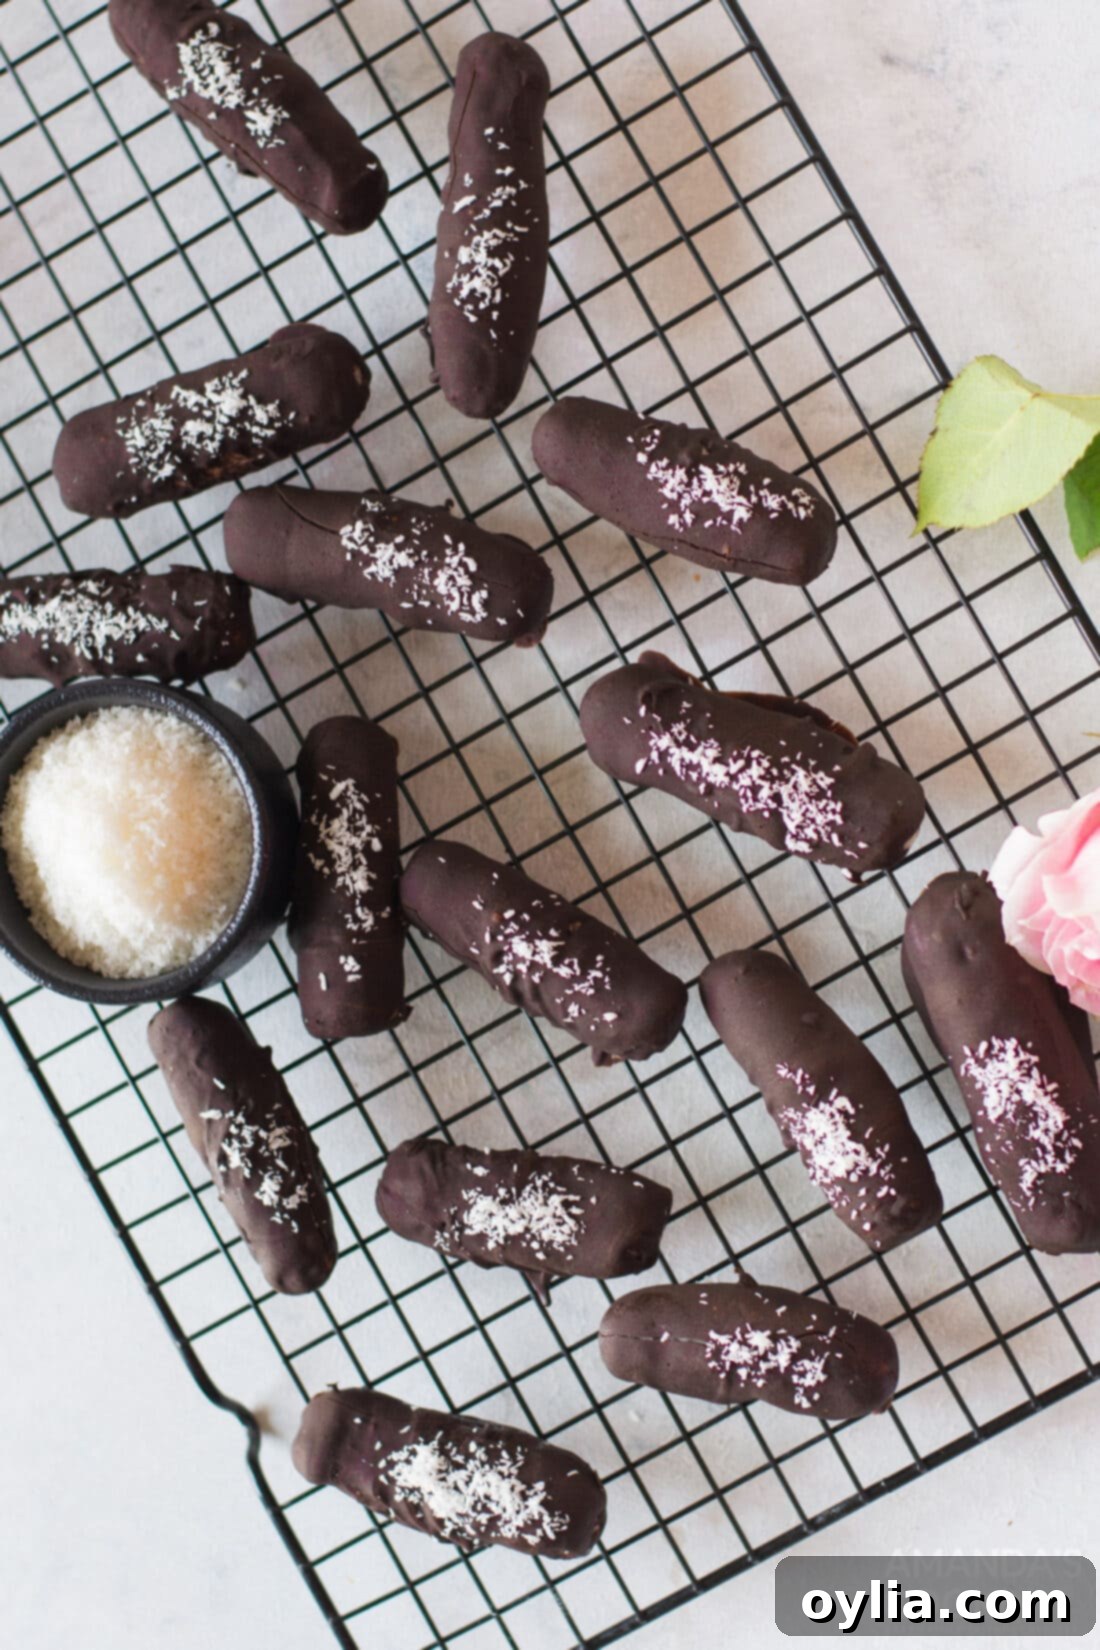
Final Chill and Set: For a professional touch, immediately after dipping, sprinkle a tiny amount of extra desiccated coconut on top of each bar before the chocolate fully sets. This adds visual appeal and a little extra coconut texture. Place the entire baking sheet back into the refrigerator. Allow the chocolate to set completely, which usually takes about 15-30 minutes. Once firm, your irresistible homemade Bounty Bars are ready to enjoy!
Tips for Success & Variations
Ensuring Perfectly Coated Bars
- Chill Thoroughly: Do not skip the chilling step for the coconut centers. This is key to preventing them from crumbling or melting into the warm chocolate.
- Tempering Chocolate (Optional but Recommended): For the ultimate shiny, snap-able chocolate coating that resists melting at room temperature, consider tempering your chocolate. This involves specific heating and cooling cycles. While not strictly necessary for this recipe, it elevates the final product.
- Thinning Chocolate: If your melted chocolate seems too thick for dipping, stir in a teaspoon or two of coconut oil (or vegetable oil) until it reaches the desired consistency. This also helps with shine!
- Double Dip for Extra Richness: For an even thicker and more decadent chocolate shell, you can allow the first layer to set, then gently re-dip each bar in melted chocolate for a second coating.
Creative Variations to Try
- Chocolate Choices: As mentioned, play with your chocolate! Use white chocolate for a different look and flavor, or a mix of dark and milk chocolate. You could even drizzle a contrasting chocolate over the set bars.
- Flavor Boost: Add a drop or two of almond extract to the coconut mixture for an added layer of flavor. A tiny amount of orange zest could also brighten the coconut.
- Nutty Twist: For a Mounds Bar with a twist, finely chop some roasted almonds or pecans and mix them into the coconut filling.
- Spicy Kick: For the adventurous, a pinch of cayenne pepper in the melted dark chocolate can create an intriguing flavor contrast.
- Mini Bites: Instead of traditional bar shapes, roll the coconut mixture into small balls for bite-sized coconut truffles, perfect for entertaining.
Frequently Asked Questions About Homemade Bounty Bars
Homemade Bounty Bars are best enjoyed chilled, but they can be stored in an airtight container at room temperature for up to 5 days. If you wish to store them for a longer period, keep them in a closed container in the refrigerator, where they will stay fresh for up to a month. For even longer storage, these delightful candy bars can also be frozen for up to 2 months. When freezing, place them on a tray first until firm, then transfer to a freezer-safe bag or container, separating layers with parchment paper to prevent sticking. Always bring them to room temperature or enjoy straight from the fridge for the best texture and flavor.
Absolutely! While Mounds Bars and Bounty Bars are traditionally found in stores covered in rich dark chocolate, we understand that not everyone loves the bittersweet notes. These are your homemade candy bars, so feel free to personalize them! You can certainly use milk chocolate or semi-sweet chocolate for your coating if you prefer a milder, sweeter, or less intense chocolate flavor. The recipe is incredibly forgiving and delicious with any chocolate variety you choose. Just ensure you’re using good quality chocolate for the best melting and setting consistency.
Making these coconut chocolate bars suitable for a low-carb or keto diet is quite achievable with a couple of smart substitutions. First, you’ll need to choose a high-quality keto-friendly chocolate for the coating; we highly recommend brands like Lily’s for their excellent flavor and lack of added sugar. Second, the sweetened condensed milk, a key component, needs to be replaced. You can either purchase a sugar-free sweetened condensed milk alternative (if available in your area) or, even better, make your own keto-friendly sweetened condensed milk at home using a sugar substitute. Remember to use unsweetened desiccated coconut, as sweetened versions would add unwanted carbs.
For the most authentic texture, resembling store-bought Bounty or Mounds bars, we strongly recommend using desiccated coconut. Desiccated coconut is very finely shredded and dried, giving it a light, fluffy texture that absorbs moisture beautifully to create that signature chewy, moist filling. While unsweetened shredded coconut can be used in a pinch, it’s coarser and might require a slight adjustment to the amount of sweetened condensed milk to prevent the mixture from becoming too wet, due to its higher moisture content. Look for desiccated coconut in the baking aisle or health food section of your grocery store.
Absolutely! These homemade Bounty Bars are an excellent make-ahead dessert. Their flavors meld beautifully over time, and they store well. You can prepare them a few days in advance and keep them in an airtight container in the refrigerator. In fact, many find they taste even better after a day or two in the fridge, as the coconut filling becomes perfectly firm and the chocolate fully sets. This makes them perfect for parties, gifts, or simply having a delicious sweet treat on hand whenever a craving strikes.
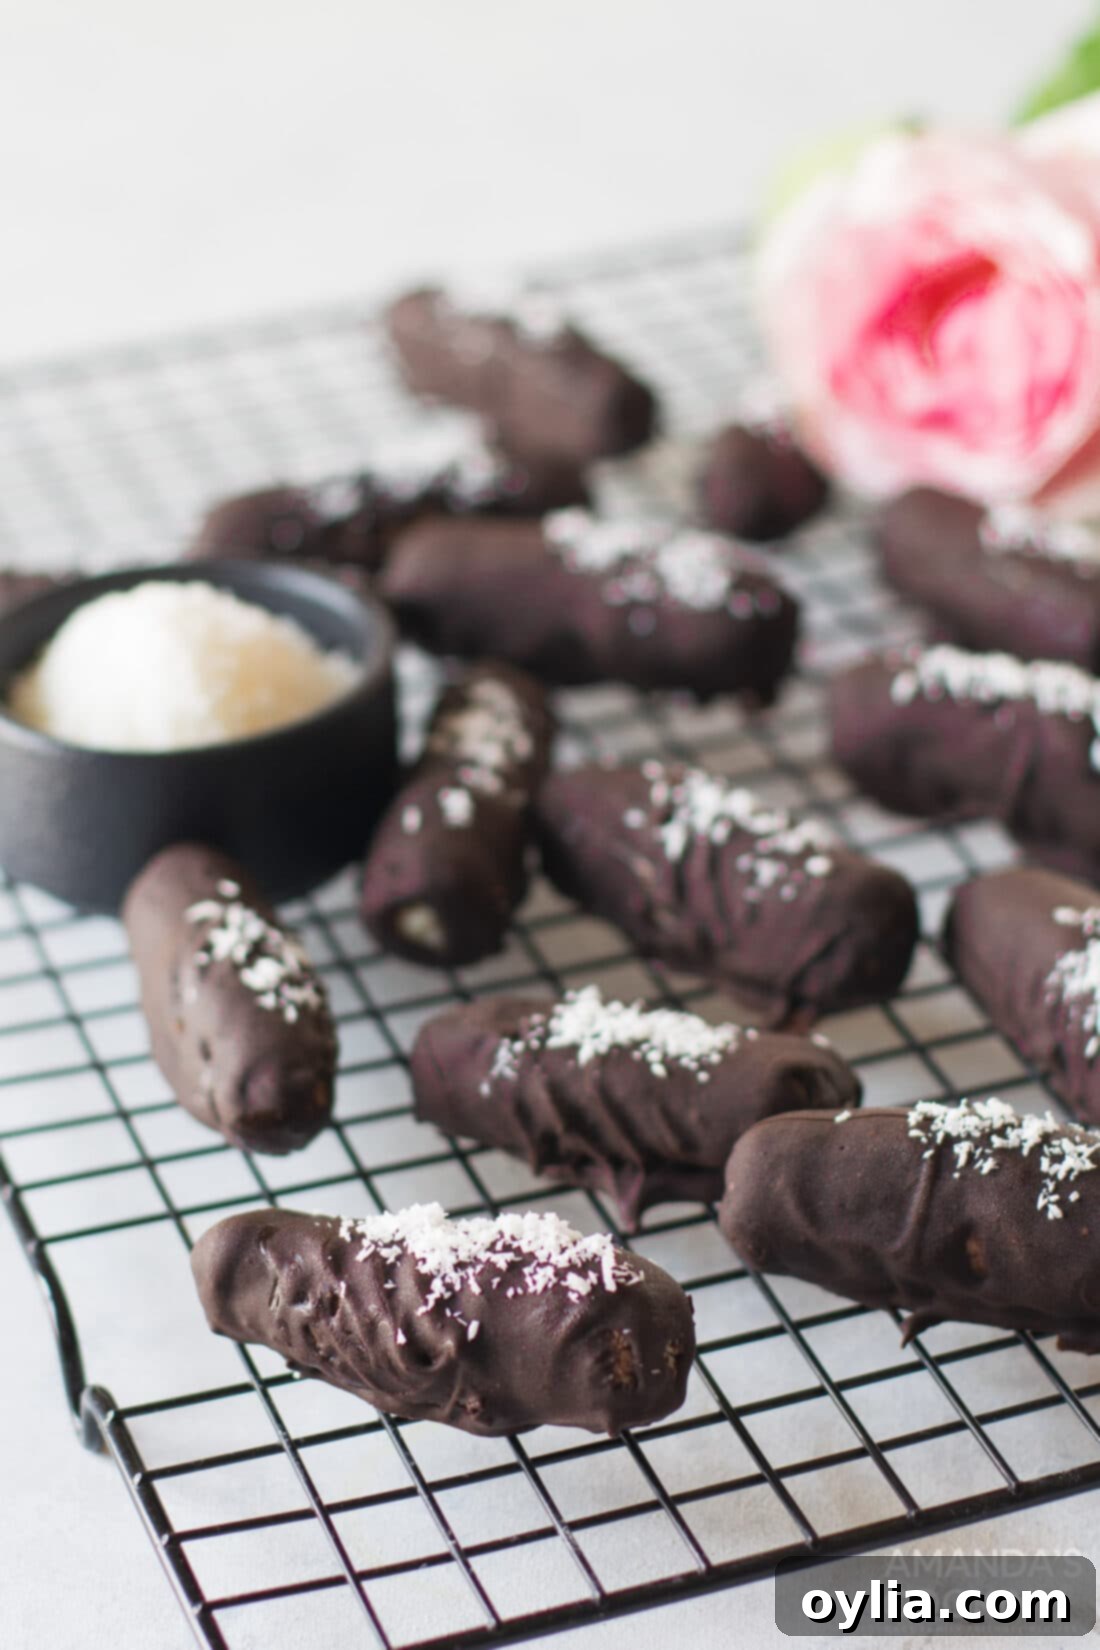
Next time you find yourself yearning for a sweet escape, skip the grocery store candy aisle and whip up a batch of these glorious homemade Bounty Bars. Their ease of preparation, irresistible flavor, and customizable nature make them a perfect treat for any occasion. Keep them stashed in your fridge or freezer, and you’ll always have a delightful, satisfying sweet treat ready to curb your cravings whenever they strike!
More Irresistible Homemade Candy Recipes to Explore
If you loved making these coconut chocolate bars, you’ll surely enjoy exploring more homemade candy creations. Here are some other fantastic recipes to satisfy your sweet tooth and impress your friends and family:
- Sparkling Rock Candy
- Decadent Chocolate Covered Fruit Truffles
- Rich Mocha Truffles
- Classic Chocolate Turtles with Pecans
- Elegant Chocolate Covered Strawberries
- Fun Orange Creamsicle Gummies
- Delightful Oreo Truffles
- Sweet Candied Citrus Peel
I genuinely love to bake and cook, and my greatest joy is sharing my kitchen adventures and delicious recipes with all of you! Remembering to come back each day for new inspiration can sometimes be a challenge, which is why I offer a convenient newsletter every time a new recipe is posted. Simply subscribe today and start receiving your free daily recipes directly to your inbox!
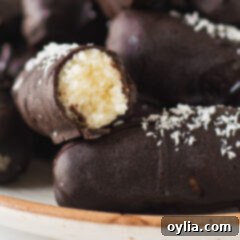
Homemade Bounty Bars
IMPORTANT – There are often Frequently Asked Questions within the blog post that you may find helpful. Simply scroll back up to read them!
Print It
Pin It
Rate It
Save It
Saved!
Course: Dessert
Cuisine: American
Ingredients
- 3 cups desiccated coconut
- 1 cup sweetened condensed milk
- ¼ teaspoon salt
- 1 cup chopped dark chocolate
- 1 teaspoon vanilla extract
Things You’ll Need
-
Double boiler
-
Rubber spatula
-
Baking sheet
Before You Begin
- Homemade bounty bars can be stored in an airtight container at room temperature for up to 5 days. To store them longer, keep them in a closed container in the refrigerator for up to a month. Bounty bars can also be frozen for 2 months. These candy bars are best enjoyed chilled.
- You will need desiccated coconut, which is a little different than unsweetened shredded coconut, for these bounty bars. Desiccated coconut is finer and dryer. You should be able to find it at your local grocery store, but you may need to check the health food aisle. In a pinch, you can substitute unsweetened shredded coconut but may need to cut back on the sweetened condensed milk as the moisture content is different.
Instructions
-
In a large mixing bowl using a rubber spatula, combine coconut, sweetened condensed milk, salt, and vanilla. Mix until everything comes together and becomes like a dough.
-
Using an ice cream scoop or a spoon, scoop out the coconut mixture and roll it in between your palms to form a cylindrical shape.
-
Place coconut cylinders on a parchment paper lined baking sheet or tray, and refrigerate for at least an hour. Alternatively, you can put them in the freezer for 30 minutes.
-
Melt the chocolate in a double boiler until it’s smooth and shiny. You can add a tablespoon of butter or vegetable oil to make it a little thinner and shinier (optional).
-
Dip your coconut bars in chocolate with the help of a fork, making sure all the sides are completely coated with chocolate.
-
Sprinkle some coconut on top and place the pan in the fridge until your chocolate sets.
Nutrition
Tried this Recipe? Pin it for Later!Follow on Pinterest @AmandasCookin or tag #AmandasCookin!
The recipes on this blog are tested with a conventional gas oven and gas stovetop. It’s important to note that some ovens, especially as they age, can cook and bake inconsistently. Using an inexpensive oven thermometer can assure you that your oven is truly heating to the proper temperature. If you use a toaster oven or countertop oven, please keep in mind that they may not distribute heat the same as a conventional full sized oven and you may need to adjust your cooking/baking times. In the case of recipes made with a pressure cooker, air fryer, slow cooker, or other appliance, a link to the appliances we use is listed within each respective recipe. For baking recipes where measurements are given by weight, please note that results may not be the same if cups are used instead, and we can’t guarantee success with that method.
