Delightful Heart-Shaped Valentine’s Day Cupcakes: An Easy Recipe for a Sweet Celebration
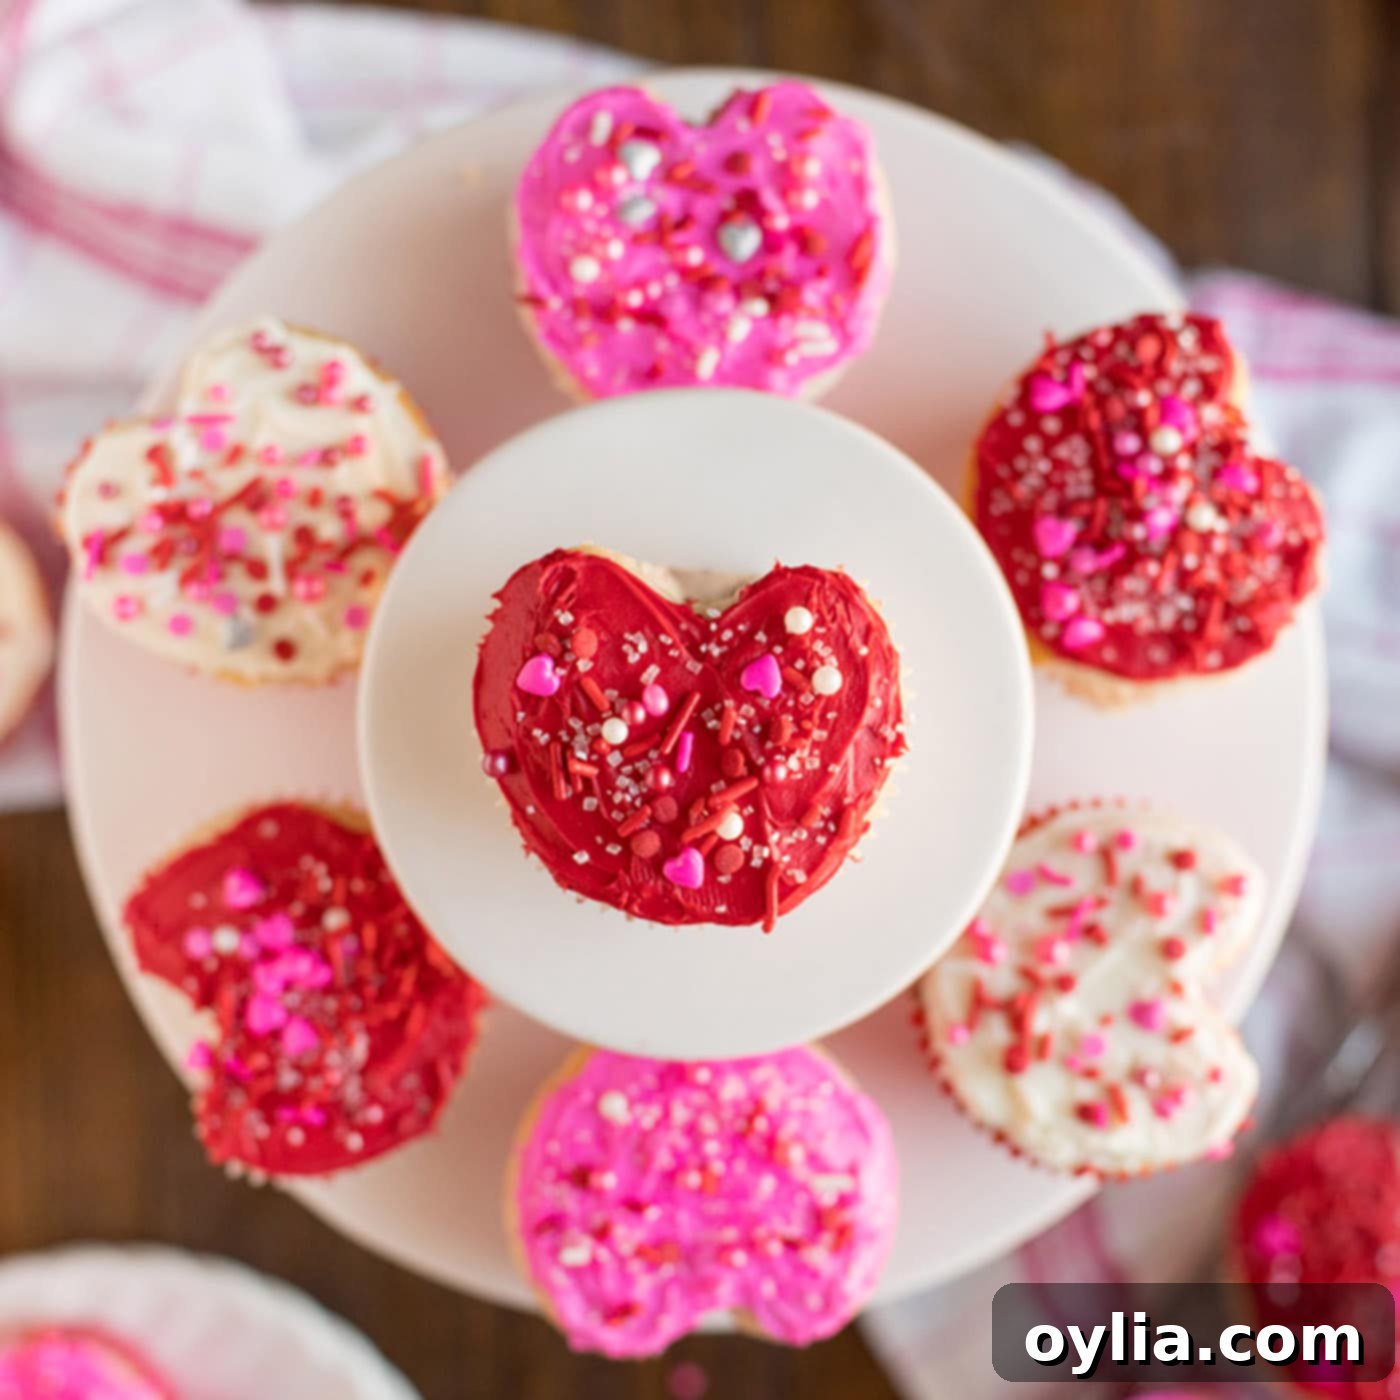
Nothing embodies the spirit of Valentine’s Day quite like the iconic pink or red heart. Imagine presenting your loved ones with these adorable heart-shaped cupcakes, adorned with swirls of white, pink, and red frosting. It’s a truly special gesture that speaks volumes! The best part? You absolutely don’t need to be a professional pastry chef to create these charming Valentine’s Day treats. This recipe is designed to be straightforward and fun, ensuring that anyone can bake up a batch of love.
Why You’ll Adore Making These Heart-Shaped Valentine Cupcakes
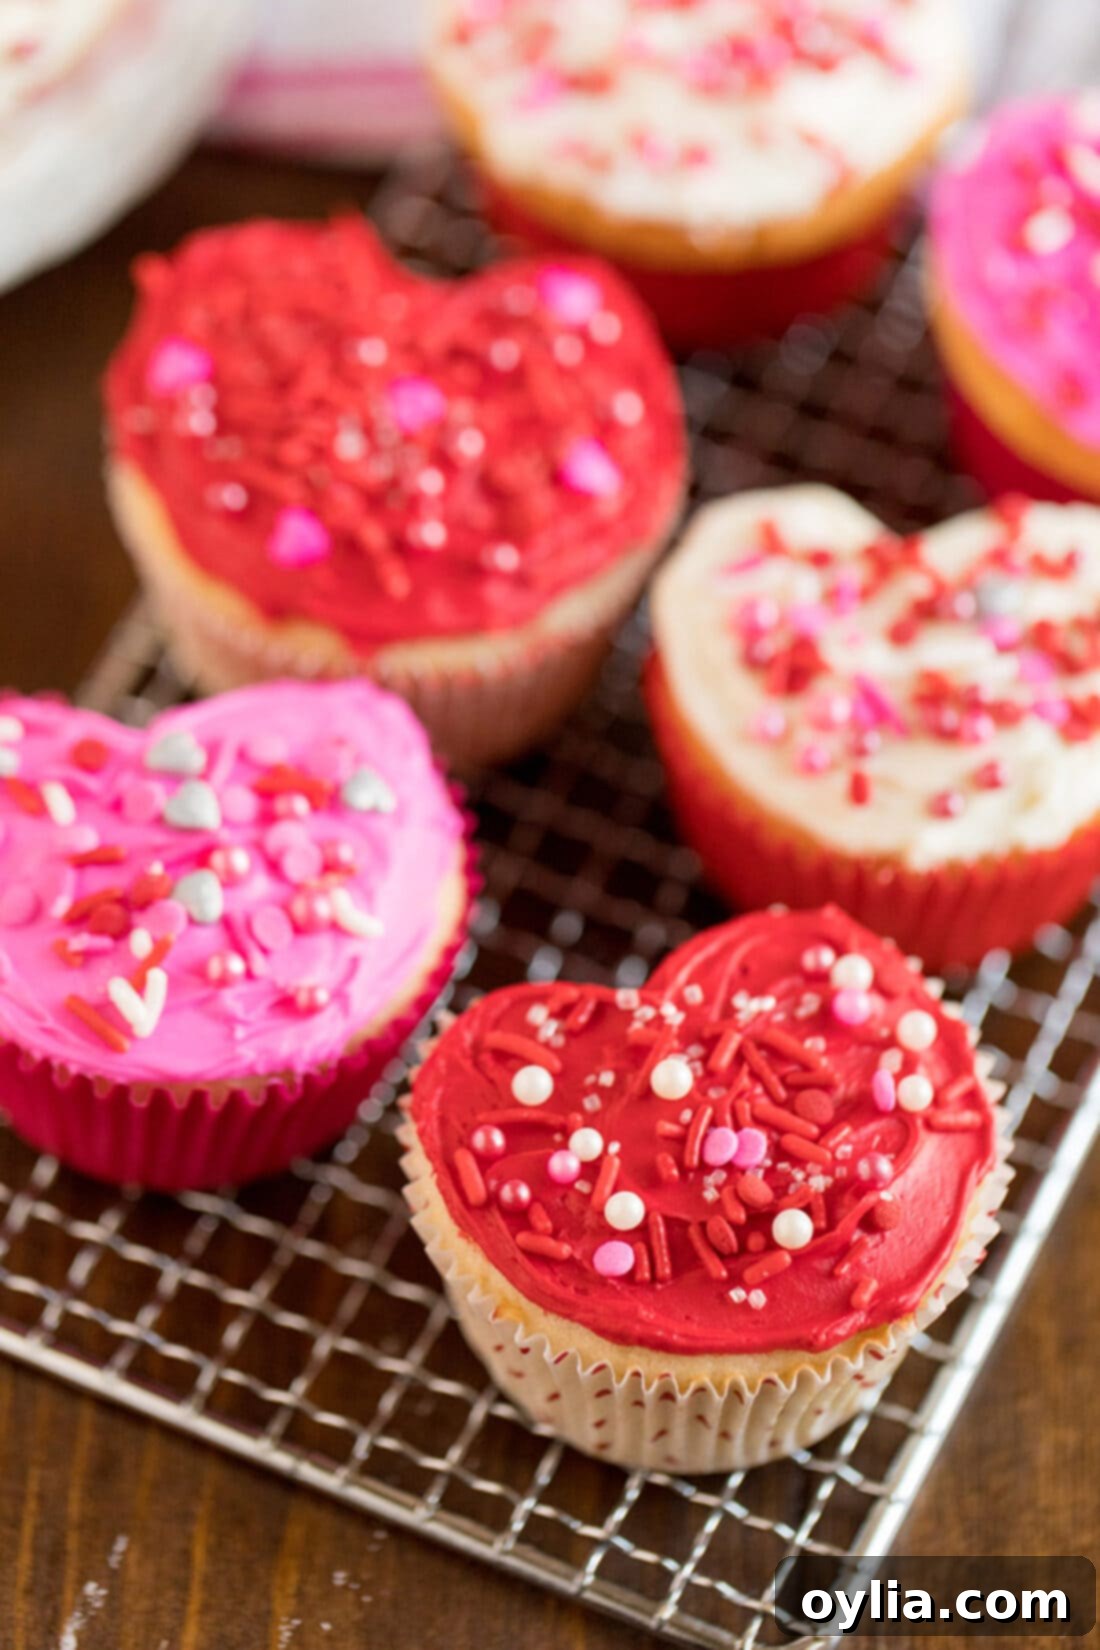
There’s an undeniable charm to these Valentine’s Day cupcakes that makes them truly stand out. What makes them so special and why will you love this recipe? For starters, they’re incredibly easy to create, dispelling any myths that homemade treats require advanced baking skills. Whether you’re a novice baker or just looking for a simple yet impressive dessert, this recipe has you covered.
These heart-shaped delights are universally loved. Adults find their whimsical design and delicious flavor just as appealing as children do, making them a perfect treat for family gatherings, school parties, or a romantic evening. They also make an exceptional edible gift for your sweetheart. Hand-baked with love, these cupcakes convey affection in a way store-bought treats simply can’t.
The versatility of this recipe is another huge plus. While we’re focusing on a classic white cake base here, imagine customizing them with a different flavor profile! For instance, using my delightful strawberry cake recipe would infuse them with a vibrant fruity taste, perfectly complementing the Valentine’s theme. Or perhaps a rich chocolate base for a decadent touch?
Just like our incredibly popular Red Velvet Fudge, which is another go-to edible gift for Valentine’s Day, these heart cupcakes are designed for ease and maximum impact. They offer a simple yet elegant way to celebrate love and friendship, ensuring smiles all around.
Gather Your Essential Ingredients for Heart-Shaped Happiness
Before diving into the fun of baking, let’s ensure you have all the necessary components for these delightful Valentine heart cupcakes. All precise measurements, a complete list of ingredients, and step-by-step instructions can be found in the printable recipe card at the very end of this post. For now, let’s look at the key elements that bring these festive treats to life.
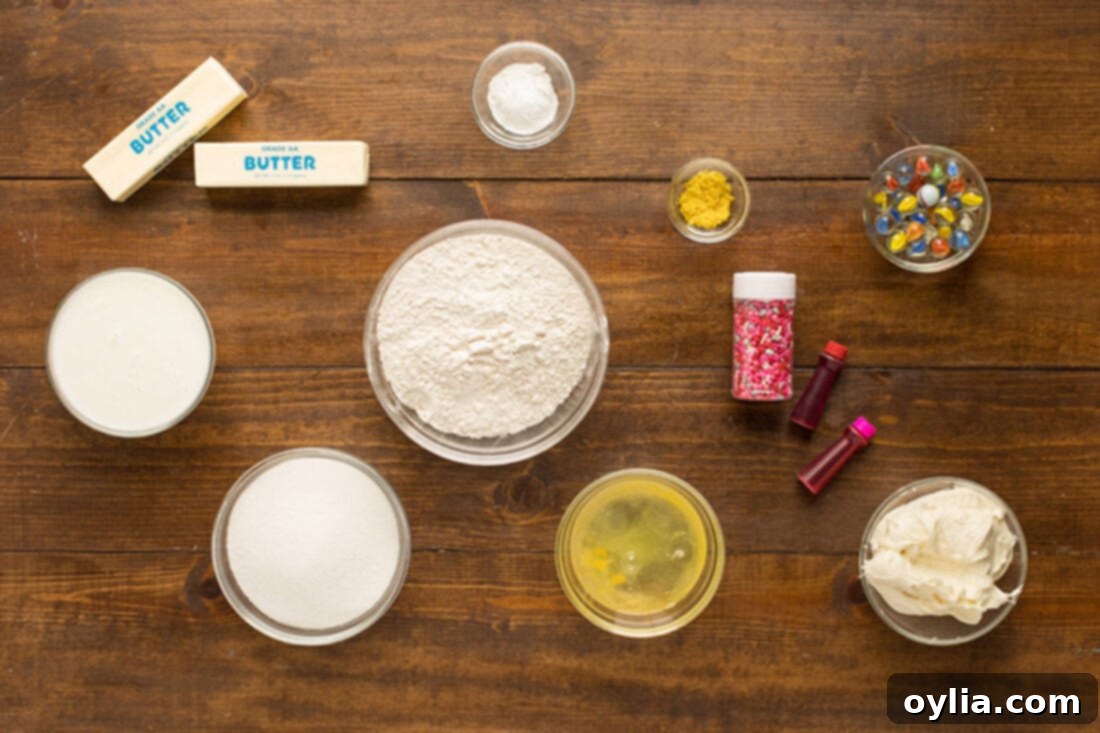
Ingredient Deep Dive & Smart Substitution Ideas
Understanding your ingredients and knowing when to make substitutions can elevate your baking experience. Here’s a closer look at what you’ll need for these Valentine’s Day masterpieces:
CUPCAKES – While I’ve shared my absolute favorite white cake recipe below, designed for a light and tender crumb, please know that these delightful heart-shaped treats can be made just as easily and deliciously using a high-quality store-bought box mix. If using a mix, simply follow the package directions. For a from-scratch approach, cake flour is recommended for its fine texture, resulting in a super soft cupcake. If you don’t have cake flour, you can make your own by removing 2 tablespoons of all-purpose flour from each cup and replacing it with 2 tablespoons of cornstarch. Buttermilk adds tenderness and a slight tang, enhancing the flavor profile. Make sure your butter is softened to room temperature for optimal creaming, which creates air pockets for a fluffy cake.
FROSTING & ADDITIONS – For vibrant colors that truly pop, gel food coloring is highly recommended. A tiny amount goes a long way, and the colors achieved are far more intense and beautiful compared to liquid food coloring. Liquid food coloring can also thin out your frosting, potentially altering its consistency and making it harder to pipe. When it comes to garnishes, the possibilities are endless! Think classic nonpareils for a festive crunch, sparkling sanding sugar for a glistening finish, cheerful Jimmies sprinkles in various colors, or specialized Valentine-themed sprinkles featuring tiny hearts, lips, or arrows. You could also try edible glitter for an extra magical touch, or even small, handmade fondant cutouts for a more personalized design.
Step-by-Step Guide: Crafting Your Adorable Heart-Shaped Valentine Cupcakes
These step-by-step photos and detailed instructions are here to help you visualize how to make this recipe successfully. For a concise, printable version of the instructions, please scroll down to the recipe card!
- Prepare Your Workspace: Begin by preheating your oven to 350 degrees F (175 degrees C). This ensures the oven is at the correct temperature when your batter is ready, preventing uneven baking. Next, line a standard muffin pan with paper cupcake liners.
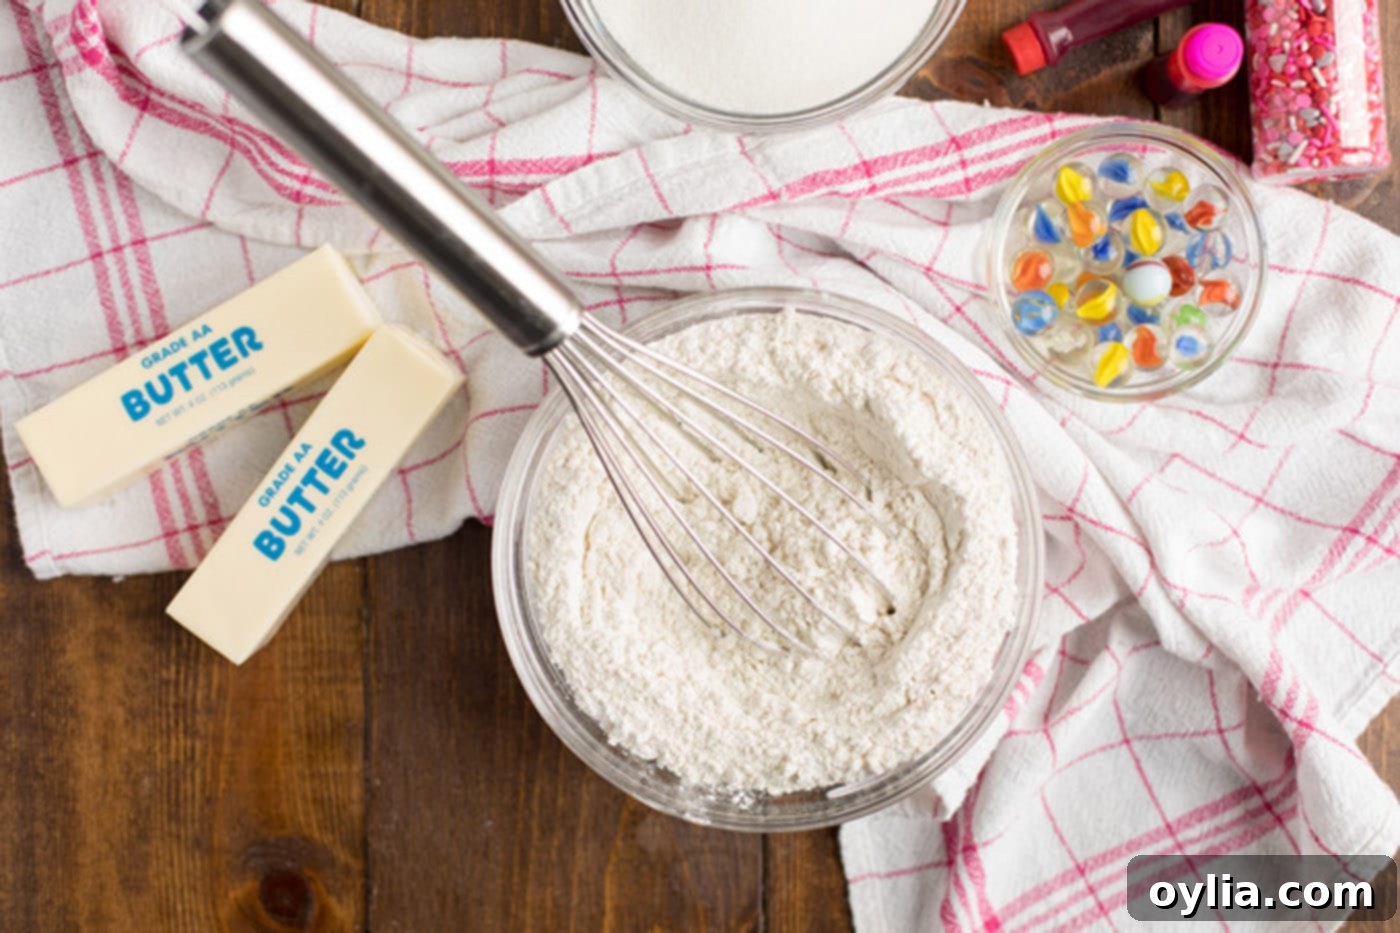
- Combine Dry Ingredients: In a medium-sized bowl, whisk together the cake flour, baking powder, and salt. Whisking thoroughly ensures these ingredients are evenly distributed, which is crucial for a consistent rise and texture in your cupcakes.

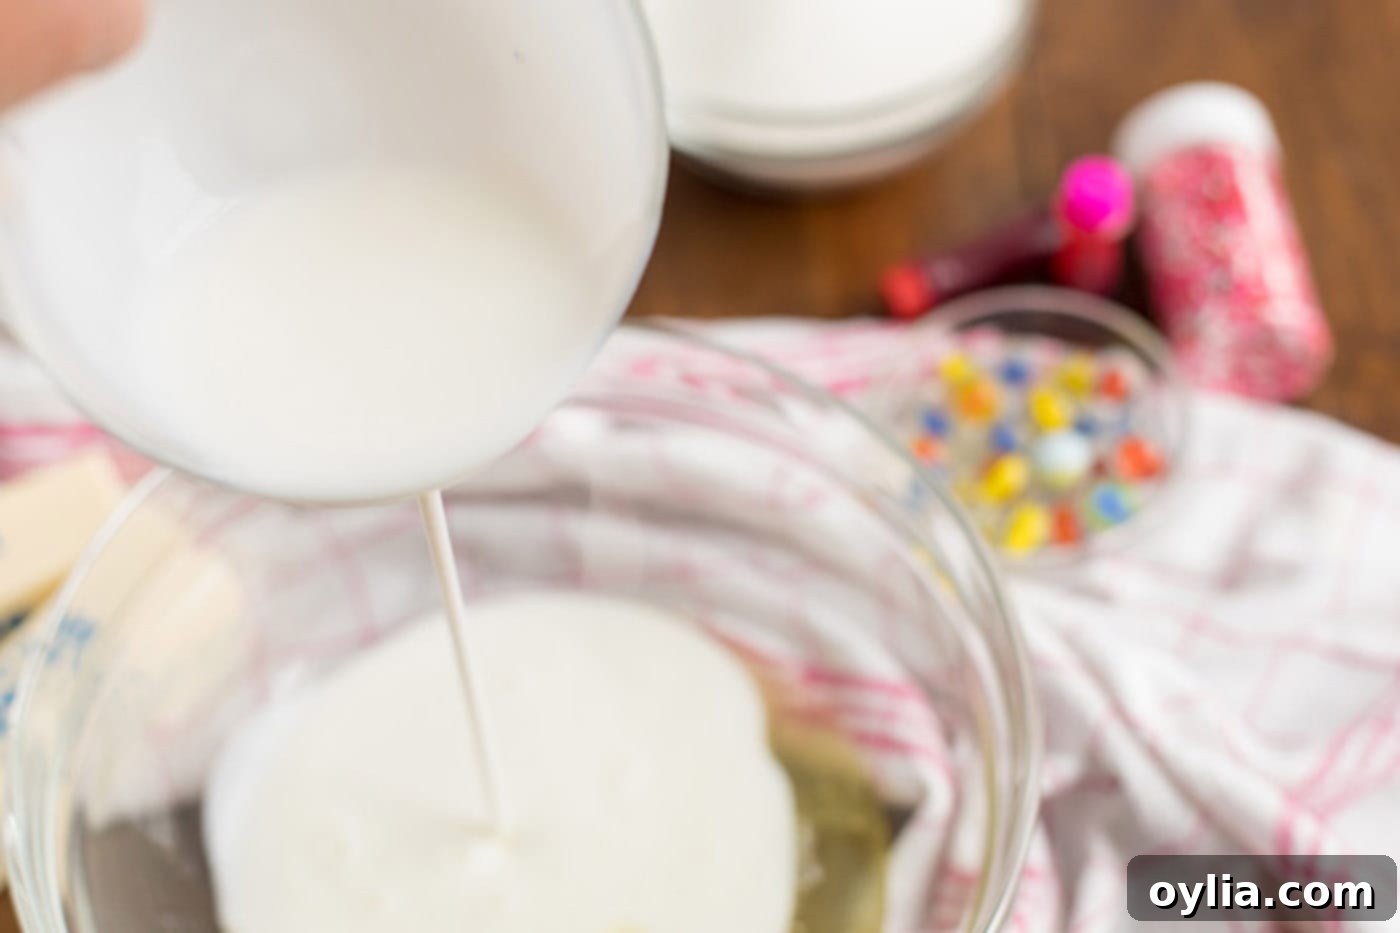
- Prepare Wet Ingredients (Except Butter): In a separate bowl, whisk together the egg whites and buttermilk. This mixture will be added to your butter and sugar later, contributing to the cupcakes’ moistness and delicate texture.

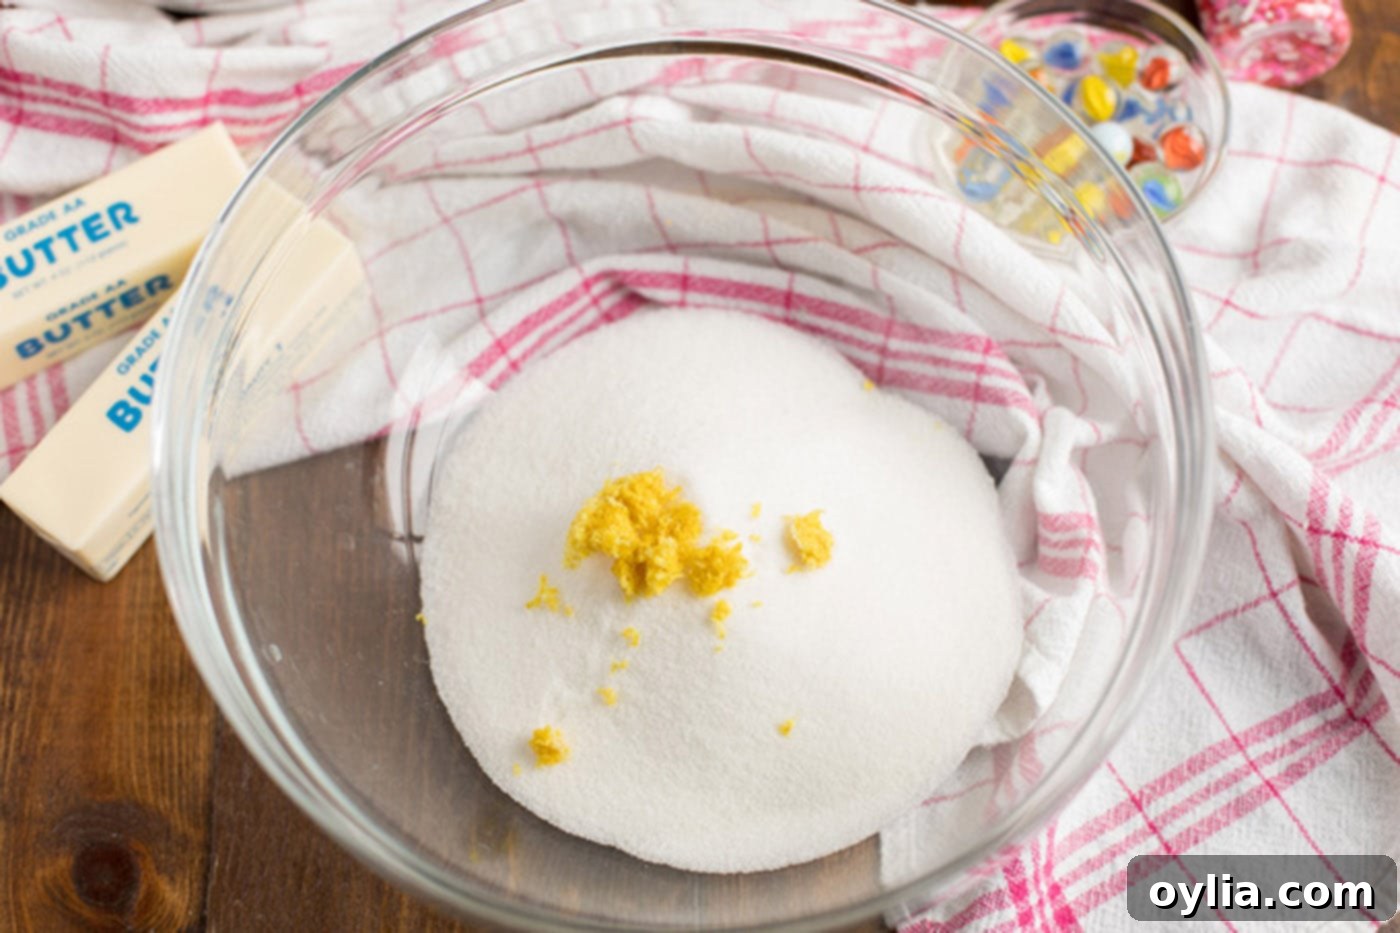
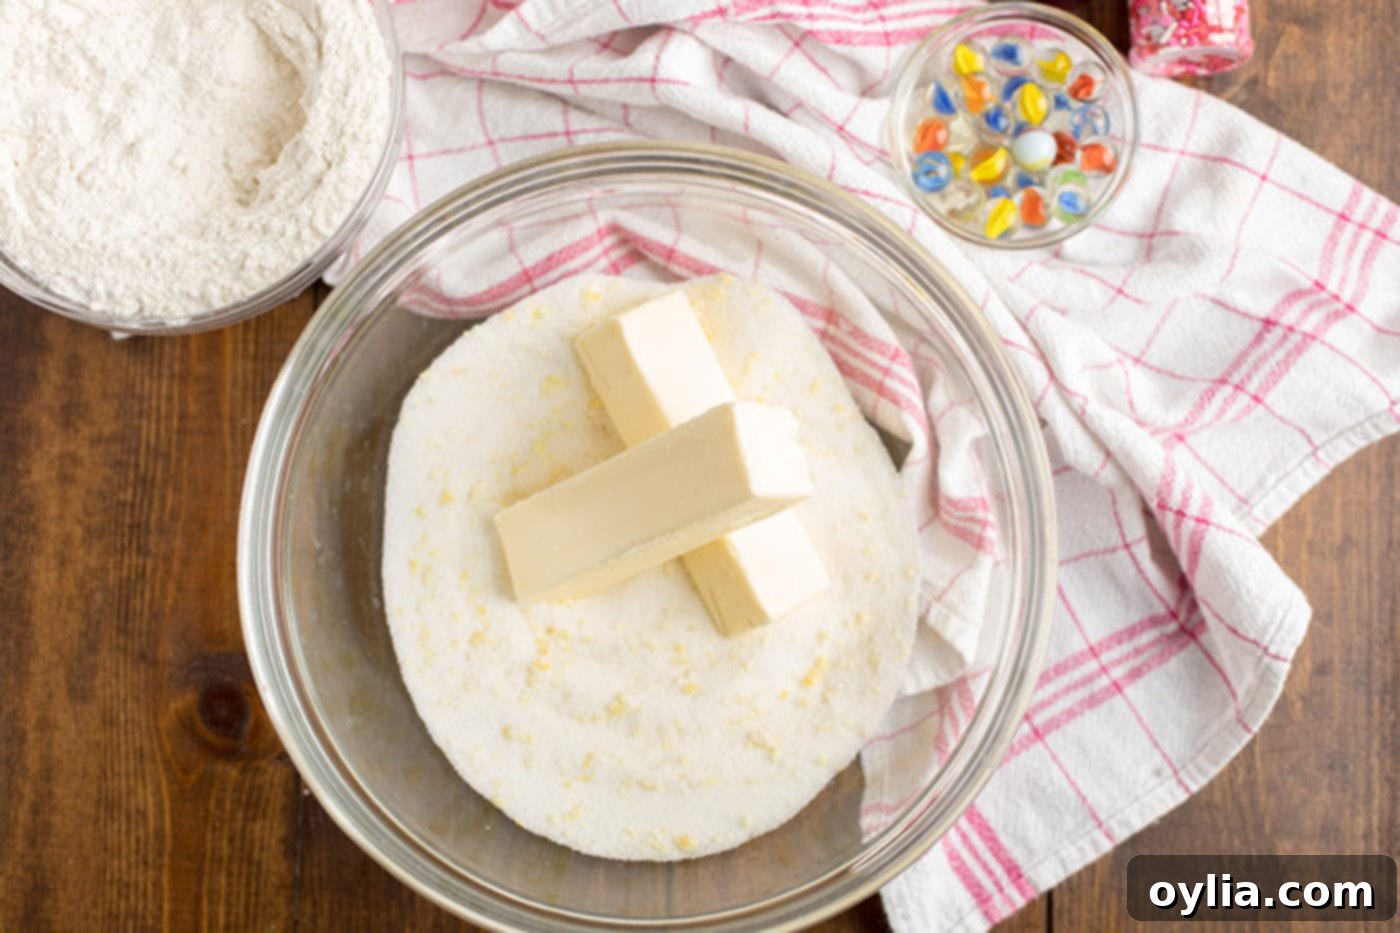
- Cream Butter and Sugar: In your mixer bowl (or a large bowl with a hand mixer), combine the sugar and lemon zest. Use your fingers to rub the zest into the sugar; this releases the aromatic oils, infusing the sugar with a wonderful fragrant lemon flavor. Add the softened unsalted butter to this fragrant sugar mixture. Beat at medium speed for about 3 minutes until the mixture is visibly light in color and fluffy. This creaming process incorporates air, which is essential for a light and tender cupcake.


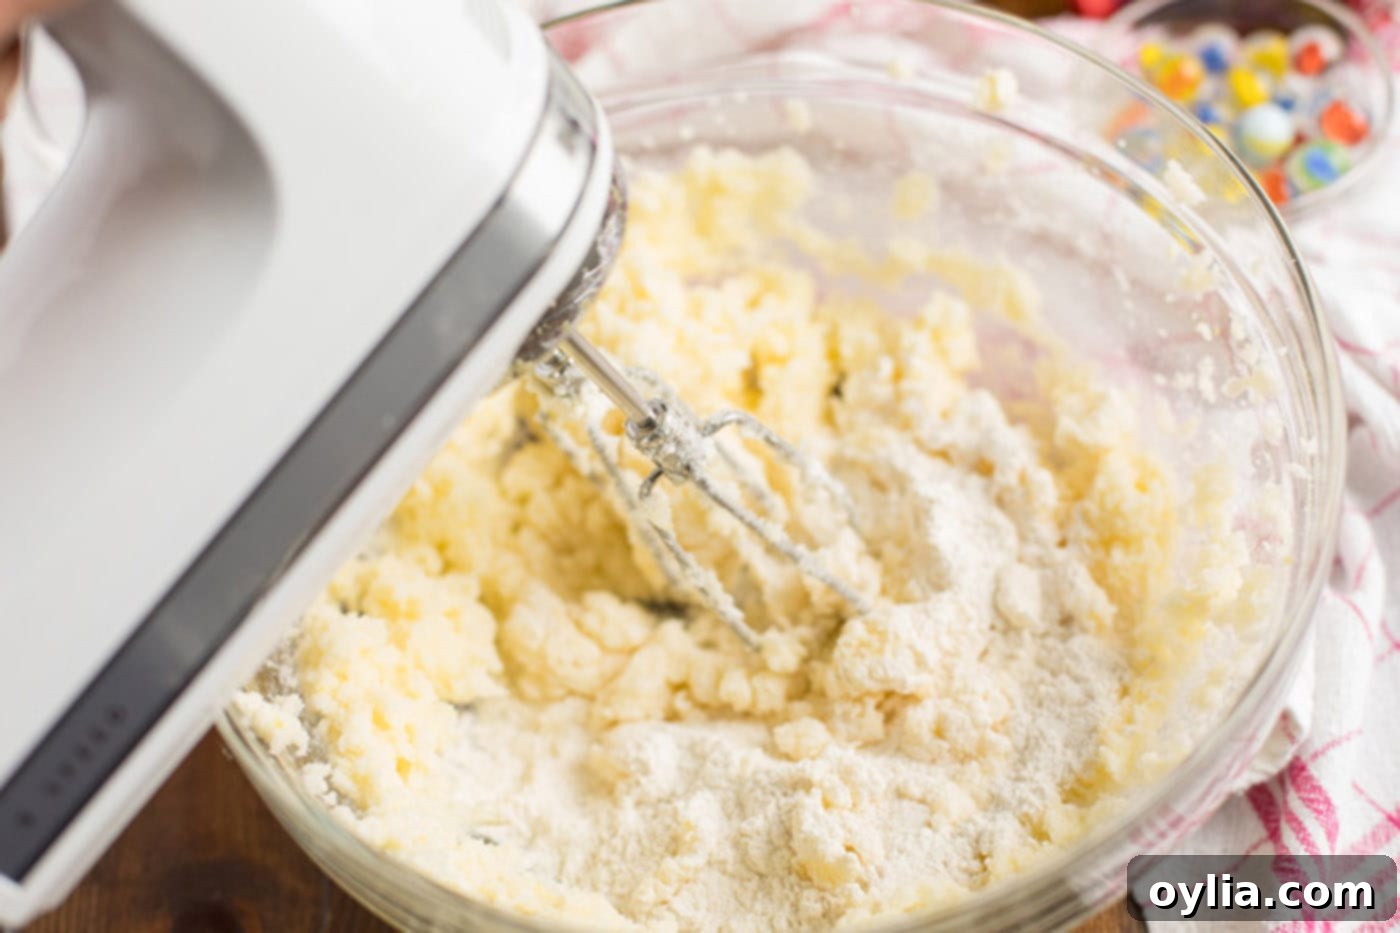
- Alternate Wet and Dry Ingredients: With your mixer on low speed, gradually add one-third of the dry flour mixture to the butter-sugar mixture. Mix until just combined, then add half of the buttermilk and egg white mixture. Continue this pattern, adding half of the remaining dry ingredients, then the rest of the buttermilk mixture, and finally the last of the dry ingredients. Once everything is added, scrape down the sides of the bowl to ensure no dry pockets remain. Then, beat on medium-high speed for 2 minutes. This step thoroughly mixes the batter and incorporates more air, making for a beautifully aerated and tender cupcake. Be careful not to overmix, as this can lead to tough cupcakes.

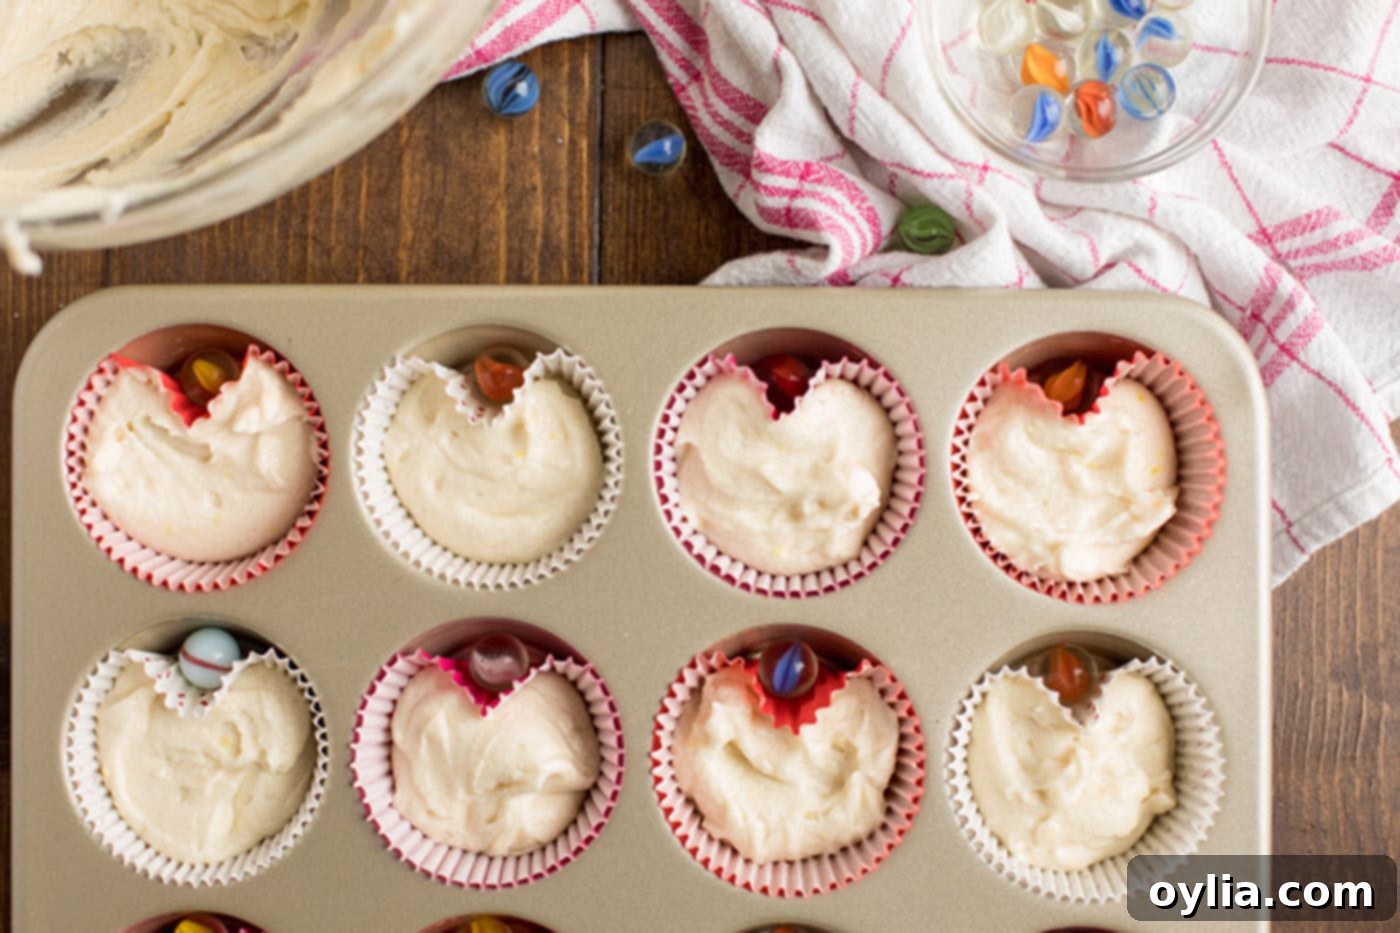
- Fill Cupcake Liners: Spoon the prepared batter into your lined muffin cups, filling each approximately two-thirds full. This allows enough room for the cupcakes to rise without overflowing.
- Create the Heart Shape – The Marble Trick: Here’s the magic trick for heart shapes! For each cupcake, place a small, clean, oven-safe round marble in between the cupcake liner and the muffin pan. Position the marble so it presses against the side of the liner, creating an indent. This clever trick forces the cupcake batter to bake into a charming heart shape. If you don’t have marbles, small balls of aluminum foil can work just as well!

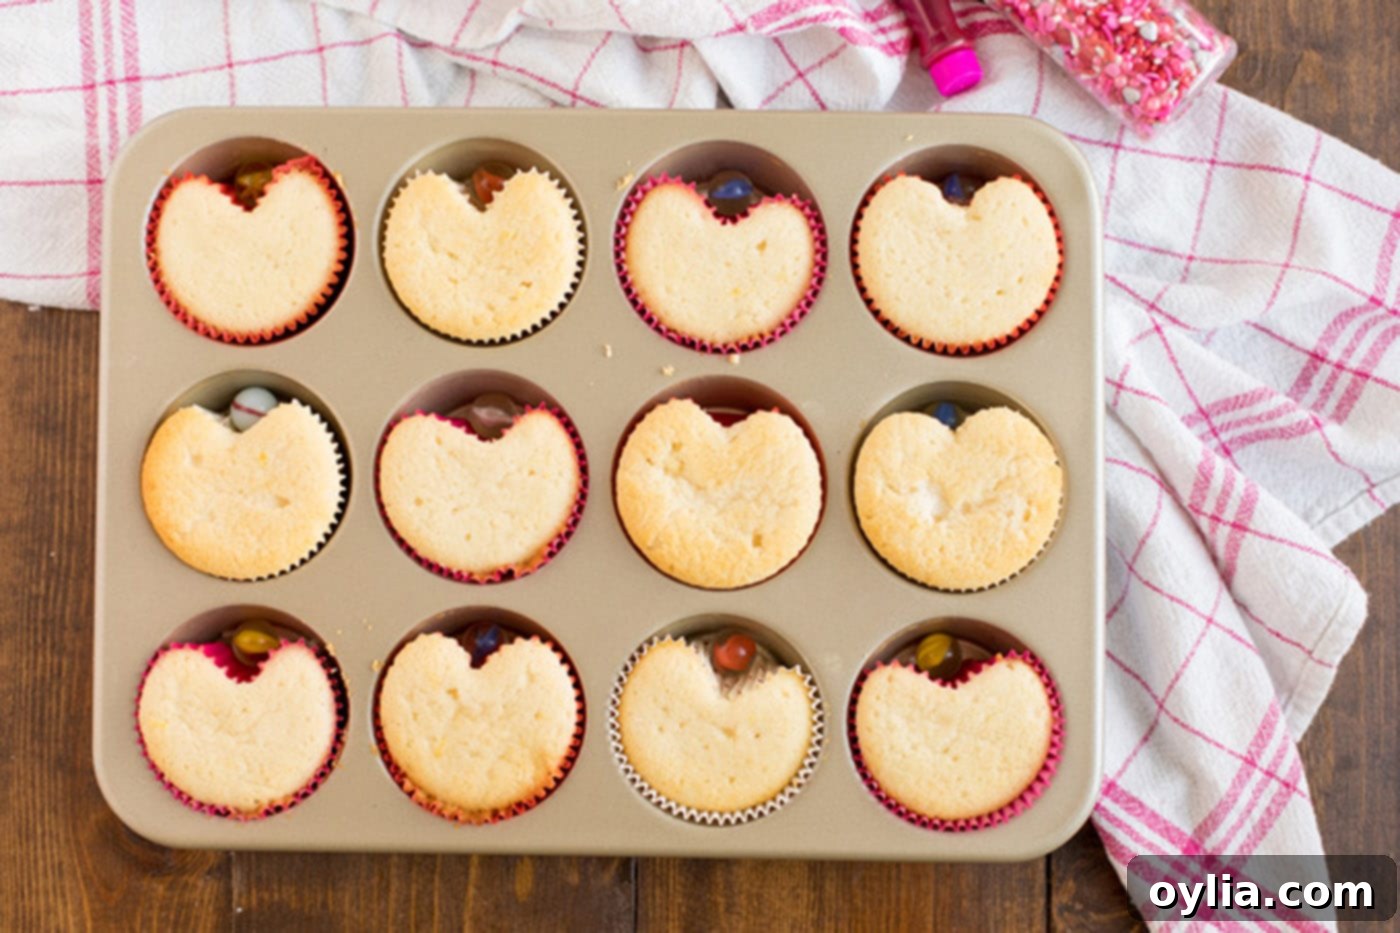
- Bake to Perfection: Bake the cupcakes in your preheated oven for 20 to 25 minutes. They are ready when they are very lightly browned around the edges and a toothpick inserted into the center of a cupcake comes out clean, indicating no wet batter.
- Cooling Down: Allow the cupcakes to cool in the muffin pans for about 5 minutes after baking. This helps them set. Then, carefully transfer them to a wire cooling rack to cool completely. Be extremely careful when removing the marbles – they will be very hot! Full cooling is essential before frosting to prevent your frosting from melting and sliding off.

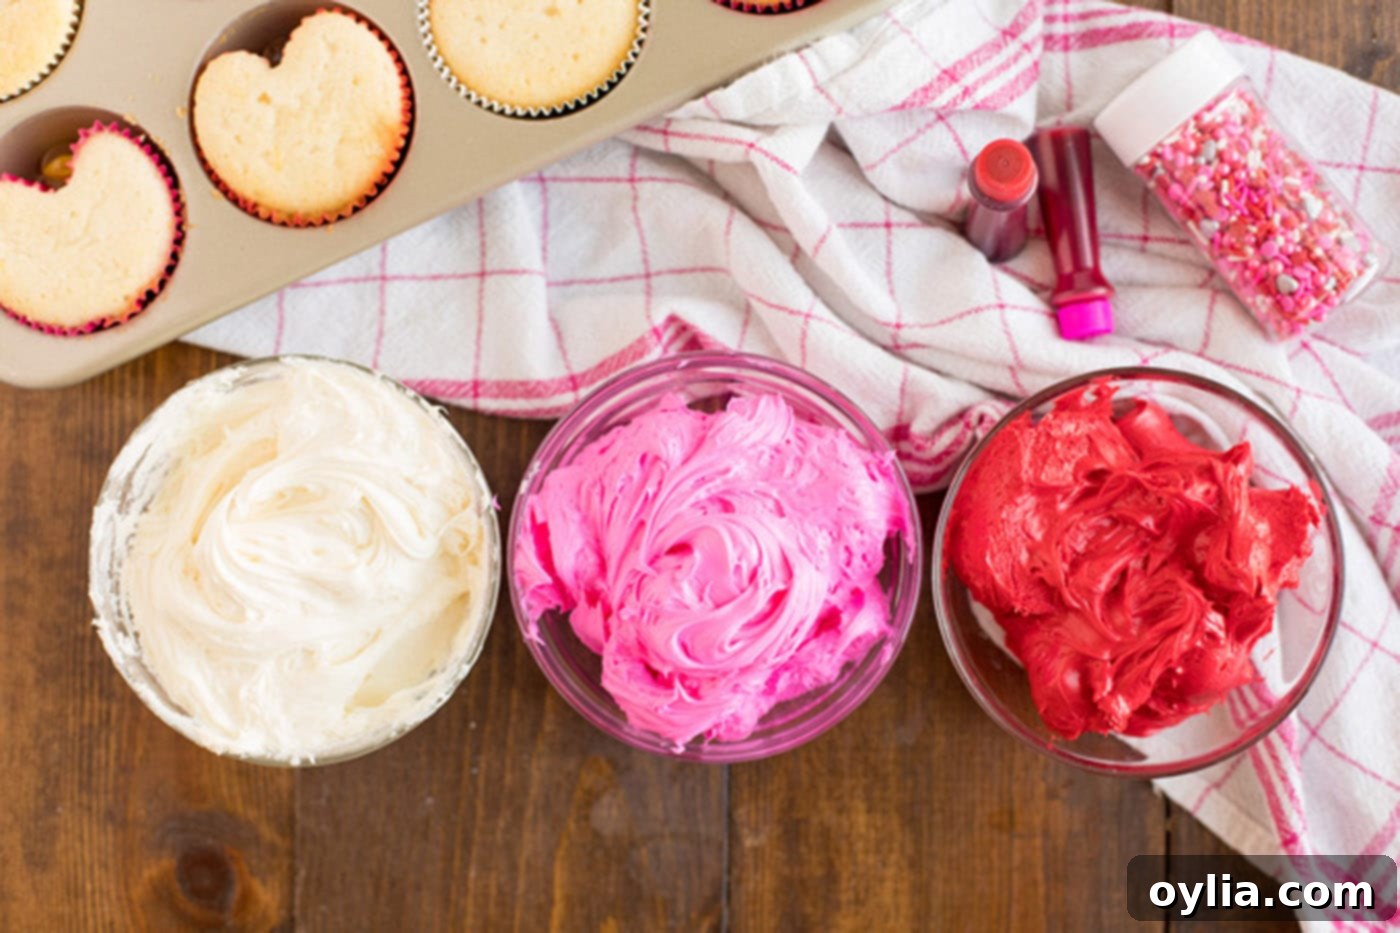
- Color Your Frosting: Divide your white frosting into three separate bowls. Leave one bowl white, then use pink and red gel food coloring to tint the other two bowls. Remember, a little gel food coloring goes a long way to achieve vibrant hues!

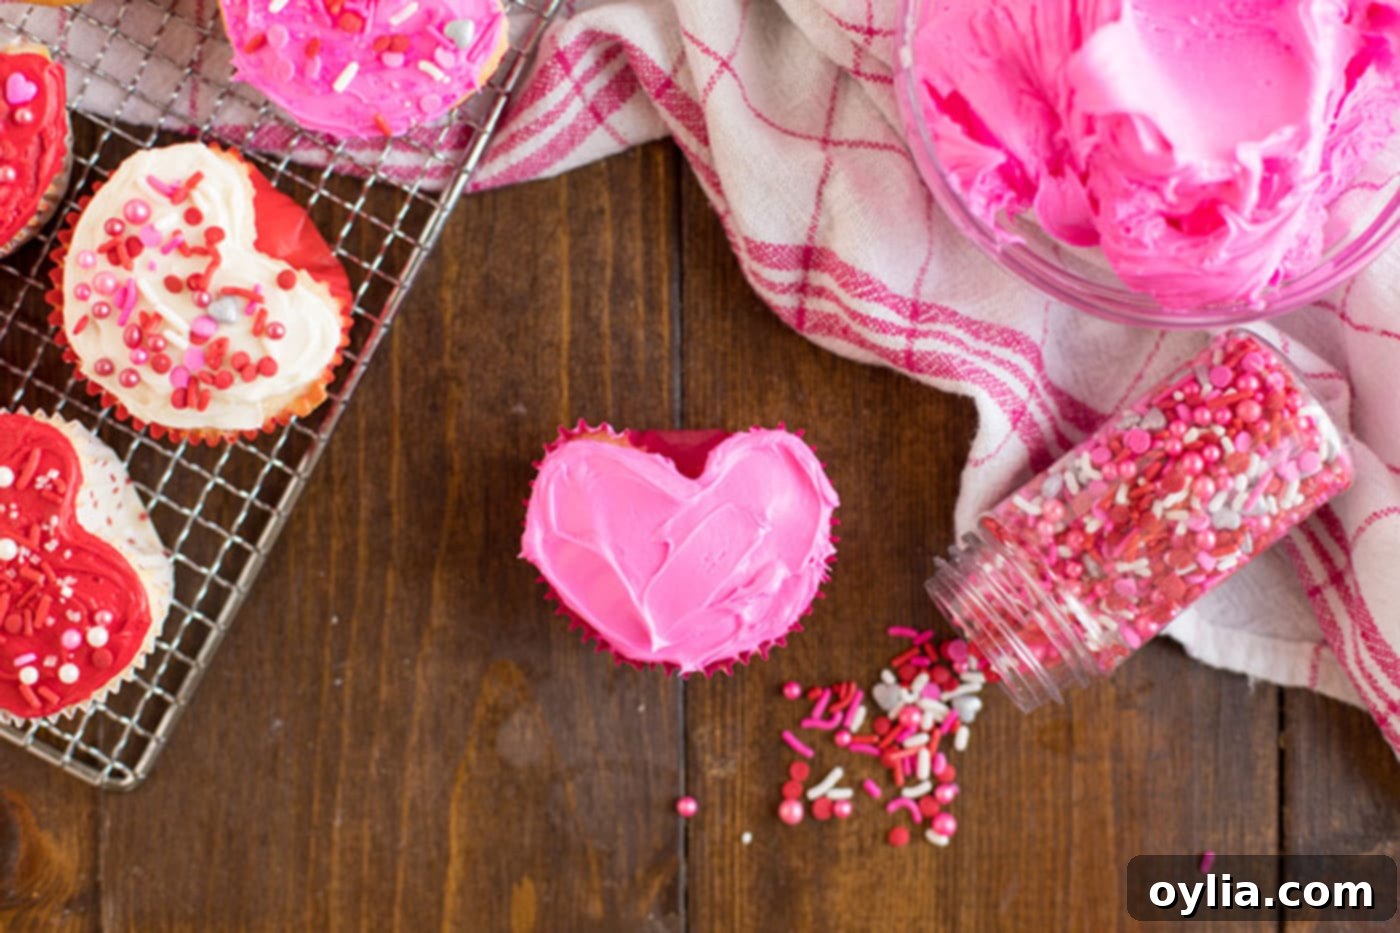
- Frost and Decorate: Now for the creative part! Frost your cooled cupcakes, making sure to accentuate their heart shapes. Spread the frosting generously over the “lip” created by the marble for the rounded top bumps of the heart, and carefully pull the frosting down into a distinct point for the bottom of the heart. Get creative with your decorations! Adorn them with sprinkles, sanding sugar, nonpareils, or any other festive Valentine’s themed embellishments you love.

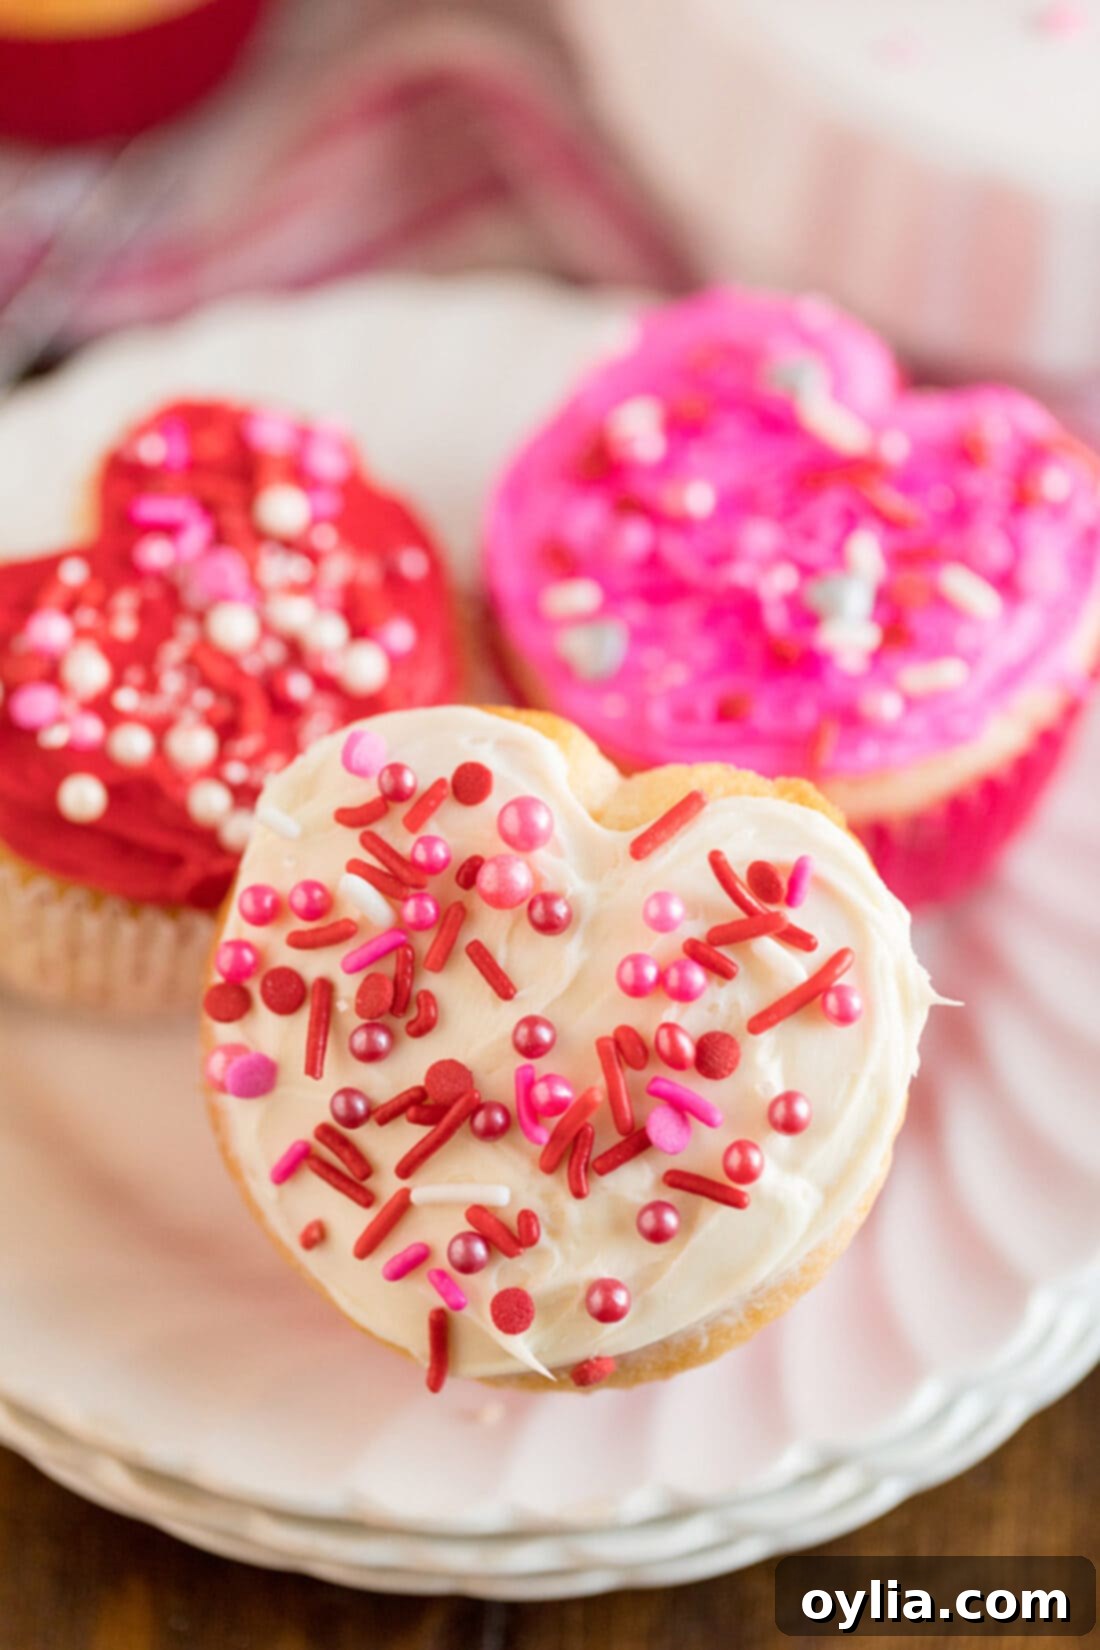
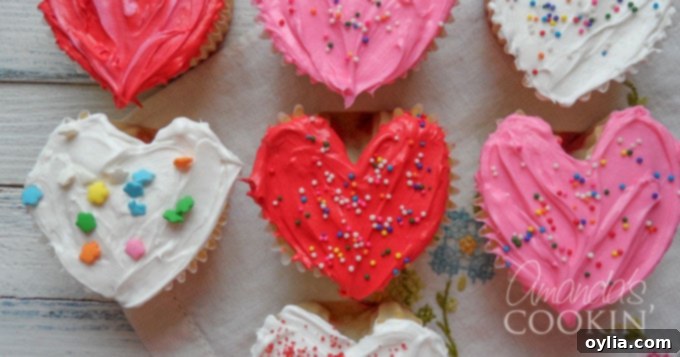
For an even more pronounced heart shape (like in our original, bottom photo), simply take a small offset spatula or butter knife and carefully drag the frosting downwards at the very bottom of the cupcake, creating a sharp point. This subtle detail really enhances the heart effect.
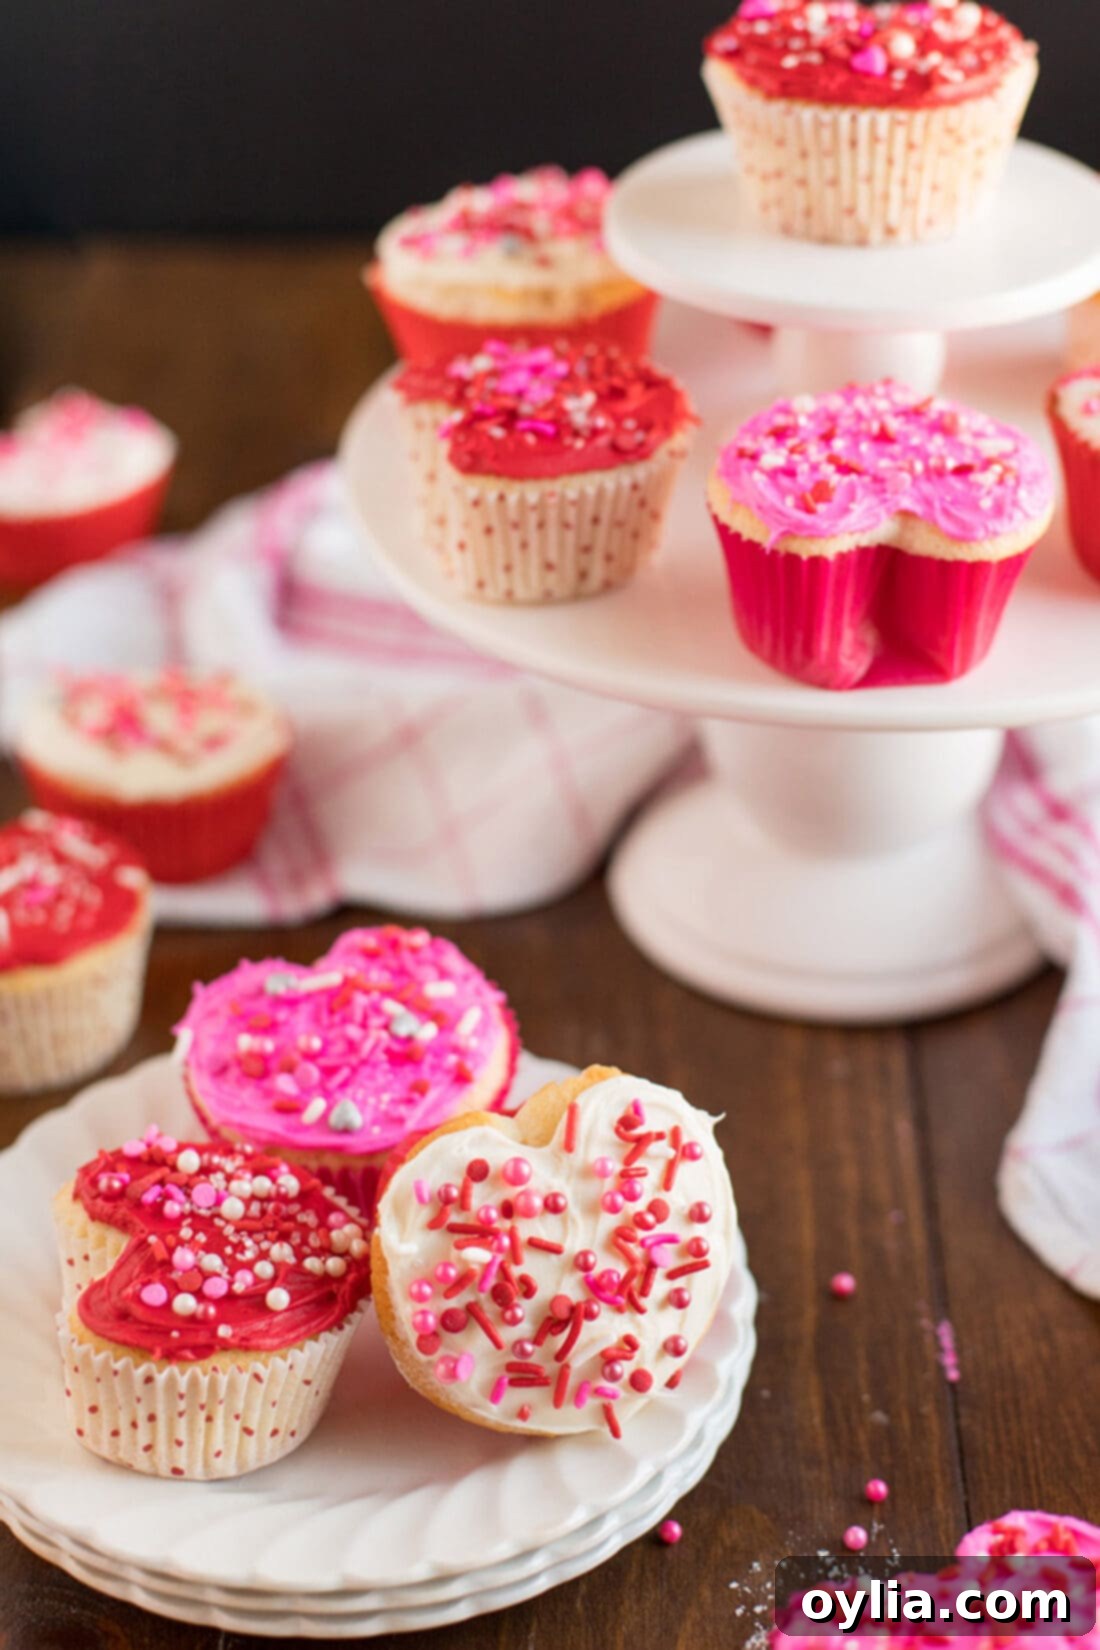
Baking Success Tips & Frequently Asked Questions
To ensure your Valentine Heart Cupcakes turn out perfectly every time, consider these helpful tips and answers to common questions:
- Room Temperature Ingredients: Always use room temperature butter, eggs, and buttermilk. This allows them to emulsify properly, creating a smooth, well-combined batter that bakes evenly and results in a tender cupcake.
- Don’t Overmix: Overmixing the batter develops the gluten too much, leading to dense, tough cupcakes. Mix only until the ingredients are just combined.
- Perfect Heart Shape: The marble trick is key! Ensure the marble or foil ball is pressed firmly against the liner to create a distinct indentation. You can gently adjust the shape of the baked cupcake while it’s still slightly warm to refine the heart.
- Cool Completely: Frosting warm cupcakes is a recipe for disaster! Always ensure your cupcakes are completely cool before applying any frosting to prevent it from melting and sliding off.
- Storage: Store frosted cupcakes in an airtight container at room temperature for up to 2-3 days, or in the refrigerator for up to 5 days. If refrigerated, bring them to room temperature for optimal taste and texture before serving.
- Make Ahead: You can bake the cupcakes a day in advance and store them unfrosted in an airtight container. Frost them just before serving for the freshest look.
Frequently Asked Questions (FAQs)
- Can I use all-purpose flour instead of cake flour? Yes, you can. For a closer approximation to cake flour, remove 2 tablespoons of all-purpose flour for every cup and replace it with 2 tablespoons of cornstarch. This will help maintain a lighter texture.
- What if I don’t have buttermilk? You can easily make a buttermilk substitute at home. For 1 1/4 cups of buttermilk, add 1 1/4 tablespoons of white vinegar or lemon juice to a measuring cup, then fill the rest with regular milk (dairy or non-dairy) up to the 1 1/4 cup line. Let it sit for 5-10 minutes until it slightly curdles.
- Can I make these gluten-free? While not tested with this specific recipe, you can generally substitute gluten-free all-purpose flour blends (that contain xanthan gum) for regular flour in cupcake recipes. Results may vary slightly.
- How can I get vibrant red frosting without a bitter taste? Using gel food coloring is crucial. For deep reds, use a good quality red gel color and add it gradually. Some bakers find that adding a tiny touch of cocoa powder (less than 1/4 teaspoon) to red frosting can help deepen the color without affecting the taste significantly.
Of course, there are lots of other fun edible Valentine ideas out there. Here is just a handful that I’ve saved for inspiration. Enjoy spreading the love through delicious treats!
More Enchanting Valentine’s Day Treats to Explore
If you’re looking for even more ways to sweeten your Valentine’s Day celebration, or simply love baking themed treats, here are some other delightful recipes you might enjoy:
- Heart Oreo Truffles: Rich, decadent, and perfectly portioned, these truffles are a chocolate lover’s dream.
- Conversation Heart Brownies: Combine the fudgy goodness of brownies with the playful messages of conversation hearts.
- Valentine Play Dough Cookie Pops: A creative and interactive baking project that’s fun for the whole family.
- Valentine Cherry Hand Pies: Individual pies filled with sweet cherry goodness, perfect for a personalized treat.
- Valentine Muddy Buddies: A sweet and crunchy snack mix, easy to make and impossible to resist.
- Conversation Heart Cookies: Classic sugar cookies with an iconic Valentine’s message, fully customizable.
Here’s the original photo I mentioned above, showcasing the charming heart shape achieved with the frosting technique:
I love to bake and cook and share my recipes with you! I know it’s hard to remember to come back and search, so I’ve made it easy for you with my weekly newsletter! You can subscribe for free and I’ll send you delicious recipes every week right to your email.
Valentine Heart Cupcakes
IMPORTANT – There are often Frequently Asked Questions within the blog post that you may find helpful. Simply scroll back up to read them!
Print It
Pin It
Rate It
Save ItSaved!
Ingredients
- 2 ¼ cups cake flour
- 1 tablespoon baking powder
- ½ teaspoon salt
- 1 ¼ cups buttermilk
- 4 large egg whites
- 1 ½ cups sugar
- 2 teaspoons grated lemon zest
- 8 tablespoons unsalted butter softened
- White frosting
- Red and pink paste/gel food coloring
- Sprinkles non-pareils, colored sugar, etc
Things You’ll Need
-
Measuring cups and spoons
-
Muffin pan
-
Stand mixer
-
Mixing bowls
Before You Begin
- I’ve provided you with my favorite white cake recipe here, but this can be done just as easily with a box mix.
- If you would like your cupcakes to look even more like hearts – simply drag the frosting down at the bottom into a point.
- Adults love these fun valentine cupcakes just as much as the kids and make a great edible gift to your sweetheart.
- Gel food coloring is best. A little goes a long way and the colors are a lot more vibrant. Liquid food coloring can change the consistency of the frosting because you have to add so much more to achieve the color you want.
Instructions
-
Preheat oven to 350 degrees F (175 degrees C). Line muffin pan with paper cupcake liners.
-
Whisk together cake flour, baking powder and salt.
-
In a separate bowl, whisk together egg whites and buttermilk.
-
Place the sugar in your mixer bowl and add the lemon zest. Rub the zest into the sugar with your fingers until moist and fragrant. Add the butter to the sugar mixture and beat at medium speed for 3 minutes, until very light.
-
With mixer on low, add one third of the flour mixture, then add half of the buttermilk mixture. Add half of the remaining dry ingredients, then the rest of the buttermilk mixture, and finally the remaining dry ingredients. Scrape down the bowl then beat on medium-high for 2 minutes to ensure it is thoroughly mixed and well aerated.
-
Spoon batter into prepared muffin cups, filling them about 2/3 full.
-
Place a round marble in between the cupcake liner and the pan. This will create an indent into the cupcake liner, causing the cake to bake into a heart shape.
-
Bake in the preheated oven until cupcakes are very lightly browned and a toothpick inserted into the center of a cupcake comes out clean, 20 to 25 minutes.
-
Cool cupcakes in the pans for 5 minutes; transfer cupcakes to cooling rack to finish cooling. Be careful, the marbles will be hot!
-
Separate the frosting into three bowls. Keep one white and tint the other two using the pink and red gel food coloring.
-
Frost the cupcakes, accentuating the heart shapes by spreading the frosting over the lip of the liner for the heart bumps, and down into a point for the bottom of the heart. Decorate with sprinkles, sugar, nonpareils etc.
Nutrition
The recipes on this blog are tested with a conventional gas oven and gas stovetop. It’s important to note that some ovens, especially as they age, can cook and bake inconsistently. Using an inexpensive oven thermometer can assure you that your oven is truly heating to the proper temperature. If you use a toaster oven or countertop oven, please keep in mind that they may not distribute heat the same as a conventional full sized oven and you may need to adjust your cooking/baking times. In the case of recipes made with a pressure cooker, air fryer, slow cooker, or other appliance, a link to the appliances we use is listed within each respective recipe. For baking recipes where measurements are given by weight, please note that results may not be the same if cups are used instead, and we can’t guarantee success with that method.
This post was originally published on this blog on Jan 26, 2014.
