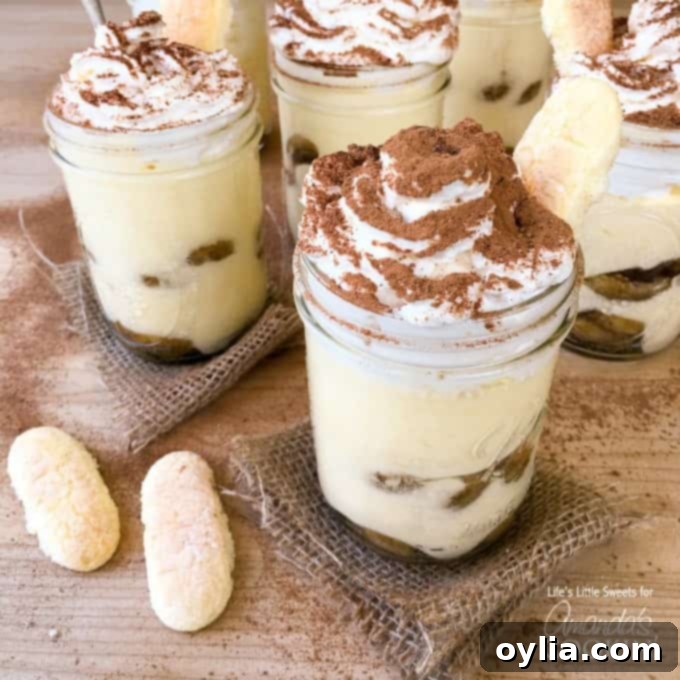
Easy & Elegant Tiramisu Trifles in Mason Jars: Your Perfect Individual Dessert Recipe
Step into the delightful world of Italian desserts with a charming and convenient twist! These Tiramisu Trifles in Mason Jars transform the beloved classic into individual, portable delights. Ideal for entertaining, picnics, or simply enjoying a perfectly portioned treat at home, this recipe makes 6 pint-sized mason jars of pure indulgence. With just 10 key ingredients, you can effortlessly create layers of luscious espresso-soaked ladyfingers, velvety mascarpone cream, and fluffy whipped cream, all dusted with a whisper of cocoa. Get ready to impress your family and friends with this dessert that promises to be a new, unforgettable favorite!
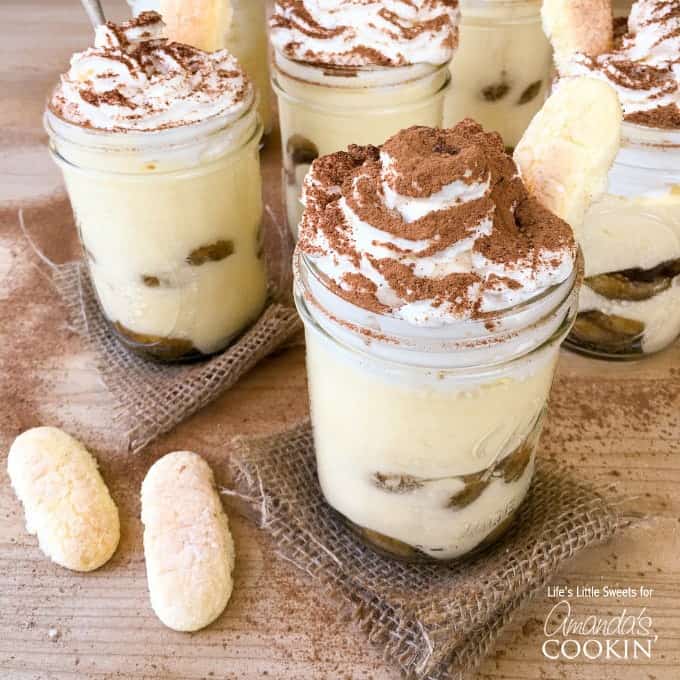
Why Tiramisu Trifles in Mason Jars? A Touch of Elegance and Convenience
This particular tiramisu dessert holds a special place in my heart, often being my most requested sweet treat. Its popularity even extends to my French father-in-law, Michèl, a retired businessman who has traveled the world and savored countless cuisines. Whenever he hears I’m preparing this tiramisu, he eagerly takes over dinner duties, inviting family and friends, all in anticipation of this delightful dessert. We gather, share laughter and stories, knowing the perfect tiramisu trifles await us.
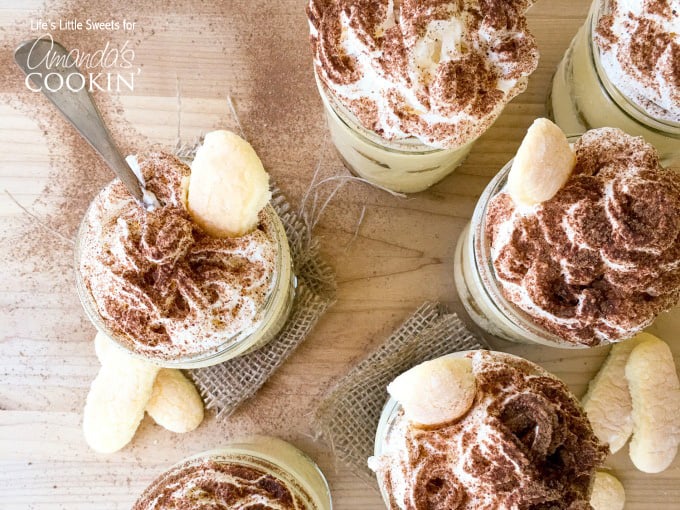
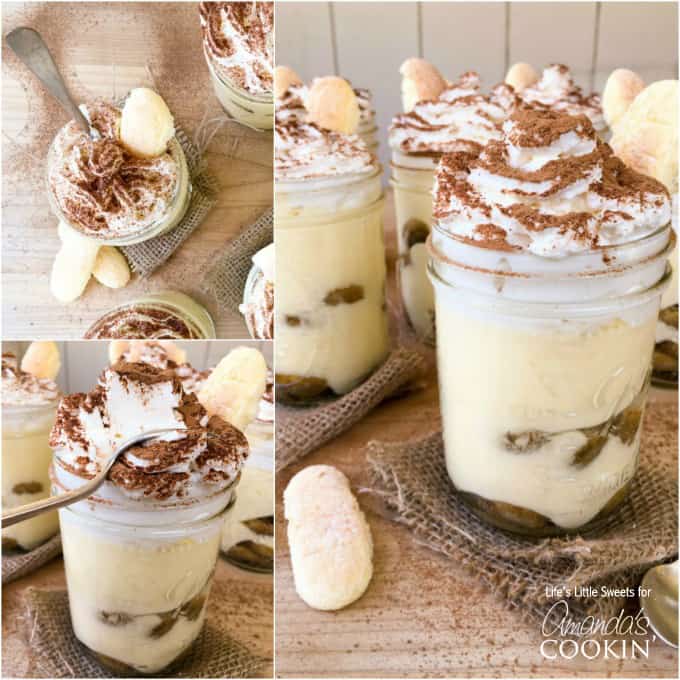
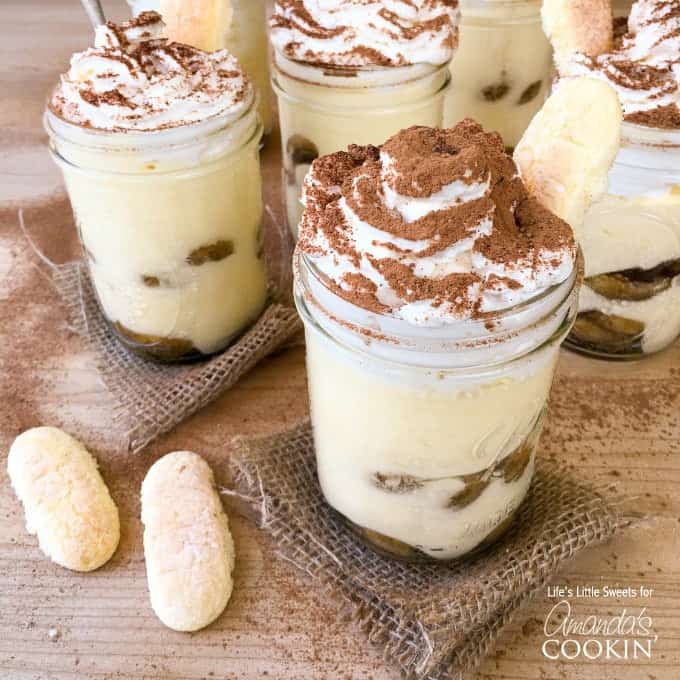
I’ve been perfecting this recipe for years, and a recent epiphany led me to assemble the tiramisu in mason jars. This simple change was a game-changer! Not only does it make the dessert incredibly easy to transport, but it also adds an undeniable charm and convenience. Each person gets their own perfectly portioned, beautifully layered treat. And the best part? If someone can’t finish their trifle, they can simply pop the lid back on, store it in the refrigerator, and enjoy it later as a delightful accompaniment to their morning coffee or as an afternoon pick-me-up. It’s truly the ultimate make-ahead and travel-friendly dessert, blending gourmet taste with practical design.
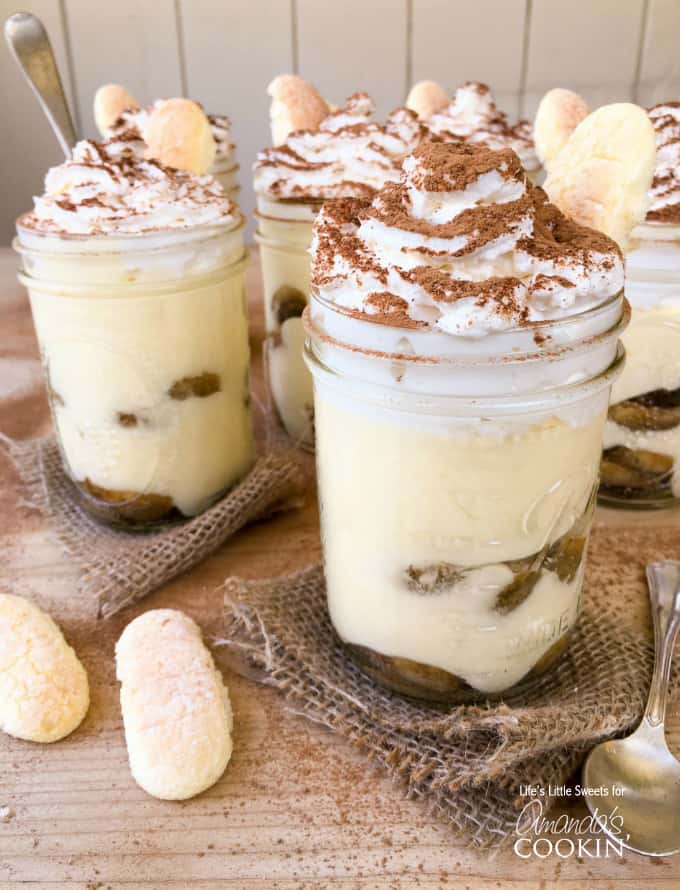
Decadent Ingredients for Your Ultimate Tiramisu Trifle
Creating an exceptional tiramisu trifle begins with quality ingredients. While this recipe is forgiving, opting for the best available will elevate your dessert from delicious to extraordinary, especially for the star of the show: the tiramisu cream. I often choose organic ingredients when possible, ensuring a richer, more natural flavor. Rest assured, though, no matter your choice, homemade tiramisu is an experience unlike any other!
Please note: This post may contain affiliate links. If you make a purchase through these links, I may earn a small commission at no additional cost to you.
For the Velvety Tiramisu Cream:
- 6 Egg Yolks: These provide the rich, custardy base and beautiful pale yellow color to our mascarpone cream, creating that iconic tiramisu texture.
- 1 Cup Granulated Sugar (sifted): Sifting ensures there are no lumps, resulting in a perfectly smooth, silky cream. It adds just the right amount of sweetness to balance the espresso and mascarpone.
- 1-1/4 Cups Mascarpone Cheese: The heart of tiramisu! This Italian cream cheese offers a luxurious, slightly tangy, and incredibly rich flavor that defines the dessert. Choose a high-quality brand for the best results.
- 1-3/4 Cups Heavy Whipping Cream: Whipped until light and airy, this adds volume and an ethereal texture to the tiramisu cream, making it irresistibly fluffy.
- 1/8 Teaspoon Cream of Tartar: A secret weapon for stabilizing whipped cream, ensuring it holds its shape beautifully and doesn’t deflate, even when folded into the mascarpone mixture.
- 1 Teaspoon Vanilla Extract: A classic flavor enhancer that complements the richness of the cream and the bitterness of the espresso.
For the Essential Ladyfingers Layer:
- 3 (7 ounce) Packages of Ladyfingers: Opt for the soft, sponge cake variety, not the hard biscuit kind, as they absorb the espresso more effectively. You might have a few extra, perfect for a decorative garnish! Find them here.
- 2 Cups Chilled Espresso: The soul of tiramisu! Chilling it prevents the ladyfingers from getting soggy. Espresso provides that distinctive bold, bittersweet coffee flavor that pairs perfectly with the sweet cream. There might be a little left over.
For the Delightful Whipped Cream and Cocoa Toppings:
- 2 Cups Whipping Cream: For a generous cloud of fresh, airy topping on each trifle.
- 2 Tablespoons Confectioner’s Sugar: To sweeten the topping whipped cream lightly, giving it a delicate sweetness that melts in your mouth.
- 1/8 Teaspoon Cream of Tartar: Again, for stabilizing the topping whipped cream, ensuring it stays lofty and beautiful on your trifles.
- 2-4 Tablespoons Cocoa for Dusting: Whether you prefer sweetened or unsweetened cocoa powder, this final flourish adds a beautiful visual contrast and a hint of chocolatey bitterness, completing the tiramisu experience.
Essential Tools for Perfect Tiramisu Trifles:
Having the right kitchen tools makes the tiramisu-making process smooth and enjoyable. Here’s what you’ll need:
- 6 Pint-Size Wide Mouth Glass Mason Jars: The star of our individual trifles! Wide-mouth jars make layering much easier. These are perfect for serving and storage. Get yours here.
- Electric Hand Mixer (or Stand Mixer): Essential for whipping creams and achieving that perfectly smooth egg yolk mixture. It saves a lot of arm work! Hand mixer or stand mixer.
- Double Boiler (or a Metal/Glass Bowl over a Saucepan): Crucial for gently cooking the egg yolk and sugar mixture, ensuring it thickens properly without scrambling. Check out this double boiler.
- Large Mixing Bowl: You’ll need a spacious bowl for whipping cream and mixing the mascarpone cream components. A good metal mixing bowl is invaluable.
- Espresso Maker: For brewing that essential chilled espresso. A high-quality espresso makes a significant difference in flavor. Explore espresso makers.
- Optional: Mason Jar Funnel: This handy tool can make filling the jars cleaner and easier, keeping the edges neat. Find a mason jar funnel here.
Expert Kitchen Tips for Tiramisu Trifle Success:
Follow these essential tips to ensure your tiramisu trifles turn out perfectly every time:
- Pre-made Whipped Cream Option: If you’re short on time or prefer convenience, you can absolutely substitute store-bought ready-made whipped cream for the topping. Just make sure it’s a good quality one that holds its shape well.
- Chill for Perfect Whipped Cream: For truly light and stable whipped cream, whether for the tiramisu cream or the topping, always chill your mixing bowl and beaters in the freezer for at least 10-15 minutes before whipping. Cold equipment helps the cream whip faster and hold its volume longer.
- Room Temperature Egg Yolks: While egg yolks are easier to separate when cold, it’s crucial to bring them to room temperature *before* you start cooking them over the double boiler. This usually takes about 30 minutes and helps them emulsify better with the sugar, creating a smoother, more stable base for your cream.
- Efficient Ladyfinger Dipping: To speed up the process and ensure even soaking without over-saturating, separate your ladyfingers into sets of two before you start dipping. This allows for quick, consistent immersion.
- Keep Jars Clean with a Funnel: A mason jar funnel is a small but mighty tool! It helps guide the cream cleanly into the jars, preventing messy edges and ensuring a professional-looking layered dessert.
- Espresso vs. Coffee: While authentic espresso provides the most profound and authentic tiramisu flavor, a strong, dark roast coffee like French roast can be a good substitute if you don’t have an espresso maker. Just ensure it’s brewed extra strong to capture that rich coffee essence.
- Brew Espresso Ahead: Plan ahead! Brew your espresso at least an hour before you plan to assemble and place it in the refrigerator to chill thoroughly. Cold espresso is key to preventing soggy ladyfingers.
- Chilling is Crucial: The absolute most important tip! Your tiramisu trifles need to chill for at least 4 hours before serving to allow the flavors to meld and the cream to set properly. For the best firm and flavorful results, I *highly* recommend chilling them in the refrigerator overnight. However, don’t wait longer than 2 days, as the cream may start to separate and the texture can diminish.
Serving and Variations for Your Tiramisu Trifles
One of these generously sized mason jars is certainly enough to satisfy a sweet craving, indulgent enough to keep all to yourself, and perfectly designed for sharing or saving for later. The portability makes them a fantastic option for potlucks, parties, or a delightful treat for school or work lunches. For an extra touch of elegance, consider garnishing with a few chocolate-covered espresso beans, a dusting of finely grated dark chocolate, or even a fresh raspberry for a burst of color and a hint of tartness. I sincerely hope you and your family enjoy these indulgent Tiramisu Trifles as much as mine does. They truly elevate a simple dessert into a special occasion!
More Dessert Recipes You’ll Love:
- Bailey’s Tiramisu Parfaits
- Tiramisu Cheesecake
- Traditional English Trifle
- Tiramisu Cake
- Individual Tiramisu
Tiramisu Trifle in Mason Jars
IMPORTANT – There are often Frequently Asked Questions within the blog post that you may find helpful. Simply scroll back up to read them!
Print It
Pin It
Rate It
Save ItSaved!
Ingredients
Tiramisu Cream
- 6 egg yolks
- 1 cup granulated sugar sifted to remove any lumps
- 1-1/4 cups mascarpone cheese
- 1-3/4 cups heavy whipping cream
- ⅛ teaspoon cream of tartar
- 1 teaspoon vanilla extract
Ladyfingers Layer
- 3 7 ounce packages of ladyfingers
- 2 cups chilled espresso
Whipped Cream and Cocoa Toppings
- 2 cups whipping cream
- 2 tablespoons confectioner’s sugar
- ⅛ teaspoon cream of tartar
- 2-4 tablespoons cocoa for dusting sweetened or unsweetened
Instructions
-
Prepare the Espresso: Brew your 2 cups of espresso well in advance (at least an hour before assembly is ideal). Once brewed, pour it into a shallow dish and place it in the refrigerator to chill thoroughly. Cold espresso is essential for preventing soggy ladyfingers.
-
Whip the First Cream: In a chilled mixing bowl with chilled beaters, combine 1-3/4 cups heavy whipping cream and 1/8 teaspoon cream of tartar. Whip until stiff peaks form. Cover the bowl and set it aside in the refrigerator. This will be folded into your mascarpone mixture.
-
Prepare the Topping Whipped Cream (Optional Now): You have the option to make the topping whipped cream now or closer to serving. To make it, whip 2 cups whipping cream with 2 tablespoons of confectioner’s sugar and an additional 1/8 teaspoon of cream of tartar until soft peaks form. Keep it chilled if making ahead.
-
Create the Egg Yolk Base: Set up a double boiler (or use a heatproof metal/glass bowl over a saucepan with simmering water, ensuring the bowl doesn’t touch the water). Combine 1 cup granulated, sifted sugar, 6 egg yolks, and 1 teaspoon vanilla extract in the top bowl. Whisk continuously over low heat for approximately 10 minutes. The mixture should become smooth, pale, and slightly thickened. This process gently cooks the eggs and dissolves the sugar. Remove from heat.
-
Whip the Egg Yolk Mixture: Using your electric hand mixer, whip the warm egg yolk mixture until it cools down, becomes very smooth, and turns a pale yellow color. This aerates the mixture, contributing to the light texture of the cream.
-
Incorporate Mascarpone: Add the 1-1/4 cups mascarpone cheese to the whipped egg yolk mixture. Beat with the hand mixer until just combined and smooth. Be careful not to overmix, which can cause the mascarpone to curdle.
-
Fold in Whipped Cream: Gently fold in the previously whipped heavy cream (from step 2) until it is fully incorporated and no streaks remain. The key here is to be gentle to maintain the airiness. Cover the tiramisu cream and place it back in the refrigerator while you prepare the jars and ladyfingers for assembly.
-
First Ladyfinger Layer: Retrieve the chilled espresso. Take two ladyfingers at a time and quickly dip them into the espresso, being careful not to over soak them (a quick dip is all you need to avoid sogginess). Place these two espresso-soaked ladyfingers into the bottom of each of the 6 mason jars. For a more substantial base, add another two espresso-soaked ladyfingers on top of the first layer in each jar.
-
First Cream Layer: Take the tiramisu cream from the refrigerator. Using a 1/2 cup measure, scoop the cream and gently spoon it on top of the espresso-soaked ladyfingers in all 6 jars. There’s no need to press it down firmly; it will settle as it chills. A gentle smoothing with the back of a spoon is perfectly fine.
-
Second Ladyfinger Layer: Repeat the ladyfinger process, dipping another 4 ladyfingers (two over two) per jar in espresso and layering them on top of the cream.
-
Final Cream Layer: Evenly distribute the remaining tiramisu cream among all 6 jars, creating the top cream layer.
-
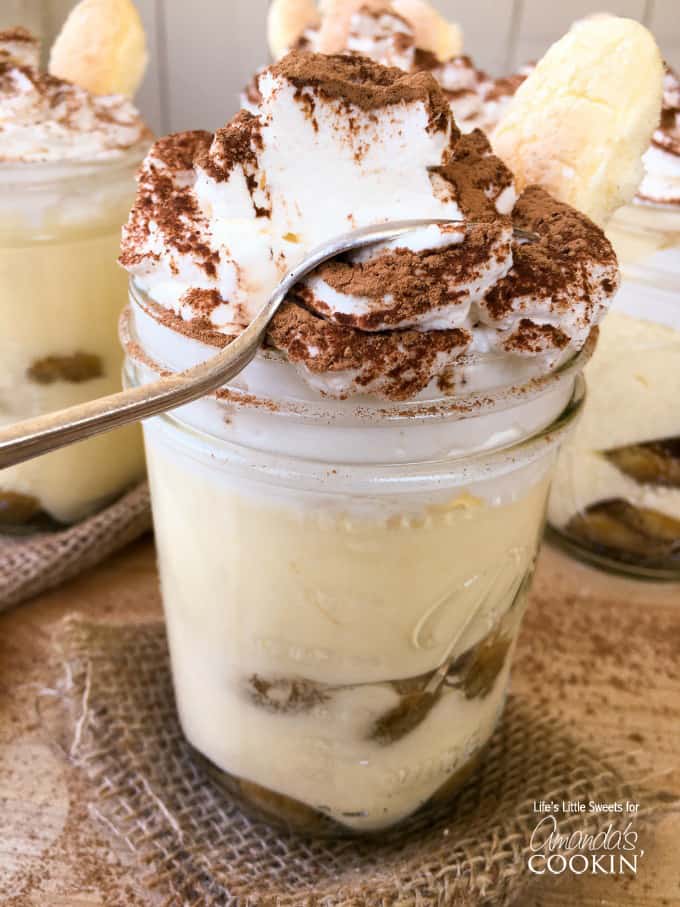
Chill and Serve: If you are preparing these for transport or making them ahead, cover the jars with their lids and refrigerate for at least 4 hours, or preferably overnight, for best results. Before serving, top each trifle with a generous dollop of the prepared whipped cream (from step 3, if made fresh) and dust generously with cocoa powder. You can also add any remaining ladyfingers or chocolate shavings as an elegant garnish. Enjoy your exquisite individual Tiramisu Trifles!
The recipes on this blog are tested with a conventional gas oven and gas stovetop. It’s important to note that some ovens, especially as they age, can cook and bake inconsistently. Using an inexpensive oven thermometer can assure you that your oven is truly heating to the proper temperature. If you use a toaster oven or countertop oven, please keep in mind that they may not distribute heat the same as a conventional full sized oven and you may need to adjust your cooking/baking times. In the case of recipes made with a pressure cooker, air fryer, slow cooker, or other appliance, a link to the appliances we use is listed within each respective recipe. For baking recipes where measurements are given by weight, please note that results may not be the same if cups are used instead, and we can’t guarantee success with that method.
This recipe was inspired by The Best Tiramisu You Will Ever Make

