Irresistibly Chewy Chocolate Peanut Butter Cookies: The Ultimate Recipe
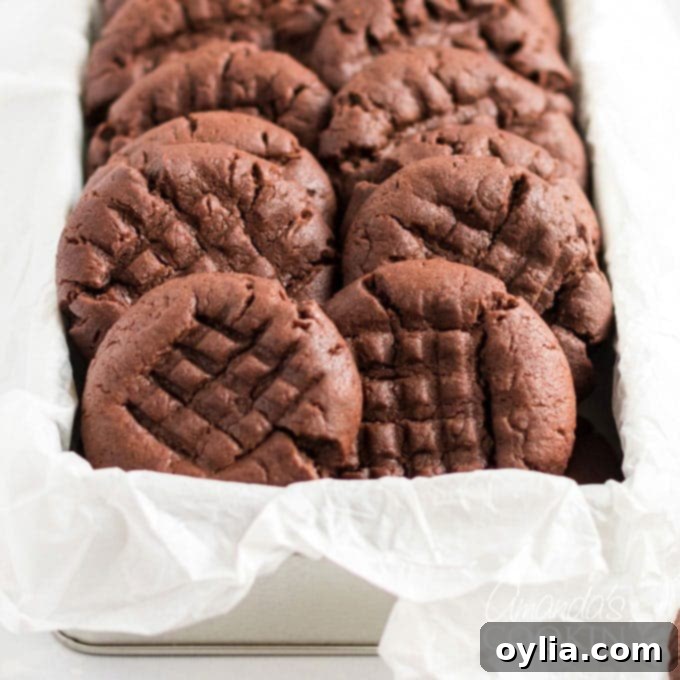
If you’re a devoted fan of that classic, comforting combination of rich chocolate and creamy peanut butter, then prepare to meet your new obsession: these incredible chocolate peanut butter cookies! They are everything you crave – perfectly fudgy, wonderfully chewy, and so utterly irresistible, whether enjoyed warm straight from the oven or with a tall glass of cold milk. This recipe delivers the best of both worlds in every single bite.
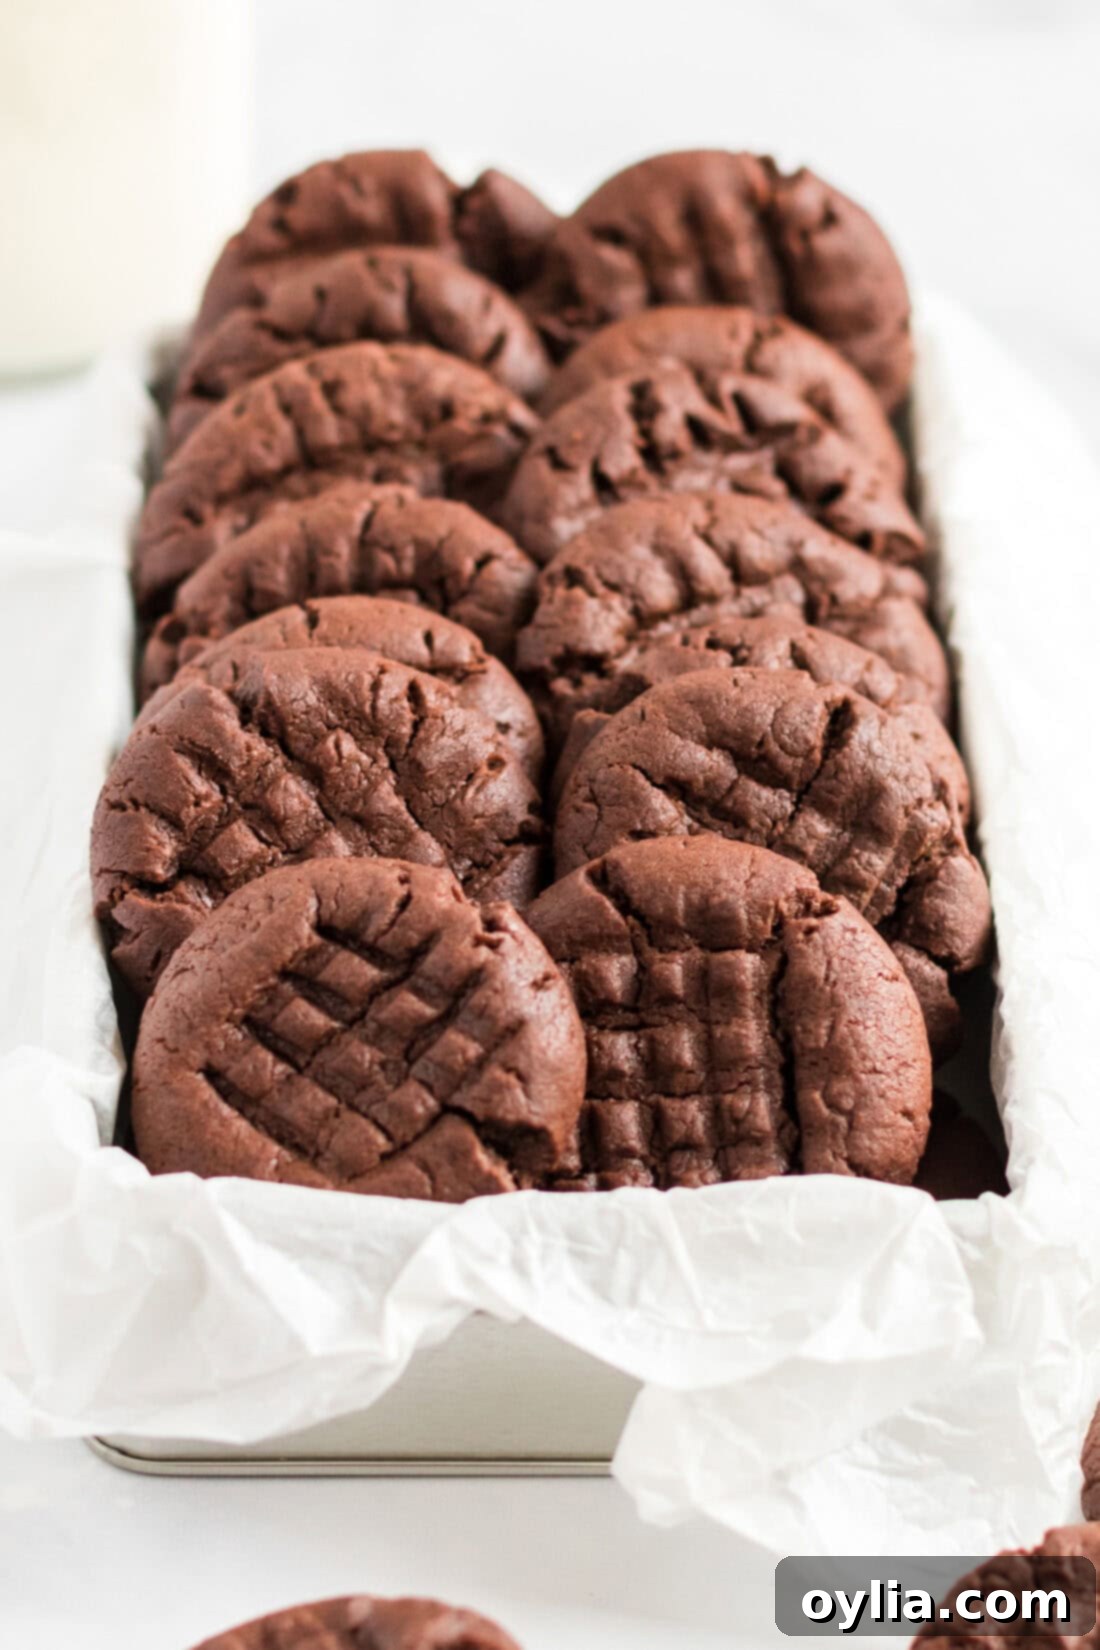
Why This Chocolate Peanut Butter Cookie Recipe is a Must-Try
This recipe didn’t just happen by accident; it’s a carefully crafted creation born from a love for classic flavors. My family adores my soft and chewy peanut butter cookies and our beloved Nutella peanut butter cookies. So, it was only natural to develop a chocolate-infused version that would capture hearts and taste buds alike. The secret to its success? A simple, yet ingenious, substitution of some flour with cocoa powder, resulting in an exceptionally soft cookie packed with that dreamy chocolate peanut butter flavor. It’s truly a match made in dessert heaven, offering a delightful balance that satisfies both chocolate and peanut butter cravings simultaneously.
What makes this dough truly special is its incredible ease of preparation. It comes together beautifully, forming a soft and pliable texture that’s a joy to work with. The precise amount of cocoa powder ensures that the chocolate perfectly complements the peanut butter, enhancing rather than overpowering it. This isn’t just another cookie recipe; it’s a foolproof way to bake a batch of treats that are guaranteed to be a hit. Get ready for wonderfully chewy cookies with a rich, deep flavor that will have everyone asking for more!
RELATED – If you enjoy unique flavor combinations, you’ll also adore my Cinnamon Chocolate Chip Cookies. The subtle hint of cinnamon paired with classic chocolate chips creates an unexpected yet delightful cookie experience!
CHOCOLATE CHIP COOKIES COOKBOOK!
Chocolate Chip Cookies are a favorite in just about every household. But there’s more than one way to make these delicious hand-held treats. Get 20 different recipes! See ALL my cookbooks here!
20 yummy chocolate chip cookie recipes plus tips for baking your best batch! ONLY $9.97!!
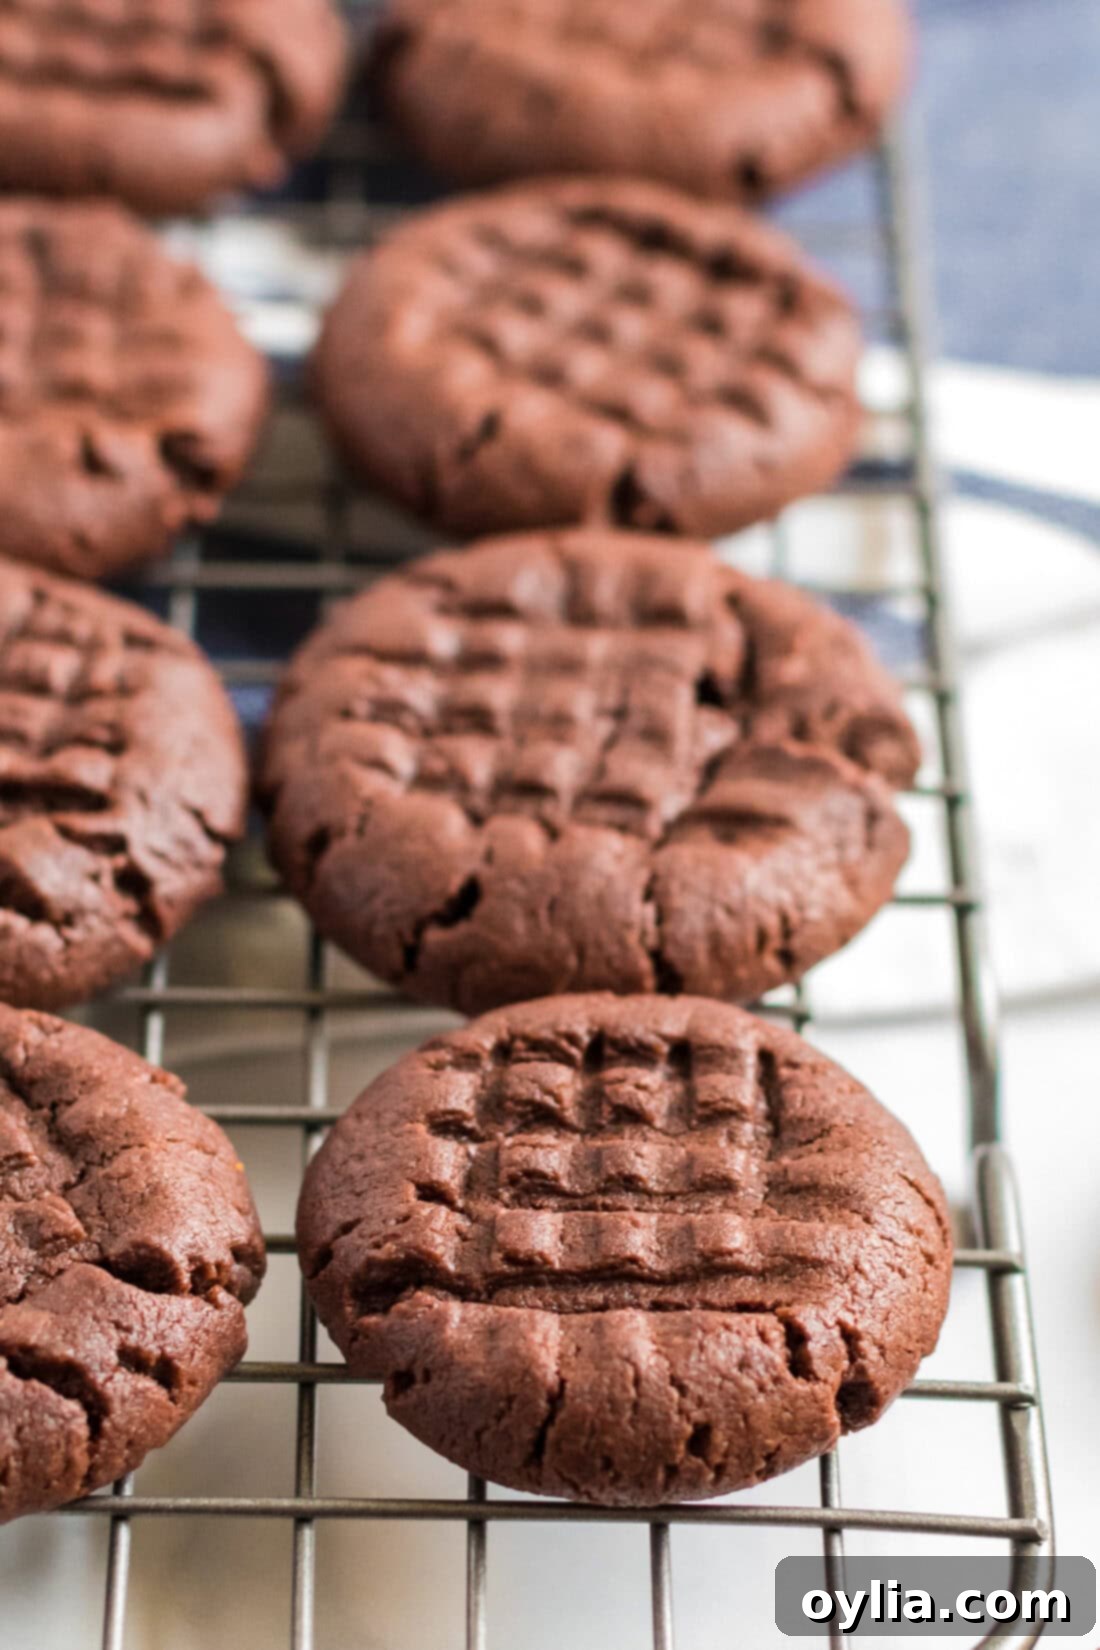
Key Ingredients & Smart Substitutions for Perfect Cookies
Achieving the perfect texture and flavor in these chocolate peanut butter cookies starts with understanding your ingredients. Below, you’ll find essential information and helpful substitution suggestions. Remember, all precise measurements, ingredients, and detailed instructions are available in the printable recipe card at the very end of this post.
Shortening
Regular or butter-flavored shortening is highly recommended for this recipe. Shortening is key to giving these cookies their signature soft and chewy texture, and it helps prevent excessive spreading during baking, resulting in a more uniform cookie. While you can substitute butter in a pinch, be aware that it will significantly alter the final texture. Cookies made with butter tend to spread more and can be crispier rather than soft and chewy. If you must use butter, ensure it’s unsalted and at room temperature.
All-Purpose Flour
Properly measuring your flour is one of the most crucial steps in baking. For accurate results, always use the “scoop and sweep” method. Gently spoon flour into your dry measuring cup until it overflows. Then, use the flat edge of a butter knife or a straight spatula to level off the excess flour. Avoid packing the flour down or tapping the measuring cup on the counter, as this compresses the flour, leading to a denser, drier cookie due to too much flour being incorporated.
Unsweetened Cocoa Powder
Just like with flour, precision is important when measuring cocoa powder. If you pack it into the measuring cup or scoop it directly from the container with the cup, you’ll likely end up with more cocoa than the recipe calls for, which can make your dough overly dry and the cookies crumbly. For best results, use the same scoop and sweep method as with flour. We recommend an unsweetened natural cocoa powder for a balanced chocolate flavor. Dutch-processed cocoa could also work but might result in a slightly darker, less acidic cookie.
Creamy Peanut Butter
The star of the show! We specify creamy peanut butter for a smooth, consistent texture in your cookies. Regular, processed creamy peanut butter works best here as natural peanut butter (the kind that separates) can sometimes make the dough too oily or dry, depending on how it’s stirred. If using natural peanut butter, ensure it’s very well stirred and aim for a consistent, thick creamy texture for the best results.
Light Brown Sugar
Brown sugar isn’t just for sweetness; it plays a vital role in the texture of these cookies. Its molasses content adds moisture, contributing to the soft and chewy characteristic we’re aiming for. It also adds a subtle caramel note that complements both the chocolate and peanut butter beautifully. Remember to pack it firmly into your measuring cup to ensure you have the correct amount.
Large Egg
The egg acts as a binder, helping to hold all the ingredients together and providing structure to the cookies. It also adds richness and contributes to the dough’s moisture content, ensuring a tender crumb. Always use a large egg at room temperature for optimal emulsification with the other ingredients.
Baking Soda
Baking soda is our leavening agent, which helps the cookies rise slightly and achieve that desirable soft texture. It reacts with the acidic components in the brown sugar and cocoa, creating carbon dioxide bubbles that expand during baking. Ensure your baking soda is fresh for maximum effectiveness.
Salt and Vanilla Extract
Don’t underestimate these two! Salt is crucial for balancing the sweetness and enhancing the flavors of both chocolate and peanut butter. Vanilla extract adds a warm, aromatic depth that rounds out the overall taste profile of the cookies.
Milk
A small amount of milk helps bring the dough together to the perfect consistency, ensuring it’s not too dry and results in a perfectly moist and tender cookie.
Step-by-Step: How to Bake Delicious Chocolate Peanut Butter Cookies
These step-by-step photos and detailed instructions are provided to help you visualize the entire baking process, ensuring your homemade chocolate peanut butter cookies turn out perfectly. For a concise, printable version of this recipe, complete with exact measurements and instructions, you can Jump to Recipe at the bottom of the page.
Preparation is Key
Before you begin, gather all your ingredients and ensure they are at room temperature. This helps them combine more smoothly, creating a more uniform dough. Preheat your oven and prepare your baking sheets according to the instructions. Having everything ready ensures a seamless baking experience.
- Preheat your oven to 375 degrees F (190 degrees C). Proper oven temperature is critical for even baking and achieving the right cookie texture.
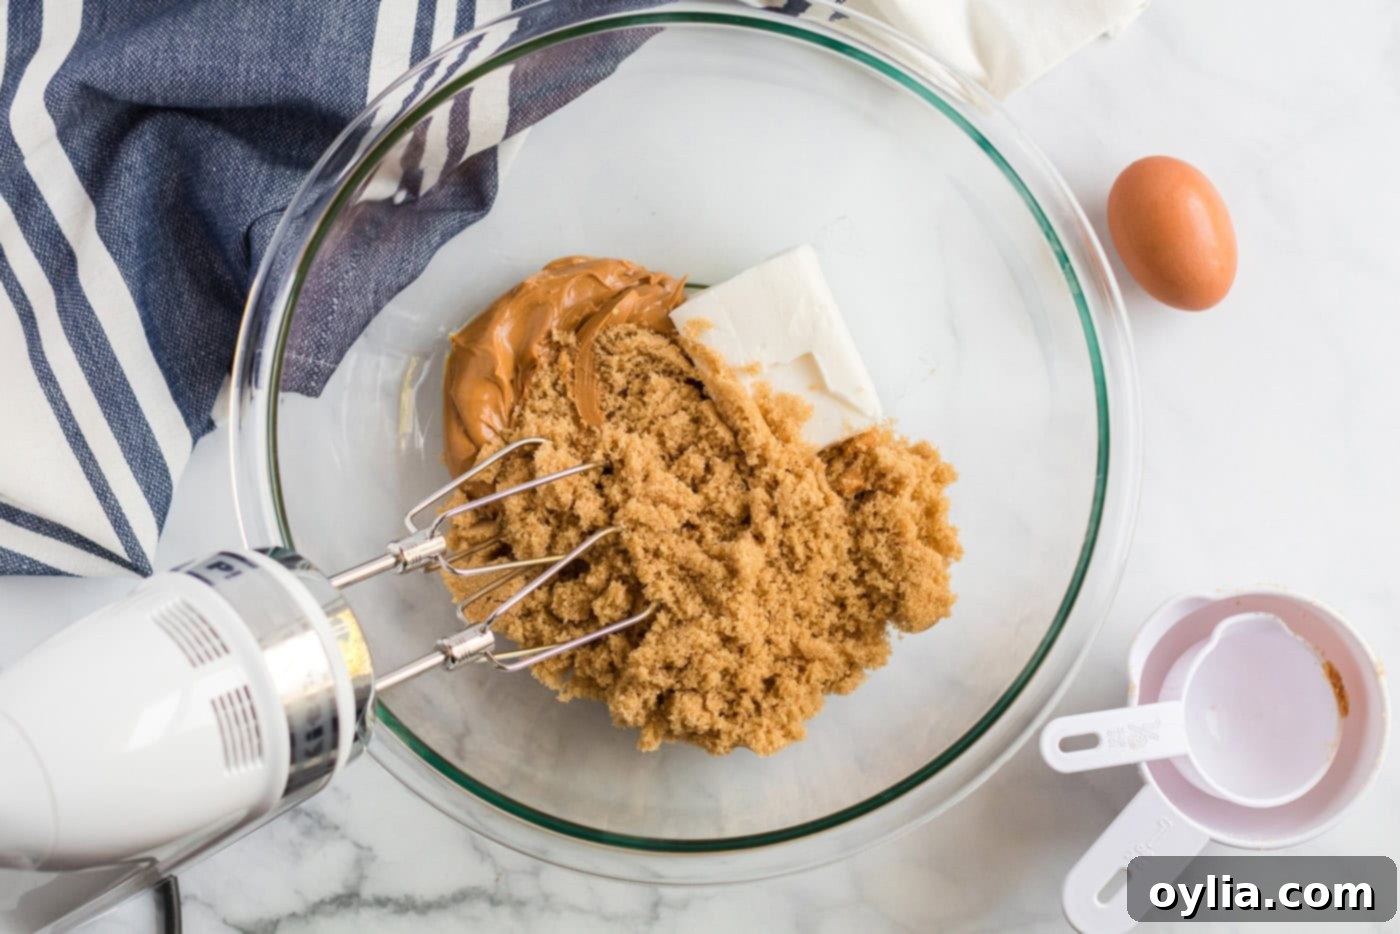
- In a large mixing bowl, combine the shortening, creamy peanut butter, firmly packed light brown sugar, milk, and vanilla extract. Using an electric mixer, beat these wet ingredients together on medium speed until they are light, fluffy, and thoroughly blended. This creaming process incorporates air, which contributes to the cookies’ soft texture.

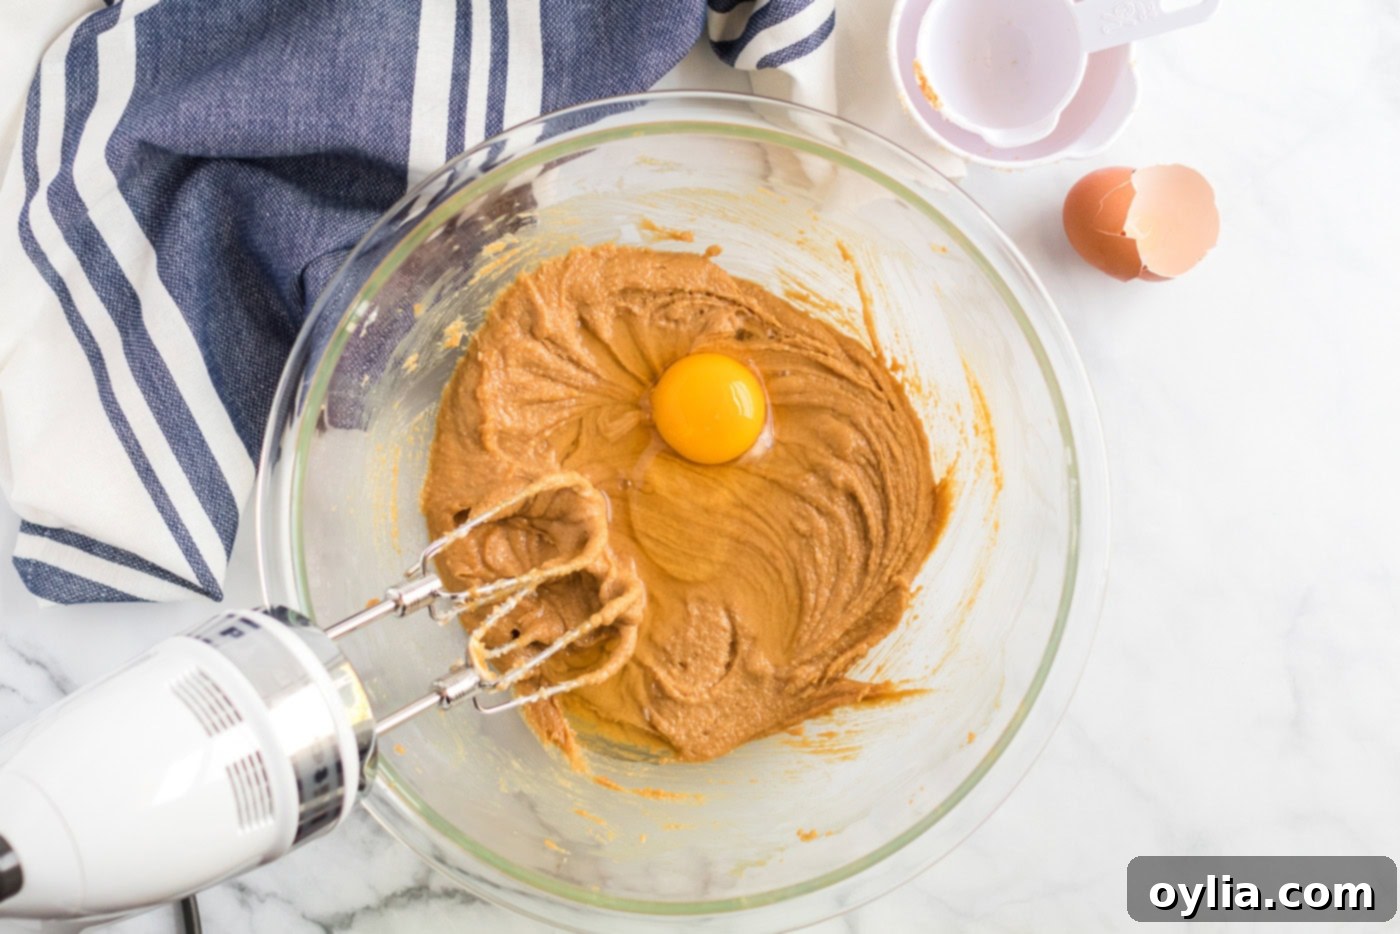
- Next, add the large egg to the creamed mixture. Beat just until the egg is fully incorporated and the mixture is smooth. Over-beating the egg can lead to tougher cookies.

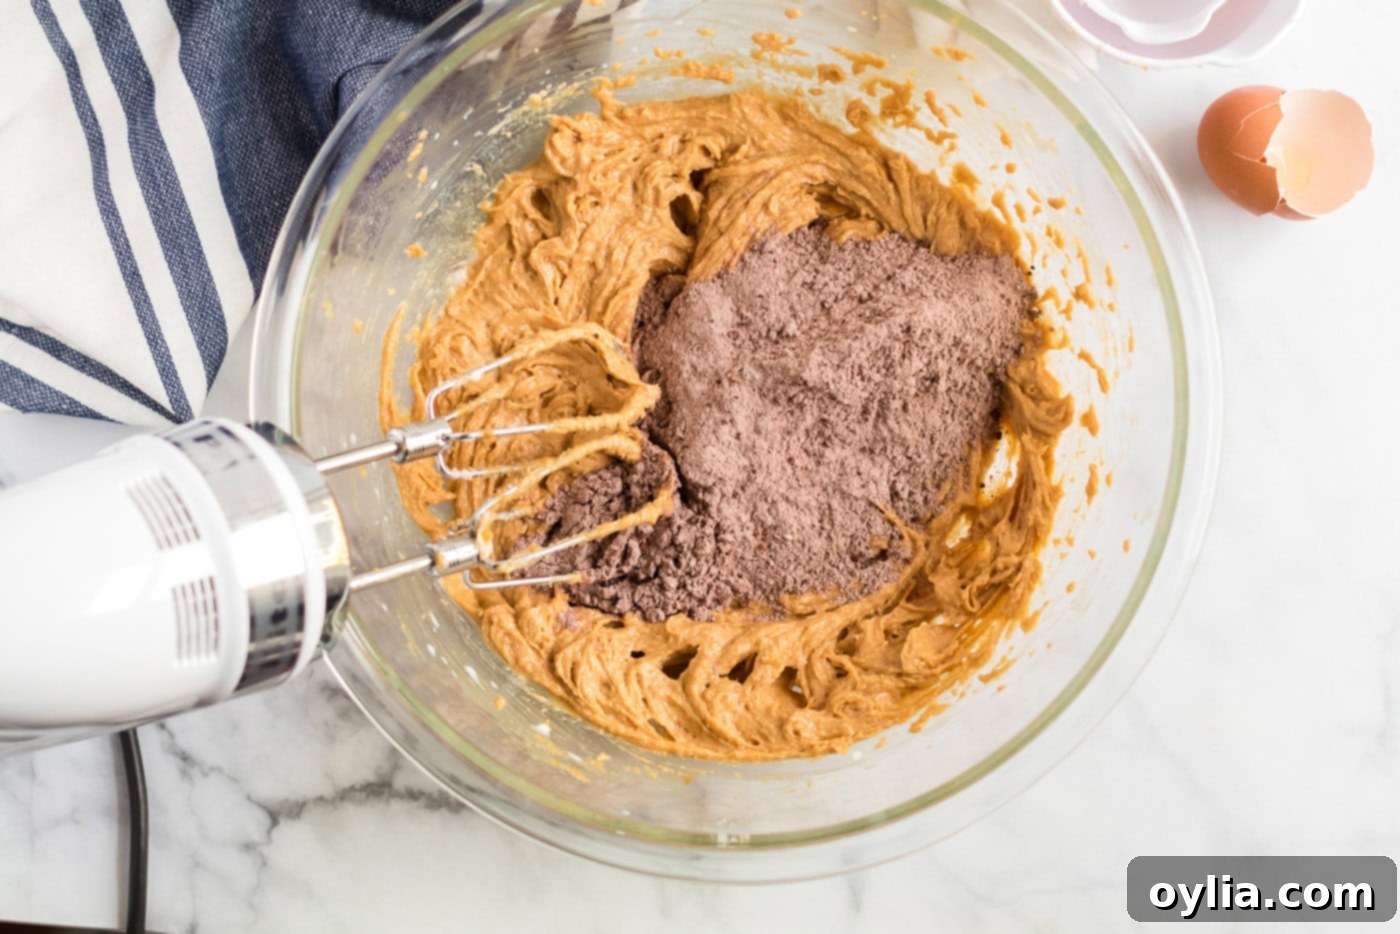
- In a separate bowl, whisk together the all-purpose flour, unsweetened cocoa powder, salt, and baking soda. Gradually add this dry mixture to the creamed wet ingredients on low speed, mixing just until everything is combined and no streaks of flour remain. Be careful not to overmix, as this can develop the gluten too much, resulting in dry or tough cookies.

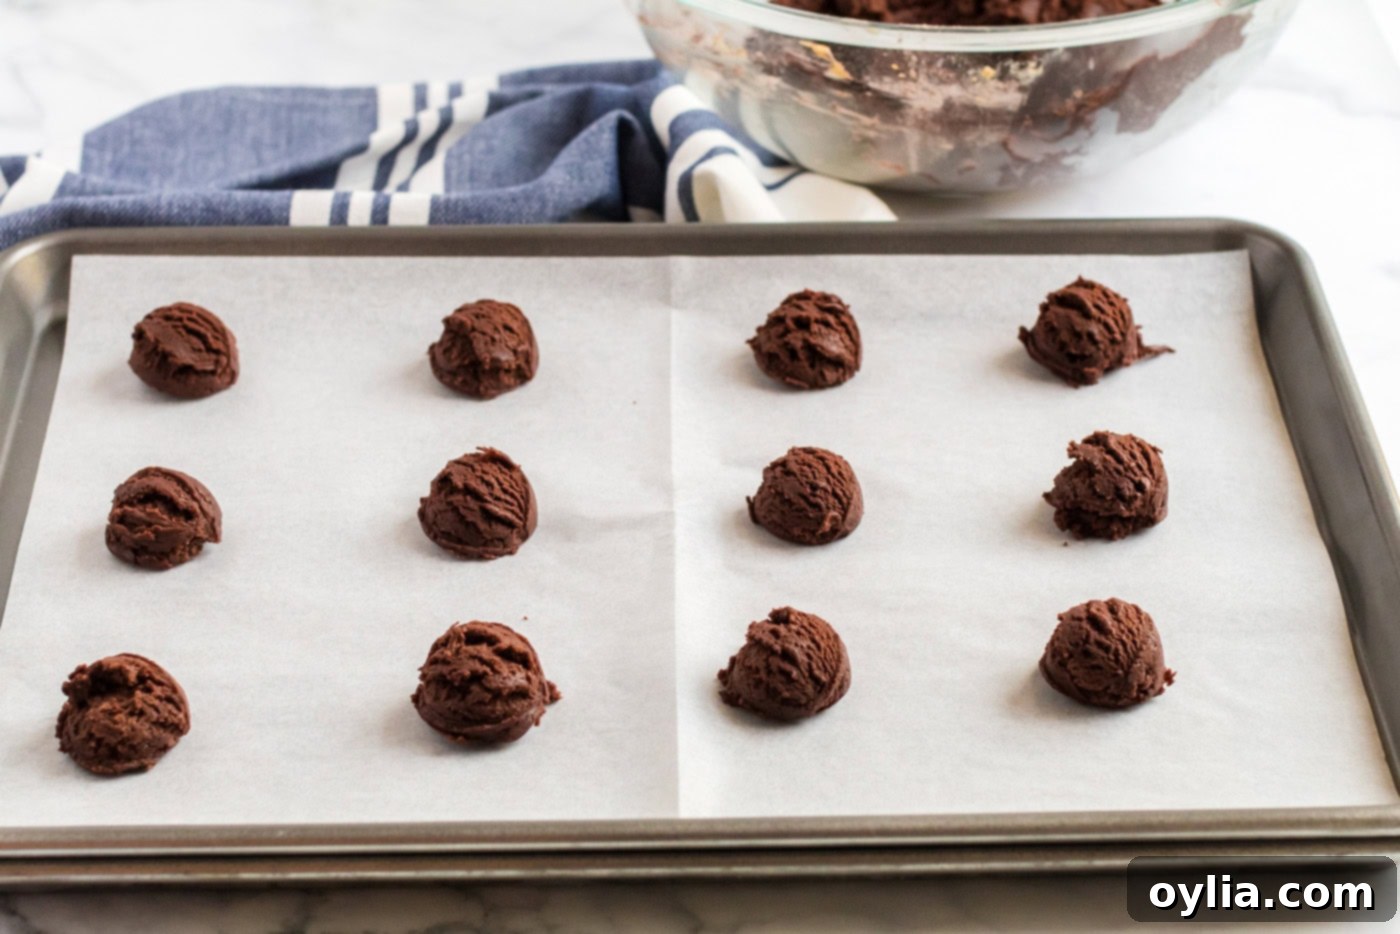
- Using a cookie scoop (for consistent size and baking), drop heaping tablespoons of dough about 2 inches apart onto an ungreased insulated baking sheet. If you don’t have an insulated sheet, parchment paper is a great alternative to prevent sticking and promote even baking.

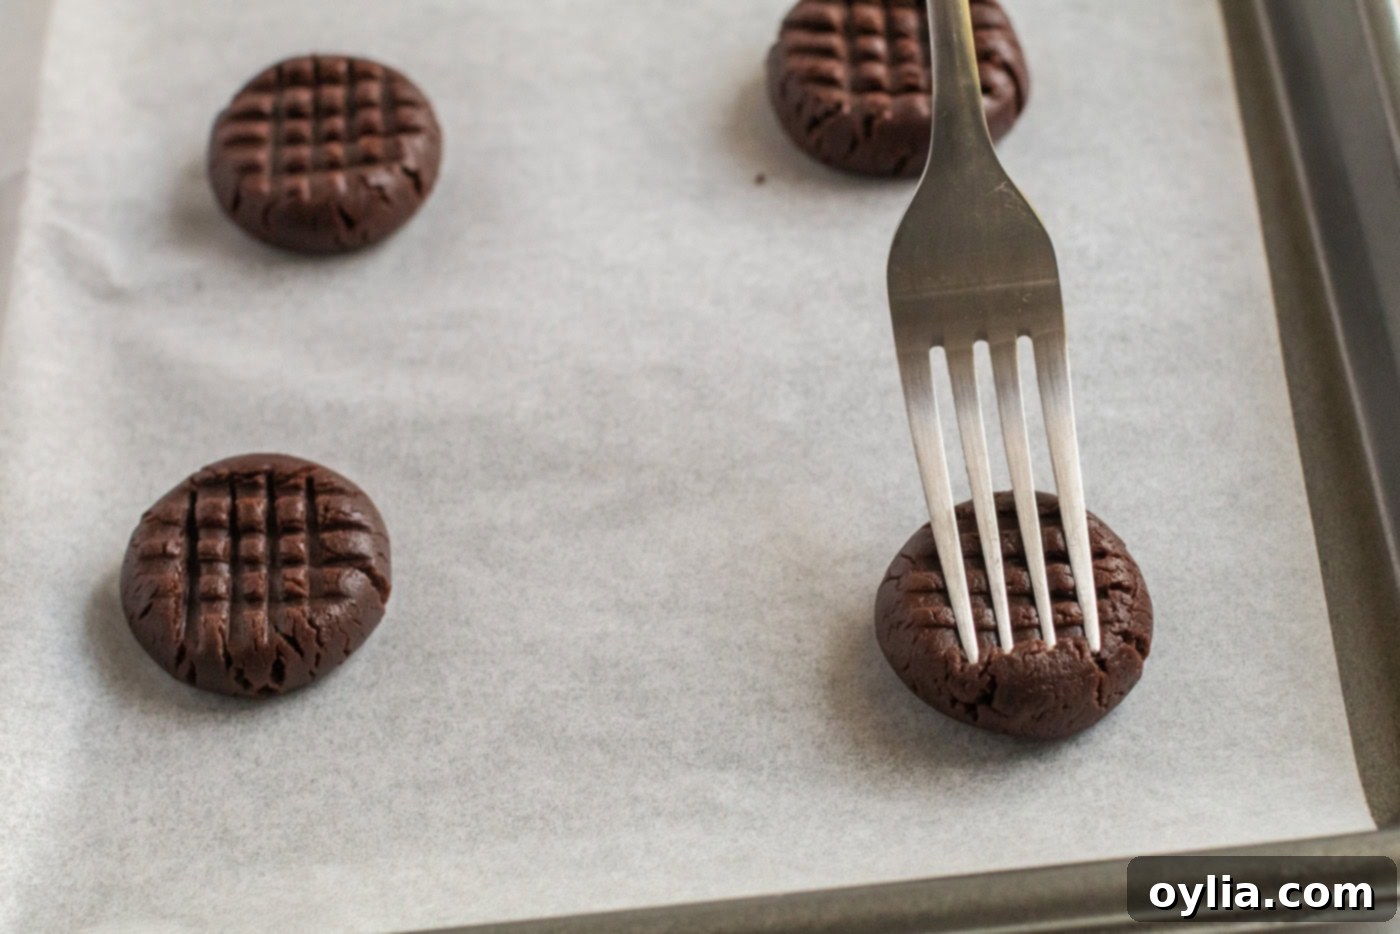
- Gently flatten each dough ball slightly in a crisscross pattern using the tines of a fork. This traditional peanut butter cookie technique not only adds a lovely visual appeal but also helps the cookies bake more evenly.

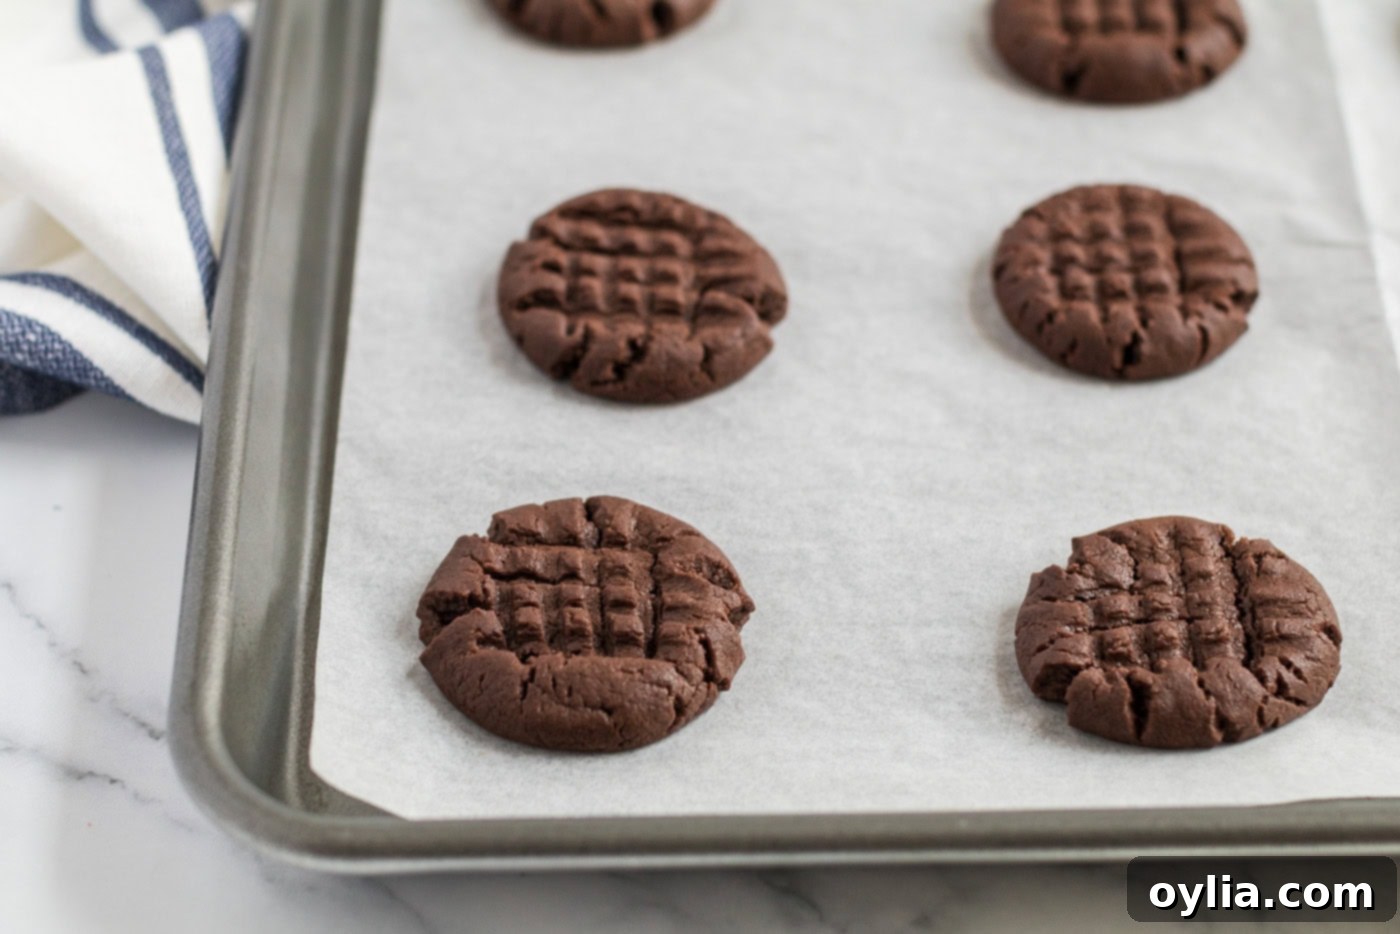
- Bake for 7 to 8 minutes, or until the edges are set and just beginning to brown. The centers might still look a little soft, but this is exactly what you want for a chewy cookie. DO NOT OVERBAKE! Overbaking will result in dry, crumbly cookies.

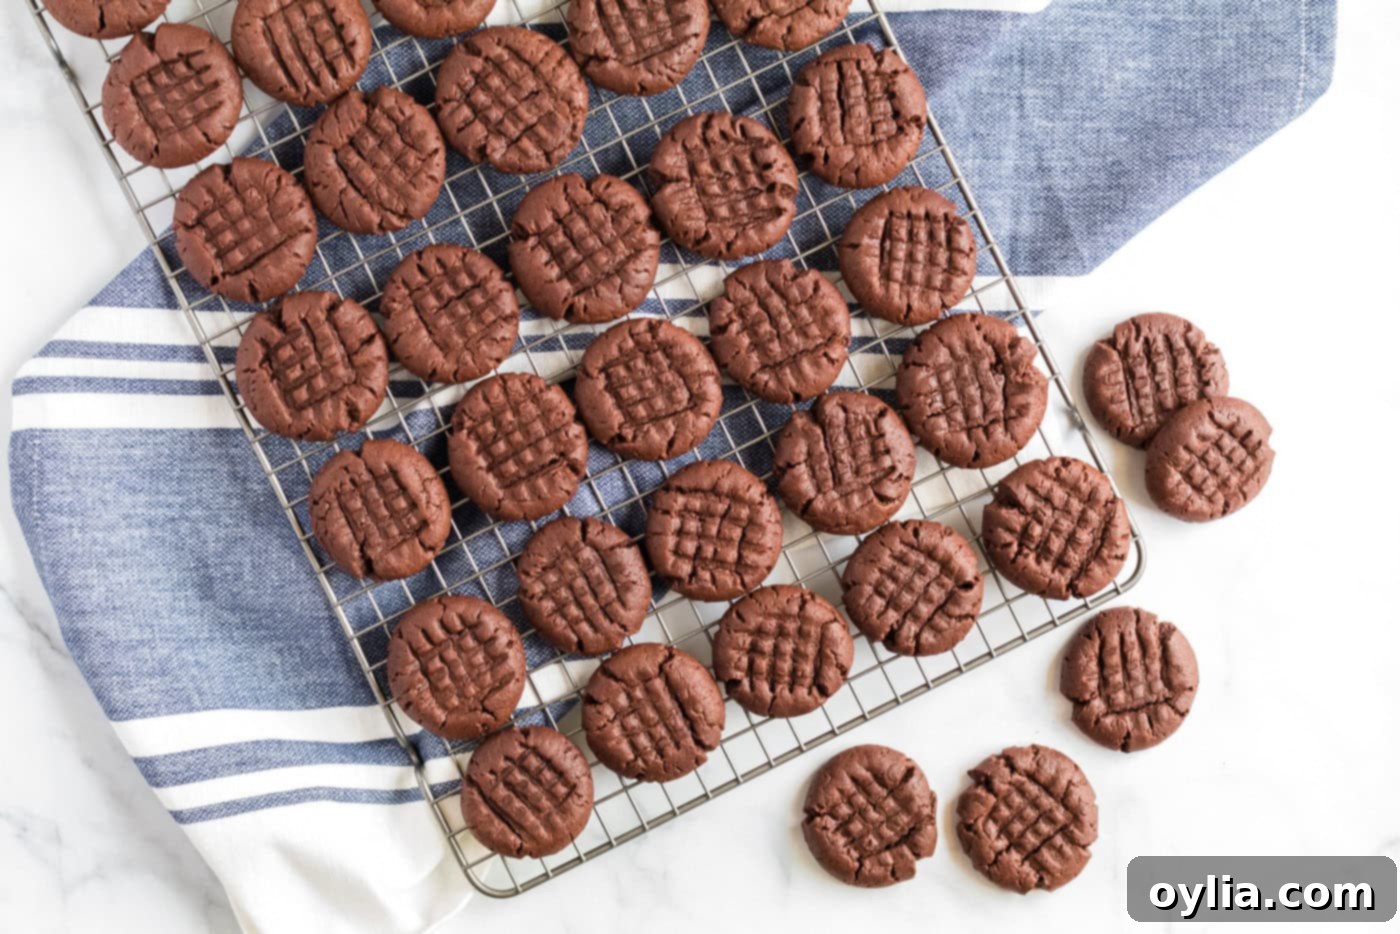
- Allow the cookies to cool on the baking sheet for 2 minutes. This brief resting period helps them set and prevents them from breaking when transferred. After 2 minutes, carefully move the cookies to wire cooling racks to cool completely. Cooling on a rack ensures air circulation, preventing soggy bottoms.

Frequently Asked Questions & Expert Tips for Cookie Perfection
Once completely cooled, store your delicious chocolate peanut butter cookies in an airtight container at room temperature. They will stay wonderfully fresh and chewy for up to 1 week. For longer storage, see the freezing tips below.
Absolutely! These cookies freeze beautifully, both baked and as dough.
- To freeze baked cookies: Once fully cooled, place them in a single layer on a baking sheet and freeze until solid (about 1-2 hours). Transfer the frozen cookies to a freezer-safe airtight container or heavy-duty freezer bag. They will keep for up to 3 months. Thaw at room temperature or warm slightly in the microwave for a fresh-baked feel.
- To freeze cookie dough: Portion the dough into balls as directed in the recipe. Place the dough balls on a parchment-lined baking sheet and freeze until firm. Once firm, transfer the frozen dough balls to a freezer-safe airtight container or freezer bag. They can be stored for up to 2-3 months. When ready to bake, place frozen dough balls on a baking sheet and bake as usual, adding 1-2 minutes to the baking time.
Several factors can cause cookies to spread excessively:
- Butter vs. Shortening: As mentioned, butter contains more water than shortening, leading to more spread.
- Too little flour/too much liquid: Ensure precise measurements, especially of flour and cocoa, using the scoop and sweep method.
- Dough temperature: If your kitchen is warm or the dough has sat out too long, it might be too soft. Try chilling the dough for 30 minutes to an hour before baking.
- Greased baking sheets: Unless specified, avoid greasing baking sheets for cookies, as this can encourage spreading. Parchment paper is always a good alternative.
Definitely! For an extra boost of chocolatey goodness, feel free to fold in about ½ to ¾ cup of your favorite chocolate chips (semi-sweet, milk, or dark) along with the dry ingredients. This will make them even more indulgent!
The key to soft and chewy cookies lies in a few expert tips:
- Don’t overbake: As noted in the instructions, pull the cookies out when the edges are just set and the centers still look slightly soft. They will continue to cook slightly on the hot baking sheet.
- Measure flour and cocoa correctly: Over-measuring dry ingredients is the most common cause of dry, crumbly cookies.
- Use shortening: It’s superior to butter for preventing spread and ensuring a tender crumb.
- Room temperature ingredients: Ensure shortening, peanut butter, and egg are at room temperature for optimal creaming and emulsification, leading to a smoother dough and better texture.
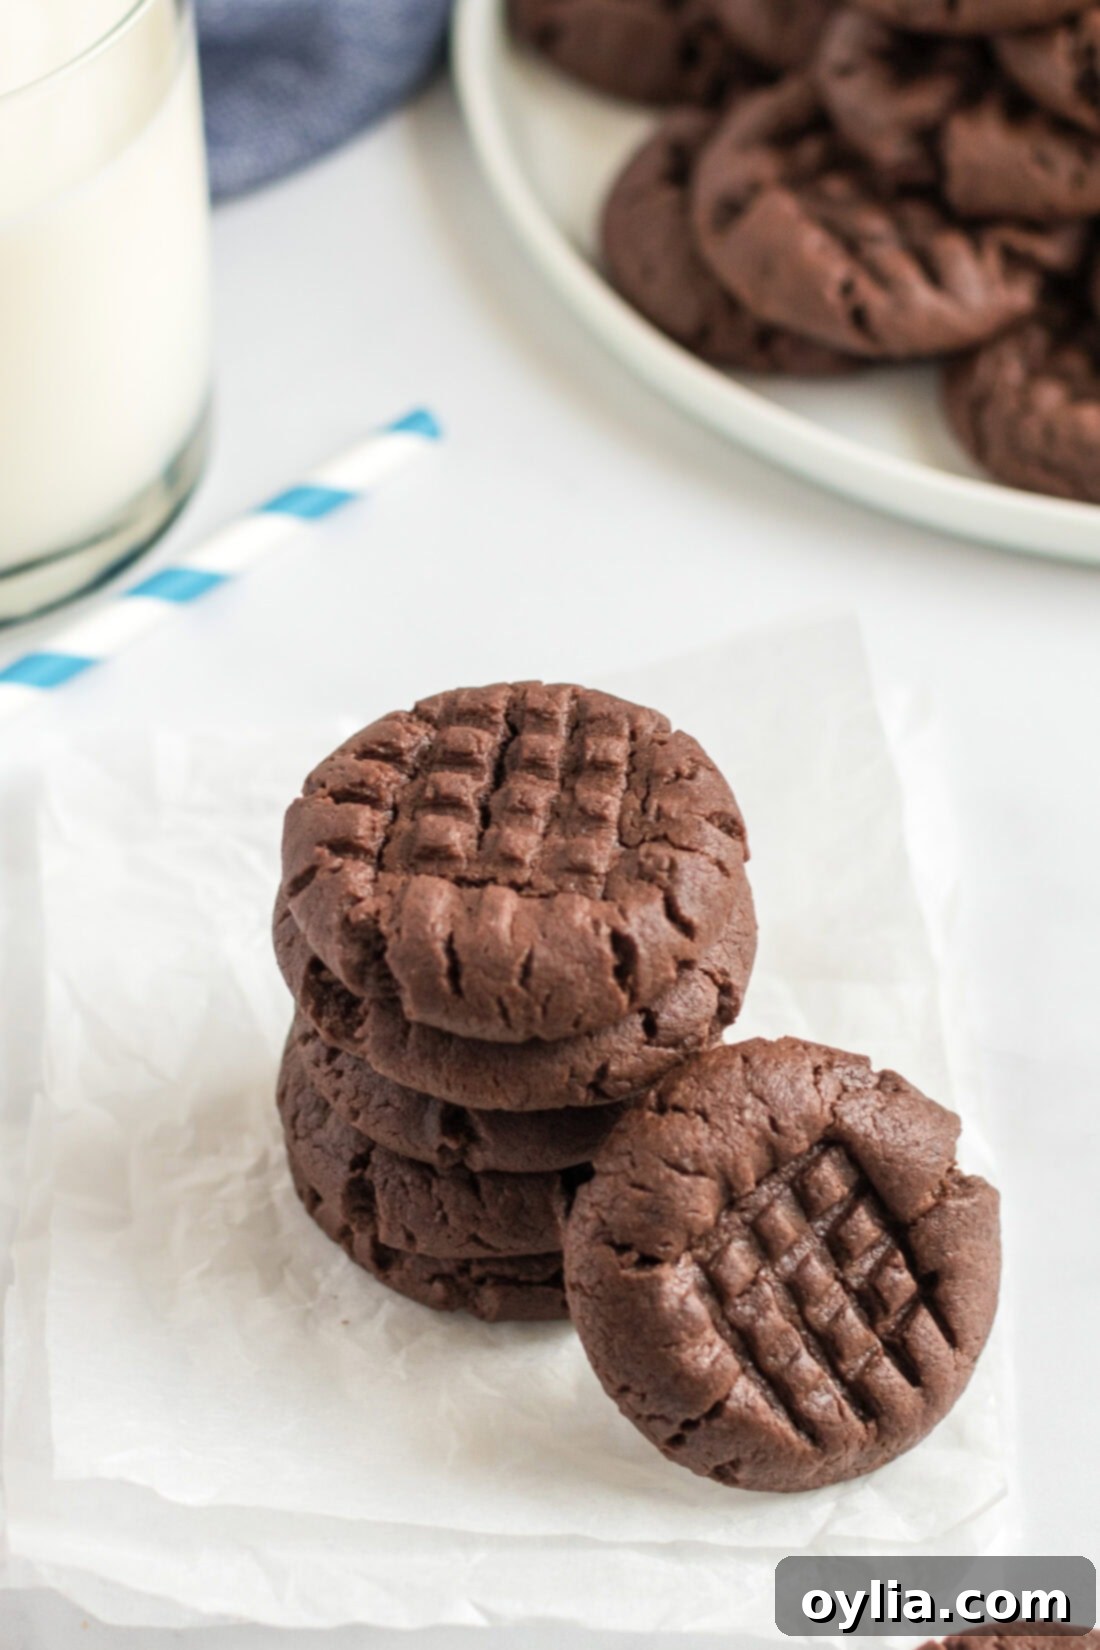
Serving Suggestions for Your Chocolate Peanut Butter Cookies
These chocolate peanut butter cookies are a delight on their own, but they truly shine when paired with the right accompaniment. Serve them warm, allowing their fudgy centers to melt slightly, alongside a tall, icy glass of cold milk for a classic comforting treat. For the adults, they are equally fantastic with a hot cup of freshly brewed coffee or even a scoop of vanilla bean ice cream for an indulgent dessert experience. They’re perfect for a quick snack, a lunchbox treat, or as a delightful dessert after any meal. Consider crumbling them over ice cream, blending them into a milkshake, or simply enjoying them as they are – you truly can’t go wrong!
I sincerely hope you and your loved ones enjoy these incredible cookies as much as we do!
What Others Are Raving About These Cookies
“Absolutely phenomenal recipe! These cookies are wonderful and as a baker myself, the dough is the easiest cookie dough I have ever worked with. Follow the recipe as it is posted and you will not fail! I have made these cookies twice now in just one week’s time! So thankful I found it!”
~ Janice
“This cookie recipe was perfect! First peanut butter cookies I ever made! Love that cocoa was included to give them a kick of chocolate with the peanut butter. They turned out perfectly! Super yummy! 💗”
~ Kristina
“I just finished a batch of these. I substituted the shortening for butter. After I put the dough on the cookie sheets, I put the pans in the freezer for about 15 minutes. I love a soft cookie and these have a great soft texture.”
~Laura
Explore More Delicious Cookie Recipes
- Irresistible Chocolate Mint Cookies
- Classic Soft and Chewy Peanut Butter Cookies
- Hearty Peanut Butter Oatmeal Chocolate Chip Cookies
- Indulgent Chocolate Filled Peanut Butter Cookies
- Fluffy Chocolate Whoopie Pies
- Delightful Chocolate Thumbprint Cookies
I love to bake and cook and share my kitchen experience with all of you! Remembering to come back each day can be tough, that’s why I offer a convenient newsletter every time a new recipe posts. Simply subscribe and start receiving your free daily recipes, so you never miss out on delicious inspiration!
Chocolate Peanut Butter Cookies
IMPORTANT – There are often Frequently Asked Questions within the blog post that you may find helpful. Simply scroll back up to read them!
Print It
Pin It
Rate It
Save It
Saved!
Ingredients
- ½ cup shortening or butter flavored shortening
- ¾ cup creamy peanut butter
- 1 ¼ cups firmly packed light brown sugar
- 3 Tablespoons milk
- 1 teaspoon vanilla
- 1 large egg
- 1 ¼ cups all purpose flour
- ½ cup unsweetened cocoa DO NOT pack into measuring cup, scoop and sweep only
- ¾ teaspoon salt
- ¾ teaspoon baking soda
Things You’ll Need
-
Mixing bowls
-
Stand mixer
-
Insulated baking sheets
Before You Begin
- You can substitute butter for the shortening, but the texture may be a little different, potentially resulting in a crispier cookie that spreads more.
- Just like with flour, you have to be careful when measuring cocoa. If you pack it into the measuring cup or scoop it out of the container using the measuring cup, it will be way more than the recipe intends, causing your dough to be too dry and your cookies crumbly. Always use the scoop and sweep method.
- Ensure all cold ingredients, especially shortening, peanut butter, and egg, are at room temperature for optimal mixing and a smooth dough.
Instructions
-
Preheat oven to 375 degrees F (190°C). This ensures your oven is at the correct temperature for even baking.
-
In a large bowl, combine shortening, peanut butter, brown sugar, milk, and vanilla. Beat with an electric mixer at medium speed until the mixture is light, fluffy, and well blended. Add the egg and beat just until blended, ensuring not to overmix.1/2 cup shortening, 3/4 cup creamy peanut butter, 1 1/4 cups firmly packed light brown sugar, 3 Tablespoons milk, 1 teaspoon vanilla, 1 large egg
-
In a separate bowl, combine flour, cocoa, salt, and baking soda. Gradually add this dry mixture to the creamed mixture on low speed. Mix just until blended, being careful not to overmix the dough.1 1/4 cups all purpose flour, 1/2 cup unsweetened cocoa, 3/4 teaspoon salt, 3/4 teaspoon baking soda
-
Drop dough by heaping tablespoons (a cookie scoop works great for uniform size) about 2 inches apart onto an ungreased insulated baking sheet. Use the tines of a fork to flatten each cookie slightly in a crisscross pattern.
-
Bake for 7 to 8 minutes, or until the edges are set and just beginning to brown. The centers may still appear slightly soft. DO NOT OVERBAKE to ensure chewy cookies. Cool on the baking sheet for 2 minutes before carefully transferring cookies to wire racks to cool completely.
Nutrition
The recipes on this blog are tested with a conventional gas oven and gas stovetop. It’s important to note that some ovens, especially as they age, can cook and bake inconsistently. Using an inexpensive oven thermometer can assure you that your oven is truly heating to the proper temperature. If you use a toaster oven or countertop oven, please keep in mind that they may not distribute heat the same as a conventional full sized oven and you may need to adjust your cooking/baking times. In the case of recipes made with a pressure cooker, air fryer, slow cooker, or other appliance, a link to the appliances we use is listed within each respective recipe. For baking recipes where measurements are given by weight, please note that results may not be the same if cups are used instead, and we can’t guarantee success with that method.
This post originally appeared here on Apr 6, 2011.
