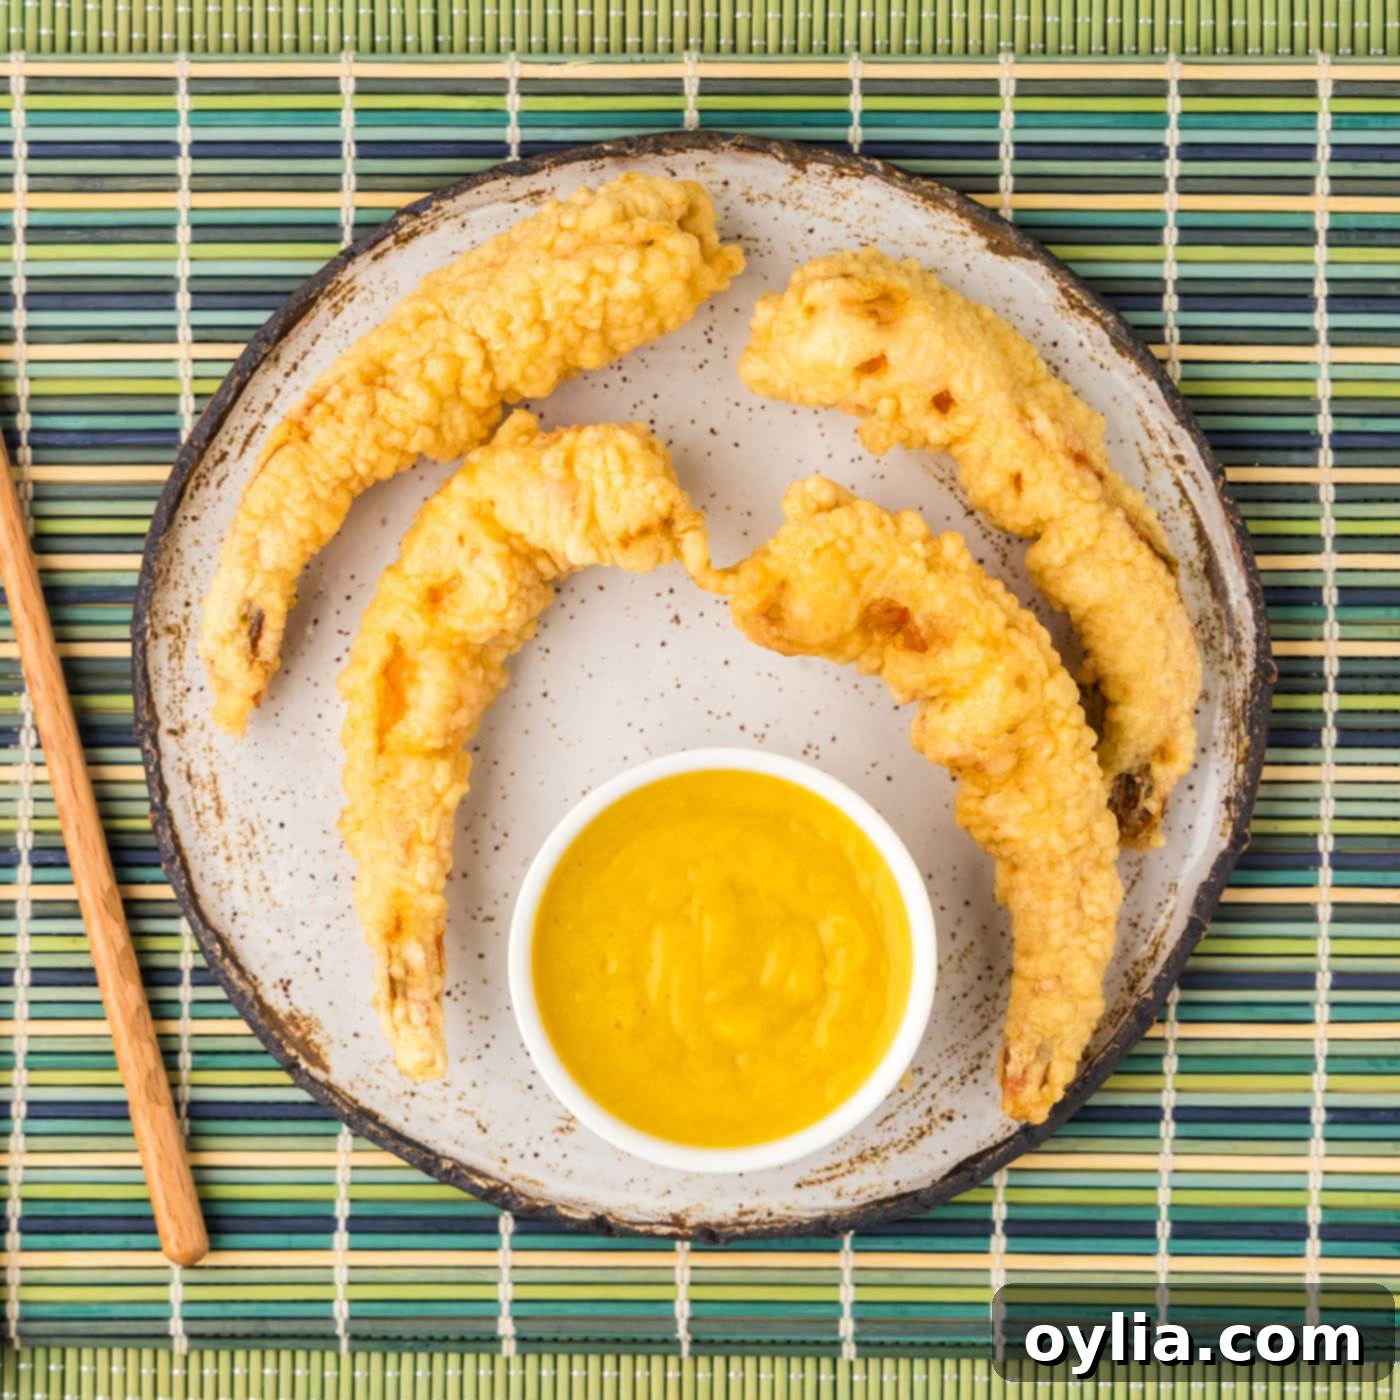
Crispy Homemade Shrimp Tempura: Your Ultimate Guide to Golden Perfection
Dive into the delightful world of Japanese cuisine right from your kitchen with this incredibly easy shrimp tempura recipe! Imagine biting into perfectly crisp, golden-brown shrimp, encased in a light, airy batter, with a tender and juicy interior. This classic Japanese delicacy, often enjoyed in restaurants, is surprisingly simple to recreate at home. You’ll only need a handful of common ingredients and a deep skillet to achieve restaurant-quality results that will impress everyone. Forget bland or soggy imitations – get ready for truly authentic, irresistible shrimp tempura!
Why This Homemade Shrimp Tempura Recipe is a Must-Try
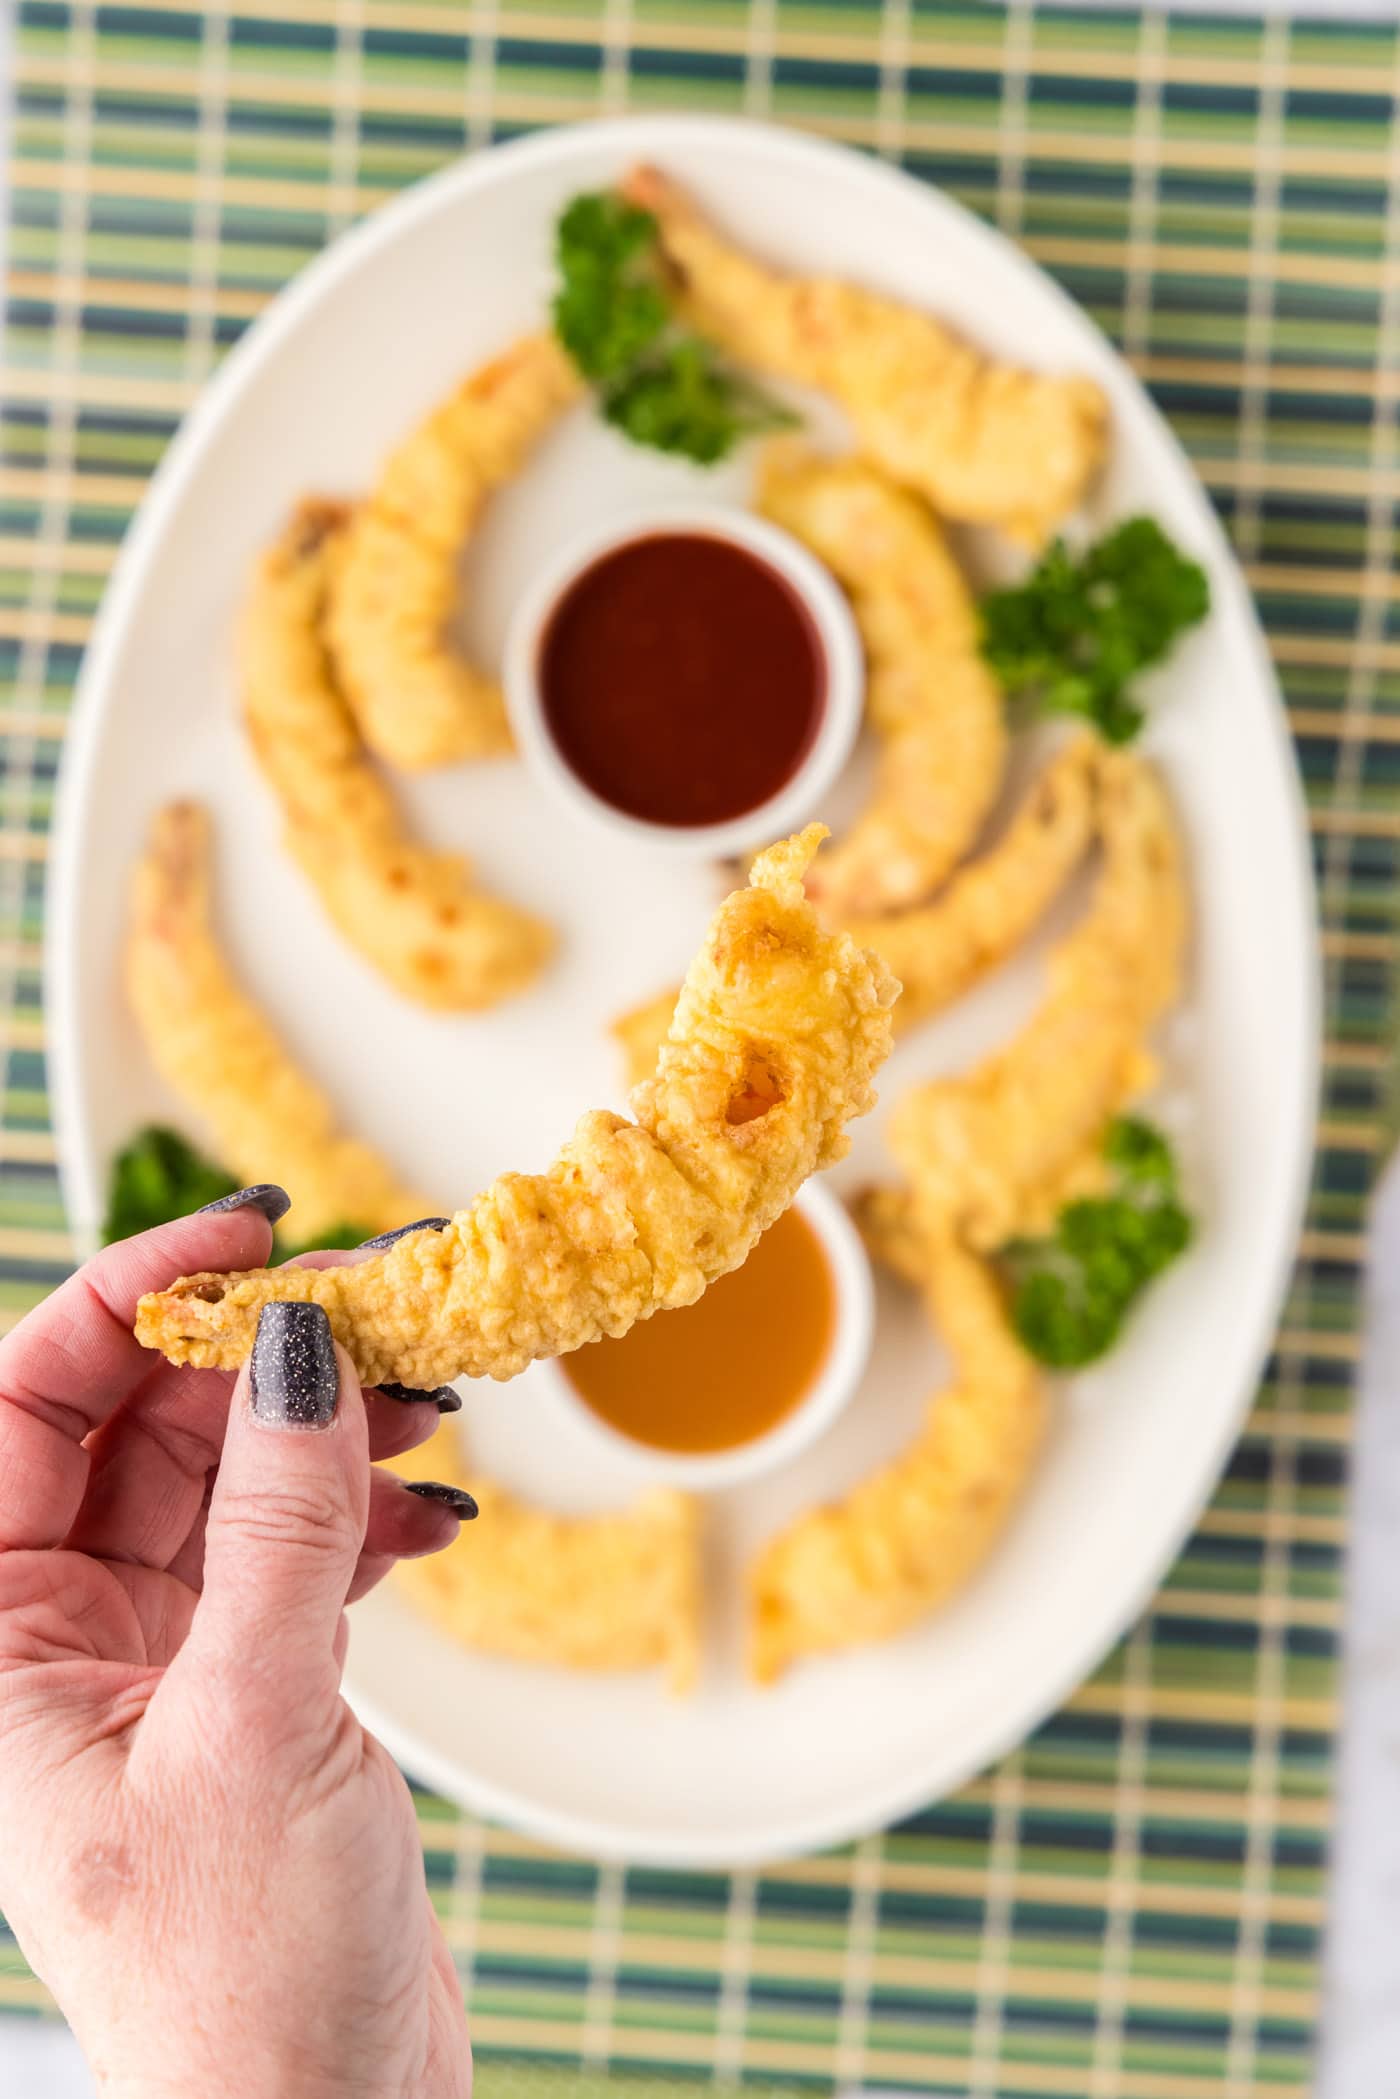
Among the vast array of crispy, crunchy, and golden delights, authentic shrimp tempura consistently ranks as a top favorite Japanese dish, right alongside hibachi shrimp. This recipe demystifies the process, making that coveted light and airy tempura crust achievable for any home cook. What makes this recipe truly stand out is its focus on simple, yet crucial, techniques that guarantee perfection every time.
Shrimp tempura is a beloved Japanese dish renowned for its delicate, lacy batter that crisps up beautifully during deep-frying, encasing succulent, sweet shrimp. Our recipe utilizes a combination of cornstarch, eggs, and all-purpose flour, mixed with a secret weapon – ice-cold water – to create that signature light, fluffy, and exceptionally crunchy texture. Whether served as a delightful appetizer with classic dipping sauces like yum yum sauce or enjoyed as a satisfying main course with a side of steamed rice, shrimp tempura is incredibly versatile. It’s also an excellent addition to bento boxes or a star ingredient in homemade sushi rolls, adding a textural contrast that elevates any meal.
The success of this recipe lies in a few key principles: maintaining a cold batter, properly scoring the shrimp to prevent curling, and precise oil temperature control. We walk you through each step, ensuring that even if you’re new to deep-frying, you’ll be able to create shrimp tempura that rivals your favorite Japanese restaurant. Get ready to experience the joy of homemade tempura – it’s easier and more rewarding than you think!
Essential Ingredients for Your Crispy Tempura
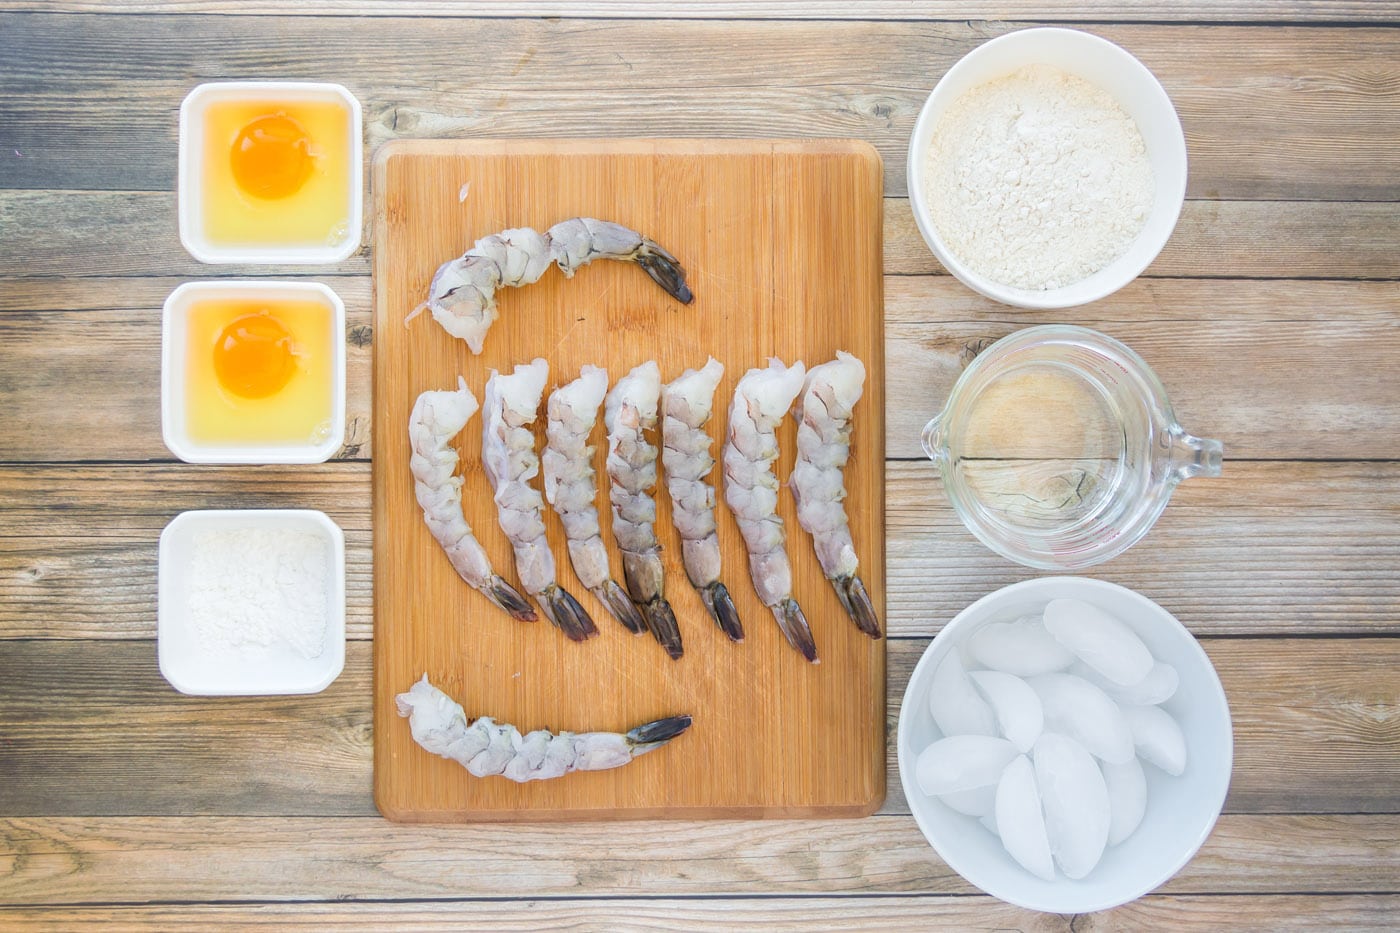
Creating sensational shrimp tempura doesn’t require an extensive shopping list. In fact, this recipe is celebrated for its simplicity and the ability to transform everyday ingredients into something extraordinary. Below, you’ll find a concise list of what you need. For precise measurements and step-by-step instructions, be sure to check the printable recipe card located at the end of this post.
Ingredient Spotlight & Expert Substitution Tips
Understanding each component is key to mastering your homemade tempura. Here’s a deeper look at the ingredients and how to choose or substitute them for the best results:
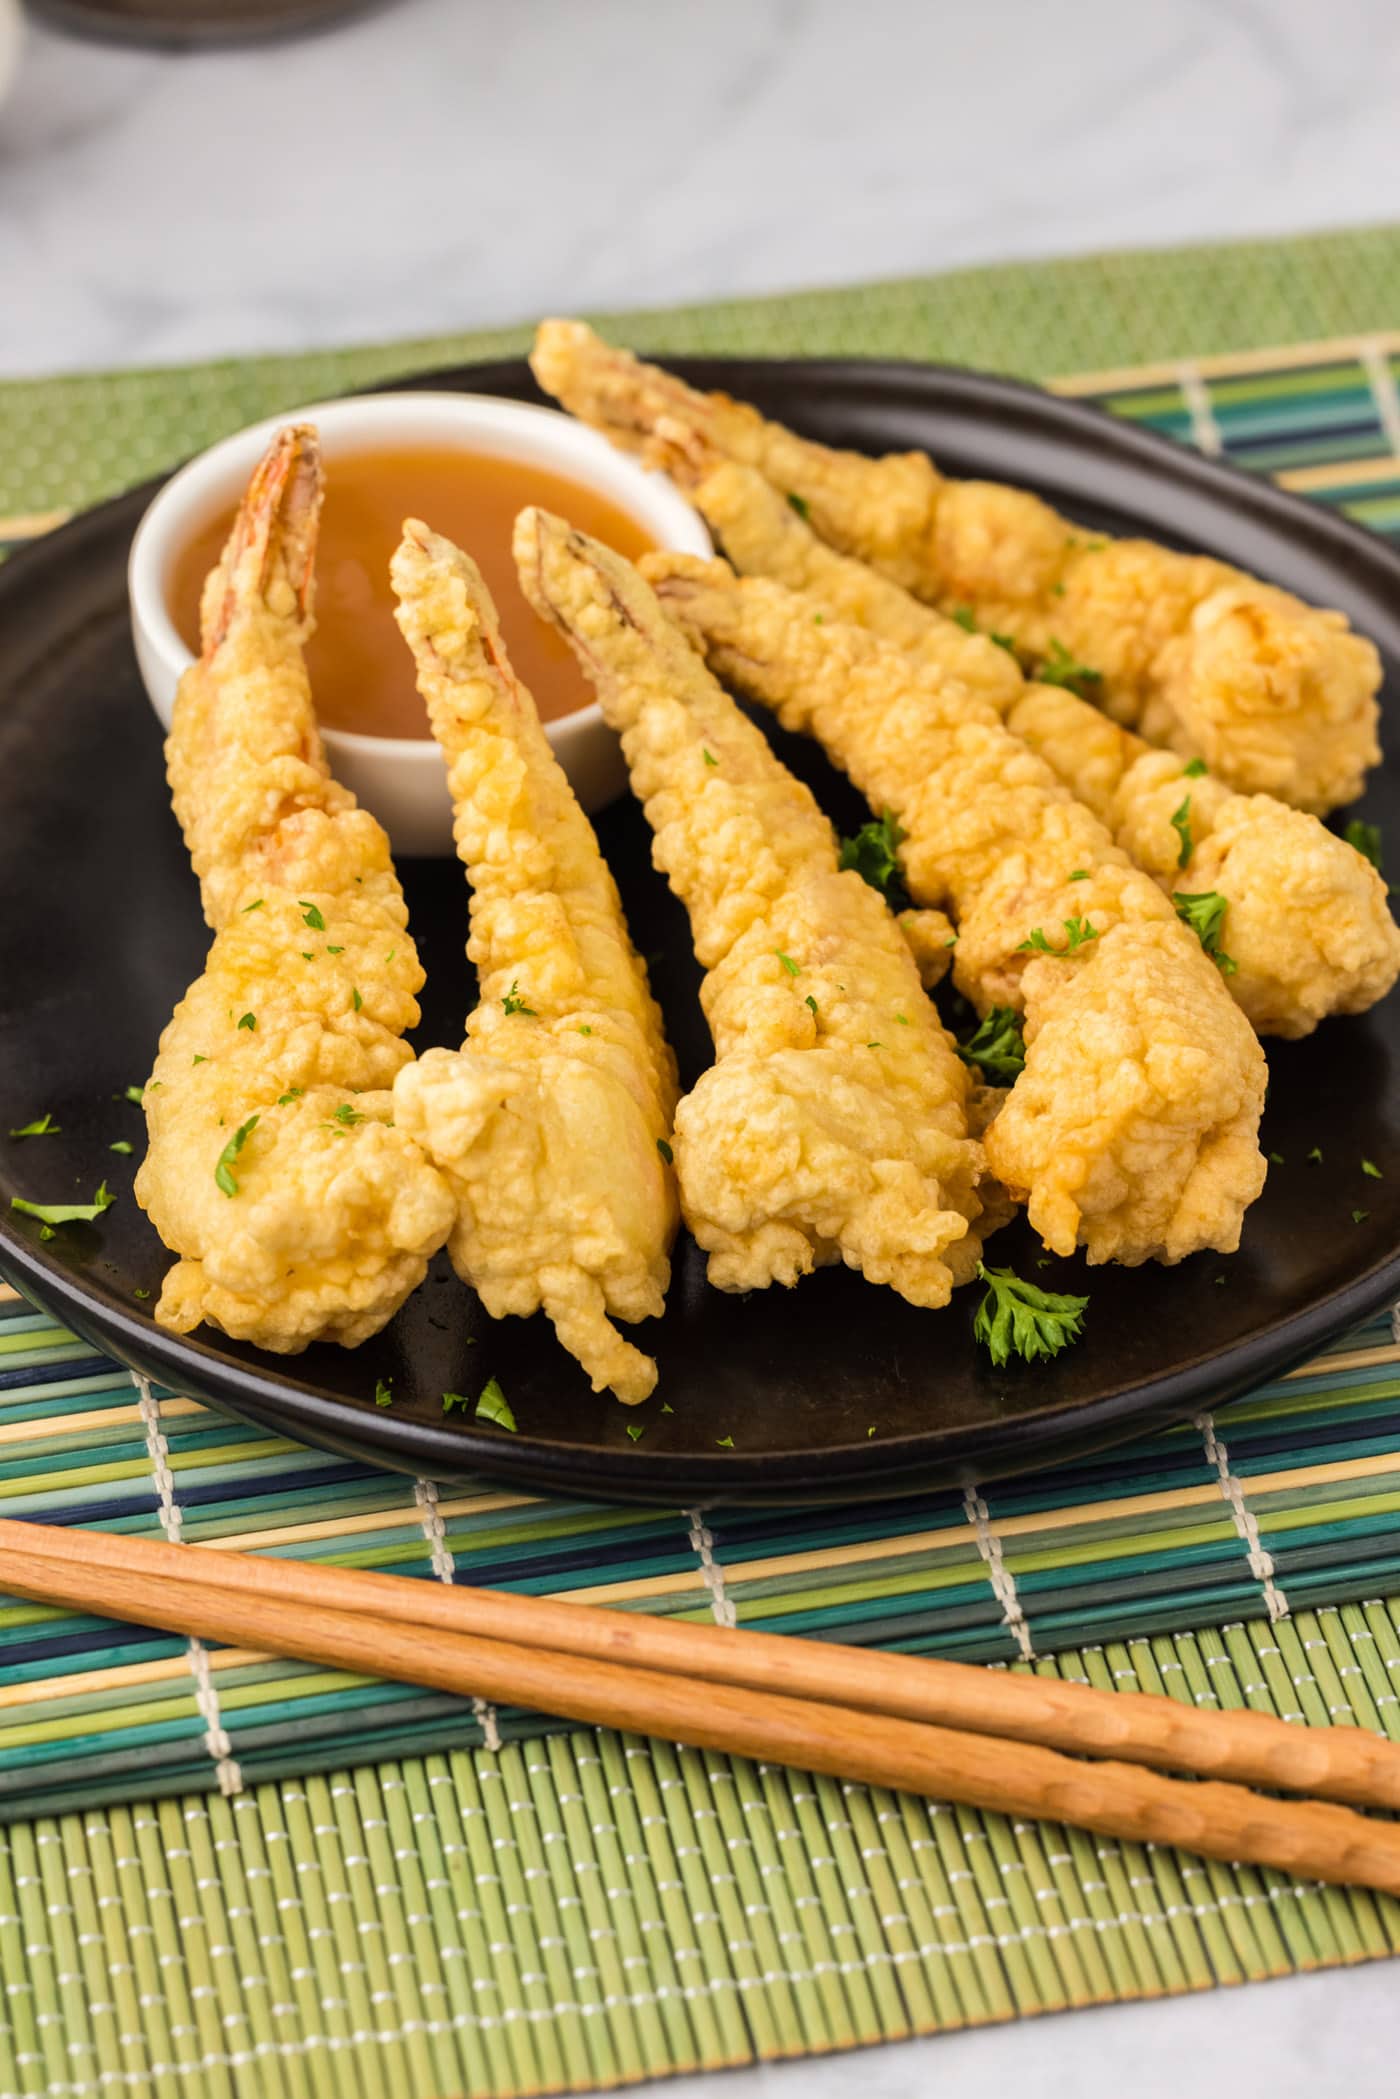
- SHRIMP: For the best results, we recommend using fresh, raw, large, or extra-large shrimp. “Grilling shrimp” is ideal if you can find it due to its size and texture. Avoid using precooked shrimp, as they will become tough and rubbery when deep-fried again. If using frozen shrimp, ensure they are fully thawed and meticulously patted dry with paper towels before you begin. Excess moisture can make your batter slide off and result in a less crispy finish. Keep the tails on for that classic tempura presentation – it also gives you a convenient handle for dipping!
- THE COATING (BATTER): The magic behind truly airy and crispy tempura lies in the batter. Our recipe calls for a simple yet effective blend of two eggs, all-purpose flour, and, critically, ice-cold water. The temperature of the batter is paramount:
- Ice Cold Water: This isn’t just a suggestion; it’s a game-changer. Cold water inhibits gluten development in the flour, preventing a chewy, dough-like crust and promoting a light, delicate one. It also creates a greater temperature contrast when the batter hits the hot oil, leading to a crispier, fluffier texture.
- All-Purpose Flour: Provides the structural base for the batter.
- Cornstarch: This is your secret weapon for an even crispier coating. It also helps the batter adhere better to the smooth surface of the shrimp, ensuring full coverage and consistent crunch.
- Maintaining Coldness: It’s crucial to keep your batter chilled over a bowl of ice while you work. This continuous coldness is the key to the fluffy yet crunchy exterior that shrimp tempura is famous for.
- OIL FOR FRYING: The choice of oil greatly impacts the taste and texture of your tempura. Always use an oil with a high smoke point and a neutral flavor to avoid imparting unwanted tastes to your delicate shrimp.
- Recommended Oils: Vegetable oil is our preferred choice due to its versatility and neutral profile. Other excellent options include peanut oil (if no nut allergies are present) and canola oil.
- Temperature Control: Maintaining a consistent oil temperature of 325°F (160°C) is absolutely vital. Too low, and your tempura will be greasy; too high, and the batter will burn before the shrimp cooks through. An instant-read or clip-on thermometer is your best friend here. Do not begin frying until the oil has reached the target temperature, and keep an eye on it throughout the process, adjusting heat as needed.
Mastering the Art of Shrimp Tempura: Step-by-Step
These step-by-step photos and detailed instructions are designed to help you visualize each stage of making this delicious recipe. For a convenient printable version, complete with all measurements and instructions, you can jump to the full recipe card at the bottom of this page.
- Prepare Your Workspace: Lay out a baking sheet and cover it with a few layers of paper towels. Place a wire rack directly over the paper towels. This setup will be essential for draining excess oil from your cooked tempura, ensuring maximum crispiness.
- Set Up the Ice Bath for Batter: Find a large bowl or tray that you can fill with ice. This bowl should be big enough to hold your batter bowl inside it. This crucial step helps keep your batter consistently cold while you work, which is key to achieving that signature light and airy tempura crust.
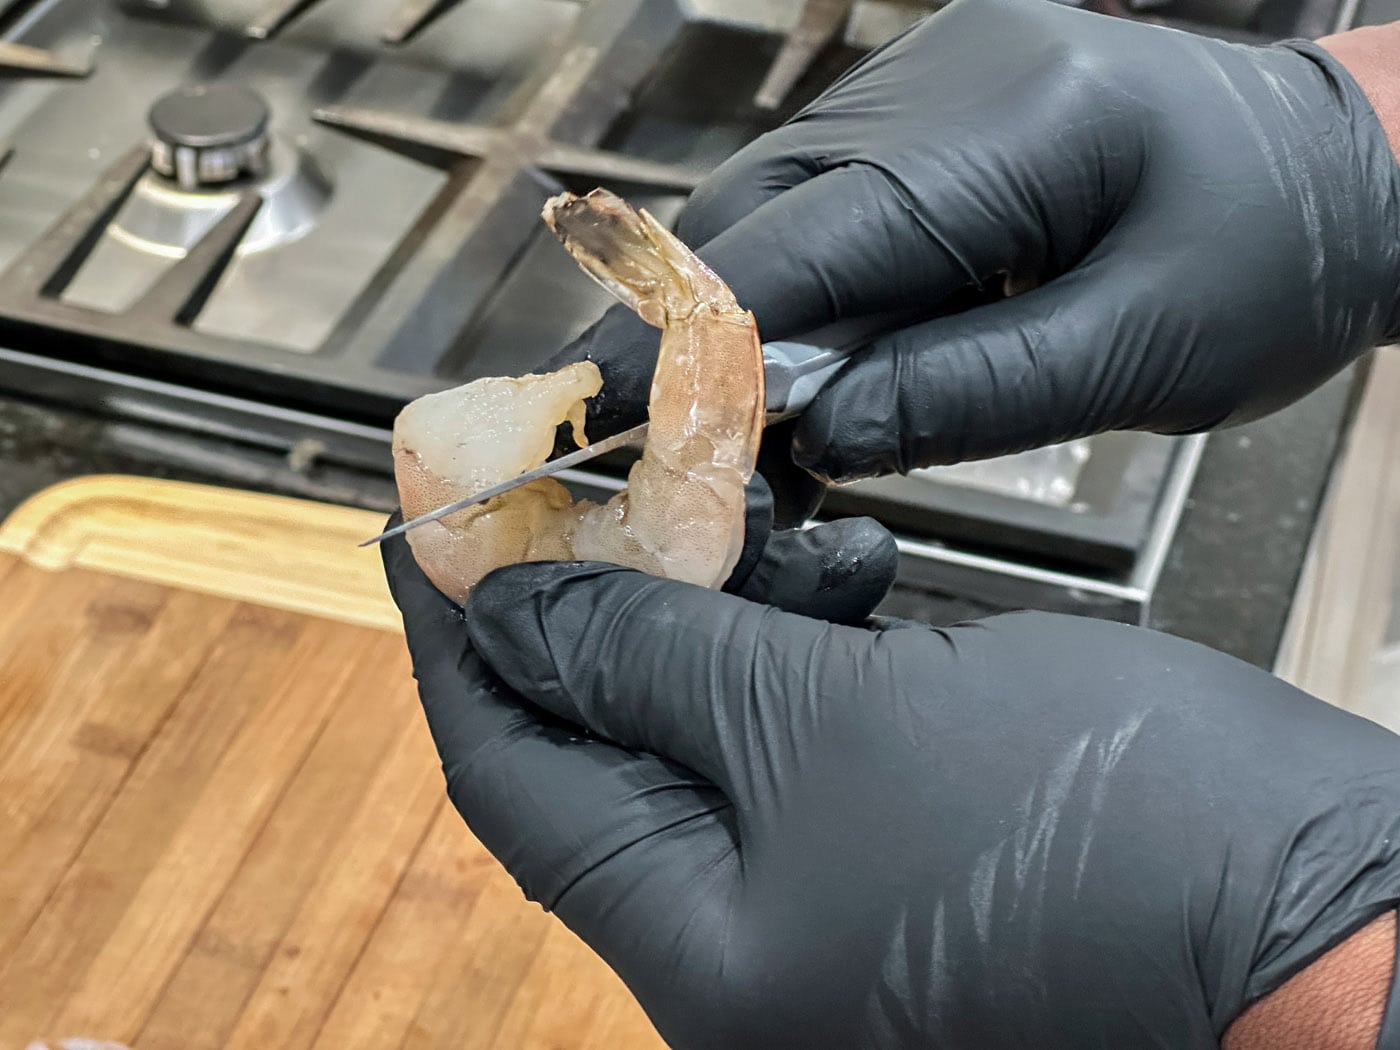
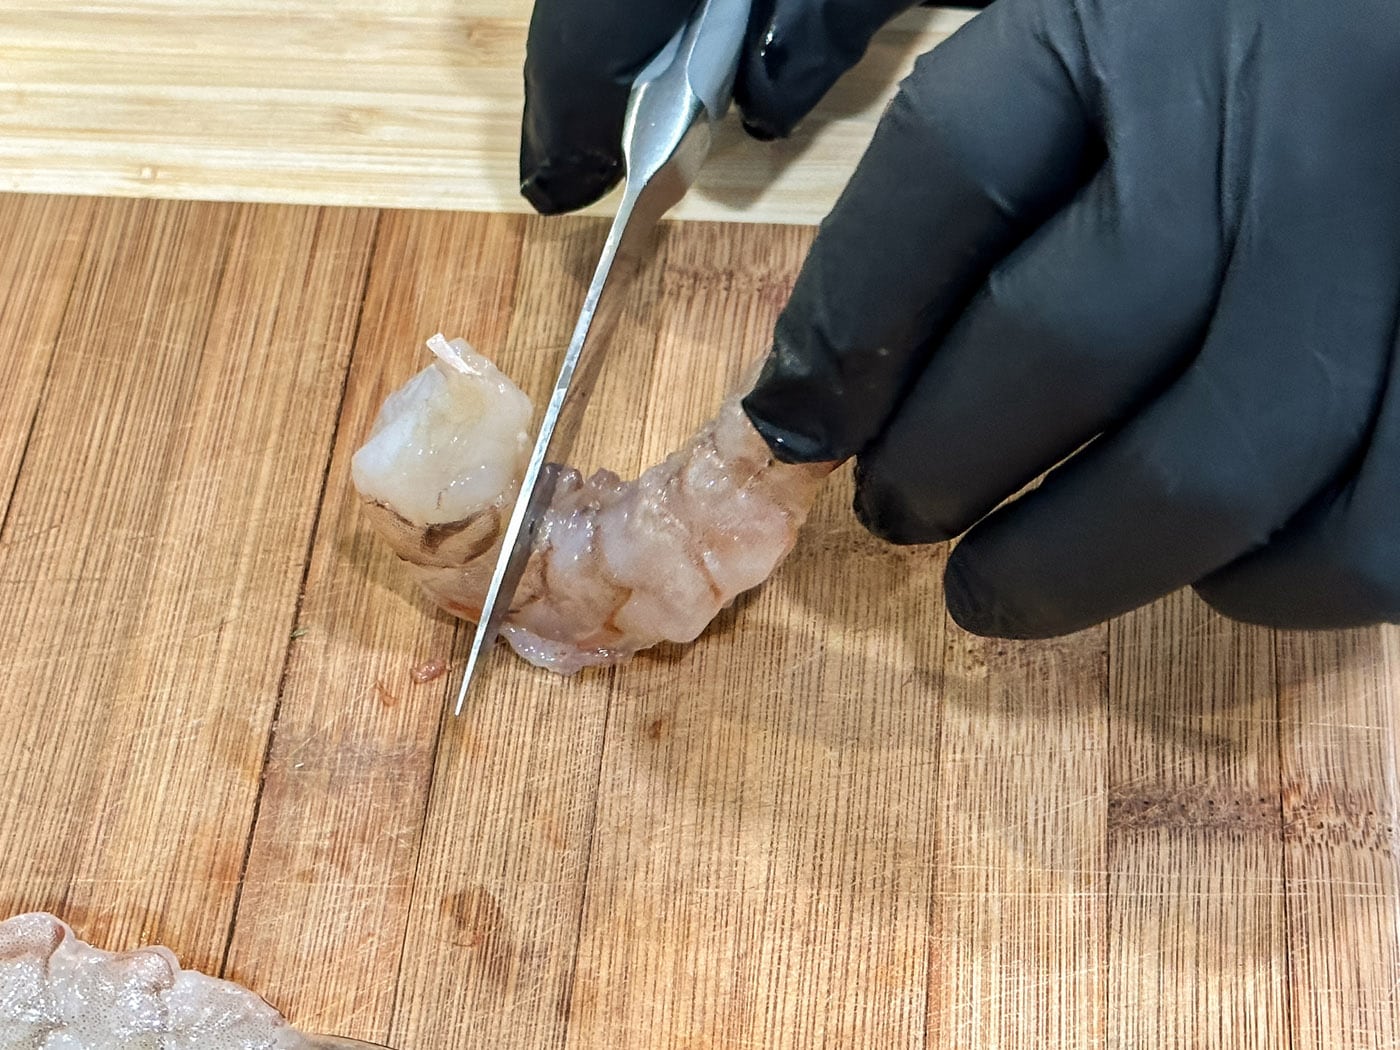
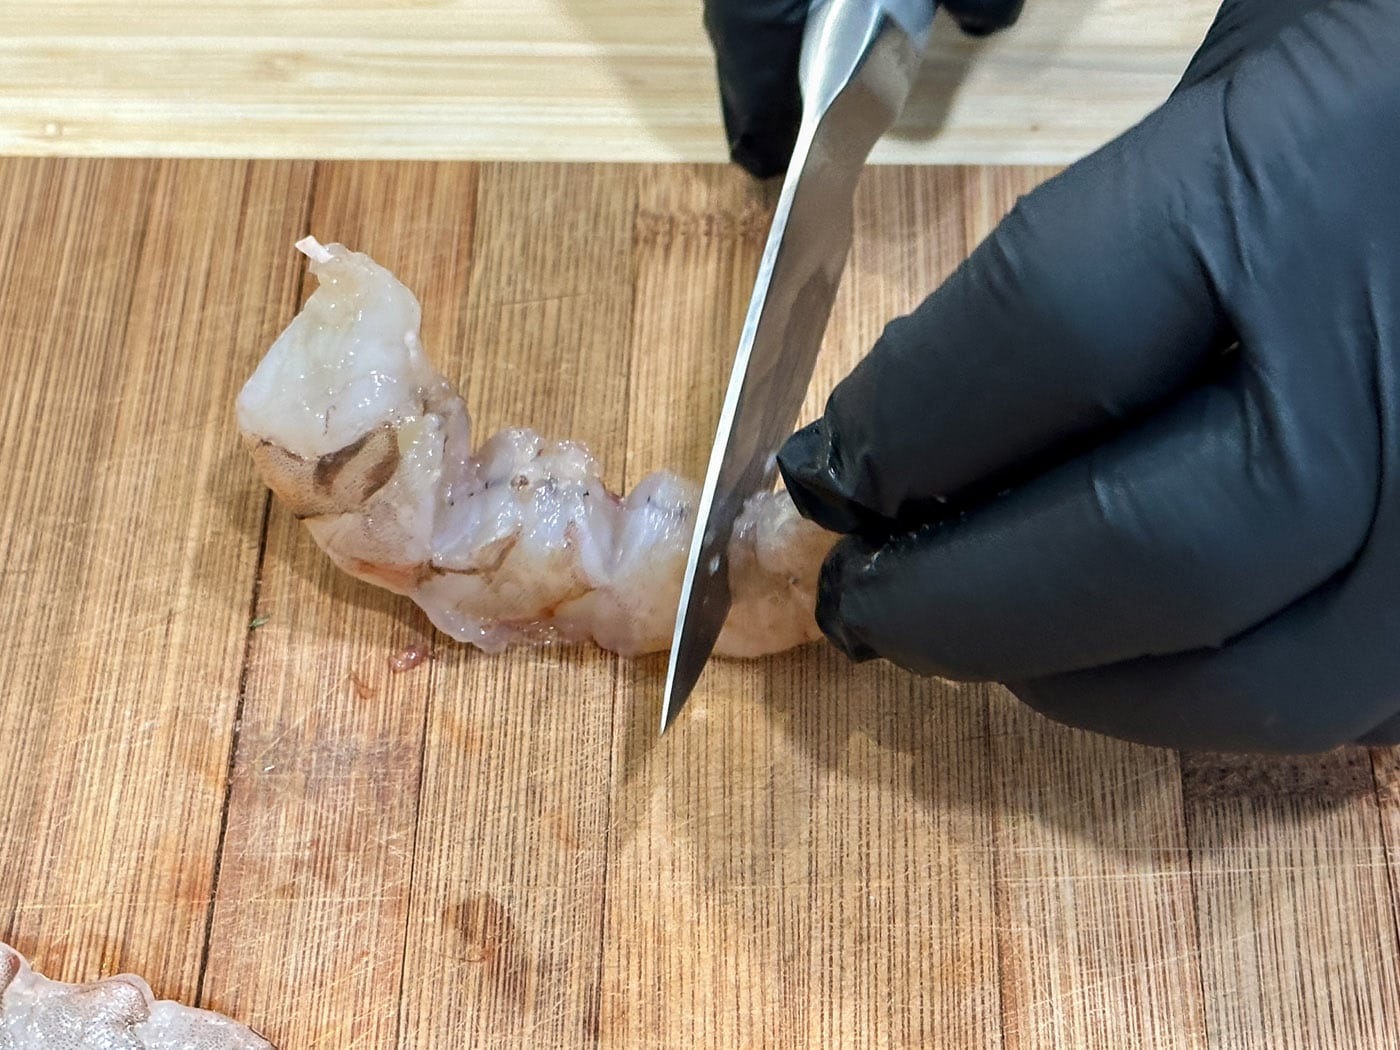
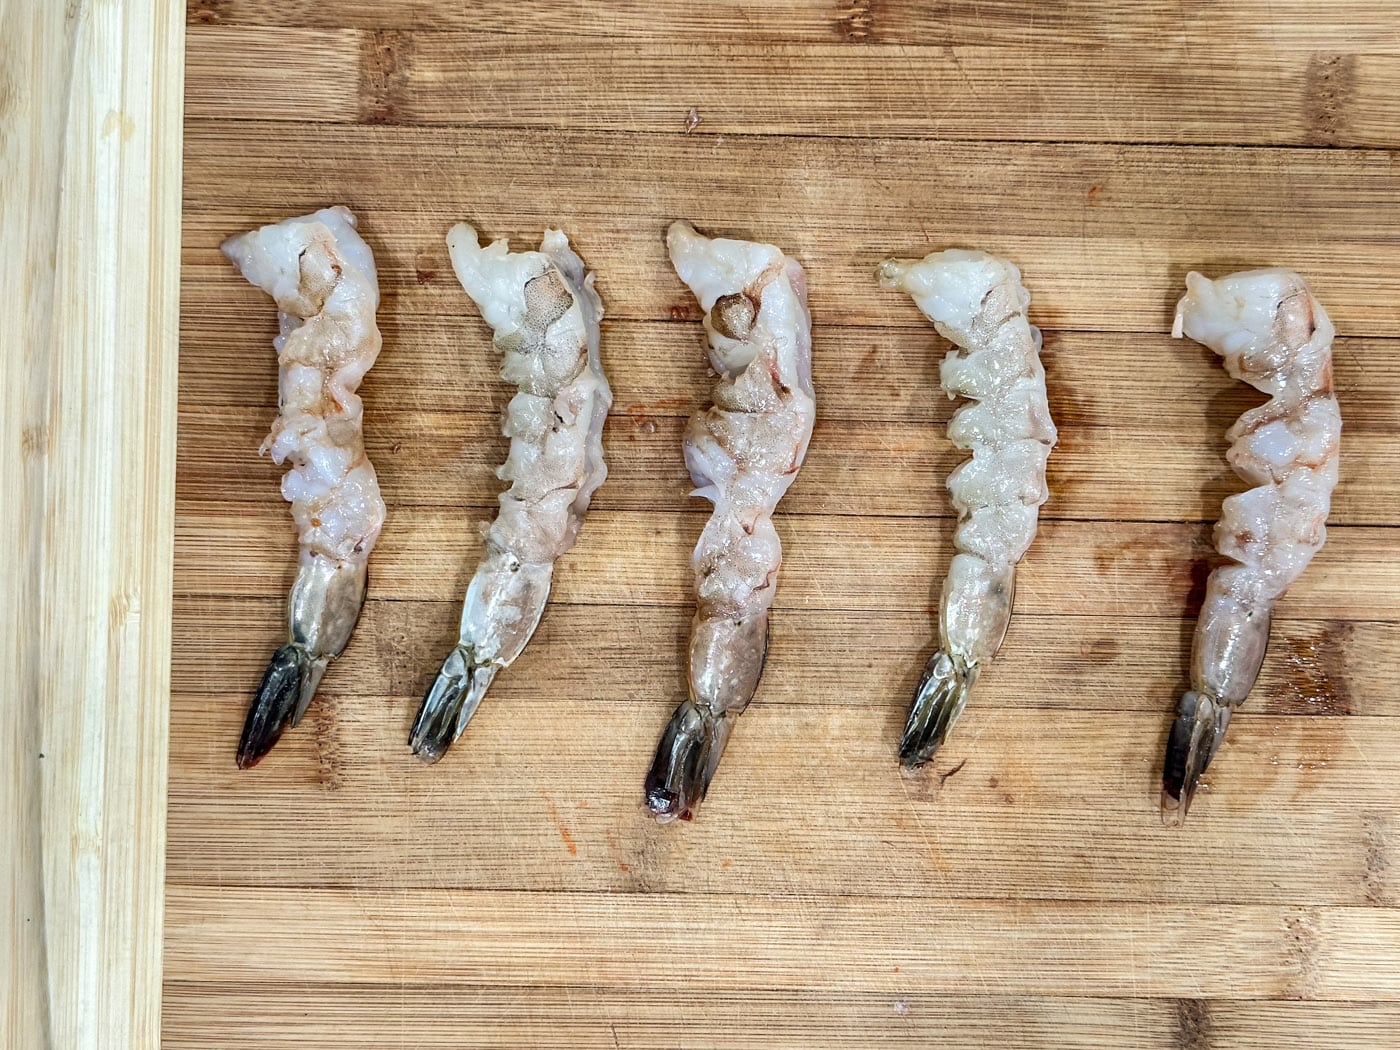
- Score the Shrimp for Straightness: Carefully score through the vein on the underside of each shrimp in two distinct places. Make one score near the head and another further down, closer to the tail. This technique helps to relax the shrimp’s muscles, preventing them from curling up tightly into a C-shape during frying, allowing for a more elongated and visually appealing tempura. Remember, only score – do not cut all the way through the shrimp! (Refer to the video above for a clear demonstration.)


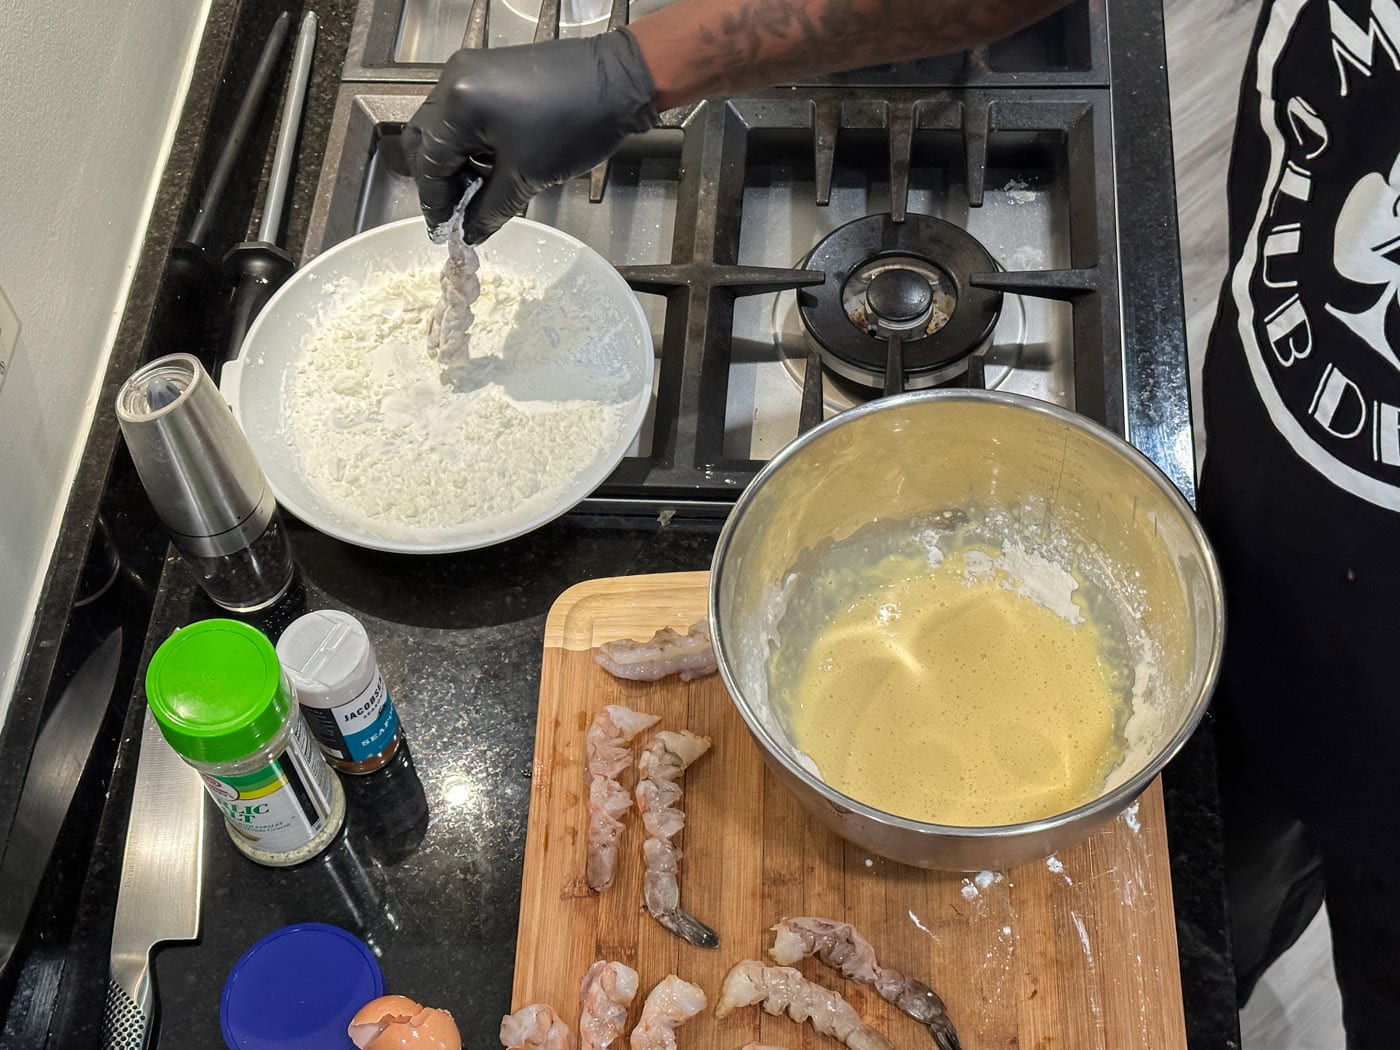
- Prepare the Cornstarch: Spread a thin, even layer of cornstarch onto a clean plate. This will be the first coating for your shrimp, helping the batter adhere beautifully and contribute to an extra crispy texture.
- Heat the Frying Oil: Pour enough vegetable oil into a deep-sided skillet to reach a depth of about 2 inches. Place the skillet over medium-high heat. Allow the oil to heat gradually until an instant-read thermometer registers a steady 325°F (160°C).
EXPERT TIP – Speed is your ally! It’s crucial to work quickly when dipping and frying the shrimp. You want the batter to be as cold as possible when it hits the hot oil to achieve that optimal light and crispy texture.
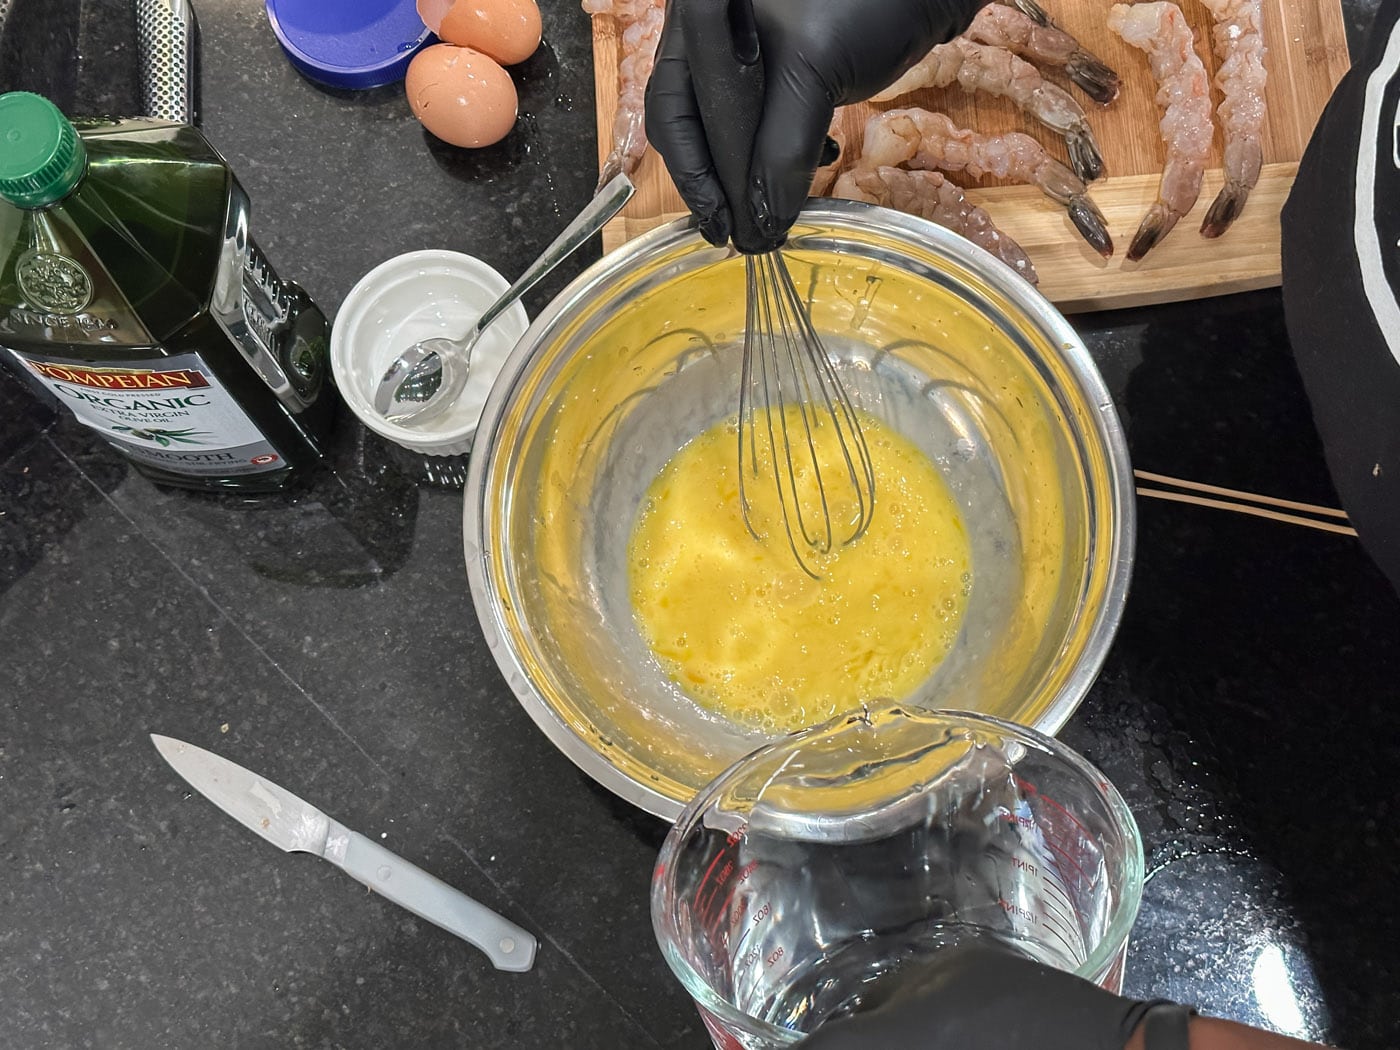
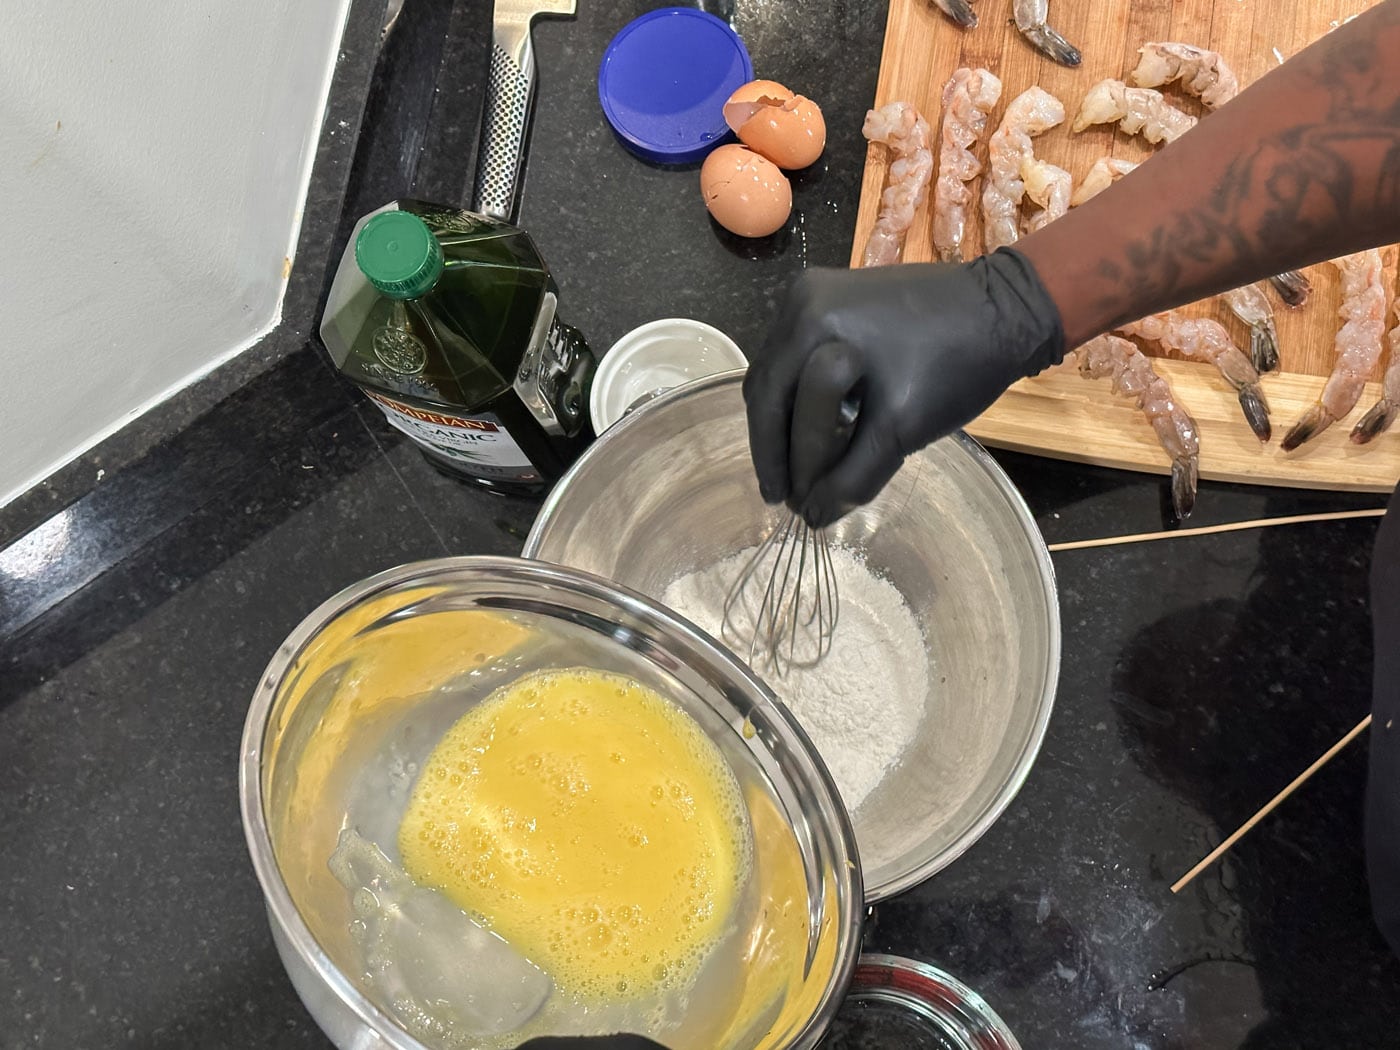
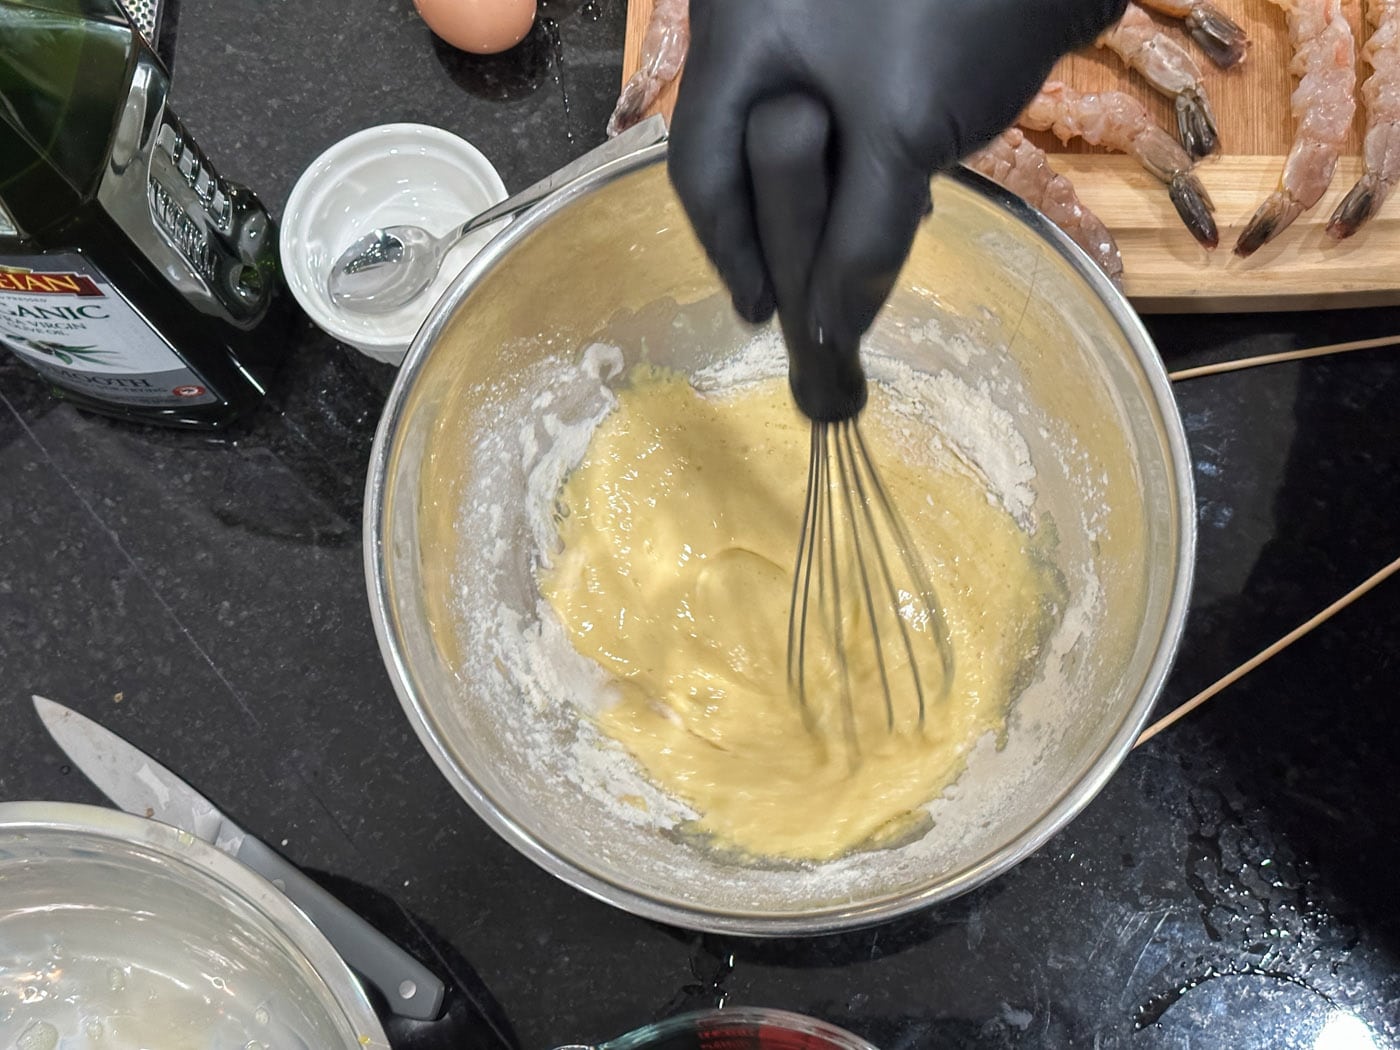
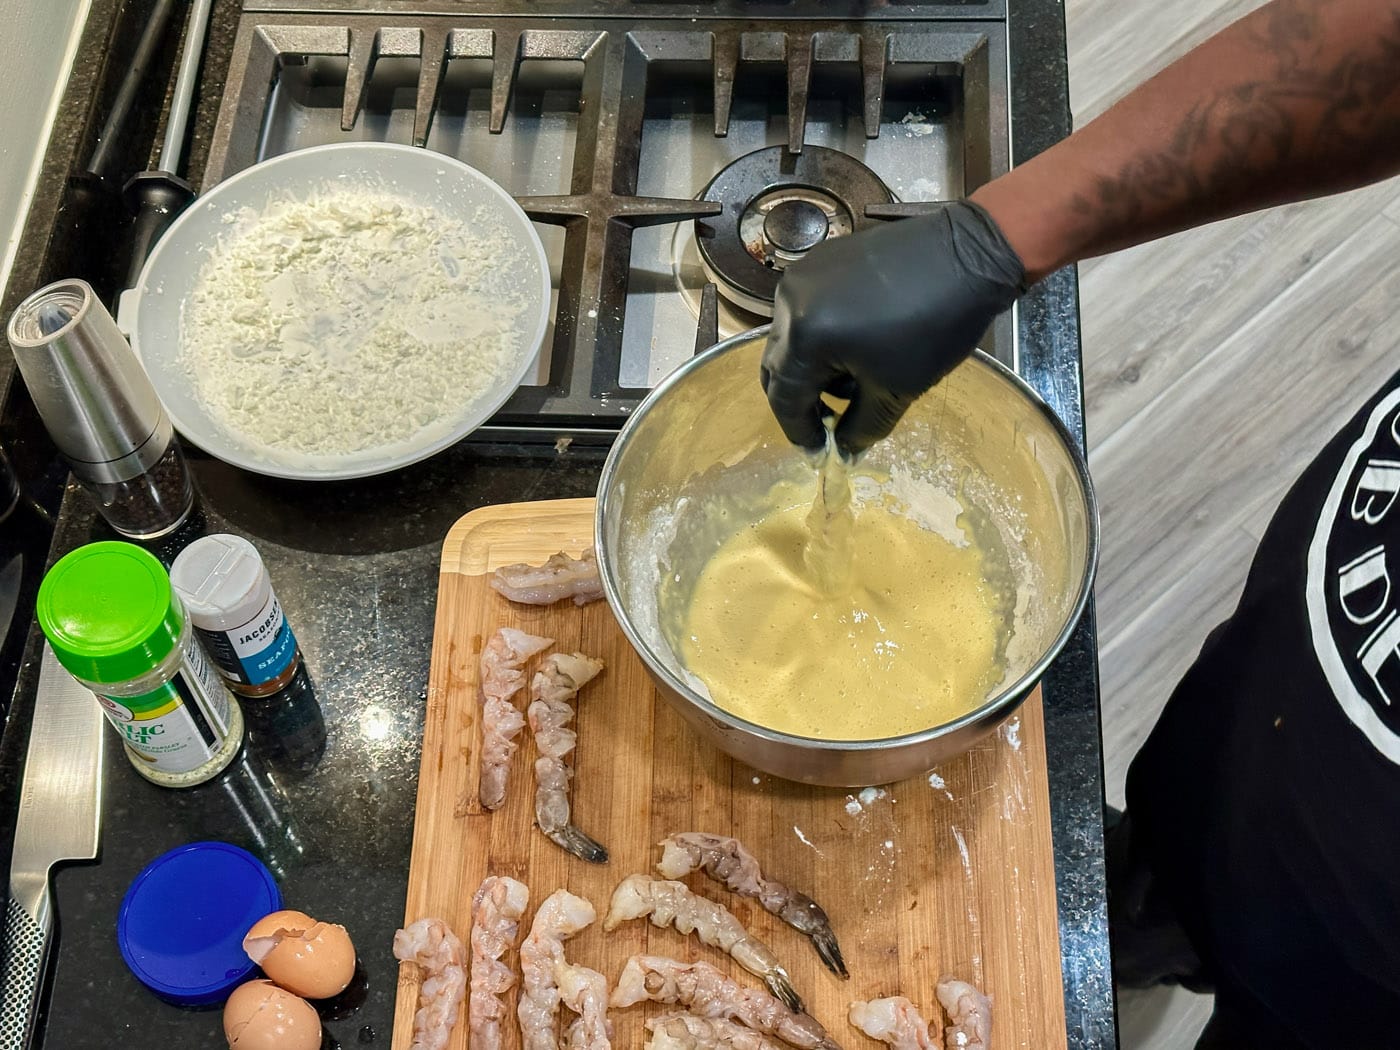
- Prepare the Ice-Cold Batter: In a large mixing bowl, whisk together the two large eggs until well combined. Gradually whisk in the ice-cold water. Once incorporated, gently whisk this cold egg and water mixture into the all-purpose flour until just combined. The batter should have a consistency similar to thin pancake batter – it’s okay if there are still a few small lumps, as overmixing develops gluten and can lead to a tough crust. Immediately place the bowl of batter into the larger bowl or tray of ice to keep it chilled. If you anticipate working slowly, whisk the batter occasionally to maintain a consistent cold temperature throughout.


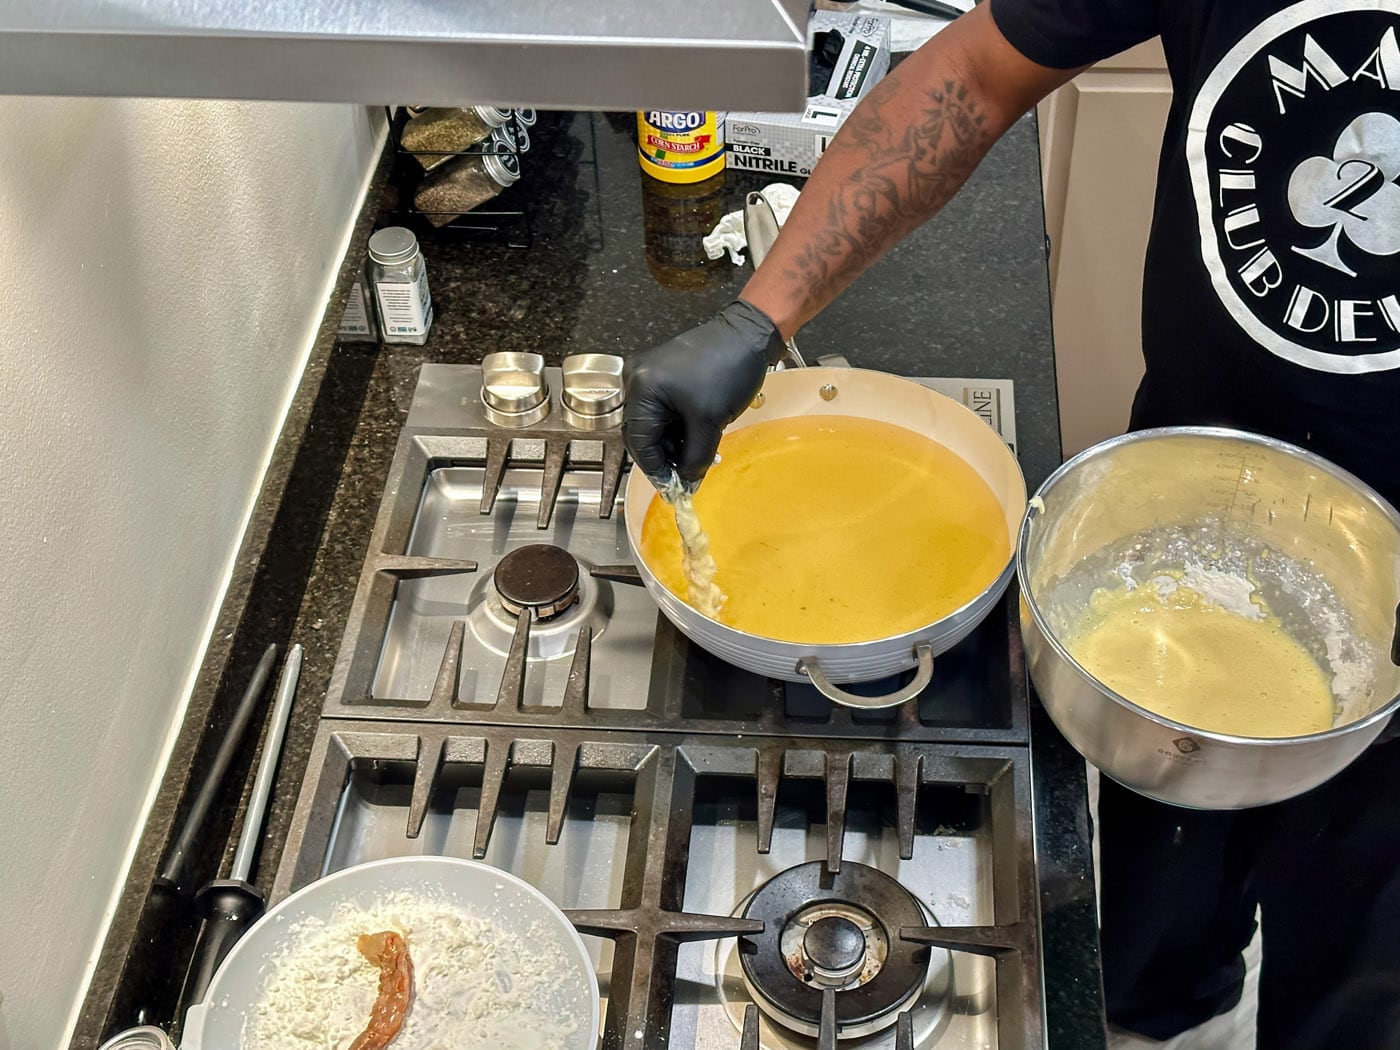
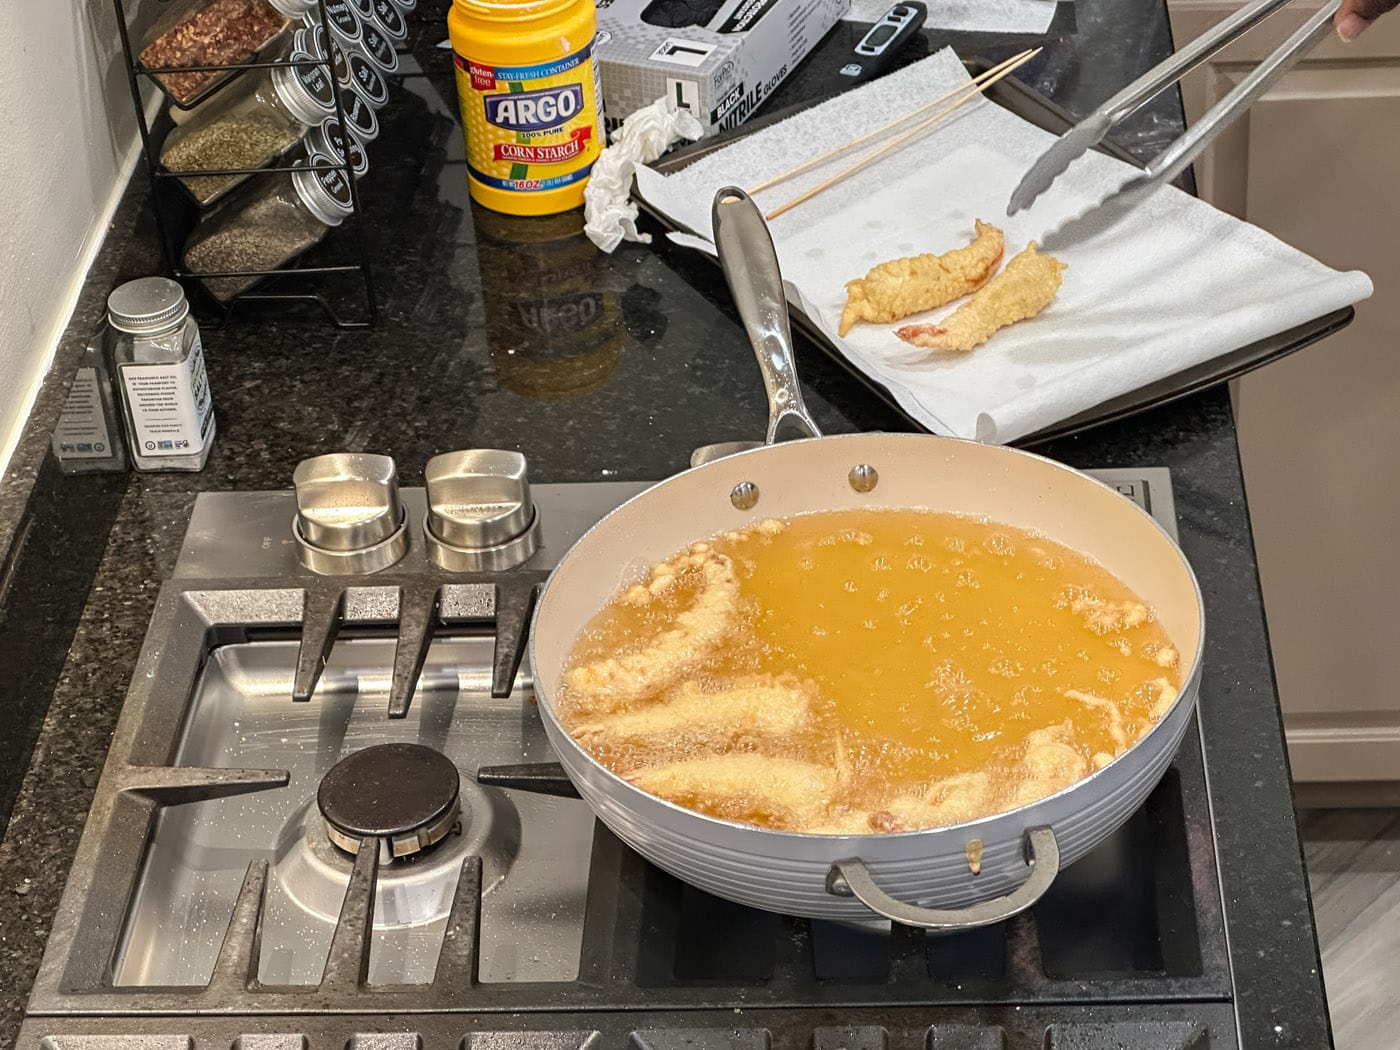
- Dredge, Dip, and Fry: Take one scored shrimp and dredge it thoroughly in the cornstarch, ensuring it’s completely coated. Then, dip the cornstarch-coated shrimp into the cold batter, allowing any excess to drip off. Immediately and carefully place the battered shrimp into the preheated hot oil. Repeat this process for each shrimp, being mindful not to overcrowd the pan. Frying in batches ensures the oil temperature remains stable and allows each piece to cook evenly and crisp up properly.


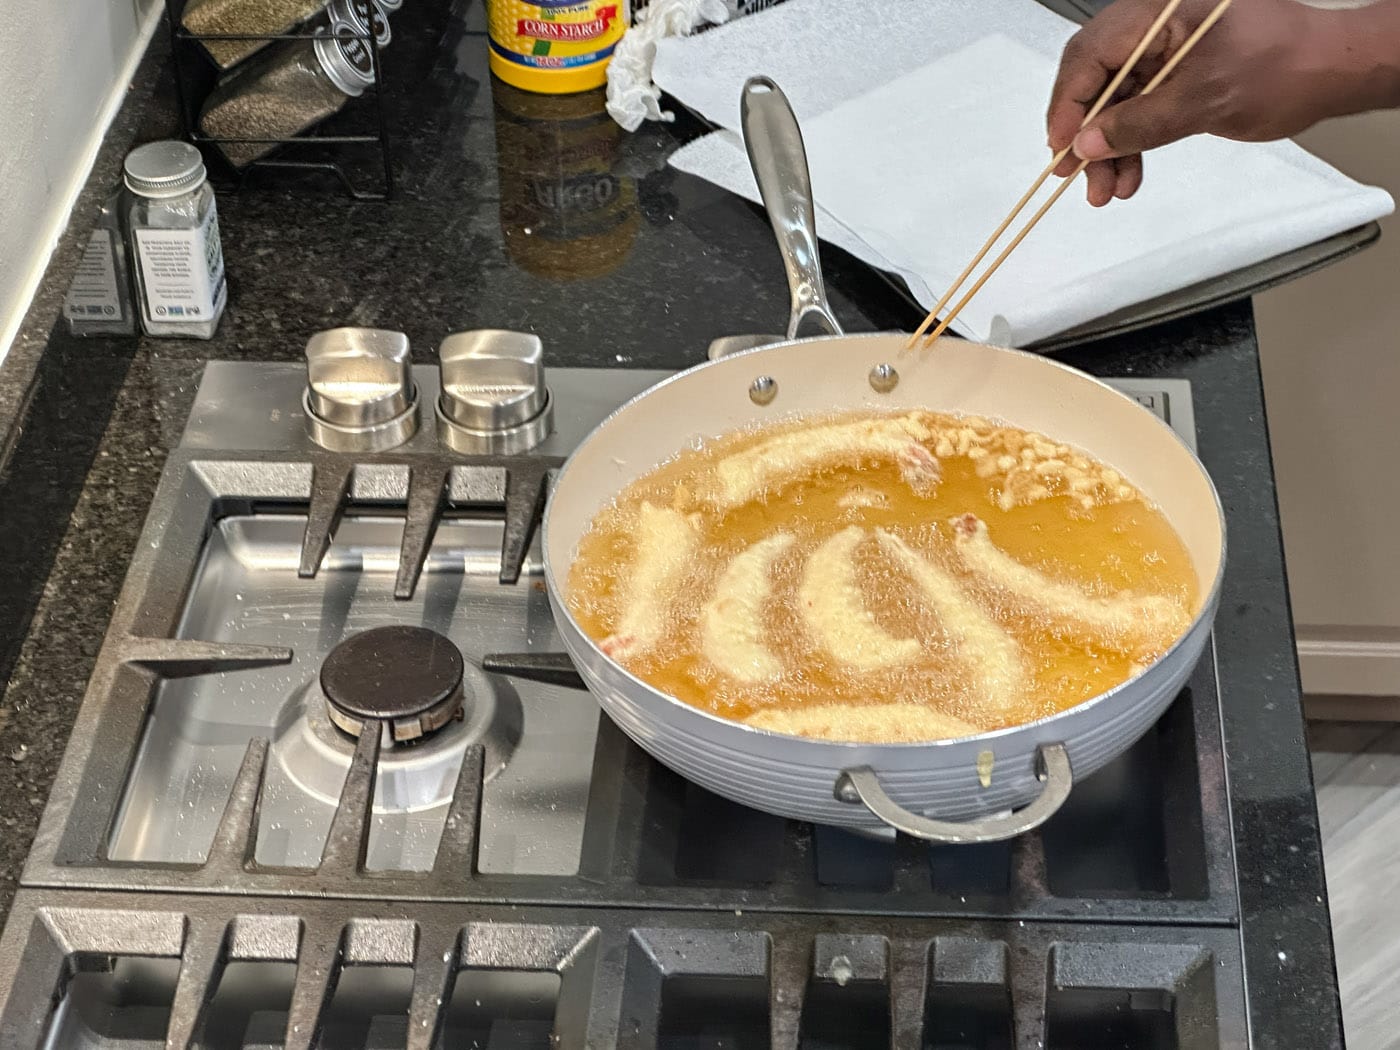
- Fry to Golden Perfection: Fry the shrimp for approximately 7-8 minutes, or until the batter is a beautiful golden brown and appears crispy. Flip the shrimp 1-2 times during the cooking process to ensure even browning and thorough cooking. The shrimp inside will turn opaque and pink, indicating it’s perfectly cooked.

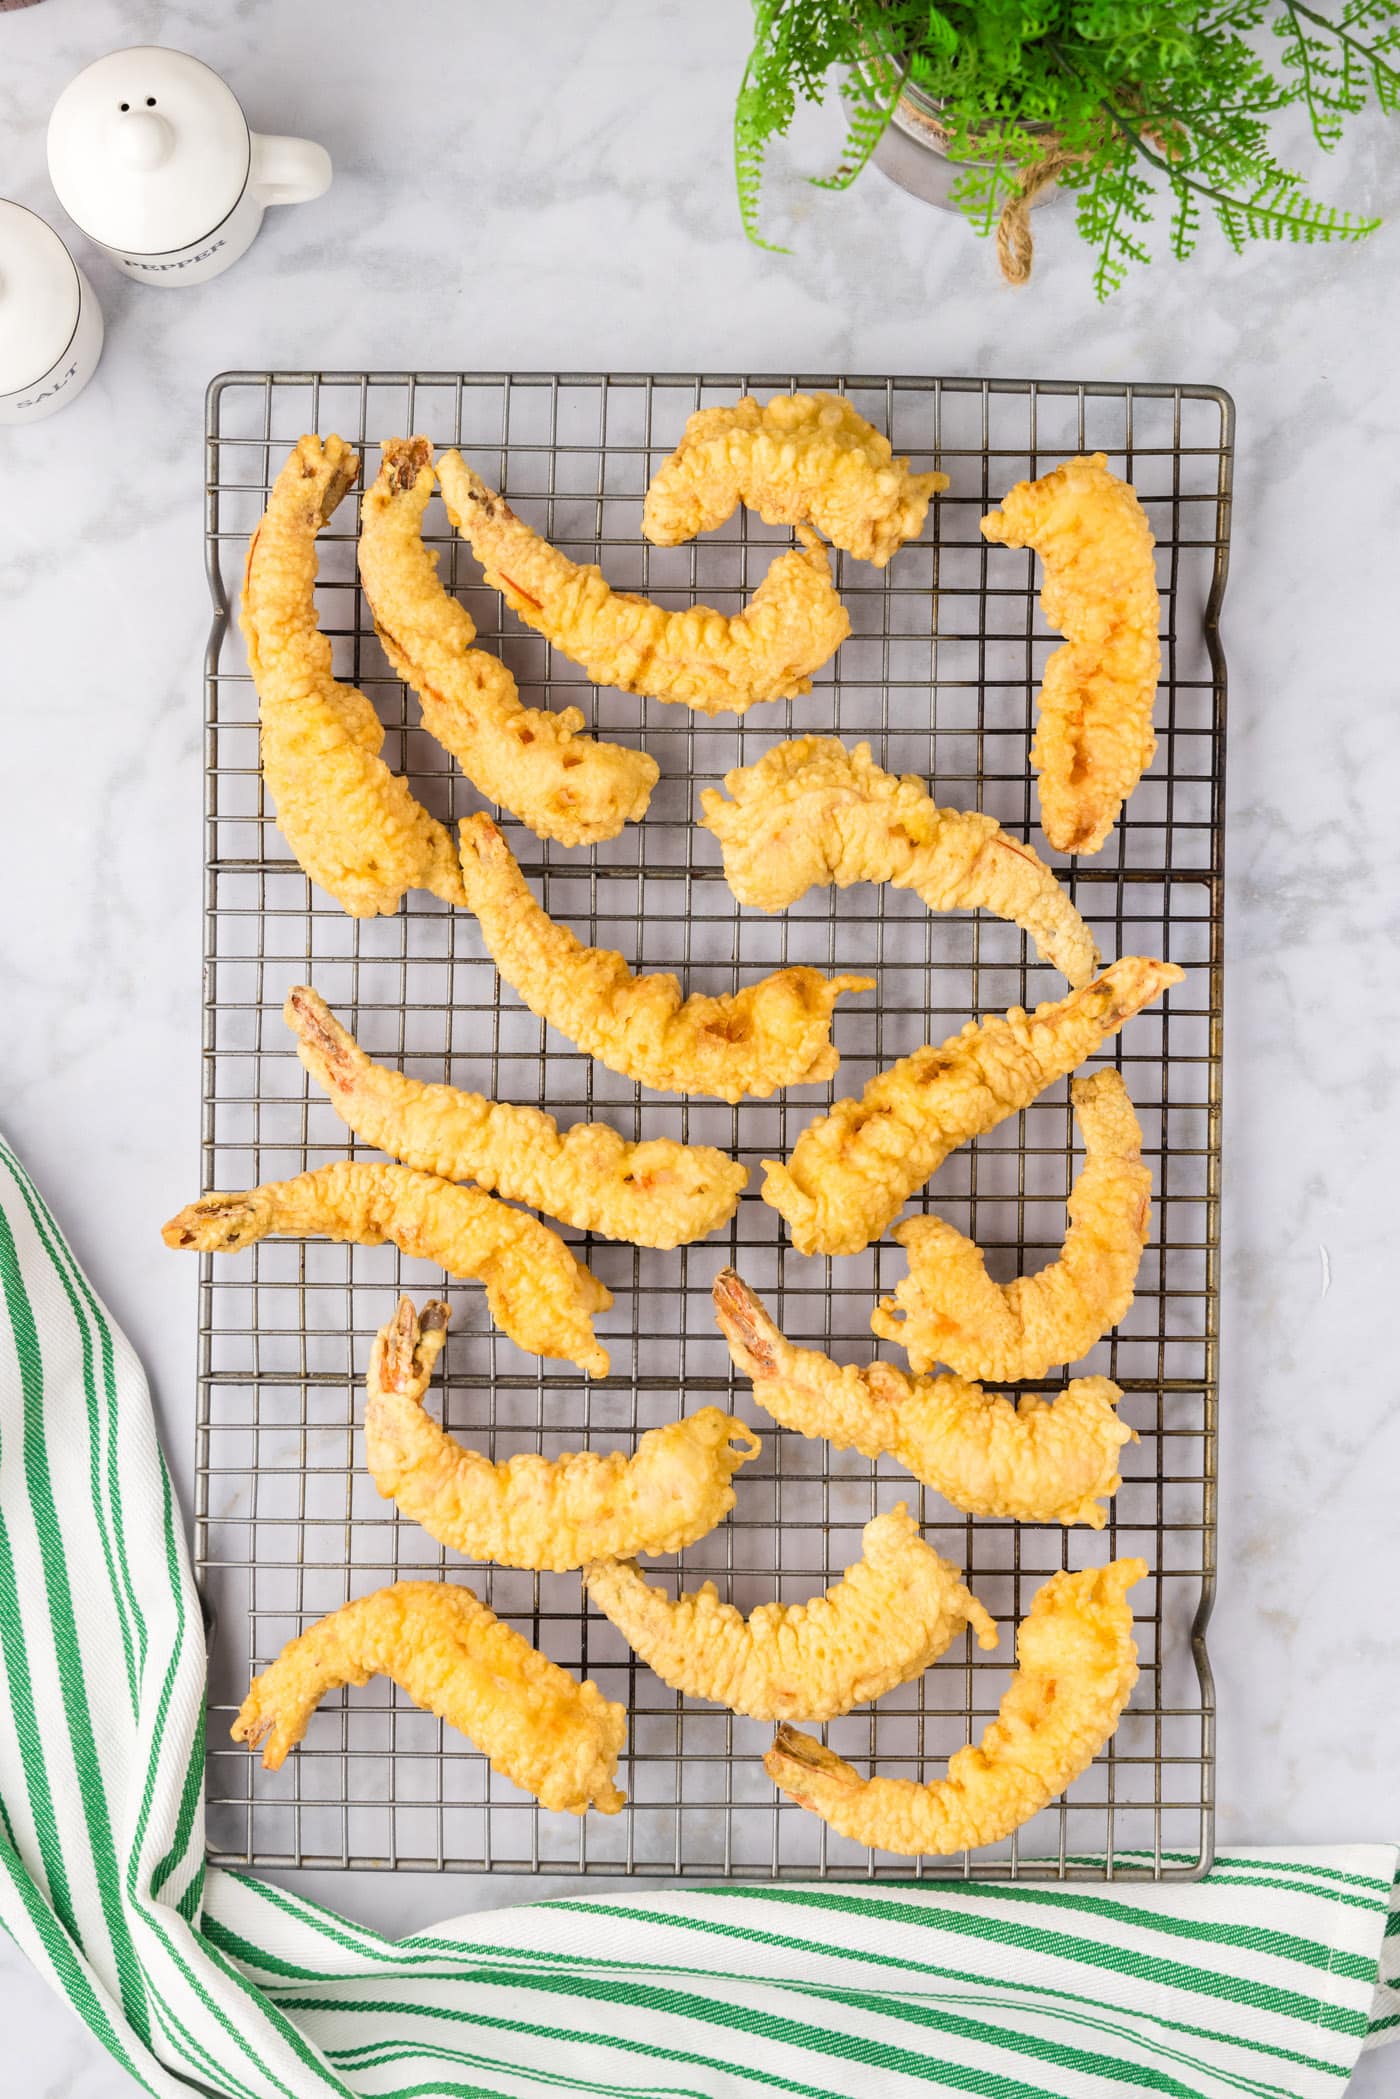
- Drain and Serve: Once cooked, carefully remove the shrimp from the hot oil using tongs and transfer them to the prepared wire rack. This allows any excess oil to drip away, preventing the tempura from becoming soggy and preserving its crisp texture. Let them cool for just a minute or two before serving immediately to enjoy their optimal crunch.

Frequently Asked Questions & Expert Tips for Perfect Tempura
While shrimp tempura is undoubtedly best enjoyed immediately after frying for maximum crispness, you can store any cooled leftovers. Place them in an airtight container and keep them refrigerated for 1-2 days. Be aware that the batter’s crispiness will diminish over time in the refrigerator.
To bring leftover shrimp tempura back to life, avoid the microwave, which will only make it soggy. Instead, reheat it in a preheated oven at 325°F (160°C). Arrange the shrimp in a single layer on a baking sheet and warm for 5-10 minutes, or until heated through and the batter regains some of its crispness. Keep a close eye on them to prevent overcooking the shrimp, as they only need to be in the oven long enough to warm up.
For the absolute crispiest results, it’s always best to prepare tempura batter just before you plan to fry. The carbonation from the ice water and the delicate structure are at their peak when fresh. However, if you must, you can mix the dry ingredients (flour, cornstarch) ahead of time and store them in an airtight container. When ready to use, add the egg and ice-cold water, then mix gently. Remember to keep the batter over an ice bath while frying!
Several factors can lead to less-than-crispy tempura. Ensure your batter is ice-cold and not overmixed. Your oil temperature is critical – if it’s too low (below 325°F), the batter will absorb too much oil and become greasy rather than crisp. If it’s too high, the outside will burn before the inside cooks. Also, avoid overcrowding the pan, as this drops the oil temperature significantly. Fry in small batches to maintain consistent heat.
Absolutely! This versatile tempura batter is fantastic for a variety of vegetables. Try thinly sliced sweet potatoes, broccoli florets, asparagus spears, green beans, onion rings, or mushrooms. Ensure the vegetables are dry before dredging and dipping, and adjust frying times as needed based on their size and density.
Serving Suggestions & Perfect Pairings
The true magic of shrimp tempura shines when it’s served hot and fresh, ensuring every bite delivers that satisfying crunch. Here are some fantastic ways to enjoy your homemade tempura:
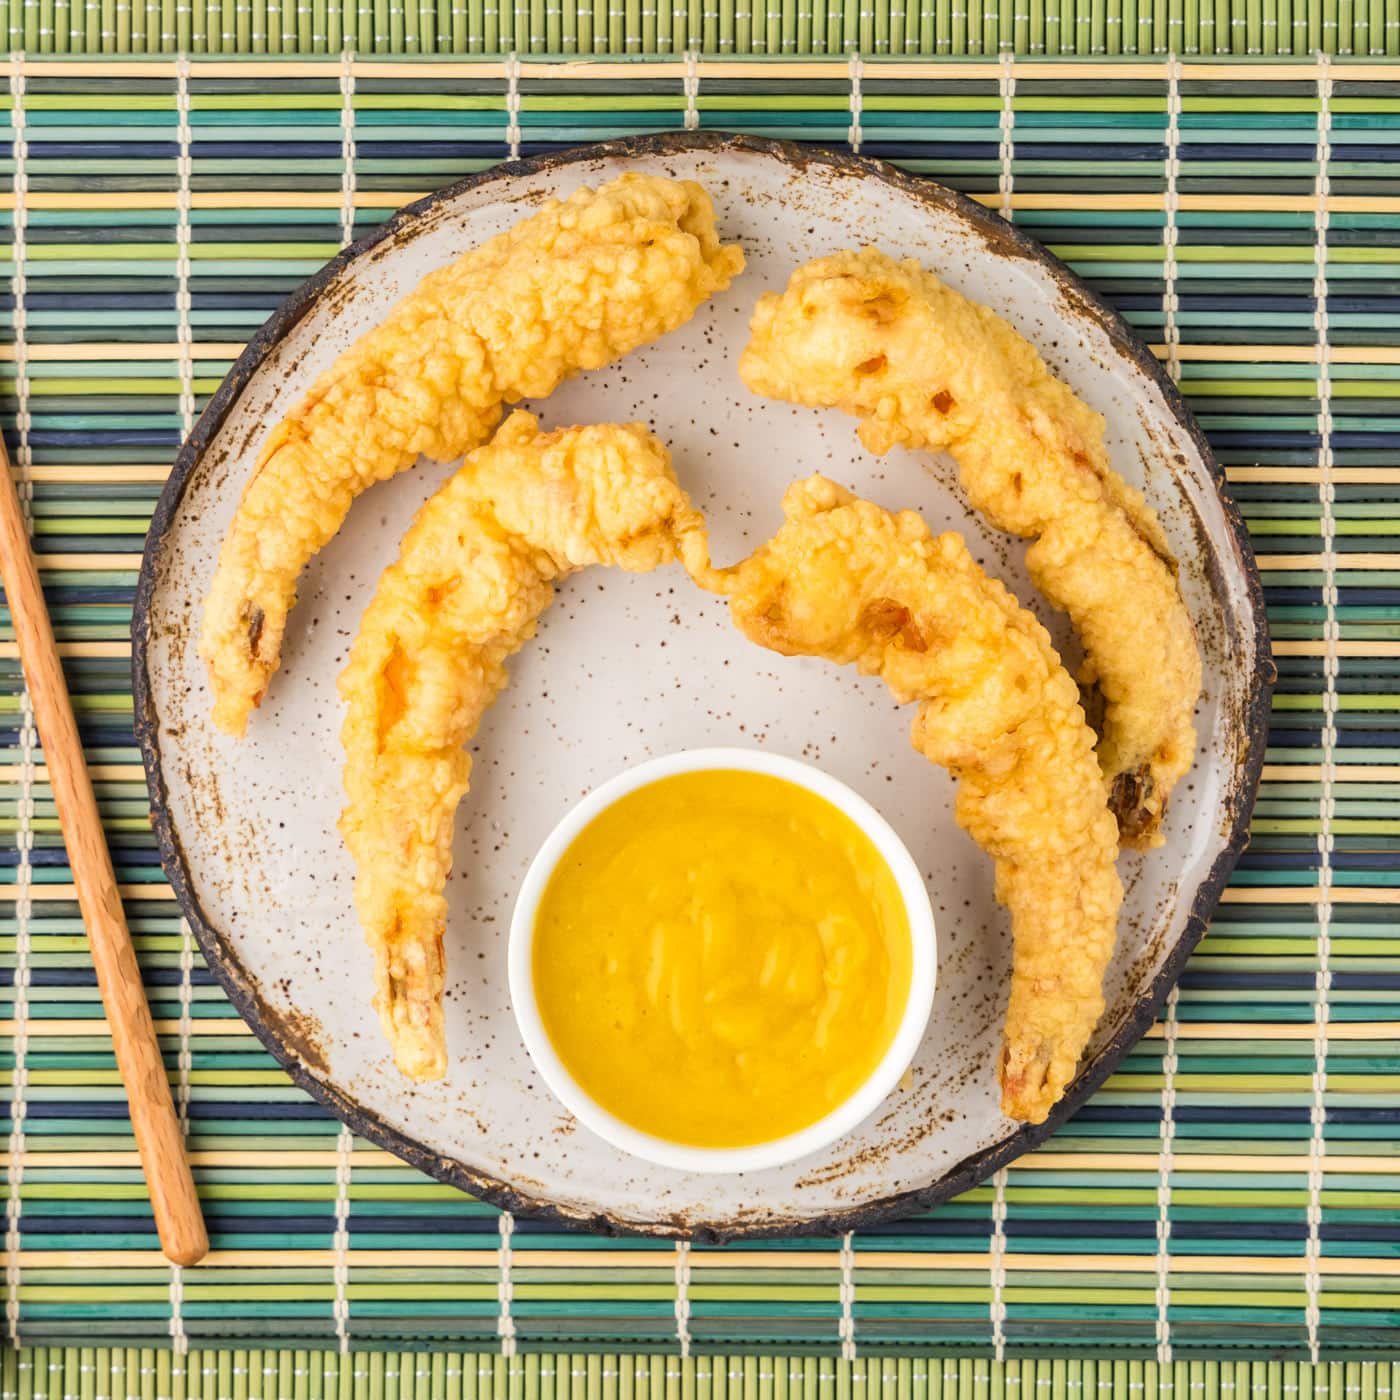
- Dipping Sauces: Elevate the flavor with a variety of dipping sauces. Classic choices include a sweet and savory tempura dipping sauce (tentsuyu), or you can get creative with yum yum sauce, creamy tartar sauce, zesty garlic aioli, or a bright lemon butter sauce. Even a simple squeeze of fresh lemon juice can enhance the delicate flavors.
- As an Appetizer: Arrange your golden tempura beautifully on a platter for an impressive starter at any gathering. They’re always a crowd-pleaser!
- Main Course Meal: Turn tempura into a complete meal by serving it alongside fluffy steamed white rice and a vibrant assortment of steamed or stir-fried vegetables. A light miso soup would also complement the dish perfectly.
- Sushi Rolls & Bowls: Shrimp tempura is a star ingredient in many popular sushi rolls (like the classic shrimp tempura roll) and rice bowls, adding a delightful crunch and rich flavor.
- Tempura Vegetable Medley: Don’t let any leftover batter go to waste! It’s perfect for deep-frying an array of vegetables such as thinly sliced sweet potatoes, crisp broccoli florets, tender carrots, sweet onion rings, or fresh green beans. This creates a wonderful tempura vegetable medley to accompany your shrimp.
- Salad Topping: For a unique twist, slice cooled tempura shrimp and add them as a crispy topping to your favorite Asian-inspired salads.
Discover More Delicious Shrimp Recipes
If you’re a fan of shrimp, there’s a world of flavor waiting for you. Explore these other fantastic shrimp recipes from our collection:
- Classic Fried Shrimp
- Crispy Baked Shrimp
- Restaurant-Style Hibachi Shrimp
- Savory Teriyaki Shrimp
- Tangy Sweet and Sour Shrimp
I love to bake and cook and share my kitchen experience with all of you! Remembering to come back each day can be tough, that’s why I offer a convenient newsletter every time a new recipe posts. Simply subscribe and start receiving your free daily recipes!
Shrimp Tempura
IMPORTANT – There are often Frequently Asked Questions within the blog post that you may find helpful. Simply scroll back up to read them!
Print It
Pin It
Rate It
Save ItSaved!
Ingredients
- 1 pound raw grilling shrimp
- ½ cup cornstarch
- vegetable oil for frying
- 2 large eggs
- ½ cup cold ice water
- 1 cup all purpose flour
Things You’ll Need
-
Large deep sided skillet
-
Instant read thermometer
-
Large bowl or tray of ice
-
Vinyl gloves
Before You Begin
- Use raw, large or extra-large shrimp; avoid precooked. Thaw and pat dry frozen shrimp thoroughly.
- For the crispiest tempura, the batter must be kept ice-cold. Use ice water and place the batter bowl over ice.
- Utilize a neutral-flavored oil with a high smoke point (e.g., vegetable, peanut, canola). Maintain a precise oil temperature of 325°F (160°C) using a thermometer.
- Tempura is best fresh. Store cooled leftovers in an airtight container in the fridge for 1-2 days.
- Reheat leftovers in a 325°F (160°C) oven for 5-10 minutes on a baking sheet to restore crispness; do not overcook.
Instructions
-
Watch the video above for a visual guide on how to score shrimp to prevent curling.
-
Line a baking sheet with paper towels and place a wire rack over it.
-
Prepare a large bowl or tray filled with ice, large enough to hold your batter bowl to keep it cold.
-
Score the underside vein of each shrimp in two places (near the head and tail) without cutting all the way through, to prevent curling.
-
Spread cornstarch evenly on a plate.
-
Add vegetable oil to a deep-sided skillet (approx. 2 inches deep). Preheat oil over medium-high heat until an instant-read thermometer reads 325°F (160°C).
NOTE: Work quickly to ensure the batter remains cold when shrimp enters the oil.
-
Whisk eggs in a large bowl, then whisk in ice-cold water. Gently whisk this mixture into the flour until just combined (lumps are okay). Place the batter bowl into the ice bath. Whisk occasionally if working slowly.
-
Dredge a shrimp in cornstarch, then dip into the batter. Immediately and carefully place it into the hot oil. Repeat, frying in batches to avoid overcrowding the pan.
-
Fry shrimp for 7-8 minutes, flipping 1-2 times, until golden brown and crispy.
-
Transfer cooked shrimp to the wire rack to drain and cool slightly before serving.
Nutrition
The recipes on this blog are tested with a conventional gas oven and gas stovetop. It’s important to note that some ovens, especially as they age, can cook and bake inconsistently. Using an inexpensive oven thermometer can assure you that your oven is truly heating to the proper temperature. If you use a toaster oven or countertop oven, please keep in mind that they may not distribute heat the same as a conventional full sized oven and you may need to adjust your cooking/baking times. In the case of recipes made with a pressure cooker, air fryer, slow cooker, or other appliance, a link to the appliances we use is listed within each respective recipe. For baking recipes where measurements are given by weight, please note that results may not be the same if cups are used instead, and we can’t guarantee success with that method.
