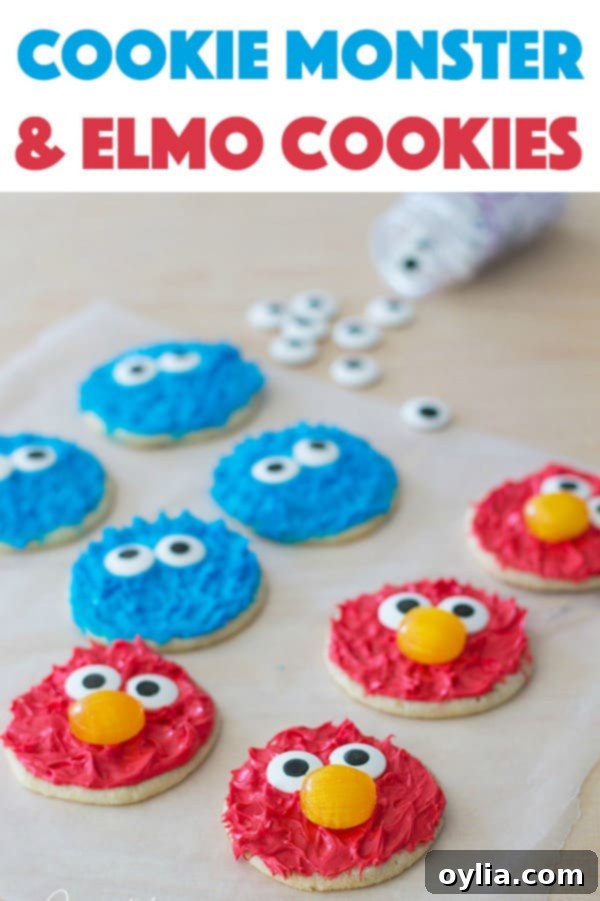
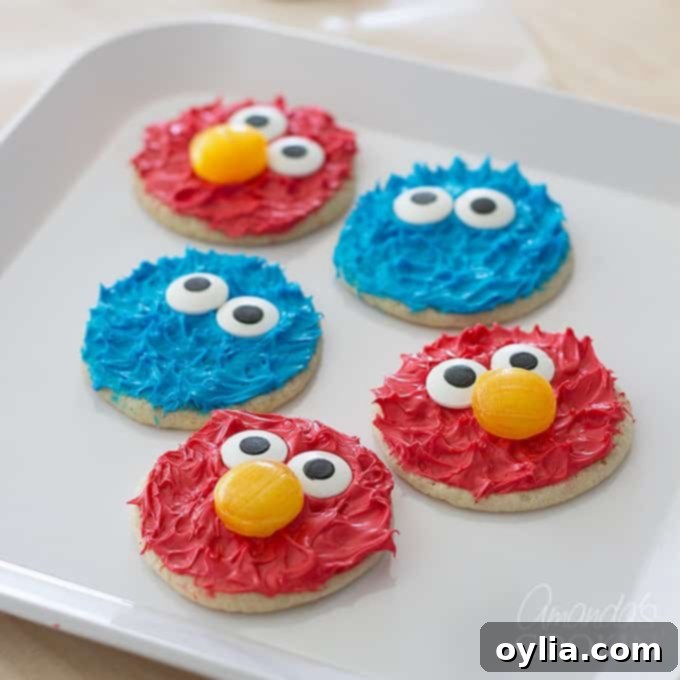
Easy & Adorable Cookie Monster and Elmo Cookies: The Ultimate Guide for Any Sesame Street Party!
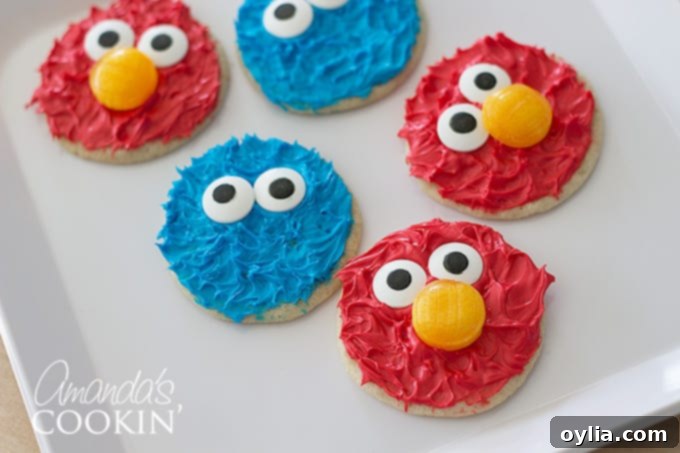
Oh my gosh, who can resist the undeniable cuteness of Cookie Monster and Elmo cookies? These beloved Sesame Street characters hold a special place in many hearts, including mine! They were such a significant part of my childhood, and I simply can’t pass up the opportunity to create adorable, edible treats like these. Much like our charming Bear Cookies, these fun character cookies are guaranteed to bring smiles.
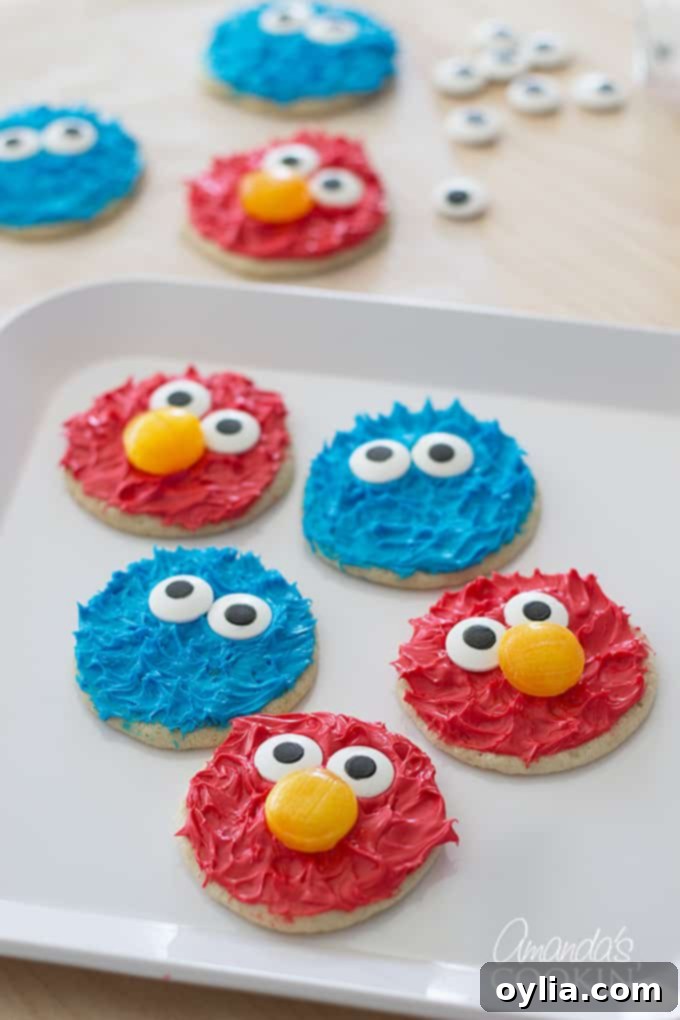
Imagine these vibrant, friendly faces at your next celebration! These delightful Cookie Monster and Elmo cookies are absolutely perfect for a Sesame Street themed birthday party, a playdate, or simply as a fun treat to brighten any day. They even star in my popular Cookie Monster Freak Shakes, adding that extra touch of adorable charm!
Crafting Iconic Cookie Monster and Elmo Cookies
While there are many variations of Cookie Monster cookies out there, some requiring special decorating tips, our method focuses on achieving that recognizable “Muppet hair” texture using simple tools you likely already have. And when it came to Elmo cookies, we noticed a lack of easy, frosting-based options, with most relying on intricate Royal Icing techniques. That’s why we decided to create a straightforward approach for both beloved characters, ensuring anyone can make them!
This particular recipe holds a special memory because it was born quite spontaneously. When we were brainstorming ideas for the Cookie Monster Freak Shake, I initially struggled with how to create Cookie Monster’s distinct face. It was my mom, Amanda, who brilliantly suggested using sugar cookies as the perfect base. What a fantastic idea! From that moment, these adorable little cookies blossomed. We didn’t originally plan on making Elmo cookies, but as we realized how incredibly easy and fun the process was, we couldn’t resist adding Elmo to the mix!
Why These Sesame Street Character Cookies are a Must-Make
These charming Elmo and Cookie Monster cookies aren’t just cute; they are incredibly versatile and perfect for a variety of occasions. They are an absolute hit for any birthday party, especially if you’re looking for a budget-friendly and easy way to whip up impressive treats. Kids and adults alike will light up at the sight of these familiar faces!
Beyond our cookies, the world of Sesame Street-themed goodies is vast and inspiring. I’ve seen some truly delightful creations that showcase these characters. For example, you can find these darling Cookie Monster donuts, which are as fun to look at as they are to eat. For those who love cupcakes, these creative Cookie Monster cupcakes are a fantastic option. And on a hot day, imagine serving this delightful Cookie Monster ice cream! While I’m sharing a lot of sweet treats, don’t forget that kids will also adore this savory and fun Elmo spaghetti dinner, making mealtime an adventure too.
Just a friendly note: This post includes affiliate links. This means that if you make a purchase through one of these links, I may earn a small commission, but rest assured, it won’t cost you anything extra. These links help support the creation of more fun recipes like this one!
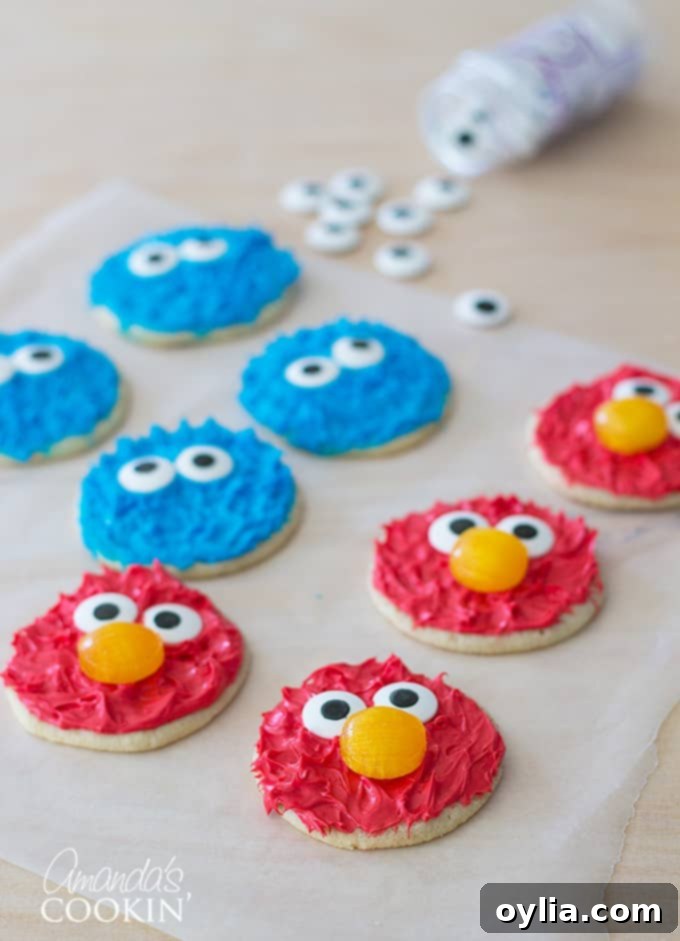
Essential Ingredients for Your Sesame Street Masterpiece
Gathering the right ingredients is the first step to creating these delightful Cookie Monster and Elmo cookies. We’ve designed this recipe to be as flexible as possible, allowing you to choose between homemade or store-bought components for convenience without sacrificing flavor or fun.
- Refrigerator sugar cookie dough (or your favorite homemade sugar cookie recipe)
- Canned vanilla frosting (or a batch of homemade vanilla buttercream or white frosting)
- Red and blue gel food coloring (Crucially, use GEL food coloring, NOT liquid food coloring*)
- Jumbo candy eyes
- Butterscotch discs hard candy (for Elmo’s nose)
* A vital note on food coloring: Please, for the best results, avoid using liquid food coloring. Liquid food coloring will dilute your frosting, making it too thin to hold its shape and preventing you from achieving the vibrant, intense colors characteristic of Cookie Monster and Elmo. This can lead to frustration and wasted ingredients. Stick to gel food coloring for beautiful, rich hues and perfect frosting consistency.
Handy Kitchen Tools for Stress-Free Baking and Decorating
Having the right tools makes the decorating process much smoother and more enjoyable. Here’s what you’ll need:
- Icing spatula or a simple butter knife (our secret weapon for the “muppet hair” texture!)
- Baking sheet
- Parchment paper (for easy cleanup and non-stick baking)
- Spatula (for handling cookies)
Ingredient Insights: Customizing Your Cookies for Ease or From-Scratch Goodness
As highlighted in the ingredient list, we offer flexible options to suit your baking preferences and time constraints. If you love baking from scratch, feel free to use your favorite homemade sugar cookie recipe. However, for maximum convenience, we often opt for a tube of refrigerator cookie dough. This allows for quick slicing and baking with absolutely no fuss or mess. If pre-packaged sugar cookie dough isn’t available in your area, our linked recipe is a reliable alternative, or you can certainly use your own trusted recipe.
The same flexibility applies to the frosting. We used a readily available tub of white vanilla frosting, as any brand will work as long as it’s white to allow for vibrant coloring. Again, if you prefer a homemade touch or can’t access store-bought options, we’ve provided links to two versions of homemade vanilla frostings that are easy to prepare. Our goal with this tutorial was to make it accessible to everyone, using simple, often store-bought ingredients for a quick and easy decorating experience that anyone can master.
Step-by-Step Guide: How to Craft Your Adorable Cookie Monster and Elmo Cookies
Creating these iconic Cookie Monster and Elmo cookies is a fun and straightforward process. Follow these simple steps to bring your favorite Sesame Street characters to life:
Step 1: Bake and Cool Your Sugar Cookies.
Begin by baking your sugar cookies according to your chosen recipe or package instructions. Once baked, transfer them to a wire rack and allow them to cool completely. This is crucial for the frosting to adhere properly and maintain its texture. While the cookies are cooling, you can start preparing your colorful frostings.
Step 2: Prepare Your Vibrant Frostings.
Divide your white vanilla frosting evenly into two separate bowls. These will be for Cookie Monster’s blue and Elmo’s red. Now, it’s time to add the color!
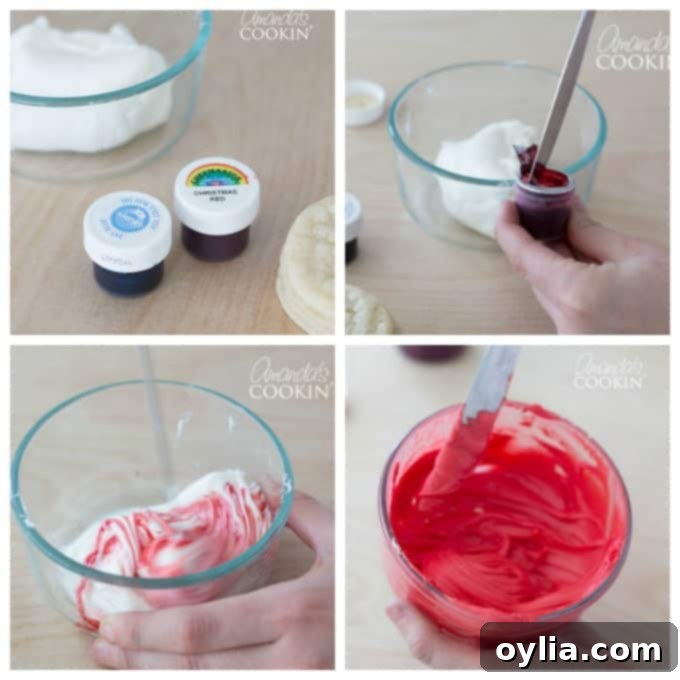
Using a toothpick or a clean butter knife, carefully lift a very small amount (less than 1/8 teaspoon) of gel food coloring and add it to one of the bowls of frosting. Mix thoroughly. Gel food coloring is highly concentrated, so start with a tiny bit and gradually add more if needed until you achieve your desired vibrant shade of red for Elmo. Repeat this process for the second bowl, using blue gel food coloring for Cookie Monster. This is where you can experiment a little to get the perfect hues!
Step 3: Apply the Base Frosting.
Now for the fun part: decorating! To create that iconic “Muppet hair” texture that both Cookie Monster and Elmo are known for, first spread a layer of your colored frosting evenly over the surface of a cooled sugar cookie. Make sure to cover the entire top of the cookie.

Step 4: Create the “Muppet Hair” Texture.
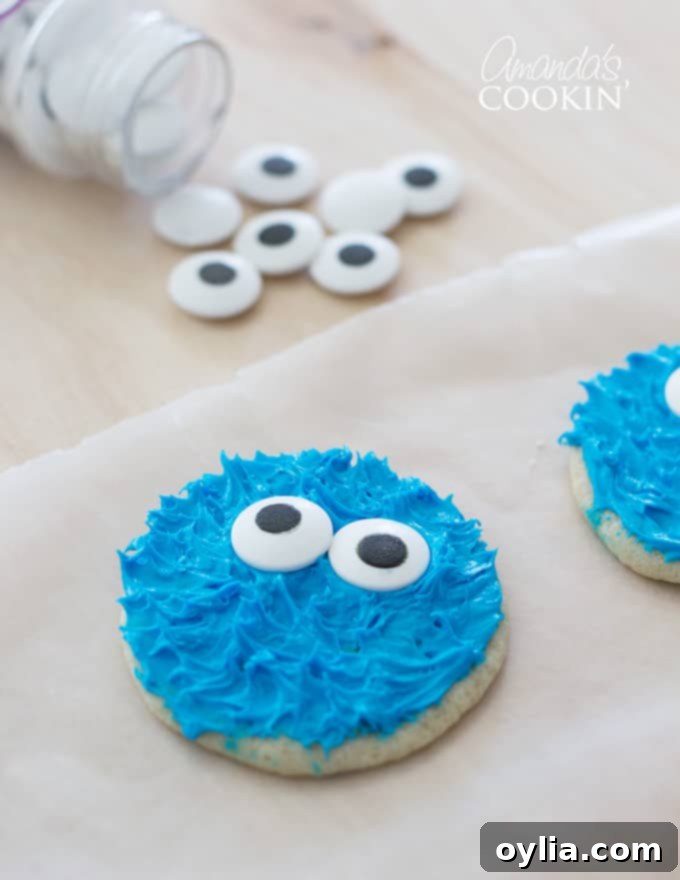
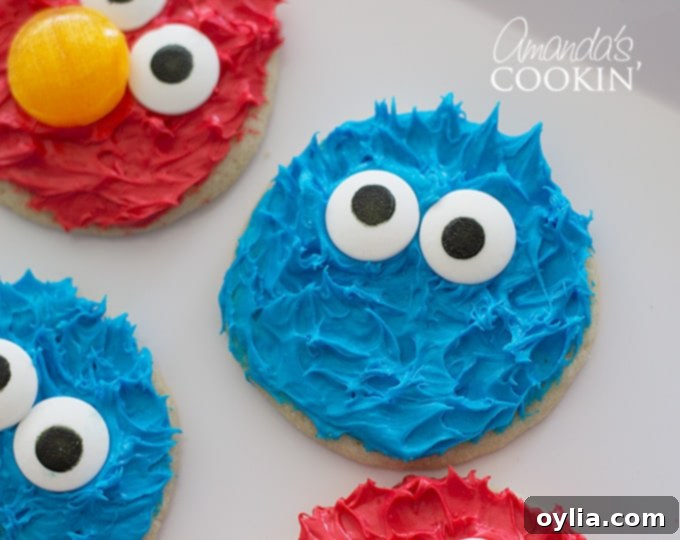
This is where the magic happens with minimal tools! Take your butter knife or icing spatula. Gently touch the frosted surface of the cookie with the tip of the knife, then pull straight upward. This will create small peaks and tufts, mimicking the fuzzy texture of their fur. Continue this motion repeatedly over the entire surface of the cookie, working your way around until you are happy with the results. It’s surprisingly easy and very effective!

Step 5: Add the Finishing Touches – Eyes and Nose.
Once you’ve perfected the fluffy texture, it’s time to give your cookies their personalities! This step is straightforward but key to distinguishing your Cookie Monster and Elmo cookies.

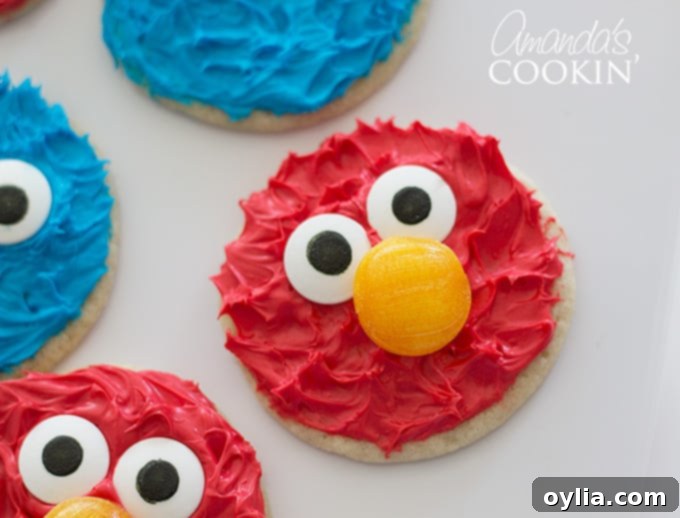
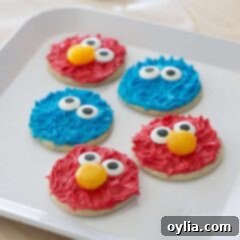
Place two jumbo candy eyes onto each cookie. For Cookie Monster, a touch of whimsy is perfect: position the eyes so they look slightly jumbled or cross-eyed to capture his goofy, cookie-obsessed charm. For Elmo, use more centered eyes and then press a butterscotch disc firmly into the frosting to create his distinct orange nose. We actually found that some of our candy eyes weren’t perfectly centered, which was ideal for giving Cookie Monster his signature look, leaving the perfectly centered ones for Elmo!

Here are a couple of close-ups of our completed Elmo and Cookie Monster cookies. They are just too adorable not to share every detail! Notice the subtle differences in eye placement that truly capture the essence of each character. These cookies aren’t just delicious; they are a piece of edible art that will delight anyone who sees them.
More Fun Recipes Featuring Your Favorite Characters!
If you’ve enjoyed making these delightful Cookie Monster and Elmo Cookies, you absolutely HAVE to take a look at our show-stopping Cookie Monster Freak Shakes, where these very cookies take center stage as the ultimate garnish! They’re an incredible way to combine your love for these characters with an epic dessert.
And for those who appreciate cute and whimsical food, you’ll be thrilled with our other fun creations! Don’t miss our adorable Easter Bunny Cupcakes, which are perfect for spring celebrations. We also have a fantastic collection of rainbow themed recipes that bring vibrant colors and joy to any table. Plus, for more Cookie Monster fun, you won’t want to miss these amazing Cookie Monster Cakes either!
If your kids are big fans of superheroes, make sure to check out my detailed instructions for crafting a cool and impressive Spiderman Cake – it’s easier than you think to create a heroic masterpiece.
Cookie Monster and Elmo Cookies
IMPORTANT – There are often Frequently Asked Questions within the blog post that you may find helpful. Simply scroll back up to read them!
Print It
Pin It
Rate It
Save ItSaved!
Ingredients
- 16 ounce Package refrigerator sugar cookie dough or homemade sugar cookies
- 16 ounce tub vanilla frosting or homemade white frosting
- Red and blue gel food coloring NOT liquid food coloring – see notes
- 48 Jumbo candy eyes
Before You Begin
You will likely have extra frosting left over.
Instructions
-
First you need to make your sugar cookies and let them cool completely. While the cookies are cooling, separate your white frosting into two bowls.
-
Using a toothpick or a butter knife, add a small amount (less than 1/8 teaspoon) of gel food coloring to one bowl for red (Elmo) and repeat for blue (Cookie Monster) in the second bowl. Mix well, adding more color gradually until you achieve vibrant shades.
-
To decorate, spread a layer of colored frosting on a cooled sugar cookie.
-
Next, gently touch the frosting with a butter knife and pull upward to create the “muppet hair” texture. Repeat this motion over the entire cookie until you’re satisfied.
-
Finally, add two jumbo candy eyes to each cookie. For Cookie Monster, position the eyes jumbled or cross-eyed. For Elmo, use centered eyes and press a butterscotch disc for the nose.
Nutrition
The recipes on this blog are tested with a conventional gas oven and gas stovetop. It’s important to note that some ovens, especially as they age, can cook and bake inconsistently. Using an inexpensive oven thermometer can assure you that your oven is truly heating to the proper temperature. If you use a toaster oven or countertop oven, please keep in mind that they may not distribute heat the same as a conventional full sized oven and you may need to adjust your cooking/baking times. In the case of recipes made with a pressure cooker, air fryer, slow cooker, or other appliance, a link to the appliances we use is listed within each respective recipe. For baking recipes where measurements are given by weight, please note that results may not be the same if cups are used instead, and we can’t guarantee success with that method.

