Easy Homemade Berry Jam: Make Pectin-Free Preserves with Fresh or Frozen Fruit (3 Delicious Flavors!)
Imagine the delightful aroma of fresh berries simmering on your stovetop, transforming into a vibrant, sweet jam. What if we told you that creating this homemade magic is surprisingly simple, requiring **no pectin** and absolutely no fancy equipment? Today, we’re diving into the delightful world of **Homemade Berry Jam**, crafted in three incredibly tasty flavors, perfect for any time of year!
Unlock the Simplicity of Homemade Berry Jam
Making homemade jam often brings back fond memories for many. For me, it’s a nostalgic journey to childhood summers spent picking strawberries, followed by hours of washing, hulling, and meticulously processing them into jars of vibrant, sweet preserves. As I’ve grown, I’ve sought to reconnect with these cherished traditions, but with a modern, more efficient approach.
This pursuit led to perfecting an incredibly easy homemade berry jam recipe that streamlines the process without sacrificing flavor or quality. Gone are the days of needing specialized ingredients or spending an entire day in the kitchen. Today, we’re embracing simplicity with just three core ingredients: your chosen berries, fresh citrus, and sugar!
RELATED: You might also love this classic recipe – Homemade Strawberry Jam
That’s right, forget the pectin! The real beauty of this homemade berry jam recipe lies in its minimalist approach and incredible versatility. You can effortlessly use fresh berries when they’re in season, or, for year-round enjoyment, rely on readily available frozen fruit. This means you don’t have to wait until peak summer to whip up a batch of delicious preserves. Craving strawberry jam in winter? No problem! This recipe makes it possible to enjoy the taste of summer any day of the year.
The process is wonderfully straightforward: simply combine all your ingredients in a medium saucepan, stir them together, and let them gently cook down on the stove. We’ll add some fresh citrus – either oranges or lemon – not just for a delightful zing that brightens the flavor, but also to help the jam achieve its perfect consistency. A quick mash will release the berry juices, and in about 20 to 30 minutes, you’ll have a thick, luscious, and utterly delicious berry jam ready to cool and enjoy.
Why Choose Homemade Pectin-Free Jam?
Beyond the undeniable satisfaction of creating something delicious from scratch, making your own pectin-free berry jam offers numerous advantages. Firstly, you have complete control over the ingredients. This means no artificial preservatives, colors, or flavors – just pure, natural goodness. You can adjust the sweetness level to your preference, opting for less sugar if your berries are naturally sweet, or a bit more if they are tart.
Secondly, it’s often more cost-effective than buying gourmet jams, especially when berries are in season or on sale. Plus, the flavor of homemade jam is simply unparalleled. The vibrant, fresh taste of berries truly shines through when they haven’t been over-processed or loaded with additives. It’s a taste that brings a touch of artisanal quality to your breakfast table or dessert platter, making everyday moments feel a little more special.
Finally, the process itself is incredibly rewarding. There’s a quiet joy in stirring the bubbling fruit, watching it transform from individual berries into a glossy, thick spread. It’s a meditative activity that connects you to culinary traditions and results in a tangible, tasty reward that you can share with loved ones.
The Natural Magic: How Pectin-Free Jam Sets
You might be wondering, “How does jam thicken without added pectin?” The answer lies in the natural components of the berries themselves, combined with sugar and acid. Fruits naturally contain pectin, a soluble fiber that acts as a gelling agent. Some fruits are higher in pectin than others – for example, apples and citrus have high pectin levels, while strawberries and blueberries have moderate amounts. Even though our chosen berries might not be the highest in natural pectin, we can still achieve a beautiful set.
Here’s the natural science at play:
- Sugar: Sugar does more than just sweeten the jam. It helps draw out the natural pectin from the fruit and binds with water molecules, preventing them from interfering with the pectin’s ability to gel. It also acts as a preservative.
- Acid (Citrus Juice and Zest): The lemon or orange juice and zest we add are crucial. Acid helps break down the fruit’s cell walls, releasing more natural pectin. It also lowers the pH of the mixture, which is essential for pectin to form a gel structure with the sugar. Furthermore, citrus adds a wonderful brightness to the flavor, complementing the berries perfectly.
- Heat and Evaporation: Simmering the mixture cooks the fruit, further breaking it down and releasing pectin. More importantly, the heat causes water to evaporate, concentrating the sugars and natural pectin. As the mixture cools, the concentrated pectin and sugar form a stable gel, giving the jam its characteristic thick texture.
By carefully balancing these three elements – fruit, sugar, and acid – and allowing adequate cooking time, we can create a perfectly set, delicious jam without the need for commercial pectin. It’s a testament to the simple yet powerful chemistry of cooking!
Gather Your Simple Ingredients:
To embark on your homemade berry jam journey, you’ll need just a few fundamental items:
- 2 cups berries: Choose fresh or frozen. This recipe works beautifully with strawberries, blueberries, or cranberries. Frozen berries are particularly convenient as they often come pre-washed and chopped, and their cell walls are already partially broken down from freezing, which can aid in releasing juices and pectin.
- ¼ to ½ cup sugar: The amount depends on the natural sweetness of your berries and your personal preference. Start with ¼ cup and add more if needed. Cranberries typically require a bit more sugar due to their tartness.
- 2 Tbsp lemon or orange juice: Freshly squeezed is always best for optimal flavor and acidity.
- 1 Tbsp lemon or orange zest: The zest adds an incredible aromatic depth and boosts the pectin-setting power.
Essential Kitchen Tools:
You don’t need a canning kit or specialized jam-making equipment for this simple recipe. Just a few common kitchen items will do the trick:
- Citrus zester: For easily getting that flavorful zest without the bitter white pith.
- Medium saucepan: A heavy-bottomed pan is ideal to prevent sticking and ensure even heat distribution.
- Potato masher: Perfect for gently mashing the berries to release their juices and achieve your desired jam consistency. A fork can also work in a pinch.
- Measuring cups and spoons: For accurate ingredient measurements.
- Spoon or spatula: For stirring the jam as it cooks.
- Heat-proof jars or containers: For storing your finished jam.
Mastering the Art of Pectin-Free Jam: Tips for Success
While this recipe is incredibly forgiving, a few tips can help you achieve perfect results every time:
- Don’t Skimp on Stirring: Especially in the initial stages, frequent stirring prevents the fruit from sticking to the bottom of the pan and burning.
- Test for Set: The “spoon test” or “plate test” is your best friend. Chill a small plate in the freezer. When you think the jam is ready, spoon a small amount onto the cold plate, let it cool for a minute, then push it with your finger. If it wrinkles, it’s ready. If it’s still too liquid, continue simmering.
- Adjust Sweetness: Taste your berries before adding sugar. If they’re particularly sweet, you might need less. If they’re tart (like cranberries), you might prefer more. You can always add more sugar during cooking, but you can’t take it out!
- Don’t Overcook: Overcooking can lead to a jam that is too thick or even burnt. Keep an eye on the consistency and use the set test.
- Cool Completely: The jam will continue to thicken significantly as it cools. Don’t be alarmed if it seems a bit thin when it’s hot off the stove.
Delicious Serving Suggestions
Once your homemade berry jam has cooled and set, the possibilities are endless! Here are some favorite ways to enjoy it:
- Classic Breakfast: Spread generously on toast, English muffins, scones, pancakes, or waffles.
- Yogurt & Oatmeal: Swirl into your morning yogurt or oatmeal for a burst of natural fruit flavor.
- Desserts: Drizzle over vanilla ice cream, use as a filling for tarts or thumbprint cookies, or layer in a parfait.
- Cheese Boards: A spoonful of berry jam pairs wonderfully with soft cheeses like brie or goat cheese.
- Savory Pairings: Believe it or not, some berry jams can complement savory dishes! Cranberry jam is fantastic with roasted chicken or turkey.
Storage and Shelf Life
This easy pectin-free jam is considered a “refrigerator jam,” meaning it’s not intended for long-term shelf storage through traditional canning methods (unless you specifically process it that way). For this recipe:
- Refrigeration: Store your cooled jam in airtight containers or jars in the refrigerator for up to 2-3 weeks.
- Freezing: For longer storage, you can freeze the jam! Transfer cooled jam into freezer-safe containers, leaving a little headspace for expansion. It will keep well in the freezer for up to 6 months. Thaw in the refrigerator before use.
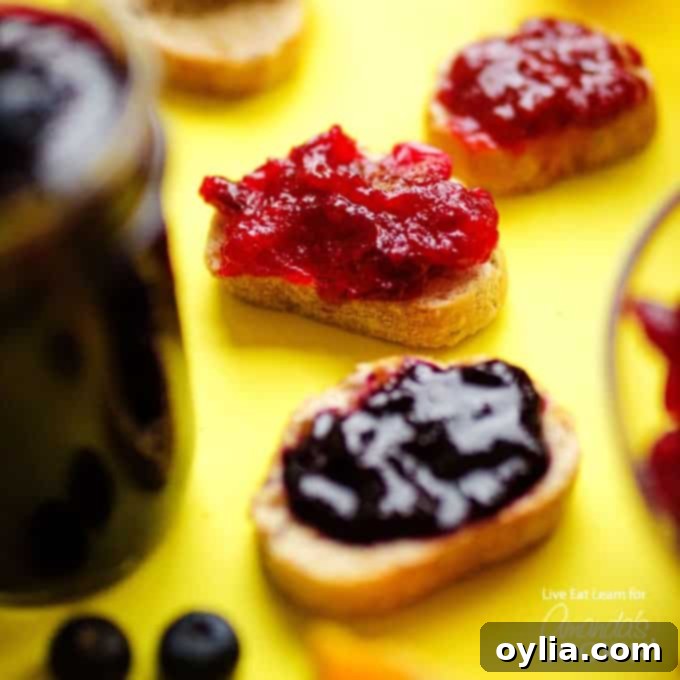
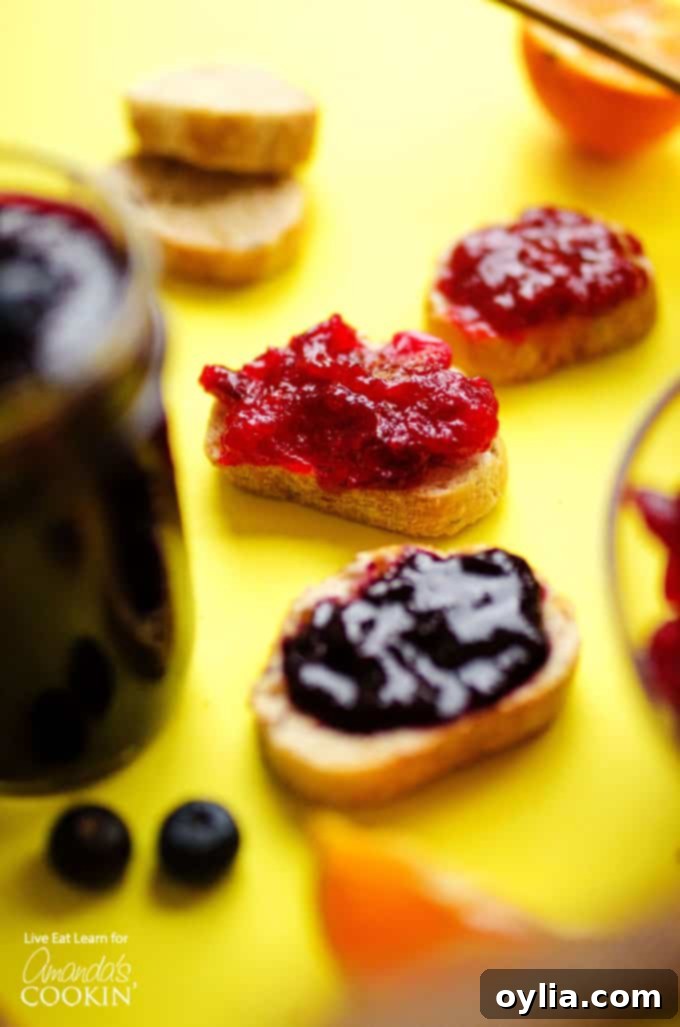
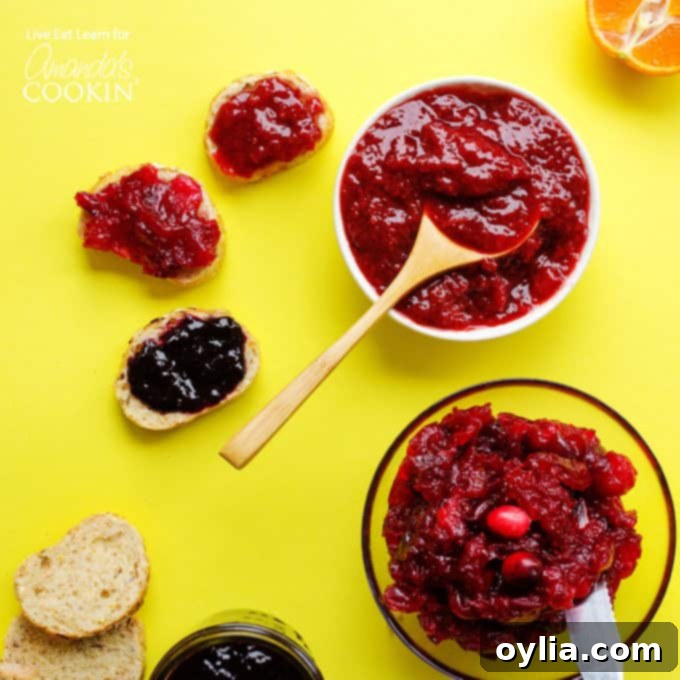
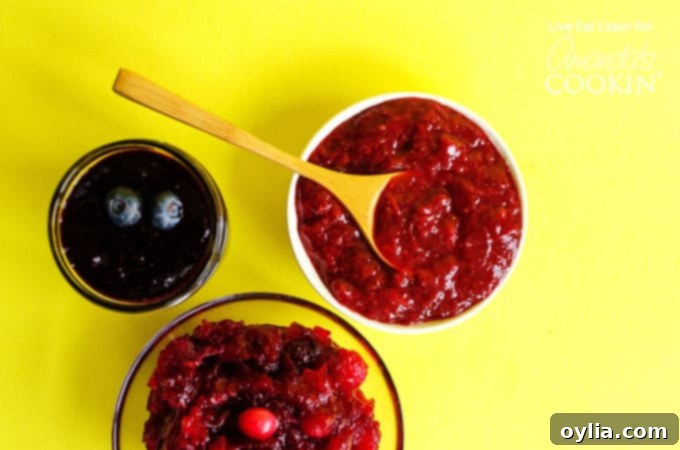
This homemade berry jam is bursting with colors and flavor. Try this easy recipe today and bring the taste of fresh berries to your table!
Looking for More Homemade Options?
If you love the idea of making delicious staples from scratch, be sure to check out these other fantastic homemade recipes:
- Breakfast Parfaits with Homemade Dark Chocolate Granola
- Homemade Chicken Nuggets
- 5 Minute Homemade Ricotta
- Easy Homemade Fruit Roll-Ups
- Homemade Taco Seasoning
- Cinnamon Honey Butter
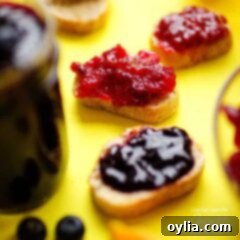
Homemade Berry Jam (3 Ways!)
IMPORTANT – There are often Frequently Asked Questions within the blog post that you may find helpful. Simply scroll back up to read them!
Print It
Pin It
Rate It
Save ItSaved!
Ingredients
Strawberry Jam
- 2 cups strawberries fresh or frozen
- ¼ cup sugar
- 2 Tbsp orange juice + 1 Tbsp zest
Blueberry Jam
- 2 cups blueberries fresh or frozen
- ¼ cup sugar
- 2 Tbsp lemon juice + 1 Tbsp zest
Cranberry Jam
- 2 cups cranberries fresh or frozen
- ½ cup sugar
- 2 Tbsp orange juice + 1 Tbsp zest
Instructions
-
Combine berries, sugar, citrus juice, and zest in a medium saucepan. Set over medium heat and cook, uncovered, stirring occasionally, until berries begin to soften and release their juices. This usually takes about 5-7 minutes.
-
Using a potato masher or a sturdy fork, gently mash the berries to your desired consistency – leave some chunks for a more rustic jam, or mash thoroughly for a smoother spread. Increase the heat to medium-high and let the mixture simmer, stirring frequently, until it thickens. This will take approximately 10 minutes for cranberries, and 20-30 minutes for strawberries and blueberries. The jam should coat the back of a spoon, and when a small amount is placed on a chilled plate, it should wrinkle when pushed with a finger.
-
Once the jam reaches your desired thickness, remove it from the heat. Carefully pour the hot jam into clean, heat-proof jars or containers. Allow to cool completely at room temperature (the mixture will continue to thicken significantly as it cools). Once cooled, seal and store in the refrigerator.
Nutrition
The recipes on this blog are tested with a conventional gas oven and gas stovetop. It’s important to note that some ovens, especially as they age, can cook and bake inconsistently. Using an inexpensive oven thermometer can assure you that your oven is truly heating to the proper temperature. If you use a toaster oven or countertop oven, please keep in mind that they may not distribute heat the same as a conventional full sized oven and you may need to adjust your cooking/baking times. In the case of recipes made with a pressure cooker, air fryer, slow cooker, or other appliance, a link to the appliances we use is listed within each respective recipe. For baking recipes where measurements are given by weight, please note that results may not be the same if cups are used instead, and we can’t guarantee success with that method.
This post was originally published on this blog on Jan 5, 2018, and has been updated for improved clarity and additional helpful tips.
