The Best Lemon Drop Cookies Recipe: Sweet-Tart Glaze & Cakey Perfection
Prepare to be enchanted by these delightful lemon drop cookies, a true celebration of citrus. Each bite offers a harmonious blend of sweet and tart, featuring a wonderfully soft, cake-like base crowned with a vibrant, tangy lemon glaze. This easy-to-follow recipe brings sunshine to your kitchen and joy to your palate, making it a perfect treat for any occasion, from casual afternoon snacks to elegant dessert platters.
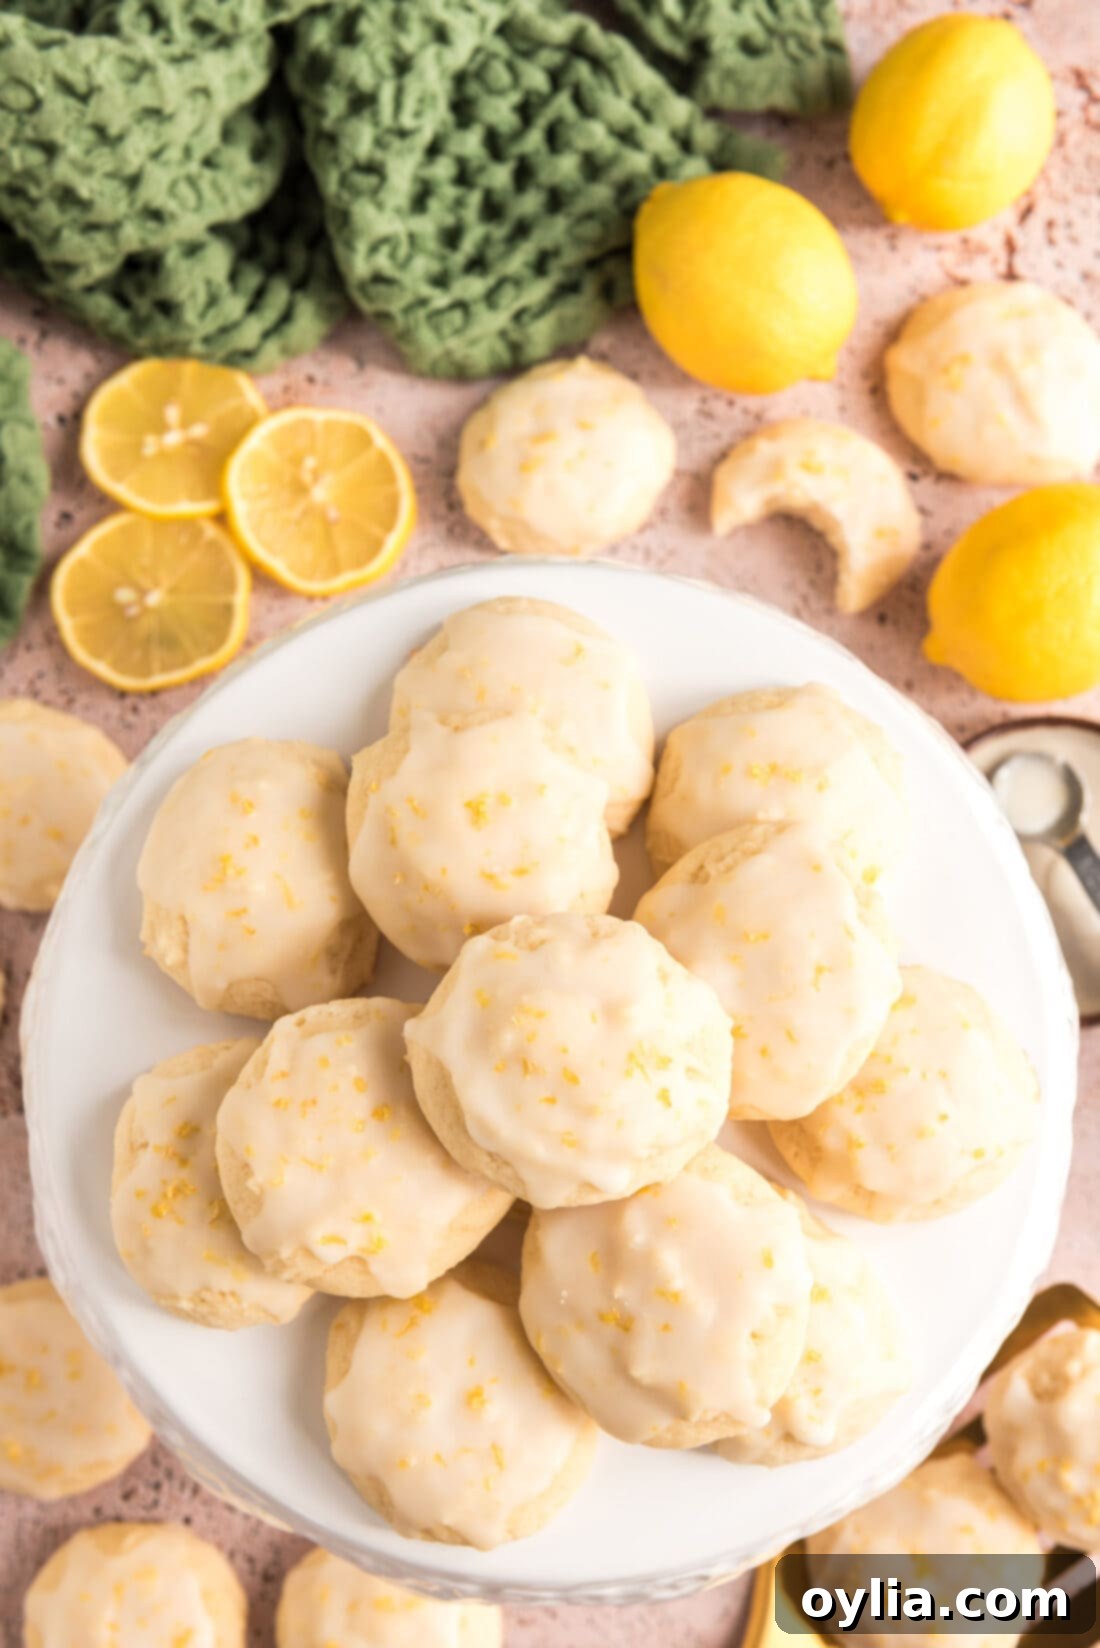
Why These Lemon Drop Cookies Are A Must-Try
If you’re searching for an easy yet impressive dessert, look no further. This lemon drop cookie recipe stands out for several reasons. Firstly, it’s incredibly simple to whip up, requiring fewer than 10 common pantry ingredients. From start to finish, including baking time, you can have a batch of these sunny cookies ready in under 30 minutes. What truly elevates these lemon drop cookies is the thoughtful combination of fresh lemon juice and its aromatic zest. This dynamic duo infuses every part of the cookie – from the tender base to the zesty glaze – with an authentic, bright lemon flavor that artificial extracts simply cannot replicate.
The texture of these cookies is another winning characteristic. They are not overly chewy or crispy; instead, they boast a delightful cake-like crumb that melts in your mouth, perfectly complementing the sharp tang of the glaze. This recipe demonstrates how fresh, high-quality ingredients, particularly citrus, can transform simple baked goods into extraordinary treats. Just as we’ve seen in popular recipes like our lemon brownies and classic lemon bars, fresh lemon is the secret to unparalleled flavor in baked goods, making these lemon drop cookies a truly refreshing and satisfying dessert.
Essential Ingredients for Your Lemon Drop Cookies
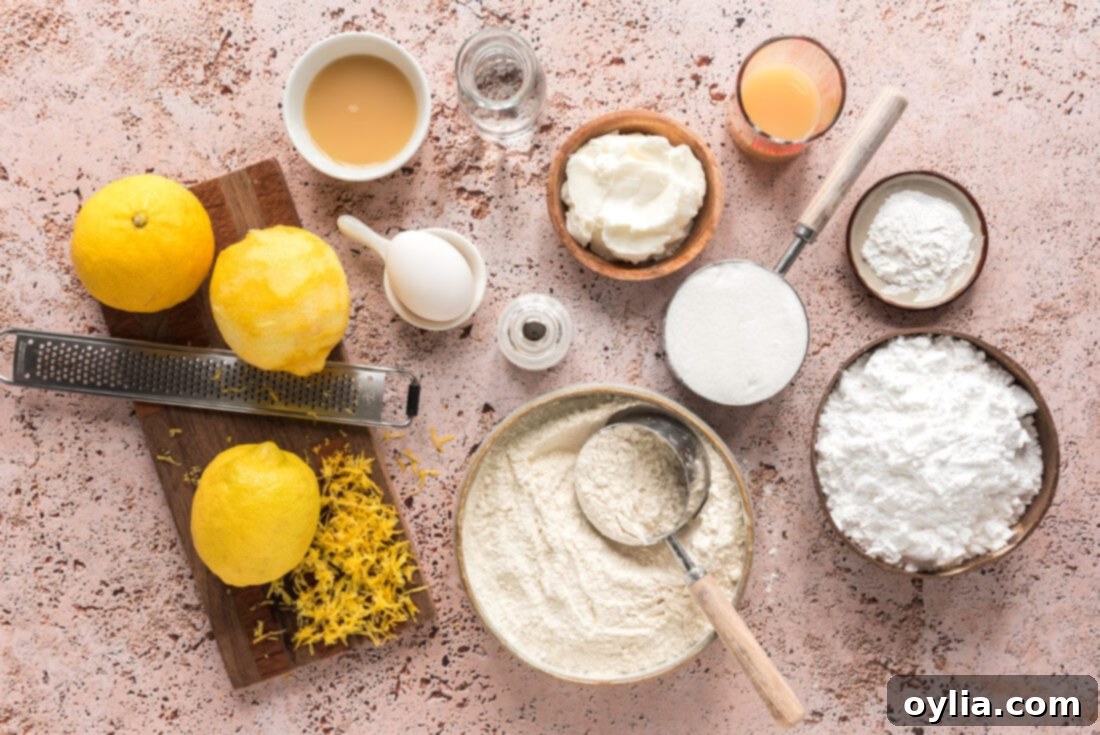
Crafting these delectable lemon drop cookies requires a few basic ingredients, most of which you likely already have in your pantry. The key to their vibrant flavor and perfect texture lies in understanding each component. For a complete list of measurements and detailed instructions, refer to the printable recipe card found at the end of this post.
Ingredient Spotlight & Expert Substitution Tips
Fresh Lemons: The Heart of the Flavor
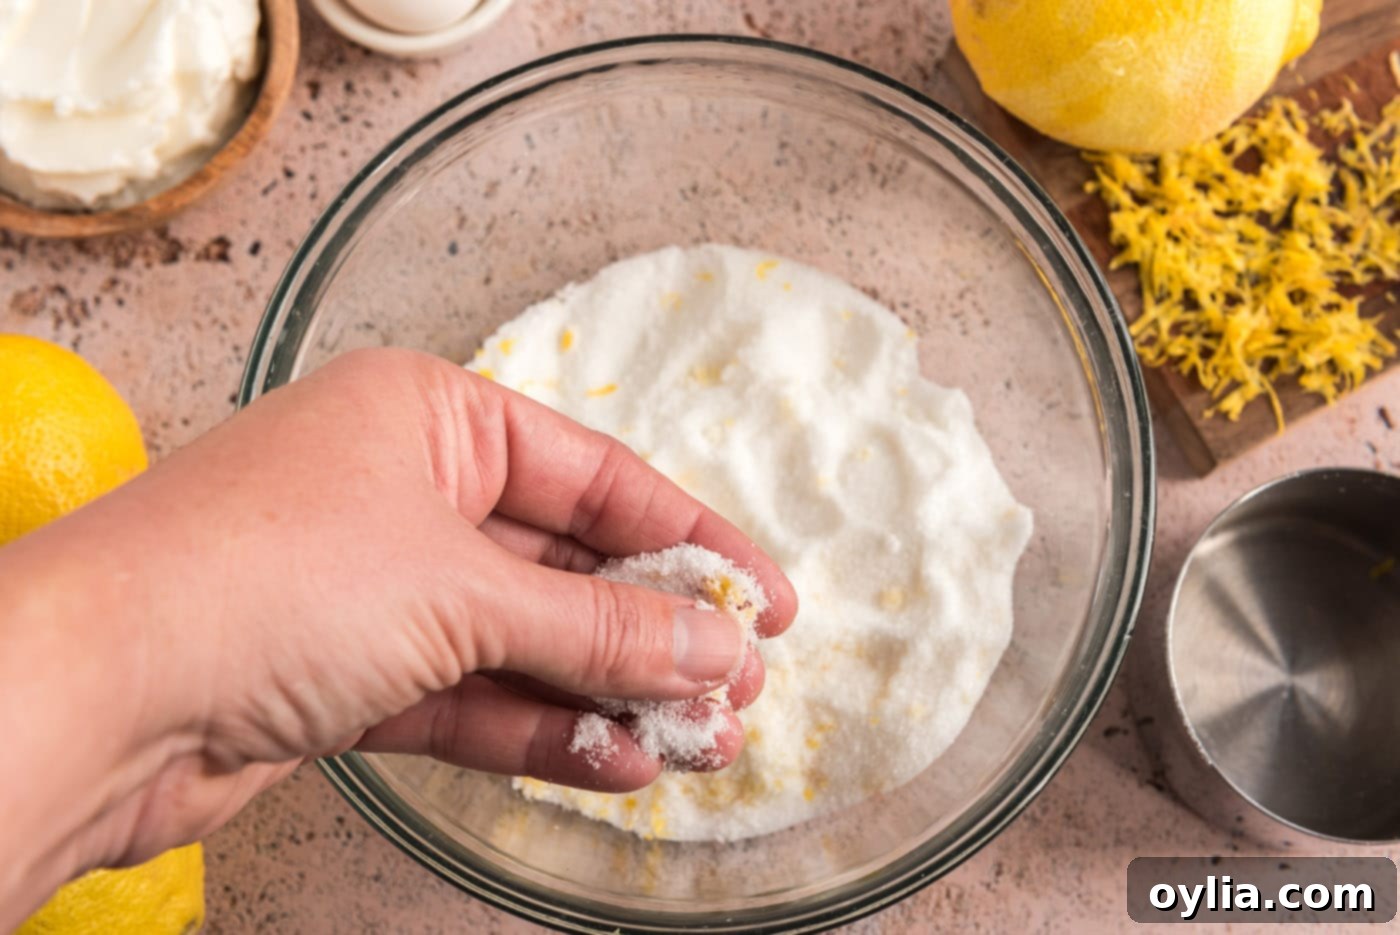
LEMON – The star of our show! For optimal flavor in your lemon drop cookies, always opt for fresh, ripe lemons. When a recipe calls for both lemon juice and zest, make it a habit to zest the lemon first before juicing it. This ensures you capture all those vibrant, fragrant oils from the peel, which contain most of the lemon’s essential flavor. Don’t let any zest go to waste; if you have extra, simply store it in a small airtight bag in your freezer for future recipes. A crucial tip for maximizing lemon flavor: gently rub the lemon zest into the granulated sugar with your fingertips before combining it with other wet ingredients. This simple action helps to release the natural lemon oils, infusing the sugar with an intense citrus aroma and flavor that will permeate every bite of your cookies. This technique is what makes these lemon drop cookies truly sing with authentic lemon goodness, creating a bright and invigorating taste.
Flour: The Foundation of Texture
FLOUR – Just like with most baking endeavors, precise flour measurement is paramount for achieving the perfect soft, cake-like texture in these lemon drop cookies. To avoid dense, dry, or crumbly cookies, always use the “scoop and sweep” method. This involves lightly spooning the all-purpose flour into your measuring cup until it overflows, then leveling it off with the back of a straight edge, like a butter knife or a flat ruler. Resist the urge to tap or pack the measuring cup down. Doing so compacts the flour, leading to an excess amount that can drastically alter the final consistency of your cookies, making them tough or heavy instead of tender and light. Proper flour measurement ensures a delicate crumb.
Shortening: For That Signature Softness
SHORTENING – This recipe specifically calls for shortening, which is key to the irresistibly soft, cake-like texture of these cookies. Shortening also helps prevent the cookies from spreading excessively during baking, maintaining their ideal drop cookie shape. If you don’t have shortening or prefer to use butter, you can substitute it in a 1:1 ratio. However, be aware that butter has a lower melting point and contains water, which might slightly alter the cookie’s texture, potentially making them a bit flatter or chewier. If using butter, ensure it’s at room temperature for proper creaming. For a truly rich flavor, unsalted butter is recommended.
Baking Powder and Salt: Leavening and Flavor Balance
BAKING POWDER & SALT – Baking powder is our essential leavening agent, responsible for giving these cookies their light, airy, and distinctly cake-like lift. Always check the expiry date of your baking powder; old or inactive baking powder can result in flat, dense, and unappealing cookies. A simple freshness test is to mix a teaspoon of baking powder with a few tablespoons of hot water – if it fizzes vigorously, it’s good to go! Salt, though used in a small amount (a pinch), plays a critical role in balancing the sweetness of the sugar and enhancing all the other flavors, particularly the bright, tangy lemon notes. It brings a depth of flavor that would be missed if omitted.
How to Make the Best Lemon Drop Cookies: Step-by-Step Guide
These step-by-step photos and detailed instructions are designed to help you visualize each stage of making this delightful recipe. For the printable version, complete with precise measurements and full instructions, simply Jump to Recipe at the bottom of this post.
- Prepare Your Workspace: Begin by preheating your oven to 400°F (200°C). Line two large baking sheets with parchment paper. This simple step prevents the cookies from sticking to the pan and ensures even baking, making cleanup quick and effortless.
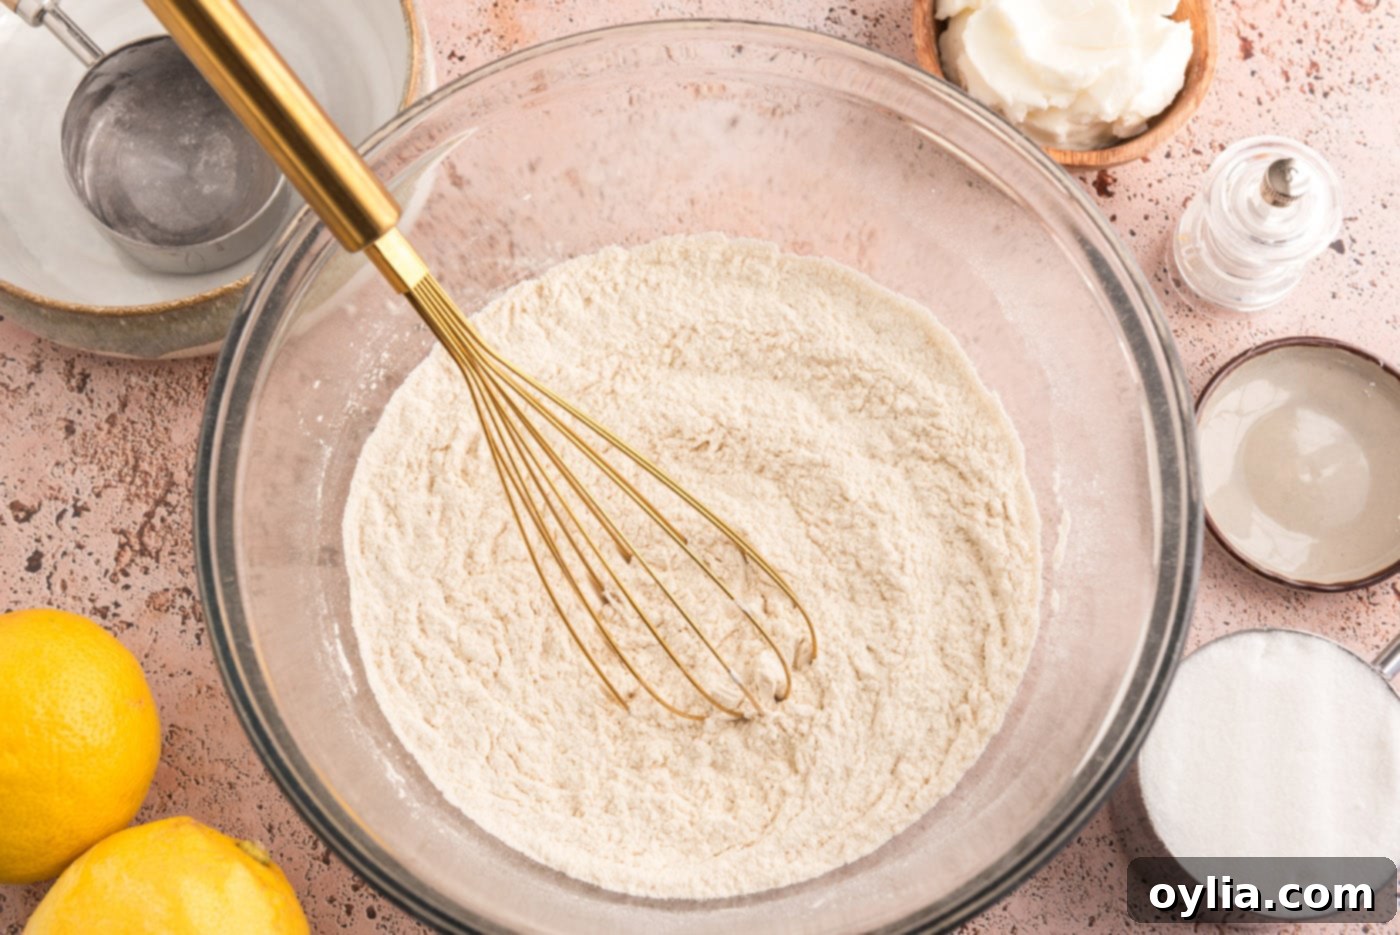
- Combine Dry Ingredients: In a medium bowl, sift together the all-purpose flour, baking powder, and a pinch of salt. Sifting helps to aerate the flour and ensures all dry ingredients are perfectly combined and free of lumps, which contributes to a uniform cookie texture. Set this mixture aside.

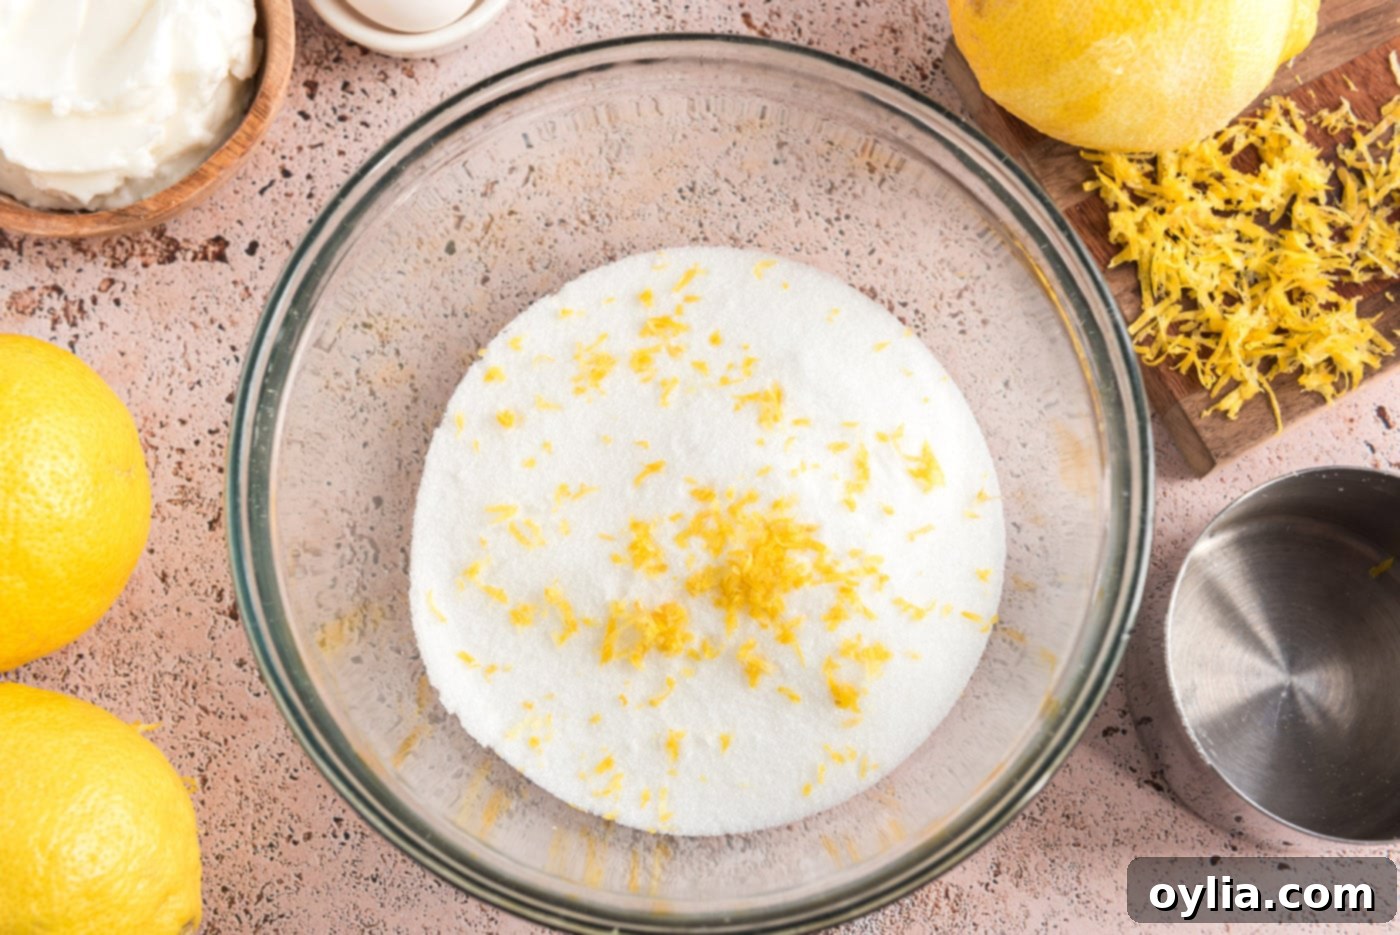
- Infuse Sugar with Lemon Zest: In a separate large mixing bowl, add the granulated sugar and lemon zest. Using your fingertips, vigorously rub the lemon zest into the sugar for about 1-2 minutes. This crucial step extracts the essential oils from the zest, deeply infusing the sugar with intense lemon fragrance and flavor, which will permeate the entire cookie. Don’t skip this, as it’s the secret to truly bright and flavorful lemon cookies!


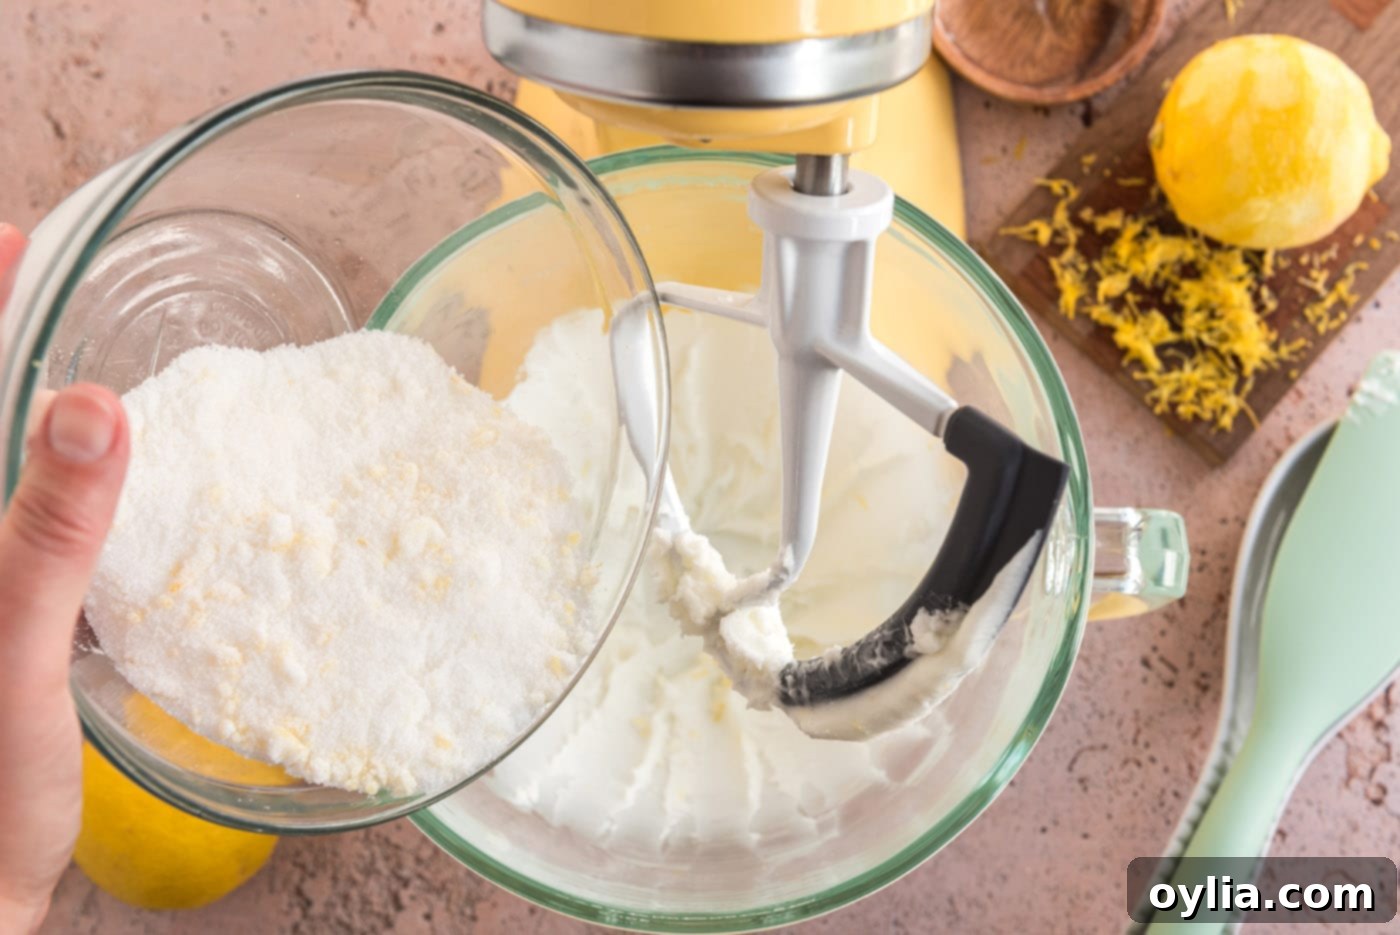
- Cream Shortening and Sugar: Using a stand mixer fitted with a paddle attachment (or a hand mixer), cream the shortening until it’s light and fluffy. Gradually add the lemon-infused sugar mixture, beating until the mixture is well combined, visibly lighter in color, and fluffy. This creaming process incorporates air, which is vital for the cookies’ signature cakey consistency.

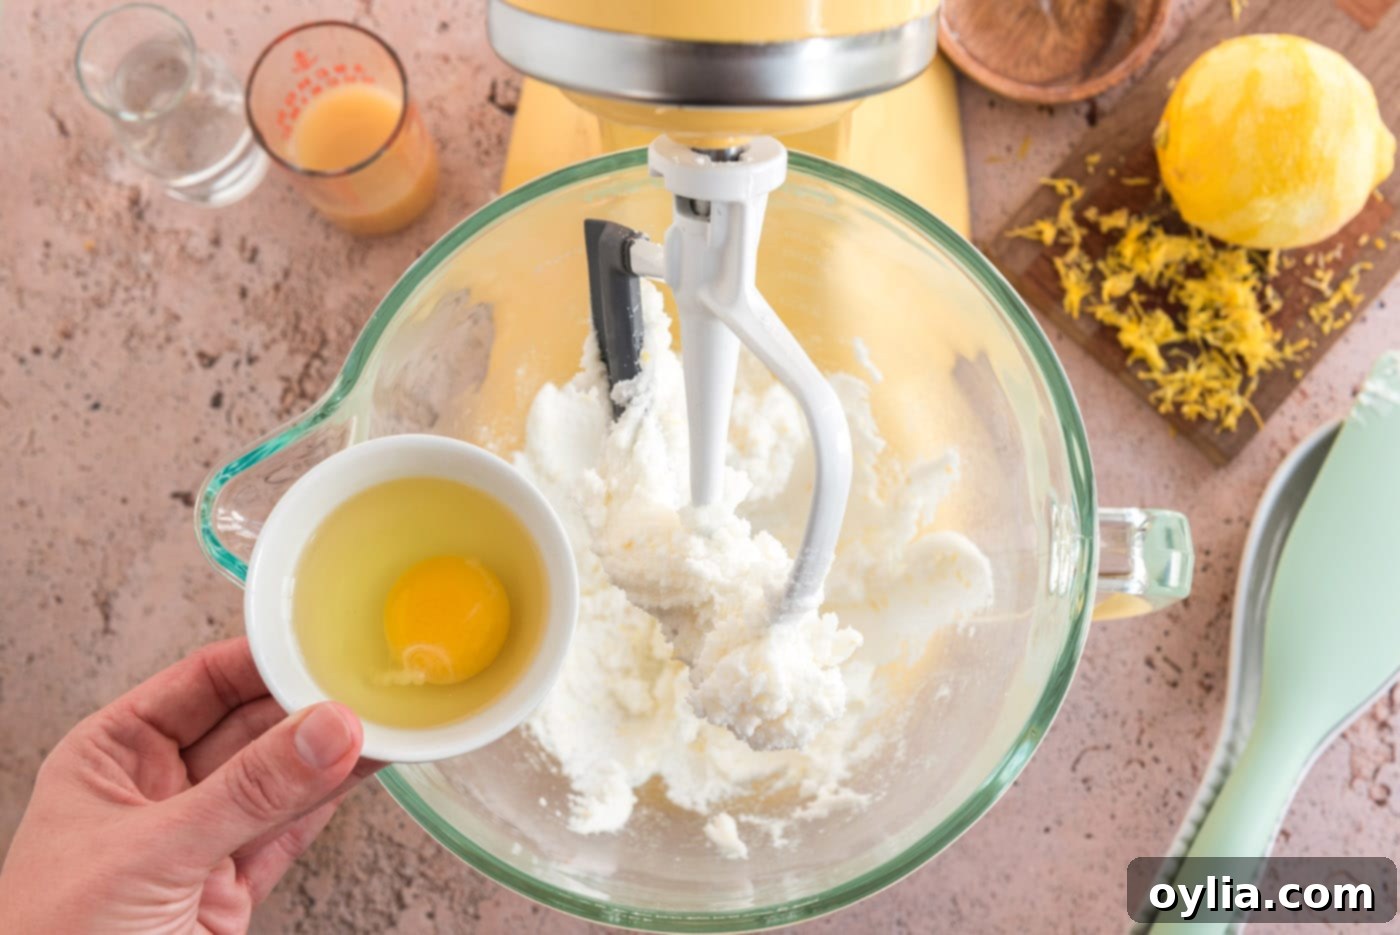
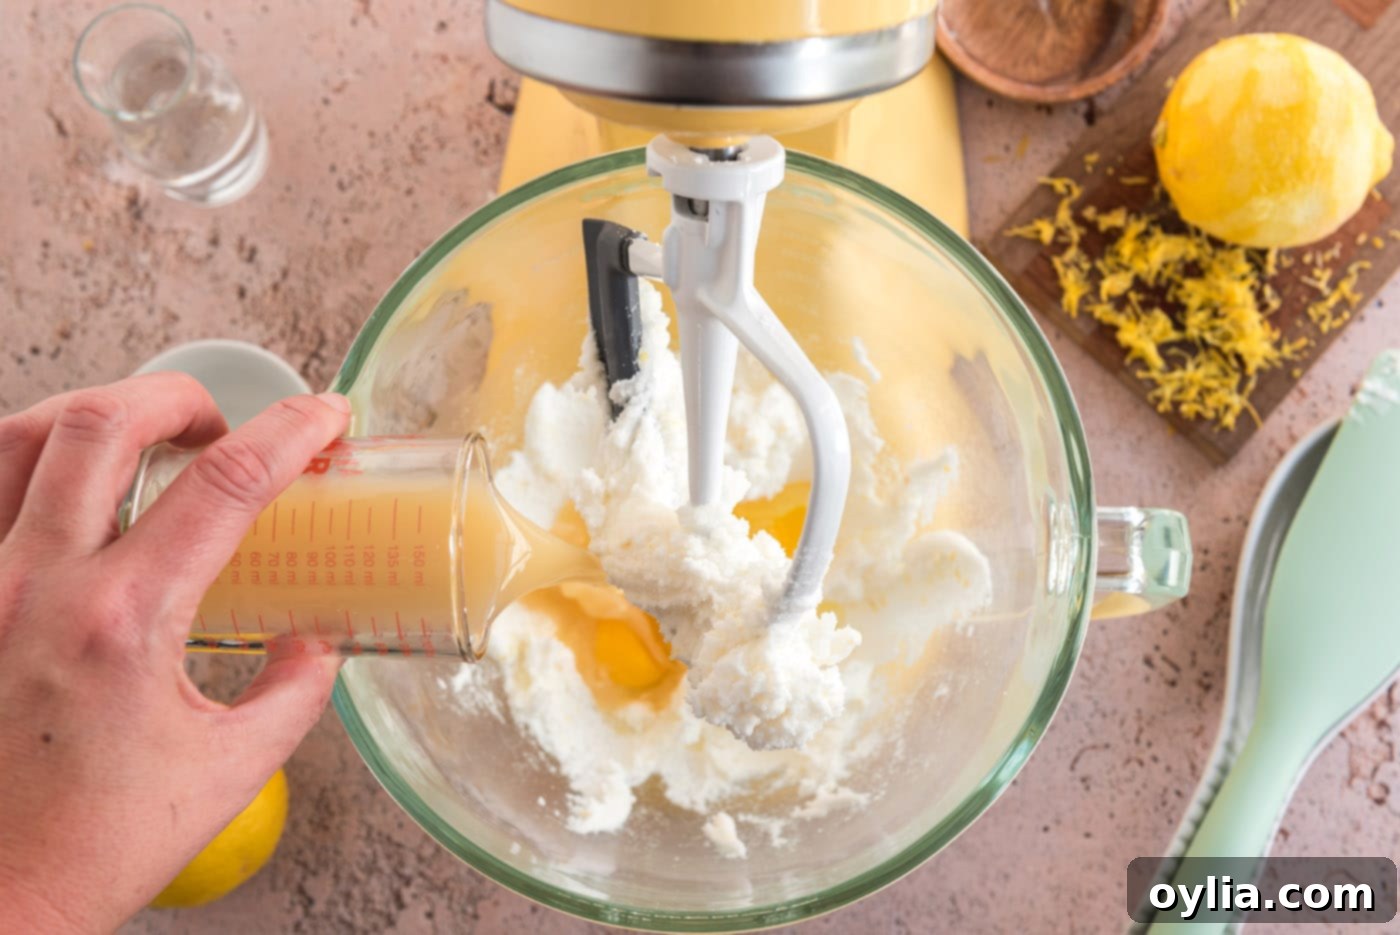
- Add Wet Ingredients: Beat in the large egg, fresh lemon juice, and water until everything is thoroughly combined and smooth. Remember to scrape down the sides of the bowl with a spatula as needed to ensure all ingredients are evenly incorporated into the mixture.


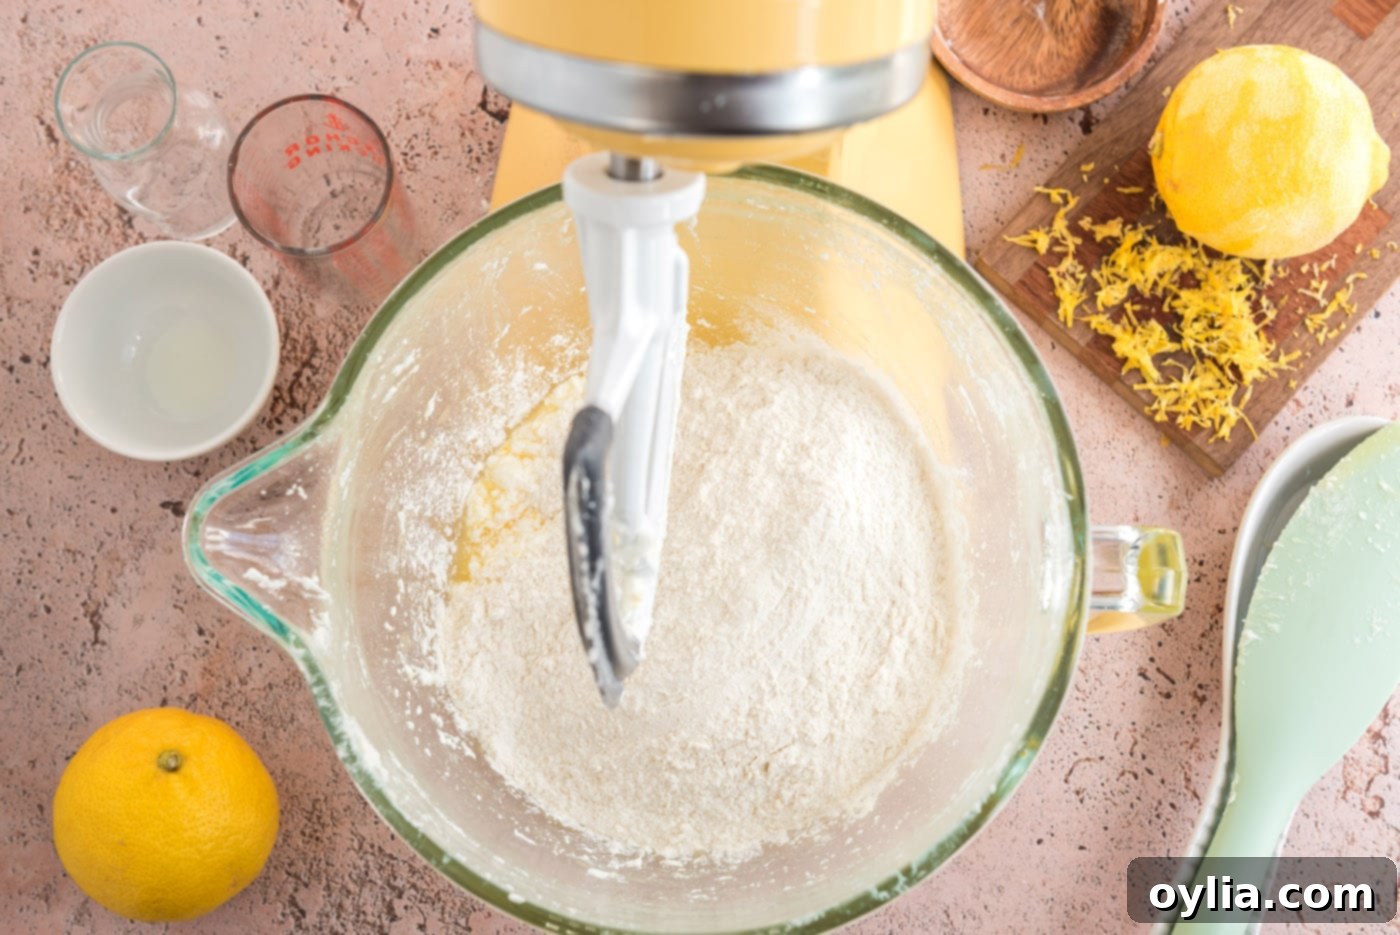
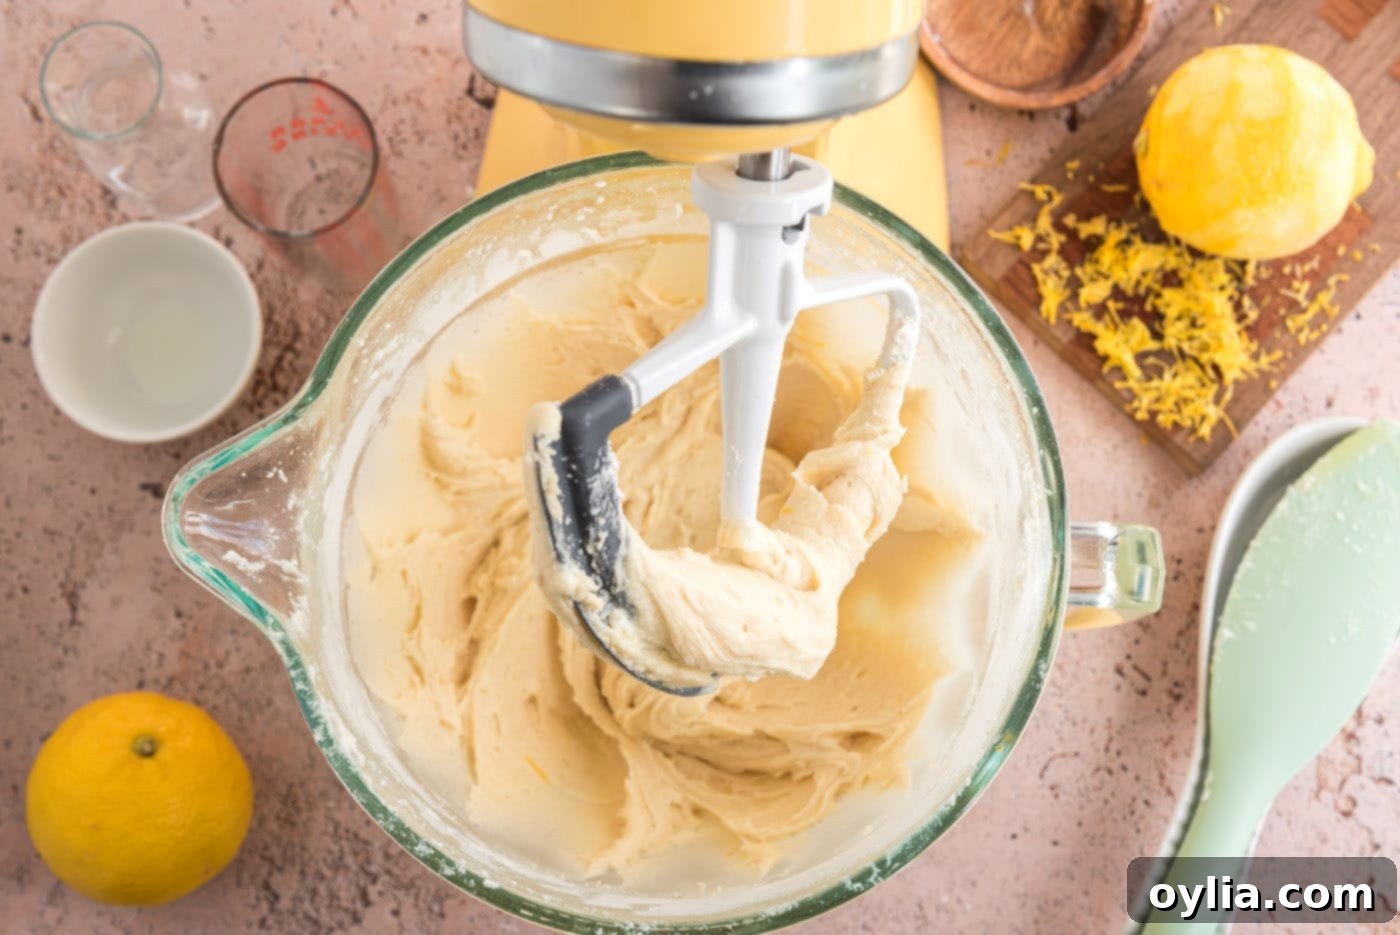
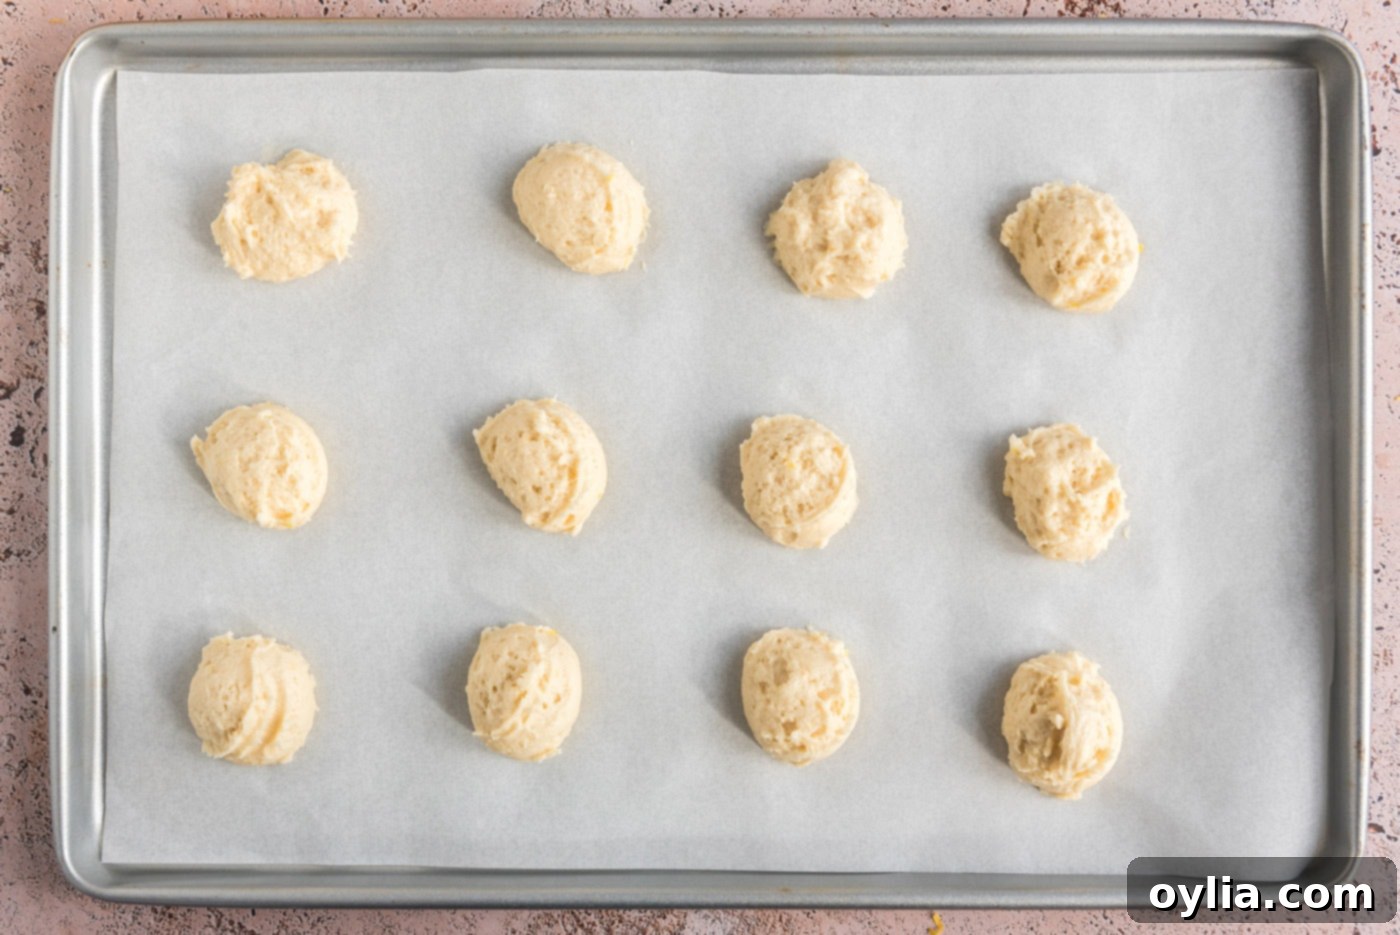
- Incorporate Dry Ingredients: Gradually add the reserved dry ingredients (flour, baking powder, salt) to the wet mixture. Mix on low speed until just combined, being careful not to overmix. Overmixing can develop the gluten in the flour, resulting in tough cookies. The dough for these lemon drop cookies will be noticeably looser and stickier than a traditional cookie dough – this is completely normal and intentional, contributing to their signature soft, cakey texture.


- Bake the Cookies: Drop the cookie dough by level tablespoons onto the prepared parchment-lined baking sheets. A cookie scoop (approximately 1 tablespoon size) is highly recommended for consistent sizing and even baking. Leave about 2 inches between each cookie for adequate spreading. Bake for 8-10 minutes, or until the edges are lightly golden and the centers are set. Avoid overbaking to maintain their soft, moist texture.


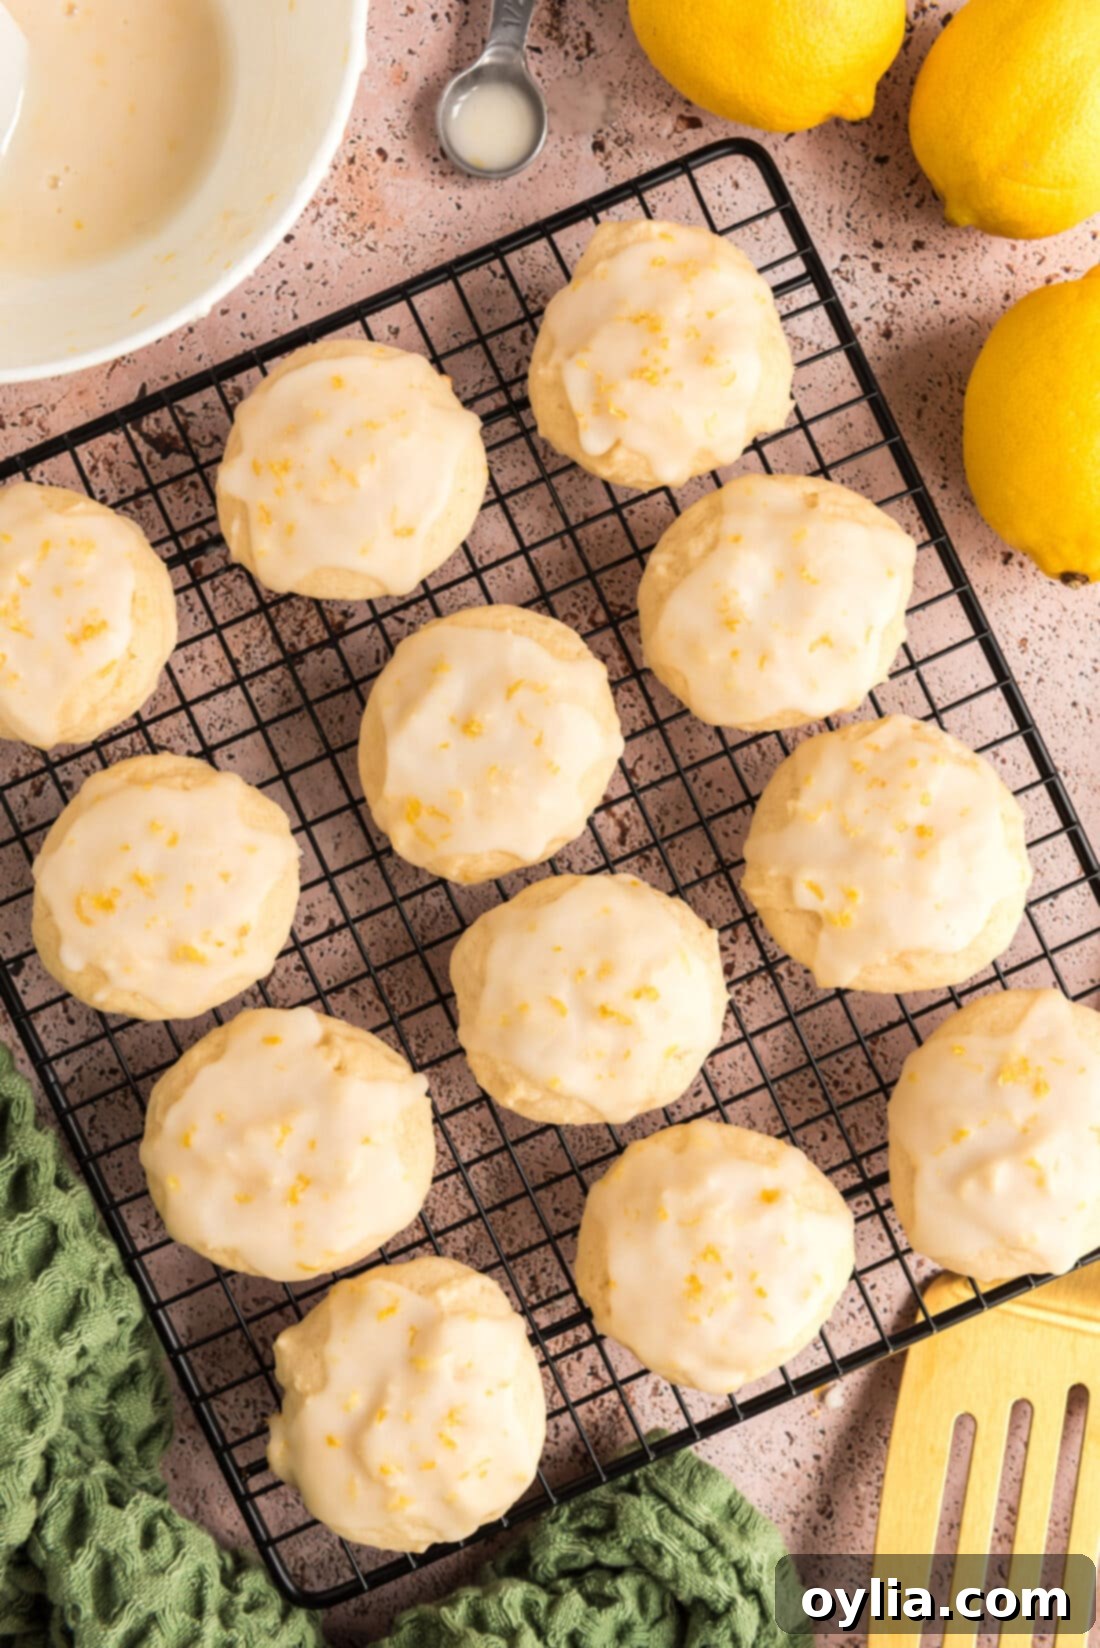
- Cool Completely: Allow the baked cookies to cool on the baking sheet for about 5 minutes. This helps them set and prevents them from breaking when moved. Then, carefully transfer them to wire racks to cool completely. It is crucial that the cookies are entirely cool before glazing; glazing warm cookies will cause the glaze to melt and run off, resulting in a messy finish.
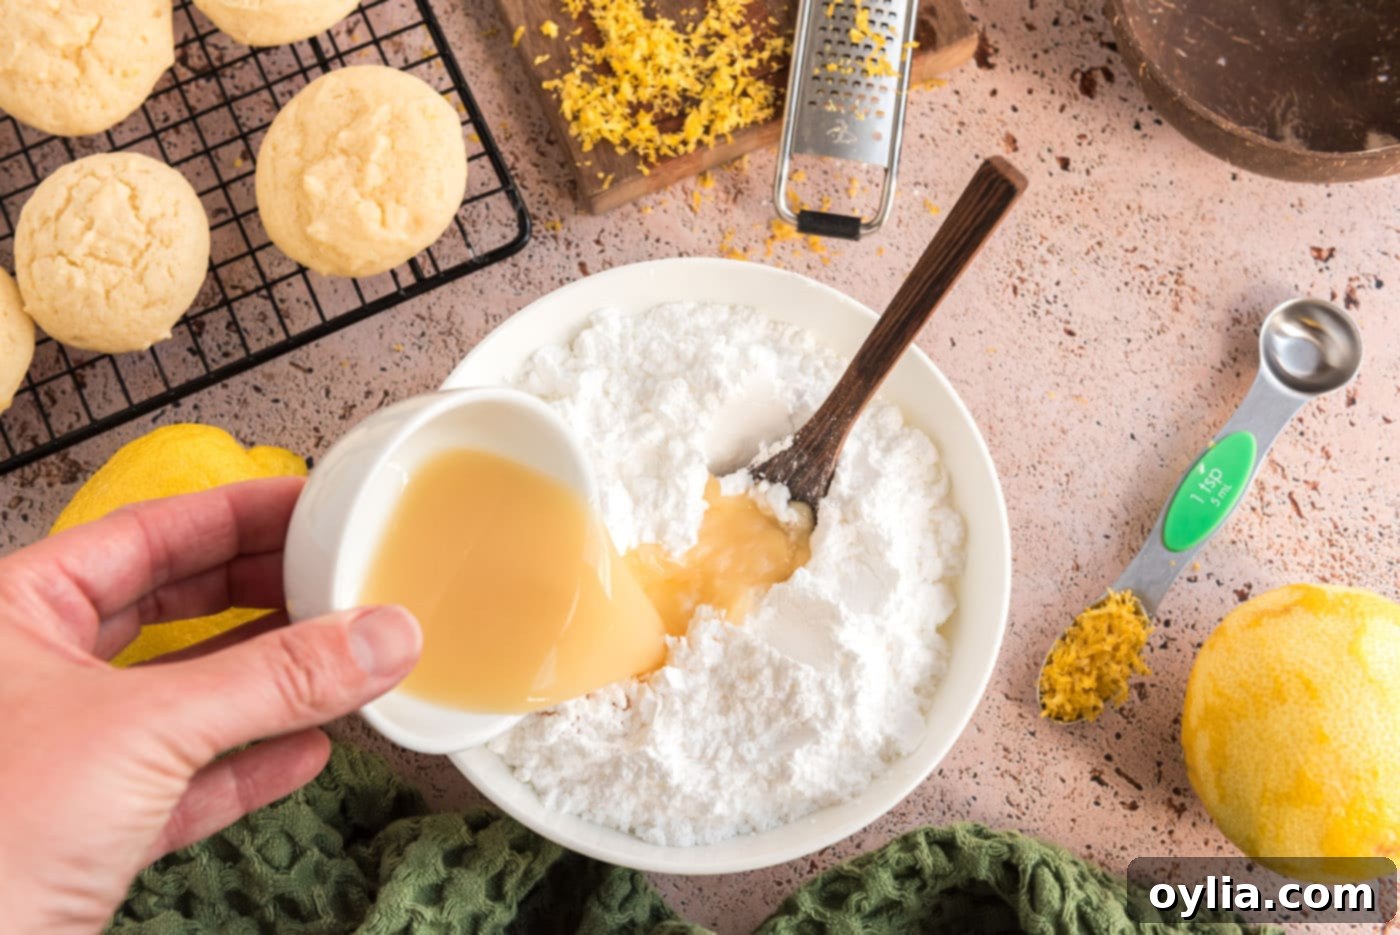
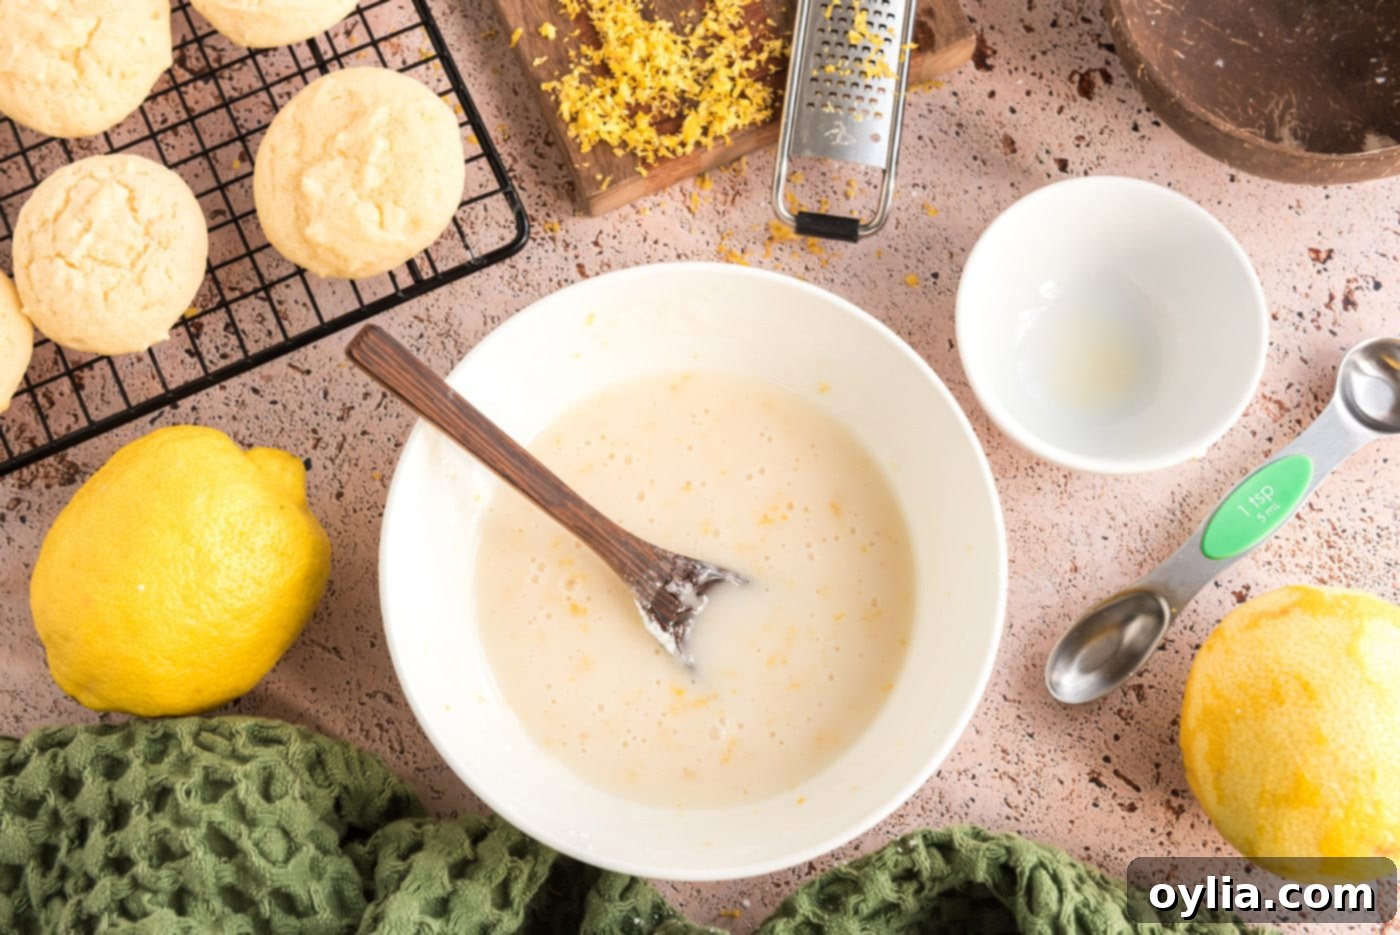
- Prepare the Lemon Glaze: While the cookies are cooling, prepare the bright and tangy lemon glaze. In a small bowl, whisk together the powdered sugar, fresh lemon juice, and a teaspoon of lemon zest until the mixture is completely smooth and free of lumps. The consistency should be pourable yet thick enough to coat the cookies nicely. Adjust by adding a tiny bit more powdered sugar for a thicker glaze or a few drops of lemon juice for a thinner one.


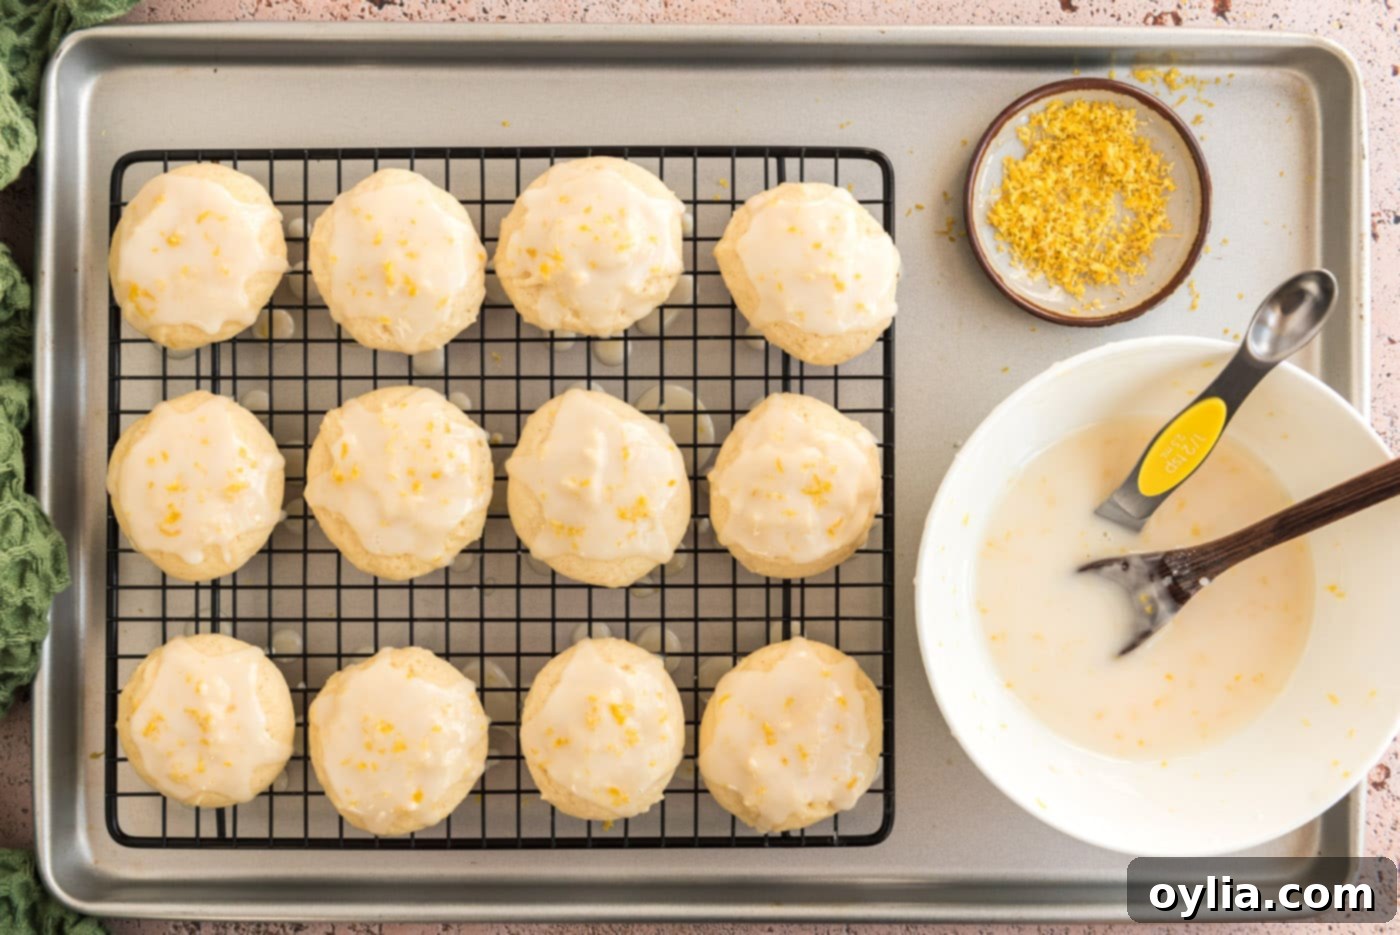
- Glaze the Cookies: Once the cookies are completely cool, use a 1/2-teaspoon measuring spoon to carefully spoon a dollop of glaze onto the center of each cookie. Use the back of the spoon to gently spread the glaze outwards, leaving a small border for a polished look. For a thicker coating, you can allow the first layer to set slightly, then add a second. Let the glazed cookies sit undisturbed at room temperature for at least a couple of hours (or until the glaze has fully hardened) before storing or stacking them to prevent sticking and smudging.

Frequently Asked Questions & Expert Tips for Perfect Lemon Drop Cookies
Absolutely! Preparing the cookie dough ahead of time and freezing it is a fantastic way to enjoy fresh-baked cookies whenever the craving strikes. To freeze the dough, prepare it as directed, then roll the dough into uniform balls (using your cookie scoop for consistency). Place these dough balls on a baking sheet lined with parchment paper and flash freeze them for about 1-2 hours, or until they are solid. Once frozen, transfer the solid dough balls to an airtight freezer-safe container or a large zipper-lock bag. They can be stored in the freezer for up to 2 months. When you’re ready to bake, simply place the frozen dough balls on a parchment-lined baking sheet and add an extra minute or two to the baking time. Always prepare the lemon glaze fresh on the day you plan to bake and serve the cookies for the best texture and flavor.
Once your delicious lemon drop cookies are completely cooled and the glaze has set (which usually takes a couple of hours), store them in an airtight container at room temperature. Layer them with parchment paper in between if stacking to prevent the glaze from sticking. They will remain fresh and delightful for up to 4 days. For longer storage, you can also freeze the baked and glazed cookies. Place them in a single layer on a baking sheet to freeze, then transfer to an airtight container or freezer bag. Thaw at room temperature before serving.
This is most commonly due to overmixing the dough or incorrectly measuring the flour. Overmixing develops the gluten in the flour, leading to a tougher, denser cookie. Ensure you mix only until the dry ingredients are just incorporated. For flour, always use the “scoop and sweep” method mentioned earlier to avoid adding too much, which can make cookies dry and crumbly. Also, ensure your baking powder is fresh, as old baking powder won’t provide the necessary lift for that cake-like texture.
While lemon is undoubtedly the star, you can certainly experiment with complementary flavors to add a twist! A hint of vanilla extract (about 1/2 teaspoon) can be added to the cookie dough for a more rounded flavor profile. For an extra pop of color and a subtle textural change, you could add a tiny amount of poppy seeds to the dough or sprinkle them on top of the wet glaze. A touch of almond extract can also create a lovely combination with lemon, but use sparingly as it’s quite potent.
For the finest zest without any bitter white pith (the white part under the yellow peel), a microplane zester is your best friend. Gently run the lemon across the microplane, rotating the lemon as you go, and stopping when you reach the white layer. Only the bright yellow part contains the fragrant essential oils we want for our cookies, so avoid zesting too deeply into the pith.

Serving Suggestions for These Zesty Treats
These delightful lemon drop cookies, with their irresistible sweet-tart glaze, are versatile enough to grace any table, any time of year. While they are simply perfect on their own, a light dusting of powdered sugar (applied after they’ve cooled but before glazing for a different look, or directly on the cookie if you choose to skip the glaze) can add an extra touch of elegance. Their bright, refreshing flavor makes them an ideal treat for spring gatherings, summer picnics, or as a vibrant, welcome addition to a holiday cookie swap, offering a refreshing counterpoint to richer holiday desserts.
Serve them alongside a cup of hot tea or coffee for a cozy afternoon pick-me-up. For a more elaborate presentation, pair them with a scoop of vanilla bean ice cream or a dollop of fresh whipped cream and a few fresh berries like raspberries or blueberries. Their citrusy charm also makes them a wonderful addition to brunch spreads, a light dessert after a heavy meal, or even as a cheerful party favor. No matter how you choose to serve them, these lemon drop cookies are guaranteed to bring a burst of sunshine and smiles to everyone who tries them. Enjoy the simple pleasure of homemade baking!
More Irresistible Lemon Recipes to Try
If you’re a fellow lemon lover, you’re in for a treat! The versatility of fresh lemon knows no bounds, and we have an array of other recipes that celebrate its vibrant flavor. Once you’ve mastered these lemon drop cookies, why not explore more citrusy delights from our kitchen? Here are some favorites that are sure to brighten your day and satisfy your lemon cravings:
- Lemon Lush Trifle: A stunning layered dessert combining creamy, tangy lemon flavors with a delightful texture, perfect for special occasions.
- Lemon Streusel Squares: These easy-to-make squares offer a delicious balance of sweet lemon filling and a buttery, crumbly streusel topping, ideal for sharing.
- Lemon Cake Mix Cookies: An incredibly easy and quick way to get your lemon cookie fix, starting with a convenient cake mix for minimal effort and maximum flavor.
- Lemon Meringue Pie Bars: All the classic, beloved flavors of lemon meringue pie, but in a convenient, handheld bar format, making them perfect for potlucks or picnics.
I absolutely adore sharing my culinary adventures and kitchen wisdom with all of you! To make sure you never miss out on a delicious new recipe, I offer a convenient newsletter delivered straight to your inbox every time a fresh post goes live. Simply subscribe here and start receiving your free daily recipes to inspire your next meal or baking project!

Lemon Drop Cookies
IMPORTANT – There are often Frequently Asked Questions within the blog post that you may find helpful. Simply scroll back up to read them!
Print It
Pin It
Rate It
Save It
Saved!
Prevent your screen from going dark
Course:
Desserts
Cuisine:
American
30
cookies
30 minutes
113
Amanda Davis
Ingredients
Cookies
- 2 cups all purpose flour
- 2 teaspoons baking powder
- pinch of salt
- ¾ teaspoon lemon zest
- ½ cup shortening
- 1 cup granulated sugar
- 1 large egg
- ¼ cup lemon juice
- ¼ cup water
Lemon Glaze
- 1 ½ cups powdered sugar
- 3 tablespoons lemon juice (from one lemon)
- 1 teaspoon lemon zest (from one lemon)
Things You’ll Need
-
Baking sheet
-
Stand mixer or hand mixer
-
Cookie scoop (1 Tablespoon scoop)
-
Wire cooling racks
Before You Begin: Important Tips for Success
- Lemon Selection: For this recipe, ensure you have at least 2 medium-sized fresh lemons on hand. You’ll need both the zest and the juice, so choosing firm, brightly colored lemons with a good aroma is key to maximizing flavor.
- Zest First, Juice Later: A golden rule for any recipe calling for both lemon zest and juice is to always zest the lemon skin first. The zest contains the most potent aromatic oils, and it’s much easier to remove from an un-cut lemon. You can even store extra lemon zest in a small sandwich bag in your freezer for future use in everything from roasted vegetables to a bright pink lemonade cake!
- Dough Consistency: Don’t be alarmed by the consistency of this cookie dough – it will be noticeably looser and stickier than what you might expect from a traditional cookie dough. This unique texture is what gives these lemon drop cookies their characteristic soft, moist, and cakey crumb, rather than a chewy or crisp cookie.
- Accurate Flour Measurement: Achieving the perfect soft texture relies heavily on correctly measuring your flour. Always use the “scoop and sweep” method: lightly spoon the flour into your dry measuring cup until it’s overflowing, then level it off with the back of a butter knife or a straight edge. Crucially, resist the urge to tap the measuring cup on the counter or pack the flour down. Doing so will compact the flour, causing you to use significantly more than the recipe intends, which can lead to dry, crumbly, or overly dense cookies.
- Fresh Baking Powder: Ensure your baking powder is fresh. Old or expired baking powder can significantly impact the cookies’ rise, resulting in flat and heavy cookies. A simple test: mix a teaspoon of baking powder with a few tablespoons of hot water. If it fizzes, it’s still good!
- Room Temperature Ingredients: For optimal creaming and emulsification, ensure your shortening and egg are at room temperature. This helps them incorporate smoothly into the dough, creating a more uniform and tender cookie batter.
Instructions
-
Preheat Oven & Prep Sheets: Begin by preheating your oven to 400°F (200°C). Line two standard baking sheets with parchment paper. This step is essential for preventing the cookies from sticking and ensures easy removal and cleanup, setting you up for baking success.
-
Sift Dry Ingredients: In a medium-sized bowl, use a sifter or whisk to combine the all-purpose flour, baking powder, and a pinch of salt. Sifting helps to remove any lumps and evenly distribute the leavening agent throughout the flour, contributing to a consistently light cookie texture. Set this mixture aside for later use.
-
Infuse Sugar with Zest: Place the granulated sugar in a large mixing bowl. Add the lemon zest directly into the sugar. Using your fingertips, vigorously rub the lemon zest into the sugar for about 1-2 minutes. This action releases the fragrant essential oils from the zest, deeply infusing the sugar with a powerful, natural lemon aroma and flavor that will permeate your cookies.
TIP: This “sugar-zest rub” technique is a game-changer for any citrus-flavored baked good. It truly brings out the brightest and most authentic lemon taste.
-
Cream Shortening & Lemon Sugar: In the same large mixing bowl (or the bowl of your stand mixer), cream the shortening until it is light and fluffy. Gradually add the lemon-infused sugar mixture, beating on medium speed until the mixture is light, pale, and well aerated. This creaming process is crucial for incorporating air, which contributes to the cookies’ soft, cake-like texture.
-
Add Wet Ingredients: Incorporate the large egg, fresh lemon juice, and water into the creamed mixture. Beat until all these wet ingredients are fully combined and the mixture is smooth and homogeneous. Remember to scrape down the sides of the bowl with a spatula as needed to ensure everything is evenly incorporated.
-
Combine Wet & Dry: Gradually add the sifted dry ingredients to the wet mixture, mixing on the lowest speed until just combined. Mix only until no streaks of flour remain. Overmixing will lead to tough cookies, so be gentle and stop as soon as it comes together. Note that this dough will be softer and stickier than typical cookie dough; this is precisely what gives these lemon drop cookies their signature soft, cakey consistency.
-
Scoop & Bake: Using a 1-tablespoon cookie scoop (this helps ensure uniform size and even baking), drop rounded scoops of dough onto the parchment-lined baking sheets, spacing them about 2 inches apart. Bake in the preheated oven for 8-10 minutes. The cookies are done when their edges are lightly golden and the centers are set, but still soft to the touch.
-
Cool Cookies: Allow the baked cookies to cool on the baking sheets for 5 minutes. This brief cooling period helps them firm up, making them easier to transfer without breaking. After 5 minutes, carefully move the cookies to wire racks to cool completely. It’s crucial that the cookies are entirely cool before glazing to prevent the glaze from melting.
How to Make the Glaze
-
Mix Glaze Ingredients: In a small bowl, combine the powdered sugar, 3 tablespoons of fresh lemon juice, and 1 teaspoon of lemon zest. Whisk thoroughly until the mixture is smooth, glossy, and free of any lumps. The consistency should be thick enough to coat the back of a spoon but still pourable. If it’s too thick, add a few drops more lemon juice; if too thin, add a tiny bit more powdered sugar until desired consistency is reached.
-
Glaze & Set: Once the cookies are completely cool, use a 1/2-teaspoon measuring spoon to place a small amount of glaze in the center of each cookie. Gently use the back of the spoon to spread the glaze evenly across the top, leaving a slight border if desired. For a thicker coating, you can allow the first layer to set slightly, then add a second. Let the glazed cookies sit undisturbed at room temperature for at least two hours, or until the glaze has fully hardened. This will prevent sticking when storing or stacking.
Expert Tips & Troubleshooting
- Storage: Store your glazed lemon drop cookies in an airtight container at room temperature for up to 4 days. If stacking multiple layers, place a piece of parchment paper between them to protect the delicate glaze from sticking or smudging.
- Freezing Cookie Dough: To enjoy fresh-baked cookies anytime, prepare the dough as instructed, roll it into balls, and flash freeze them on a baking sheet until solid (about 1-2 hours). Transfer to an airtight freezer-safe container or bag and store for up to 2 months. When ready to bake, place frozen dough balls on a parchment-lined sheet and add 1-2 minutes to the baking time. Always make the glaze fresh on the day of serving for the best results.
- Freezing Baked Cookies: You can also freeze baked and glazed lemon drop cookies. Place them in a single layer on a baking sheet until frozen solid, then transfer to a freezer-safe container or bag. Thaw at room temperature before serving; the glaze may soften slightly upon thawing.
- The Importance of Fresh Lemon: While lemon extract can be tempting for convenience, the pure, vibrant flavor of fresh lemon juice and zest is irreplaceable in these cookies. It provides a natural brightness and complexity that artificial flavors simply cannot match, so always opt for fresh!
- Don’t Overmix: Overmixing is a common baking mistake. Once you add the dry ingredients to the wet, mix only until just combined. Overmixing develops gluten, which can lead to tougher, chewier cookies instead of the desired soft, cake-like texture.
- Consistent Cookie Size: Using a cookie scoop helps ensure all your cookies are the same size. This not only makes for a more aesthetically pleasing presentation but also guarantees that all cookies bake evenly, preventing some from being undercooked while others are overdone.
- Oven Temperature Accuracy: Ovens can vary. Using an inexpensive oven thermometer can help ensure your oven is truly heating to the proper temperature, preventing baking inconsistencies.
