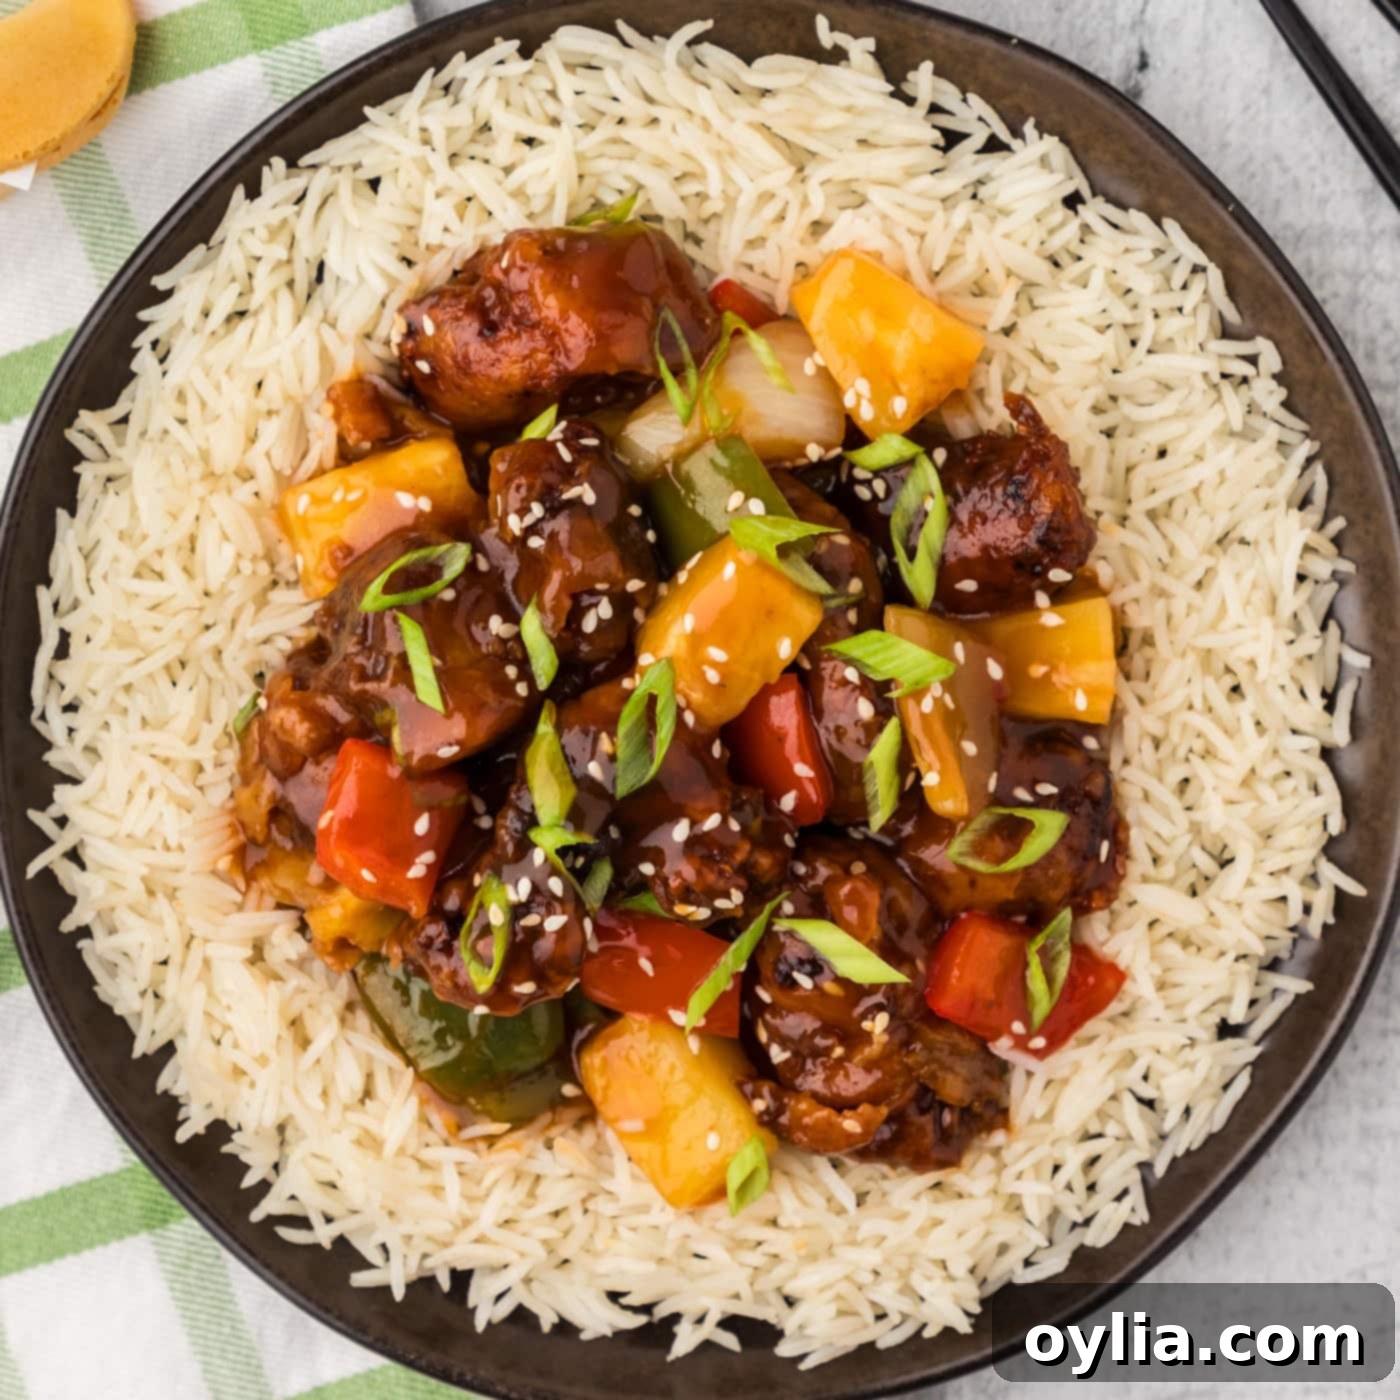
Authentic Homemade Sweet and Sour Pork: A Delicious Takeout Favorite Made Easy at Home
Craving the vibrant flavors of your favorite Chinese takeout? Look no further than this incredible recipe for **Sweet and Sour Pork**! Imagine tender, crispy breaded pork pieces coated in a glossy, tangy, and irresistibly sticky sauce. This classic dish is loaded with colorful bell peppers, sweet onions, and juicy pineapple, creating a harmonious blend of textures and tastes that will transport you straight to your favorite Chinese restaurant, all from the comfort of your own kitchen.
This takeout-inspired stir-fry isn’t just about recreating a restaurant experience; it’s about elevating it with fresh, high-quality ingredients and a homemade touch. Every bite offers a delightful contrast – the subtle crunch of the pork giving way to succulent meat, all enveloped in that perfect sweet and sour glaze. It’s a meal that promises to be a family favorite, packed with both satisfying texture and unforgettable flavor.

Why This Sweet and Sour Pork Recipe Is Your New Go-To
This sweet and sour pork recipe truly stands out, offering a perfect balance that will make it an instant hit. What makes it so exceptional? It all comes down to the harmonious combination of textures and flavors. We start with tender pork, expertly breaded and fried to achieve a delightful crispiness, then it’s tossed in a vibrant, homemade sweet and sour sauce that clings beautifully to every piece. Add in a colorful medley of stir-fried vegetables like bell peppers, onions, and pineapple, and you have a dish that’s not just delicious, but also visually appealing and incredibly satisfying.
One of the common concerns with sweet and sour pork is maintaining that desired crispness. While it’s true that once the warm, sticky sauce coats the breading, it will naturally begin to soften, this recipe aims for the optimal experience. The initial frying ensures a perfect golden-brown crust. When combined with the sauce, the pork achieves an ideal marriage between crispy and saucy – it’s never soggy, but rather yields to a tender chew with a flavorful coating. The key, as with most stir-fries, is to enjoy it fresh off the wok. The moment it’s served, you’ll experience the peak of its wonderful texture and flavor, making every meal a special occasion.
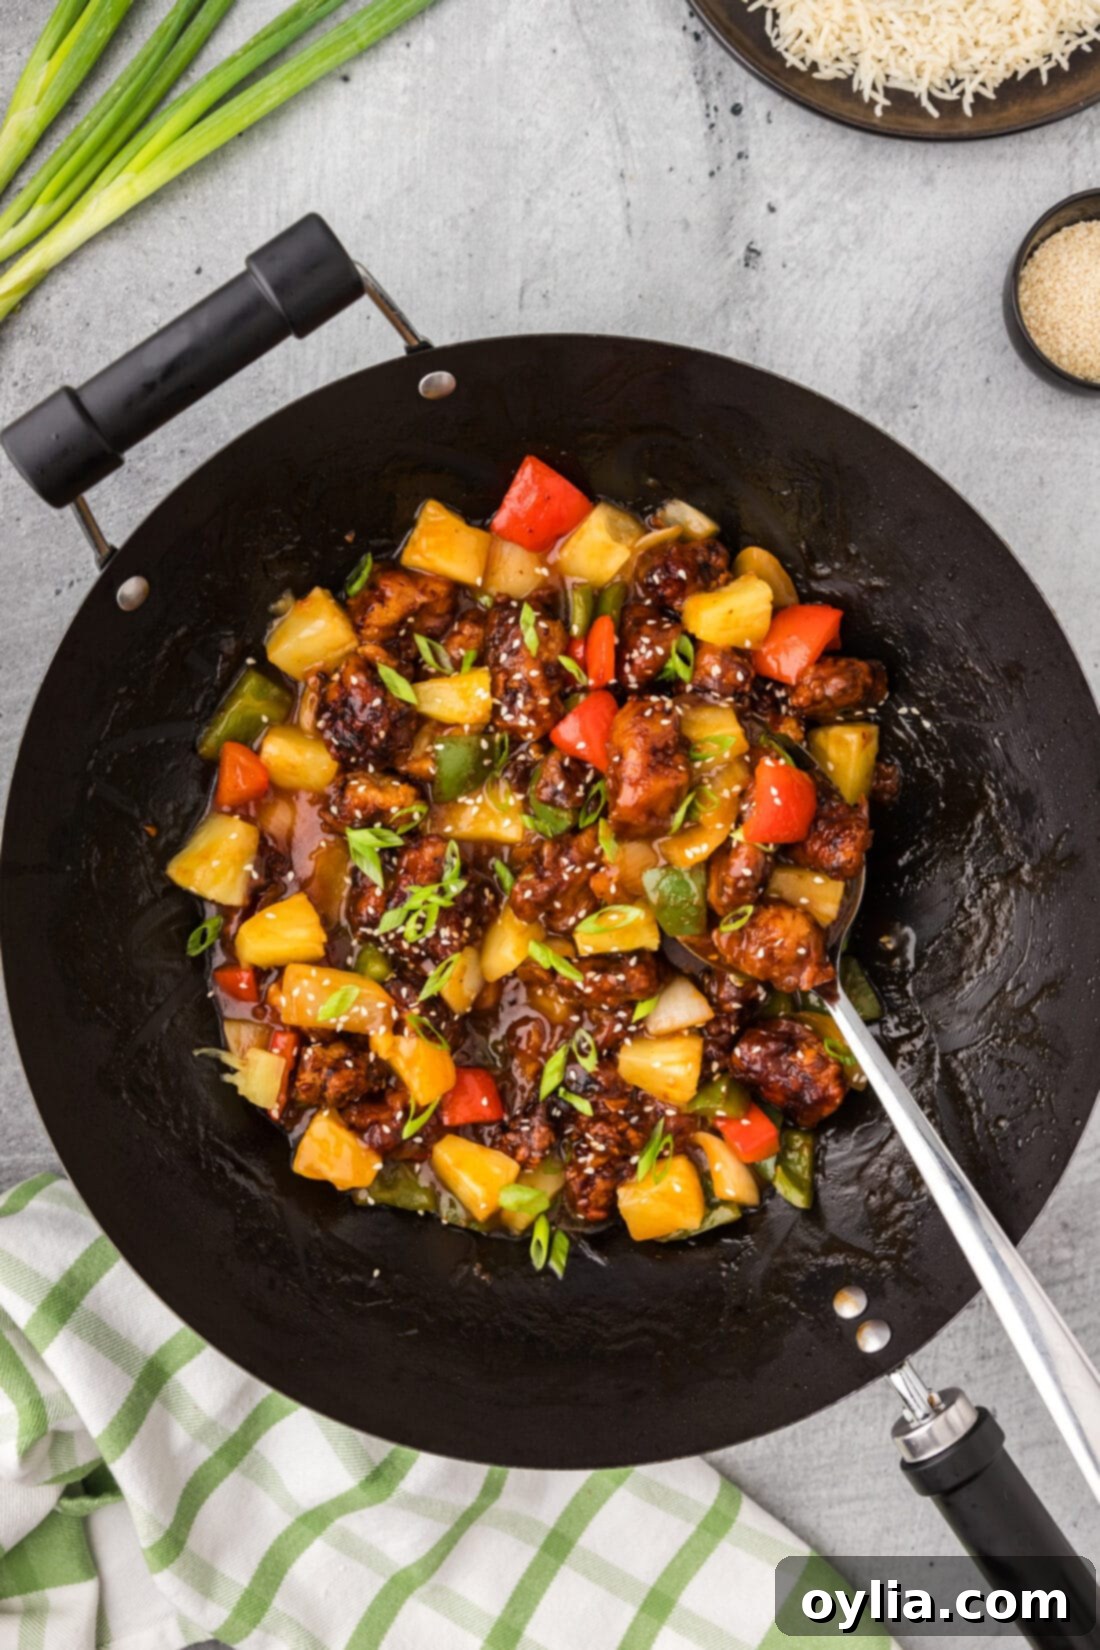
Key Ingredients for Your Homemade Sweet and Sour Pork
To embark on this culinary adventure, you’ll need a selection of fresh and pantry staples. While the full list with precise measurements can be found in the printable recipe card at the end of this post, here’s a breakdown of the essential components that bring this dish to life:
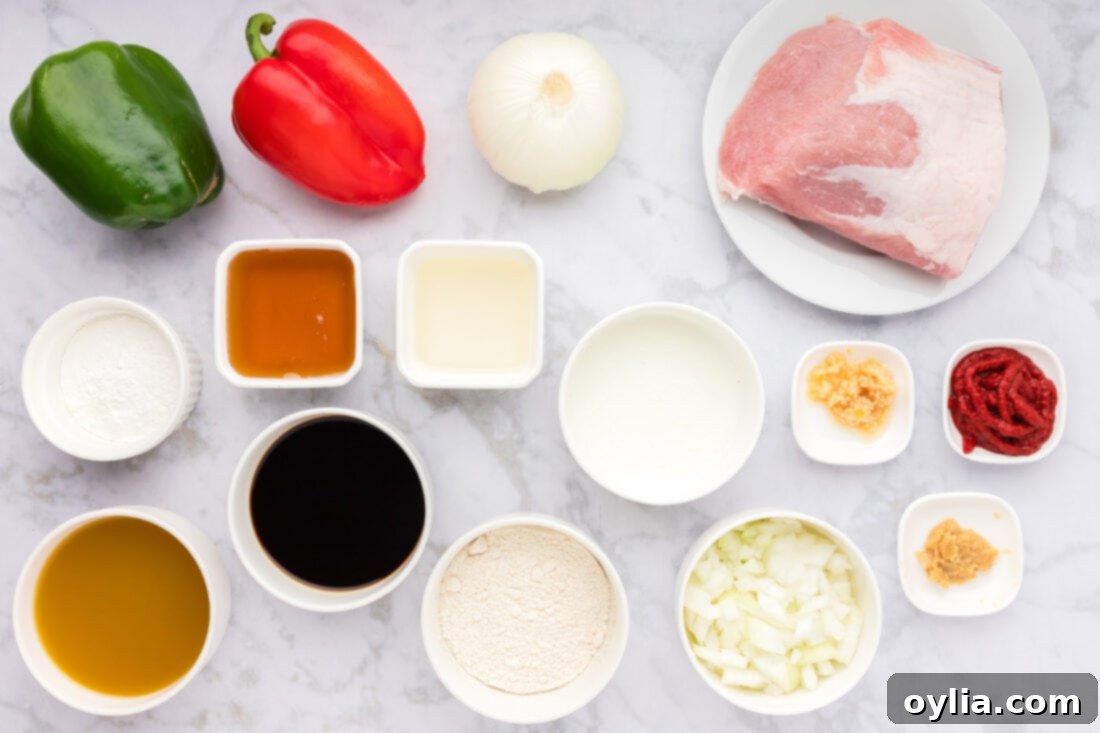
Ingredient Spotlight & Smart Substitutions
- PORK: We’ve found that boneless pork loin center cut roast works wonderfully for this recipe, offering a good balance of tenderness and lean meat. However, if you prefer, pork neck or pork shoulder can also be excellent choices. The key is to cut the pork into uniform, similar-sized cubes, typically about 1-inch pieces. This ensures that every piece cooks evenly and perfectly, guaranteeing a consistent texture throughout your stir-fry.
- MARINADE: The secret to truly flavorful and tender pork lies in a good marinade. Our recipe uses a blend of chopped onion, fresh garlic, fragrant ginger, and savory soy sauce. These ingredients work together not only to infuse the pork with a rich umami depth but also to help tenderize the meat, making it even more succulent after frying. The immersion blender helps create a smooth marinade that coats every surface of the pork evenly, maximizing flavor absorption.
- SWEET AND SOUR SAUCE: This is arguably the heart and soul of the dish, and a homemade sauce truly makes all the difference. Our vibrant, glossy sauce is crafted from a delightful combination of honey for sweetness, soy sauce for savory depth, tomato paste for a rich umami base and color, pineapple juice for that essential fruity tang, and rice vinegar to provide the perfect sour kick. A cornstarch slurry is then used to thicken the sauce to that signature sticky consistency that coats the pork and vegetables beautifully. If you find yourself with extra sauce, don’t let it go to waste! It’s incredibly versatile and tastes fantastic over chicken, shrimp, or even firm tofu. For those who prefer a less saucy dish or are cooking for fewer people, feel free to halve the sauce ingredients.
- BREADING: The breading is crucial for achieving that desirable crispy exterior. Our simple yet effective breading involves all-purpose flour and buttermilk. The buttermilk helps the flour adhere to the pork and contributes to a tender interior once fried. For a gluten-free option, you can experiment with gluten-free all-purpose flour blends.
- STIR-FRY VEGETABLES: The classic sweet and sour pork often includes a medley of colorful vegetables. We opt for medium onion, green bell pepper, and red bell pepper, all chopped into generous chunks to maintain some bite and visual appeal. These vegetables add freshness, a slight crunch, and a burst of color to the dish. Feel free to customize your stir-fry by adding other vegetables like carrots, snap peas, or water chestnuts for extra texture and nutrition.
- PINEAPPLE: Pineapple chunks are indispensable in sweet and sour pork, providing a wonderful burst of sweetness and acidity that complements the sauce and pork perfectly. Canned pineapple chunks, drained, are convenient and work great, but fresh pineapple can also be used if preferred.
How to Make Homemade Sweet and Sour Pork: Step-by-Step Guide
These step-by-step photos and detailed instructions are here to help you visualize how to make this delicious recipe. For a quick overview, you can Jump to Recipe to get the printable version of this recipe, complete with measurements and instructions at the bottom.
- Prepare the Pork: Begin by cutting your pork loin roast into uniform 1-inch cubes. This consistency is key for even cooking. Place these cubes in a large mixing bowl, ready for marination.
- Make the Marinade: In a separate container, add the chopped onion, minced garlic, minced ginger, and soy sauce. Use an immersion blender to blend these ingredients until the mixture is smooth and no large chunks remain. A smooth marinade ensures even flavor distribution.
- Marinate the Pork: Pour the blended marinade over the pork cubes in the large mixing bowl. Using gloved hands (to ensure full coverage and for hygiene), toss the meat thoroughly until every piece is completely coated. Cover the bowl with plastic wrap and refrigerate for at least 30 minutes. This marinating time is crucial for infusing the pork with flavor and tenderizing it.
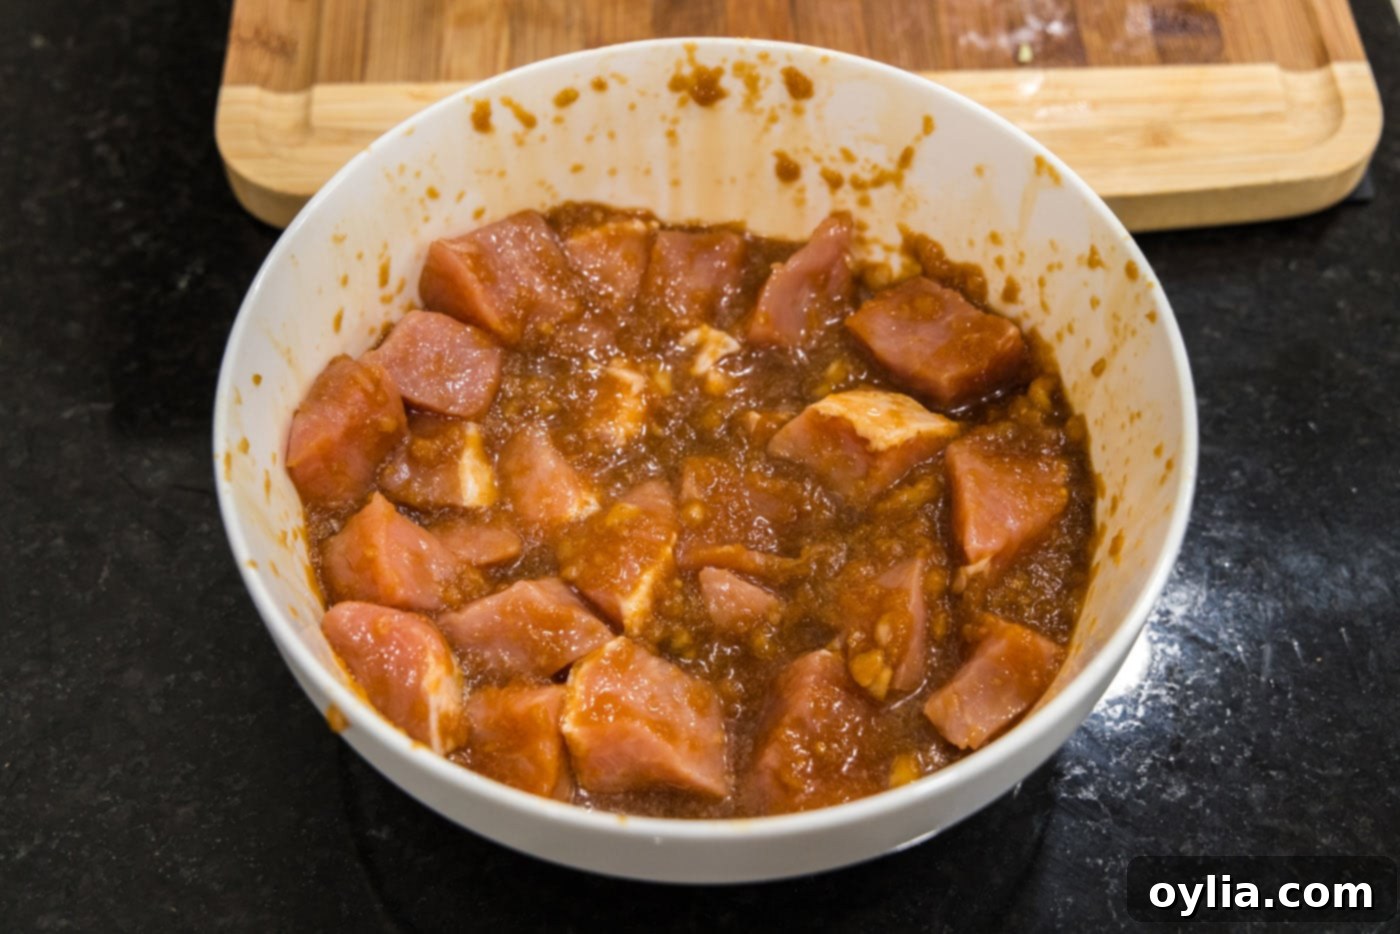
- Prepare for Frying: While the pork marinates, prepare your frying station. Line a baking sheet with several layers of paper towels and place a wire cooling rack over the top. This setup will allow excess oil to drain from the fried pork, keeping it crispy.
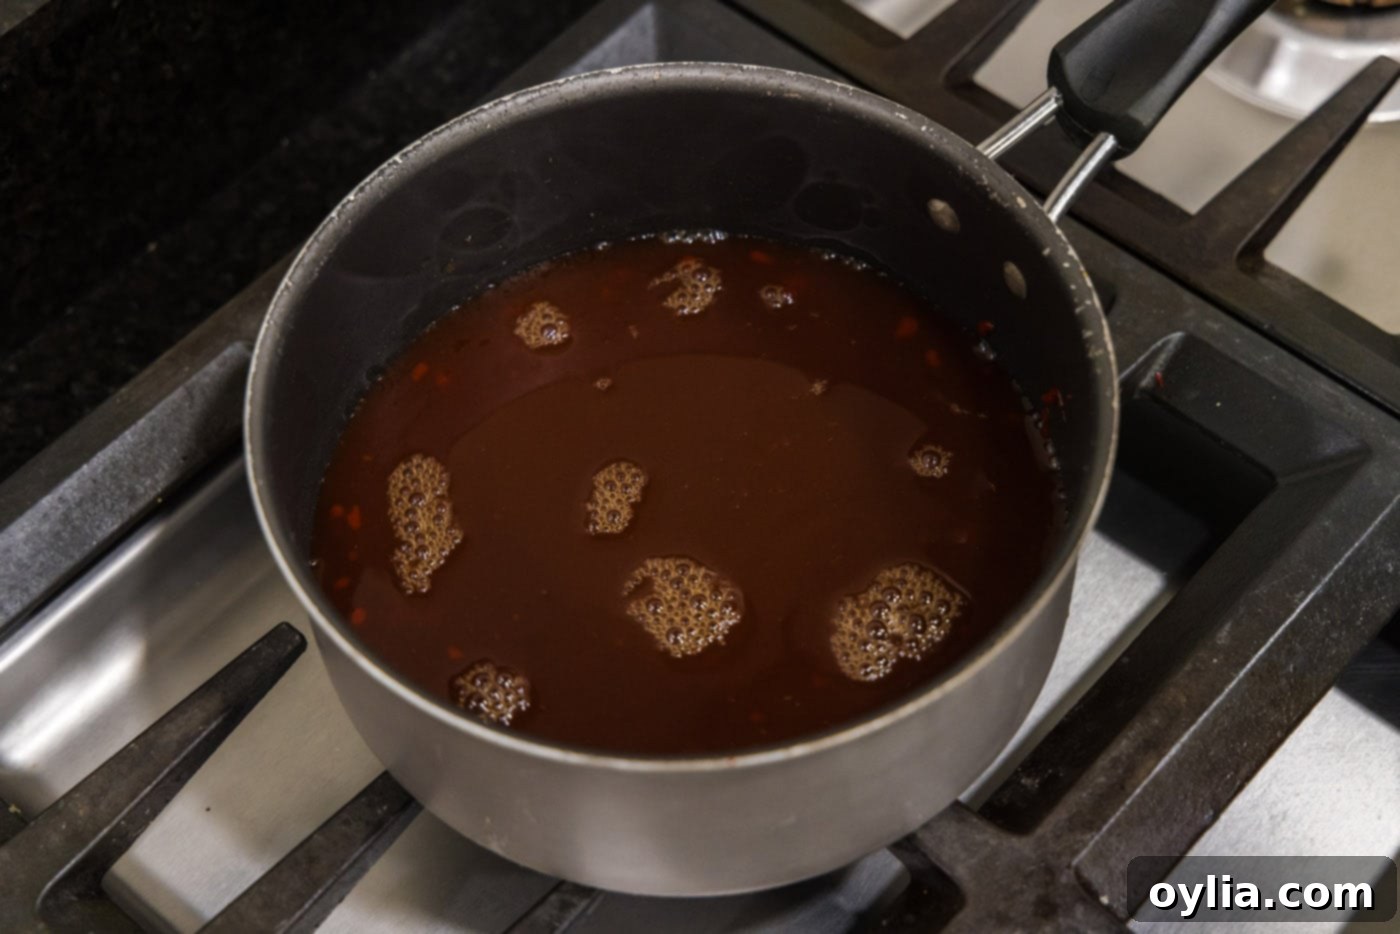
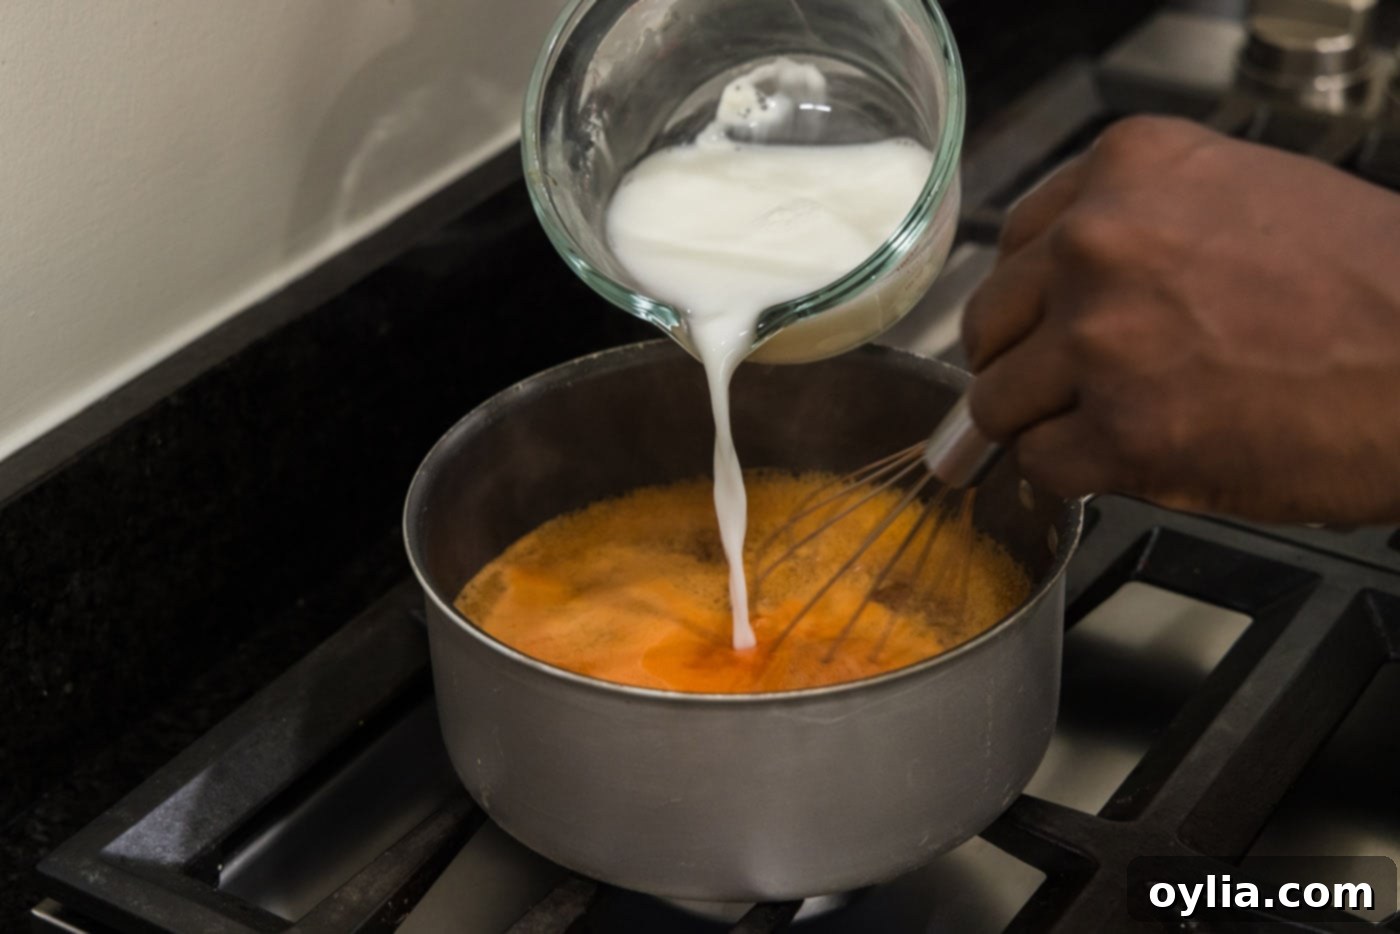
- Craft the Sweet and Sour Sauce: In a medium saucepan, combine all the sweet and sour sauce ingredients except for the cornstarch and water (which will form the slurry). Whisk these ingredients together occasionally over medium-high heat. Allow the sauce to come to a gentle bubble. In a separate small bowl, whisk together the cornstarch and water to create a smooth slurry. Once the sauce is bubbling, slowly pour the cornstarch slurry into the saucepan while continuously whisking. Continue to whisk occasionally as the sauce cooks until it thickens to a beautiful, glossy, and sticky consistency. Turn off the heat and set the sauce aside.
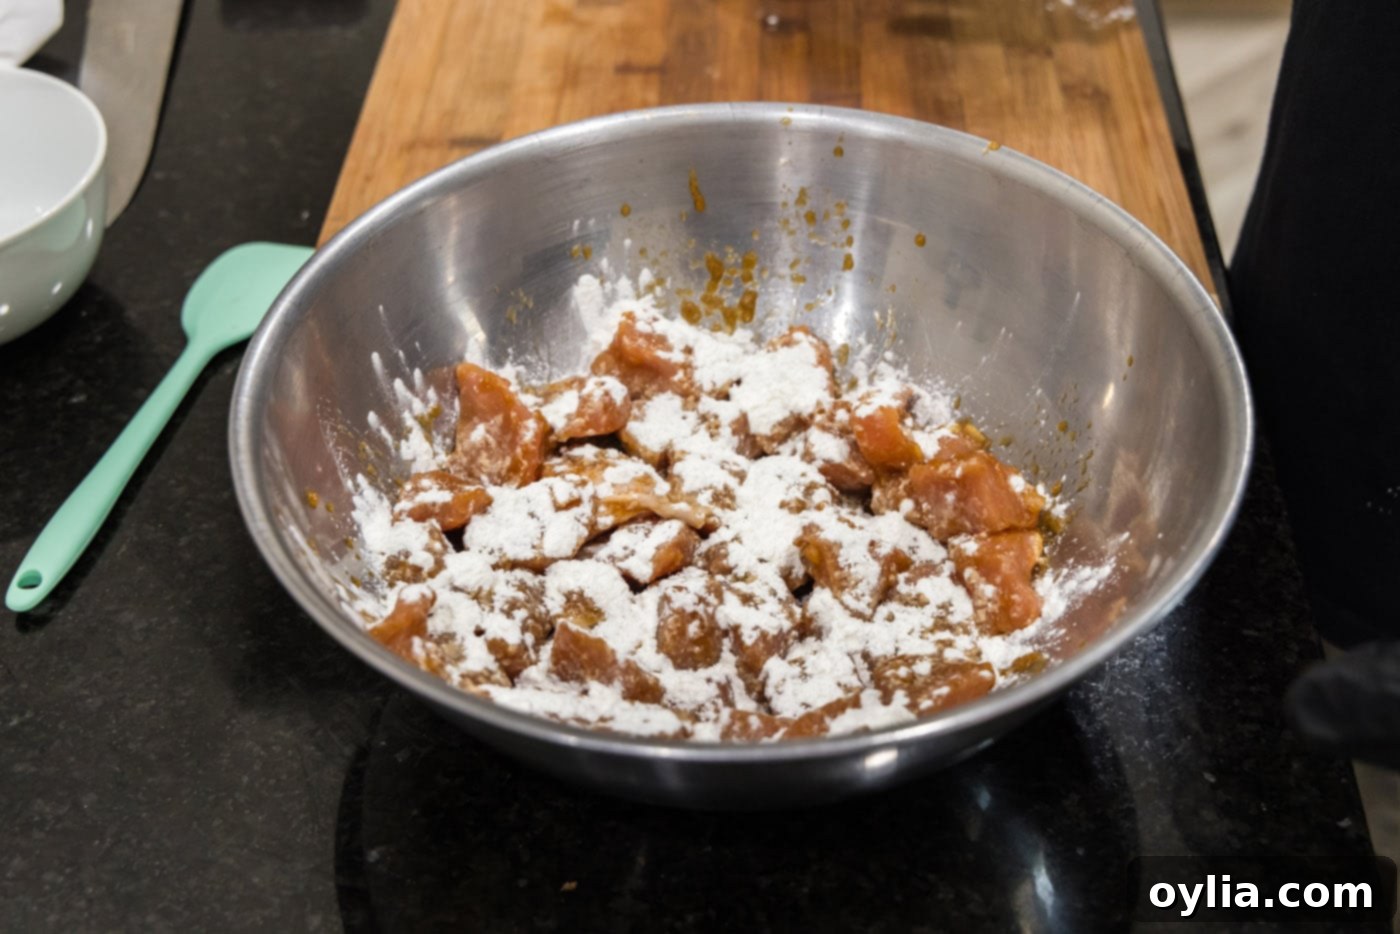
- Initial Flour Coating: After marination, sprinkle about 2 tablespoons of all-purpose flour over the marinated meat in the large mixing bowl. Again, use gloved hands to toss and coat the pork. This initial flour layer helps the subsequent breading adhere better.
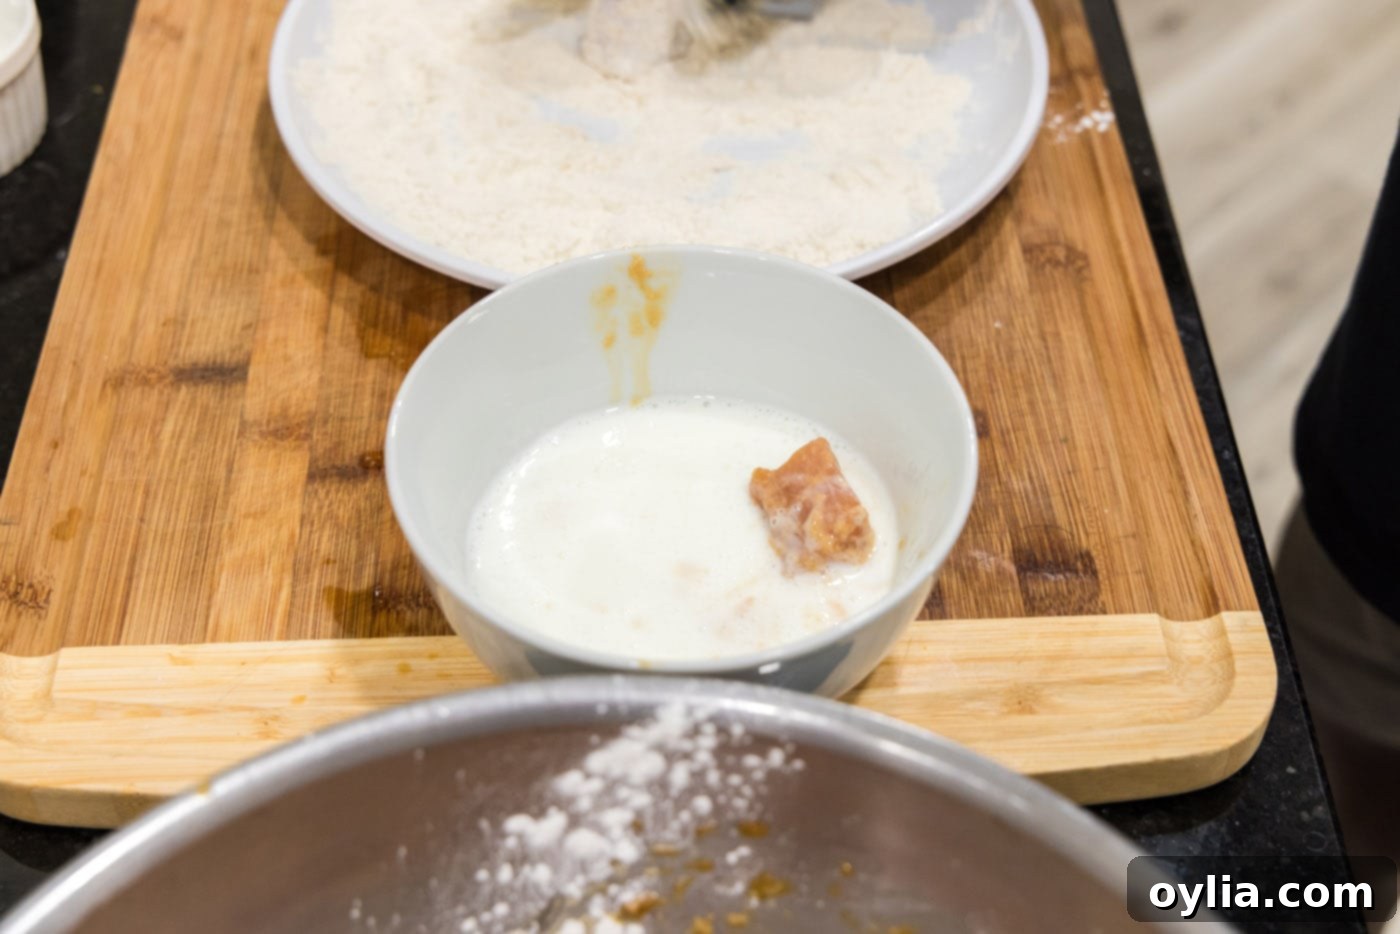
- Set Up Breading Station: Create a simple dipping station. Place the buttermilk in a medium bowl and the remaining all-purpose flour on a plate. This two-step process will create a light, crispy coating for the pork.
- Bread the Pork: Take each piece of pork and dip it into the buttermilk, ensuring it’s fully coated. Then, transfer it to the plate with flour, dredging it thoroughly until all sides are covered. Repeat this process for all the pork pieces, placing the breaded pork aside as you go.
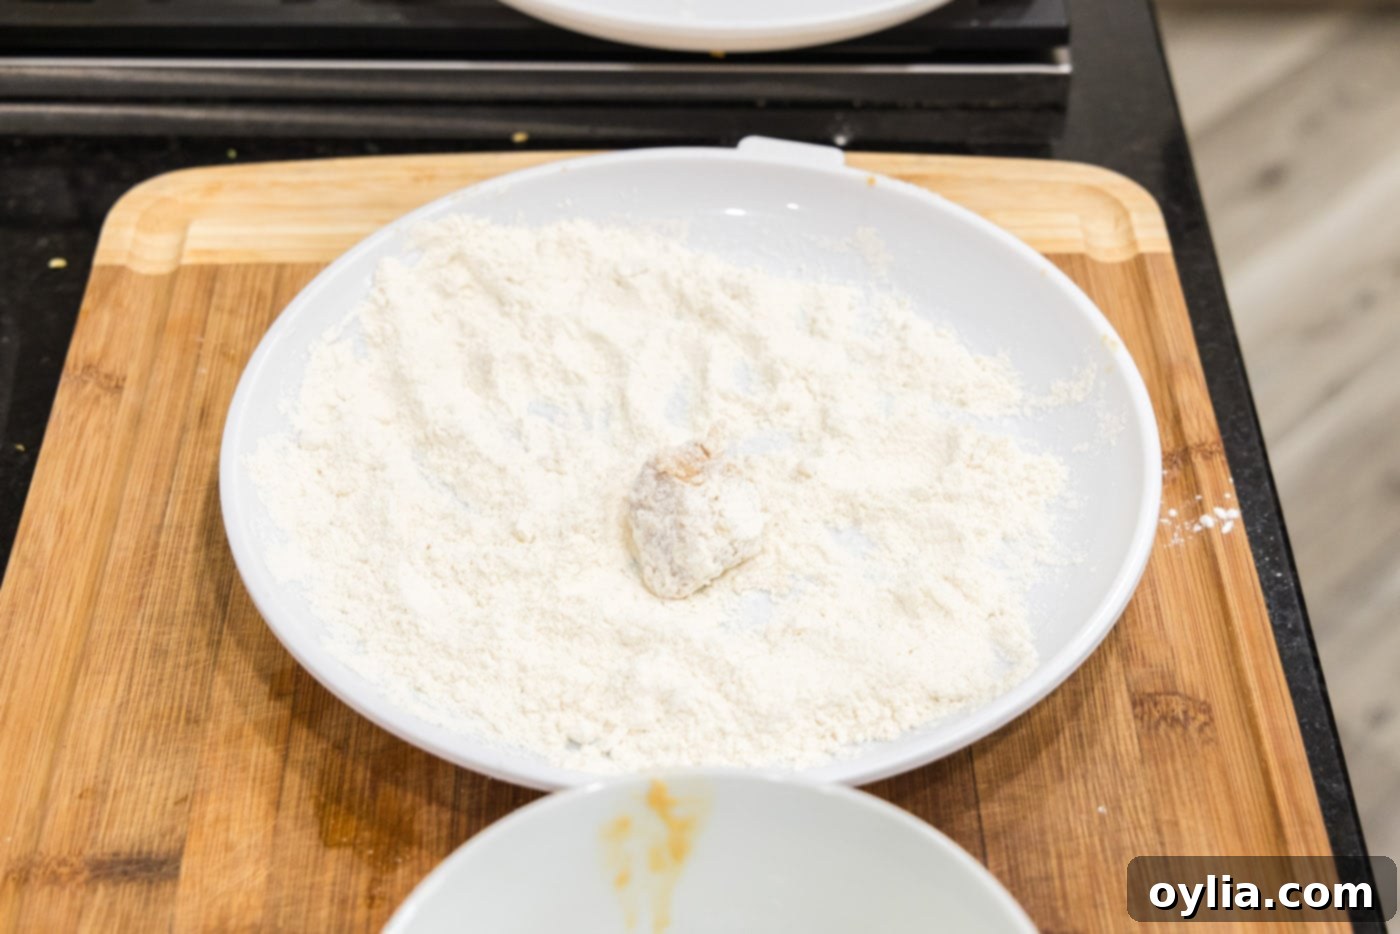
- Fry the Pork: Heat a generous amount of vegetable oil in a large pot or deep skillet over medium-high heat until it reaches 325°F (160°C). Maintaining the correct oil temperature is crucial for crispy, non-greasy pork. Carefully add the breaded pork pieces to the hot oil, one at a time, being careful not to overcrowd the pan. Fry for 3-4 minutes until golden brown and cooked through. Use tongs to turn the pieces over halfway through, ensuring even browning. You may need to fry in batches to maintain oil temperature.
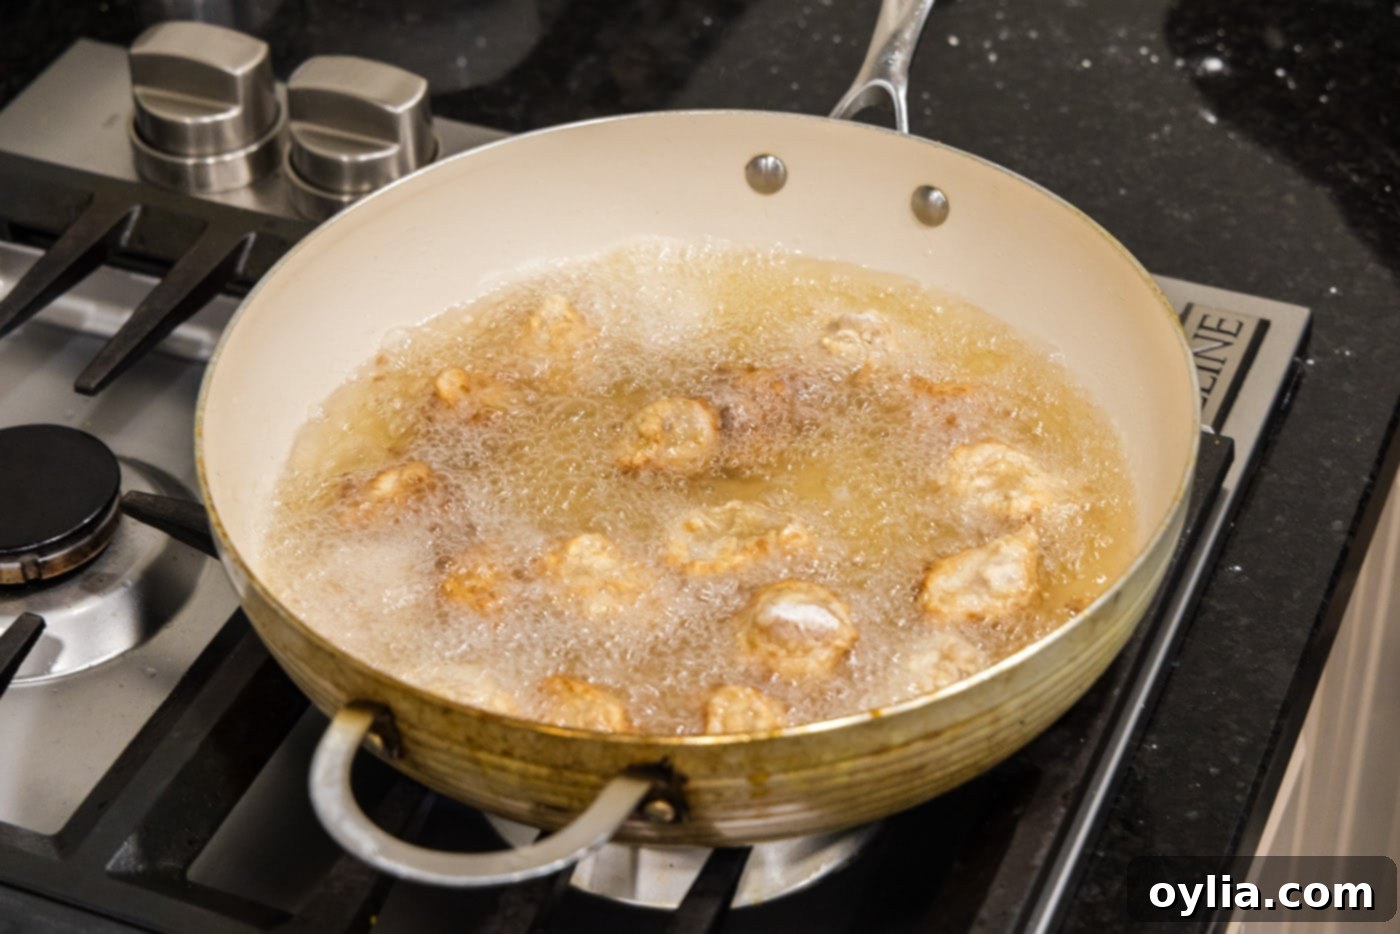
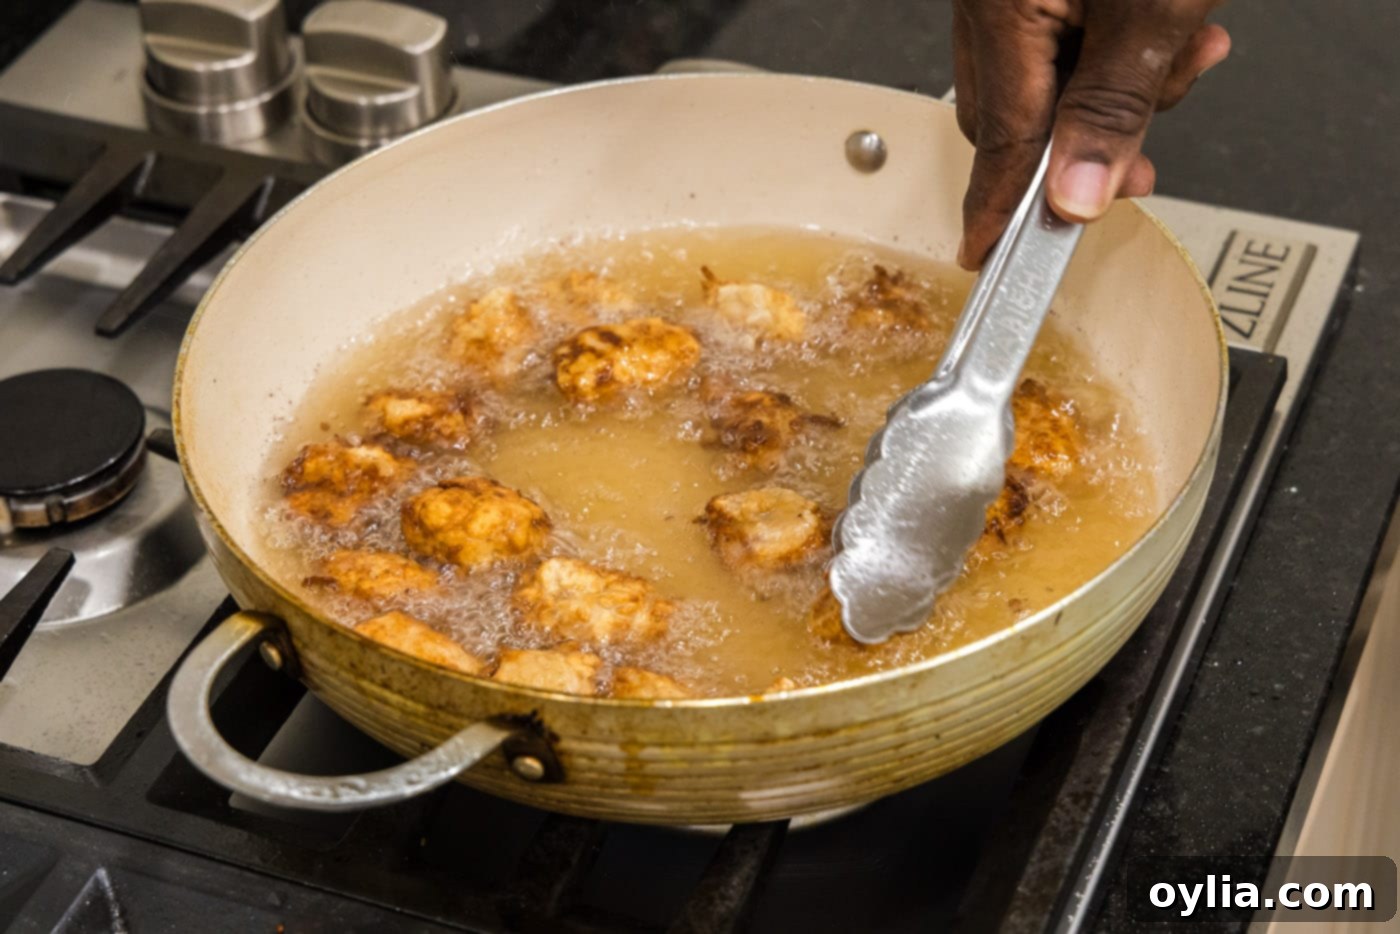
- Drain the Pork: Once cooked and golden, carefully remove the fried pork pieces from the oil using tongs and transfer them to the prepared wire cooling rack. This allows any excess oil to drip off, helping to keep the pork as crispy as possible before it meets the sauce.

- Stir-Fry the Vegetables: Heat olive oil in a wok or large skillet over medium-high heat until it shimmers. Add the chopped onion and both bell peppers to the pan. Stir-fry for 2-3 minutes, just enough for the vegetables to become slightly tender-crisp, maintaining their vibrant color and a pleasant bite.
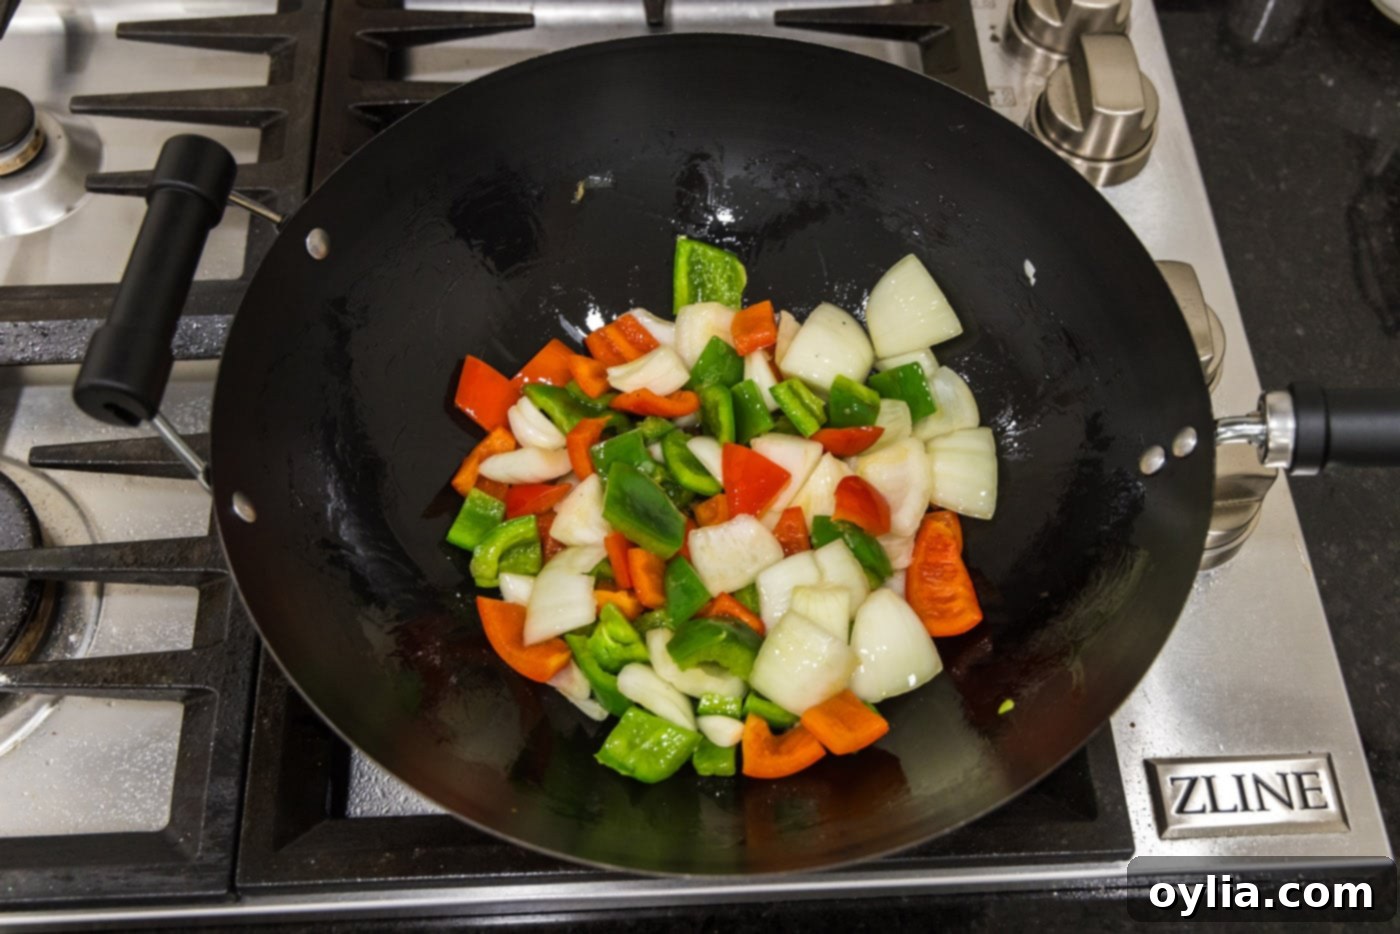
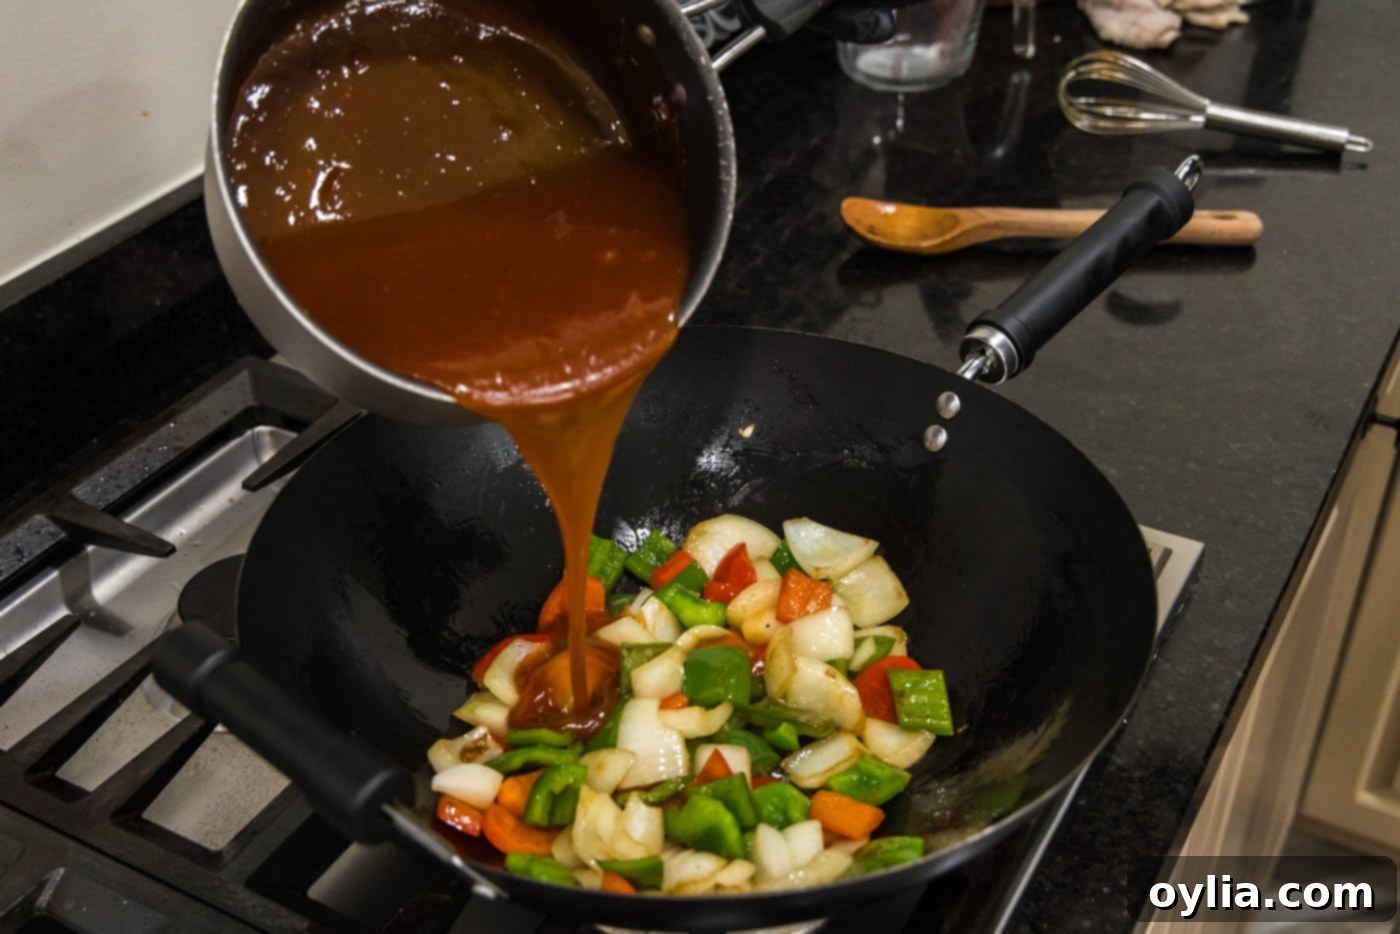
- Add Sauce to Vegetables: Pour approximately half of your prepared sweet and sour sauce directly into the wok with the stir-fried vegetables. Toss to coat the vegetables evenly.
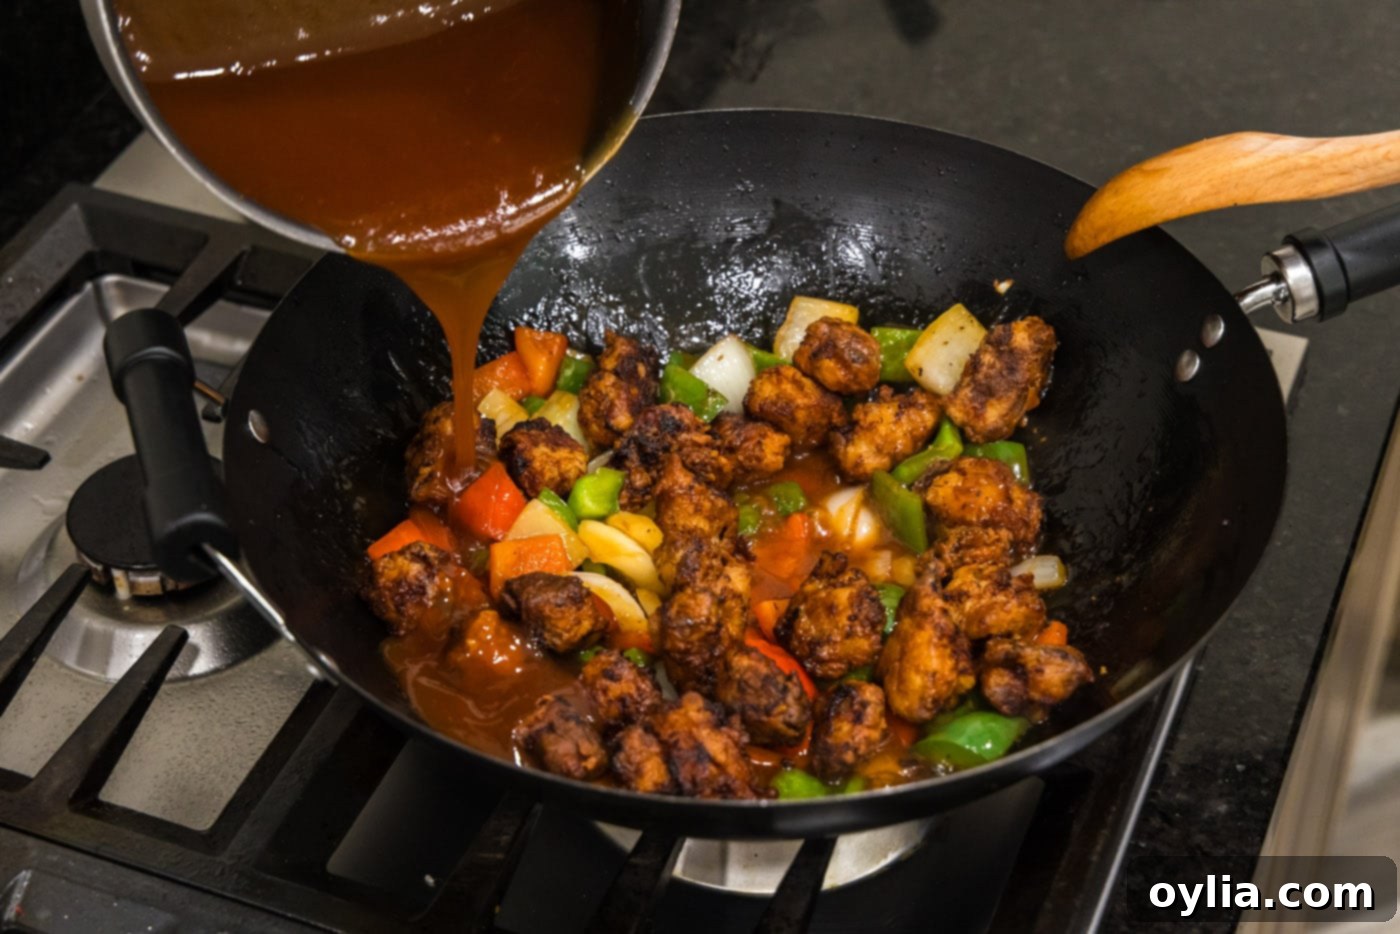
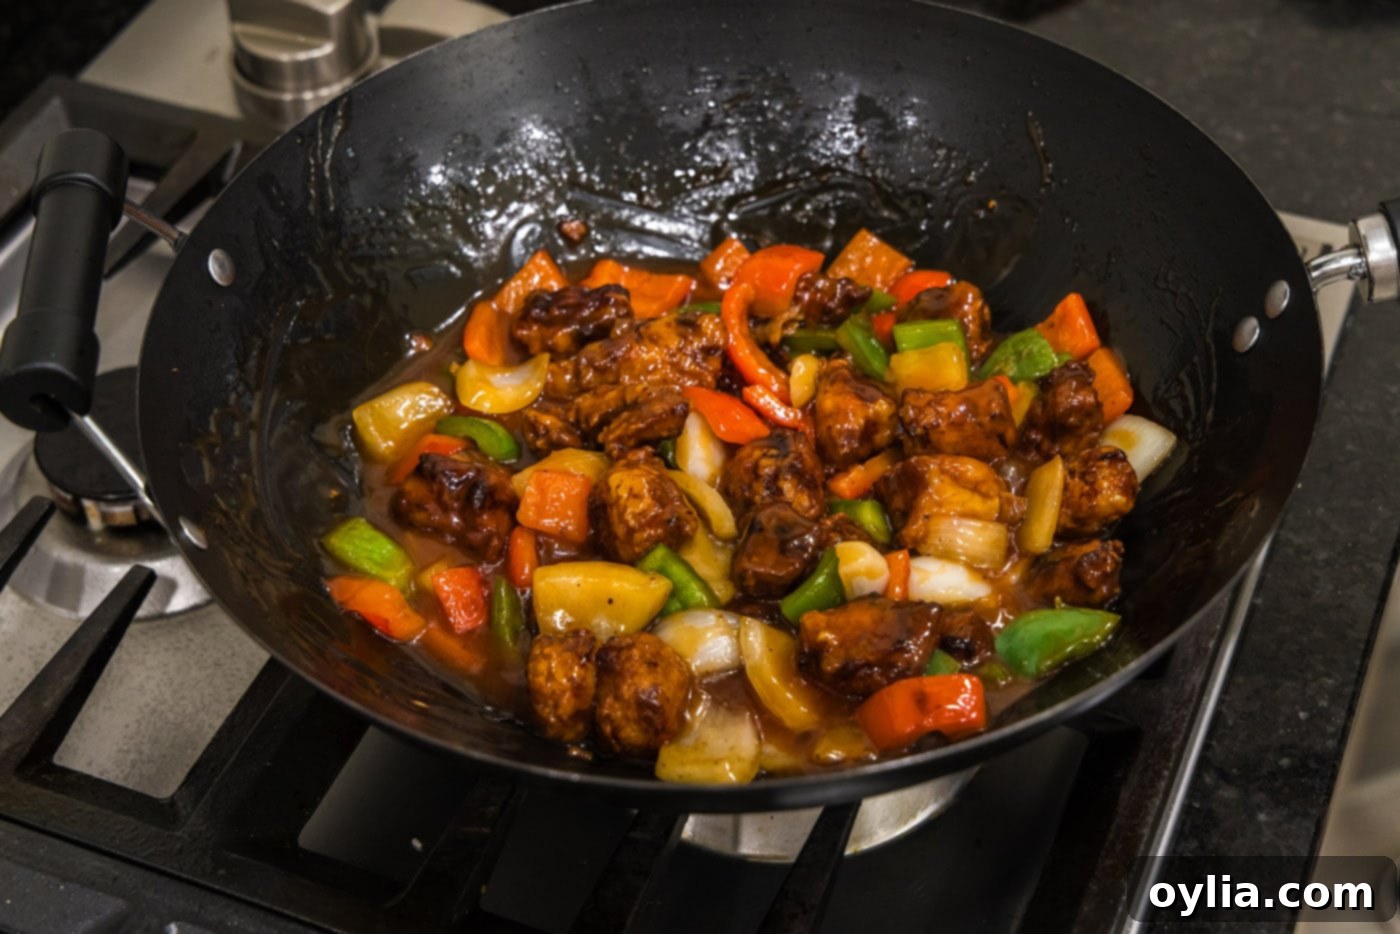
- Combine and Finish: Add the cooked pork pieces to the wok. Now is your chance to adjust the sauce level to your preference – add more sauce if you desire a wetter, richer coating. Finally, add the pineapple chunks. Gently toss everything together, ensuring the pork, vegetables, and pineapple are all beautifully coated in the sticky sweet and sour sauce. Heat through for just a minute or two to warm everything up. Serve immediately for the best flavor and texture!
Frequently Asked Questions & Expert Tips for Perfect Sweet and Sour Pork
For the best quality and flavor, it’s always recommended to enjoy sweet and sour pork fresh. However, if you do have leftovers, they can be stored in an airtight container in the refrigerator for up to 3 days. While the pork won’t retain its original crispiness, the flavors will still be delicious. To reheat, gently warm in a skillet over medium heat or in the microwave, adding a splash of water or broth if the sauce has thickened too much.
It’s a common characteristic of sauced fried foods: once almost anything crispy and breaded touches a liquid sauce, especially a thick, sticky one like sweet and sour, it will begin to soften. This is entirely normal! Sweet and sour pork is truly best enjoyed immediately after it’s tossed with the sauce for that ultimate texture combination. While the breading won’t stay aggressively crispy once coated, it will offer a delightful tender chew. To maximize crispness, ensure your oil is at the correct temperature (325°F) when frying, don’t overcrowd the pan, and drain well before combining with the sauce. Serve promptly!
Absolutely! This sweet and sour sauce recipe is incredibly versatile. You can easily substitute boneless, skinless chicken breast or thighs cut into 1-inch pieces, or even large shrimp. Adjust the frying time accordingly; chicken will need similar frying times to pork, while shrimp will cook much faster, typically 1-2 minutes per side until pink and opaque. Marinating times might also vary slightly for other proteins.
Yes, with a few simple modifications! Ensure your soy sauce is a gluten-free tamari or a certified gluten-free soy sauce alternative. For the breading, use a gluten-free all-purpose flour blend. Always check the labels of all your ingredients, especially for cross-contamination, if you have severe gluten sensitivities.
Yes, and it’s a great time-saver! The homemade sweet and sour sauce can be made up to 2-3 days in advance and stored in an airtight container or jar in the refrigerator. When ready to use, gently reheat it over low heat, stirring occasionally. You might need to add a tablespoon or two of water to thin it slightly if it’s become too thick after chilling.

Serving Suggestions for Your Sweet and Sour Pork Feast
Sweet and sour pork is a showstopper on its own, but pairing it with the right accompaniments truly completes the meal. The most classic and recommended way to serve this delightful dish is over a generous bed of fluffy white rice. The rice perfectly absorbs the delicious sweet and sour sauce, making every bite a culinary delight. For an added touch of freshness and a beautiful presentation, optionally garnish your sweet and sour pork with thinly sliced green onions and a sprinkle of toasted sesame seeds.
Beyond white rice, consider these fantastic side dishes to round out your Chinese-inspired feast:
- Brown Rice or Quinoa: For a healthier alternative, these grains offer a nutty flavor and added fiber.
- Steamed Vegetables: A simple side of steamed broccoli, green beans, or asparagus can complement the rich flavors of the stir-fry without overpowering it.
- Egg Rolls or Spring Rolls: A classic appetizer that pairs perfectly with sweet and sour pork, adding another layer of texture.
- Cucumber Salad: A light, refreshing cucumber salad with a simple vinaigrette can provide a cooling contrast to the richness of the main dish.
- Noodles: Instead of rice, try serving it with lo mein noodles or a simple noodle stir-fry for a different carbohydrate base.
No matter how you choose to serve it, this homemade sweet and sour pork is guaranteed to be a hit!
Explore More Delicious Stir Fry and Asian-Inspired Recipes
If you loved this sweet and sour pork recipe and are looking for more tantalizing stir-fry creations or Asian-inspired dishes to add to your weeknight rotation, we have plenty of options to keep your taste buds excited. From other classic takeout favorites to unique and flavorful creations, our collection of recipes is designed to bring the best of global cuisine right to your kitchen. Be sure to check out these highly-rated recipes:
- Sticky and Zesty Orange Chicken: Another iconic takeout dish featuring crispy chicken in a bright, citrusy sauce.
- Flavorful Pork Fried Rice: A perfect companion to any Asian meal or a stand-alone quick dinner, loaded with savory pork and fresh veggies.
- Delightful Sweet and Sour Shrimp: If you’re a seafood lover, this shrimp variation offers the same irresistible sweet and sour flavors with succulent shrimp.
- Classic Sweet and Sour Chicken: A beloved alternative to pork, featuring juicy chicken pieces coated in that fantastic tangy sauce.
Each of these recipes brings its own unique twist while delivering on the promise of homemade deliciousness. Expand your culinary horizons and enjoy creating these amazing dishes for your family and friends!
I’m passionate about baking and cooking, and I absolutely love sharing my kitchen adventures and recipes with all of you! Remembering to come back each day for new ideas can sometimes be tough, which is why I offer a convenient newsletter delivered right to your inbox every time a new recipe is posted. Simply subscribe today and start receiving your free daily recipes, ensuring you never miss out on delicious inspiration!

Sweet and Sour Pork
IMPORTANT – There are often Frequently Asked Questions within the blog post that you may find helpful. Simply scroll back up to read them!
Print It
Pin It
Rate It
Save ItSaved!
Ingredients
- 1 ½ pounds boneless pork loin center cut roast
Marinade
- 1 cup chopped onion
- 1 teaspoon minced garlic
- 1 teaspoon minced ginger
- ¼ cup soy sauce
Sweet and Sour Sauce
- 4 Tablespoons honey
- 3 Tablespoons soy sauce
- 2 ½ Tablespoons tomato paste
- 1 cup pineapple juice
- 3 Tablespoons rice vinegar
- 1 Tablespoon cornstarch
- ¼ cup water
Batter for Breading
- 1 cup all purpose flour divided
- ½ cup buttermilk
- vegetable oil for frying
Stir Fry Vegetables
- 2 Tablespoons olive oil
- 1 medium onion chopped into large chunks
- 1 large green bell pepper chopped into large chunks
- 1 large red bell pepper chopped into large chunks
- 1 cup pineapple chunks
Things You’ll Need
-
Wok
-
immersion blender
-
Saucepan
-
Tongs
-
Wire Cooling Rack
Before You Begin
- We used pork loin for this recipe. Pork neck or pork shoulder will also work. Try to cut the pork into similar sized cubes for even cooking.
Instructions
Marinate the Meat
-
Cut roast into cubes and place in a large mixing bowl.
-
To an immersion blender, add chopped onion, garlic, ginger, and soy sauce. Blend until no chunks remain.
-
Pour marinade over the meat. Use gloved hands to toss and completely coat the meat. Cover with plastic wrap and place in the refrigerator. Allow to marinate for 30 minutes.
Preparing the Sauce
-
Line a baking sheet with paper towels and place a wire cooling rack over the top.
-
Combine all sauce ingredients, except for the cornstarch and water, in a medium saucepan. Whisk occasionally over medium-high heat until sauce begins to bubble. Make a slurry from the cornstarch and water and pour into the bubbling sauce. Whisk occasionally, cooking until sauce begins to thicken. Turn off heat.
Breading and Frying the Pork
-
Sprinkle 2 tablespoons of the flour over the marinated meat in a large mixing bowl. Use gloved hands to toss together.
-
Set up dipping station by placing milk in a medium bowl and remaining flour on a plate.
-
Dip a piece of meat into the milk, then dredge in flour. Continue until all pieces are breaded.
-
Heat vegetable oil over medium-high heat to 325 F.
-
Add breaded pork, one piece at a time, to the hot oil. Fry for 3-4 minutes, or until golden brown. Using tongs, turn pieces over and cook an additional 3-4 minutes.
-
Move to wire rack.
Stir Fry
-
Add olive oil to a wok over medium-high heat until shimmering. Add onion and both bell peppers to the pan and stir fry for 2-3 minutes.
-
To the wok, pour in 1/2 of the sauce.
-
Add cooked pork pieces and more sauce to your liking. You may have some leftover. Add pineapple and gently toss to coat. Heat through.
Expert Tips & FAQs
- Although this dish is best served right away, you can store any leftovers in an air-tight container kept in the refrigerator for up to 3 days.
- Any leftover sauce can be stored in an air-tight container or jar kept in the refrigerator for up to 2 months.
- If you have extra sauce left over, it is also great over chicken or shrimp. If you prefer, you can make less sauce by cutting the ingredients in half.
Nutrition
The recipes on this blog are tested with a conventional gas oven and gas stovetop. It’s important to note that some ovens, especially as they age, can cook and bake inconsistently. Using an inexpensive oven thermometer can assure you that your oven is truly heating to the proper temperature. If you use a toaster oven or countertop oven, please keep in mind that they may not distribute heat the same as a conventional full sized oven and you may need to adjust your cooking/baking times. In the case of recipes made with a pressure cooker, air fryer, slow cooker, or other appliance, a link to the appliances we use is listed within each respective recipe. For baking recipes where measurements are given by weight, please note that results may not be the same if cups are used instead, and we can’t guarantee success with that method.
