The Best Homemade Chocolate Ice Cream: Rich, Creamy, & Perfectly Scoopable
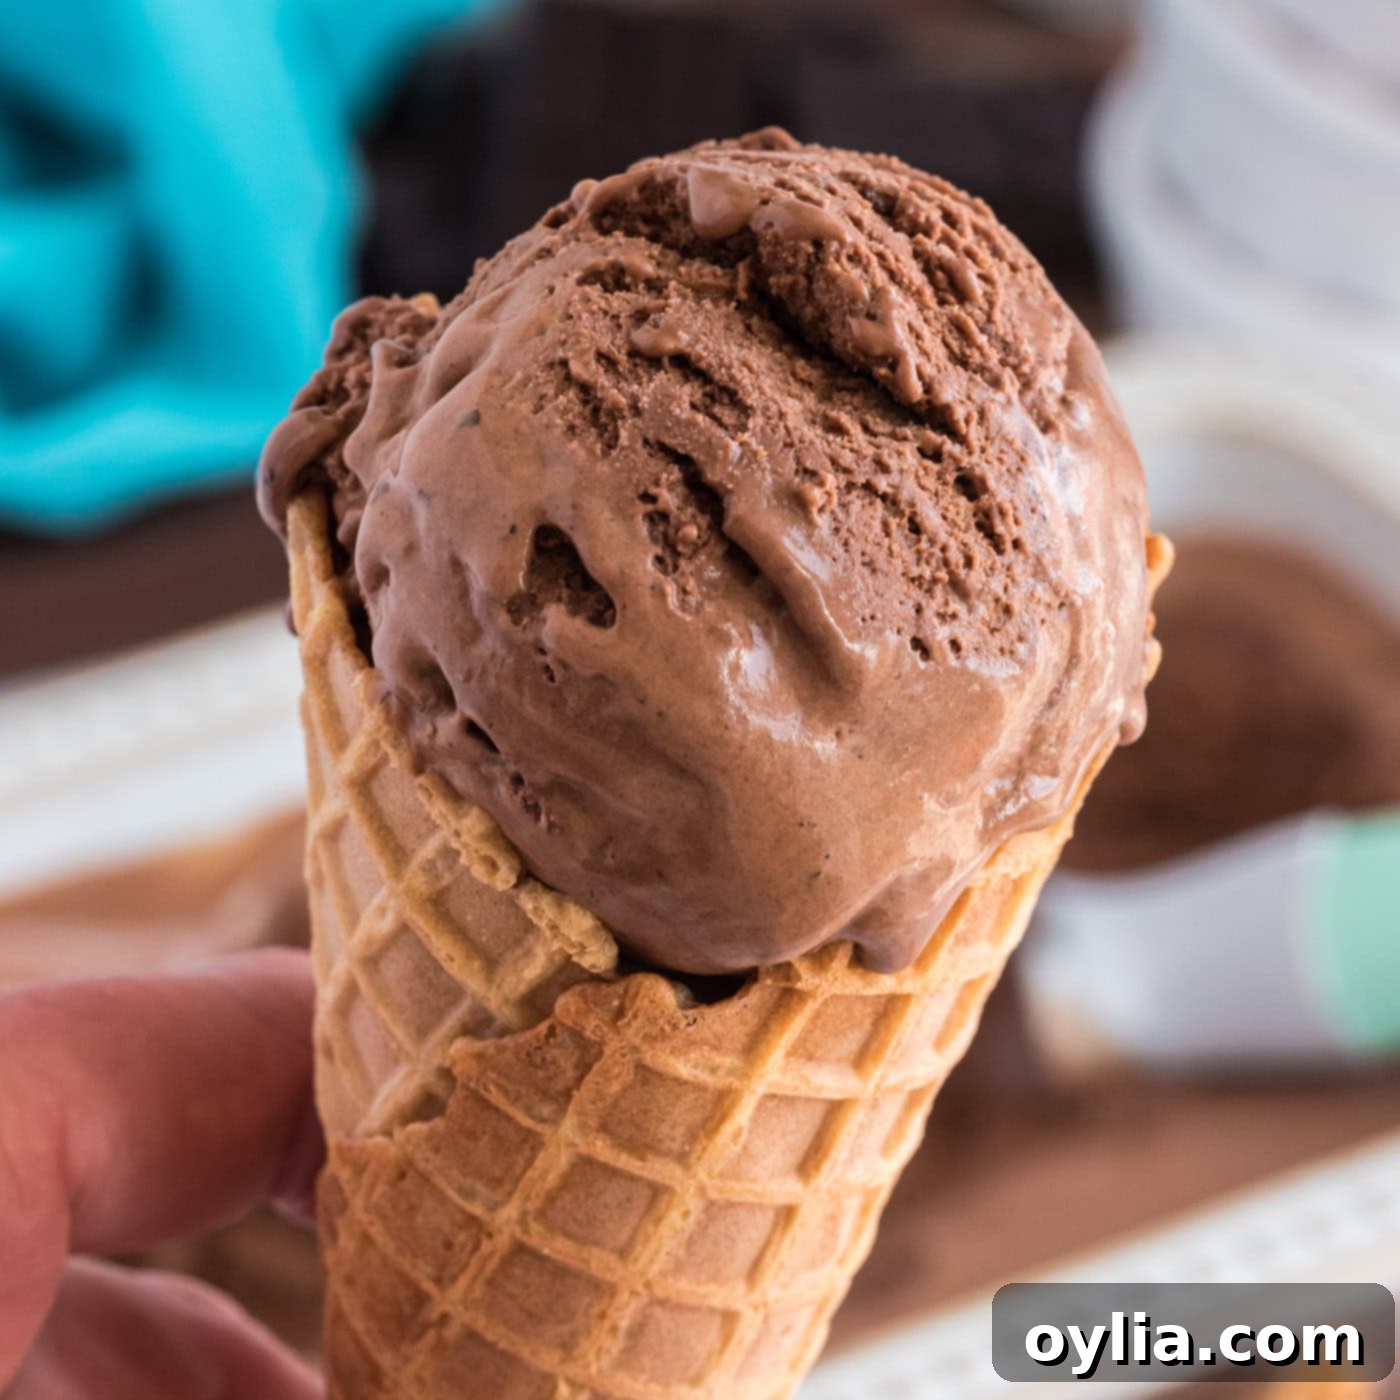
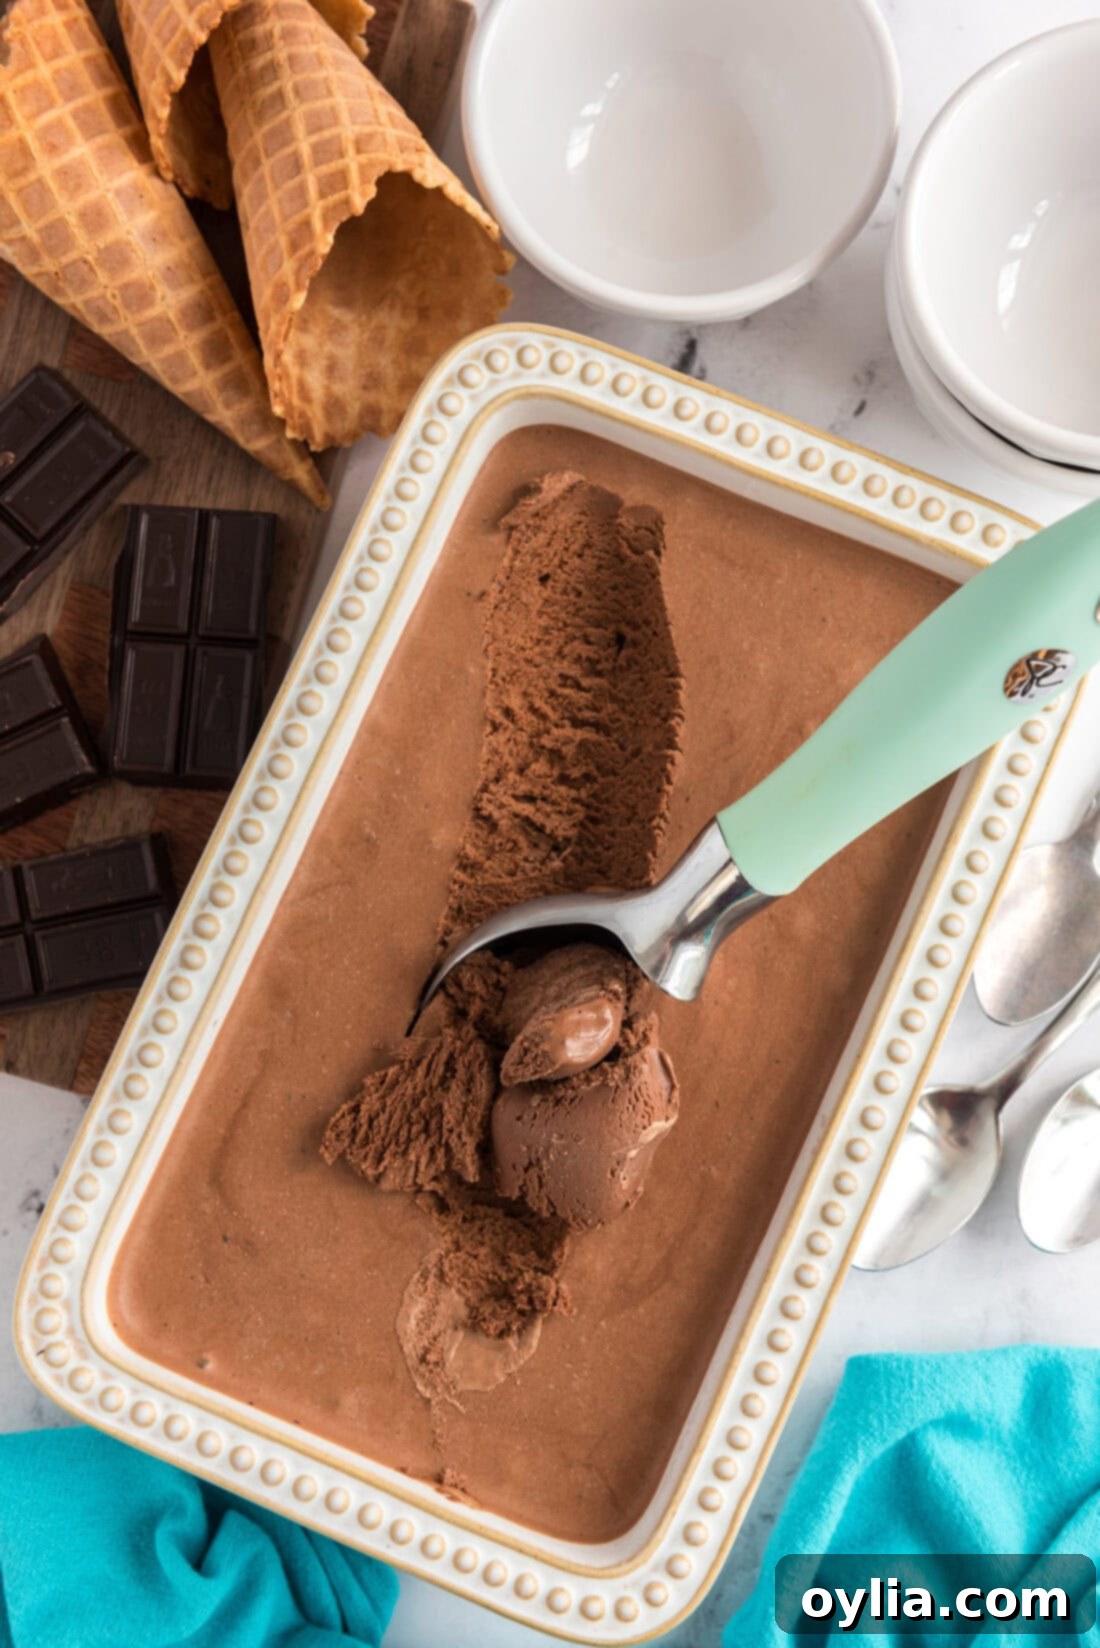
Prepare to tantalize your taste buds with the ultimate homemade chocolate ice cream! This recipe brings you a nostalgic, old-fashioned flavor that is intensely rich, luxuriously decadent, and incredibly creamy. What’s even better? It requires only 7 simple ingredients and an ice cream maker to churn out a batch of pure bliss. Forget store-bought ice cream; once you taste this velvety smooth creation, you’ll be hooked on the unparalleled quality and depth of flavor that only a homemade version can deliver. It’s truly the best on the block, promising a delightful dessert experience that will become a cherished family favorite.
Why This Homemade Chocolate Ice Cream Recipe Works So Well
This homemade chocolate ice cream recipe isn’t just good; it’s truly exceptional. It consistently delivers a decadent, silky, creamy, and one hundred percent scoopable result, setting it apart from other recipes. But what makes it so consistently perfect? It all comes down to a carefully balanced combination of ingredients and a classic preparation method that has been perfected over years.
The richness of this ice cream stems from a high-quality, unsweetened chocolate and a generous amount of heavy cream, creating a luscious base that truly melts in your mouth. The addition of eggs acts as a natural emulsifier, preventing ice crystals and contributing to that incredibly smooth, velvety texture that defines gourmet ice cream. Furthermore, a crucial, often overlooked detail is the pinch of salt. This small but mighty addition doesn’t make the ice cream salty; instead, it ingeniously enhances and deepens the chocolate flavor, making it shine even more brightly and preventing it from tasting flat or overly sweet. We’ve been perfecting and enjoying this very recipe since 2008, and it has never failed to impress. We are confident you’ll find it just as irresistible as we do!
For this specific recipe, an ice cream maker is indeed required to achieve the ideal creamy consistency and aeration. The churning process is key to incorporating air and breaking down ice crystals as the mixture freezes. However, if you don’t have an ice cream maker or prefer a simpler approach, don’t worry! We also offer a fantastic no-churn chocolate ice cream recipe that delivers delicious results without the need for special equipment. Choose the method that best suits your kitchen and enjoy the magic of homemade chocolate ice cream.
Essential Ingredients for Your Homemade Chocolate Ice Cream
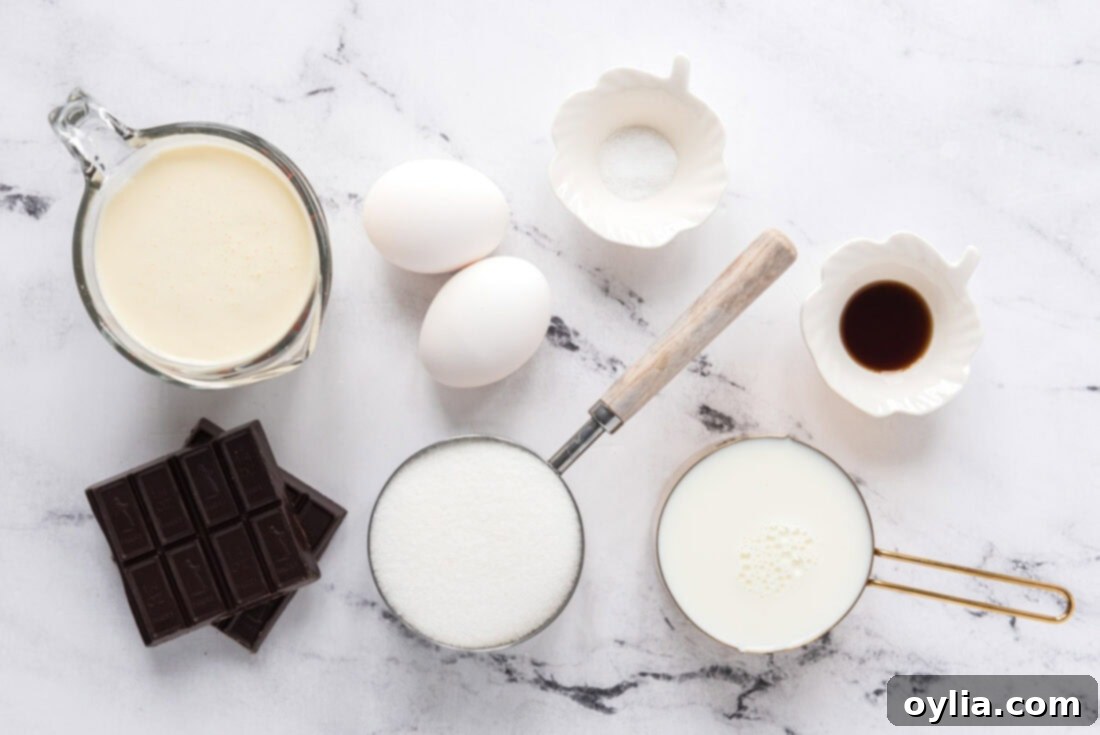
Crafting this incredible homemade chocolate ice cream requires just a handful of common ingredients, but the quality of each plays a significant role in the final flavor and texture. For precise measurements and a detailed list, please refer to the printable recipe card available at the end of this post. Here’s a quick overview of what you’ll need to get started:
- **Unsweetened Chocolate:** The star of the show, providing deep, rich chocolate flavor.
- **Milk:** Helps to create the base and balance the richness.
- **Large Eggs:** Essential for the custard base, contributing to creaminess and emulsification.
- **Granulated Sugar:** Sweetens the ice cream and aids in achieving a smooth texture.
- **Heavy Whipping Cream:** The primary source of fat, crucial for a truly decadent and creamy ice cream.
- **Vanilla Extract:** Enhances the overall flavor profile, complementing the chocolate.
- **Salt:** A tiny pinch that makes a big difference by brightening the chocolate notes.
Ingredient Information and Smart Substitution Suggestions
Understanding the role of each ingredient will help you achieve the best results and make informed substitutions if needed:
HEAVY CREAM – This is the backbone of truly creamy ice cream. Its high fat content (typically 36% or more) is what gives ice cream its smooth, rich, and dense texture by preventing the formation of large ice crystals. If you were to substitute heavy whipping cream with a lower-fat milk, the resulting ice cream would be less smooth, icier, and lack that signature richness. While experimenting with different fat percentages can be fun, for a consistently decadent outcome, we strongly recommend sticking to heavy cream.
MILK – Whole milk is generally recommended for its balanced fat content, which contributes to the overall body and creaminess without making the ice cream excessively heavy. You can use 2% milk, but be aware that it might slightly reduce the richness. Avoid skim milk if possible, as it will lead to a noticeably icier texture.
EGGS – Eggs play a vital role in creating a custard base, which is characteristic of French-style ice cream. They act as an emulsifier, binding the fat and water together to prevent separation and ensure a remarkably smooth, almost silky texture. Eggs also add body and richness, helping the ice cream hold its shape and scoop beautifully. If you’re concerned about using raw eggs, opting for **pasteurized eggs** is an excellent solution for peace of mind, as they have been gently heated to eliminate bacteria.
CHOCOLATE – The quality of your chocolate directly impacts the flavor of your ice cream. For this recipe, choose a good quality bar of unsweetened chocolate (often labeled 100% cacao). This allows you to control the sweetness precisely with the added sugar. Avoid using sweetened chocolate or chocolate chips for melting, as they contain additives that can affect the texture and may make the ice cream too sweet. If you prefer a slightly less intense chocolate flavor, you could experiment with a high-quality bitter-sweet chocolate (around 70-80% cacao) and adjust the sugar slightly.
GRANULATED SUGAR – Besides providing sweetness, sugar is crucial for the texture of ice cream. It lowers the freezing point of the mixture, preventing it from freezing rock-solid and making it scoopable. It also contributes to the smooth mouthfeel. Do not significantly reduce the sugar, as it will negatively impact the texture.
VANILLA EXTRACT – A touch of vanilla extract is a secret weapon in chocolate desserts. It doesn’t make the ice cream taste like vanilla, but rather enhances and amplifies the complex flavors of the chocolate, adding a subtle warmth and depth that rounds out the overall profile.
SALT – As mentioned earlier, a tiny pinch of salt is a flavor enhancer. It balances the sweetness of the sugar and makes the chocolate taste more pronounced and vibrant, preventing the ice cream from being one-dimensionally sweet.
How to Make the Best Homemade Chocolate Ice Cream: A Step-by-Step Guide
These step-by-step photos and detailed instructions are here to help you visualize how to make this delicious recipe. For a complete, printable version of this recipe, including all measurements and detailed instructions, simply Jump to Recipe at the bottom of this page.
-
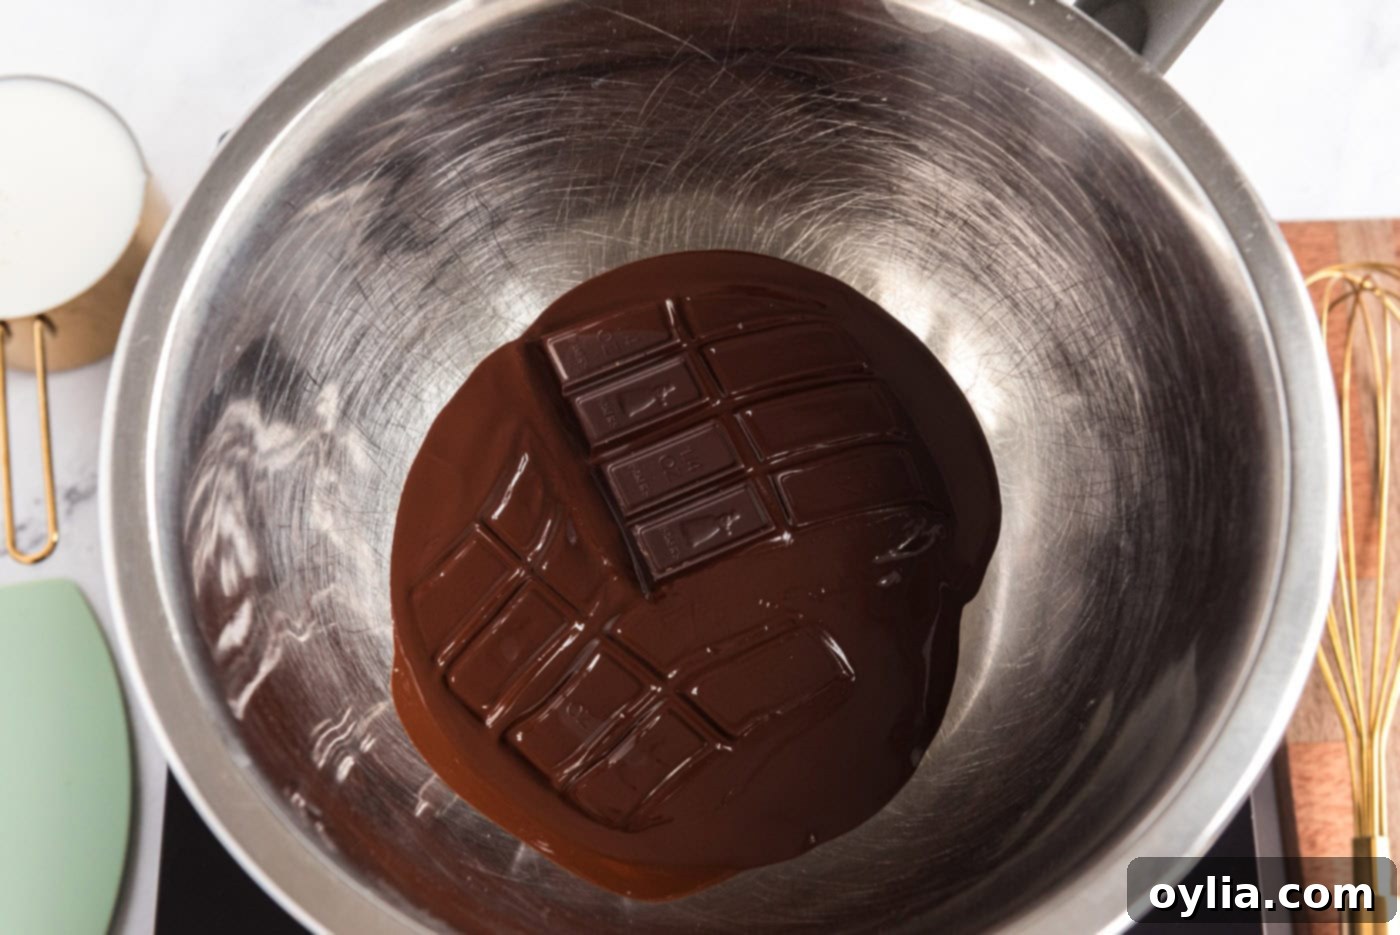
Melt the unsweetened chocolate in the top of a double boiler over hot, not boiling, water. Ensure the water in the saucepan below is simmering gently and not directly touching the bottom of the bowl holding the chocolate. This gentle heat is crucial to prevent the chocolate from seizing or burning, which can ruin its smooth texture.
EXPERT TIP – Don’t have a double boiler? No problem! You can easily create one by using a heat-safe bowl, such as a stainless steel bowl, that fits snugly over your saucepan. Just make sure the bottom of your bowl does not touch the simmering water. Stir the chocolate frequently with a rubber spatula until it is completely smooth and glossy.

-
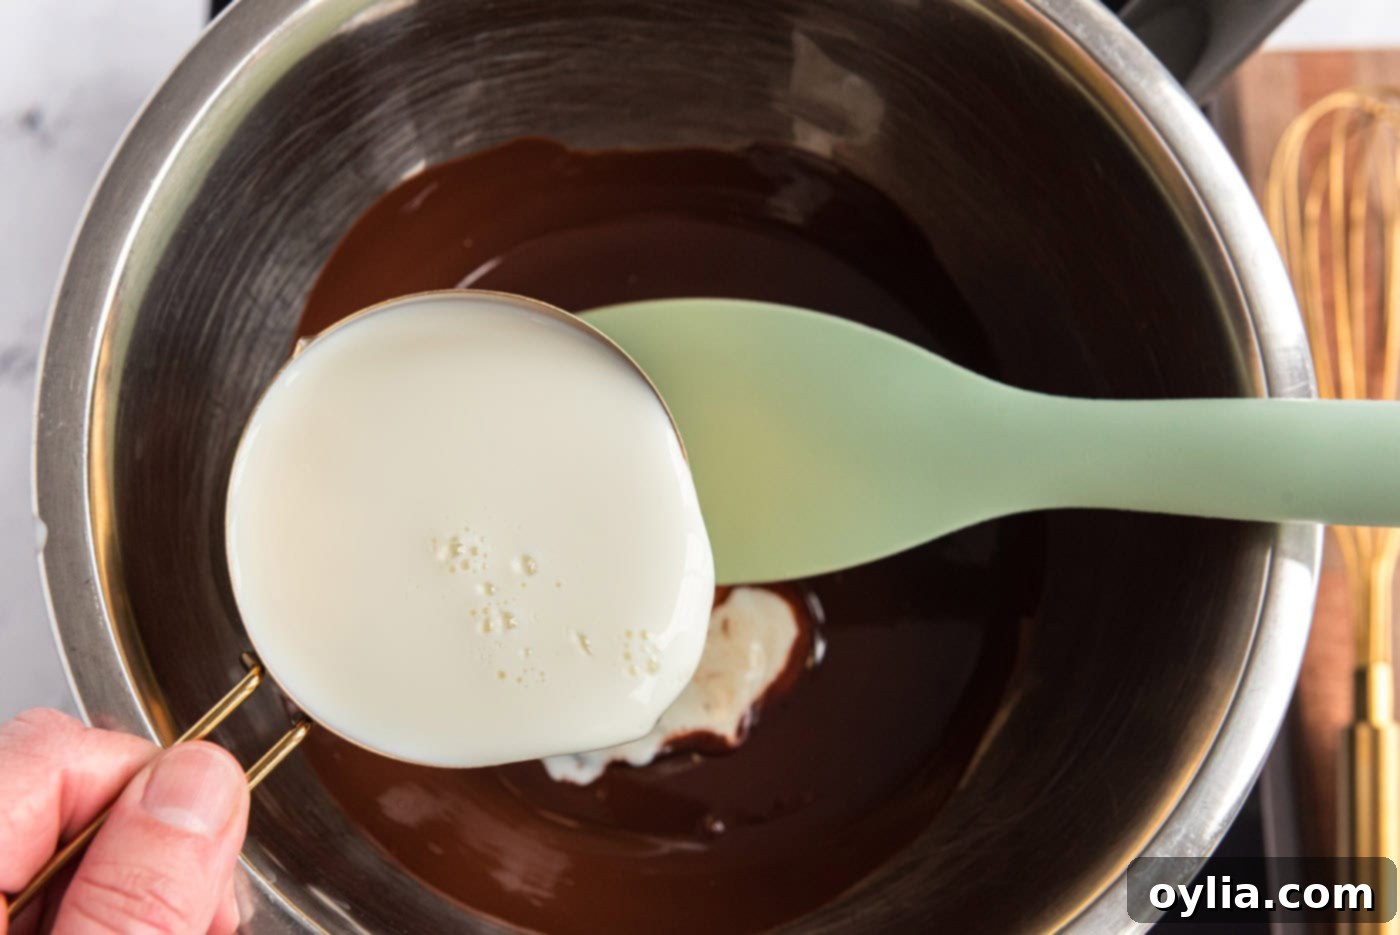
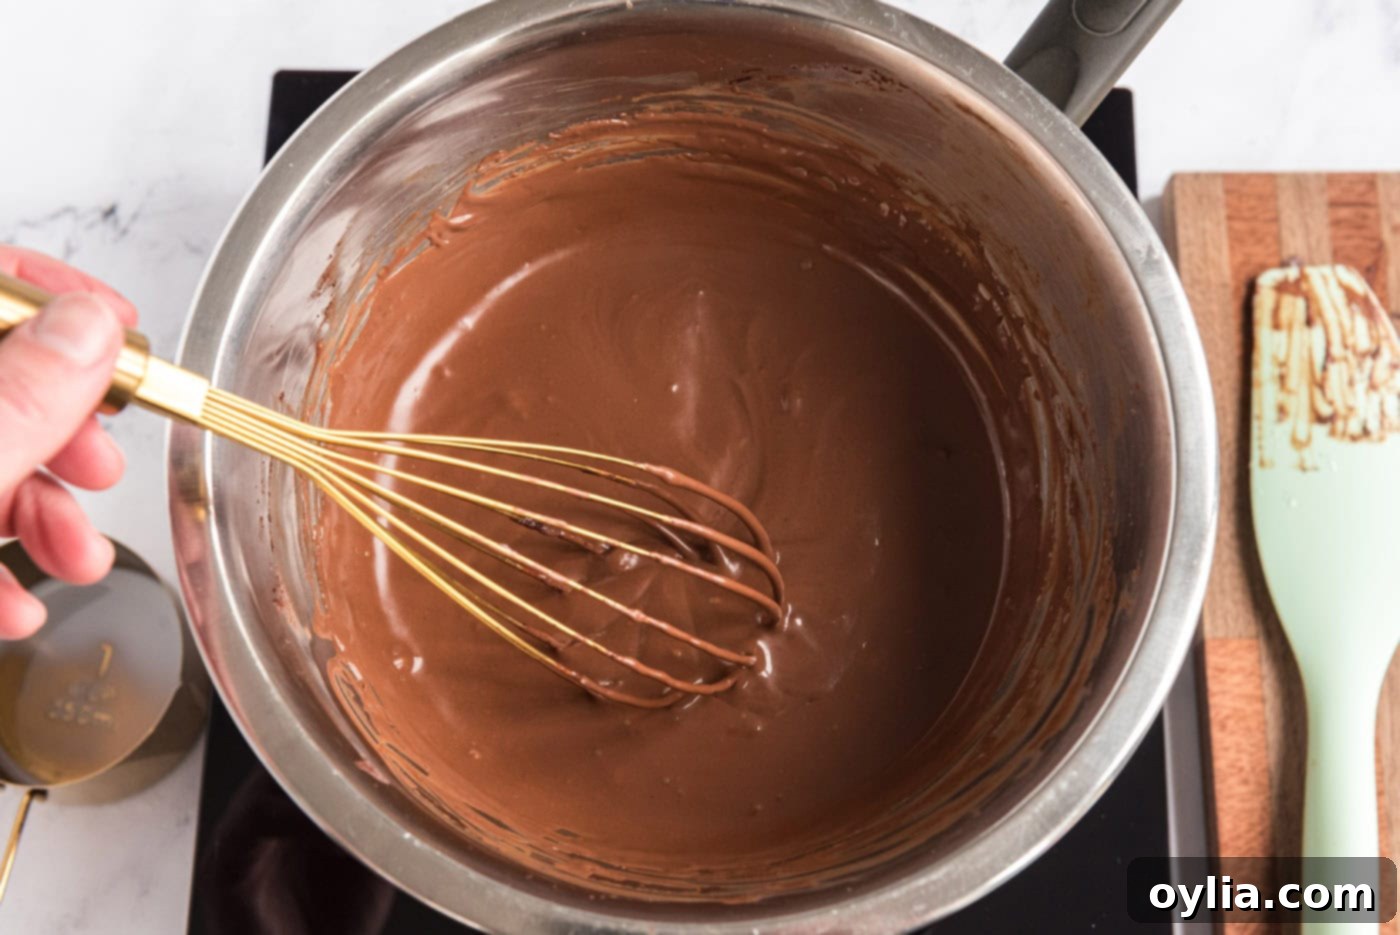
Once the chocolate is fully melted and smooth, gradually whisk in the milk. Add it slowly, continuously stirring to ensure it fully incorporates without clumping. Continue to heat the mixture gently, stirring constantly, until it is completely smooth and well combined. This process helps to thin out the chocolate and create a uniform liquid. Remove the bowl from the heat and allow the chocolate-milk mixture to cool down to room temperature. It’s important that this mixture isn’t hot when combined with the egg mixture later.


-
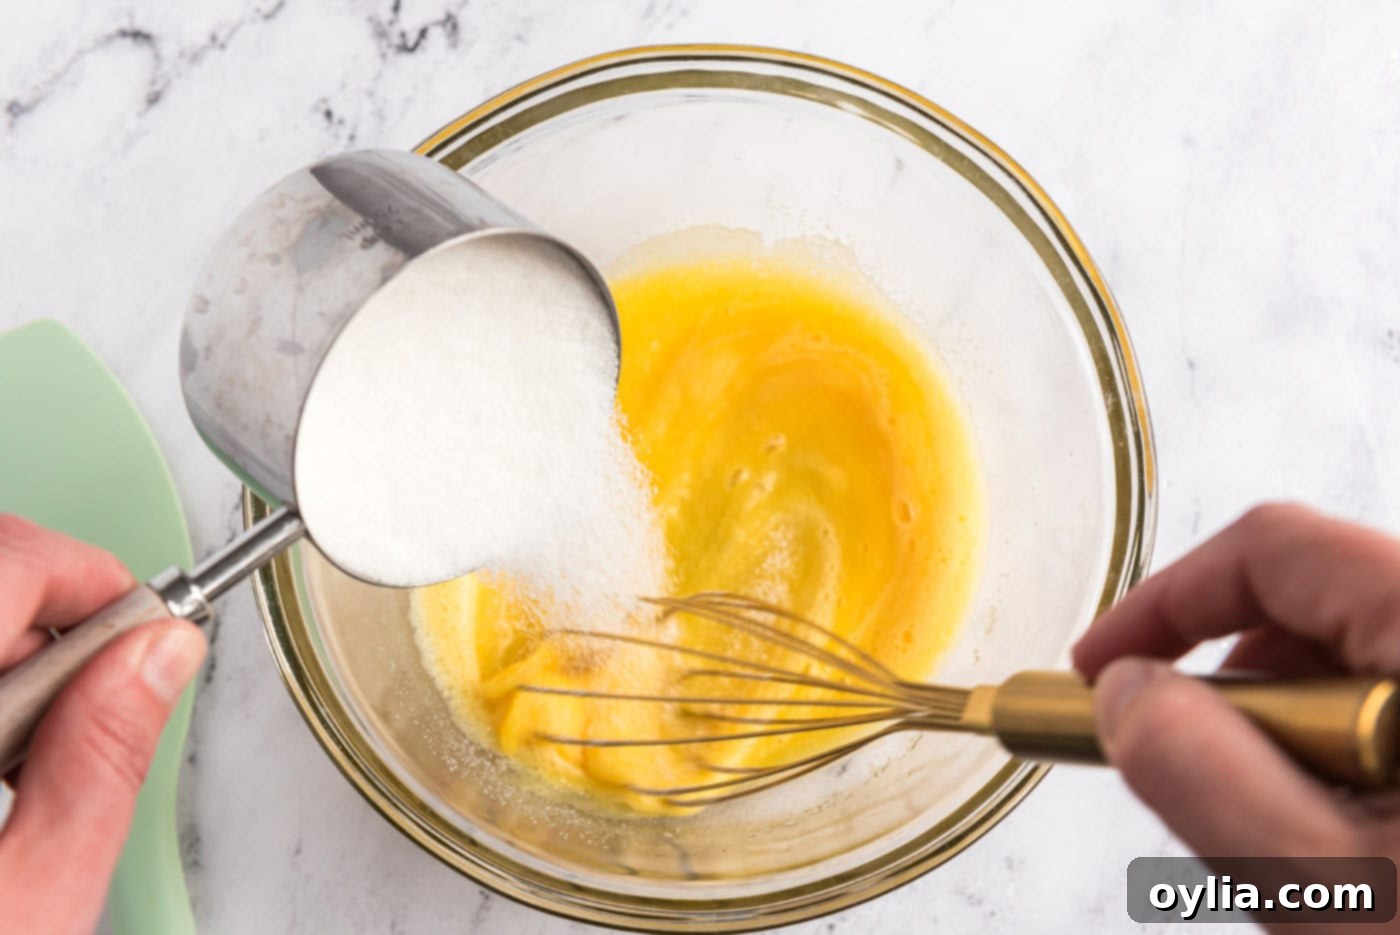
In a separate large mixing bowl, whisk the eggs until they become light in color and fluffy in texture, which usually takes about 1-2 minutes. This incorporates air and prepares them for the sugar. Next, gradually whisk in the granulated sugar, a little at a time, ensuring it dissolves completely. Continue whisking for about 1 minute more until the mixture is thick, pale yellow, and the sugar is fully blended. This creates a stable base for your ice cream custard.


-
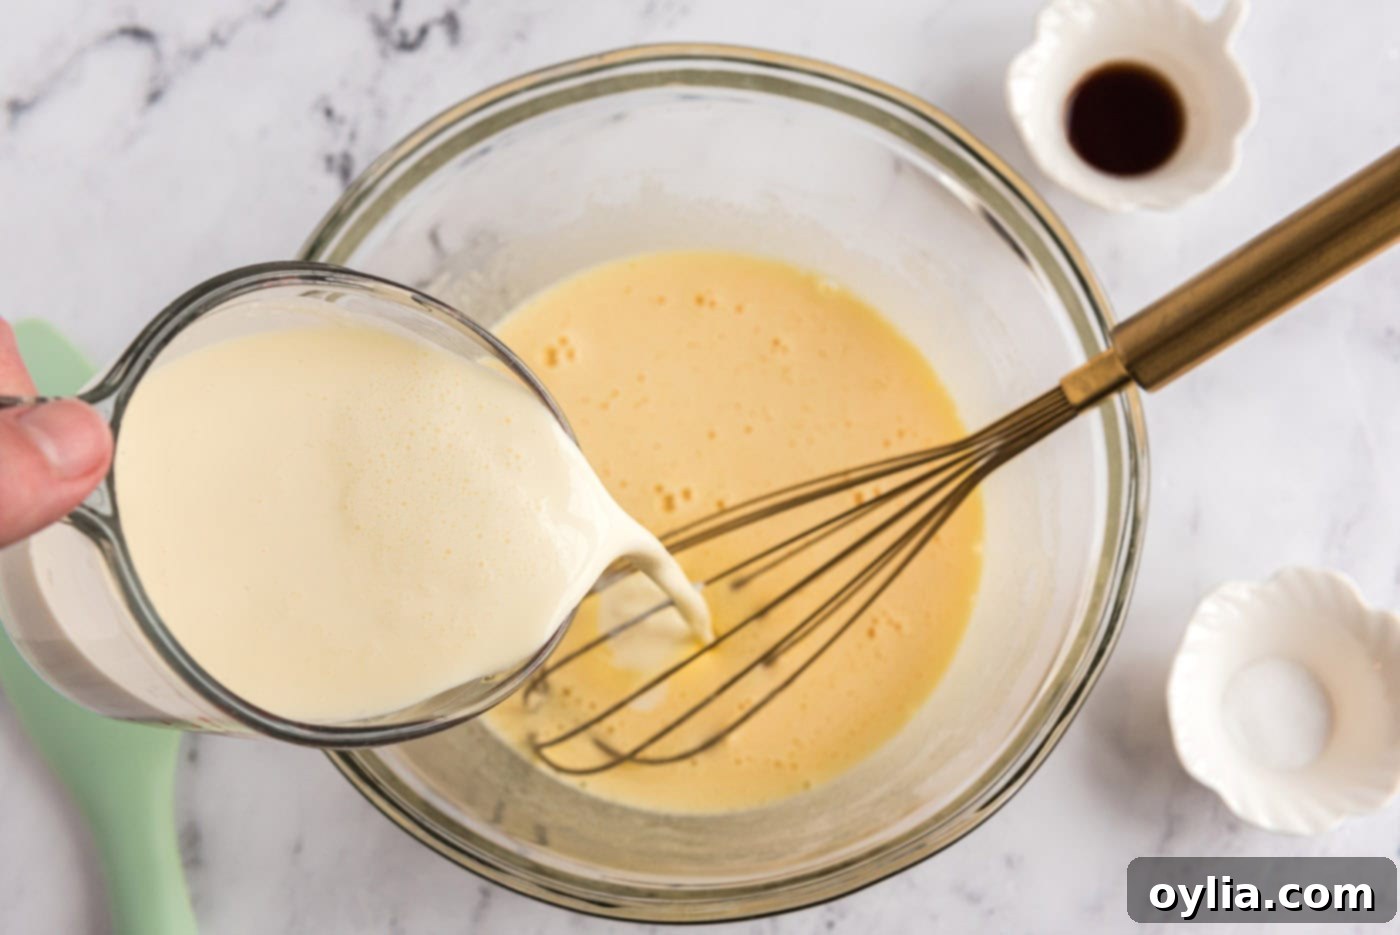
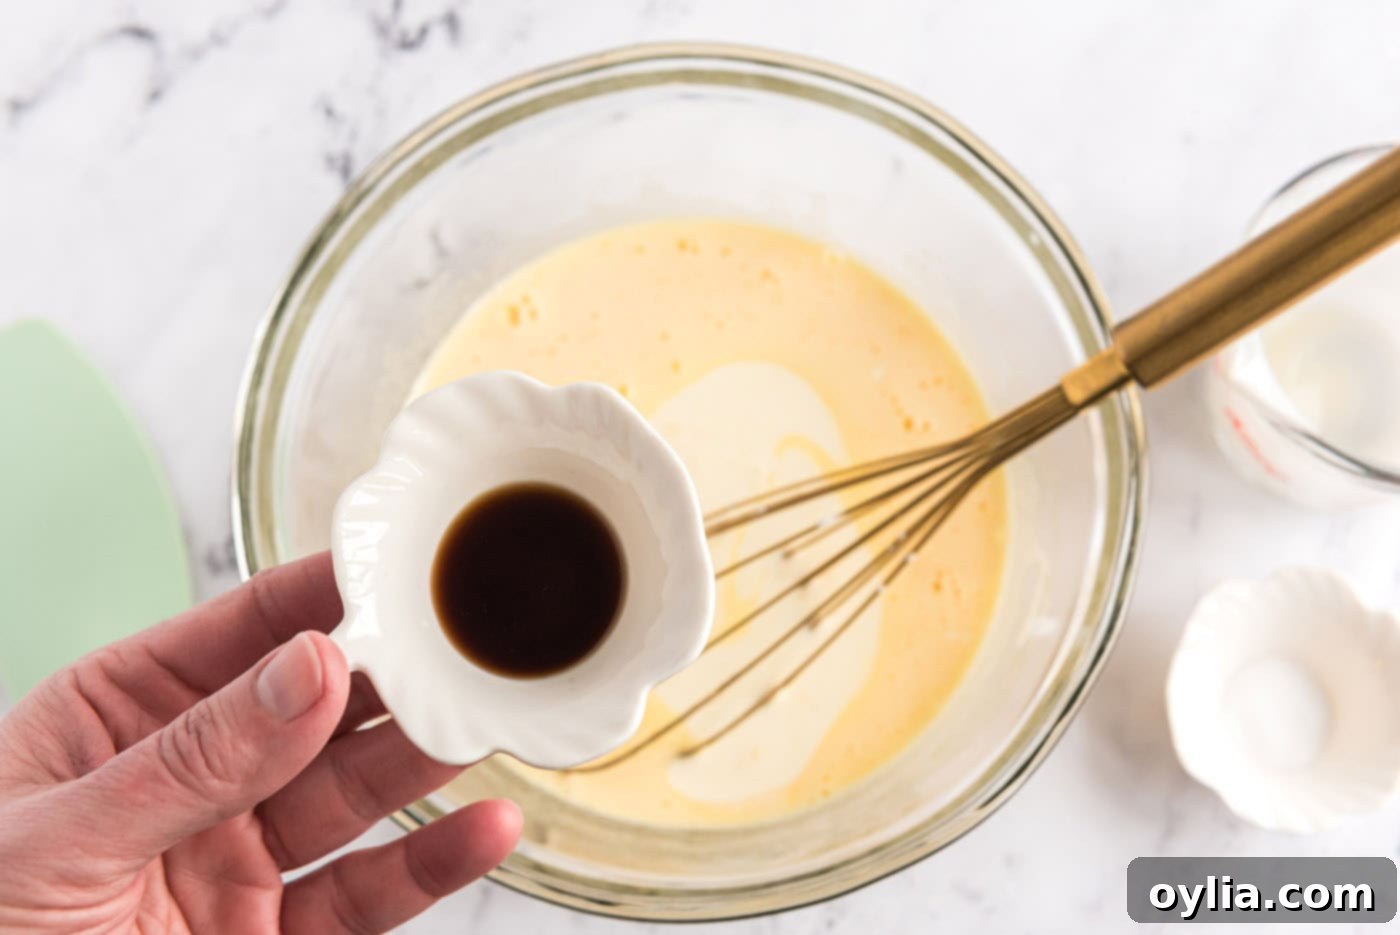
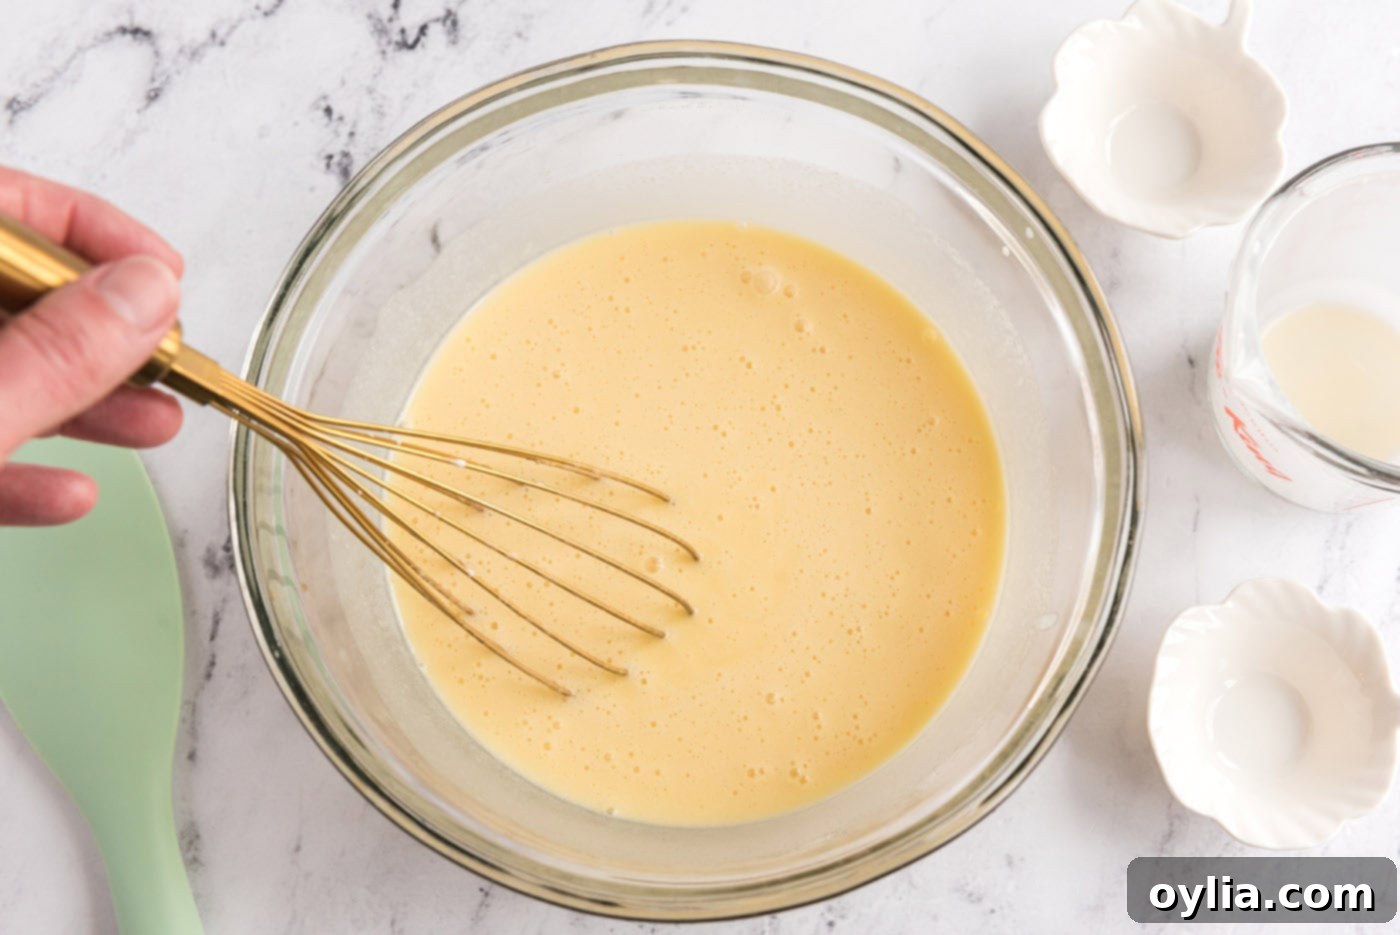
Now, pour the heavy cream into the egg and sugar mixture. Add the vanilla extract and the pinch of salt. Whisk everything together thoroughly until all ingredients are well combined and the mixture is smooth. This forms the rich, creamy custard base that will eventually become your chocolate ice cream. Take your time to ensure everything is evenly blended for a consistent texture.


-
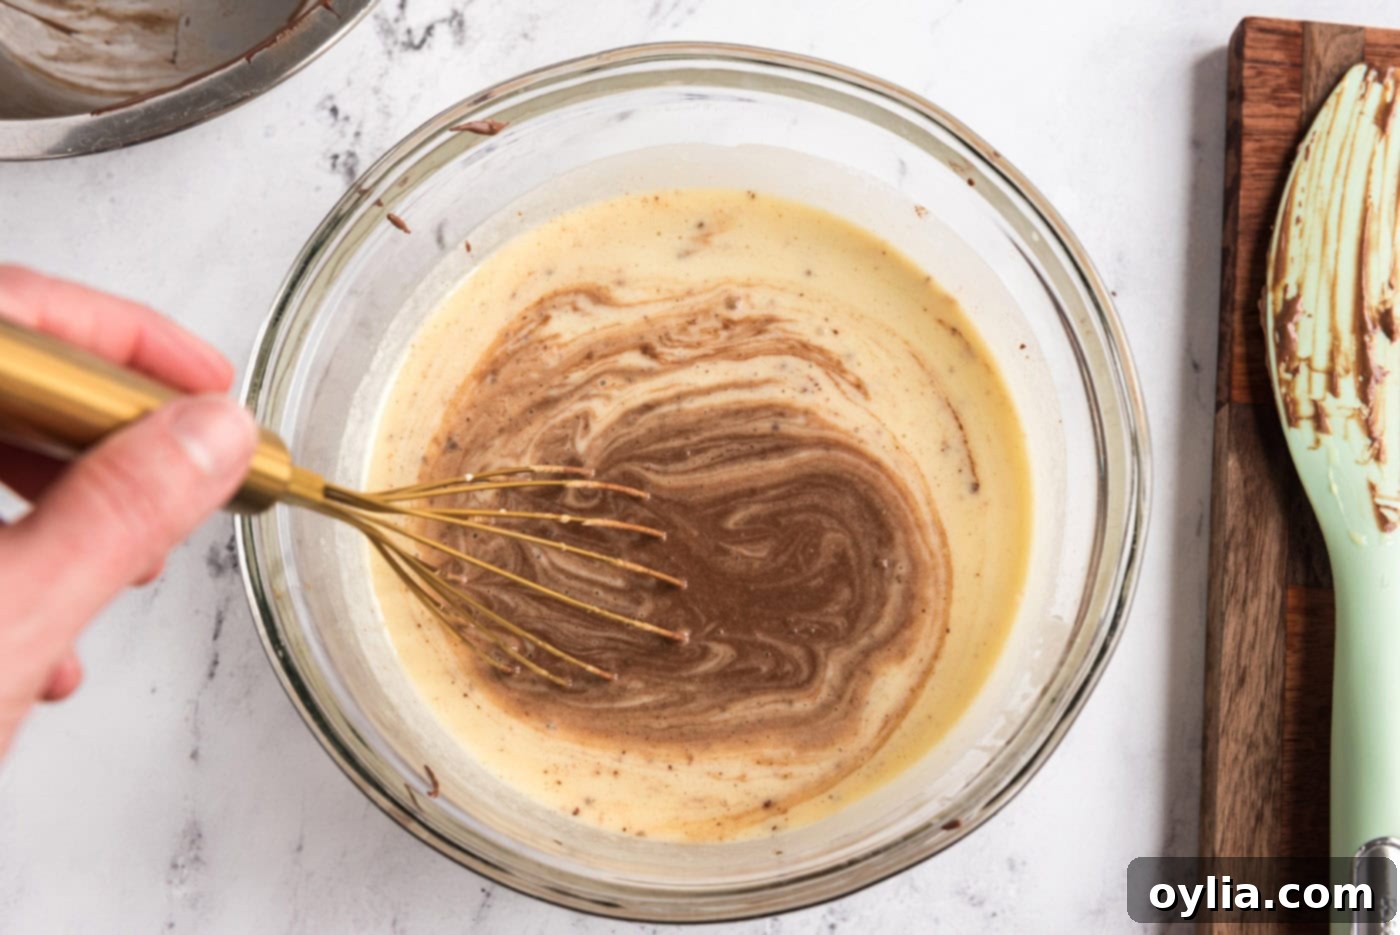
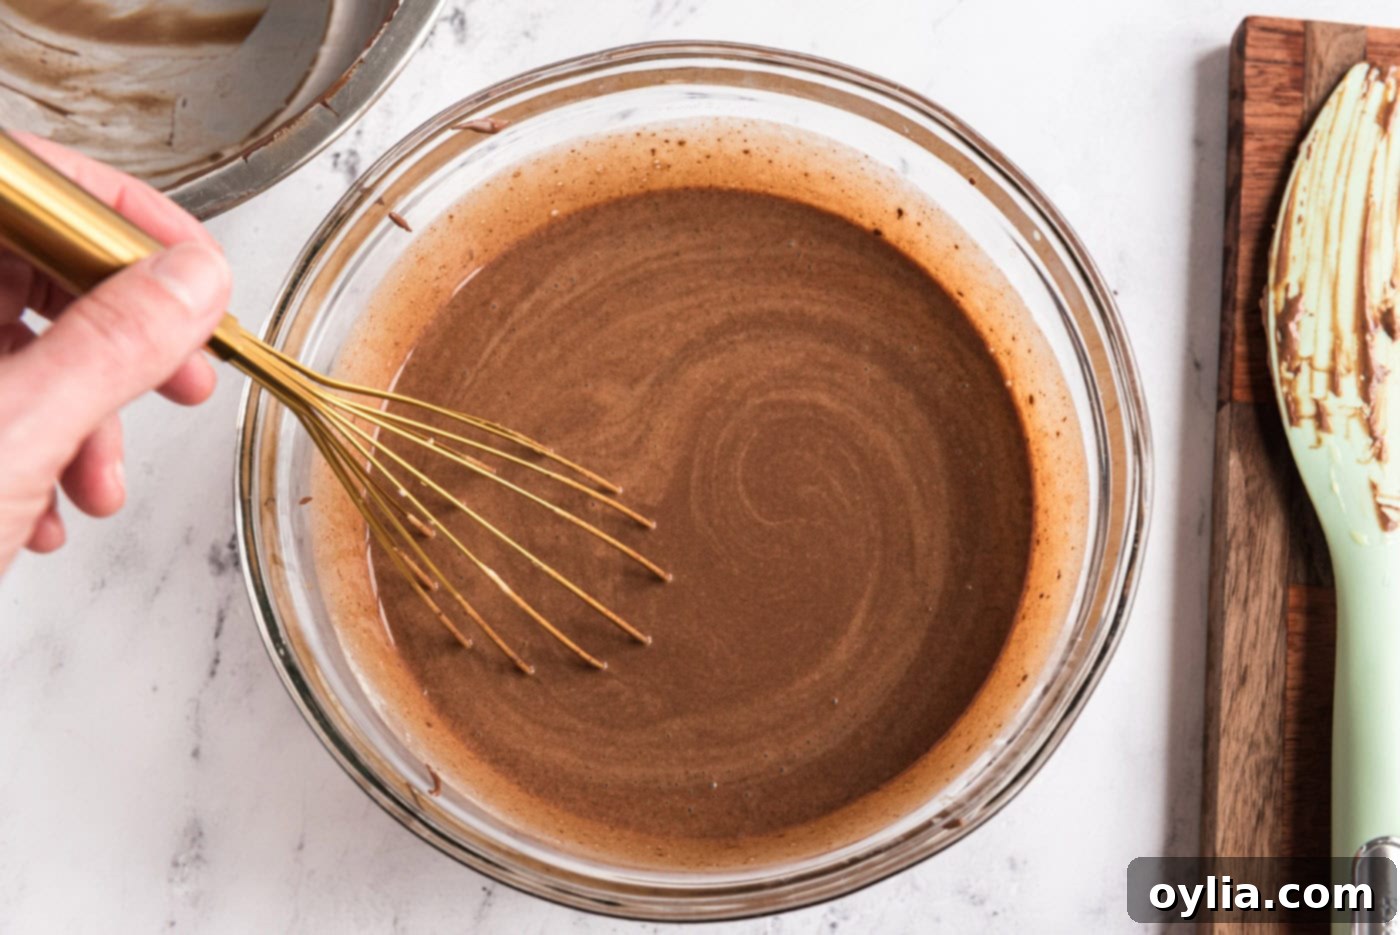
Carefully pour the cooled chocolate-milk mixture into the cream and egg mixture. Whisk everything together until it’s completely smooth, uniform in color, and perfectly blended. This is your completed chocolate ice cream base. Ensure there are no streaks of chocolate or unmixed cream. The result should be a rich, dark brown, and smooth liquid, ready for chilling.


- Cover the bowl containing your chocolate ice cream base tightly with plastic wrap and refrigerate it until it is thoroughly cold. This typically takes about 1-3 hours, depending on the efficiency of your refrigerator. Chilling the mixture completely is a critical step; a well-chilled base will churn more efficiently, result in a smoother texture, and reduce the overall freezing time in your ice cream maker. Do not skip this step!
-
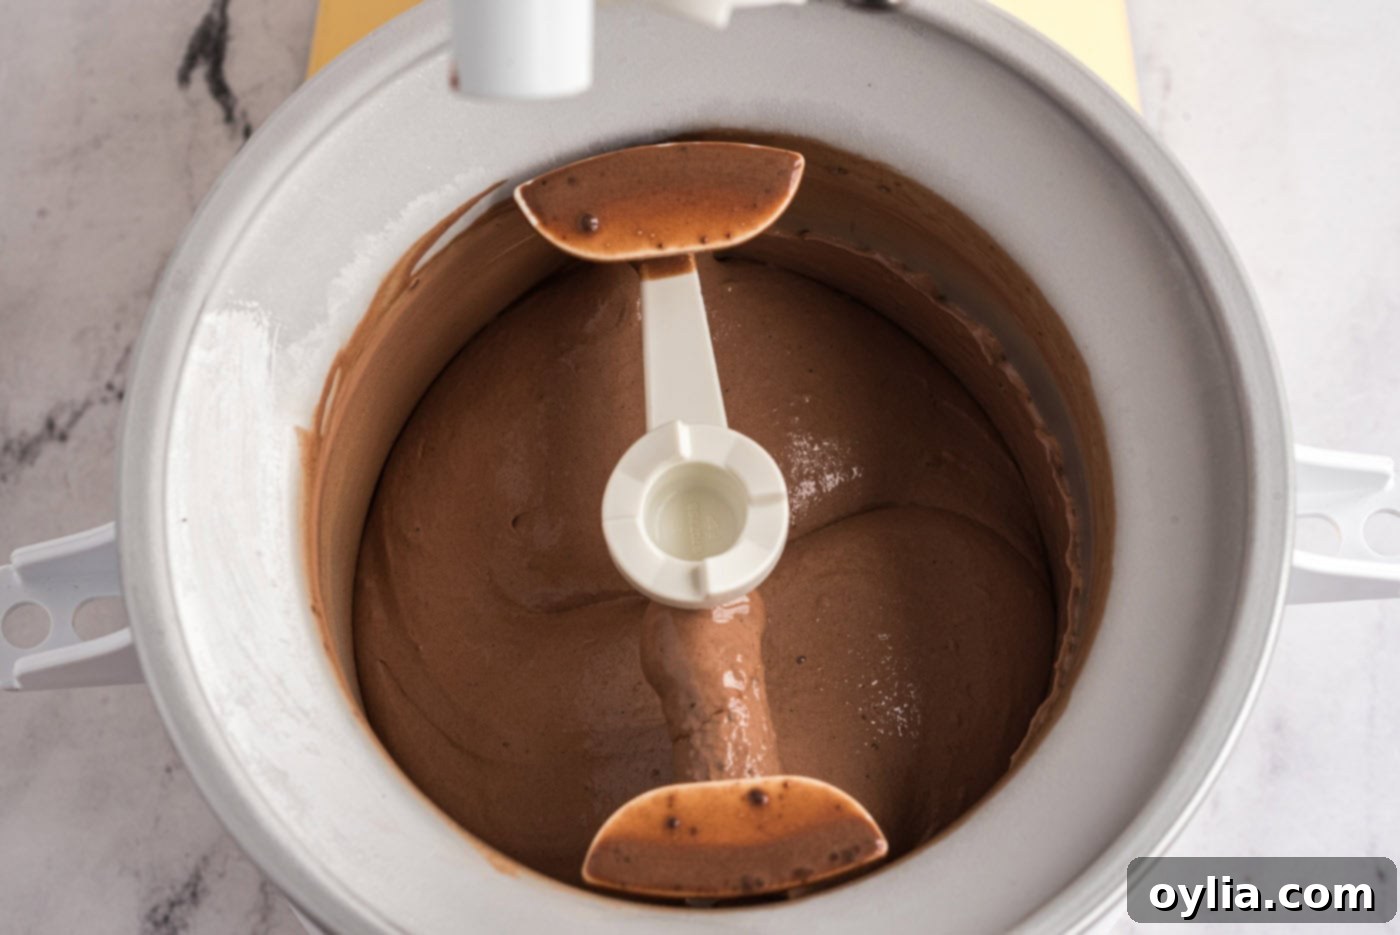
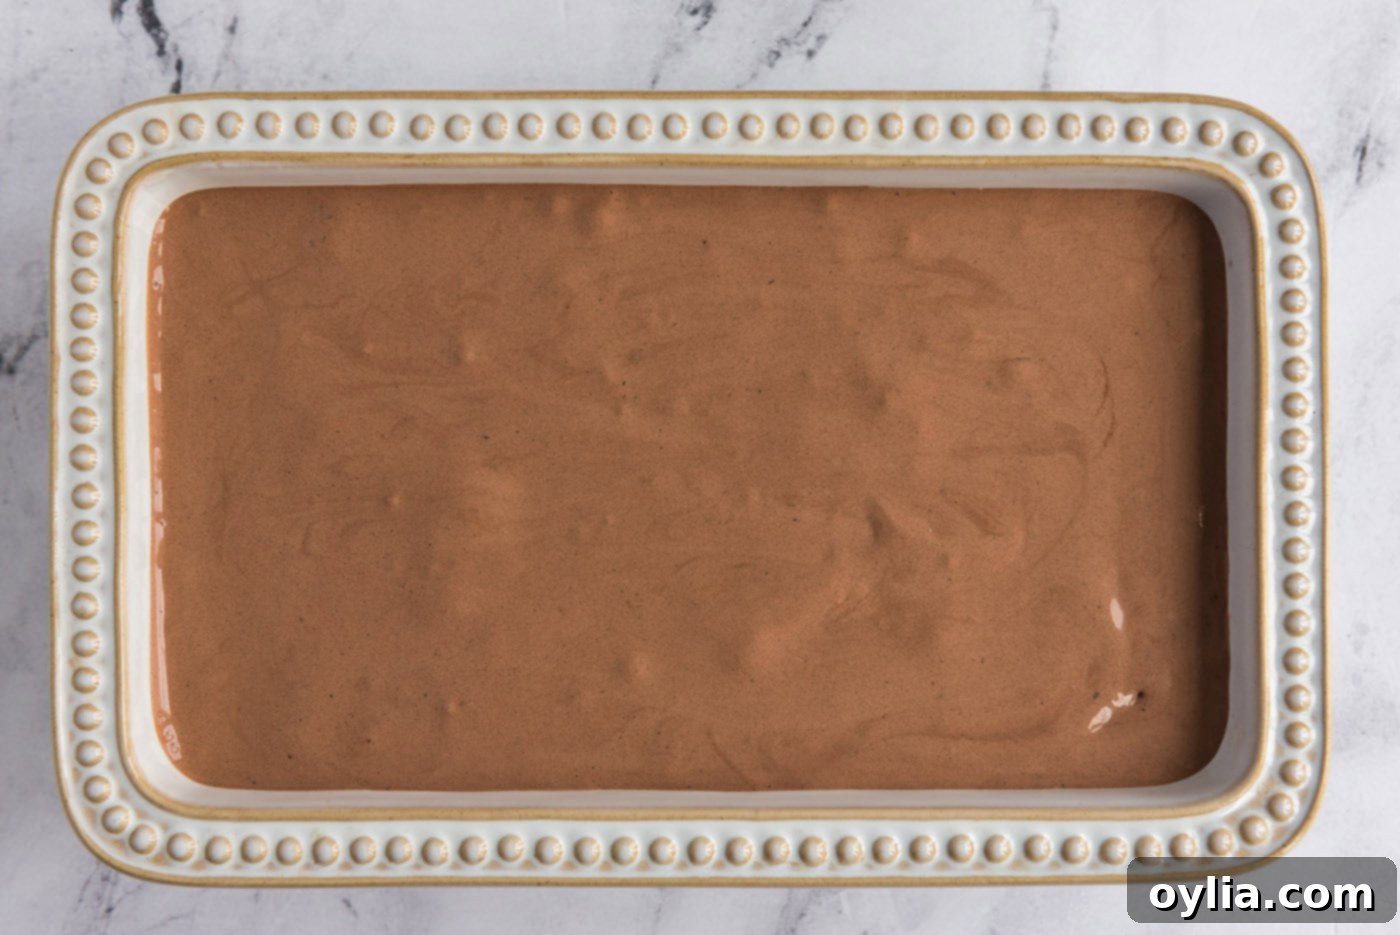
Once the ice cream base is fully chilled, transfer it to your ice cream maker. Follow the manufacturer’s instructions for your specific model. The churning process usually takes about 20-30 minutes, during which time the mixture will thicken to a soft-serve consistency. The machine works by continuously stirring the mixture as it freezes, incorporating air and breaking up ice crystals to create a smooth, creamy dessert. Once churned, transfer the soft ice cream to an airtight container (a loaf pan is often perfect for this) and freeze for at least 4-6 hours, or overnight, to allow it to harden to the desired consistency. This recipe yields approximately 1 generous quart of delicious homemade chocolate ice cream.


Frequently Asked Questions & Expert Tips for Perfect Homemade Ice Cream
While this specific recipe is optimized for use with an ice cream maker to achieve its signature creamy texture, it is possible to make chocolate ice cream without one. However, it requires a different approach and ingredient adjustments. For a dedicated no-churn option, we highly recommend checking out our no-churn chocolate ice cream recipe, which is specifically designed to deliver great results without special equipment.
Homemade chocolate ice cream, when stored properly, can be enjoyed for about 2-3 weeks in the freezer. It’s important to note that because it doesn’t contain the preservatives and stabilizers found in store-bought varieties, its shelf life is naturally shorter. To maximize freshness and prevent freezer burn, store it in an airtight container, preferably with a piece of parchment paper or plastic wrap pressed directly onto the surface of the ice cream before sealing the lid.
Absolutely! This chocolate ice cream serves as an excellent base for a variety of delicious additions. You can customize it with chopped nuts (like almonds or walnuts), mini marshmallows, brownie chunks, chocolate chips (milk, dark, or white), cookie pieces, or even candy bar bits. For best results, add any extra ingredients during the last minute or two of churning in your ice cream maker. This ensures they are evenly distributed throughout the ice cream without getting crushed or sinking to the bottom.
If your ice cream is too hard, it might be due to not enough fat or sugar, or not enough air incorporated during churning. Ensure you use heavy cream as specified and don’t reduce the sugar. If it’s icy, it could be insufficient emulsification (the eggs help here) or not chilling the base thoroughly before churning. Always chill your base and your ice cream maker bowl (if it’s a freezer-bowl type) completely for optimal results. For a creamier scoop, simply let it sit at room temperature for 5-10 minutes before serving.
While cocoa powder can be used to make chocolate ice cream, this particular recipe is designed for unsweetened baking chocolate, which provides a different depth and richness due to its fat content. Substituting cocoa powder would require adjusting the fat (adding butter or more cream) and potentially the liquid components to maintain the desired texture and consistency. For the best outcome with this recipe, stick to unsweetened chocolate.
Serving Suggestions for Your Decadent Chocolate Ice Cream
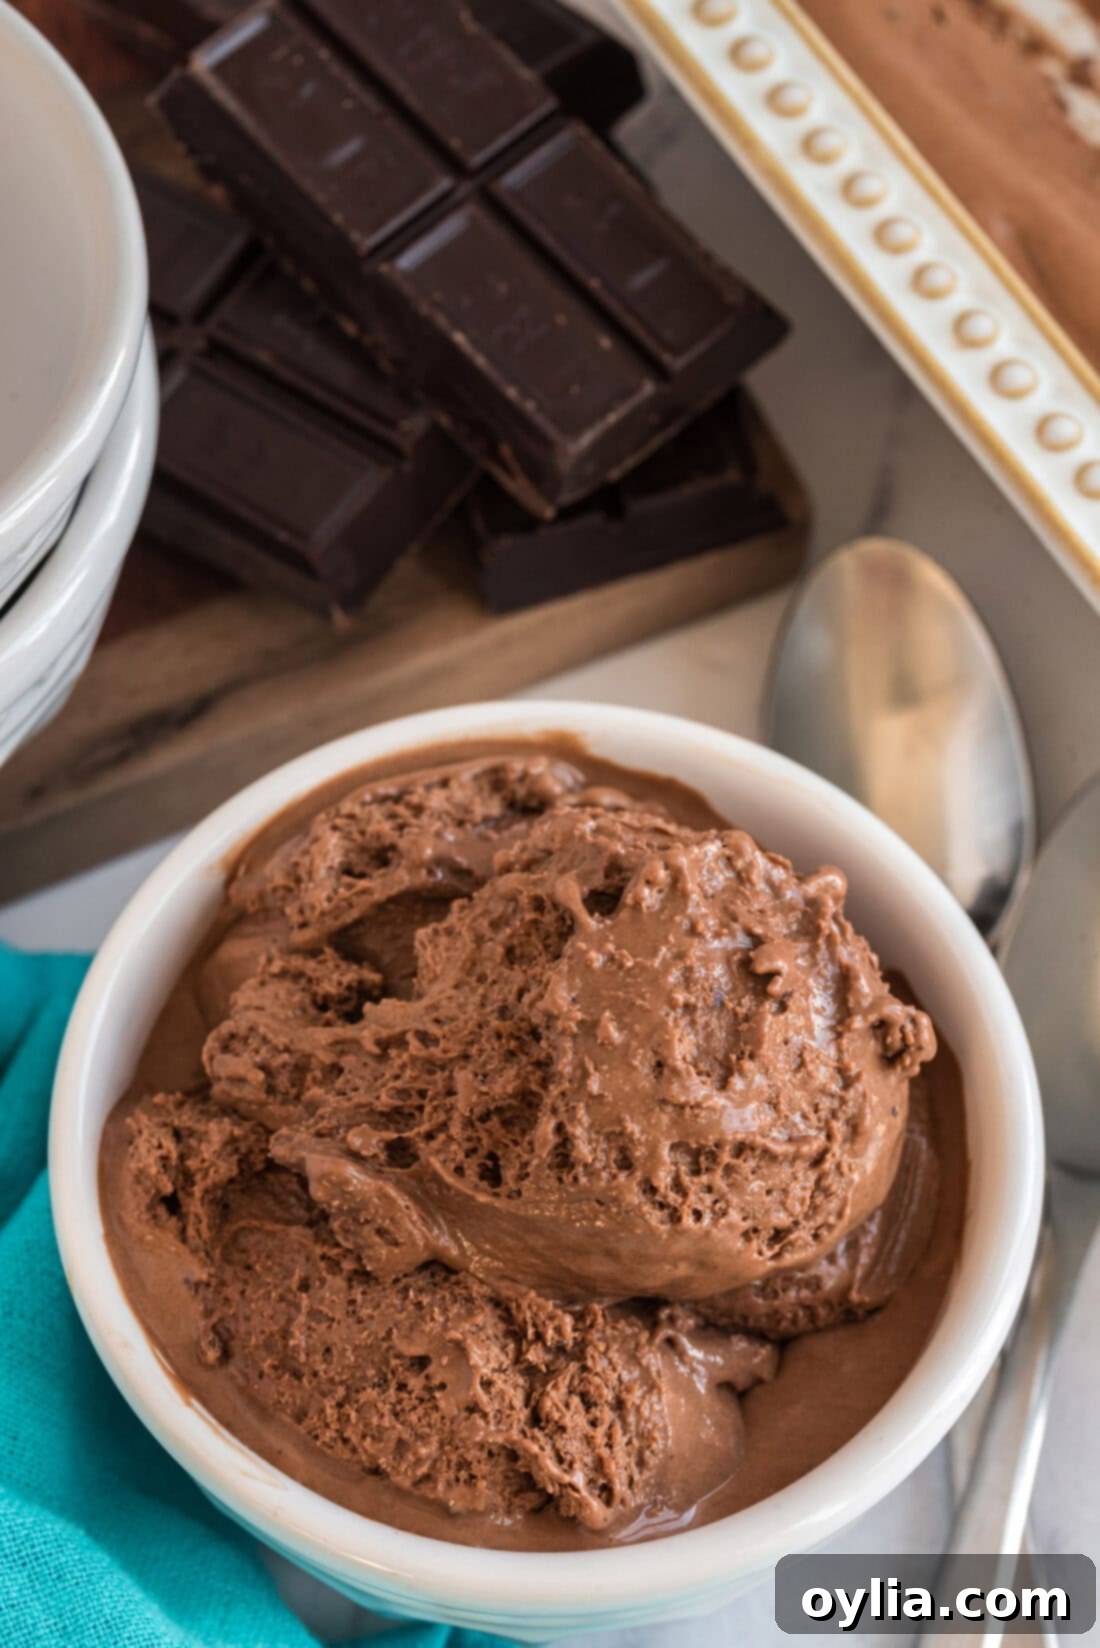
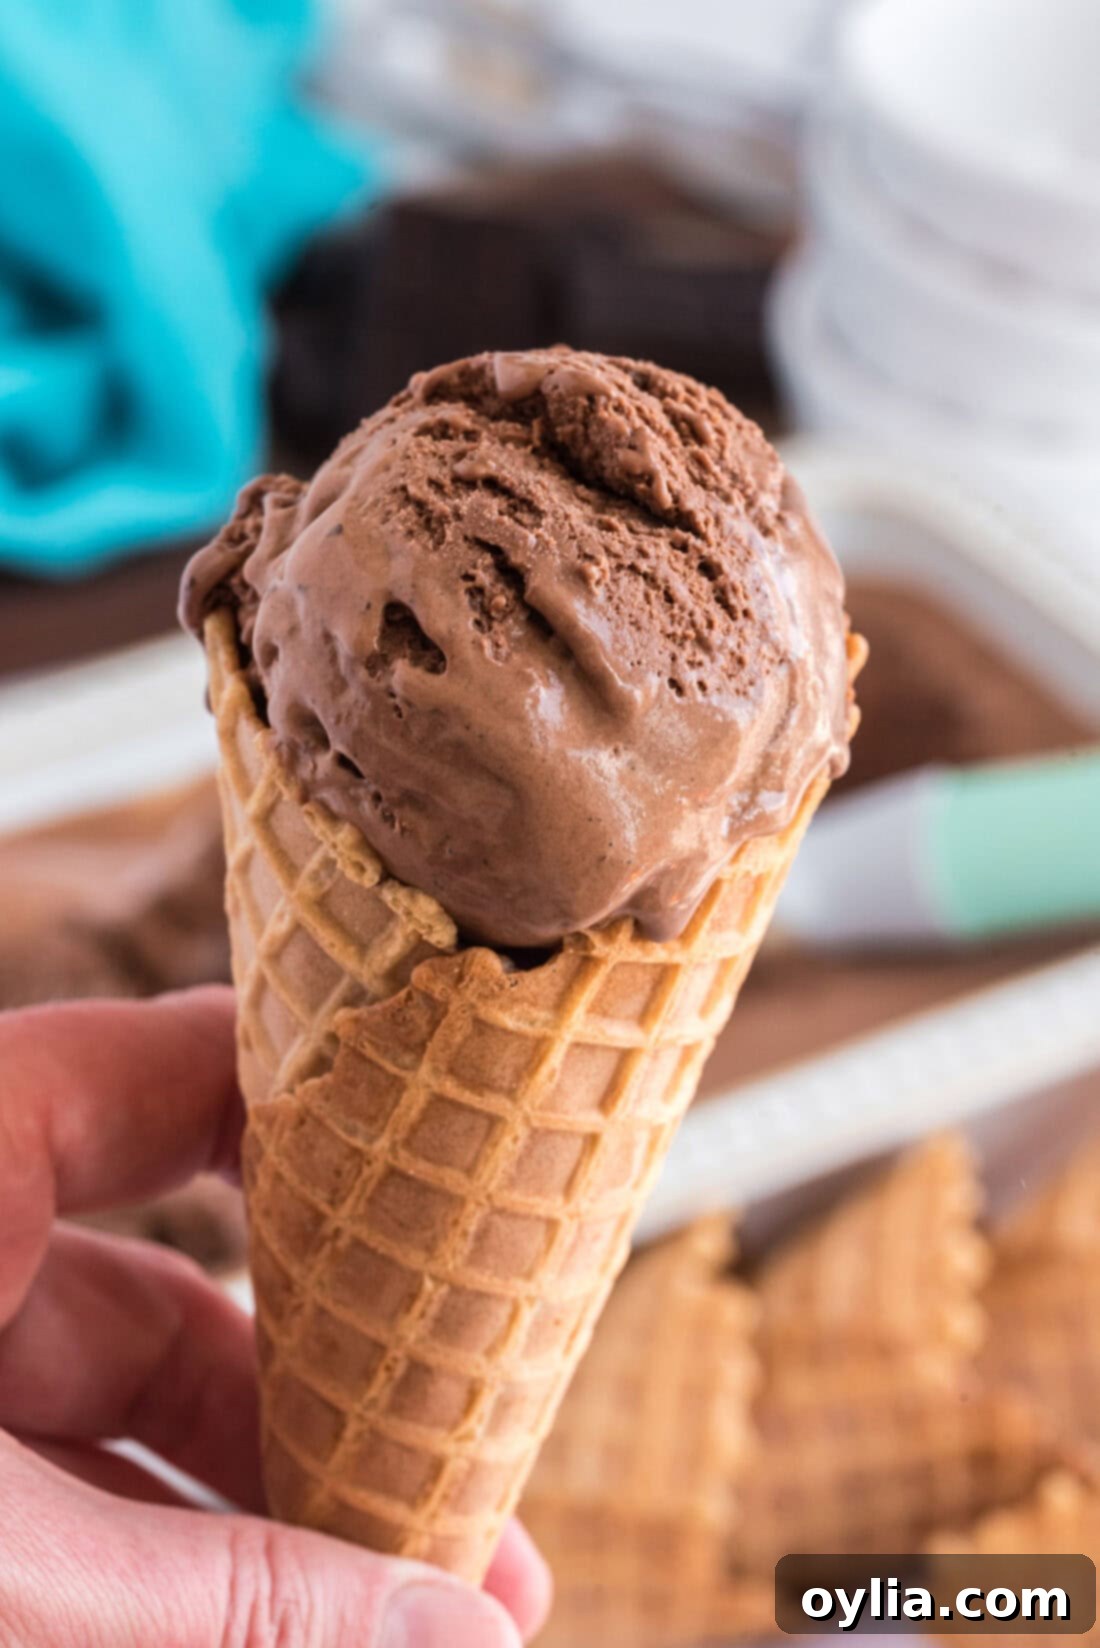
Once your homemade chocolate ice cream has fully hardened in the freezer, it’s time to enjoy the fruits of your labor! For the best scooping experience, allow the ice cream to sit at room temperature for about 5-10 minutes to soften slightly. This will make it easier to glide your scoop through its creamy depths.
While this rich chocolate ice cream is absolutely divine on its own – perfect scooped into a simple bowl or a crispy waffle cone – it also serves as a magnificent canvas for a variety of delightful additions. Elevate your dessert experience by topping it with your favorite ice cream accoutrements such as warm caramel sauce, gooey hot fudge drizzle, fresh berries, or a sprinkle of colorful sprinkles. For extra texture and flavor, consider adding chopped nuts, mini chocolate chips, or even chunks of your favorite candy bars. A dollop of freshly whipped cream can add an extra layer of luxury. The possibilities are truly endless, allowing you to customize each serving to your exact cravings.
Explore More Delicious Ice Cream Recipes
If you’ve fallen in love with making homemade ice cream, we have plenty more frozen treats for you to try! Expand your repertoire with these other fantastic ice cream recipes:
- Rocky Road Ice Cream
- White Chocolate Ice Cream
- Peanut Butter Chocolate Chip Ice Cream
- Homemade Mint Chocolate Chip Ice Cream
I love to bake and cook and share my kitchen experience with all of you! Remembering to come back each day can be tough, that’s why I offer a convenient newsletter every time a new recipe posts. Simply subscribe and start receiving your free daily recipes!

Homemade Chocolate Ice Cream
IMPORTANT – There are often Frequently Asked Questions within the blog post that you may find helpful. Simply scroll back up to read them!
Print It
Pin It
Rate It
Save It
Saved!
Ingredients
- 4 ounces unsweetened chocolate
- 1 cup milk
- 2 large eggs
- 1 cup granulated sugar
- 1 cup heavy whipping cream
- 1 teaspoon vanilla extract
- 1 pinch salt
Things You’ll Need
-
Double boiler or heat safe bowl
-
Ice cream maker
-
Mixing bowls
-
Whisk
-
8×4 loaf pan or similar
Before You Begin
- For the deepest and most authentic chocolate flavor, always choose a high-quality bar of unsweetened chocolate. This ensures superior taste and texture.
- Feel free to get creative with your mix-ins! You can add delicious additions like chopped or slivered almonds, mini marshmallows, decadent brownie chunks, a variety of chocolate chips, or even pieces of your favorite candy. Remember to incorporate these extra ingredients during the last minute of churning to ensure even distribution and prevent them from settling or becoming too hard.
- If you have any concerns regarding the use of raw eggs in your ice cream, a safe and recommended alternative is to opt for pasteurized eggs. These eggs have been heat-treated to eliminate potential bacteria, offering peace of mind without compromising the richness and creaminess of your custard base.
- Ensure your ice cream maker’s freezer bowl (if applicable) is thoroughly frozen according to the manufacturer’s instructions. A properly chilled bowl is essential for efficient churning and to achieve the best possible texture.
- Always chill your ice cream base completely before churning. A well-chilled base will churn more quickly and result in a smoother, less icy final product.
Instructions
-
Melt the unsweetened chocolate in the top of a double boiler over hot, not boiling water. Stir occasionally until completely smooth.
TIP – Don’t have a double boiler? You can use a heat-safe bowl, such as a stainless steel bowl, instead. Be sure it fits over your saucepan with simmering water, but ensure the water does not touch the bottom of the bowl. This indirect heat is key for melting chocolate gently.
-
Gradually whisk in the milk into the melted chocolate, heating gently and stirring constantly, until the mixture is smooth and fully combined. Remove from the heat and let cool completely to room temperature.
-
In a separate mixing bowl, whisk the eggs until they are light and fluffy, about 1-2 minutes. Gradually whisk in the granulated sugar, a little at a time, then continue whisking until the mixture is completely blended, pale, and thick, about 1 minute more.
-
Add the heavy whipping cream, vanilla extract, and pinch of salt to the egg and sugar mixture. Whisk thoroughly until all ingredients are well blended, creating a smooth custard base. Pour the cooled chocolate mixture into this cream mixture and whisk again until completely uniform and smooth.
-
Cover the bowl with plastic wrap and refrigerate the ice cream base until it is thoroughly cold, typically 1-3 hours. This chilling step is essential for the best texture.
-
Transfer the chilled mixture to an ice cream maker and freeze according to the manufacturer’s instructions. This usually takes 20-30 minutes until it reaches a soft-serve consistency. Once churned, transfer the soft ice cream to an airtight container (like an 8×4 loaf pan) and freeze for at least 4-6 hours, or overnight, to allow it to firm up. This recipe makes 1 generous quart.
Expert Tips & FAQs
- When you’re ready to serve your homemade chocolate ice cream, take it out of the freezer and let it sit at room temperature for 5-10 minutes. This slight softening period will make it much easier to scoop, ensuring perfect, creamy portions every time.
- For optimal freshness and to prevent freezer burn, store your homemade chocolate ice cream in an airtight container in the freezer for up to 2-3 weeks. Press a piece of parchment paper or plastic wrap directly onto the surface of the ice cream before sealing the lid.
- To achieve the best creamy texture, ensure your ice cream base is thoroughly chilled before churning. This prevents large ice crystals from forming.
- Do not overfill your ice cream maker. The mixture will expand as air is incorporated during churning, so leave enough room for it to increase in volume.
- Experiment with toppings! From fresh fruit to hot fudge, the right toppings can elevate your ice cream experience even further.
Nutrition Information
The recipes on this blog are tested with a conventional gas oven and gas stovetop. It’s important to note that some ovens, especially as they age, can cook and bake inconsistently. Using an inexpensive oven thermometer can assure you that your oven is truly heating to the proper temperature. If you use a toaster oven or countertop oven, please keep in mind that they may not distribute heat the same as a conventional full sized oven and you may need to adjust your cooking/baking times. In the case of recipes made with a pressure cooker, air fryer, slow cooker, or other appliance, a link to the appliances we use is listed within each respective recipe. For baking recipes where measurements are given by weight, please note that results may not be the same if cups are used instead, and we can’t guarantee success with that method.
This post originally appeared here on Dec 15, 2008 and has since been updated with new photos and expert tips to provide the most current and helpful information for our readers.
