Delightful Patriotic Ice Cream Cone Cupcakes: Your Ultimate 4th of July Dessert
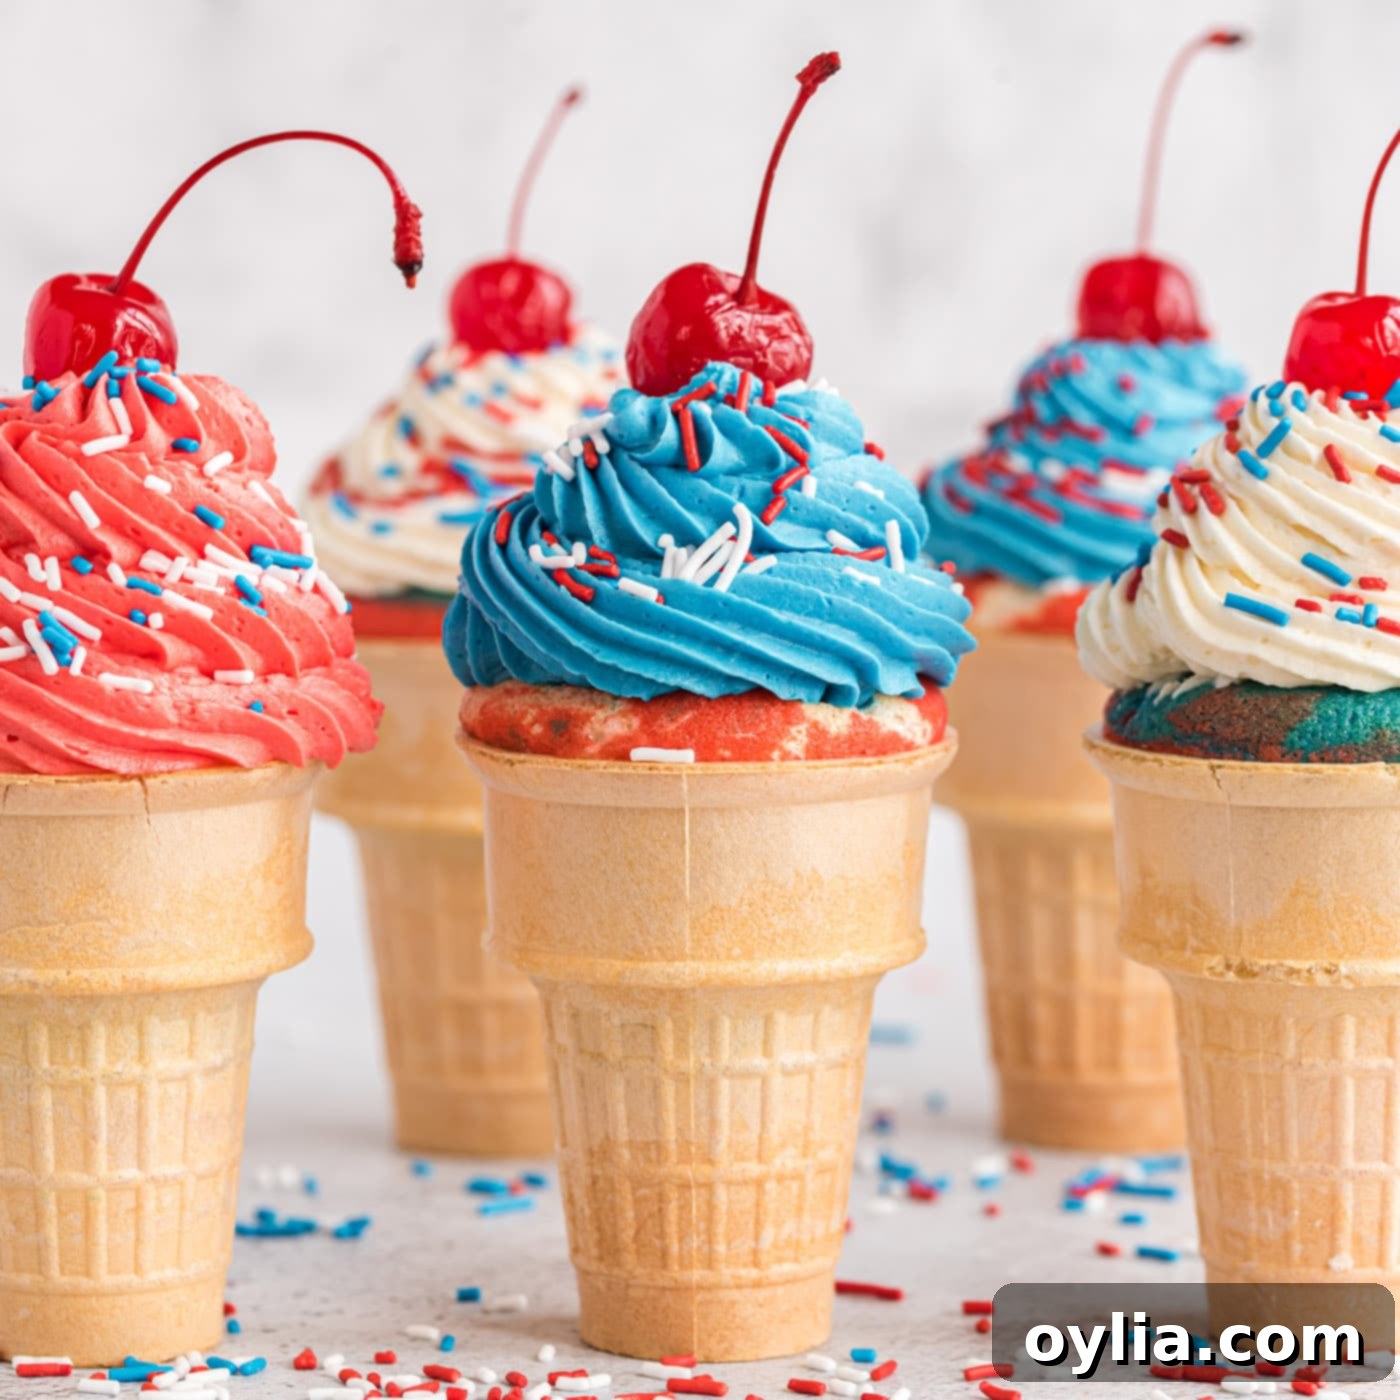
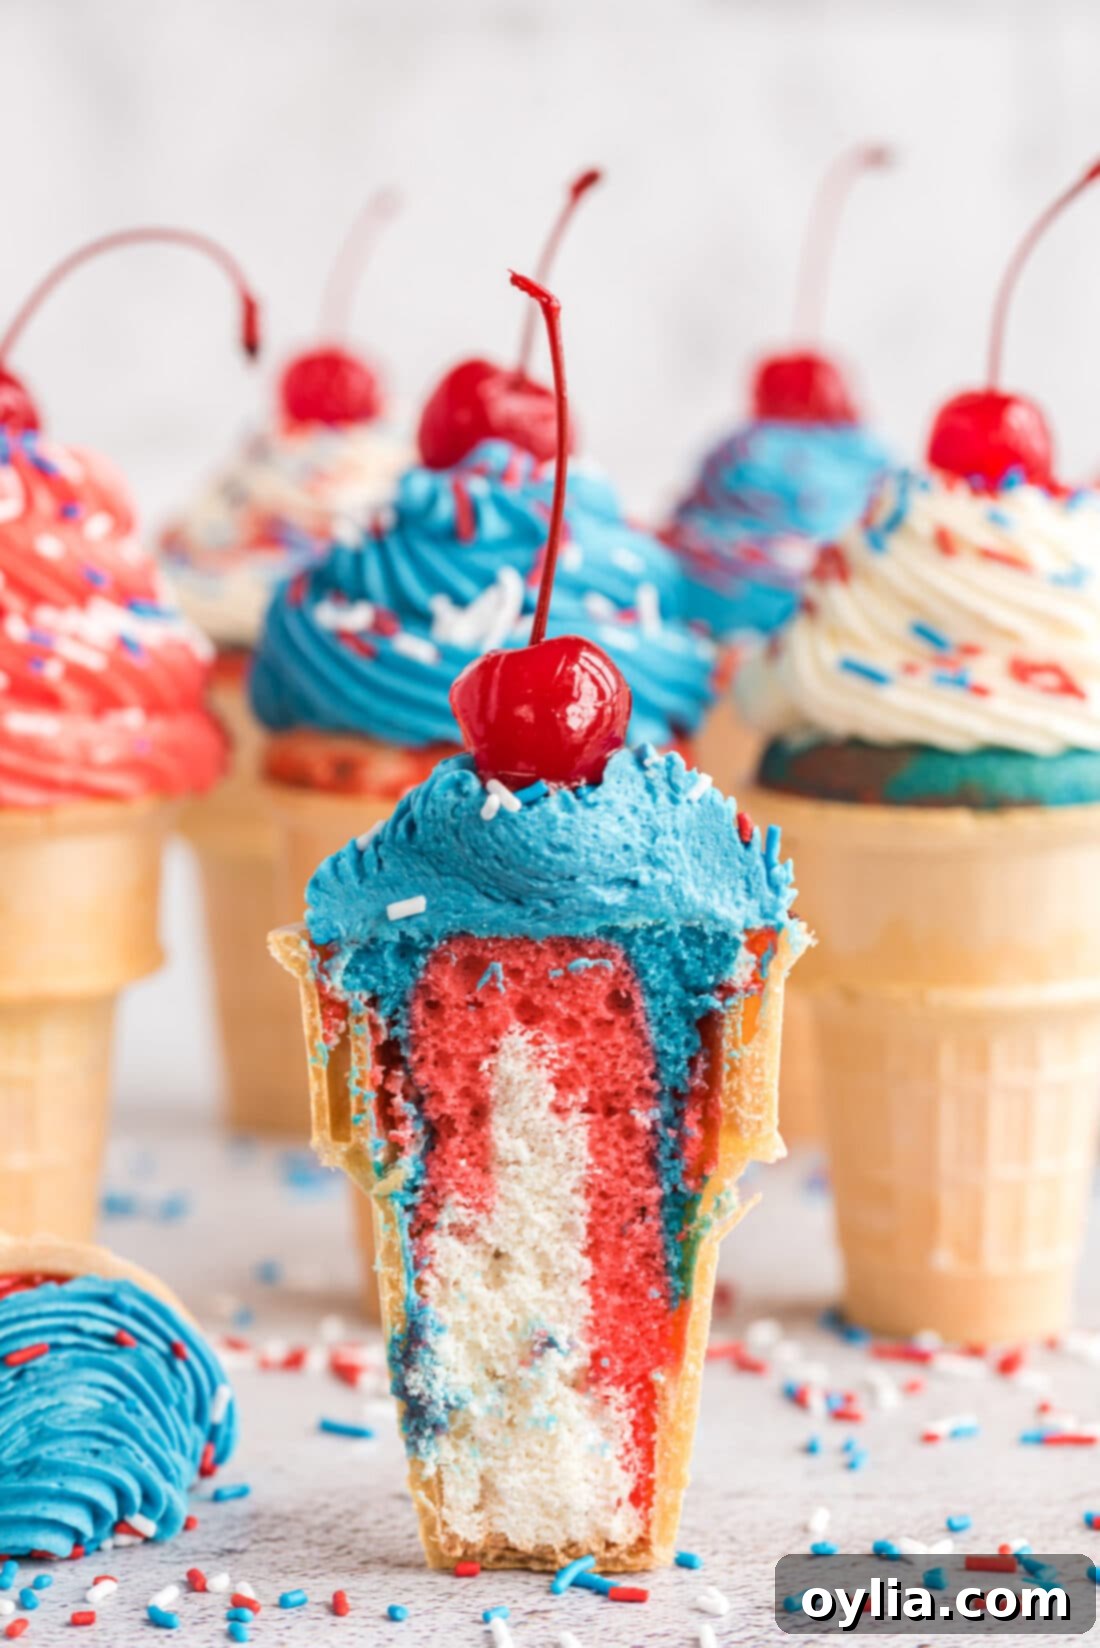
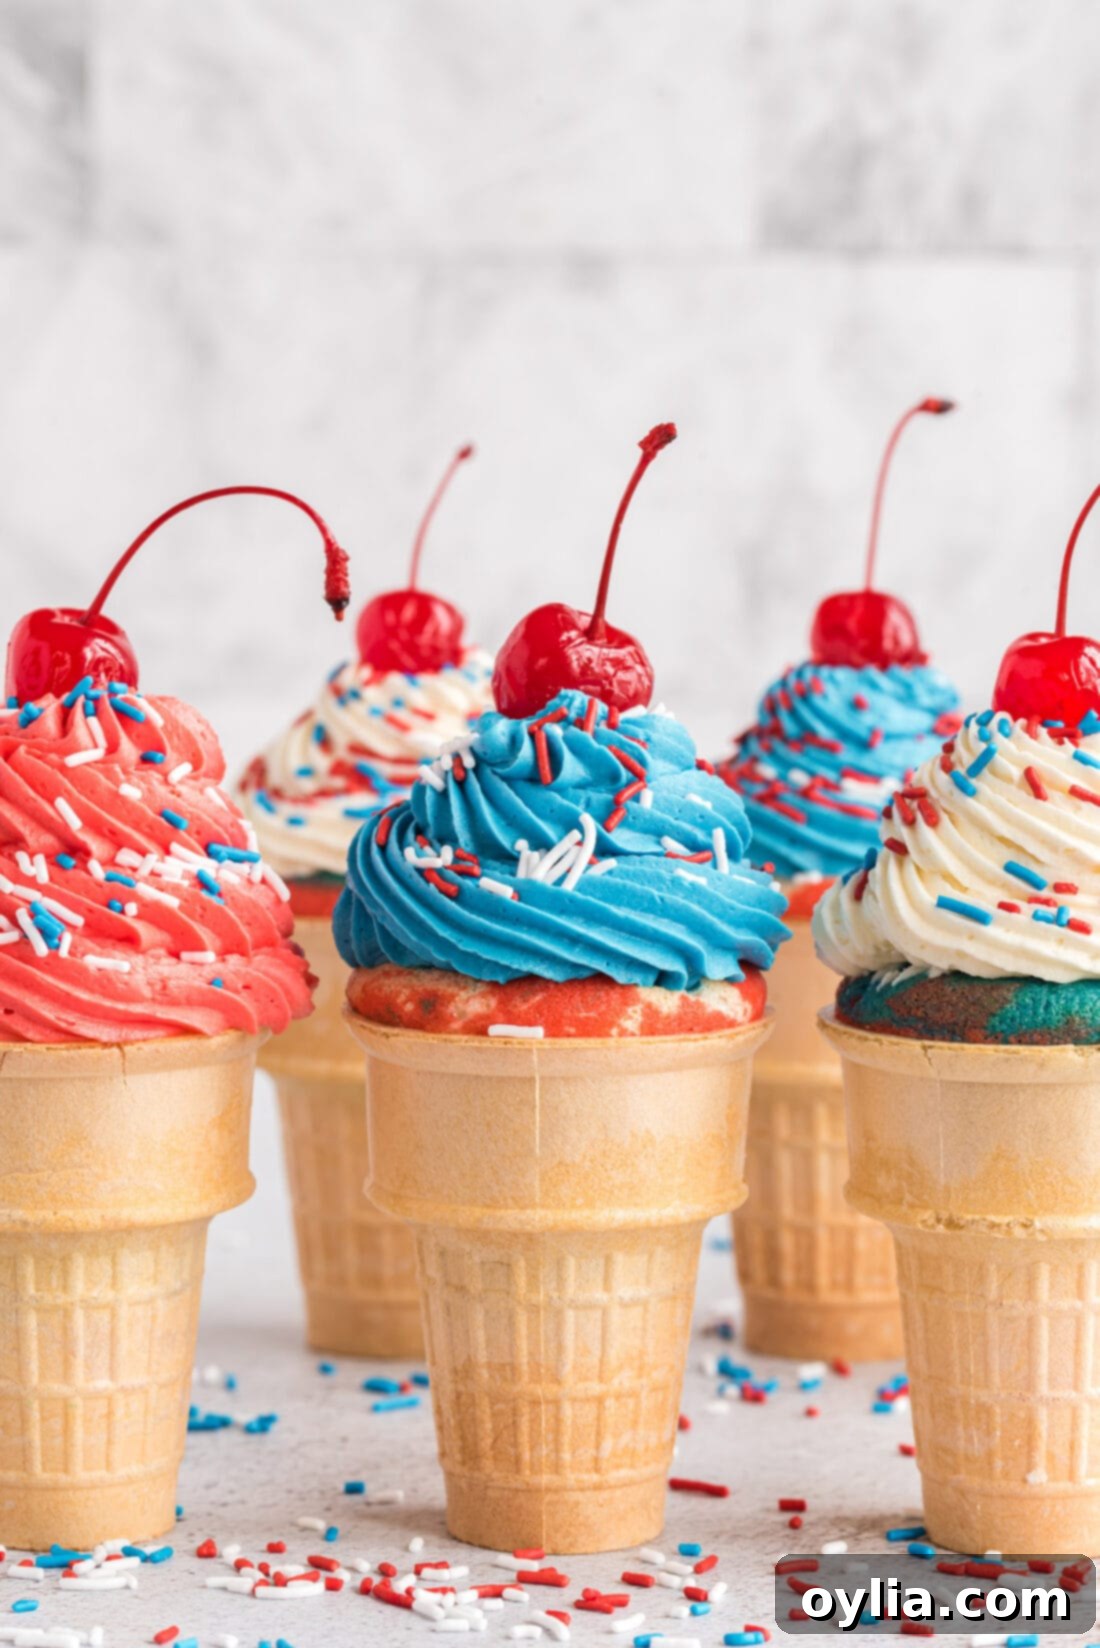
Prepare for a dessert that will truly steal the show at your next patriotic celebration! These **Patriotic Ice Cream Cone Cupcakes** feature layers of vibrant red, white, and blue cake, baked directly inside classic ice cream cones. Each one is then crowned with a generous swirl of light and fluffy buttercream frosting, artfully mimicking the look of a perfectly scooped soft-serve ice cream. Garnished with festive sprinkles and a bright cherry, these cupcakes are not just a treat for the taste buds but also a feast for the eyes, making them the ideal showstopping dessert for your 4th of July, Memorial Day, or Labor Day festivities!
Why These Patriotic Ice Cream Cone Cupcakes Are a Must-Try
Imagine the delight on everyone’s faces when you present these adorable **patriotic ice cream cone cupcakes**! They’re not just incredibly fun; they’re also surprisingly simple to create, making them an accessible baking project for anyone, regardless of their baking experience. The magic lies in transforming a basic cake mix into a visually stunning dessert with minimal effort. The pillowy, cloud-like buttercream frosting, piped high atop the colorful red, white, and blue cake, perfectly mimics a classic soft-serve ice cream cone or sundae. And what’s a fantastic ice cream-inspired treat without the playful touch of sprinkles and a bright red cherry on top?
While their layered colors and charming presentation might suggest a complex baking endeavor, this recipe is designed for straightforward success. By starting with a convenient boxed cake mix and a few common ingredients, you can achieve impressive results. Yes, there’s a bit of prep time involved in separating the batter and adding the vibrant food coloring, but this hands-on step is part of the fun! It’s an excellent activity to do with kids, teaching them about colors and baking in an engaging way. Once assembled and baked, these **red, white, and blue cupcakes** are guaranteed to impress your guests and add a festive pop to any holiday spread, proving that showstopping desserts don’t have to be difficult.
Key Ingredients for Your Patriotic Cupcakes
To embark on this fun baking adventure, you’ll need a handful of readily available ingredients. The full list with precise measurements and detailed instructions can be found in the printable recipe card at the very end of this post. For now, let’s highlight the stars of the show:
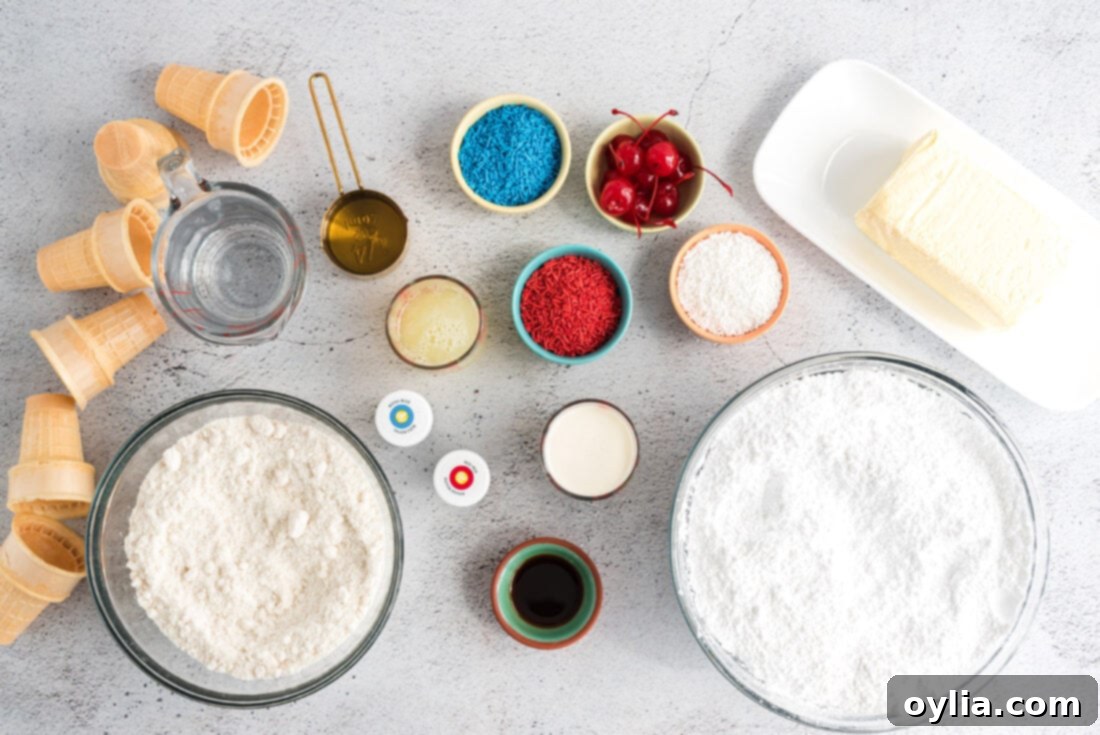
Ingredient Spotlight & Expert Substitutions
- CAKE MIX: To streamline your baking process, a **box of white cake mix** is your best friend. Make sure to have the additional ingredients listed on the back of your specific cake mix box on hand (typically eggs, oil, and water). We highly recommend using a white cake mix over yellow or other flavors because it provides a neutral base, allowing the red and blue food colorings to truly pop, and ensures that your “white” layer is genuinely bright and clear. If you’re a purist and prefer to bake from scratch, feel free to use your favorite homemade classic white cake recipe.
- CONES: For these unique cupcakes, opt for **cake cones** (the flat-bottomed ice cream cone cups). These are more stable and easier to fill and bake in a cupcake pan. While standard cones work beautifully and showcase the colorful cake, some brands like Joy offer colored cone cups (often in red, blue, and purple) if you want to add another layer of color to your patriotic theme. However, with the vibrant cake inside, plain cake cones are perfectly festive.
- FOOD COLORING: The secret to truly brilliant, eye-catching colors is using **gel food coloring**, not liquid food color. Gel colors are concentrated, providing much more intense and vivid hues without significantly altering the consistency of your batter or frosting. A little goes a long way, so start with a small amount and add more as needed until you achieve your desired shade of red and blue.
- BUTTERCREAM FROSTING: This recipe includes a simple yet luscious homemade buttercream frosting. You’ll need softened unsalted butter, powdered sugar, vanilla extract, and heavy whipping cream. Using softened butter is crucial for achieving that light, airy, and fluffy texture.
- GARNISHES: Don’t forget the fun finishing touches! **Red, white, and blue sprinkles** are essential for that celebratory look. A single maraschino cherry (with the stem on, for extra flair!) completes the “ice cream” illusion perfectly.
Step-by-Step Guide: Crafting Your Patriotic Ice Cream Cone Cupcakes
These step-by-step photos and instructions are here to help you visualize how to make this recipe a success. You can Jump to Recipe to get the printable version of this recipe, complete with precise measurements and instructions at the bottom of the page.
- Preheat your oven to 350°F (175°C). This ensures your oven is at the correct temperature for even baking from the start.
- Prepare the dry cake mix according to the package instructions. This typically involves adding eggs, oil, and water. Mix until just combined; overmixing can lead to a tougher cake texture.
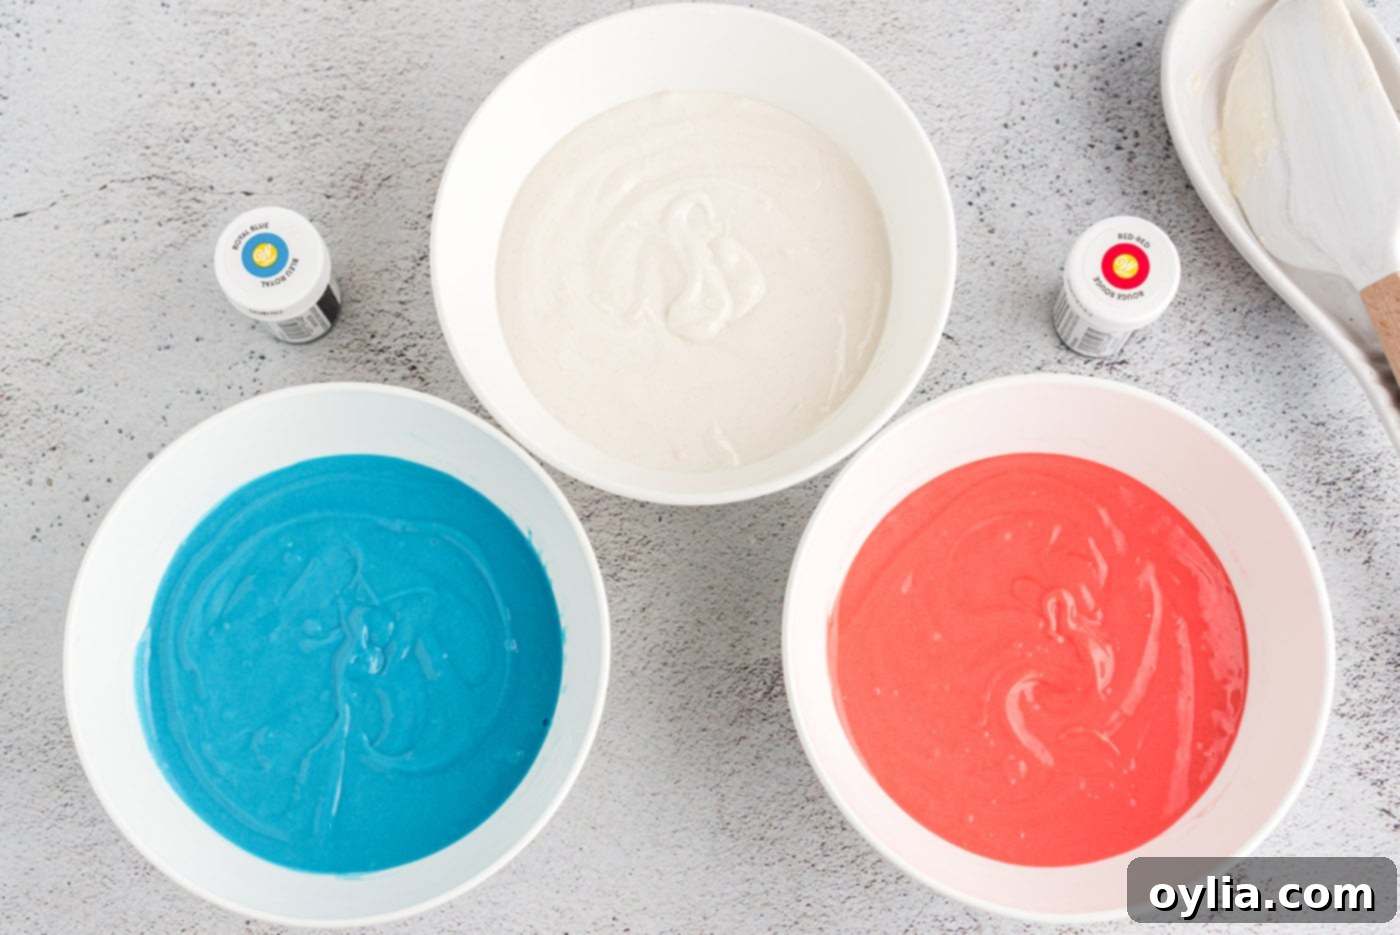
- Carefully separate the prepared cake batter into three equal bowls. Into one bowl, add a small amount of red gel food coloring and mix until you achieve a vibrant red. Repeat with blue gel food coloring for the second bowl. Leave the third bowl of batter plain to represent the white layer. Remember, gel food coloring is potent, so start with a tiny drop and gradually add more if needed.

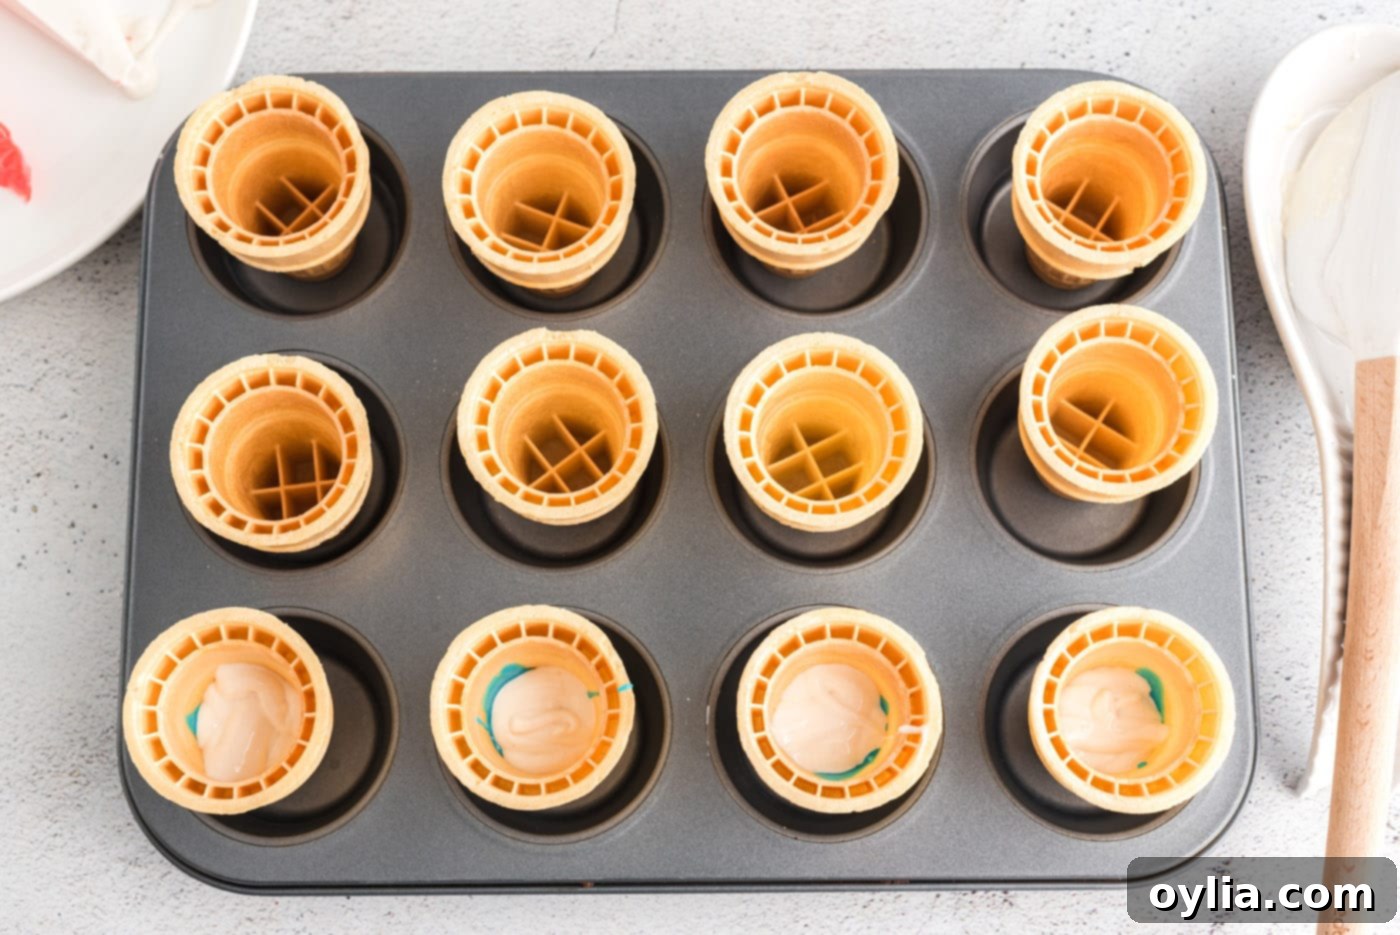
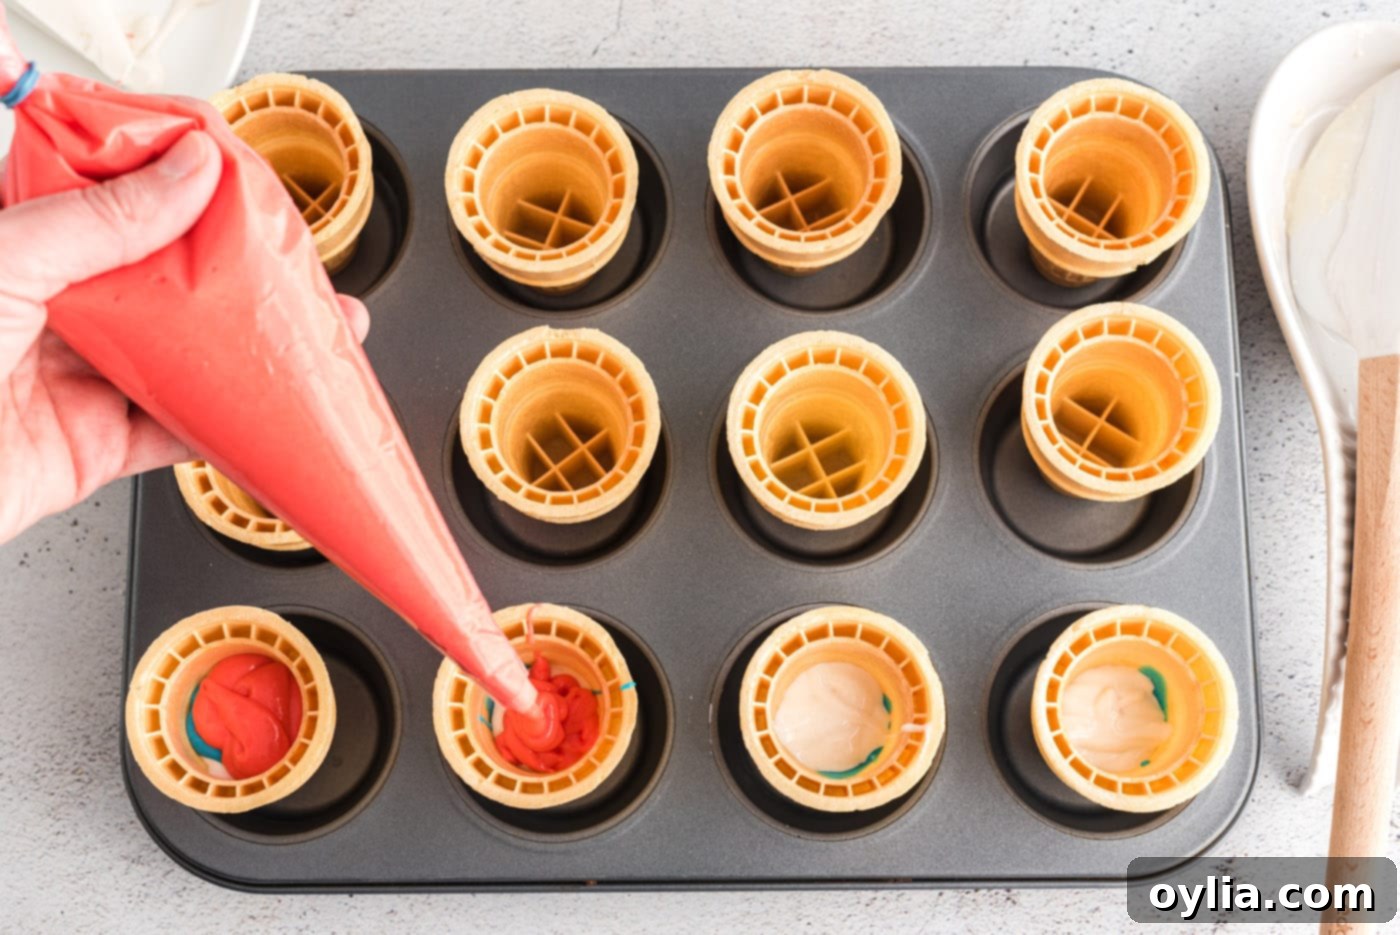
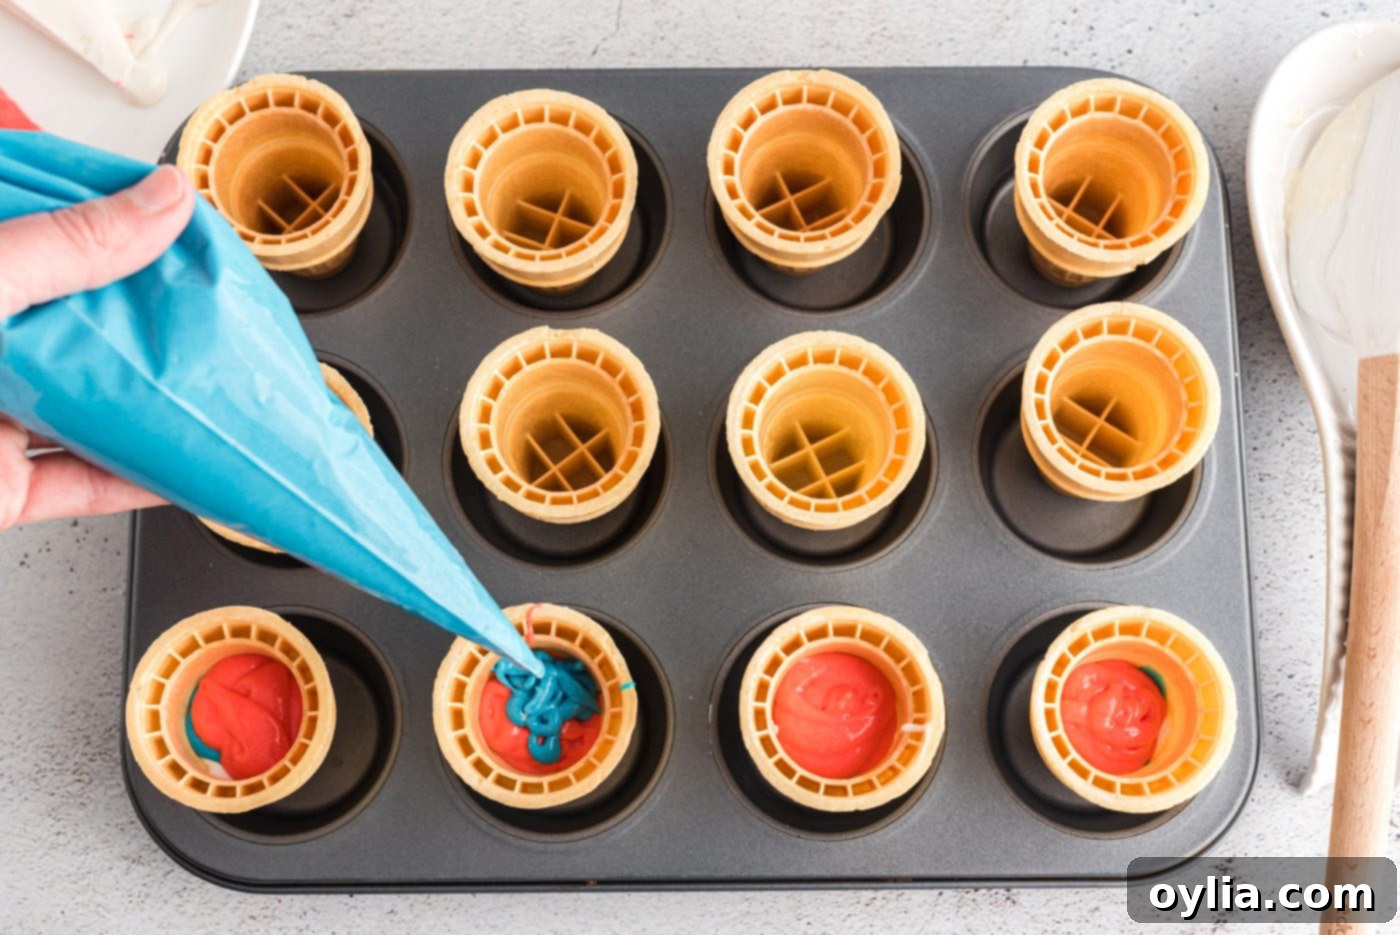
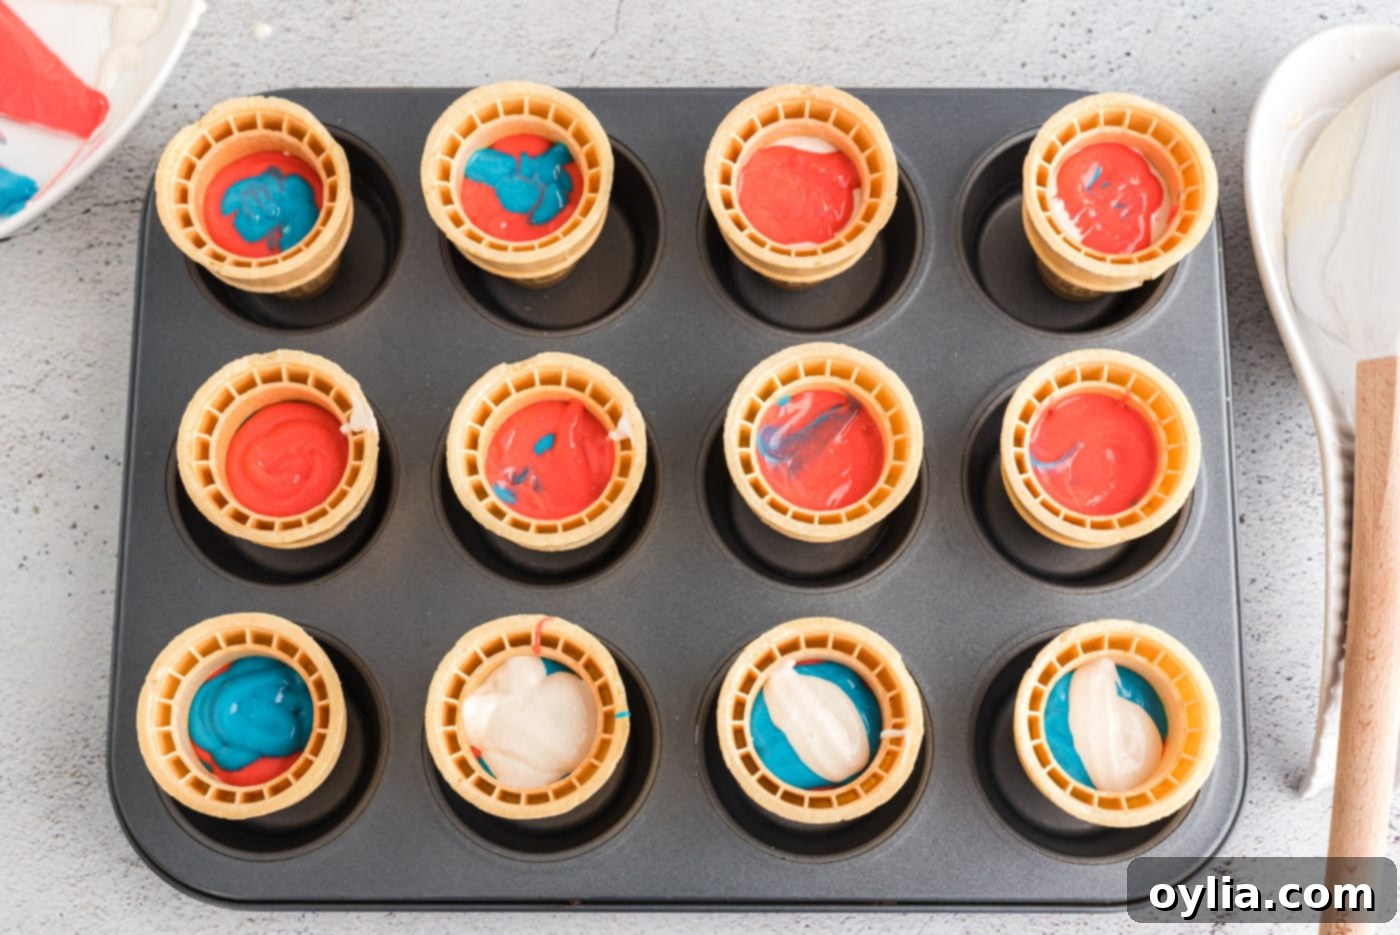
- Place your cake cones securely into the cups of a standard cupcake pan. This provides stability during baking. Now, for the fun part: alternating between your red, white, and blue batters, carefully pour a small amount of each color into your ice cream cones. Fill each cone until it is about three-quarters full to allow for rising. For a cleaner, easier transfer, it’s highly recommended to spoon each colored batter into separate piping bags or ziploc baggies, then snip off a corner for precise pouring. This method helps prevent messy spills and ensures distinct layers.


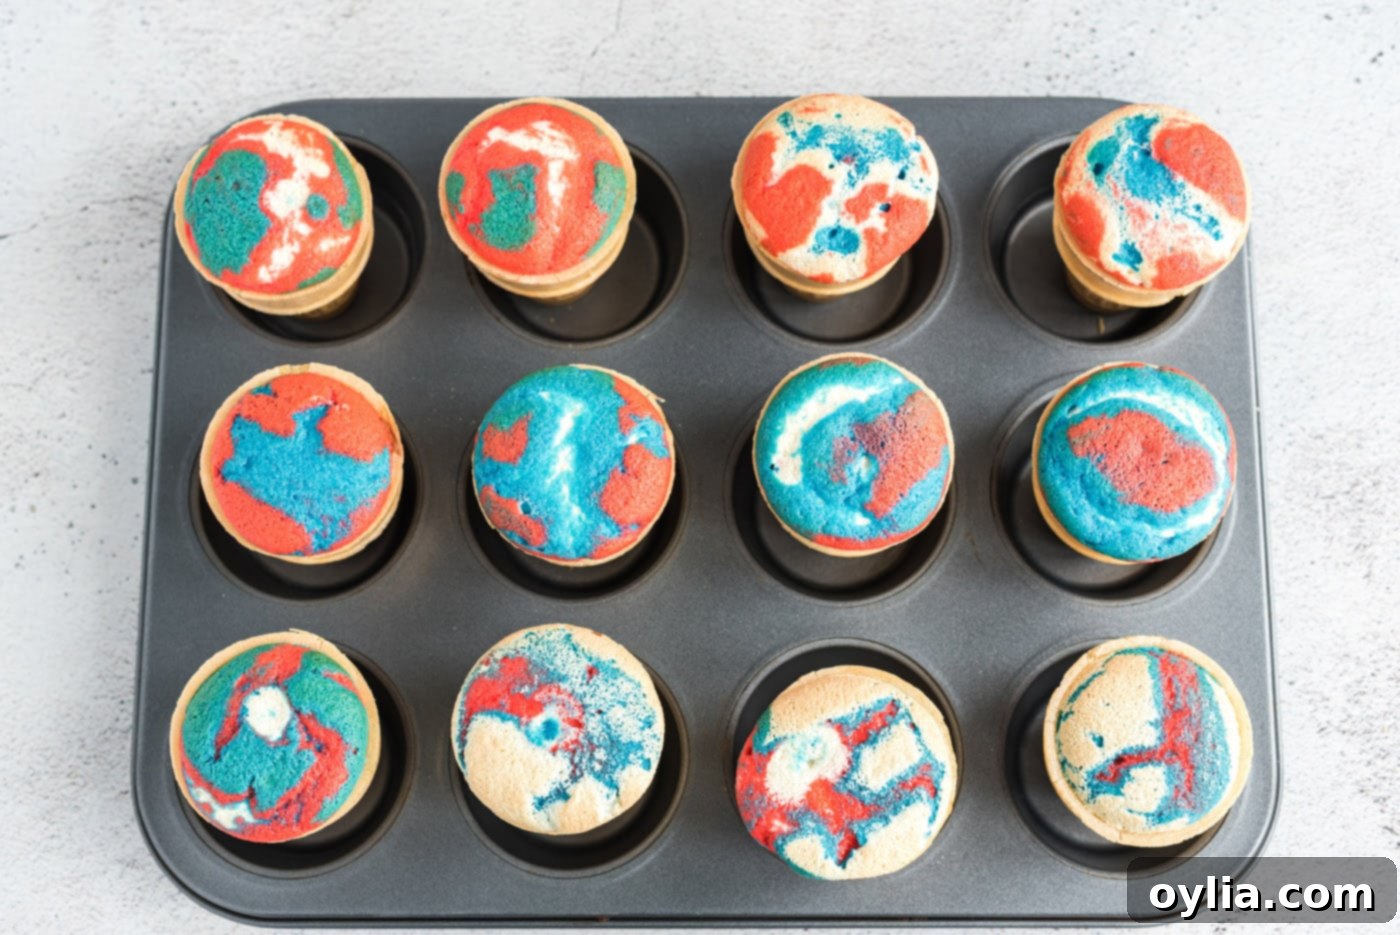
- Bake for approximately 15 minutes, or until a wooden toothpick inserted into the center of a cake comes out clean. Baking times can vary slightly depending on your oven.

- Remove the cones from the oven and allow them to cool completely. This is a critical step before frosting!
EXPERT TIP: Preventing Soggy Cones – To ensure your cones stay crisp and delicious, turn them upside down shortly after removing them from the oven (once cool enough to handle) and carefully poke a small hole in the very bottom of each cone. This simple trick allows steam trapped inside to escape, preventing moisture buildup that can lead to soggy cones. Allow them to cool fully on a wire rack or a cupcake cone baking rack for optimal air circulation.
- For the Buttercream Frosting: In the bowl of a standing mixer fitted with the whisk attachment, beat the softened unsalted butter until it’s light, fluffy, and pale in color. This usually takes a few minutes.
- Gradually add the powdered sugar, mixing slowly at first to avoid a sugar cloud, then increasing the speed as it incorporates.
- Beat in the vanilla extract until well combined.
- Add 4 tablespoons of heavy cream and whisk on high speed until smooth. Scrape down the sides of the bowl, then add 3-4 more tablespoons of heavy cream, beating for about 5 minutes until the frosting reaches a beautifully light, fluffy, and spreadable consistency. Adjust the cream amount to achieve your desired thickness.
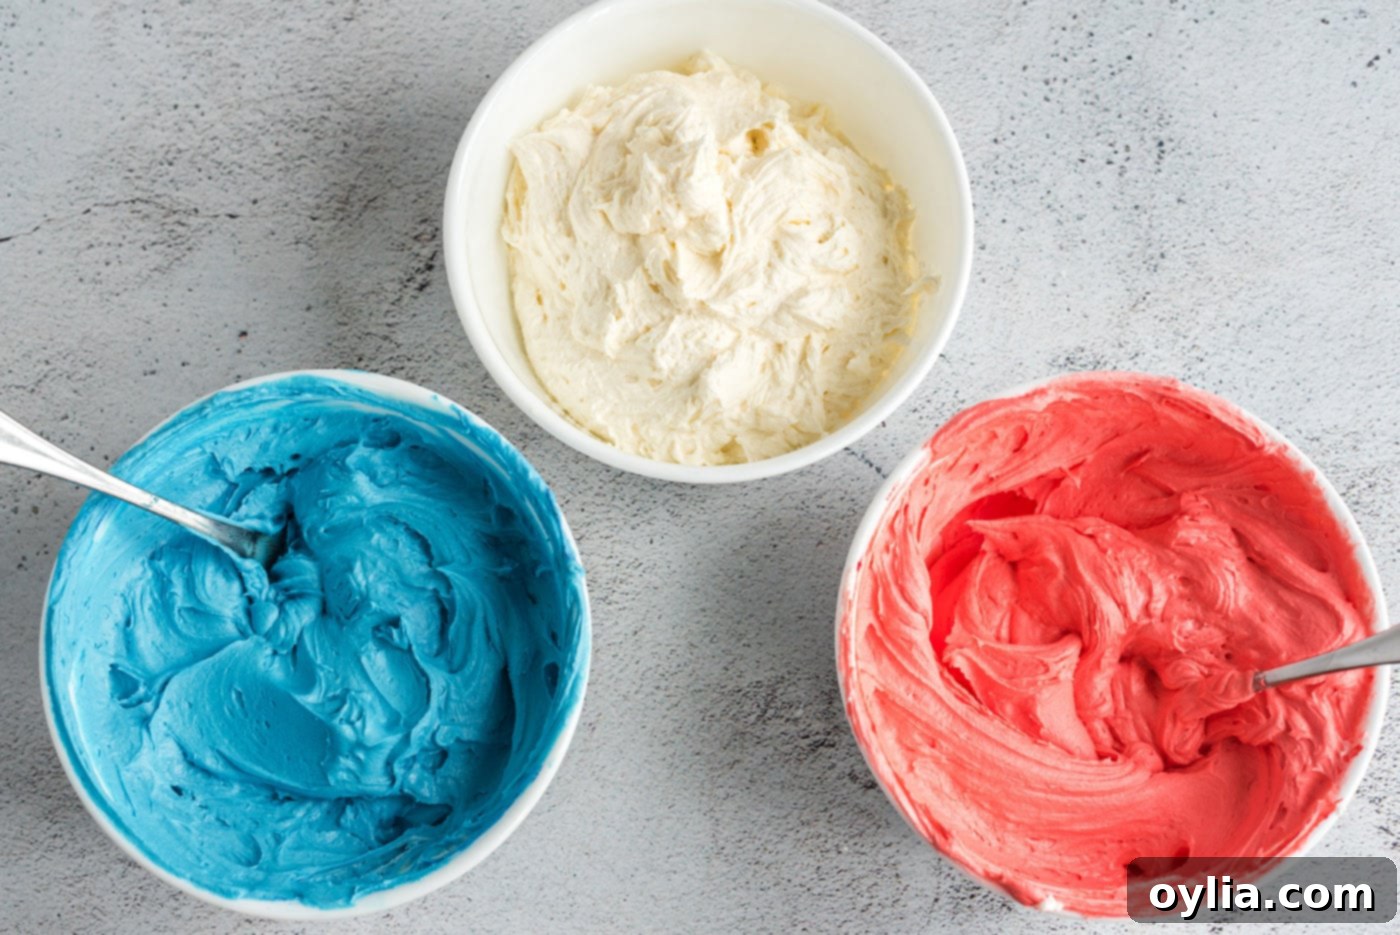
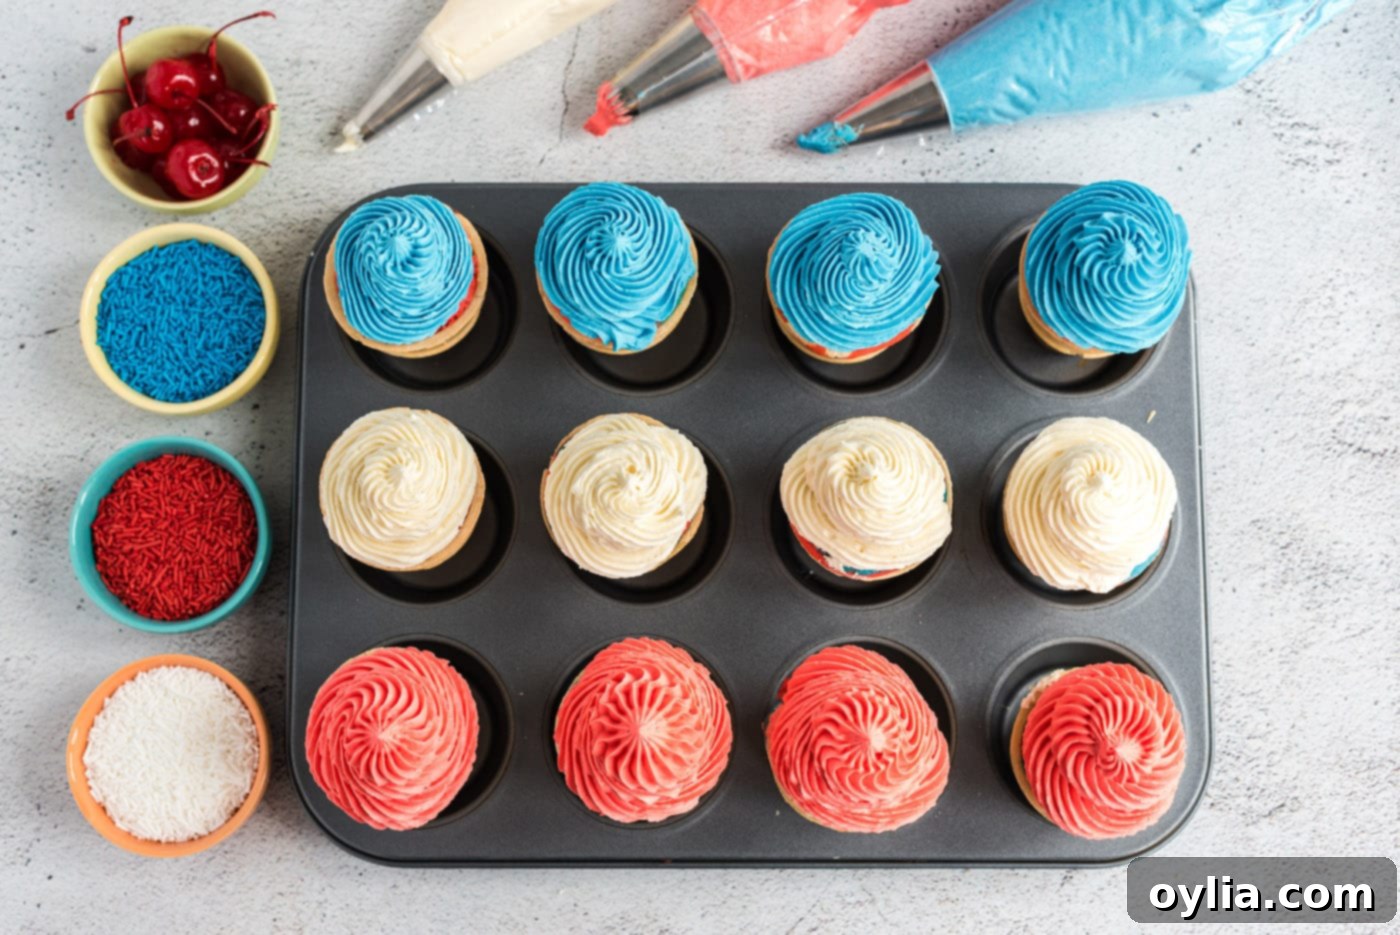
- Divide the finished buttercream frosting into three equal bowls (approximately 2 cups per bowl).
- Leave one bowl of frosting as is for your pristine white layer. To the second bowl, add a small amount of red gel food coloring and mix until the color is uniform and vibrant. Repeat this process with blue gel food coloring for the third bowl.

- Transfer each color of frosting into its own individual piping bag fitted with your desired tip (a large star tip works wonderfully for a “soft-serve” swirl). You can pipe all three colors onto a single cone for a beautiful layered effect, or alternate colors across different cones for a varied display. Get creative with your piping!

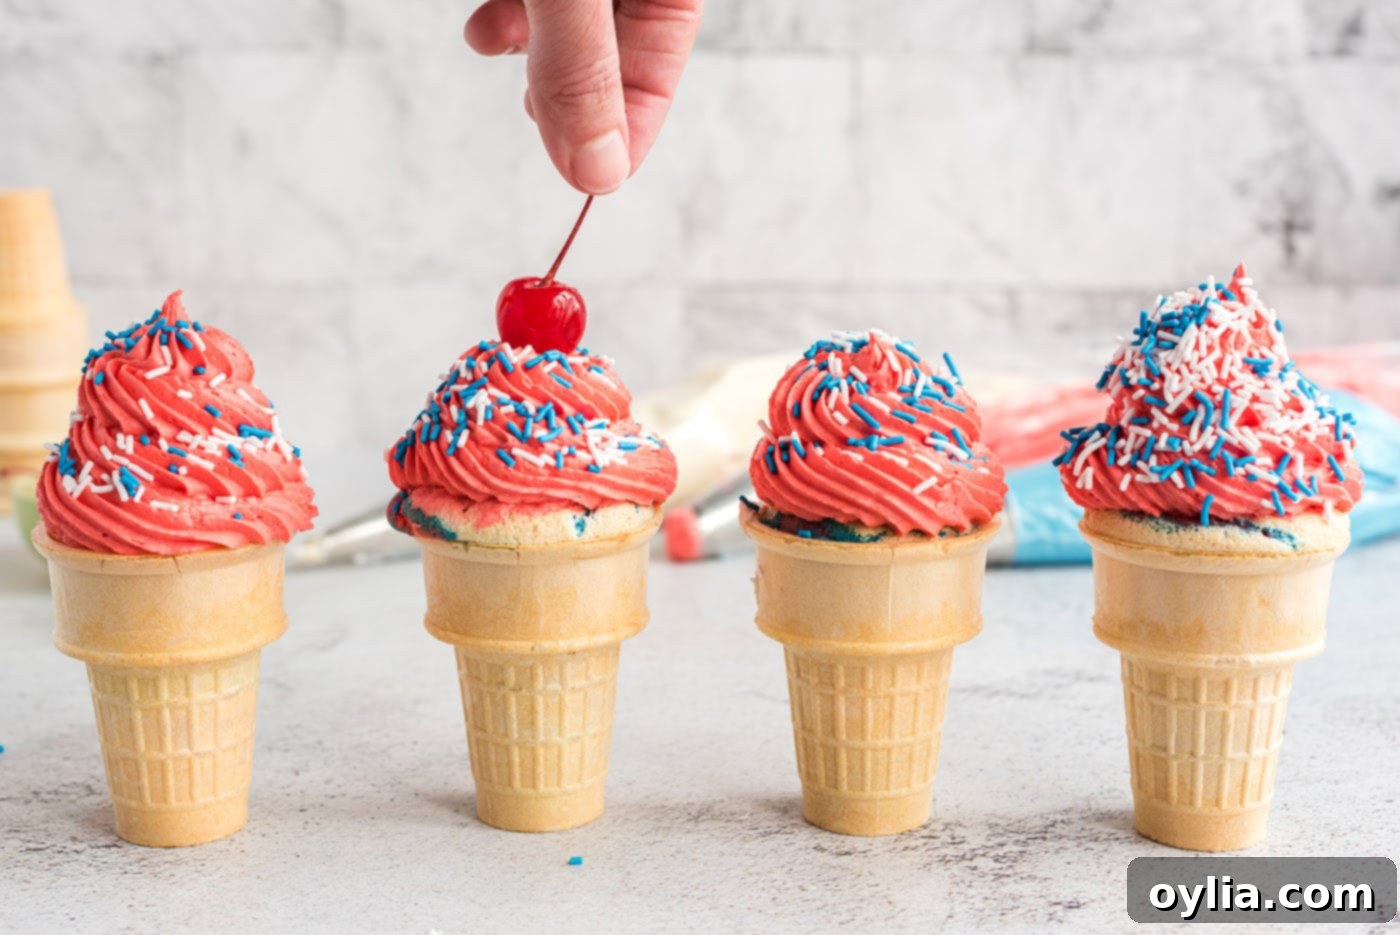
- Finally, garnish your beautiful **Patriotic Ice Cream Cone Cupcakes** with a generous sprinkle of red, white, and blue sprinkles and crown each one with a festive maraschino cherry.

Frequently Asked Questions & Expert Tips for Success
While a cupcake pan is ideal for stability, you can certainly adapt. To keep the cones secure on a regular baking sheet, I highly recommend covering the entire sheet from rim to rim with heavy-duty aluminum foil. Then, using a sharp knife, carefully cut small “X” patterns in the foil, creating snug holes where you can place your batter-filled cones. This method provides a much sturdier base, preventing the cones from tipping over when you transfer them in and out of the oven. Alternatively, for frequent cone bakers, a dedicated cupcake cone baking rack is a fantastic investment.
Absolutely! You can prepare the cake cones up to a day in advance. For the best freshness and crispness of the cones, it’s preferable to bake them the night before or the morning of your event. If you store them for much longer than that, you might find the cones start to become slightly soggy due to moisture from the cake, even with our expert tip below.
Transporting these delightful creations can indeed be a bit challenging due to their height and delicate nature. Specialized cupcake cone holders are likely your best solution, as they keep each cone upright and separate. If you’re using a holder, place it inside a sturdy box for added protection. As a simpler alternative, you can place the baked cones back into the cupcake pan you used for baking if you have enough pans to accommodate all of them. Always transport them on a flat, stable surface, and drive carefully!
This is a common concern, but an easy fix! The best tip for keeping your cones crisp and preventing sogginess is to poke a small hole in the bottom of each cone immediately after they’ve baked and are cool enough to handle. This allows the steam trapped inside the cake to escape. Crucially, allow the cones to cool completely on a wire cooling rack or a cupcake cone baking rack, ensuring air circulation all around the cone, especially the bottom. Do not frost warm cones!
To maintain their quality, especially the crispness of the cone and the texture of the frosting, store your fully cooled and frosted ice cream cone cupcakes uncovered at room temperature. You can place them back in a cupcake pan or use a dedicated cupcake cone holder. It’s important to avoid storing them in the refrigerator, freezer, or covering them tightly with plastic wrap or aluminum foil, as this will cause condensation and make both the cones and the frosting “sweat,” leading to sogginess and a less appealing texture. Always ensure they are kept in a cool, dry place away from direct sunlight.
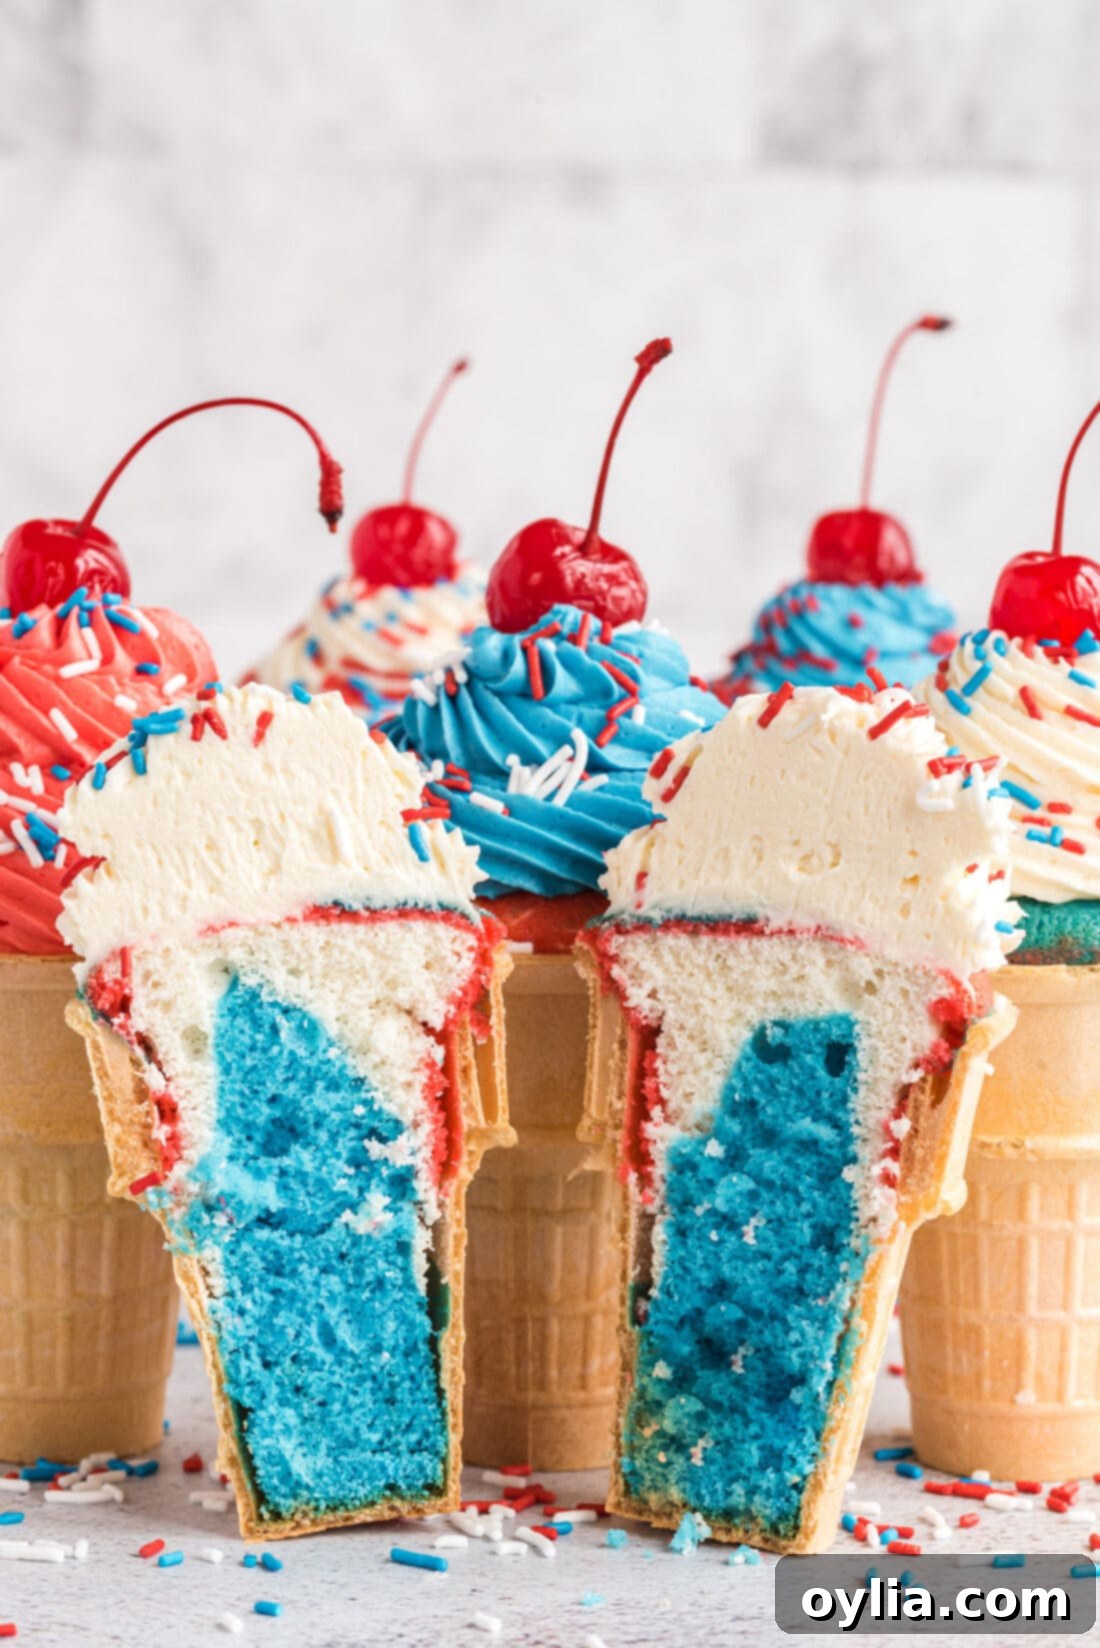
Creative Serving Ideas & Variations
These versatile ice cream cone cupcakes offer endless possibilities for customization and creative presentation. Here are a few ideas to inspire you and make them uniquely yours:
- Solid Color Cones: Instead of layering all three colors in each cone, try pouring individual colored batter (red, white, or blue) into separate cones. This creates a striking display of solid-colored cake cones.
- Coordinating Frosting: If you opt for solid-colored cake cones, consider topping them with contrasting frosting colors for visual appeal. For example, a red cake cone could be topped with blue frosting and white sprinkles, or a white cake with red frosting and blue sprinkles. Mix and match for a truly patriotic assortment!
- Swirled Frosting Effect: For an even more dynamic look, gently add all three colors of frosting (red, white, and blue) into a single large piping bag. As you pipe, the colors will beautifully swirl together, creating a mesmerizing tie-dye effect that looks incredibly festive and professional.
- Seasonal & Themed Variations: This recipe is a fantastic base for any celebration beyond patriotic holidays! Simply change the food coloring and sprinkles to match different themes:
- Christmas: Red and green cake with white frosting and festive sprinkles.
- Halloween: Orange and black cake with purple or green frosting.
- Birthday Parties: Use the guest of honor’s favorite colors!
- Sports Teams: Match the colors of your favorite team for game day treats.
- Miniature Cones: For smaller portions or a bite-sized dessert, use mini ice cream cones and adjust baking time accordingly. These are perfect for party platters.
More Festive Patriotic Recipes to Explore
If you loved these **Patriotic Ice Cream Cone Cupcakes** and are looking for more ways to celebrate with red, white, and blue, check out these other fantastic recipes:
- American Flag Cupcakes
- Patriotic Candy Bark
- 4th of July Jello Shots
- American Flag Brownies
- Patriotic Charcuterie Board
- Patriotic Mini Cheesecakes
- Red White and Blue Poke Cake
- Patriotic Vodka Lemonade Slushie
I love to bake and cook and share my kitchen experience with all of you! Remembering to come back each day can be tough, that’s why I offer a convenient newsletter every time a new recipe posts. Simply subscribe and start receiving your free daily recipes!

Patriotic Ice Cream Cone Cupcakes
IMPORTANT – There are often Frequently Asked Questions within the blog post that you may find helpful. Simply scroll back up to read them!
Print It
Pin It
Rate It
Save ItSaved!
Ingredients
- 18 ice cream cake cones
- 15.25 ounce white cake mix PLUS ingredients listed on the back of the box
- blue and red gel food coloring
Buttercream Frosting
- 2 cups unsalted butter softened
- 2 teaspoons vanilla extract
- 8 cups powdered sugar
- 8 Tablespoons heavy whipping cream
Garnish
- maraschino cherries stem on
- red, white, and blue sprinkles
Things You’ll Need
-
Cupcake pan
-
Hand mixer or stand mixer
-
Mixing bowls
-
Piping bags
Before You Begin
- Start with a SMALL amount of gel food coloring when adding it to the cake batter and frosting. Gel food color goes a long way and you won’t need much to achieve a bright color. Add gradually until desired vibrancy is reached.
- Don’t get overly crazy with adding too many different colored layers of cake batter to the cones; if you overdo it, the colors can blend and get muddy. Aim for distinct, clean layers.
- To store, place the fully cooled ice cream cone cupcakes in a cupcake pan or on a cupcake cone holder. Store them uncovered at room temperature. If you place them in the refrigerator, freezer, or cover them with plastic wrap or aluminum foil, the cones and frosting will sweat and cause them to become soggy. Ensure you are storing them in a cool, dry place.
- You can make the cupcake cones up to a day in advance, preferably the night before or the morning of your event – any longer than that, you might end up with soggy cones. Plan accordingly for the freshest results.
- You can easily swap the homemade buttercream frosting with good quality store-bought white frosting if desired, to save time. Just remember to divide and color it!
- You will most likely have leftover frosting, especially if you pipe generously! You can store this extra frosting in air-tight containers in the refrigerator for 3-4 days or freeze it for up to 2 months for future baking projects.
Instructions
-
Preheat oven to 350F (175°C).
-
Prepare the dry cake mix according to package instructions.
-
Separate the cake batter into 3 equal bowls. Add a small amount of red gel food coloring to one bowl, and a small amount of blue gel food coloring to another, leaving one of the bowls plain.
-
Place cake cones into a cupcake pan. Alternating between colors, pour the batter into your ice cream cones filling until they are about 3/4 full. It’s easiest to add the batter into piping bags or ziptop baggies with the corners snipped off for clean layers.
-
Bake for 15 minutes or until a toothpick comes out clean. Remove the cones from the oven. Once the cones are partially cooled, hold them upside down and poke a small hole into the bottom side of each of the cones to let steam escape and prevent them from becoming soggy. Allow the cupcakes to fully cool off before frosting on a wire cooling rack or in the pan.
Making the Frosting
-
Beat softened butter in the bowl of a standing mixer using the whisk attachment until light and fluffy.
-
Add in powdered sugar. Mix slowly, gradually increasing the speed so that the powdered sugar stays in the mixing bowl and doesn’t create a cloud.
-
Beat in vanilla extract until well combined.
-
Add 4 tablespoons of the heavy cream and whisk on high speed. Scrape down the sides of the bowl and add 3-4 tablespoons more of heavy cream, beating until desired consistency is achieved (about 5 minutes).
-
Divide the frosting into three bowls (about 2 cups each bowl).
-
Leave one bowl as white frosting. Add a small amount of red food coloring to the second bowl and mix to combine. Then, add blue food coloring to the third bowl and mix to combine.
-
Add each frosting to their own individual piping bags fitted with a tip. Pipe on all three of the colors to one cone or alternate between the cones using a single color for a varied display.
-
Garnish with red, white, and blue sprinkles and top with a maraschino cherry for the perfect finishing touch.
Nutrition
The recipes on this blog are tested with a conventional gas oven and gas stovetop. It’s important to note that some ovens, especially as they age, can cook and bake inconsistently. Using an inexpensive oven thermometer can assure you that your oven is truly heating to the proper temperature. If you use a toaster oven or countertop oven, please keep in mind that they may not distribute heat the same as a conventional full sized oven and you may need to adjust your cooking/baking times. In the case of recipes made with a pressure cooker, air fryer, slow cooker, or other appliance, a link to the appliances we use is listed within each respective recipe. For baking recipes where measurements are given by weight, please note that results may not be the same if cups are used instead, and we can’t guarantee success with that method.
