Homemade Birthday Cake Rolled Ice Cream: Your Ultimate Guide to a Fun & Easy Recipe
Imagine a dessert that captures the joy of a birthday party in every bite: sweet, creamy, and bursting with colorful sprinkles and tender cake pieces. This is exactly what you get with homemade Birthday Cake Rolled Ice Cream. Swirled gracefully into a rich vanilla ice cream base, this vibrant treat isn’t just delicious; it’s an experience. Forget the long lines at specialty shops – we’re bringing the magic of rolled ice cream right into your kitchen with a surprisingly simple recipe that promises smiles and satisfaction.
Why This Homemade Rolled Ice Cream Recipe Is a Must-Try
Creating this spectacular birthday cake rolled ice cream at home is remarkably straightforward, requiring just a handful of common ingredients and basic kitchen tools. We build upon our proven classic rolled ice cream recipe, elevating it with the playful addition of vibrant Jimmie sprinkles and tender crumbles of birthday cake. This method not only simplifies the process of making rolled ice cream, but it also transforms a simple dessert into a memorable activity.
Unlike store-bought varieties, crafting rolled ice cream at home offers complete control over ingredients and flavors. You can easily customize it to your taste, adding more or fewer sprinkles, or even incorporating different cake flavors. The unique rolling technique makes for an exciting presentation, captivating guests at birthday parties and gatherings. Plus, there’s an immense satisfaction that comes from creating such a professional-looking dessert right from your own kitchen. It’s a fantastic way to impress friends and family, providing a novel and delicious alternative to traditional ice cream scoops. Just remember to keep your creations well-chilled to maintain their perfect texture.
Gather Your Simple Ingredients for Birthday Cake Rolled Ice Cream
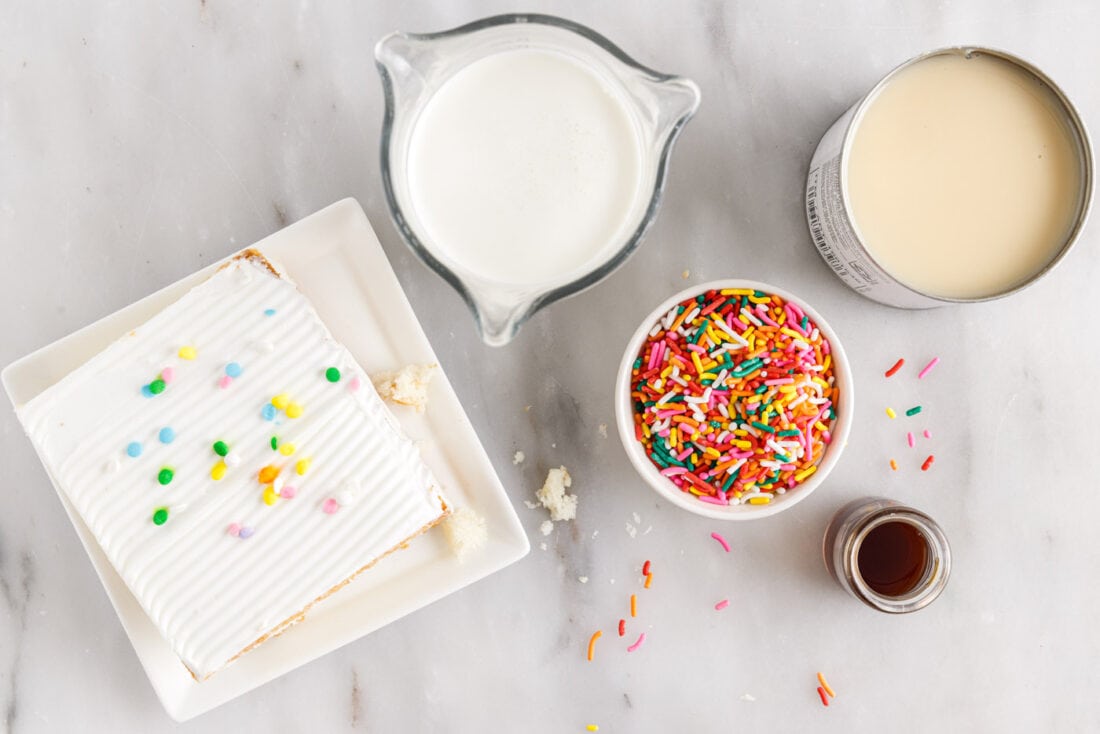
You’ll be amazed at how few ingredients are needed to create this spectacular dessert. With just 6 simple items, you’ll be well on your way to a fun, sweet, and incredibly satisfying treat. All precise measurements, a complete list of ingredients, and detailed instructions can be found in the printable recipe version located at the end of this post.
Key Ingredients & Expert Substitution Insights
Crafting the Perfect Ice Cream Base: Heavy Cream & Sweetened Condensed Milk
The foundation of any great rolled ice cream lies in its base, and for this recipe, the precise ratio of sweetened condensed milk to heavy cream is crucial for achieving that ideal consistency. If your ice cream mixture ends up too soft, melting before you can even begin to roll it off the pan, it’s a sign that you need to adjust the balance by adding more heavy cream or slightly reducing the sweetened condensed milk. Conversely, if your ice cream base is brittle and breaks apart instead of forming smooth rolls, it indicates a need for a higher proportion of sweetened condensed milk to achieve that desirable pliability. Keep in mind that different brands of sweetened condensed milk can vary in thickness and sugar content, which might subtly affect the final texture. Experimentation is key to finding your perfect balance, ensuring a consistently creamy and rollable ice cream.
The Flavor Stars: Vanilla, Salt, Sprinkles & Birthday Cake
Beyond the base, these ingredients bring the “birthday cake” magic to life. A touch of **pure vanilla extract** enhances the creamy notes and provides a comforting, familiar flavor. The **sea salt** is not just for taste; it helps to balance the sweetness, bringing out the depth of the vanilla and cream.
For the festive touch, **Jimmie sprinkles** are your go-to. Unlike many other sprinkle varieties, Jimmies are specifically designed not to bleed their vibrant colors when they come into contact with moisture, ensuring your ice cream remains beautifully colorful. It’s important to avoid using nonpareils, as their colors will unfortunately run and create a dull, muddy appearance. If you’re keen on using specialty sprinkles, always perform a small color-fastness test beforehand by mixing a few with a tiny bit of liquid to ensure they hold their hue.
The star of the show, of course, is the **crumbled birthday cake**. This is where the true flavor and texture come in. You don’t need a whole cake; a single slice or even a cupcake from your local grocery store will provide plenty of crumbles. For an extra layer of decadence, feel free to include the frosting along with the cake crumbles, just like in our popular no-churn birthday cake ice cream. The frosting will melt slightly into the base, creating an even richer flavor profile. If you prefer a simpler, less sweet version, plain cake crumbles work wonderfully too. The goal is to get small, manageable pieces that will integrate well into the ice cream base and be easy to roll.
Step-by-Step: How to Craft Your Own Birthday Cake Rolled Ice Cream
These step-by-step photos and detailed instructions are here to guide you visually through the process of making this delightful recipe. For the complete printable version, including all precise measurements and instructions, you can Jump to Recipe at the bottom of this post.
- **Prepare Your Freezing Surface:** Before you even begin mixing ingredients, the most crucial step is chilling your sheet pan. Place a full-size sheet pan with rimmed edges into the freezer. Ensure there’s enough flat space for the pan to sit level. Allow it to chill for at least 15 minutes, or even better, several hours in advance. A thoroughly chilled pan is essential for the ice cream to set quickly and correctly. (If you don’t have a large pan, several smaller sheet pans work just as well – simply work in batches.)
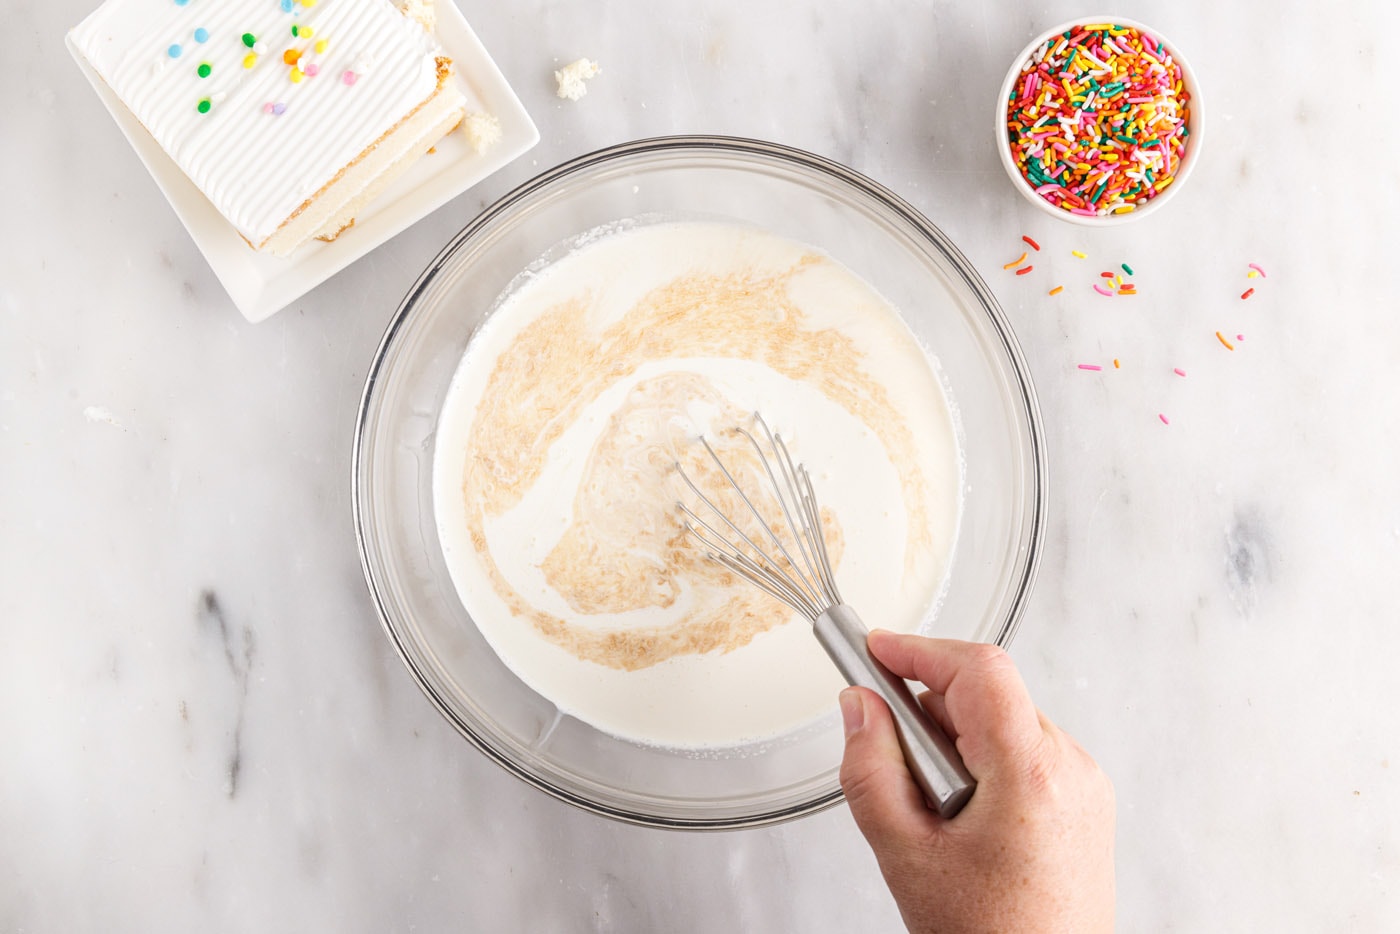
- **Whisk the Ice Cream Base:** In a clean bowl, combine the heavy cream, sweetened condensed milk, a pinch of salt, and pure vanilla extract. Whisk these ingredients together thoroughly until they are well combined and smooth. This creates your rich, creamy foundation for the rolled ice cream.

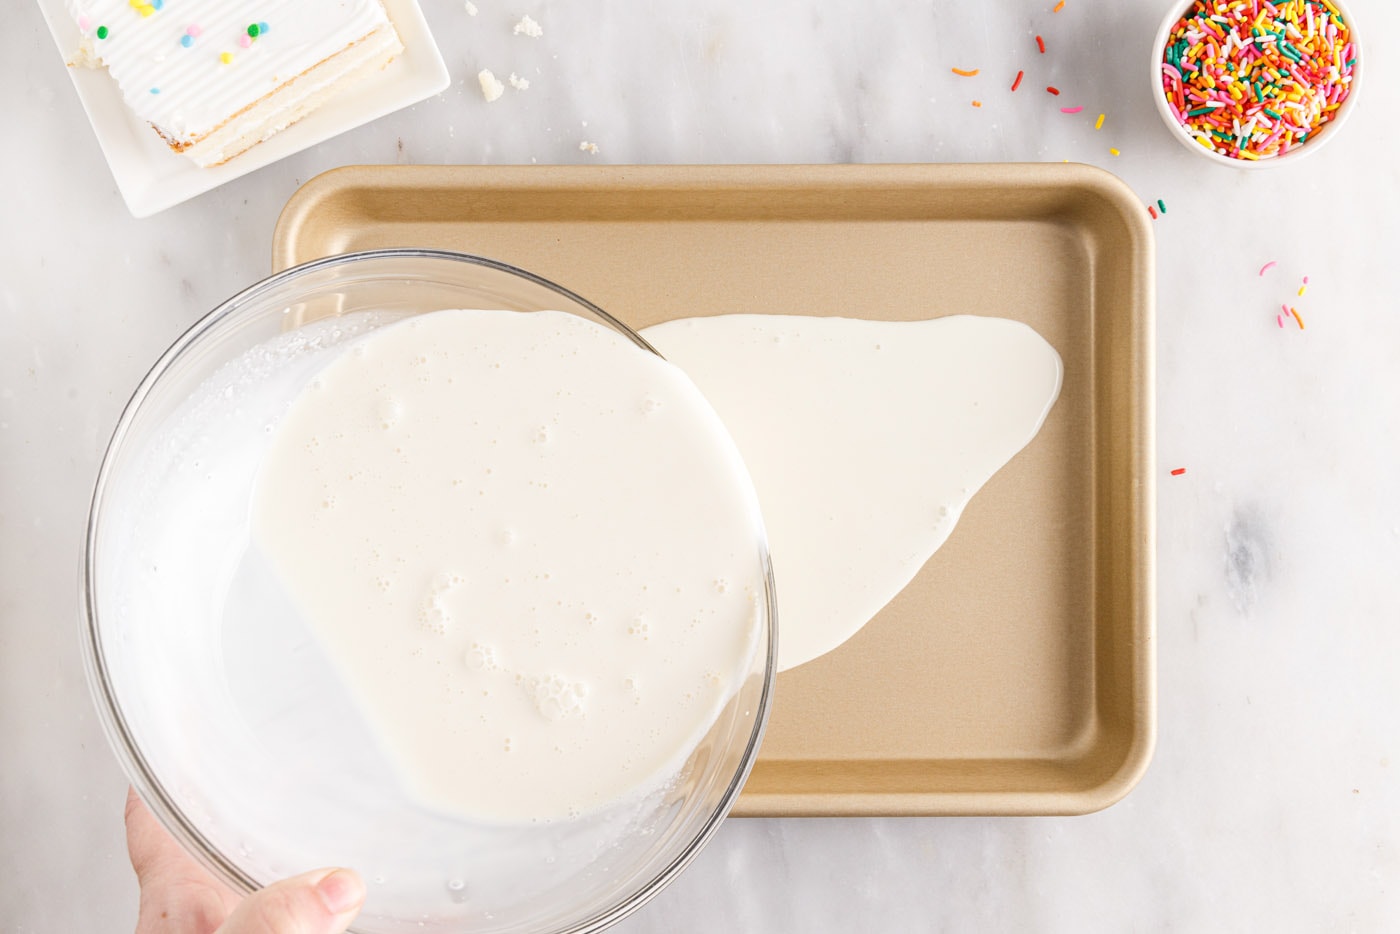
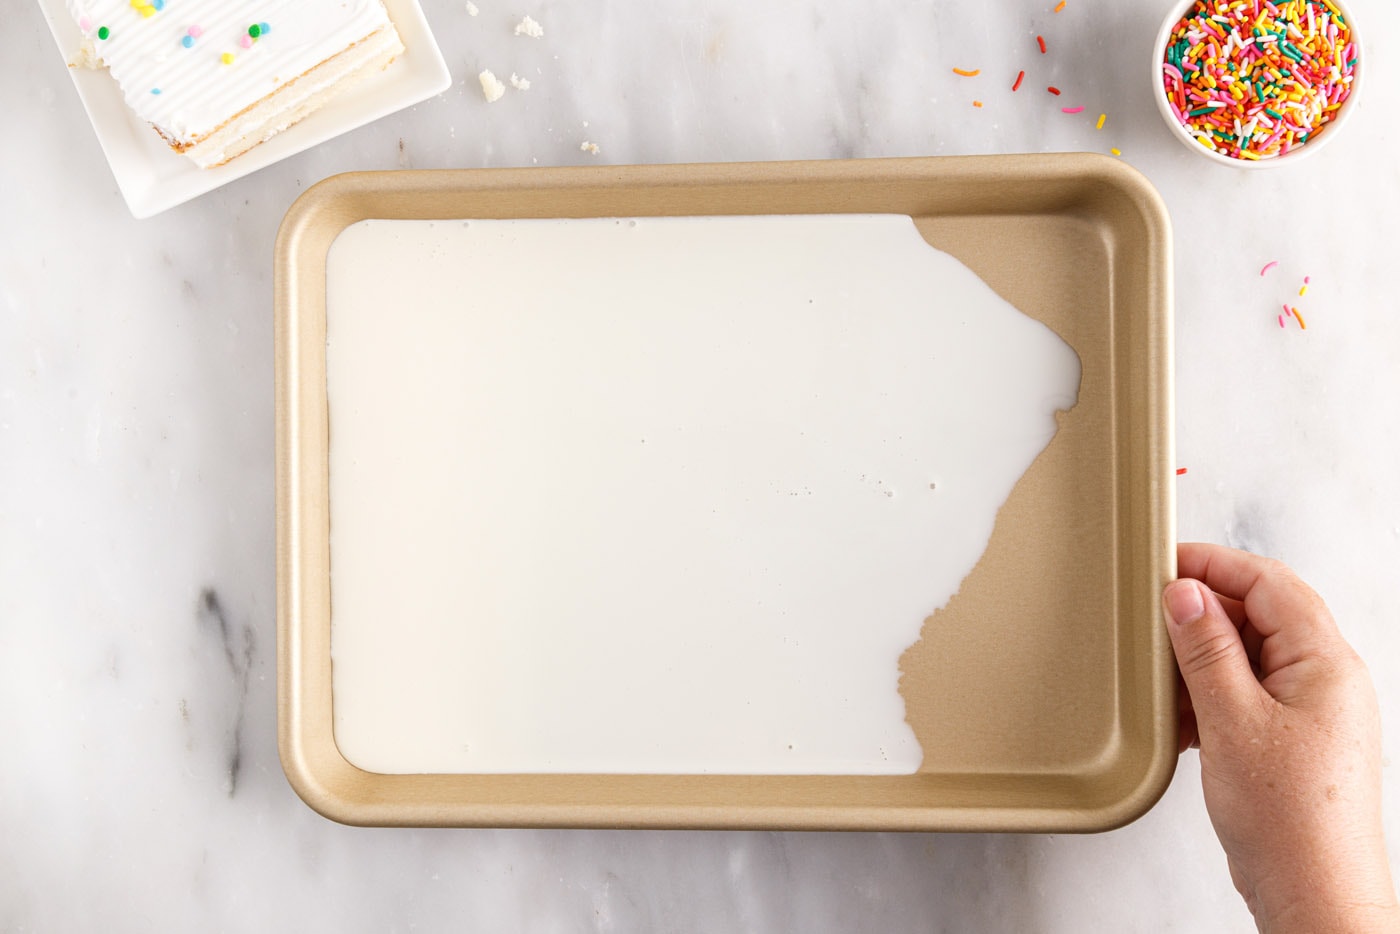
- **Pour and Spread the Base:** Carefully remove your pre-chilled pan from the freezer. Pour the whisked ice cream base mixture onto the pan. If using smaller pans, pour just enough mixture to create a thin, even layer across the entire bottom surface. The key here is a thin layer, no thicker than 1/8 inch, to ensure quick freezing and easy rolling. Speed is essential at this stage to prevent the pan from warming up too much.


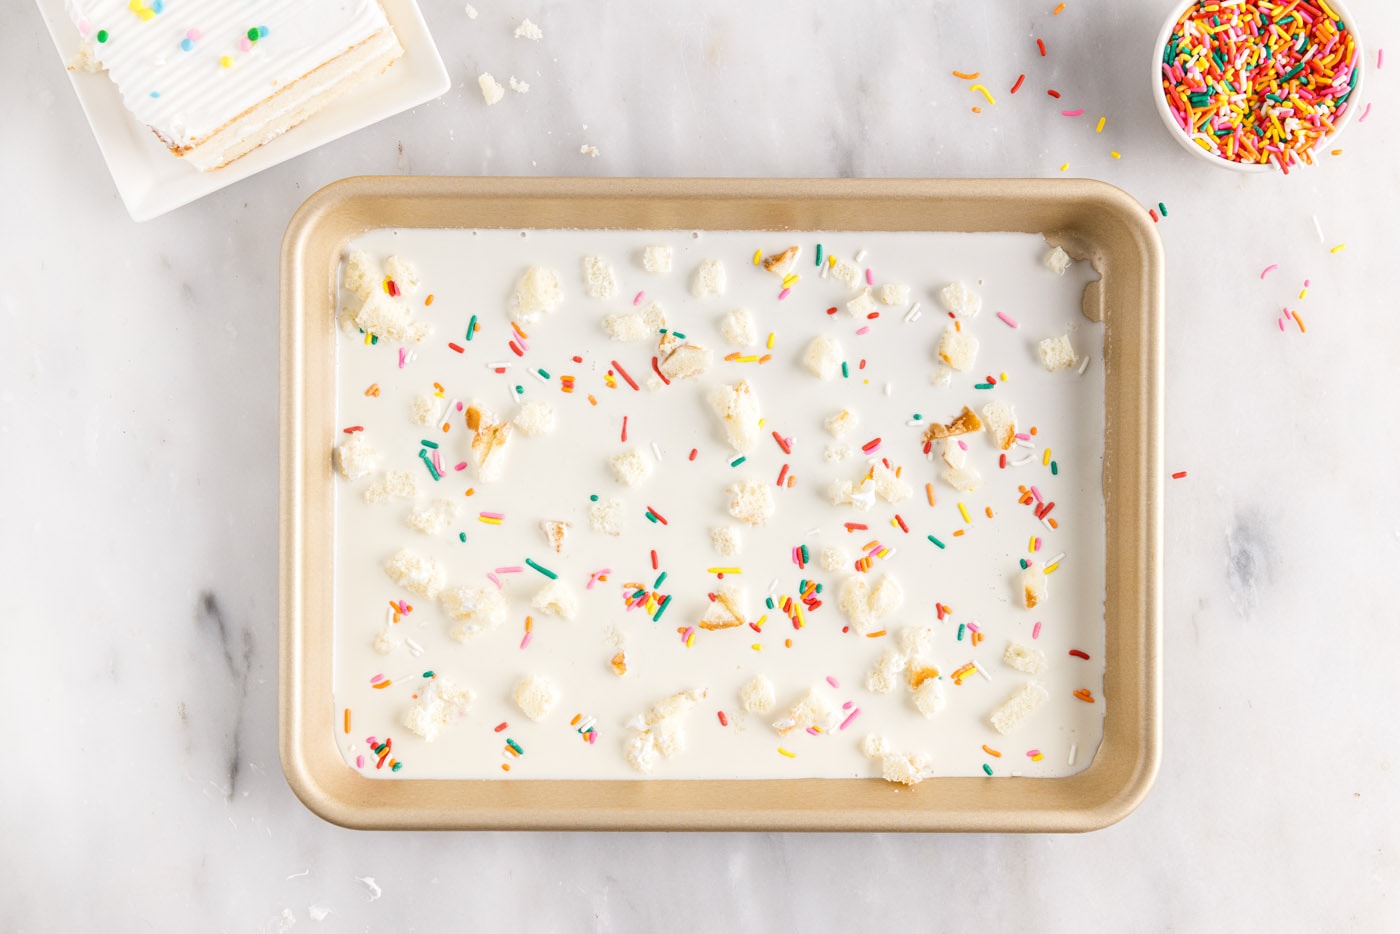
- **Add Your Birthday Cake Mix-ins:** Generously sprinkle the Jimmie sprinkles over the wet ice cream base. Start with a tablespoon or so, adding more until you reach your desired level of festivity. Next, crumble a piece of vanilla or white cake (with or without frosting, as preferred) and scatter the crumbles evenly over the ice cream mixture.
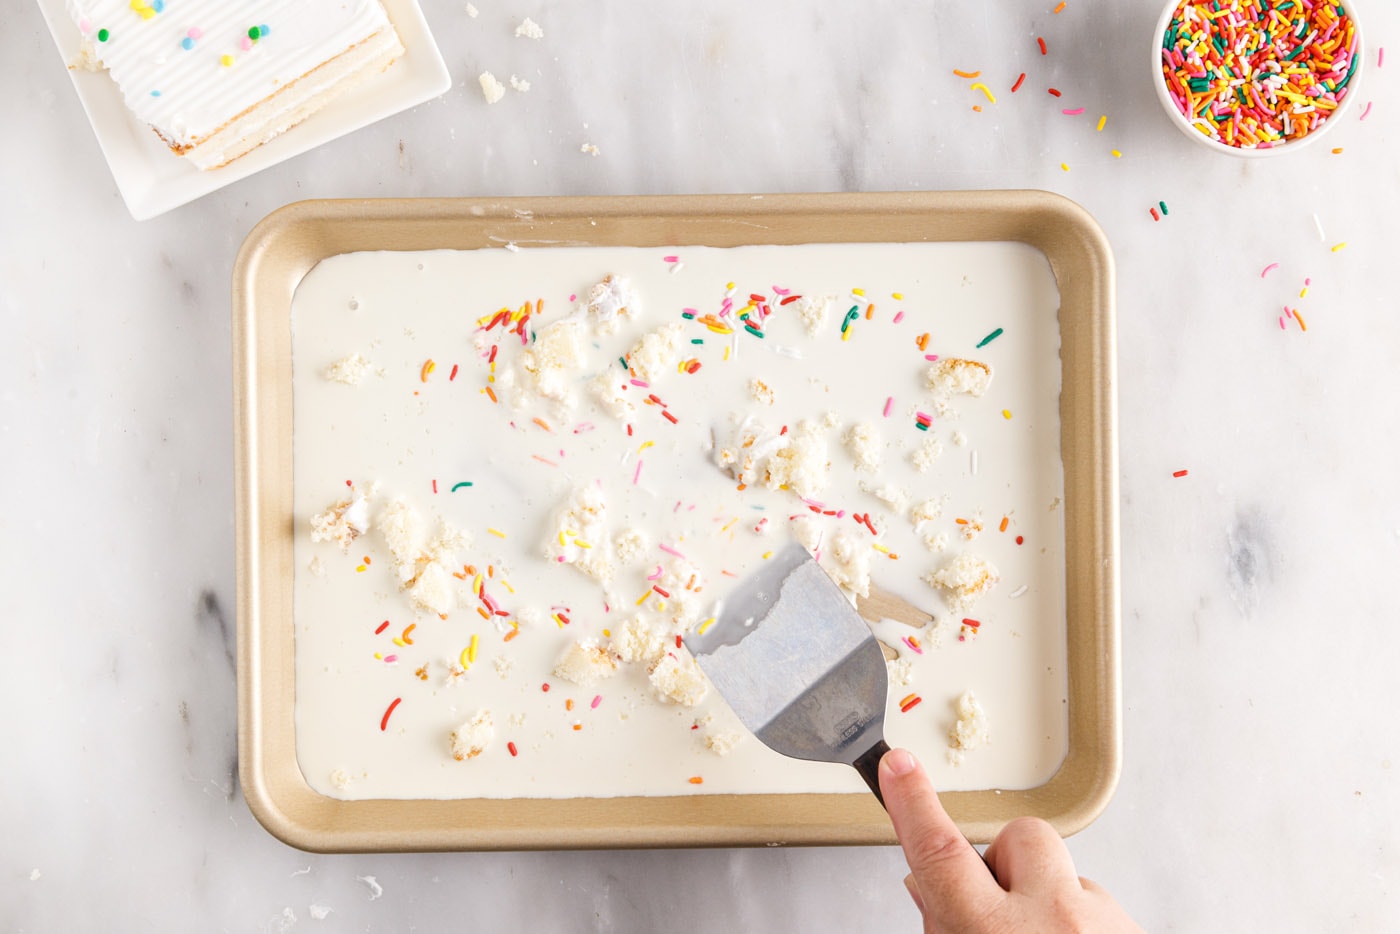
- **Integrate Toppings & Chill:** To facilitate easier rolling, allow the cake crumbles a few moments to slightly soften and absorb some of the liquid from the ice cream base. Then, using a spatula, gently mix the sprinkles and cake crumbles into the ice cream base, redistributing them evenly across the pan. This ensures every bite will be full of birthday cake flavor.


- **Final Freeze:** Return the pan to the freezer and allow it to freeze for a minimum of 2-3 hours, or until the ice cream base is completely solid and firm to the touch. This crucial freezing time ensures it’s ready for rolling.
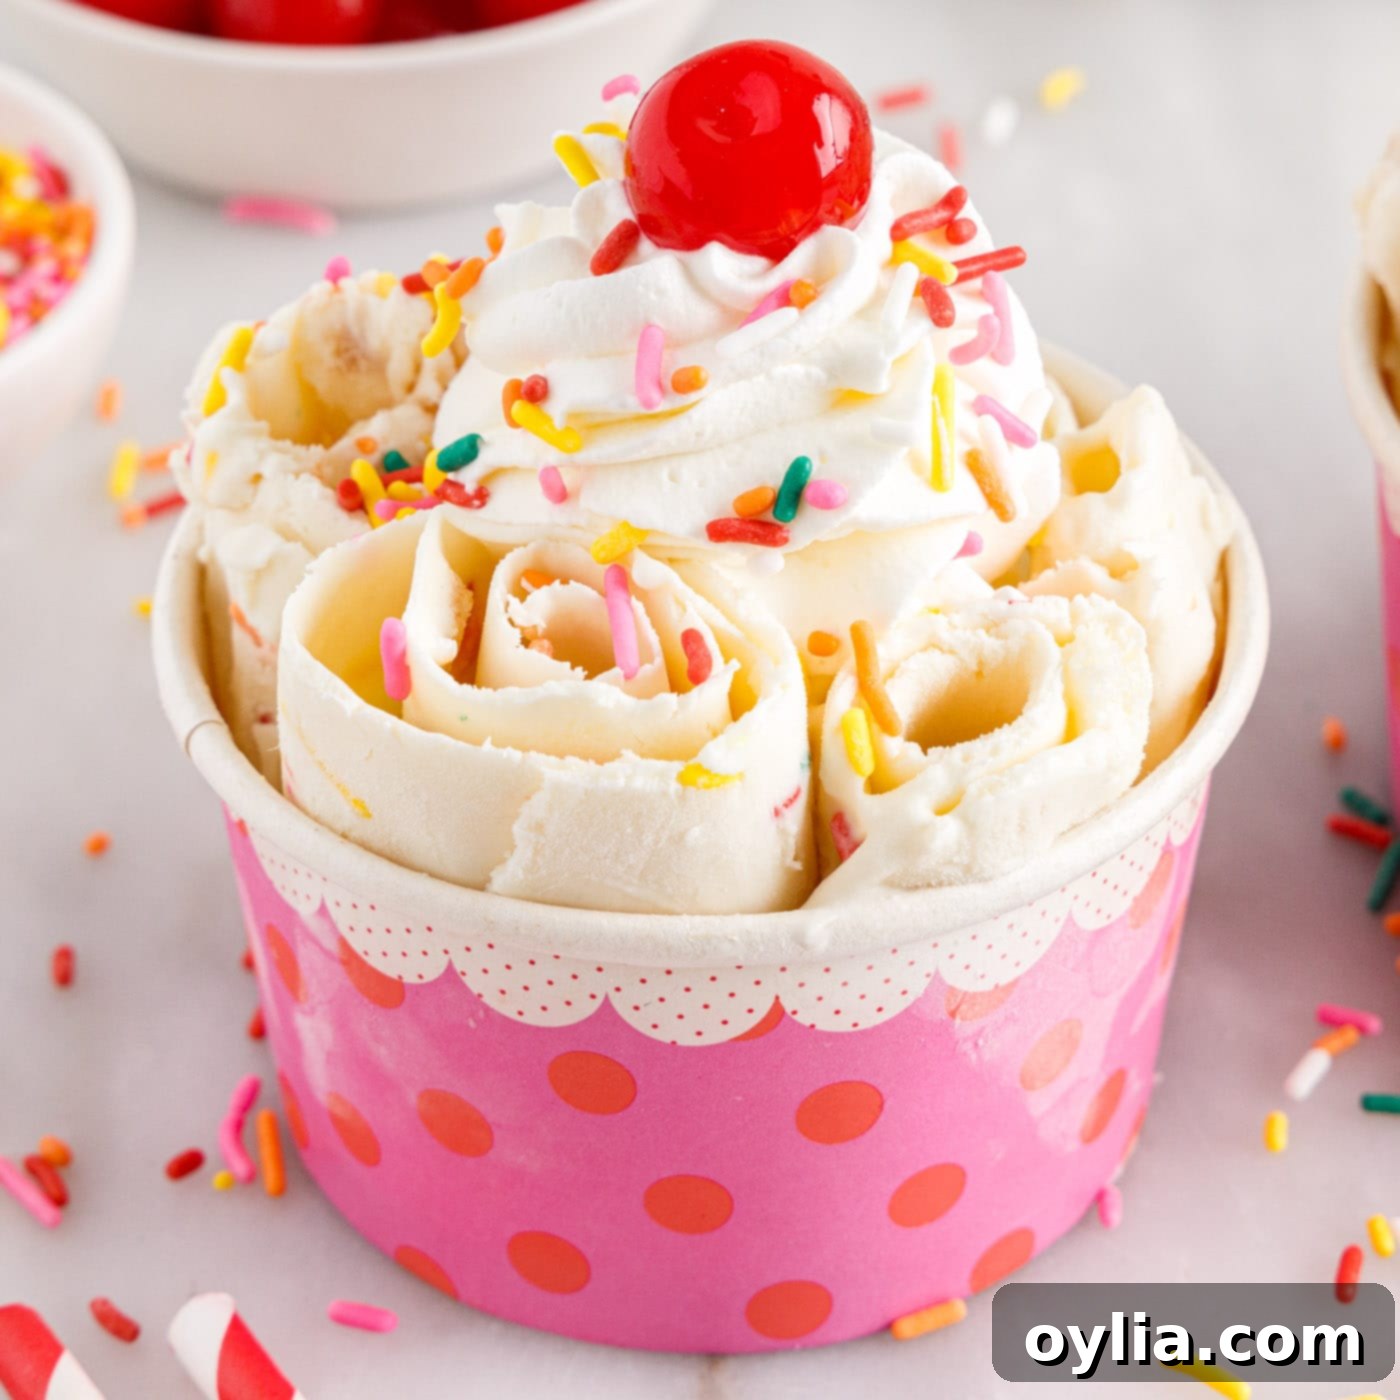
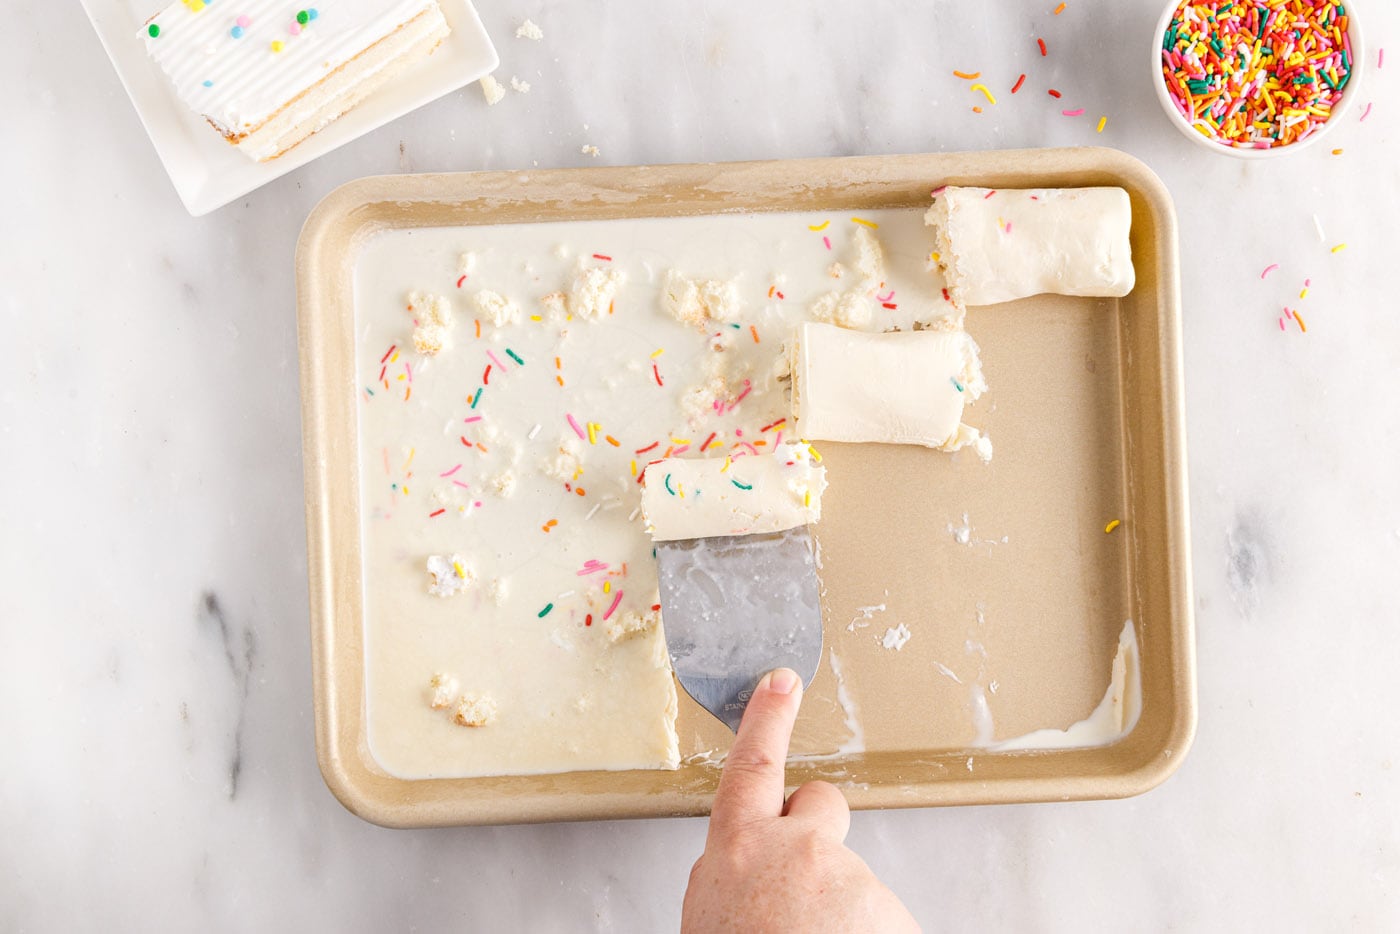
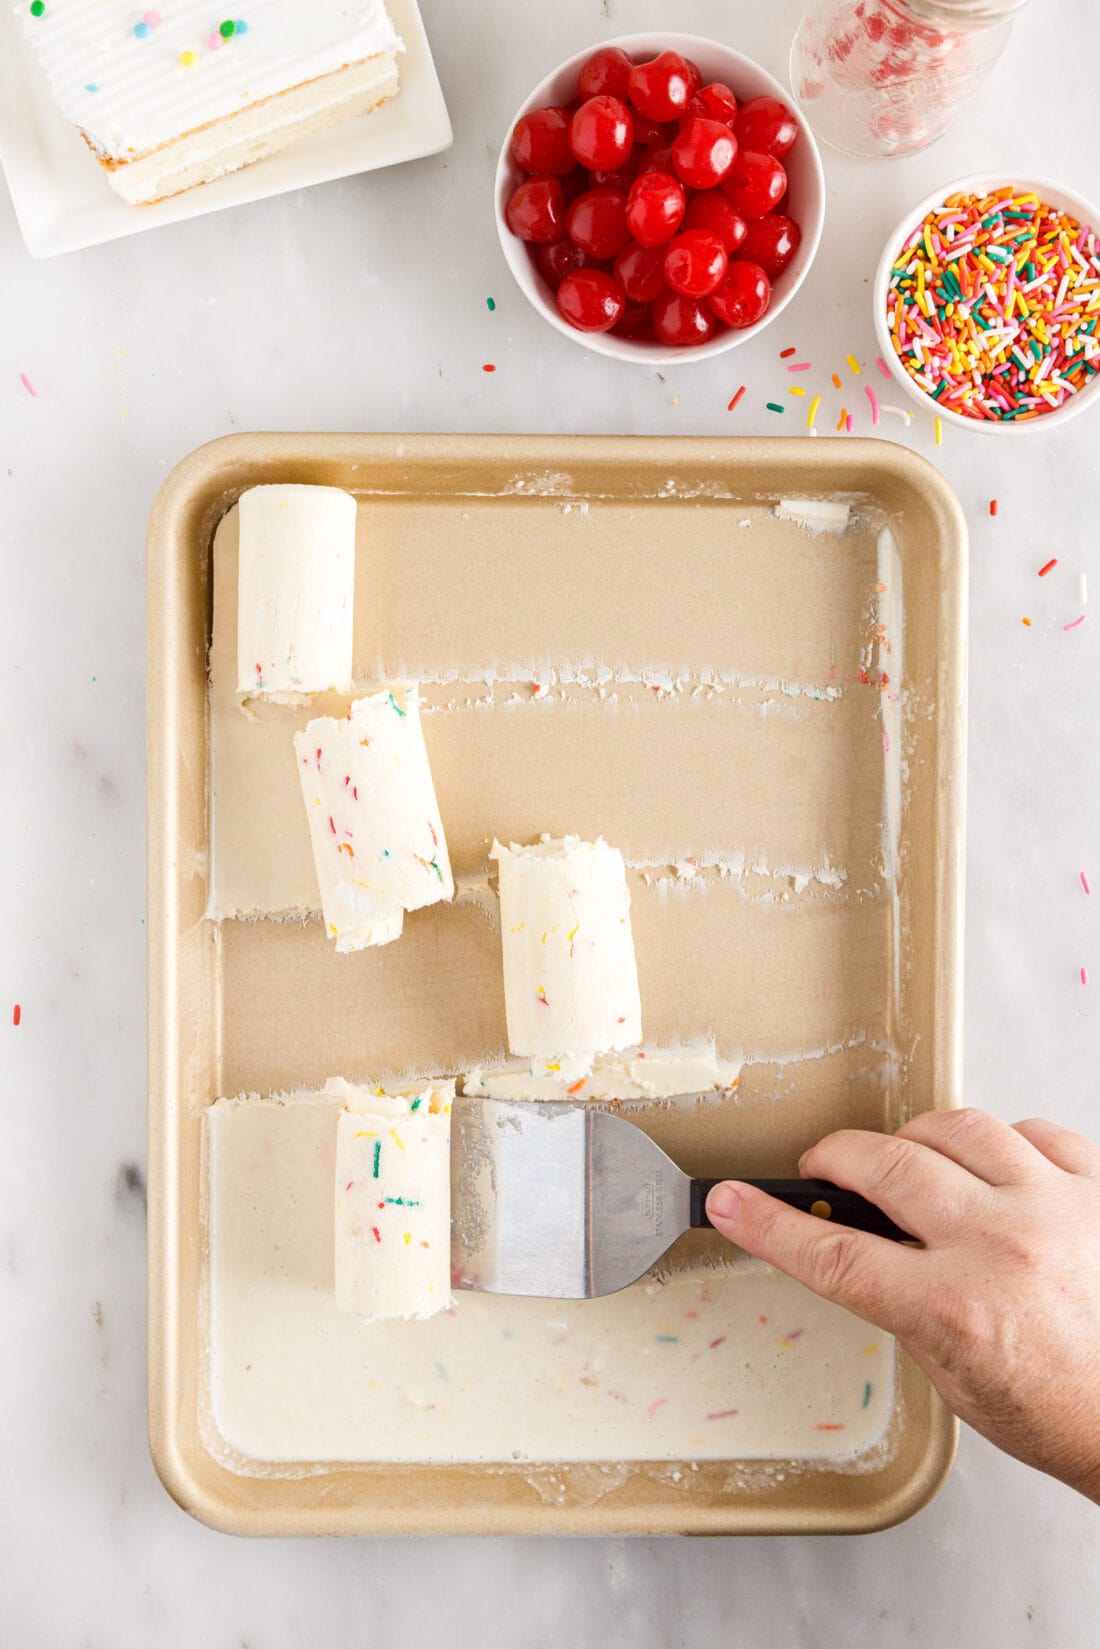
- **The Art of Rolling:** Once the ice cream is solid, work quickly with a 3-inch wide straight spatula. Gently lift one edge of the ice cream layer, then glide your spatula firmly across the sheet pan at a slight angle, pushing the ice cream forward to create beautiful, tight rolls. The colder the pan and the faster you work, the easier and more perfect your rolls will be. Transfer these delightful rolls into a paper cup or bowl for immediate serving.

Frequently Asked Questions & Expert Tips for Perfect Rolled Ice Cream
For optimal storage, you have a couple of options. You can either cover the entire sheet pan tightly with plastic wrap and return it to the freezer, or, once rolled, transfer the individual ice cream rolls into an airtight container. Stored properly in the freezer, your homemade rolled ice cream will maintain its quality for up to 1 month. Be sure to use an airtight container to prevent freezer burn and keep it tasting fresh.
The beauty of this recipe is its flexibility with pan sizes. You can use any metal pan as long as it has a rimmed edge to contain the liquid ice cream base. The critical factor is to pour just enough of the mixture to spread a very thin, solid layer across the bottom of the pan – seriously, there’s no such thing as “too thin” in our experiments! This thin layer is essential for quick freezing and successful rolling. After each batch, freeze, roll, and then repeat the process. In between pours, store any remaining ice cream base mixture in the refrigerator to keep it chilled. Many find that using quarter sheet pans for smaller batches is more manageable and yields excellent results, allowing you to focus on rolling a few perfect servings at a time.
A 3-inch wide straight spatula is highly recommended. The straight edge allows for a clean lift and consistent pressure across the ice cream layer, which is crucial for forming those beautiful rolls. While you might be able to use a wide, thin metal scraper, a dedicated straight spatula designed for culinary use will give you the best results and make the process significantly easier.
Several factors can affect freezing and rolling. First, ensure your pan is extremely cold – a minimum of 15 minutes in a very cold freezer, or even longer, is key. Second, the thickness of your ice cream layer matters; it should be no more than 1/8 inch. A thicker layer won’t freeze quickly enough. Third, the ratio of heavy cream to sweetened condensed milk is vital (as discussed in the ingredient section). If it’s too soft, add more cream; if too brittle, add more condensed milk. Finally, your indoor temperature plays a role; if your kitchen is very warm or humid, the ice cream will melt faster, making rolling more challenging. Work quickly and consider doing it in a cooler part of your home.
Creative Serving Ideas & Presentation Tips
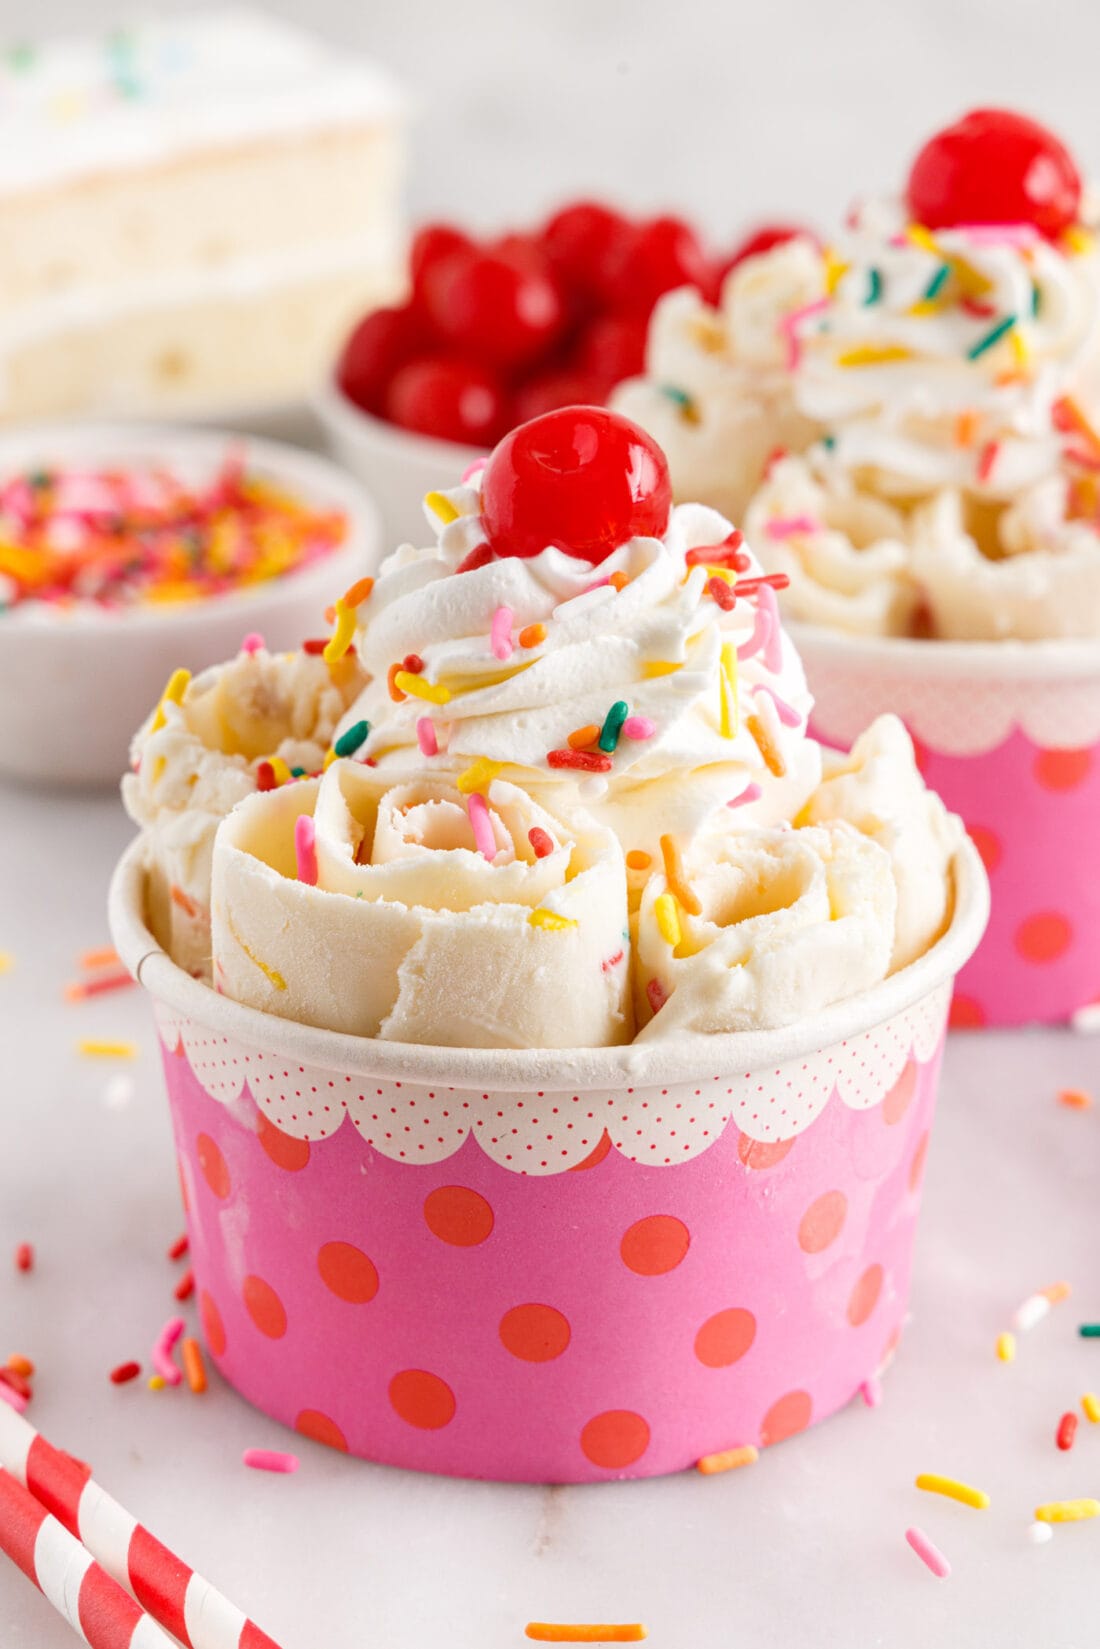
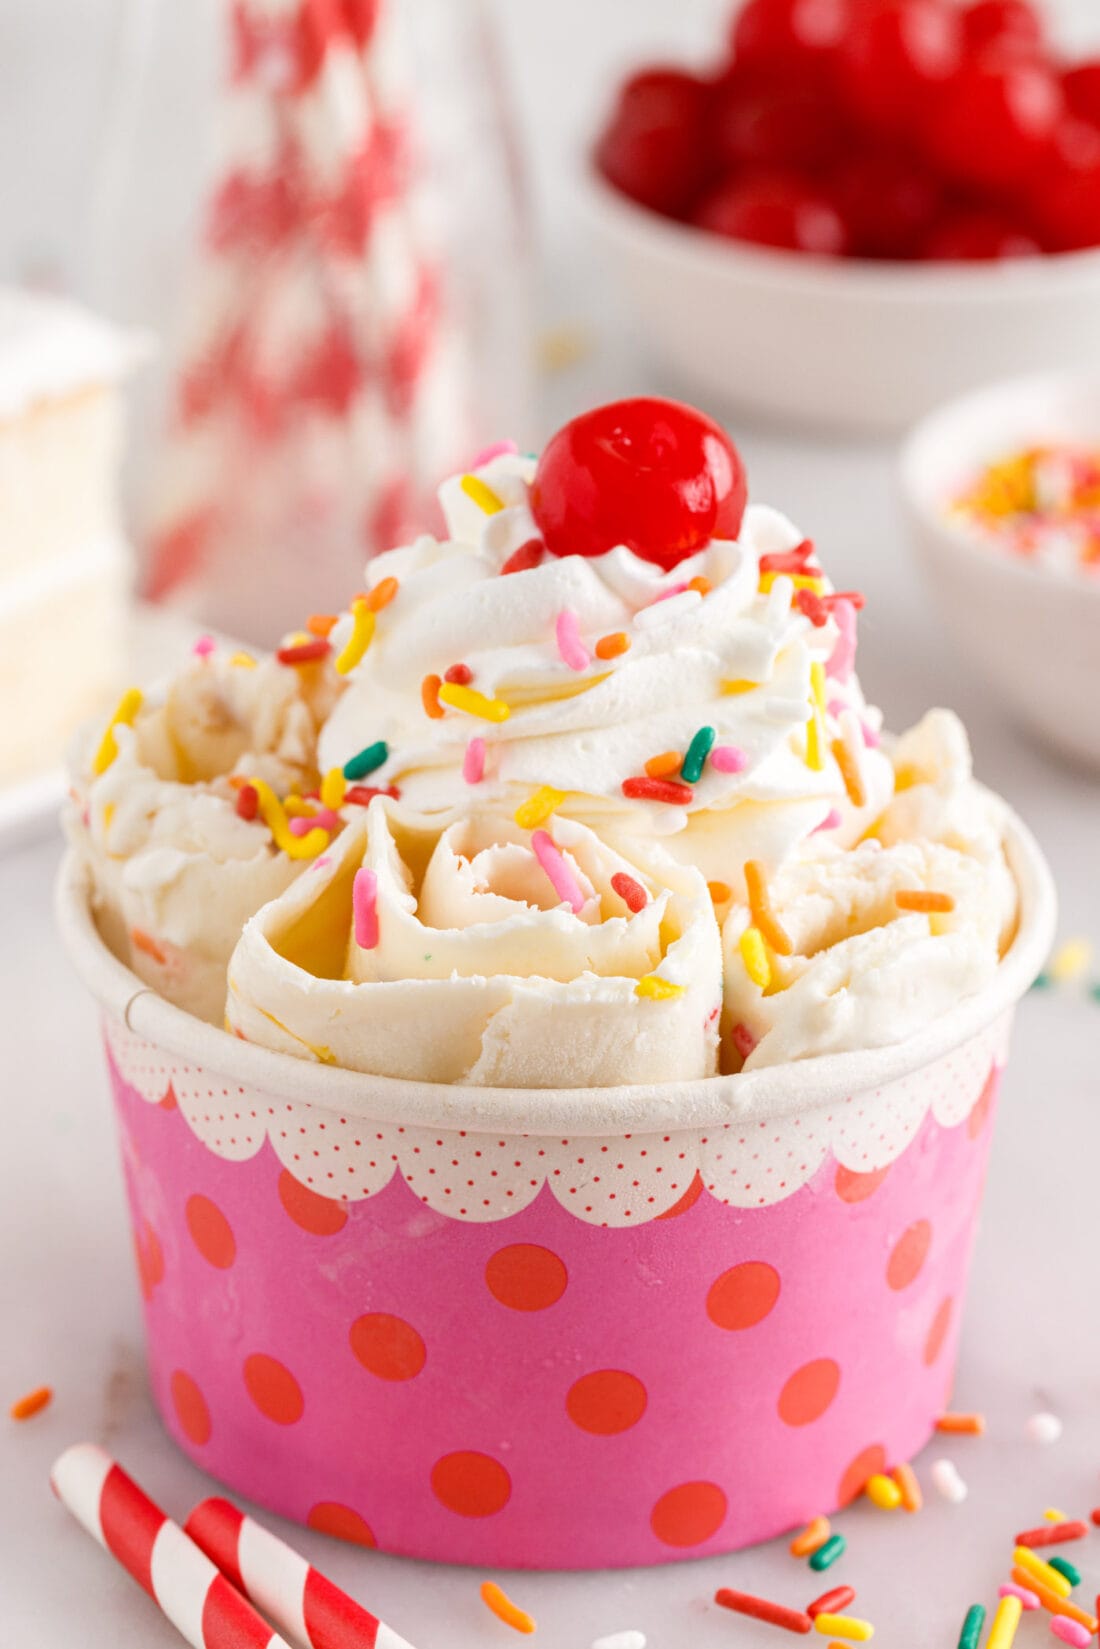
Once you’ve mastered the art of rolling your birthday cake ice cream, it’s time to get creative with serving! Present your beautiful rolls in individual paper cups or small bowls. To truly enhance the festive birthday cake theme, consider adding optional toppings like crisp wafers for a textural contrast, bright red maraschino cherries for a pop of color, a dollop of fluffy whipped cream, and, of course, a generous dusting of additional rainbow sprinkles. These embellishments not only make your dessert look more appealing but also add extra layers of flavor and fun.
It’s important to remember that rolled ice cream, being a softer set ice cream, melts relatively quickly. Therefore, speed and efficiency are key during the rolling and decorating phases. To prevent premature melting and keep your ice cream at its best, always keep the prepared base or finished rolls in the freezer when you’re not actively working with them. If you live in a particularly hot or humid climate, or if your indoor temperature isn’t cool enough, you might find the process a bit more challenging. In such cases, having all your ingredients and tools prepped and working swiftly in smaller batches can make a significant difference in achieving perfect, firm rolls. Enjoy this delightful dessert fresh!
Explore More Sweet Treats from Our Kitchen
If you loved this fun and flavorful birthday cake rolled ice cream, we invite you to discover more exciting dessert recipes that are perfect for any occasion:
- Funfetti Icebox Cake
- Rocky Road Ice Cream
- Ice Cream Sandwich Cake
- Instant Pot Funfetti Cheesecake
- No Churn Birthday Cake Ice Cream
I love to bake and cook and share my kitchen experience with all of you! Remembering to come back each day can be tough, that’s why I offer a convenient newsletter every time a new recipe posts. Simply subscribe and start receiving your free daily recipes!
Birthday Cake Rolled Ice Cream
IMPORTANT – There are often Frequently Asked Questions within the blog post that you may find helpful. Simply scroll back up to read them!
Print It
Pin It
Rate It
Save ItSaved!
Ingredients
- 2 cups heavy whipping cream
- ⅔ cup sweetened condensed milk
- ¼ teaspoon sea salt
- 1 ½ teaspoons pure vanilla extract
- 3 Tablespoons rainbow jimmie sprinkles you can use 2-4 Tablespoons of sprinkles
- 1 cup vanilla cake crumbled, or white cake. with or without frosting
Things You’ll Need
-
Sheet pan
-
3 inch wide straight spatula
Before You Begin
- No-churn ice cream, which relies on sweetened condensed milk for sweetness and creaminess, typically has a softer set than traditional ice cream. This means it melts faster. Work quickly when rolling and transfer immediately to a serving container or the freezer. You can pre-roll and store the rolls in the freezer until ready to serve.
- For best results and easier rolling, ensure your birthday cake crumbles are not too large. Breaking them down a bit more allows for smoother integration into the ice cream base and prevents them from hindering the rolling process.
- Any metal pan with a rim will work! The key is to pour a very thin, even layer of the ice cream base. If you have several smaller quarter sheet pans, these can be ideal for working in smaller batches, allowing you to maintain the pan’s cold temperature and perfect your rolling technique before the ice cream softens. Store the remaining base mixture in the refrigerator between batches.
- Remember, Jimmie sprinkles are your best friend here as they won’t bleed color when wet. Avoid nonpareils as they will dye your ice cream. If using other specialty sprinkles, always test a small amount for color fastness before mixing them into the entire batch.
- If you don’t have leftover birthday cake, a single slice or cupcake from a bakery or grocery store is perfectly sufficient for this recipe. It’s a great way to repurpose a small treat into something even more exciting!
Instructions
-
Prior to preparing the ingredients, place a full size sheet pan with rimmed edges into the freezer. Be sure there is ample space for the sheet pan to set level. Allow the pan to chill in the freezer for at least 15 minutes up to several hours in advance. (Alternately, you can use several smaller sheet pans.)
-
Whisk together the heavy cream, sweetened condensed milk, salt, and vanilla in a bowl until thoroughly combined.
-
Pour the ice cream base mixture into the prepared pan. If you’d like to use smaller pans, pour just enough of the ice cream mixture to coat the full bottom of the pan. The layer should not be thicker than 1⁄8”.
-
Sprinkle the jimmies over the ice cream base – add a tablespoon or so at a time until you have an amount you like. Crumble a piece of cake or cupcake and scatter the crumbles over the ice cream.
-
To make rolling the ice cream easier, allow the cake crumbles to soften a bit, soaking up some of the liquid. Use a spatula to mix the toppings into the ice cream base and redistribute evenly across the pan.
-
Freeze for at least 2-3 hours, until the ice cream is solid.
-
Working quickly with a 3” wide straight spatula – gently lift the edge of the ice cream and then glide your spatula across the sheet pan to make rolls of ice cream. Transfer the rolls into a paper cup or bowl for serving.
Nutrition
The recipes on this blog are tested with a conventional gas oven and gas stovetop. It’s important to note that some ovens, especially as they age, can cook and bake inconsistently. Using an inexpensive oven thermometer can assure you that your oven is truly heating to the proper temperature. If you use a toaster oven or countertop oven, please keep in mind that they may not distribute heat the same as a conventional full sized oven and you may need to adjust your cooking/baking times. In the case of recipes made with a pressure cooker, air fryer, slow cooker, or other appliance, a link to the appliances we use is listed within each respective recipe. For baking recipes where measurements are given by weight, please note that results may not be the same if cups are used instead, and we can’t guarantee success with that method.
