Decadent 5-Ingredient Classic Chocolate Mousse: An Easy, Rich & Airy Dessert Recipe
Indulge in the velvety perfection of a homemade chocolate mousse that requires just 5 essential ingredients. This recipe simplifies the art of creating a truly decadent dessert, bringing together dark unsweetened chocolate, fresh eggs, granulated sugar, luscious heavy cream, and a touch of vanilla extract for an unforgettable culinary experience. Prepare to impress with minimal effort and maximum flavor.
Why This Easy Chocolate Mousse Recipe is a Must-Try
When it comes to desserts, we often crave something both easy to prepare and utterly decadent. This classic chocolate mousse recipe strikes that perfect balance, delivering a rich, creamy, and wonderfully airy texture that is simply irresistible. Much like our beloved French silk pie, this dessert embodies elegance and comfort. It’s the kind of treat that looks sophisticated enough for a dinner party yet is surprisingly straightforward to whip up in your own kitchen.
What makes this particular chocolate mousse stand out? First and foremost, its simplicity. With only five core ingredients, you’re not overwhelmed by a long list of obscure items. Each ingredient plays a crucial role in creating the signature texture and deep chocolate flavor. The combination of rich dark chocolate, lightened egg whites, and whipped cream results in a melt-in-your-mouth experience that satisfies even the most discerning sweet tooth. Its delicate, cloud-like consistency, achieved through careful folding, is what truly sets a good mousse apart from other chocolate desserts.
Beyond its incredible taste and texture, this easy chocolate mousse is a dream for presentation. Served in individual glasses or ramekins, it offers an elegant, portion-controlled dessert that always makes a statement. Whether you’re hosting a special occasion or simply treating yourself to a luxurious end to your day, this recipe proves that you don’t need a pastry chef’s expertise to create a restaurant-quality dessert at home. It’s a foolproof way to elevate any meal and leave a lasting impression.
Key Ingredients for Your Homemade Chocolate Mousse
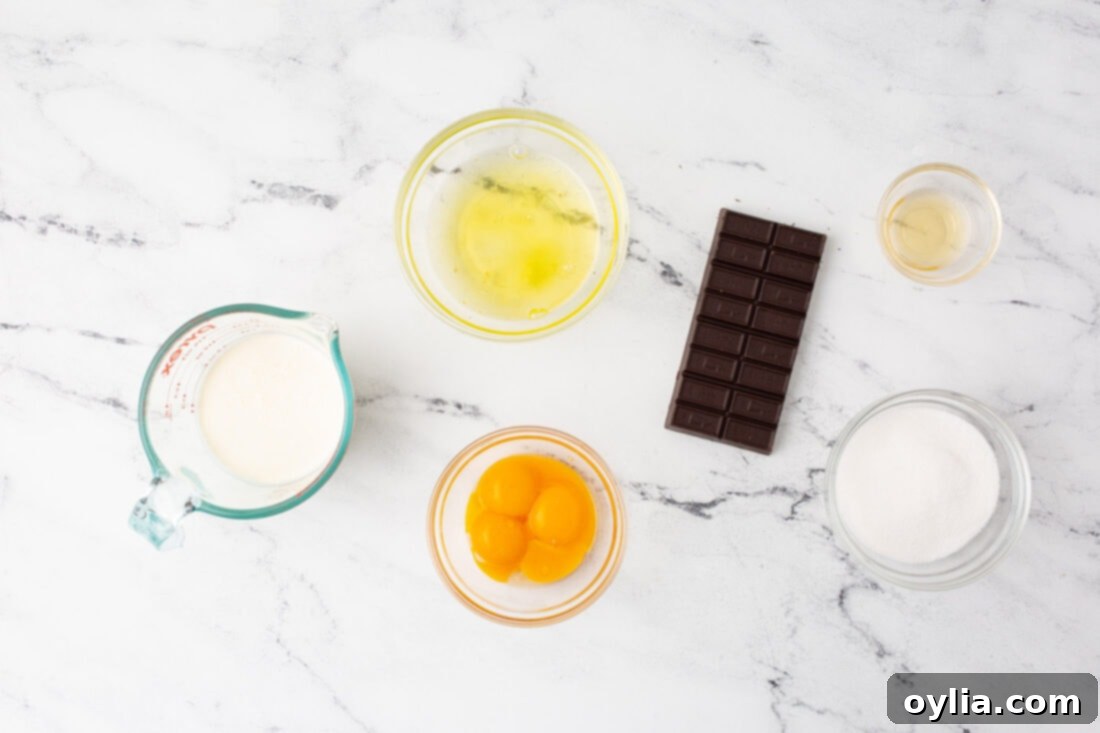
Crafting the perfect chocolate mousse begins with selecting quality ingredients. This simple recipe relies on just five core components, each contributing to the dessert’s signature richness and airy texture. While the full list with precise measurements can be found in the printable recipe card at the end of this post, here’s a detailed overview of what you’ll need to create this amazing treat:
- Dark Unsweetened Chocolate: The star of the show, providing deep, intense chocolate flavor.
- Eggs: Separated into yolks and whites, essential for emulsification and aeration.
- Granulated Sugar: Sweetens the mousse and helps stabilize the egg whites.
- Heavy Whipping Cream: Adds richness and contributes to the light, airy texture when whipped.
- Vanilla Extract: Enhances the overall flavor profile.
Ingredient Spotlight & Smart Substitutions
Understanding each ingredient’s role can help you achieve the best chocolate mousse and even customize it to your preference.
Eggs – The Heart of the Mousse
This traditional recipe does utilize raw eggs, which are crucial for achieving the classic light and airy texture of a true mousse. The egg yolks provide richness and help emulsify the chocolate, while the whipped egg whites create volume and lightness. If you have concerns about consuming raw eggs, especially if you are pregnant, elderly, or have a compromised immune system, you have a couple of safe alternatives:
- Pasteurized Eggs: These are eggs that have been gently heated in their shells to kill bacteria, making them safe for consumption in raw applications. They can be found in many grocery stores.
- Homemade Pasteurization: If pasteurized eggs aren’t available, you can pasteurize regular eggs at home using a precise method. You can find detailed instructions on how to pasteurize eggs at home. This involves carefully heating them in a warm water bath to a specific temperature.
Regardless of your choice, ensure your eggs are fresh for optimal results and safety.
Chocolate – Flavor Profile & Texture
For this rich chocolate mousse, we recommend using 100% cacao unsweetened baking chocolate. This type of chocolate, typically found in the baking aisle, provides a deep, intense chocolate flavor without added sweetness, allowing you to control the sugar content in the recipe. Using unsweetened chocolate also ensures that the final product isn’t overly sweet, letting the true chocolate notes shine.
However, you have flexibility with your chocolate choice to tailor the flavor to your liking:
- Milk Chocolate: For a significantly sweeter and milder chocolate mousse, you can substitute with milk chocolate. Be aware that this will drastically change the sweetness level and overall profile of the dessert, making it much less intense.
- Semi-Sweet Chocolate: A popular choice, semi-sweet chocolate bars offer a balanced sweetness and a good chocolate flavor. This is a great middle-ground if 100% unsweetened chocolate is too intense for you.
- Bittersweet Chocolate: If you love a rich, complex chocolate flavor with less sweetness than semi-sweet, opt for bittersweet chocolate at your preferred percentage, such as 60% or 70% cacao. Higher percentages of bittersweet chocolate will yield an even richer, more sophisticated flavor in your mousse. Always choose good quality baking chocolate for the best texture and taste.
The quality of your chocolate directly impacts the depth and smoothness of your mousse. Invest in a good baking bar for the best results.
Sugar – Sweetness & Structure
Granulated sugar not only sweetens the mousse but also plays a vital role in stabilizing the whipped egg yolks and, most importantly, the egg whites. When beaten with egg whites, sugar helps to create a glossy, stable meringue that holds its shape and contributes to the mousse’s airy structure.
Heavy Whipping Cream – Richness & Lightness
Heavy whipping cream is essential for both richness and aeration. Part of the cream is warmed with the chocolate to form the ganache base, providing lusciousness. The remaining cream is whipped into soft peaks and then folded into the chocolate mixture, adding further lightness and a silky mouthfeel. Ensure your cream is very cold before whipping for the best volume.
Vanilla Extract – A Touch of Aroma
A good quality vanilla extract might seem like a small detail, but it profoundly impacts the overall flavor of your chocolate mousse. It enhances the chocolate notes and adds a warm, aromatic depth that rounds out the dessert beautifully. Don’t skip it!
Crafting Your Own Decadent Chocolate Mousse: A Step-by-Step Guide
These step-by-step photos and instructions are here to help you visualize how to make this recipe. You can Jump to Recipe to get the printable version of this recipe, complete with measurements and instructions at the bottom.
- Prepare the Chocolate: Finely chop the dark unsweetened chocolate. Small, even pieces will melt more smoothly and quickly, preventing lumps in your ganache. Set this aside.
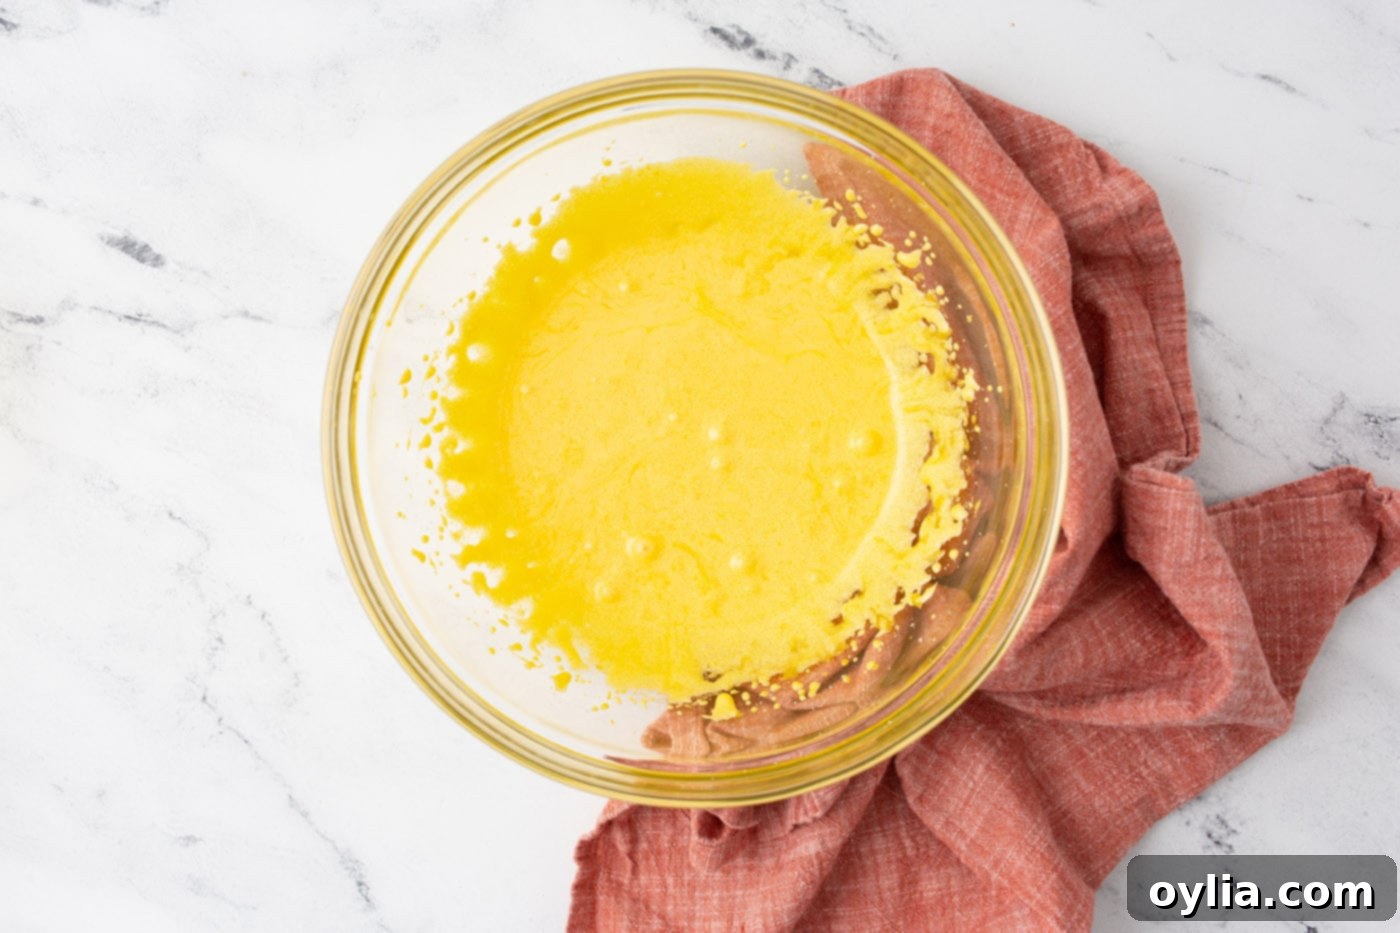
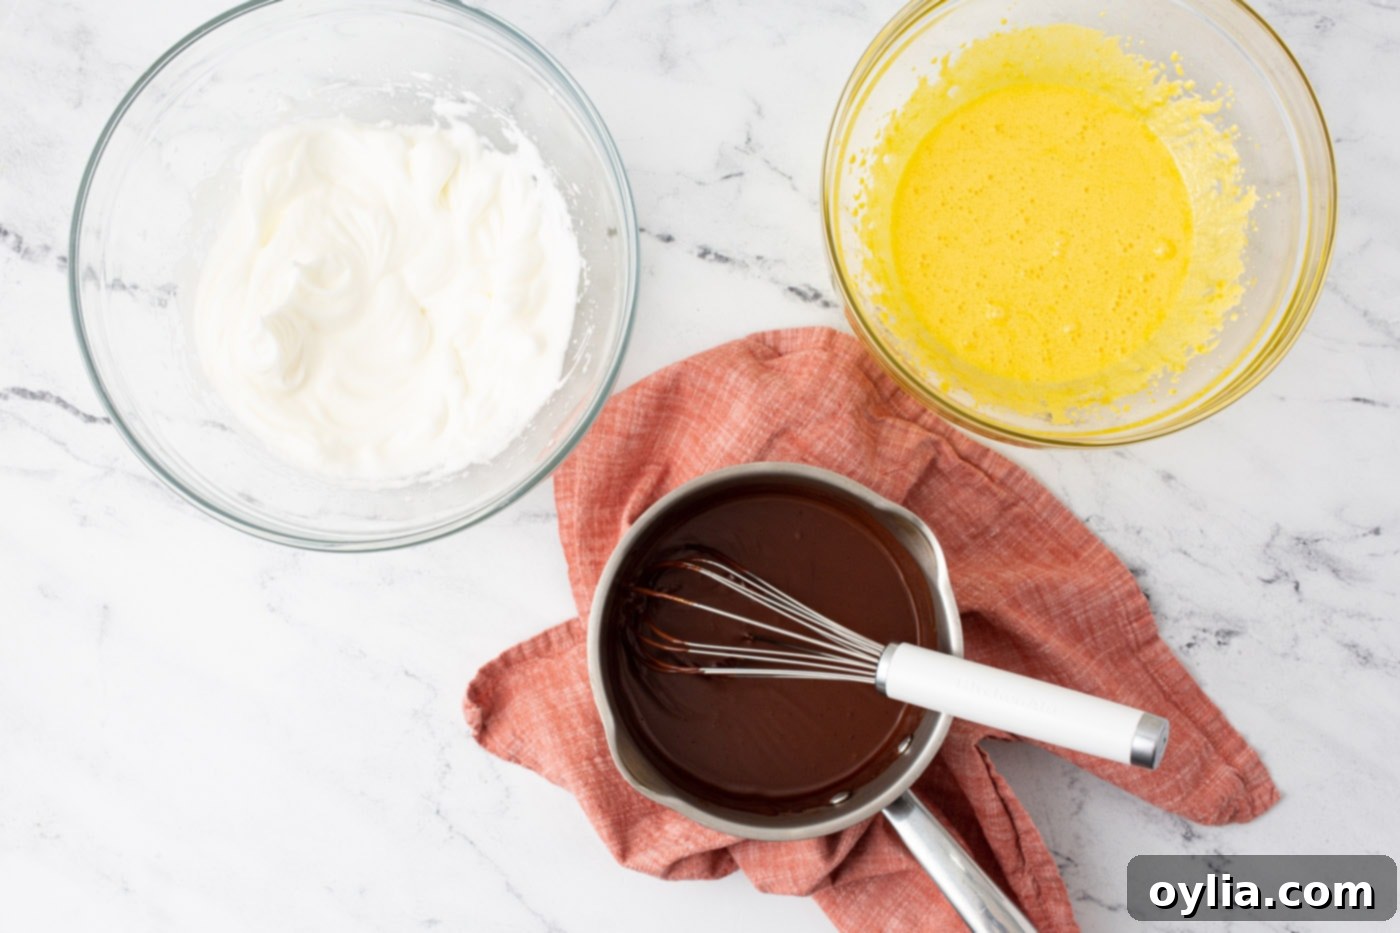
- Beat Egg Yolks with Sugar: Carefully separate the egg yolks and egg whites into two separate large, clean bowls. In the bowl with the egg yolks, add the sugar. Using a hand mixer (or a stand mixer with a whisk attachment), beat the yolks and sugar together on high speed for approximately 3 minutes. The mixture should become pale yellow, thick, and slightly fluffy. This process, known as ribbon stage, is crucial as it incorporates air and dissolves the sugar, preventing a grainy texture.

- Whip Egg Whites: In the second large bowl (ensure it’s completely clean and grease-free, as any fat can prevent whites from whipping), beat the egg whites with a hand mixer on high speed until stiff white peaks are formed. Stiff peaks mean that when you lift the beaters, the peak of egg white stands straight up without collapsing. This step is vital for the airy texture of the mousse. Be careful not to overbeat, which can make them dry and crumbly.
- Create the Chocolate Ganache: On the stovetop, in a small saucepan over low heat, gently warm 1 cup of the heavy whipping cream. Stir constantly to prevent scorching. Do not bring it to a boil; you want it warm enough to melt the chocolate. Once warm, remove from heat and add the finely chopped chocolate. Stir with a whisk until the chocolate is fully melted and combined, forming a smooth, glossy chocolate ganache. Continue stirring for another couple of minutes to allow it to thicken slightly. Remove from heat and let it cool down to just above room temperature. It should still be pourable but not hot, as hot ganache would cook the eggs.

- Combine Chocolate and Yolks: Slowly drizzle the cooled chocolate mixture into the beaten egg yolk and sugar mixture while continuously whisking. This gradual addition and constant whisking prevent the chocolate from clumping and ensures a smooth, uniform base for your mousse. Once combined, stir in the vanilla extract.
- Fold in Egg Whites: Gently fold the stiffly beaten egg whites into the chocolate-yolk mixture. Use a spatula and a light hand, employing a “cut down the middle, sweep up the side” motion. The goal is to incorporate the egg whites without deflating them, preserving the air that gives mousse its signature light texture. Do this in two additions if necessary, until just combined. Overmixing will cause the mousse to lose its airiness. Refrigerate the mixture for one hour to begin setting.

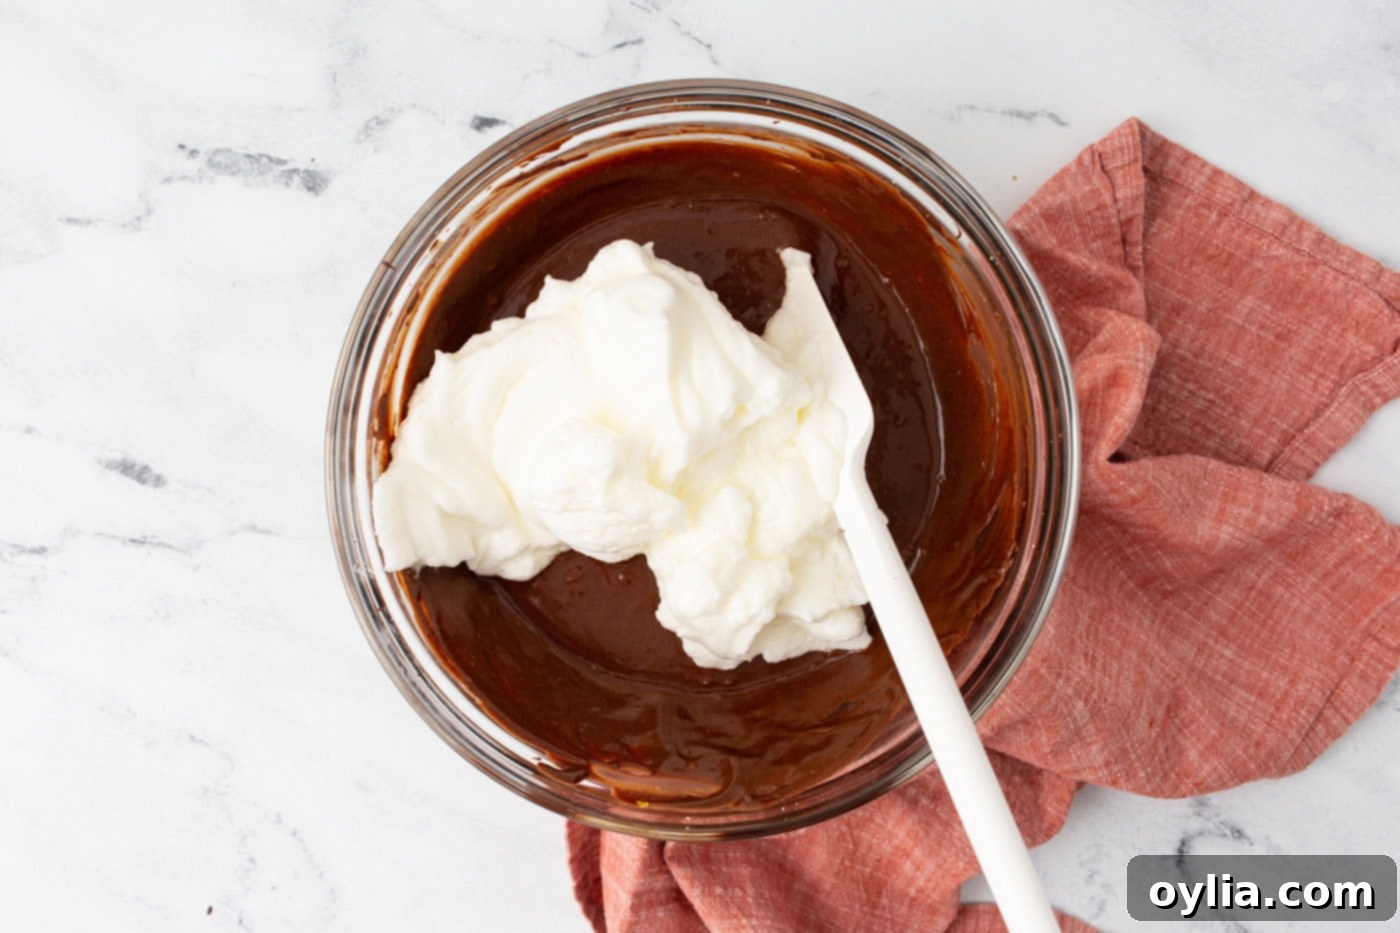
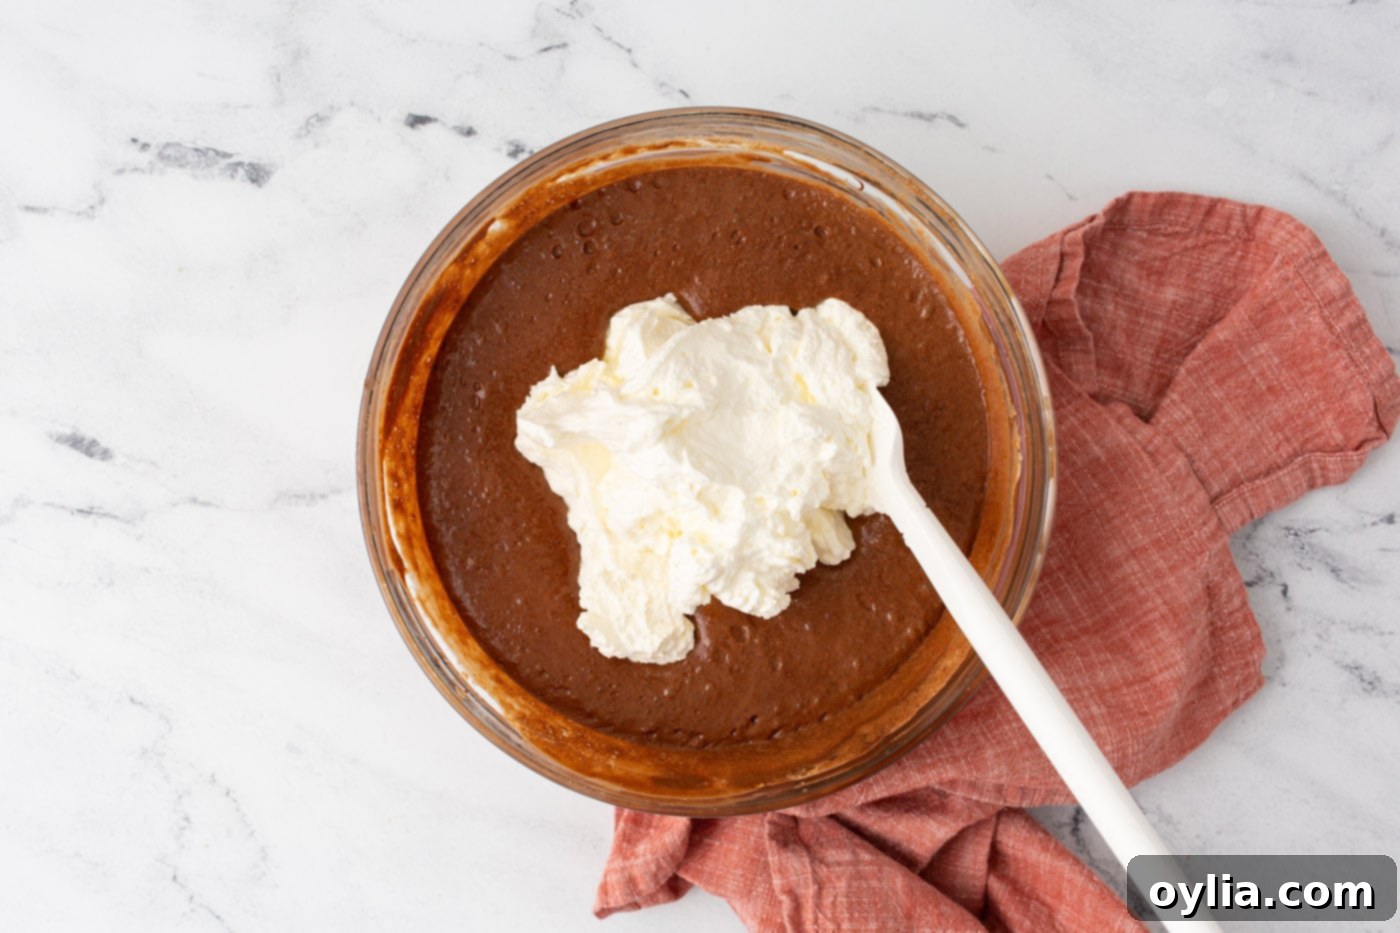
- Add Whipped Cream and Chill: While the mousse chills, whip the remaining heavy whipping cream until it forms soft peaks. After the initial hour of refrigeration, gently fold the freshly whipped cream into the partially set chocolate mixture. This adds another layer of creaminess and further enhances the light texture. Once thoroughly combined, spoon or pipe the mousse into your desired serving dishes or cups. Refrigerate for at least another 3 hours, or preferably overnight, to allow the mousse to fully set and develop its exquisite flavor and texture.

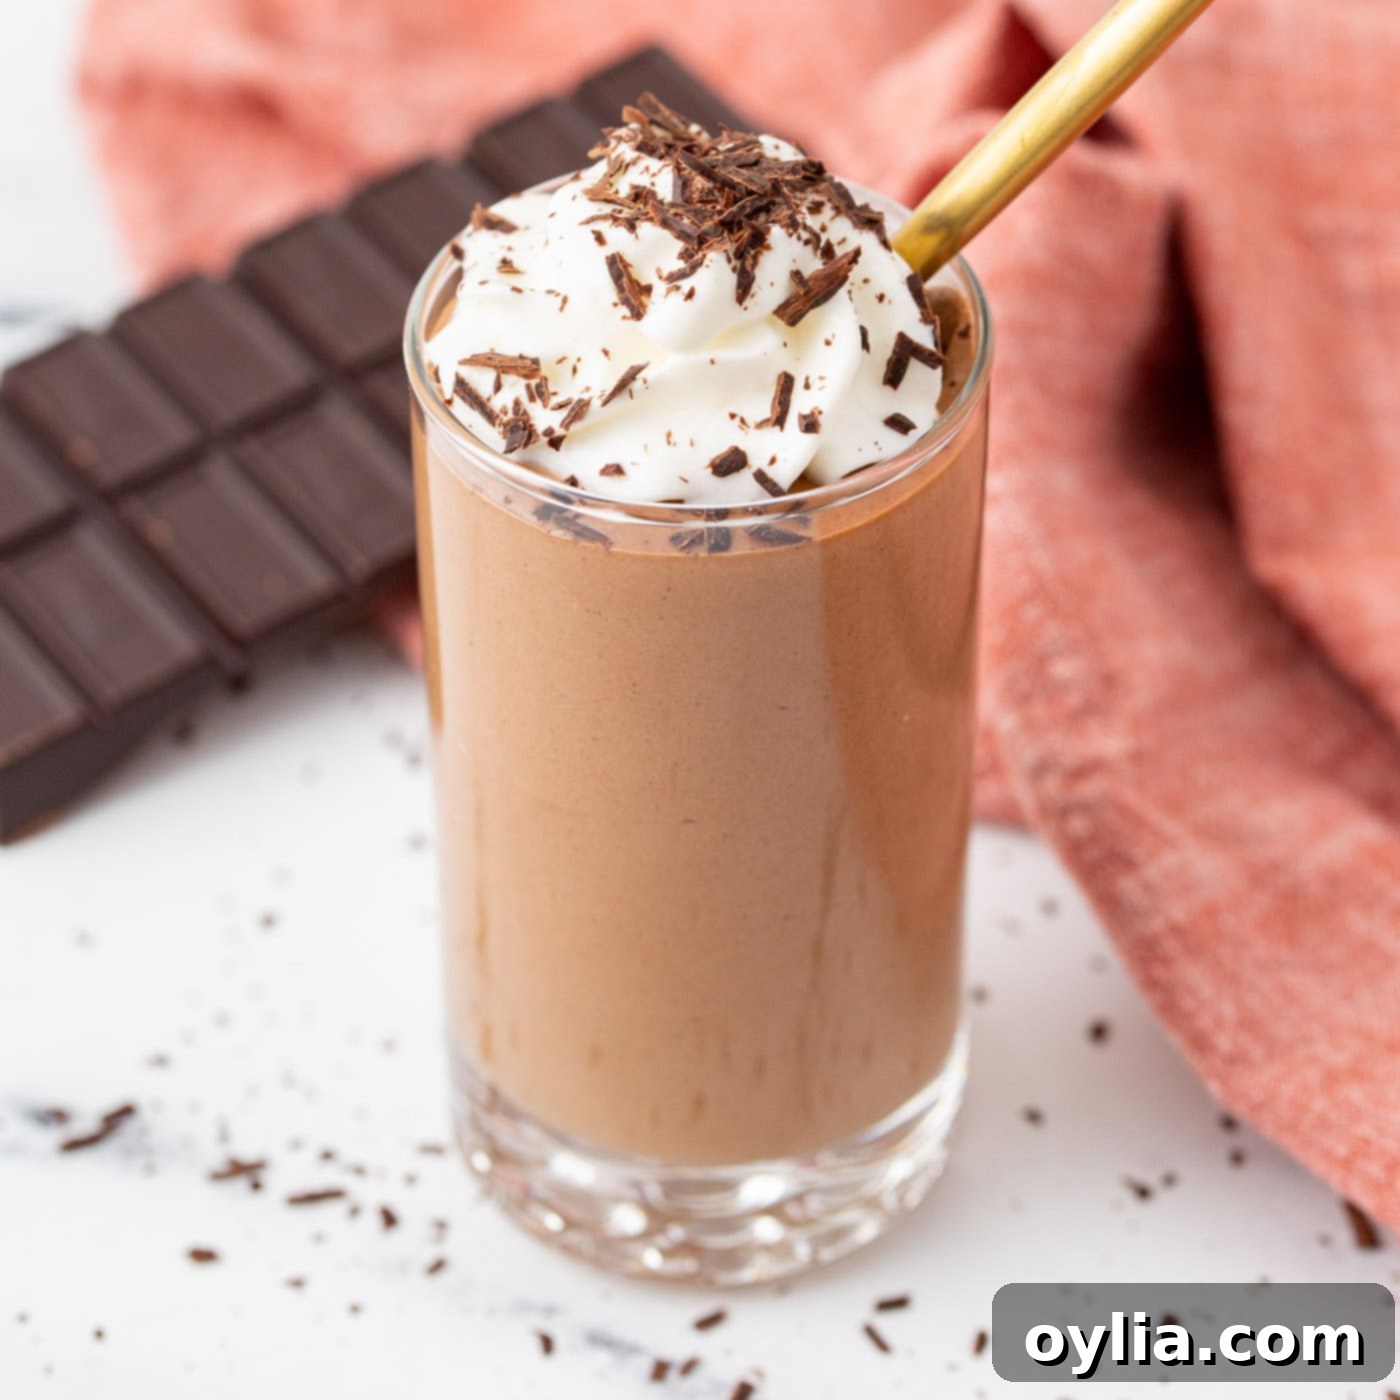
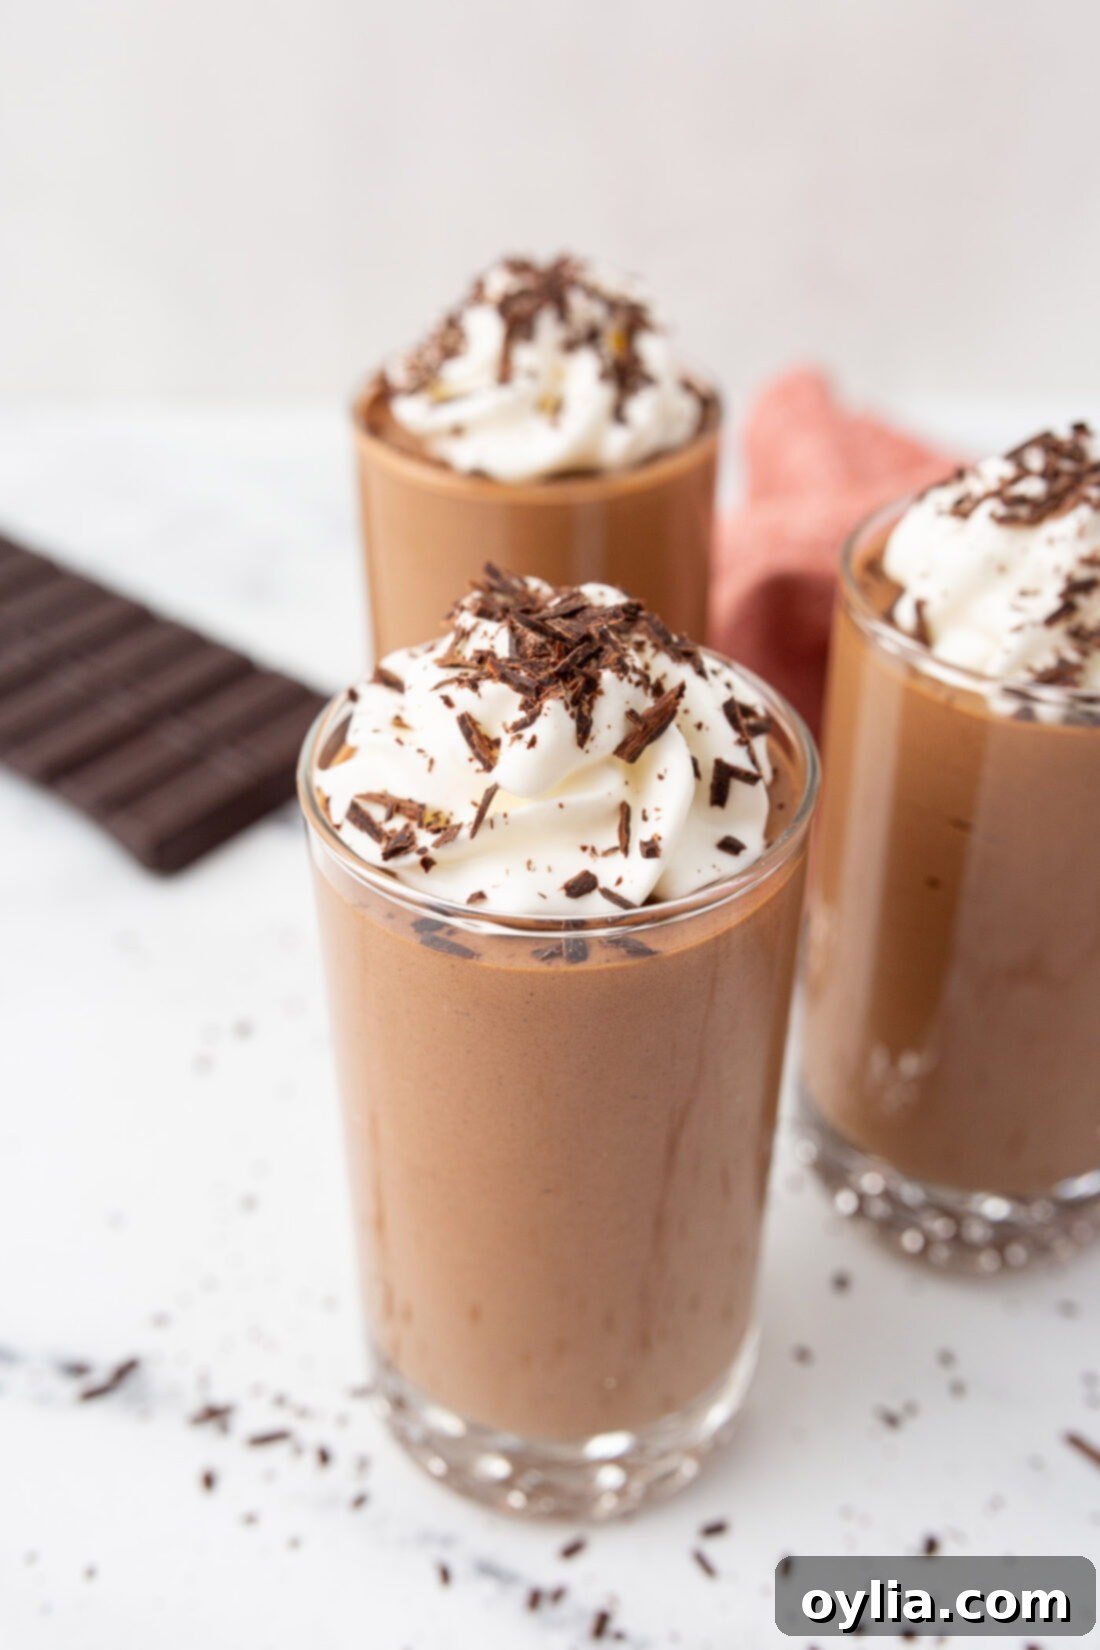
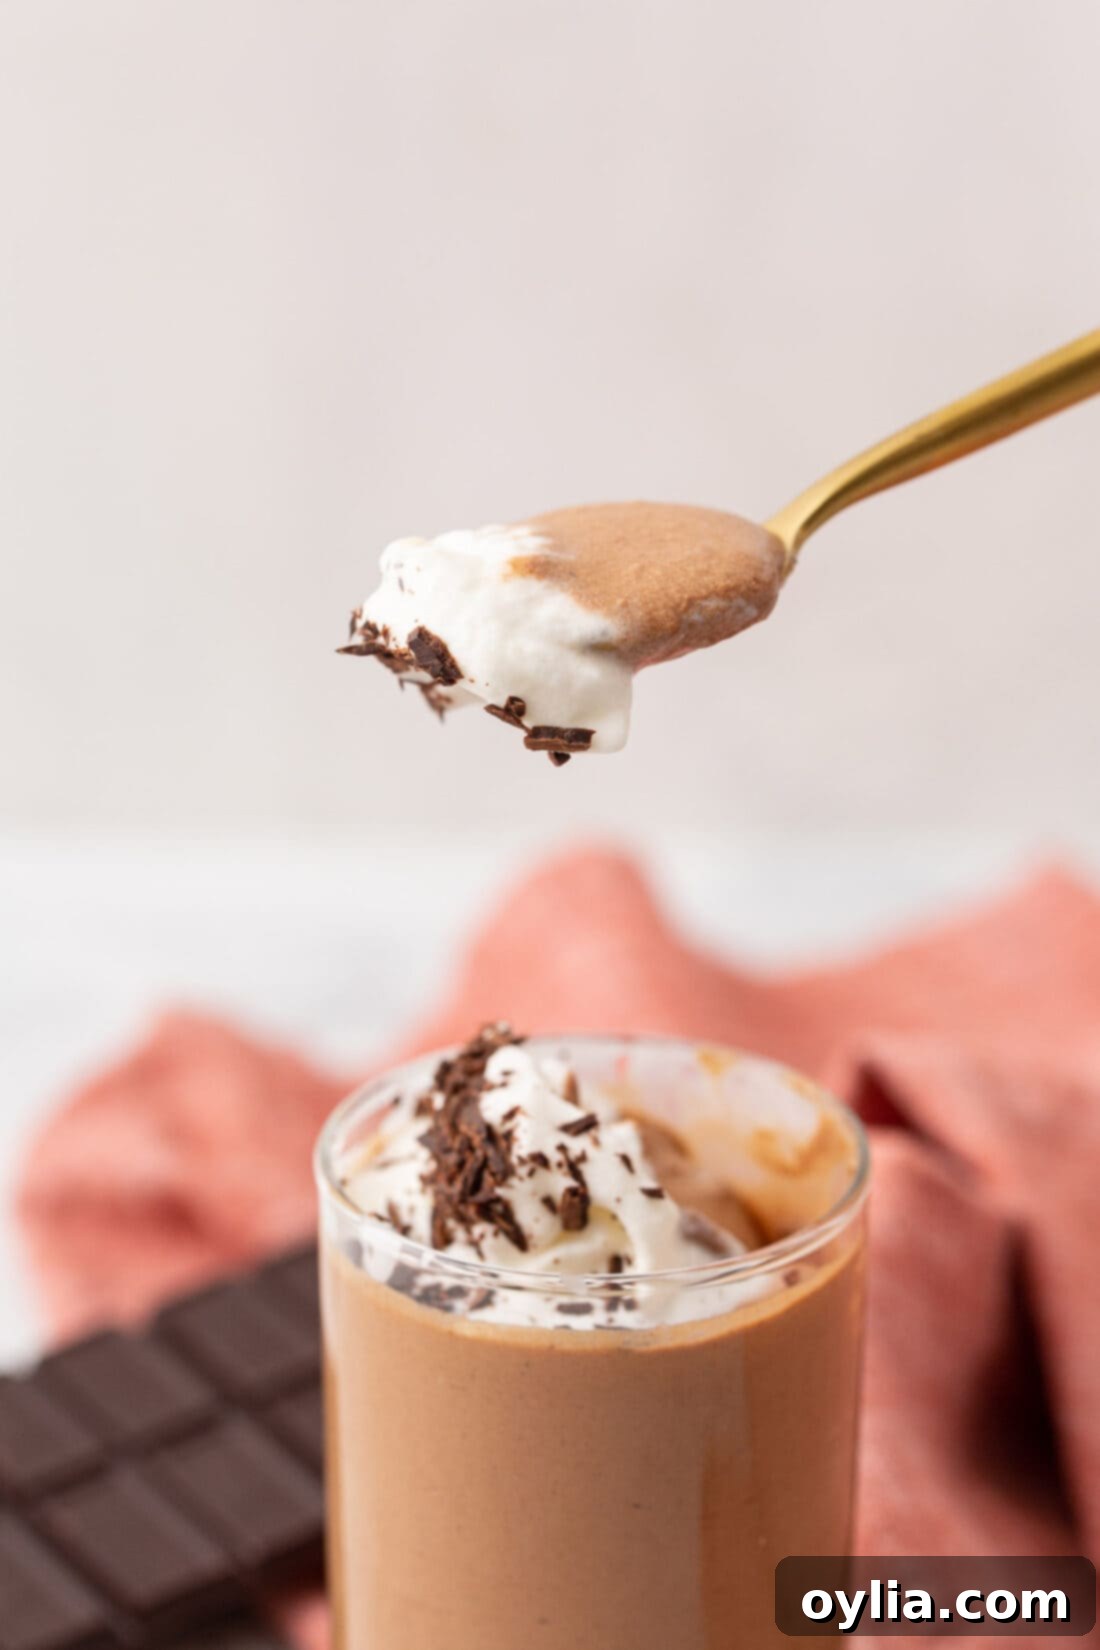
- Serve and Enjoy: Serve your perfectly chilled chocolate mousse with a generous dollop of fresh whipped cream and a sprinkle of chocolate shavings for an extra touch of elegance and flavor.
Frequently Asked Questions & Expert Tips for Perfect Mousse
Yes, absolutely! Chocolate mousse is an excellent make-ahead dessert. You can prepare it a day in advance and store it, covered tightly with plastic wrap, in the refrigerator until you are ready to serve. In fact, many pastry chefs prefer to make their mousse a day ahead, as this allows ample time for it to set properly and for the flavors to fully meld and deepen, resulting in an even more exquisite taste and texture. Just make sure to keep it well-chilled.
Once prepared, homemade chocolate mousse will keep well in the refrigerator for up to 3 days. To maintain its freshness and prevent it from absorbing other odors in your fridge, always cover it tightly with plastic wrap or an airtight lid when storing. While it’s generally safe for a few days, the texture is at its peak within the first 24-48 hours.
The signature airy texture of chocolate mousse comes primarily from two components: stiffly beaten egg whites and whipped heavy cream. Both are carefully folded into the chocolate base, incorporating thousands of tiny air bubbles. The key is gentle folding to avoid deflating these air pockets, which would result in a dense mousse instead of a light, ethereal one. The quality of ingredients and careful technique in beating and folding are essential.
A runny mousse usually stems from a few common issues:
- Egg Whites Not Stiff Enough: If your egg whites weren’t beaten to firm, stiff peaks, they won’t provide enough structure.
- Over-Folding: If you over-folded the egg whites or whipped cream into the chocolate mixture, you likely deflated the air, losing the mousse’s structure.
- Warm Chocolate Mixture: If the chocolate ganache was too warm when combined with the egg yolks or the subsequent mixtures, it can “cook” the eggs prematurely or melt the air out of the whipped components.
- Insufficient Chilling Time: Mousse needs adequate time in the refrigerator to set properly. Ensure you allow at least 3-4 hours, or preferably overnight.
To prevent this, ensure your bowls and beaters are impeccably clean for egg whites, beat until truly stiff peaks form, and always fold gently.
Absolutely! A stand mixer fitted with a whisk attachment is ideal for beating both the egg yolks with sugar and the egg whites, as well as whipping the heavy cream. It provides consistent speed and aeration, often yielding superior results compared to a hand mixer, especially for achieving stiff peaks in egg whites and whipped cream.
Expert Tips for Mousse Perfection:
- Temperature Control is Key: Ensure your chocolate ganache cools to just above room temperature before combining with the egg yolks. If it’s too hot, it can scramble the yolks; if it’s too cold, it will be too thick to incorporate smoothly.
- Cleanliness for Egg Whites: Any trace of fat (from yolks, grease, or even unwashed bowls) will prevent egg whites from whipping to stiff peaks. Use impeccably clean, dry bowls and beaters for your egg whites.
- Gentle Folding: This cannot be stressed enough. When incorporating the egg whites and whipped cream, use a large spatula and a gentle folding technique to maintain as much air as possible. Overmixing will deflate the mousse.
- Quality Chocolate Matters: Since chocolate is the primary flavor, using a high-quality baking chocolate will significantly impact the depth and richness of your mousse.
- Chill Thoroughly: Patience is a virtue with mousse. The extended chilling time allows the fats to solidify and the various components to meld, creating that perfect, stable texture.
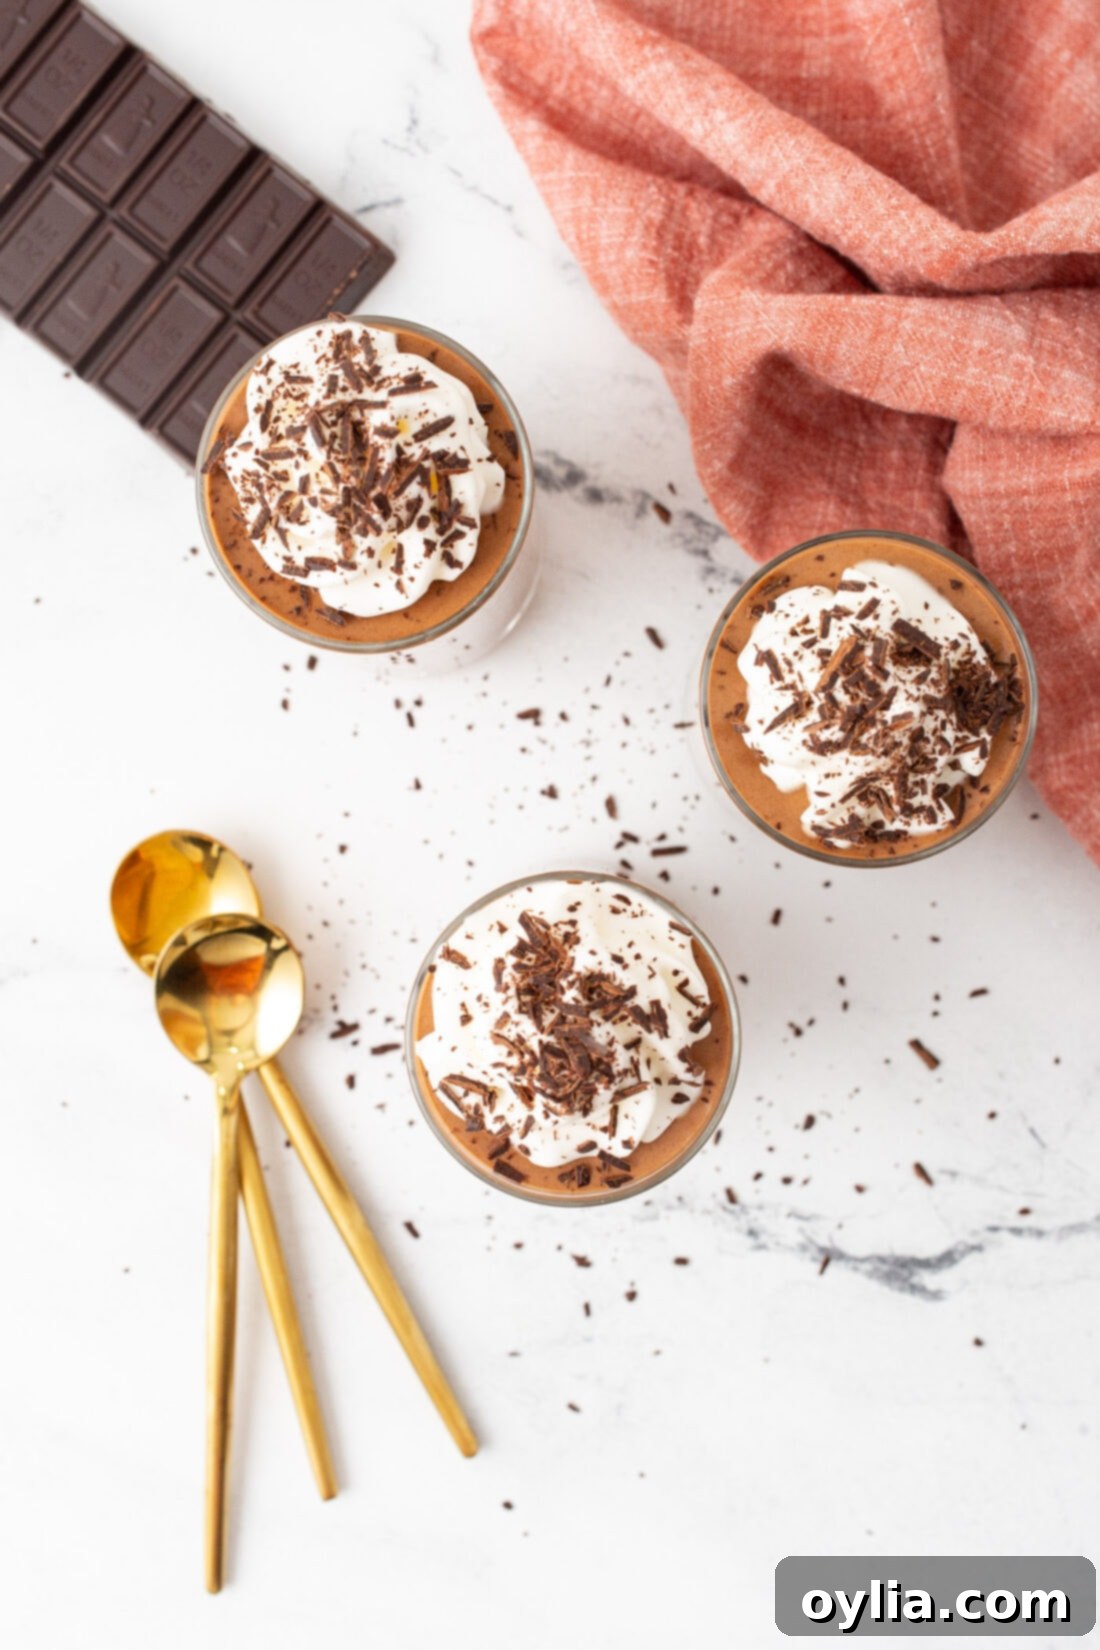
Elegant Serving Suggestions for Your Chocolate Mousse
While a perfectly crafted chocolate mousse truly speaks for itself with its luxurious, fluffy, and airy chocolate base, a few thoughtful garnishes can transform it into an even more visually appealing and exquisite dessert. The presentation is almost as important as the taste, especially when serving guests!
Here are some ideas to elevate your chocolate mousse:
- Fresh Whipped Cream: A classic and essential topping. A dollop of freshly whipped cream, perhaps lightly sweetened with a touch of vanilla, adds a wonderful contrast in texture and a cooling counterpoint to the rich chocolate.
- Chocolate Shavings or Curls: A sprinkle of delicate chocolate shavings or elegantly curled chocolate pieces instantly signals indulgence and adds an extra layer of chocolatey goodness. Use a vegetable peeler on a block of chocolate for easy curls.
- Fresh Berries: The bright, tart flavor of fresh raspberries, strawberries, or even blueberries can beautifully cut through the richness of the chocolate. Their vibrant colors also add a stunning visual appeal.
- Mint Leaves: A single, fresh mint leaf can provide a pop of color and a refreshing aromatic touch, making the dessert feel even lighter.
- A Dusting of Cocoa Powder: For a simple yet sophisticated finish, dust a light layer of unsweetened cocoa powder over the top using a fine-mesh sieve.
- Espresso Powder: For an adult twist, a tiny sprinkle of espresso powder can intensify the chocolate flavor without making the mousse taste like coffee.
Serve your chocolate mousse chilled in elegant glasses, small ramekins, or even shot glasses for mini portions. No matter how you choose to present it, this rich and airy dessert is guaranteed to delight. Enjoy every spoonful!
More Decadent Dessert Recipes to Explore
If you’re a fan of luscious, homemade desserts, you’re in the right place! After mastering this classic chocolate mousse, why not explore other delightful recipes that are sure to satisfy your sweet cravings? From rich pies to individual servings of pure joy, there’s always something new to bake and share. Here are a few more dessert ideas we think you’ll love:
- French Silk Pie
- Individual Tiramisu
- Avocado Chocolate Mousse Cake
- Mini Pineapple Upside Down Cakes
- Whipped Mandarin Orange Mousse
- Double Chocolate Cupcakes
- Chocolate Fudge Frosting
I love to bake and cook and share my kitchen experience with all of you! Remembering to come back each day can be tough, that’s why I offer a convenient newsletter every time a new recipe posts. Simply subscribe and start receiving your free daily recipes!
Chocolate Mousse
IMPORTANT – There are often Frequently Asked Questions within the blog post that you may find helpful. Simply scroll back up to read them!
Print It
Pin It
Rate It
Save It
Saved!
Prevent your screen from going dark
Course:
Dessert
Cuisine:
American, French
8
servings
4 hours
15 minutes
409
Amanda Davis
Ingredients
-
4
oz
unsweetened chocolate
baking chocolate -
4
eggs
separated, or pasteurized eggs -
½
cup
sugar -
2 ½
cups
heavy whipping cream -
1
tsp
vanilla extract
Things You’ll Need
-
Hand mixer -
Mixing bowls -
Whisk -
Saucepan
Before You Begin
- You may replace regular eggs with pasteurized eggs if you have concerns or are pregnant.
- We used 100% cacao, unsweetened chocolate. Use baking chocolate, found in the baking aisle at the grocery store for this recipe. You may substitute with milk chocolate for a much sweeter taste, a bar of semi-sweet chocolate, or bittersweet at whatever percentage you prefer like 60% or 70%. You will get a much richer flavor out of the higher percentages of chocolate.
- This recipe will make 8, 1 cup servings.
Instructions
-
Finely chop the chocolate and set aside.
-
Separate the egg yolks and egg whites into two large bowls. In one bowl use a hand mixer to beat the yolks and sugar together for about 3 minutes on high until light yellow and a bit fluffy.
-
In the second large bowl, beat the egg whites with a hand mixer until stiff white peaks are formed.
-
On the stovetop over low, heat 1 cup of the heavy whipping cream, stirring constantly until warm. Do not boil. Add the chopped chocolate and stir with a whisk until fully combined, plus another couple minutes to allow for thickening into a chocolate ganache. Remove from heat and allow to cool to just over room temperature.
-
Drizzle the chocolate mixture into the egg yolk mixture while whisking to prevent clumping. Stir in the extract.
-
Fold in the egg whites. Refrigerate for one hour.
-
Whip the remaining heavy whipping cream, into whipped cream. After the hour of refrigeration, fold the whipped cream into the chocolate mixture and pour into choice of serving dishes or cups. Refrigerate for another 3 hours.
-
Serve with fresh whipped cream and chocolate shavings.
Nutrition
Serving:
1
serving (1 cup)
|
Calories:
409
cal
|
Carbohydrates:
19
g
|
Protein:
6
g
|
Fat:
37
g
|
Saturated Fat:
22
g
|
Polyunsaturated Fat:
2
g
|
Monounsaturated Fat:
11
g
|
Trans Fat:
1
g
|
Cholesterol:
184
mg
|
Sodium:
63
mg
|
Potassium:
205
mg
|
Fiber:
2
g
|
Sugar:
13
g
|
Vitamin A:
1212
IU
|
Vitamin C:
1
mg
|
Calcium:
75
mg
|
Iron:
3
mg
Tried this Recipe? Pin it for Later!
Follow on Pinterest @AmandasCookin or tag #AmandasCookin!
The recipes on this blog are tested with a conventional gas oven and gas stovetop. It’s important to note that some ovens, especially as they age, can cook and bake inconsistently. Using an inexpensive oven thermometer can assure you that your oven is truly heating to the proper temperature. If you use a toaster oven or countertop oven, please keep in mind that they may not distribute heat the same as a conventional full sized oven and you may need to adjust your cooking/baking times. In the case of recipes made with a pressure cooker, air fryer, slow cooker, or other appliance, a link to the appliances we use is listed within each respective recipe. For baking recipes where measurements are given by weight, please note that results may not be the same if cups are used instead, and we can’t guarantee success with that method.
