Easy Baked Cake Mix Donuts: Your Go-To Recipe for Quick & Delicious Treats
Imagine the delightful aroma of freshly baked donuts filling your kitchen, and the best part? You can have these warm, fluffy treats ready to enjoy in about 30 minutes flat! This incredibly simple recipe for baked cake mix donuts is a true game-changer, eliminating the need for messy deep-frying and making homemade donuts accessible to everyone. All you’ll need is a standard cake mix, a trusty donut pan, and a handful of everyday pantry staples. Get ready to create moist, tender, and irresistibly delicious donuts that are perfect for any occasion.
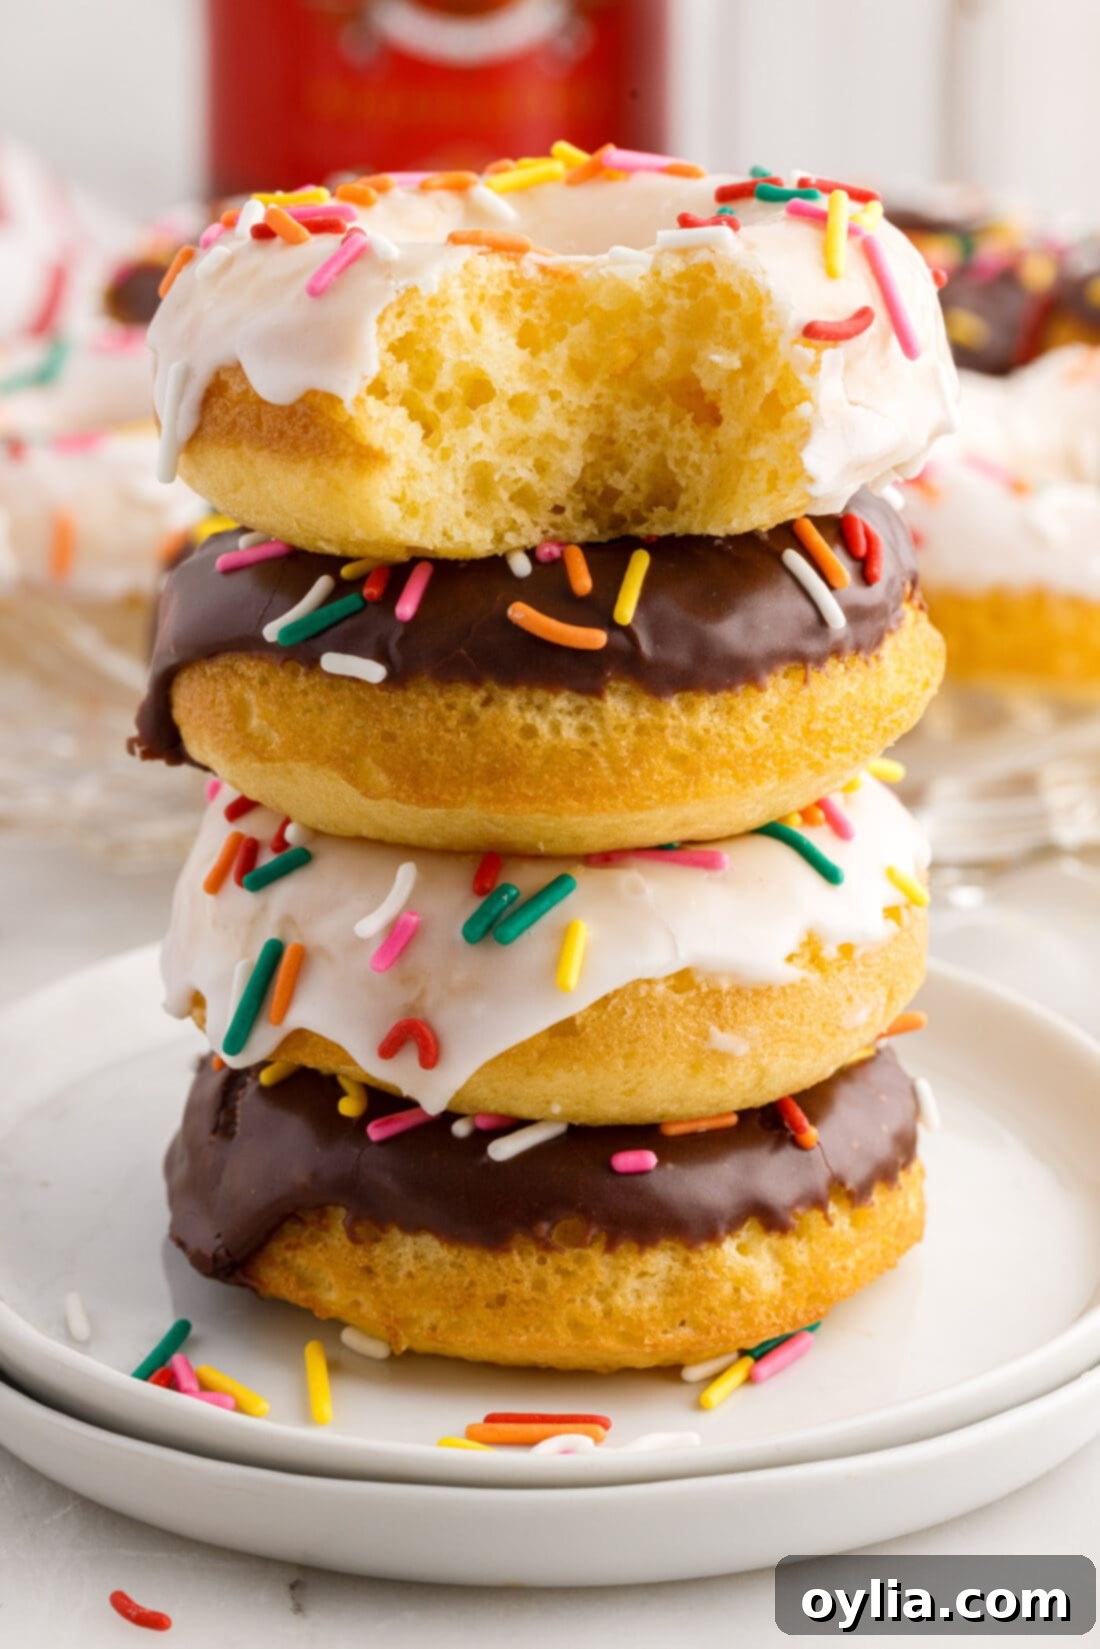
Why You’ll Fall in Love with These Easy Cake Mix Donuts
This recipe for easy cake mix donuts stands out for several reasons, making it an absolute must-try for both seasoned bakers and beginners alike. The most significant advantage is the complete absence of deep-frying. This means no large pots of hot oil, no lingering greasy smells, and a significantly easier cleanup. Instead, these donuts are baked, resulting in a healthier, lighter treat that doesn’t compromise on flavor or texture. They have a delightful cake-like crumb that’s incredibly soft and fluffy, making each bite a pure pleasure.
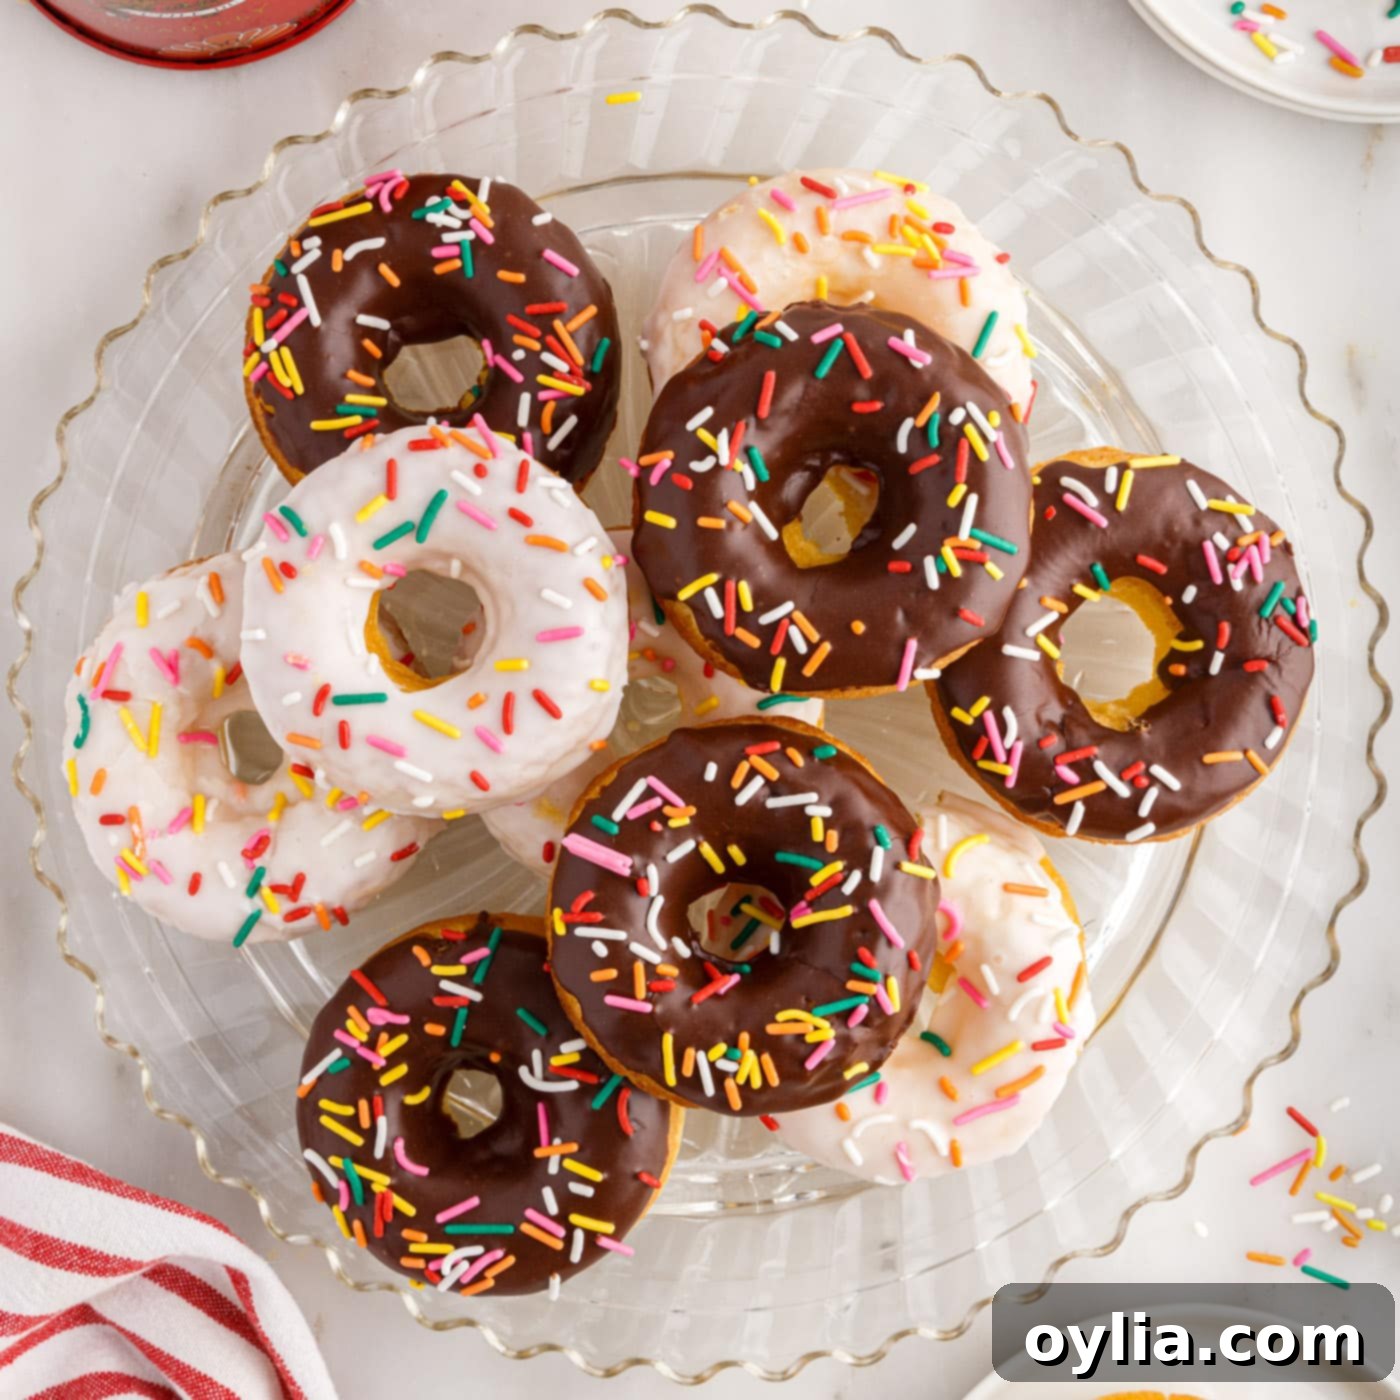
While these might remind you of miniature cupcakes, the inclusion of sour cream is our secret weapon. This special ingredient imparts a wonderful richness and boosts the moisture content, creating a denser, more satisfying texture that elevates them beyond a typical cake. The subtle tang of the sour cream also adds a depth of flavor that complements the sweetness beautifully. Once baked, these donuts are perfectly primed for a quick dip in a homemade chocolate or vanilla glaze, finished with a generous scattering of colorful sprinkles, transforming them into a festive and irresistible dessert.
Opting for a boxed cake mix is a brilliant shortcut that saves you valuable time and effort in the kitchen. You get to skip the precise measuring of individual dry ingredients, making the preparation process incredibly fast and straightforward. This convenience is particularly appreciated on busy mornings when you want a special breakfast treat, or when unexpected guests arrive. Furthermore, using a cake mix can be a more budget-friendly option, especially if your pantry isn’t regularly stocked with a wide array of specific baking components. While these baked donuts may not mimic the chewiness of a traditional fried donut, they offer a unique and delicious cake-like experience. They are closely related to classic baked cake donuts but tend to be even fluffier and more foolproof, thanks to the ready-made base of the cake mix.
Gather Your Simple Ingredients for Cake Mix Donuts
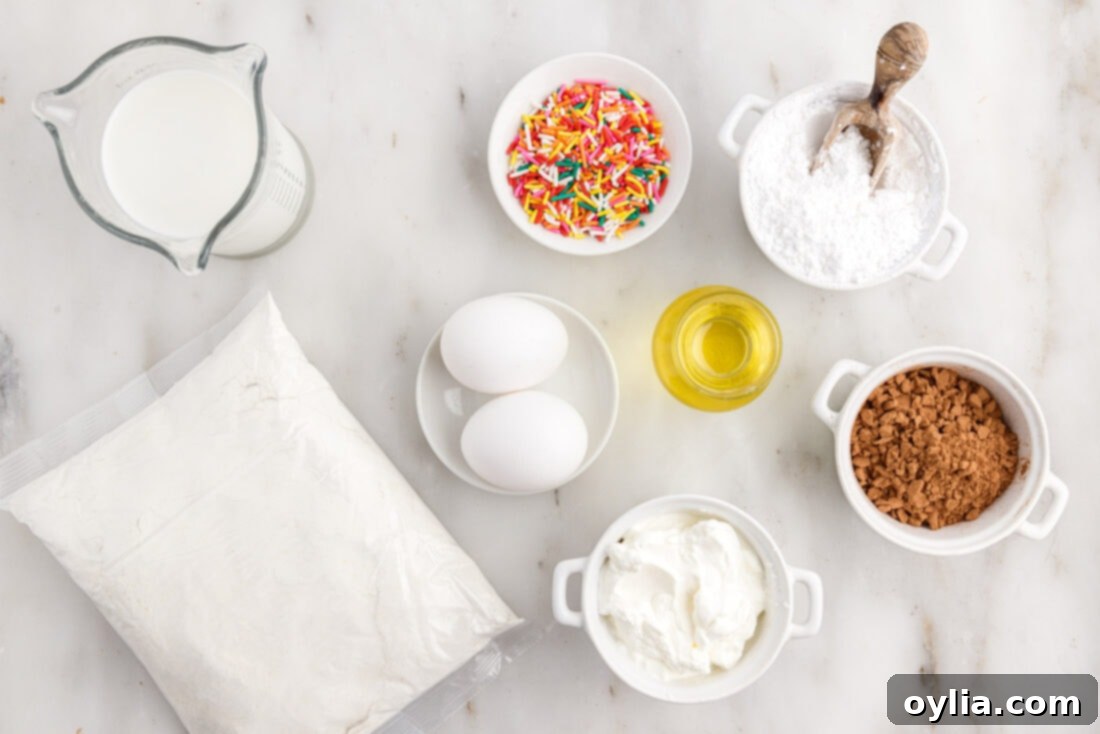
One of the many joys of making these cake mix donuts is how few and common the ingredients are. You won’t need any exotic or hard-to-find items, making this recipe a fantastic choice for impromptu baking sessions. Most of these staples are probably already in your kitchen, simplifying your preparation even further. For a complete and precise list of all ingredients, including specific measurements and step-by-step instructions, please scroll down to the printable recipe card at the very end of this post. We highly recommend gathering and measuring all your ingredients before you begin, which is a great habit for ensuring a smooth, stress-free, and successful baking experience.
Ingredient Information & Smart Swaps for Your Donuts
Understanding each ingredient’s role and knowing possible substitutions can make your baking experience even better. Here’s a closer look at what goes into these delightful cake mix donuts:
- CAKE MIX: The star of our show! You’ll need a standard-size (typically 15.25 oz) box of yellow cake mix. While most cake mix boxes provide instructions for adding water, eggs, and oil, it’s absolutely essential that you do NOT follow the box’s directions. We are specifically using only the dry cake mix and incorporating our own liquid ingredients to achieve the perfect moist and fluffy donut texture. This customized approach is what gives our baked donuts their unique character.
- Vegetable Oil: This fat is crucial for adding moisture and tenderness to the donut batter, resulting in a soft crumb. If vegetable oil isn’t on hand, you can successfully substitute it with other neutral-flavored oils such as canola oil, sunflower oil, or even melted (and cooled) coconut oil.
- Whole Milk: Contributes to the richness and a tender texture in the finished donuts. For those looking for alternatives, 2% milk can be used, though it might result in a slightly less rich donut. Dairy-free milk options like almond milk or oat milk can also work, but be aware that they might subtly alter the overall texture and flavor.
- Large Eggs: Eggs serve as a vital binder in this recipe, helping to provide structure and stability to the donuts as they bake. They also contribute to the beautiful golden color and help them rise perfectly.
- Sour Cream: This is the secret ingredient for an exceptionally moist and tender donut! The acidity in the sour cream works wonders by reacting with the leavening agents in the cake mix, ensuring a light and incredibly fluffy end product. If you don’t have sour cream, full-fat plain Greek yogurt is an excellent substitute, offering a similar tang and rich moisture profile.
- Powdered Sugar (Confectioners’ Sugar): Forms the base of our easy and delicious glazes. Its fine texture dissolves smoothly, creating a silky finish.
- Unsweetened Cocoa Powder (for Chocolate Glaze): If you’re opting for the chocolate glaze, unsweetened cocoa powder is essential for a deep, rich chocolate flavor. Adjust the amount to your preference for chocolate intensity.
Step-by-Step: Crafting Your Delicious Cake Mix Donuts
These step-by-step photos and instructions are here to help you visualize how to make this recipe for the most delightful cake mix donuts. For your convenience, you can Jump to Recipe to get the complete printable version of this recipe, featuring all measurements and detailed instructions at the bottom of this post.
- Begin your baking journey by preheating your oven to 350°F (175°C). Ensuring your oven is fully preheated is a small but crucial step that guarantees even baking and optimal rise for your donuts.
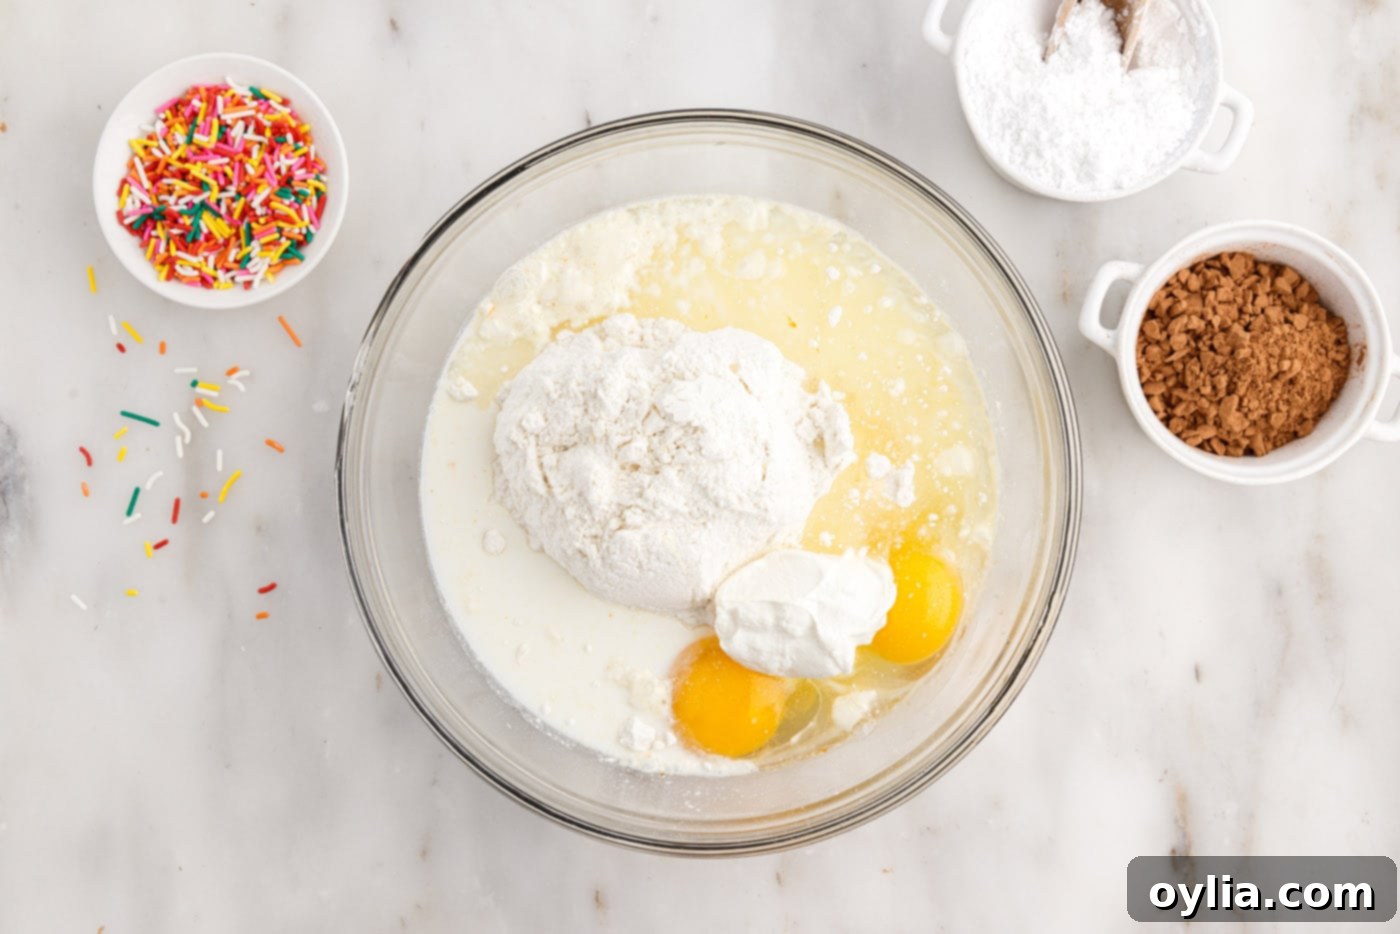
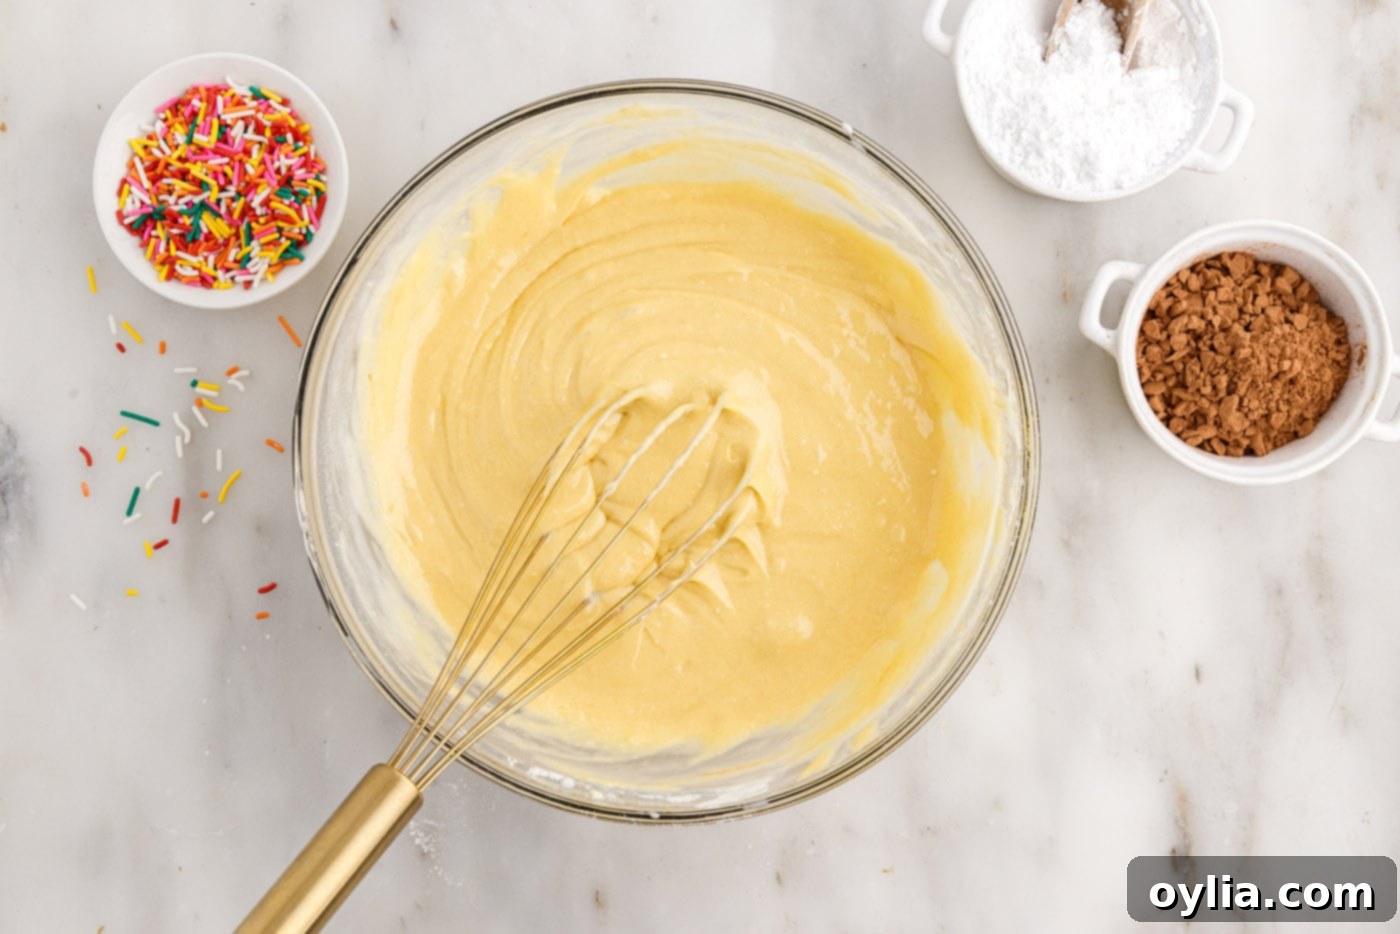
- In a generously sized mixing bowl, combine the dry yellow cake mix, vegetable oil, whole milk, large eggs, and sour cream. Using a whisk, gently mix these ingredients together until they are thoroughly combined and the batter appears smooth. Be mindful not to overmix, as this can lead to tougher donuts; a few minor lumps are perfectly acceptable.


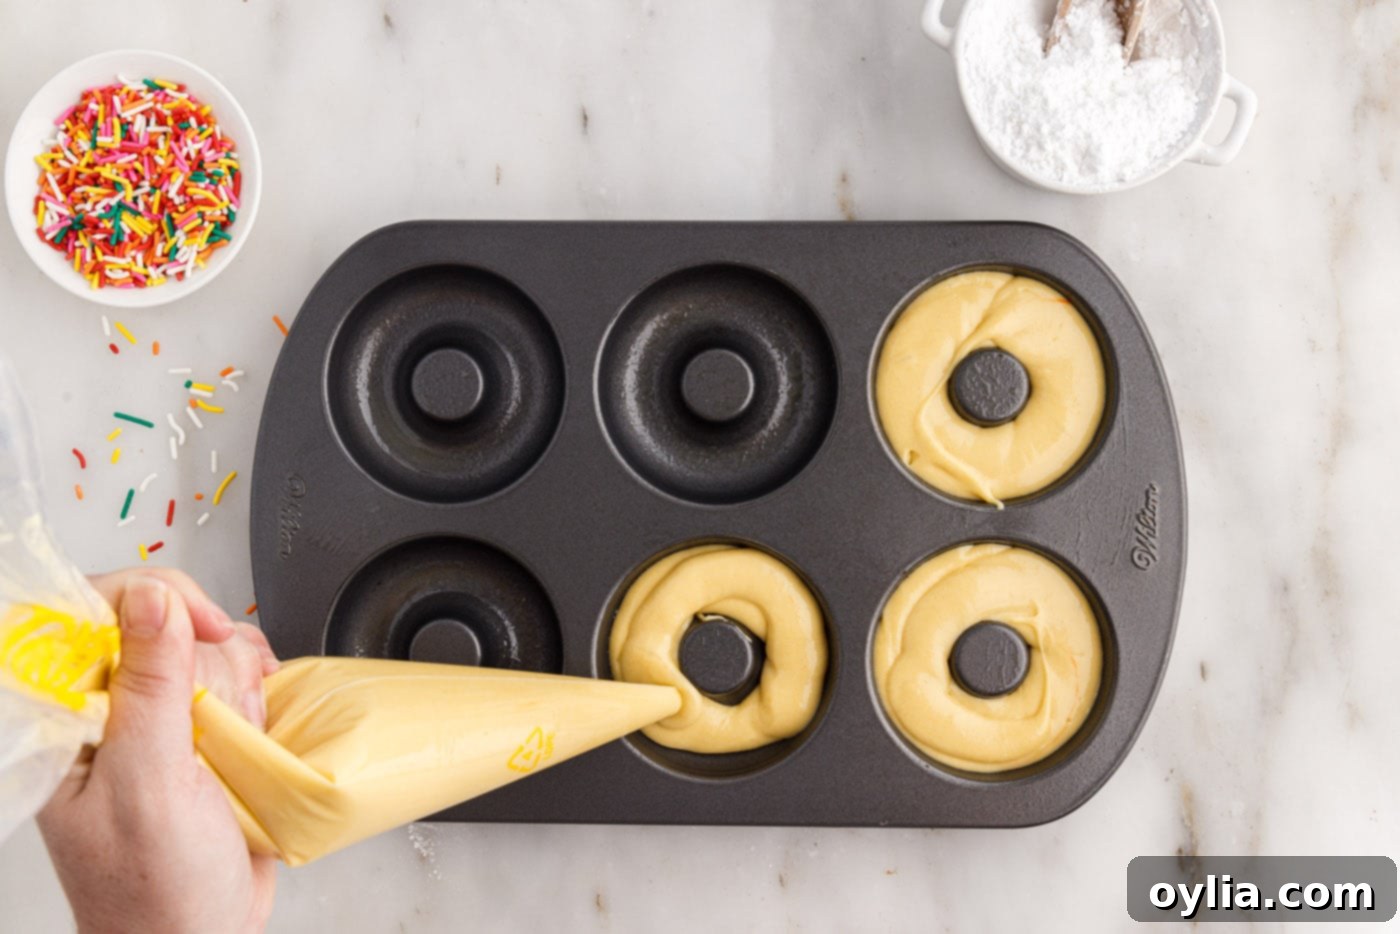
- Carefully transfer the prepared donut batter into a piping bag. This method offers excellent control and ensures a clean, even distribution of batter into your donut pan cavities, resulting in perfectly shaped donuts.
EXPERT TIP: No piping bag on hand? No problem! A large resealable plastic bag (such as a Ziploc bag) makes an excellent substitute. Simply spoon the batter into one corner of the bag, push it firmly down, and then snip off a small piece of the corner with kitchen scissors to create an opening for piping.
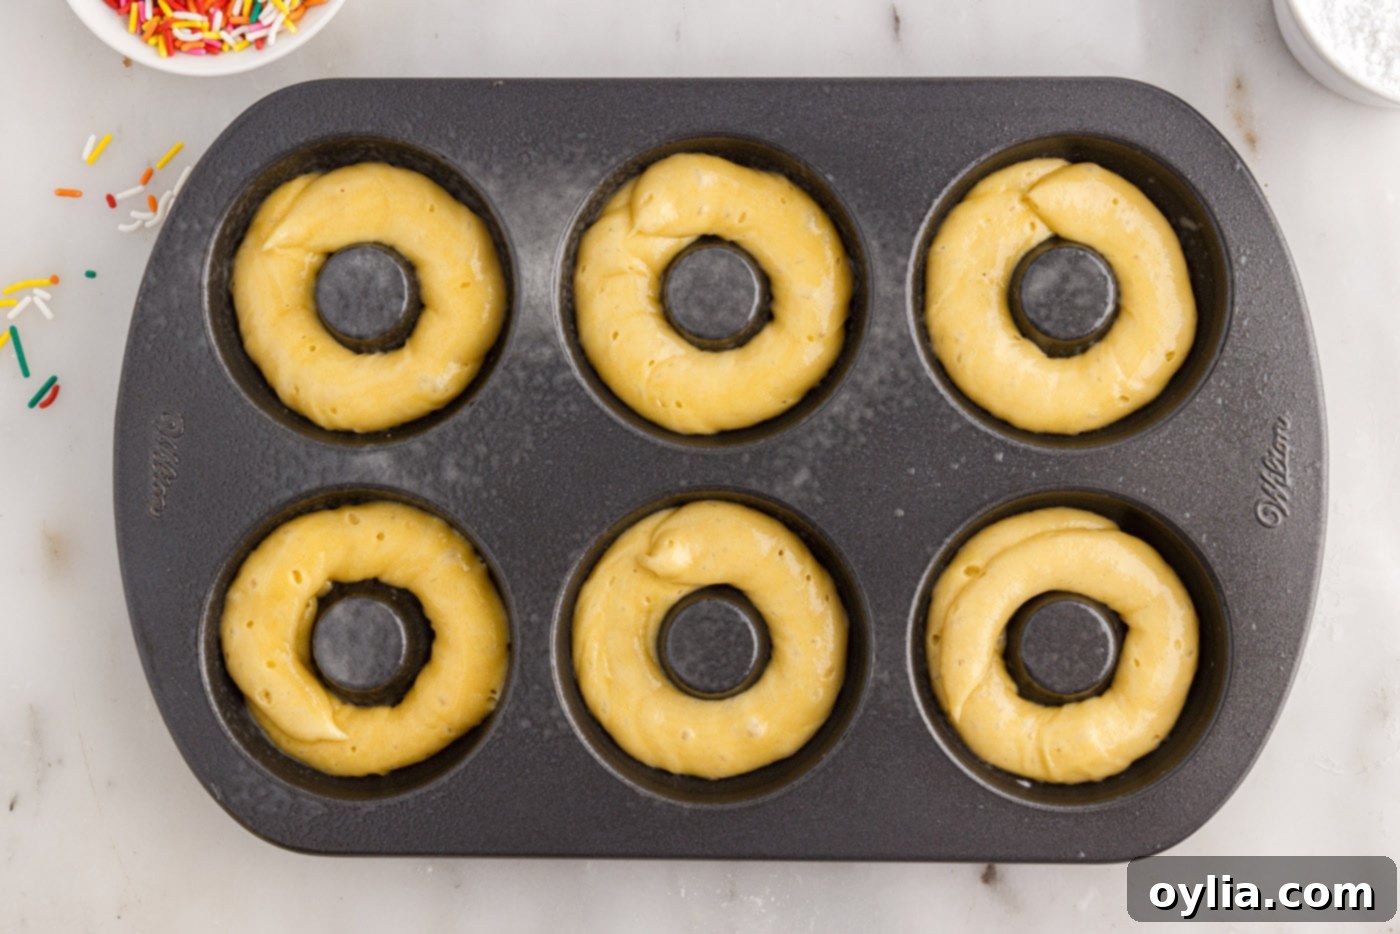
- Generously spray your donut pan with a high-quality non-stick baking spray (we highly recommend the kind that contains flour for superior release). Proceed to pipe a neat ring of batter into each donut cavity. It is crucial not to overfill the cavities; aim to fill them no more than halfway. These donuts will rise considerably during baking, and underfilling slightly ensures they retain that classic, adorable donut shape without spilling over.


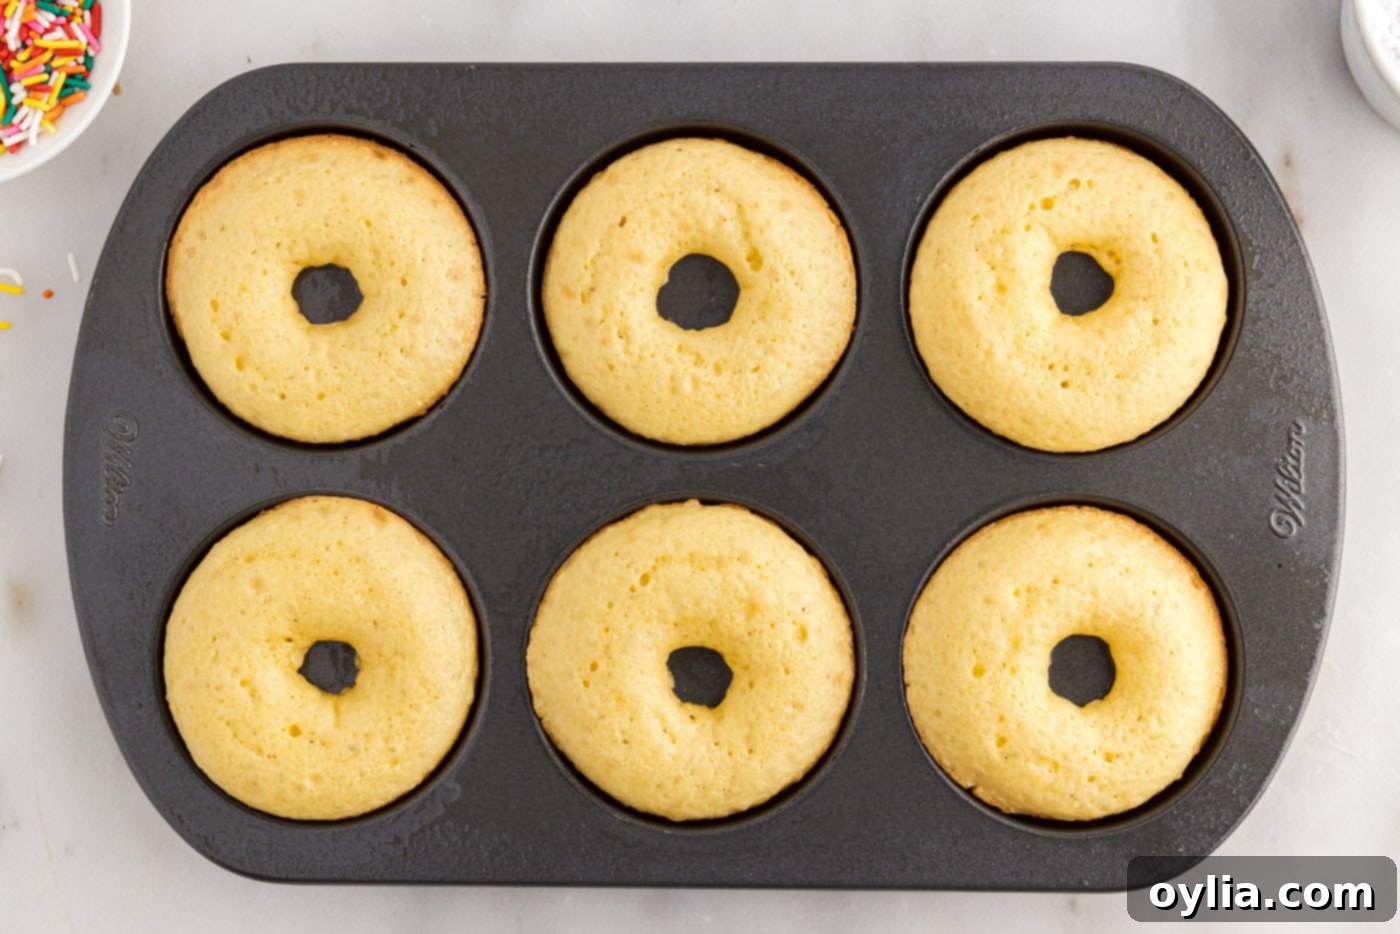
- Bake the donuts for approximately 10 minutes. Keep a close eye on them; they are done when they appear visibly puffed up and their edges just begin to show a delicate golden hue. A quick test with a toothpick inserted into the center should come out clean, indicating they are perfectly cooked through.

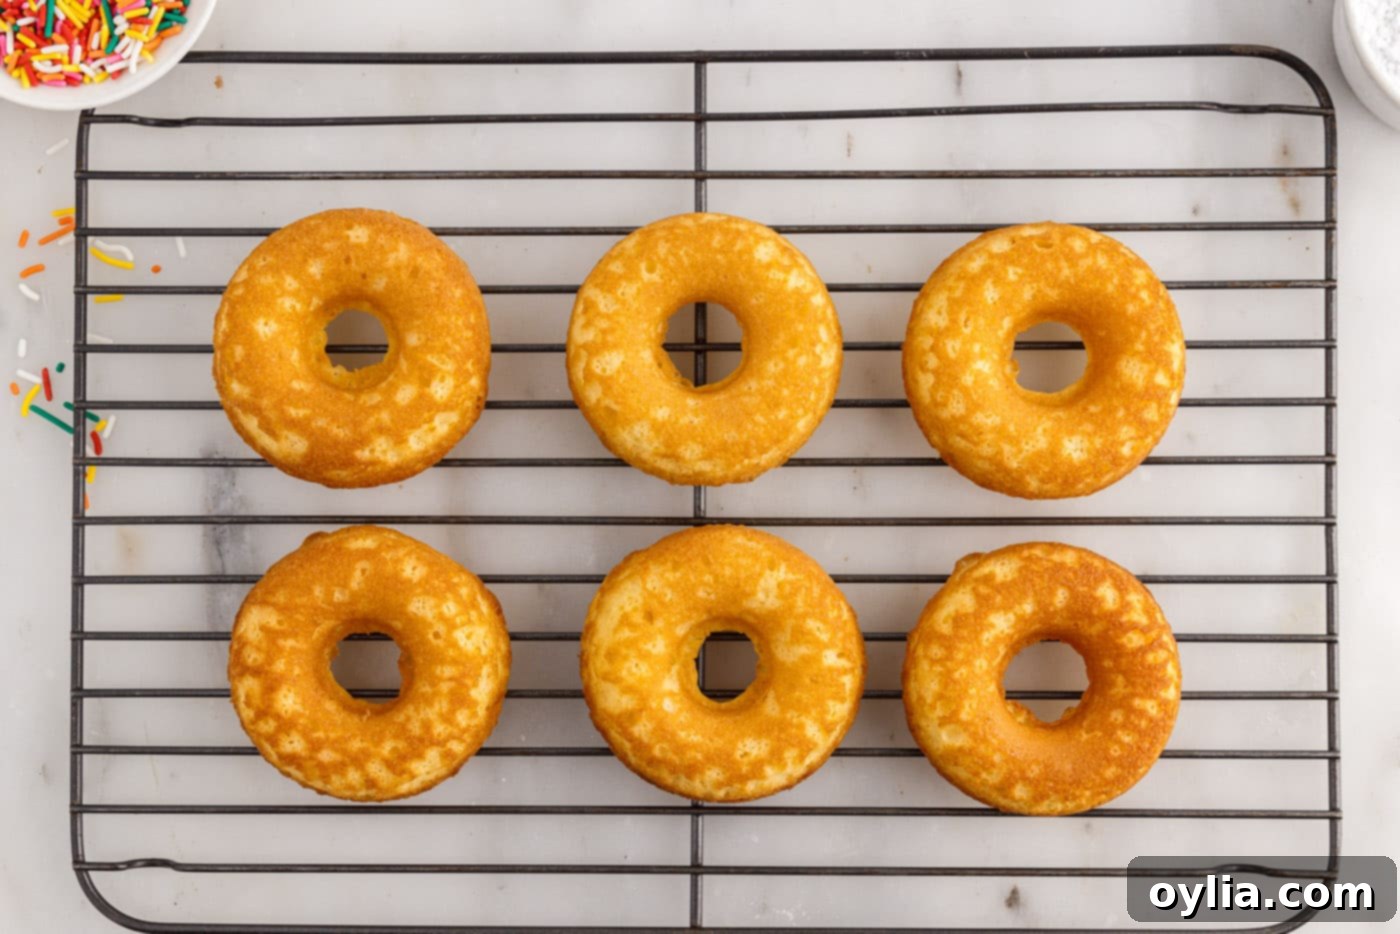
- Once baked, carefully remove the donut pan from the hot oven. Allow the donuts to rest in the pan for just a minute or two to firm up slightly, then gently turn them out onto a wire cooling rack. This critical step prevents the bottoms from becoming soggy. Continue this process, baking any remaining batches of donuts until all your delicious batter has been transformed.

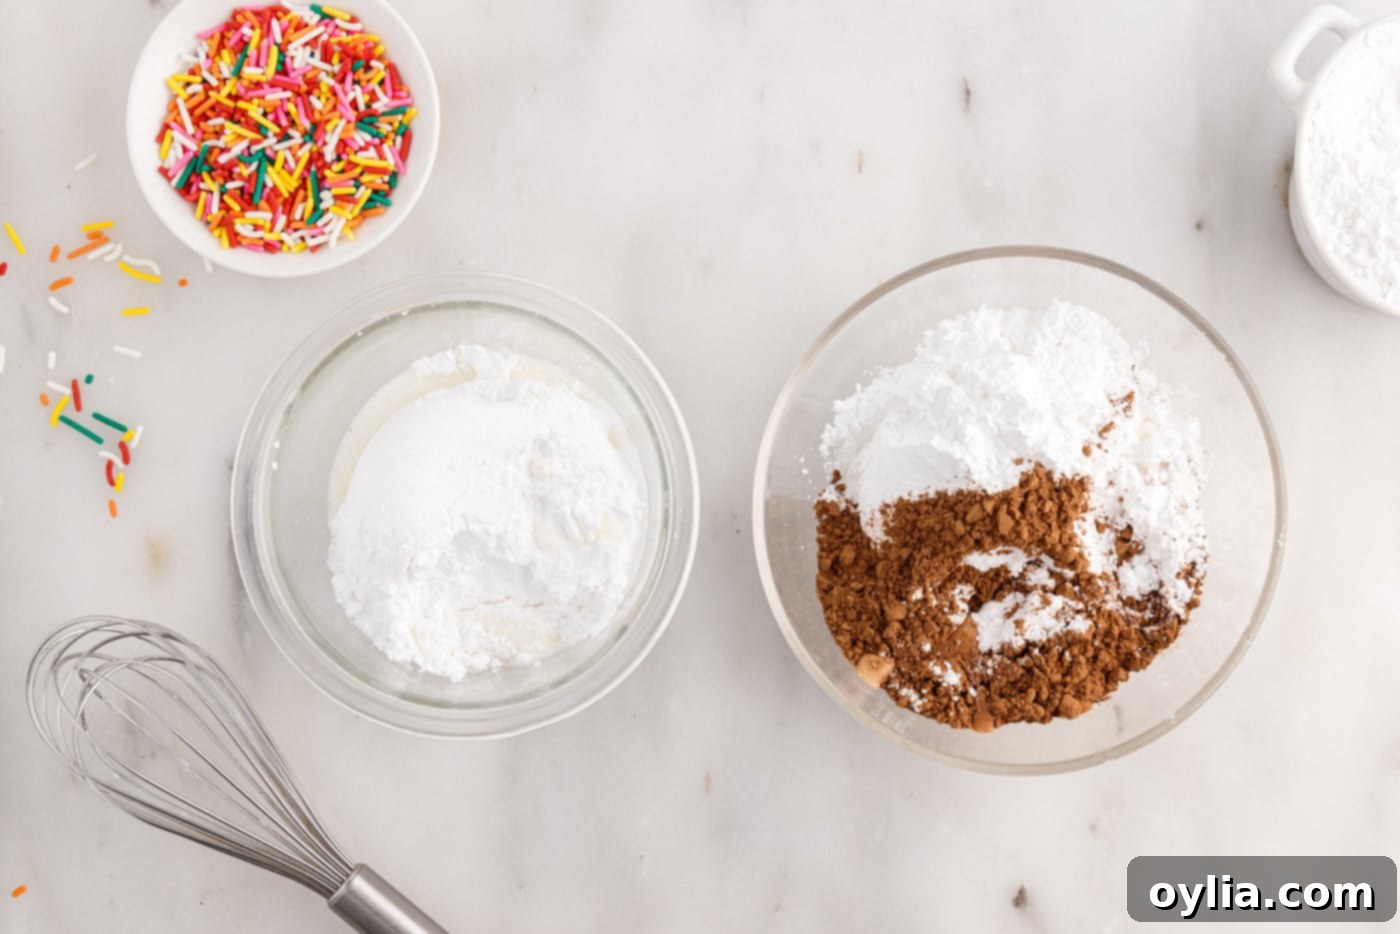
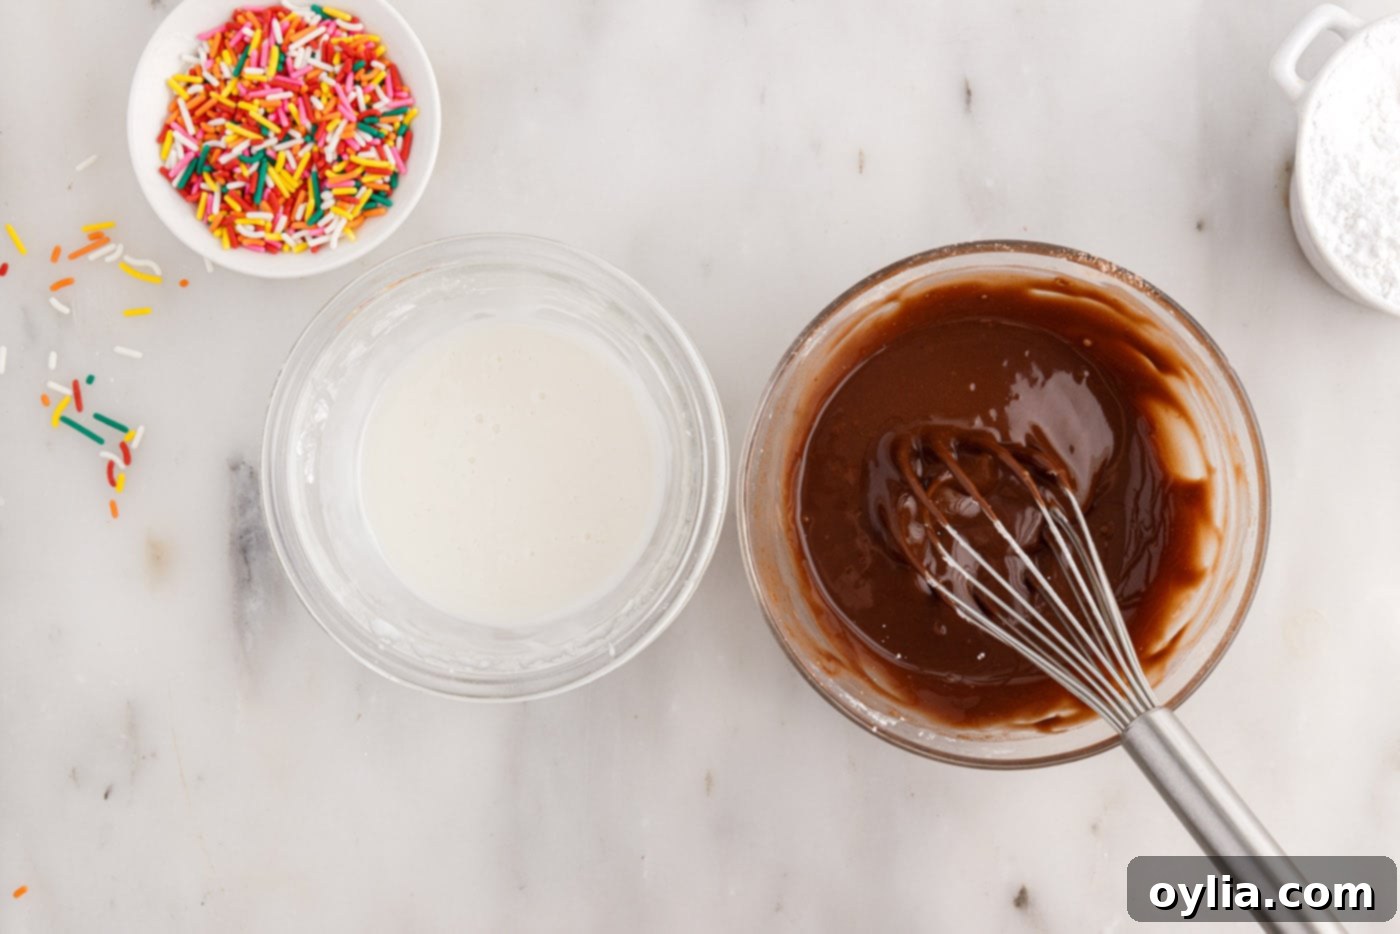
- While your freshly baked donuts cool, it’s the perfect time to prepare your chosen glaze. In a separate bowl, whisk together the powdered sugar and milk until you achieve a smooth, lump-free consistency. If you are making the chocolate glaze, incorporate the unsweetened cocoa powder at this stage, whisking thoroughly until it’s fully blended. You can adjust the amount of milk slightly to reach your desired glaze thickness – typically a thick but still pourable consistency works best for easy dipping.


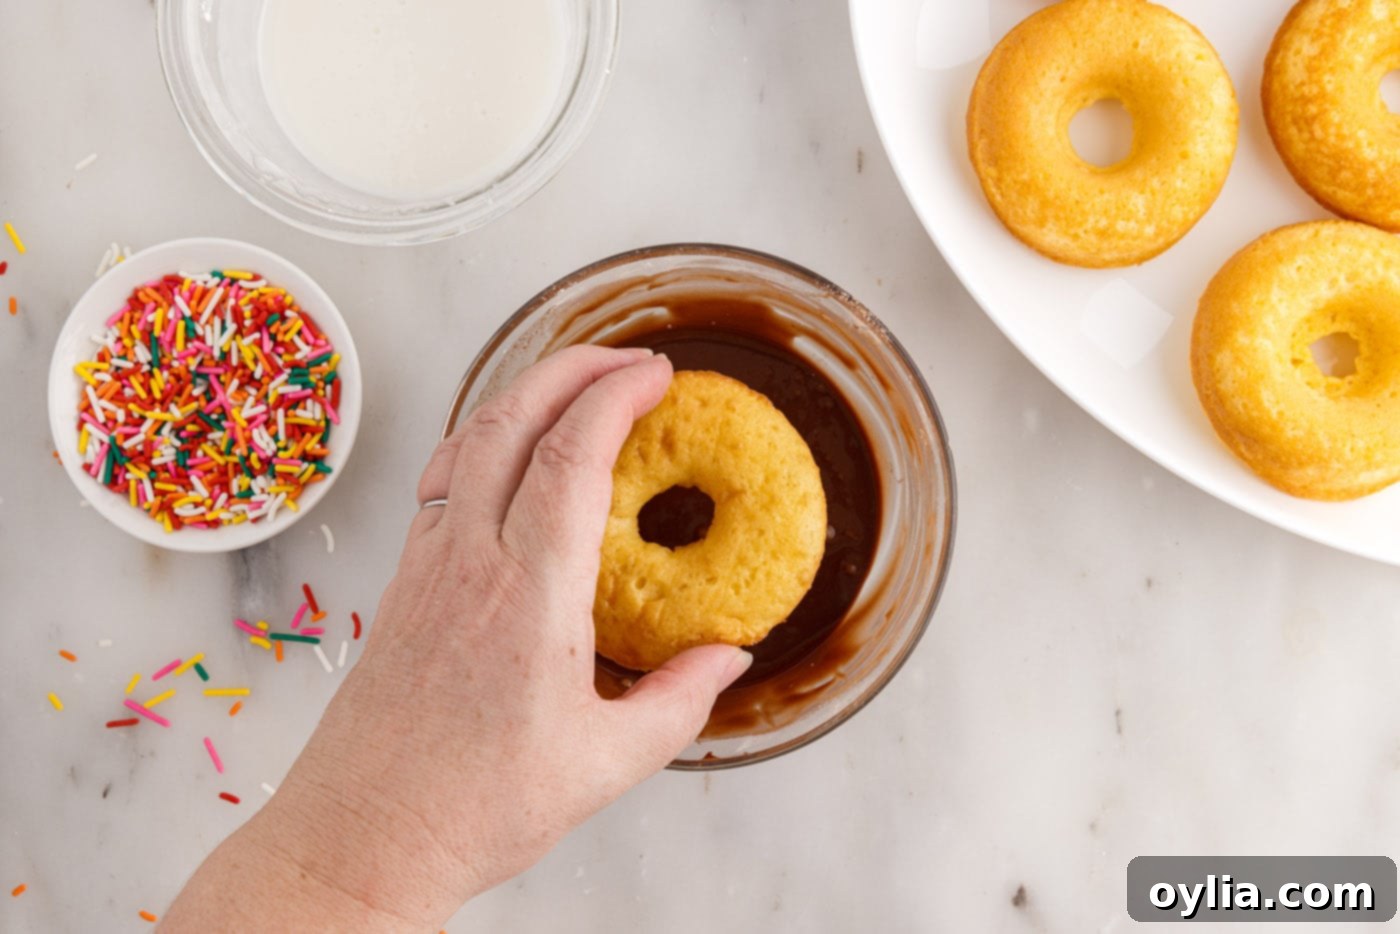
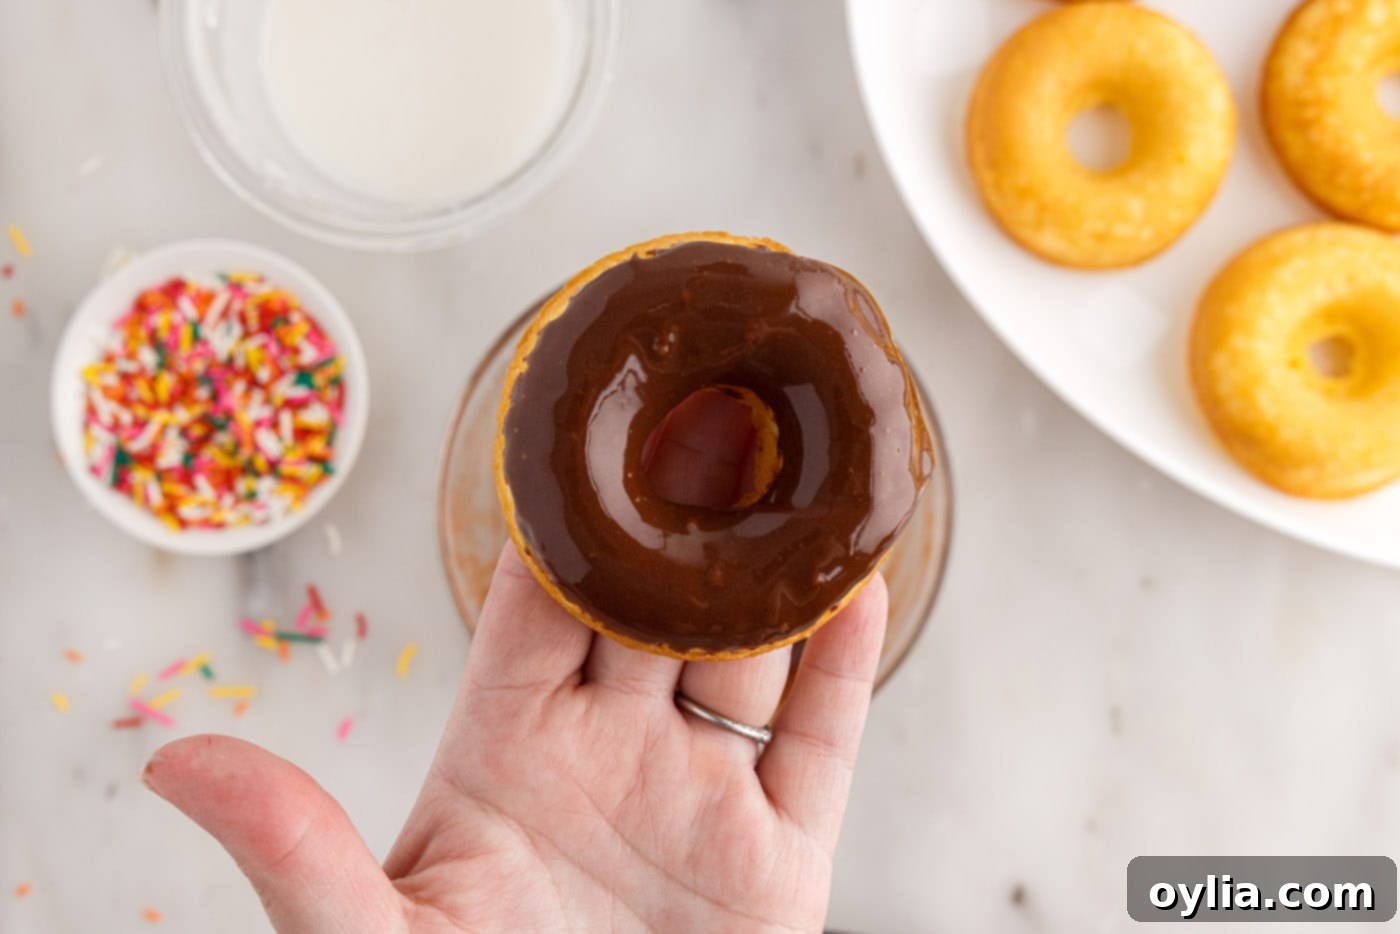
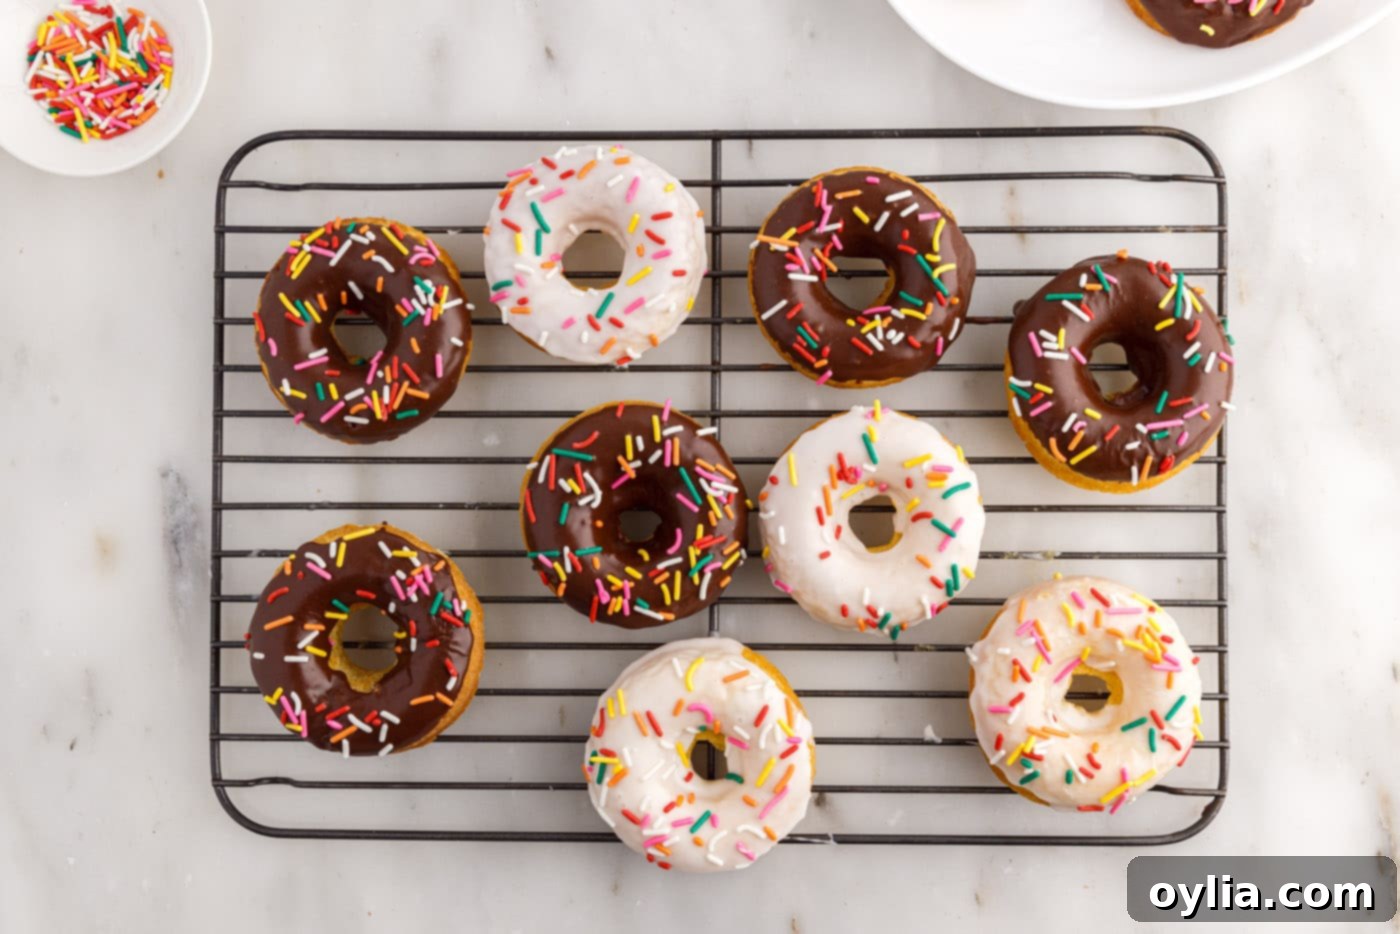
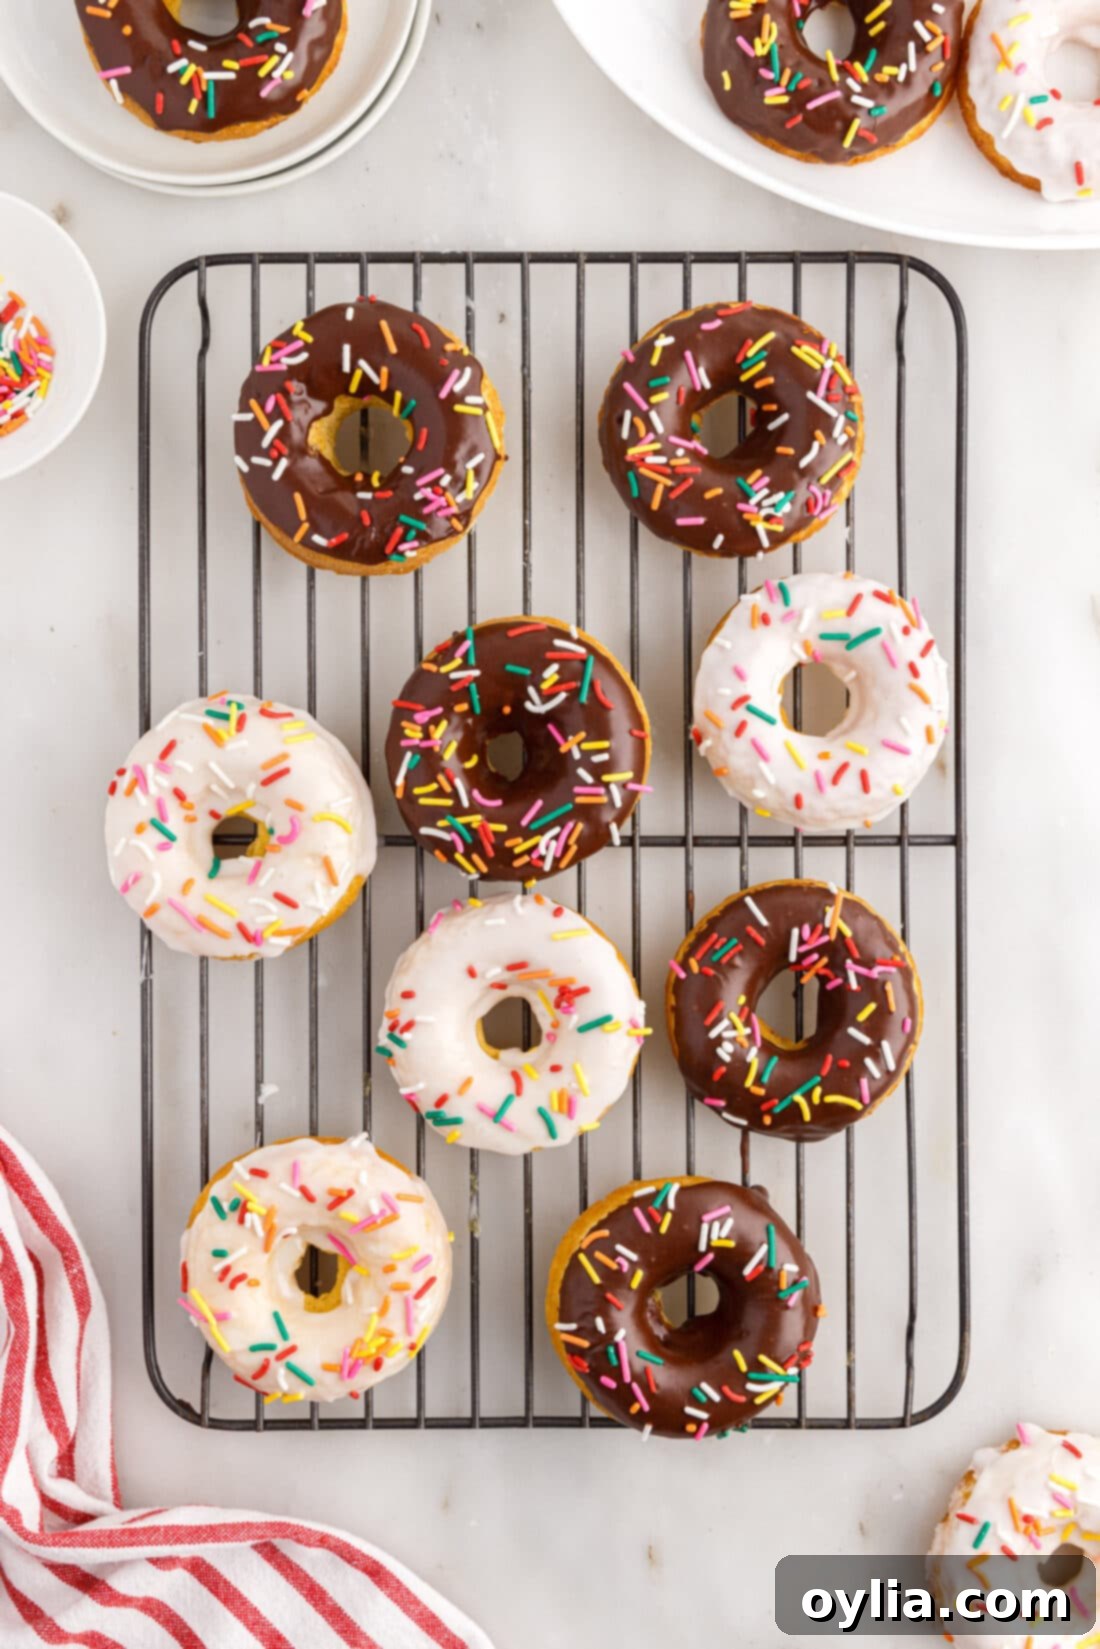
- Once the donuts have cooled sufficiently (they should still be slightly warm, allowing the glaze to set beautifully, but not hot enough to melt it), dip the smoothest side of each donut into the prepared glaze. Allow any excess glaze to drip off for a moment, then carefully place the glazed donut back onto a cooling rack or a serving platter. For that extra touch of fun and flair, immediately decorate with your favorite sprinkles before the glaze has a chance to set and harden. Continue this delightful process with all your remaining donuts and glazes, creating a vibrant assortment of homemade treats.


Frequently Asked Questions & Essential Expert Tips
To help you perfect your batch of cake mix donuts, here are answers to some common questions and invaluable tips from our kitchen:
To keep your delicious cake mix donuts fresh and maintain their wonderful texture, store them in a single layer inside an airtight container. Kept at room temperature, they will remain enjoyable for 2-3 days. If you need to store them longer, consider freezing them (see tip below!).
Absolutely, that’s one of the best things about this recipe! You can easily swap the yellow cake mix for a variety of other flavors to create different types of delicious donuts. Popular choices include strawberry for a fruity twist, funfetti for a celebratory treat, zesty lemon for a bright flavor, rich chocolate for the chocoholics, or a classic white cake mix for a subtle taste. Each will bring its own unique character to your homemade baked donuts.
Yes, you absolutely can freeze these donuts! For optimal results, it’s best to freeze them before glazing. Once your donuts have cooled completely, arrange them in a single layer on a baking sheet and freeze until they are solid (this usually takes about 1-2 hours). Afterward, transfer the frozen donuts to a freezer-safe airtight container or a heavy-duty freezer bag. They can be stored in the freezer for up to 2-3 months. When you’re ready to enjoy them, simply thaw the donuts at room temperature, then glaze and decorate as desired for a fresh taste.
Achieving the perfect glaze consistency is key to a beautiful finish. If your glaze seems too thick, add milk in very small increments (about 1/2 teaspoon at a time), whisking well after each addition until it reaches a pourable yet still coat-able consistency. If, however, your glaze is too thin and runny, gradually whisk in more powdered sugar, a tablespoon at a time, until it thickens to your preference. Patience and small additions are key here!
A standard non-stick donut pan with 6 cavities is ideal for this recipe. They are widely available online and in most kitchen supply stores. If you don’t have one, you can also use a muffin tin, but your “donuts” will resemble mini bundt cakes without the traditional donut hole in the middle. Just remember to adjust baking time as needed for different pan sizes and shapes.
Additional Expert Tips for Perfect Cake Mix Donuts
- Avoid Overmixing the Batter: This is a golden rule for many baked goods, including our cake mix donuts. Overmixing can overdevelop the gluten in the flour, leading to a tougher, chewier donut texture. Mix just until the ingredients are combined and smooth; a few small lumps are perfectly fine and often indicate a tender crumb.
- Ensure Proper Donut Pan Preparation: Even if your donut pan boasts a non-stick coating, a thorough spray with baking spray (especially varieties containing flour) is highly recommended. This extra step is your best friend for ensuring your perfectly shaped donuts release effortlessly without any sticking or tearing.
- Mindful Cavity Filling: As highlighted in the recipe, it’s crucial to fill each donut cavity no more than halfway. The batter expands quite a bit in the oven, and proper filling ensures your donuts rise beautifully into their classic, appealing shape. Overfilling can lead to overflow and misshapen donuts.
- Cooling is Key Before Glazing: While a slightly warm donut can help the glaze adhere, ensure your donuts are not hot when you dip them. If they are too hot, the glaze will melt and simply run off, creating a thin, uneven coating. Allow them to cool sufficiently on a wire rack first.
- Mastering Glaze Consistency: The ideal glaze for dipping should be thick enough to coat the donut but still fluid enough to drip off excess. If your glaze feels too thick for dipping, you can easily drizzle it over the tops of the donuts instead for an equally delicious result.
- Immediate Sprinkle Application: If you plan to adorn your donuts with sprinkles or other decorative toppings, make sure to apply them immediately after dipping or drizzling the glaze. The glaze sets quickly, and once dry, toppings won’t stick!
- Experiment with Creative Toppings: Don’t feel limited to just sprinkles! Explore other delightful topping options such as finely chopped nuts (pecans, walnuts), toasted shredded coconut, mini chocolate chips, colorful candy pieces, or a simple dusting of cinnamon sugar for a different flavor experience.
- Serving Temperature: These donuts are truly at their best when enjoyed at room temperature. This allows their moist texture and sweet flavors to fully shine.

Delicious Ways to Serve Your Homemade Cake Mix Donuts
These versatile baked cake mix donuts are delightful on their own, but they truly transform into something extraordinary when adorned with various glazes and toppings. We’ve thoughtfully provided recipes for both a classic chocolate and a sweet vanilla glaze within the recipe card below, giving you a perfect foundation for customization. If you prefer a more understated elegance, you can simply dust them with powdered sugar, or toss them in cinnamon sugar for a cozy, spiced flavor reminiscent of traditional apple cider donuts.
Unleash your creativity with garnishes! A vibrant rainbow of sprinkles instantly adds a festive touch, making these donuts ideal for birthday celebrations, school events, or casual family gatherings. For specific holidays or themed parties, coordinate your sprinkles to match your color scheme – think cheerful pastels for Easter, bold reds and greens for Christmas, or spooky orange and black for Halloween. For the ultimate enjoyment, serve these donuts at room temperature, allowing their tender texture and full flavor profile to shine. They make a fantastic addition to a leisurely brunch spread, a comforting after-dinner treat with coffee, or a delightful afternoon pick-me-up. Pair them with a cold glass of milk, a warm cup of coffee, or a steaming mug of hot chocolate for an extra special moment.
If you’ve caught the donut baking bug and are eager to explore more delightful variations, be sure to check out some of our other fantastic donut recipes. You’ll love our easy air fryer donuts for another convenient, no-fry option, our bright and zesty lemon baked donuts for a burst of citrus flavor, or the wonderfully nostalgic flavors of our peanut butter and jelly donuts. Each recipe offers a unique and delicious twist on this beloved sweet treat!
More Fantastic Cake Mix Recipes to Try
Cake mixes are truly a pantry superhero, offering an incredibly easy and quick route to delicious baked goods without compromising on flavor or quality. If you enjoyed the simplicity and delightful results of making these cake mix donuts, you’ll undoubtedly want to explore more recipes that ingeniously leverage this versatile ingredient. Here are some of our other top picks for transforming a simple cake mix into something extraordinary and utterly delicious:
- Cake Balls: These delightful, bite-sized treats are perfect for parties, potlucks, or simply satisfying a sweet craving.
- Cinnamon Roll Cookies: Enjoy all the warm, comforting flavors of classic cinnamon rolls, conveniently packed into a quick and easy cookie form.
- Pineapple Sunshine Cake: A truly bright, incredibly moist, and wonderfully tropical dessert that comes together with astonishing ease.
- Lemon Cake Mix Cookies: Discover these wonderfully zesty, soft, and chewy cookies that require minimal effort but deliver maximum lemon flavor.
- Cake Mix Brownies: Achieve rich, fudgy, and perfectly chewy brownies with surprising simplicity, all thanks to the humble cake mix.
I love to bake and cook and share my kitchen experience with all of you! Remembering to come back each day can be tough, that’s why I offer a convenient newsletter every time a new recipe posts. Simply subscribe and start receiving your free daily recipes!

Cake Mix Donuts
IMPORTANT – There are often Frequently Asked Questions within the blog post that you may find helpful. Simply scroll back up to read them!
Print It
Pin It
Rate It
Save ItSaved!
Ingredients
- 15.25 ounce yellow cake mix unprepared. dry mix only
- ¼ cup vegetable oil
- ¾ cup whole milk
- 2 large eggs
- ½ cup sour cream
Chocolate Glaze
- 1 ½ cups powdered sugar
- 2 Tablespoons milk 2-3 tablespoons
- 3 Tablespoons unsweetened cocoa powder
Vanilla Glaze
- 1 ½ cups powdered sugar
- 2 Tablespoons milk 2-3 tablespoons
Things You’ll Need
-
Mixing bowls
-
Piping bag
-
Donut pan
-
Wire cooling racks
-
Non stick baking spray
Before You Begin
- If you don’t have a piping bag, simply add the batter to a large ziptop bag and snip off the corner.
- The donuts rise quite a bit in the oven. If the cavities are filled too full, they will spill over the tops and make an odd shape. Keep the batter under the halfway point of the cavity so that when they rise, they make an equally cute donut shape on both halves.
- Allow the donuts to cool slightly before dipping them in the glaze. If the glaze is too thick, it may be difficult to dip the donut in and lift it out without it breaking. If necessary, you can also drizzle the glaze over the tops of the donuts.
- The glaze will set dry to the touch after 5-10 minutes. Be sure to add the sprinkles immediately after dipping/glazing so that they stick.
- Store donuts in a single layer in an airtight container kept at room temperature for 2-3 days.
Instructions
-
Preheat the oven to 350°F.
-
In a large mixing bowl, whisk together the dry cake mix, oil, milk, eggs, and sour cream until fully combined.
-
Transfer batter to a piping bag.
-
Spray a donut pan with non-stick baking spray (the kind with flour works best). Pipe a ring of batter into each donut cavity. Do not fill each cavity more than 1⁄2 full.
-
Bake donuts for 10 minutes, until puffed and just beginning to turn golden.
-
Remove from oven and turn out onto a cooling rack. Continue baking batches of donuts.
-
Prepare the glaze by whisking together powdered sugar, milk, and cocoa powder, if using.
-
Dip the smoothest side of the donut into the glaze, allowing some excess to drip off and then place on a cooling rack or platter. Decorate immediately with sprinkles before the glaze sets.
Nutrition
The recipes on this blog are tested with a conventional gas oven and gas stovetop. It’s important to note that some ovens, especially as they age, can cook and bake inconsistently. Using an inexpensive oven thermometer can assure you that your oven is truly heating to the proper temperature. If you use a toaster oven or countertop oven, please keep in mind that they may not distribute heat the same as a conventional full sized oven and you may need to adjust your cooking/baking times. In the case of recipes made with a pressure cooker, air fryer, slow cooker, or other appliance, a link to the appliances we use is listed within each respective recipe. For baking recipes where measurements are given by weight, please note that results may not be the same if cups are used instead, and we can’t guarantee success with that method.
