Decadent S’mores Brownies: The Ultimate Gooey, Fudgy, Toasted Treat
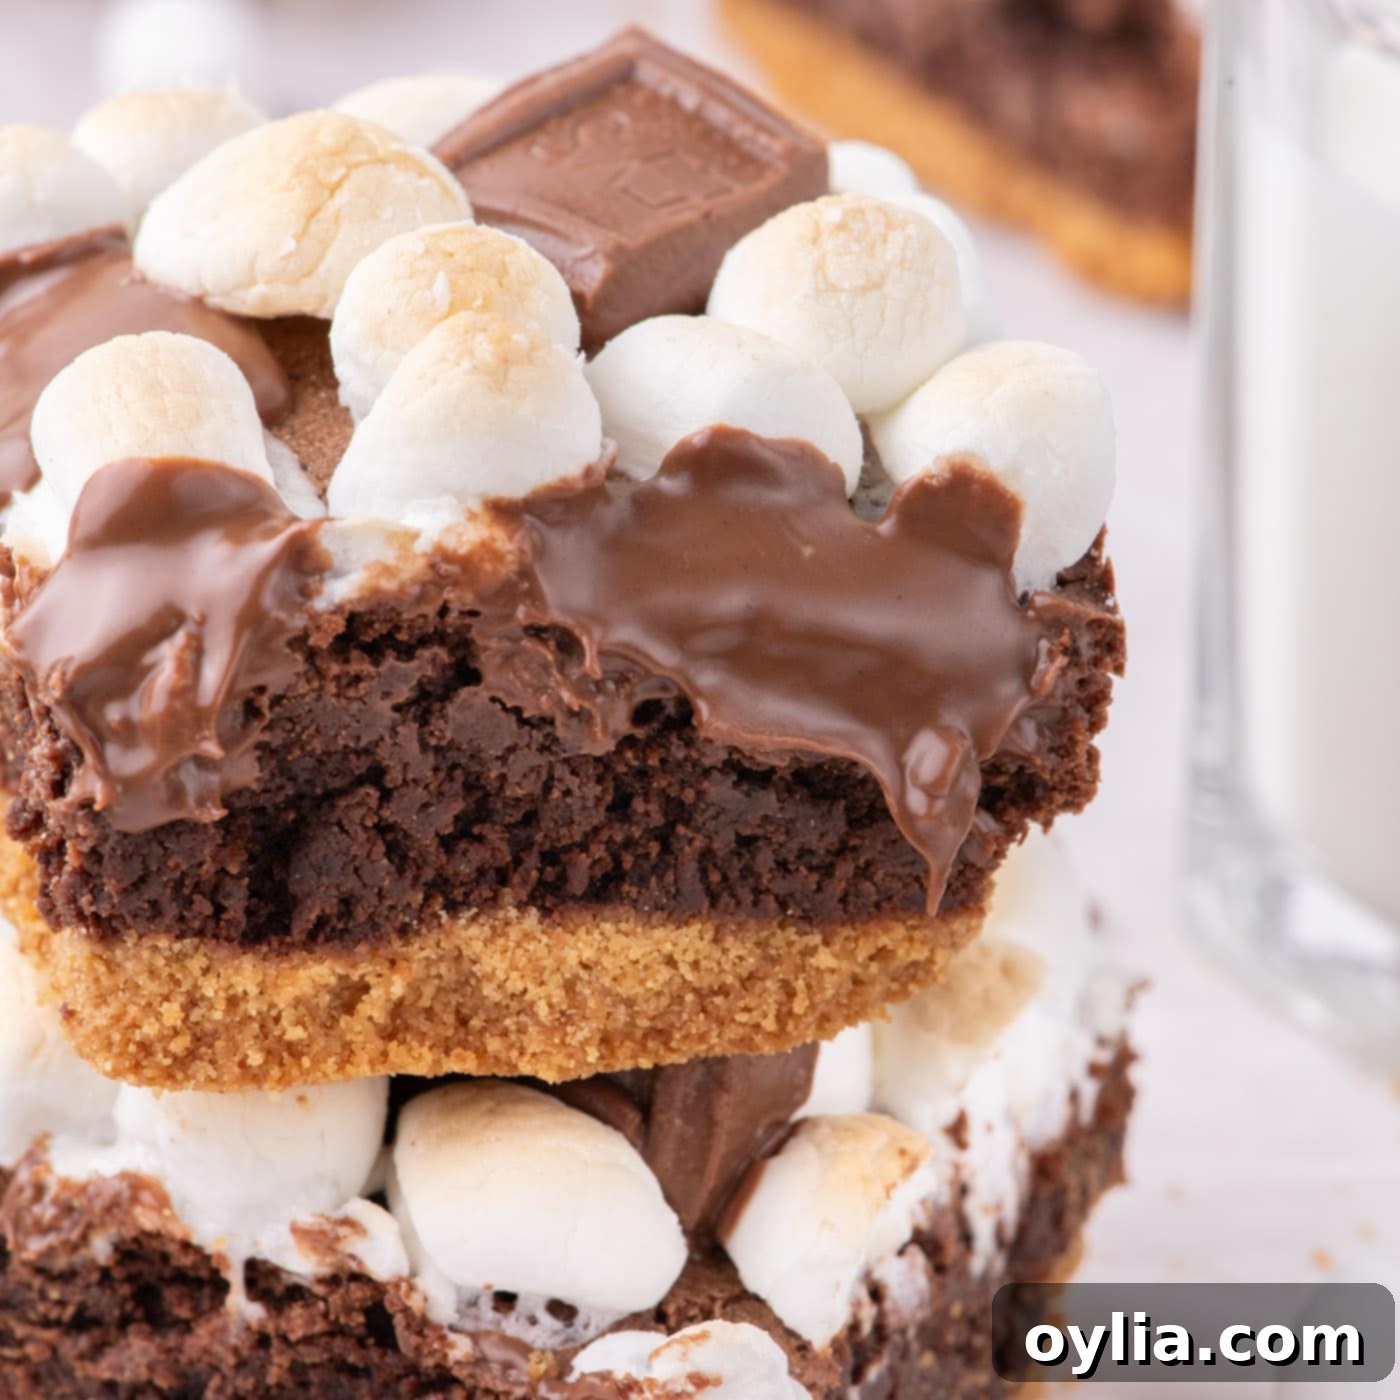
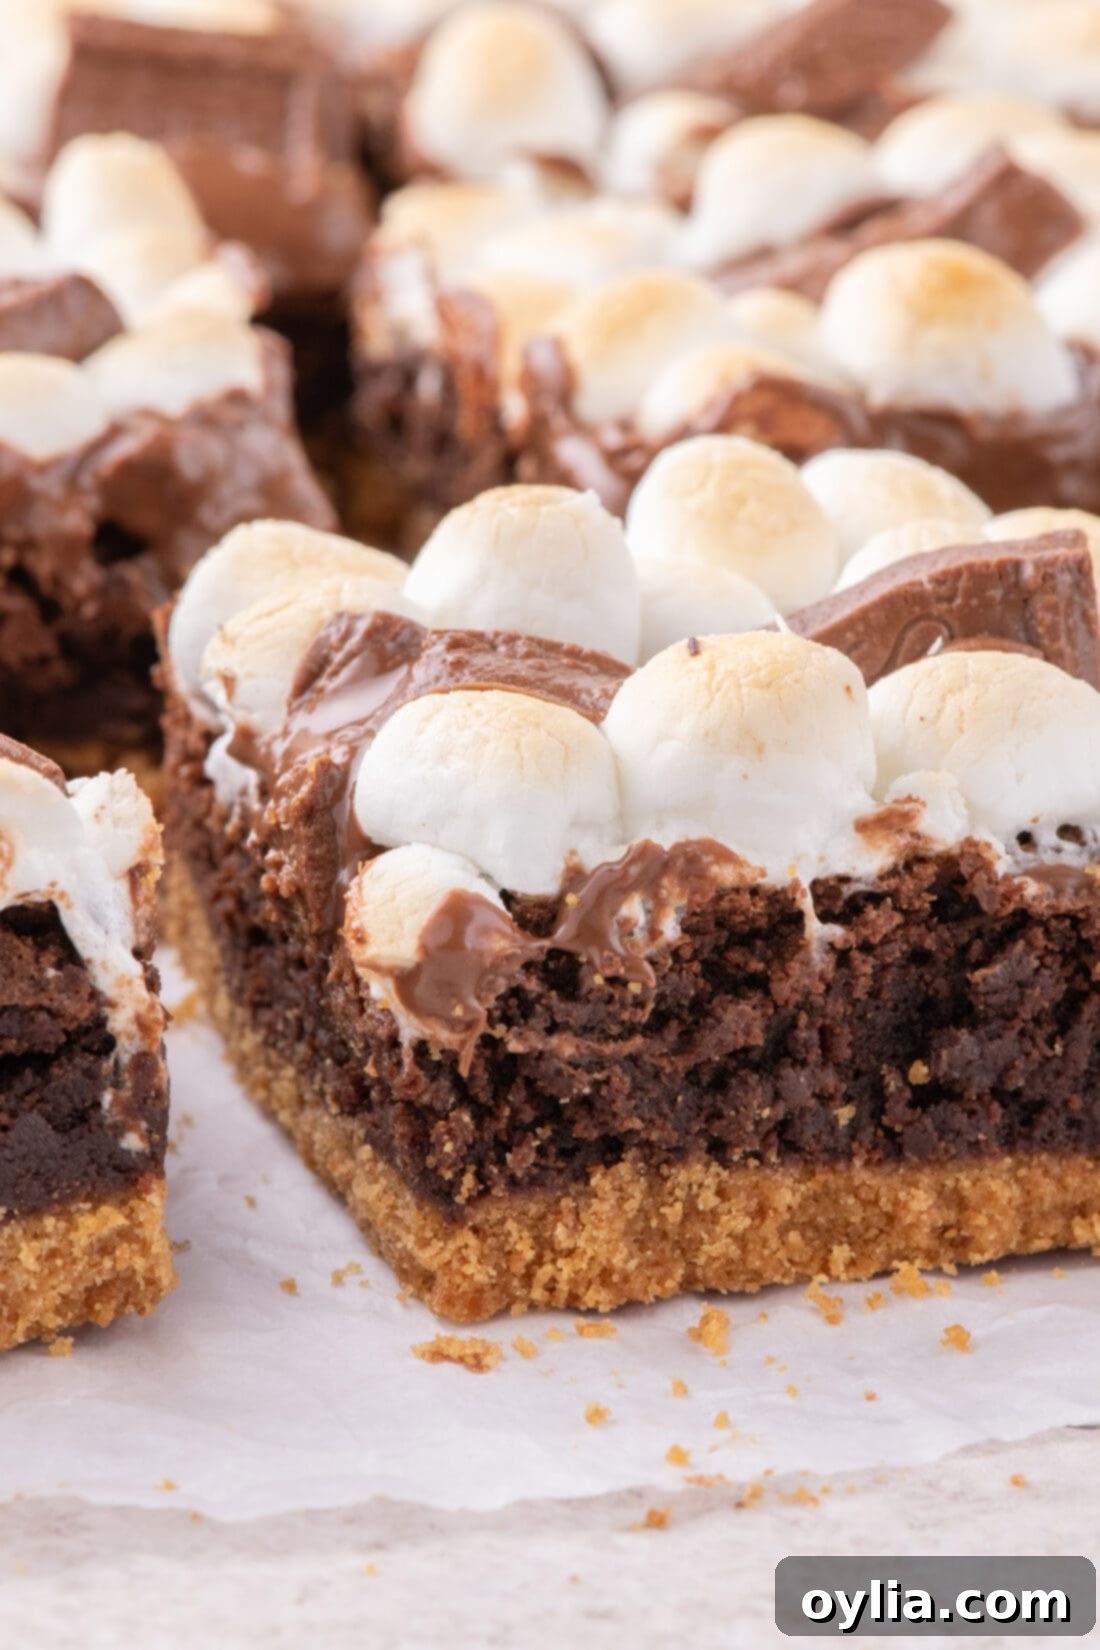
Imagine the rich, deep chocolate flavor of a classic fudge brownie. Now, picture that brownie topped with a golden, pillowy layer of toasted marshmallows, a generous sprinkling of melty chocolate, all resting on a perfectly crisp, buttery graham cracker crust. This isn’t just a dream – it’s our incredibly delicious s’mores brownies recipe, bringing the beloved campfire classic right into your kitchen! Forget the struggle of finding the perfect stick or a roaring fire; these brownies deliver all the nostalgic flavors and textures of s’mores in a convenient, shareable bar. Perfect for parties, potlucks, or a cozy night in, they’re guaranteed to be a crowd-pleaser any time of the year.
Why You’ll Fall in Love with This S’mores Brownie Recipe
These S’mores Brownies aren’t just another dessert; they’re a carefully crafted combination of textures and flavors that will transport you straight to a cozy campfire. This recipe truly works because it perfectly balances each iconic s’mores element, creating a harmonious and utterly addictive treat:
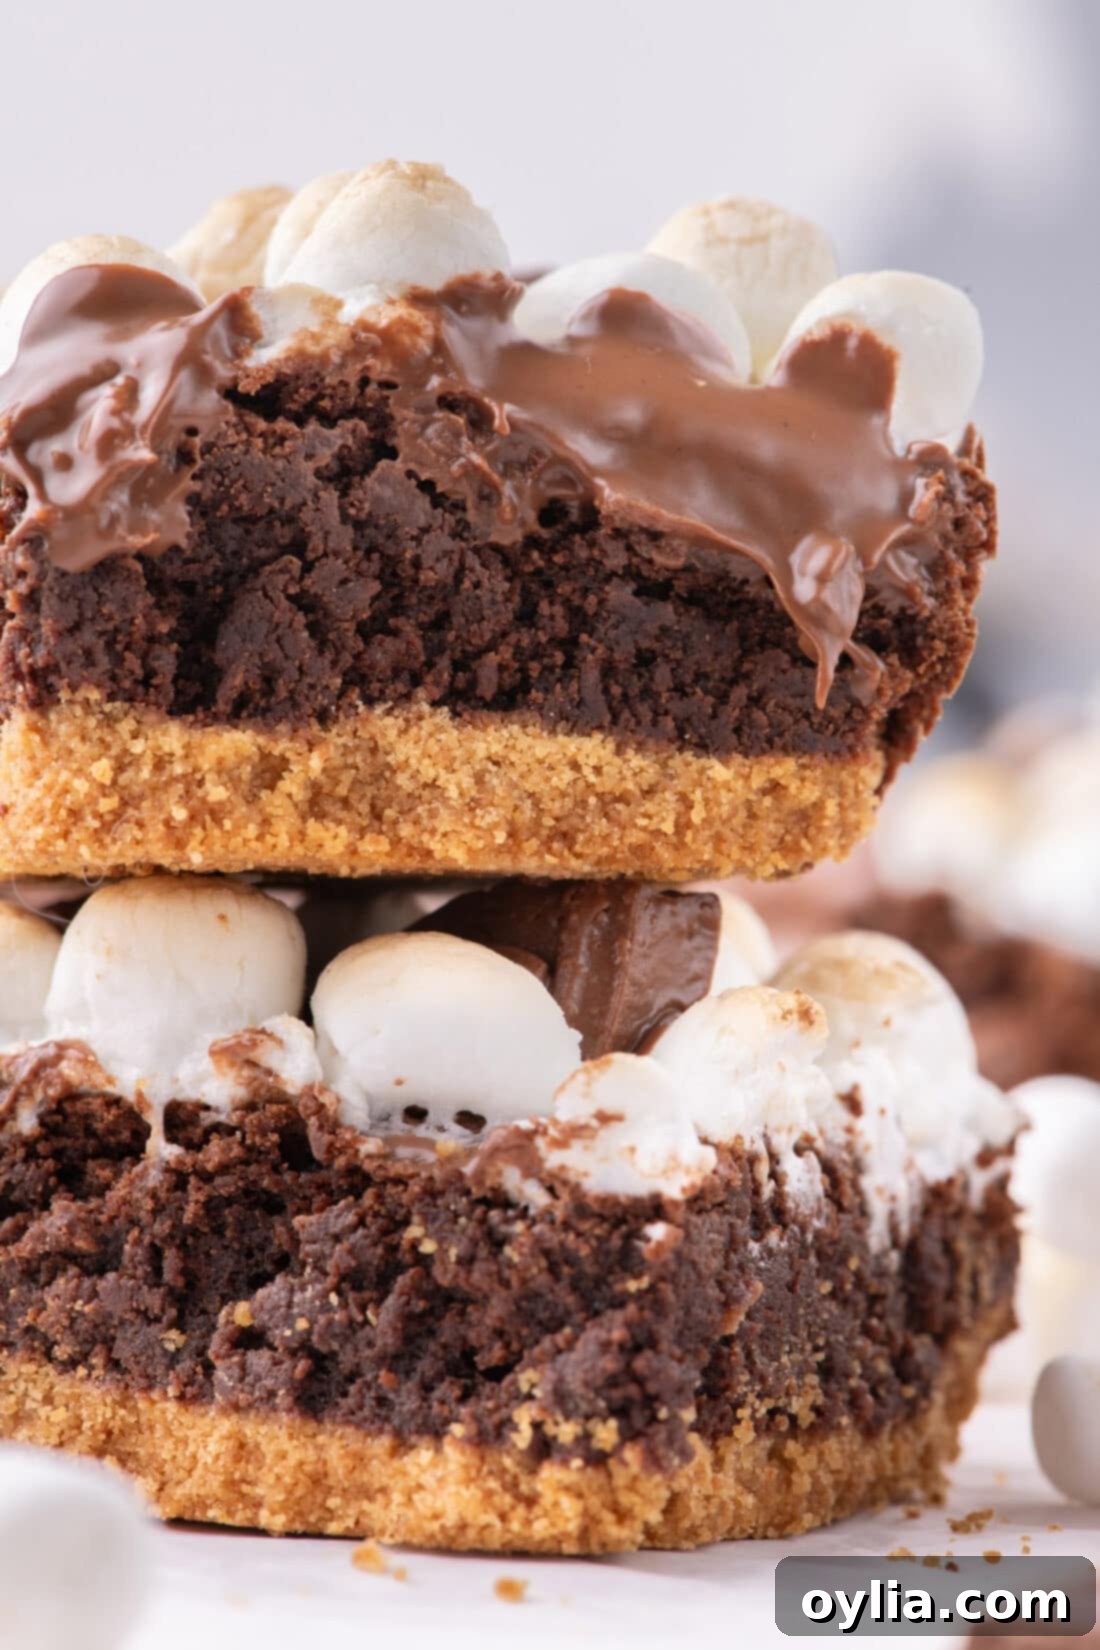
- The Ultimate Fudge Brownie Base: We start with a rich, dense, and incredibly fudgy brownie layer. This isn’t a light, cakey brownie; it’s the kind that melts in your mouth, providing a deep, intense chocolate foundation that can stand up to the sweet toppings. Its profound cocoa flavor forms the perfect counterpoint to the lighter, sweeter elements.
- Crisp, Buttery Graham Cracker Crust: A hallmark of any good s’more, the graham cracker adds a delightful texture and subtly sweet, honeyed flavor. Our buttery graham cracker crust provides a sturdy yet tender base that offers a satisfying crunch with every bite, brilliantly mimicking the classic s’mores experience. The pre-baking step ensures it stays perfectly crisp, never soggy.
- Pillowy, Toasted Marshmallow Topping: The moment these come out of the oven, you’re greeted by a fluffy blanket of golden-brown, caramelized marshmallows. The broiling process creates that irresistible, slightly crisp exterior and wonderfully gooey, stretchy interior, just like a perfectly roasted marshmallow over an open flame.
- Melty Chocolate Pockets: Generous chunks of classic Hershey’s chocolate (or your preferred chocolate bar!) are nestled amongst the marshmallows, melting into luscious pools of chocolatey goodness. This ensures a rich, creamy burst of chocolate in every forkful, tying all the flavors and textures together into one cohesive, delightful bite.
It’s a two-in-one dessert that caters to all cravings – whether you’re dreaming of summer campfires or simply seeking a comforting, chocolatey treat during the colder months. Each bite is a symphony of ooey-gooey marshmallows, crisp graham crackers, and plenty of sweet, decadent chocolate. This recipe is robust enough for baking beginners but impressive enough for seasoned dessert enthusiasts, making it a reliable favorite for any season or occasion.
Gather Your Ingredients for These Irresistible S’mores Brownies
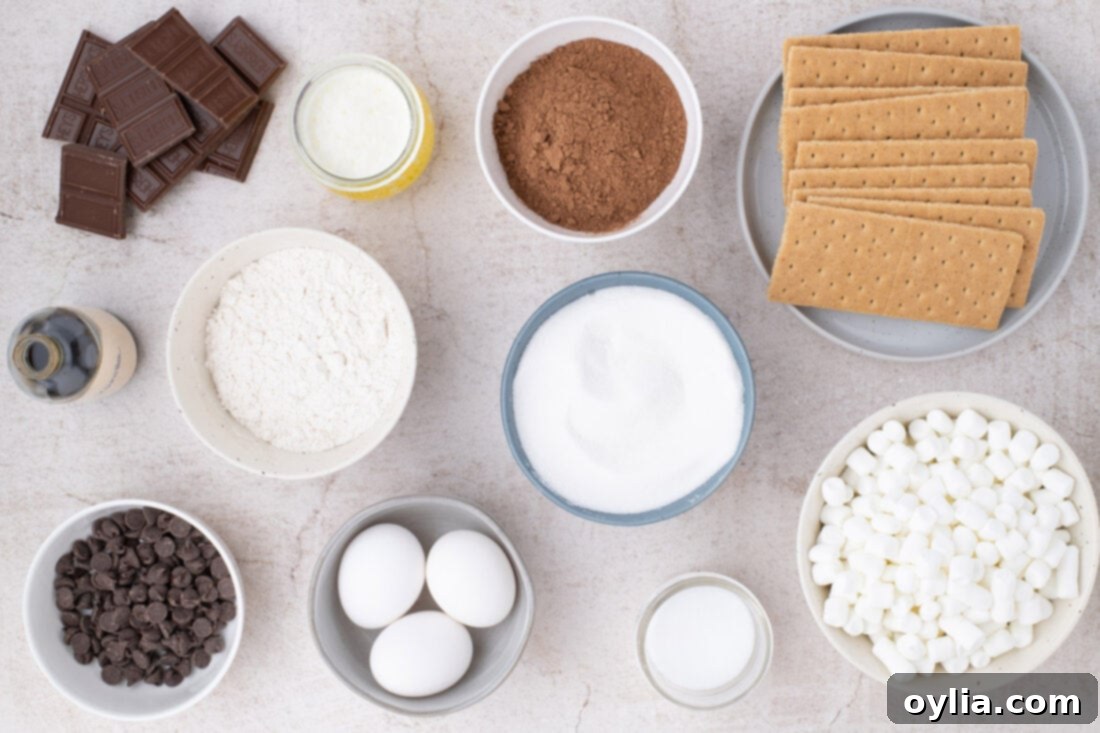
To whip up a batch of these glorious s’mores brownies, you’ll need a selection of pantry staples and a few key s’mores components. Having everything measured and ready before you start (mise en place) will make the baking process smooth and enjoyable. Full measurements and detailed instructions can be found in the printable recipe card at the very end of this post, but here’s a quick overview of what to have on hand:
Ingredient Spotlight & Smart Swaps
Understanding each ingredient’s role can help you achieve the best results and confidently make substitutions if needed:
- GRAHAM CRACKERS: You’ll need about 16 full graham cracker sheets to create that perfect, golden-brown crust. This typically yields around 2 cups of finely crushed crumbs. For convenience, you can buy pre-crushed graham cracker crumbs, often found in the baking aisle. If you don’t have a food processor, don’t worry! Simply place the graham cracker sheets in a gallon-sized zip-top bag, seal it, and crush them finely using a rolling pin or the bottom of a heavy pan. The finer the crumbs, the more cohesive and even your crust will be, providing that satisfying snap.
- UNSALTED BUTTER: Divided into two portions for both the graham cracker crust and the brownie batter. Using unsalted butter allows you to control the exact salt content in the recipe, ensuring a balanced flavor. If you only have salted butter, you can reduce the added salt in the brownie mixture by about ¼ teaspoon. Melted butter is crucial for binding the graham cracker crumbs and creating that incredibly rich, moist, and dense brownie texture.
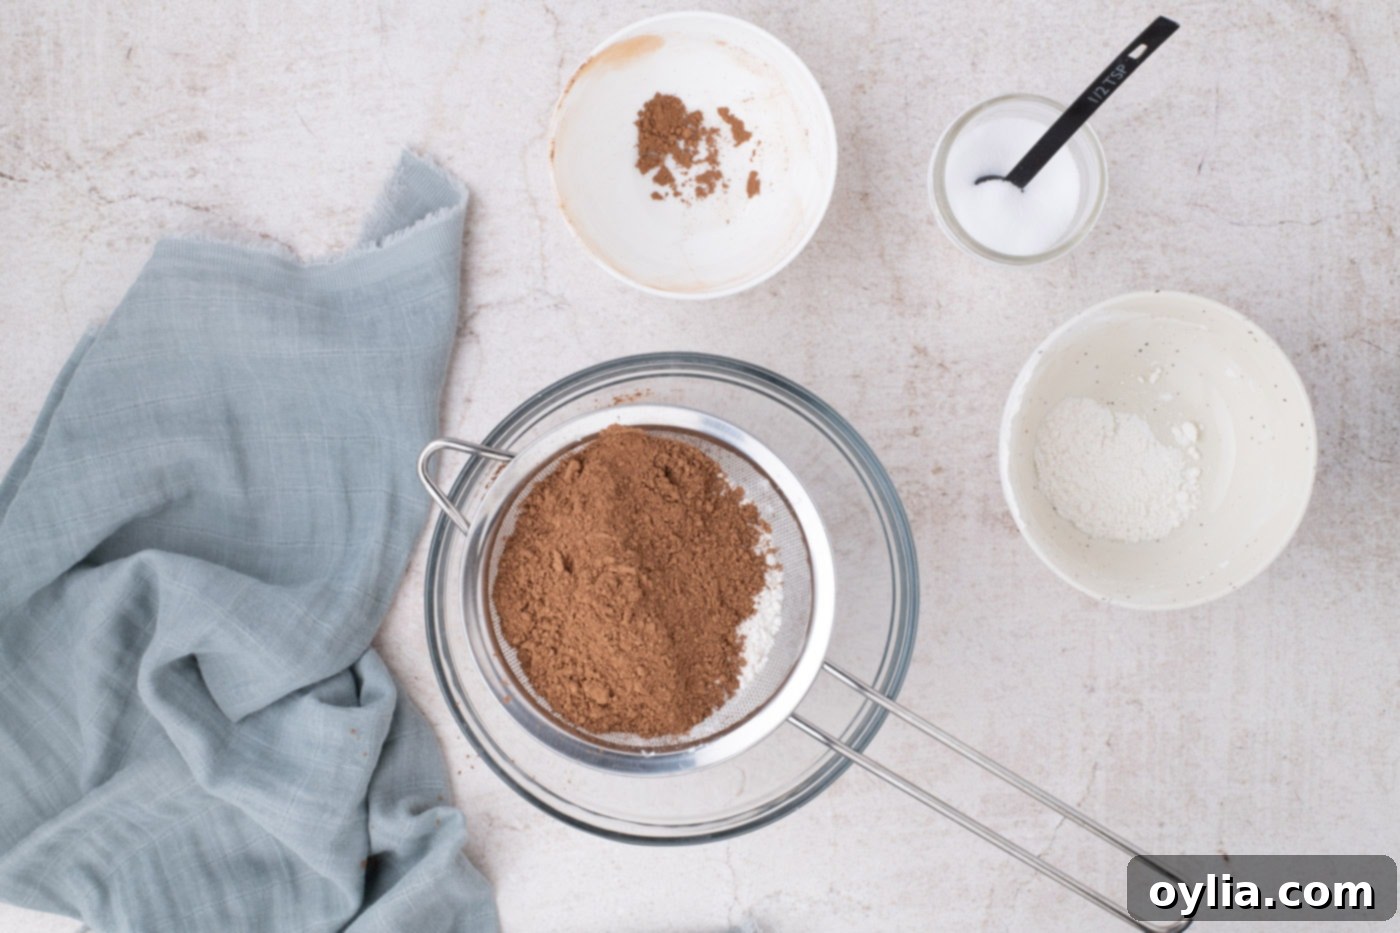
- ALL-PURPOSE FLOUR: The backbone of our fudgy brownie. Standard all-purpose flour provides the necessary structure without making the brownie too cakey. For best results, always measure your flour by spooning it into a measuring cup and leveling it off with a straight edge, rather than scooping directly, which can compact the flour and lead to dry, dense brownies. Sifting the flour (along with the cocoa powder and salt) is a highly recommended step to remove any clumps and aerate the dry ingredients, ensuring a smooth batter and preventing any unfortunate dry pockets in your finished brownies.
- UNSWEETENED COCOA POWDER: This is where the deep, intense chocolate flavor of the brownie comes from. For the best flavor, use a good quality unsweetened cocoa powder. Both natural and Dutch-processed cocoa powder work here, though Dutch-processed often yields a darker brownie with a less acidic, smoother chocolate taste. Be sure not to confuse it with hot cocoa mix, which contains sugar and often powdered milk, and will throw off the recipe’s balance.
- SALT: A small but mighty ingredient that significantly enhances and balances all the other flavors, particularly the rich chocolate. Don’t skip it, as it prevents the brownies from tasting flat or overly sweet.
- SEMI-SWEET CHOCOLATE CHIPS: These are melted into the butter for the brownie base, contributing significantly to its ultra-fudgy texture and rich chocolate flavor. You can use semi-sweet, dark, or even milk chocolate chips depending on your preference for sweetness and chocolate intensity. For an extra luxurious brownie, consider using high-quality chocolate baking bars, finely chopped, which often melt more smoothly.
- LARGE EGGS: Eggs serve multiple purposes in the brownie batter: they bind the ingredients, add richness, and contribute to the brownie’s characteristic chewy yet fudgy structure. Ensure they are at room temperature for better emulsification with the other ingredients, leading to a smoother, more uniform batter and a superior final texture.
- GRANULATED SUGAR: Provides essential sweetness to the brownies and plays a key role in creating that classic, glossy, crinkly top that everyone loves. While you could slightly adjust the amount to your preference, reducing it too much might affect the brownie’s texture and moisture content, making them less fudgy.
- VANILLA EXTRACT: A crucial flavor enhancer that complements the chocolate beautifully, adding depth and warmth to the overall profile. Always use pure vanilla extract for the best, most authentic flavor.
- MINI MARSHMALLOWS: Absolutely essential for the s’mores topping! Mini marshmallows are preferred as they melt and toast more evenly and quickly under the broiler, creating a beautiful golden, gooey layer without over-browning or drying out the brownies underneath. While larger marshmallows can be used, you might need to cut them into smaller pieces or watch them even more closely under the broiler.
- HERSHEY’S CHOCOLATE BAR: The classic s’mores chocolate for a reason! Breaking it into pieces and scattering it over the marshmallows ensures wonderfully melty pockets of chocolate in every single square. Feel free to use other milk chocolate bars if Hershey’s isn’t available, or even a mix of milk and semi-sweet chocolate for a slightly more complex flavor profile. Chocolate chunks or even chocolate kisses could also work in a pinch.
Step-by-Step Guide: Crafting Your S’mores Brownies
These step-by-step photos and instructions are designed to help you visualize each stage of making these incredible brownies. For a comprehensive printable version of this recipe, complete with precise measurements and full instructions, please Jump to Recipe at the bottom of this post.
- Prepare Your Pan: Begin by preheating your oven to 350° F (175° C). This ensures your oven is at the correct temperature when your crust is ready to bake. Line a 9×9-inch baking pan with parchment paper. Make sure the parchment paper extends generously over all four sides of the pan, creating a convenient “sling.” This ingenious trick will make it incredibly easy to lift the entire slab of cooled brownies out of the pan later for clean, effortless slicing.
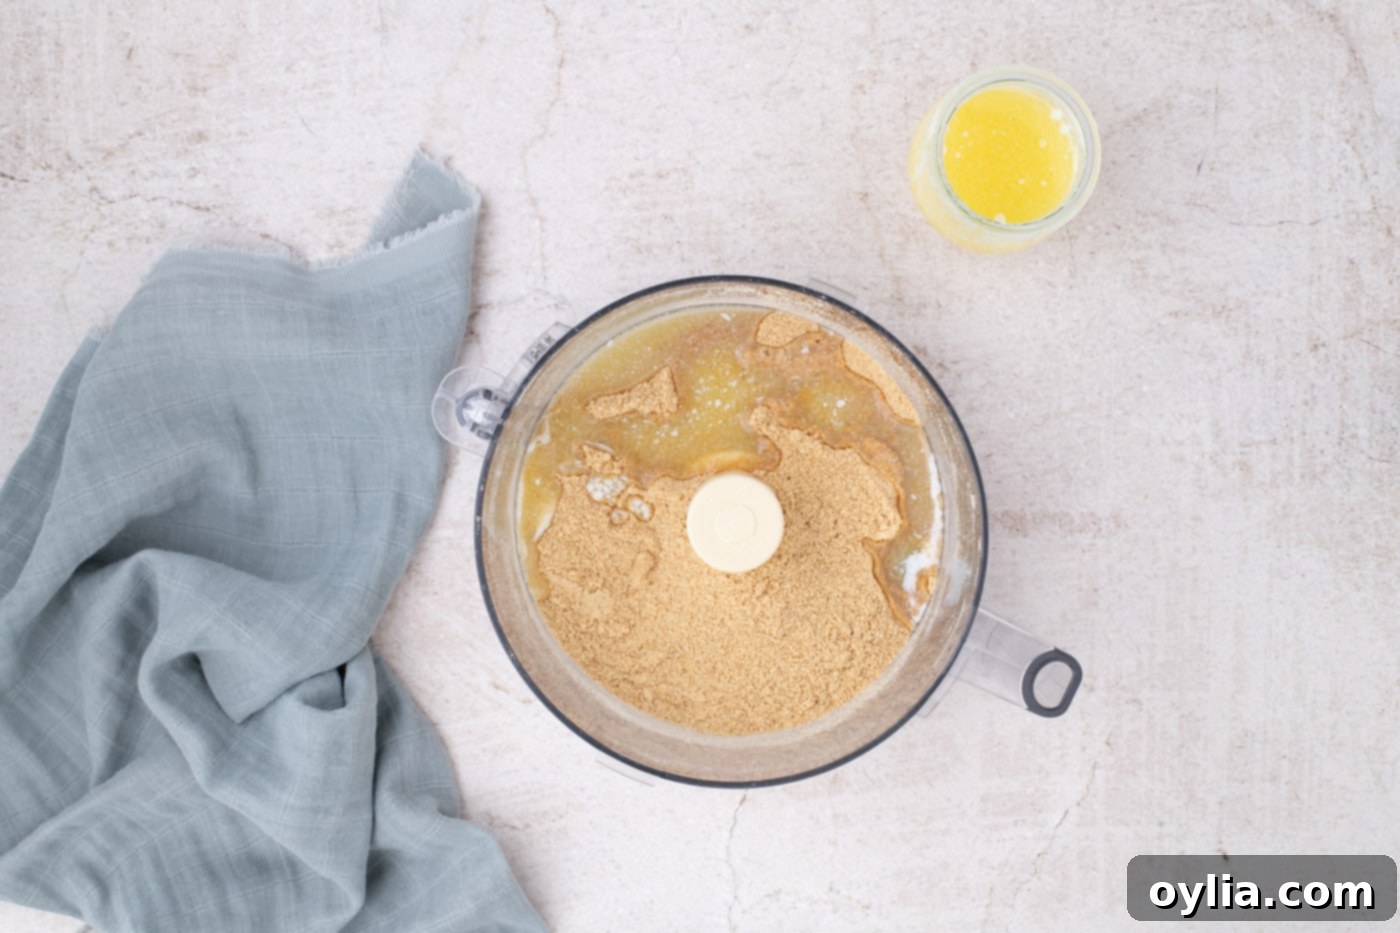
- Create the Graham Cracker Crust: Add your graham cracker sheets to a food processor. Pulse them until they achieve a fine, sand-like texture; it’s important to get them very fine for a compact, sturdy crust. Slowly pour in ½ cup of melted unsalted butter while the food processor is running or pulsing. Continue to pulse until the butter is thoroughly incorporated and the crumbs are moist and clump together when pressed. This mixture should yield approximately 2 cups of graham cracker crumbs.

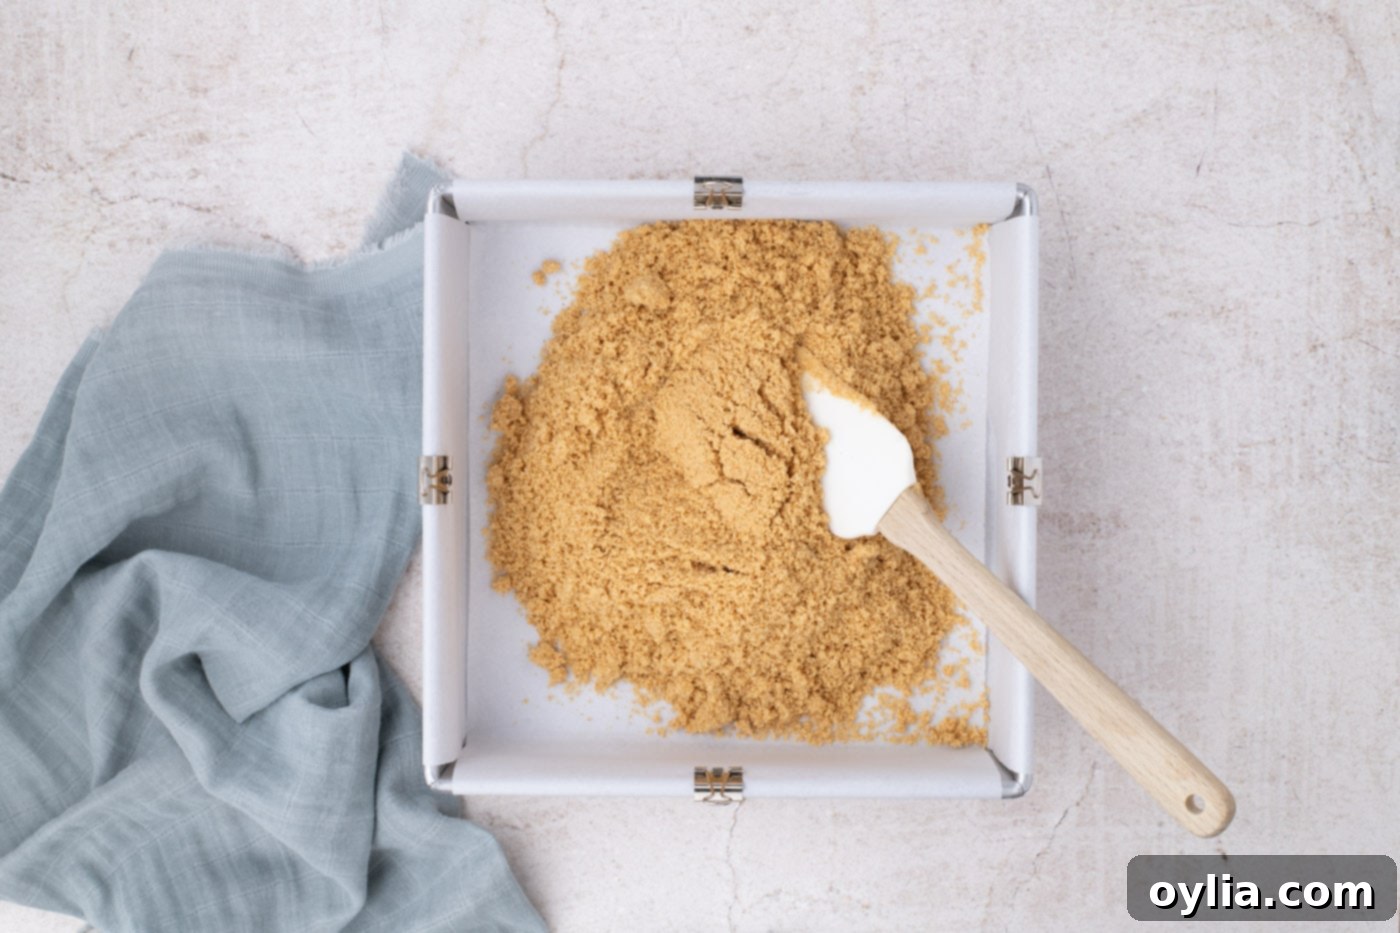
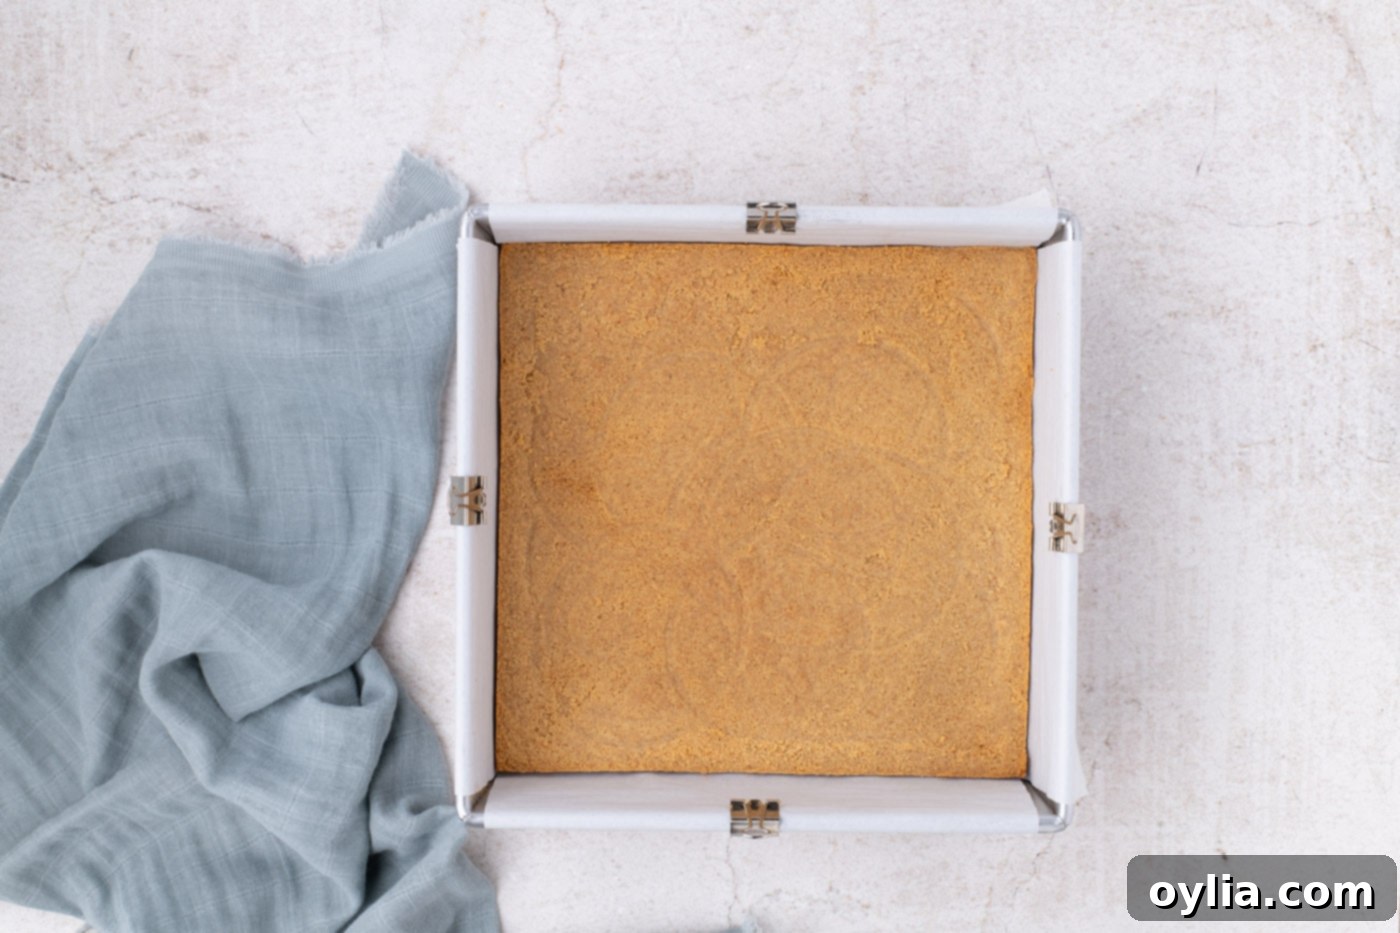
- Bake the Crust: Transfer the buttery graham cracker mixture to your prepared baking pan. Using the bottom of a flat glass, a measuring cup, or your clean hands, firmly press the mixture down to create an even, compact base across the bottom of the pan. This compression is key for a sturdy crust. Bake this crust for 10 minutes, just until it’s lightly golden and fragrant. A pre-baked crust helps prevent it from getting soggy once the brownie batter is added. Once baked, remove the pan from the oven and let the crust cool completely on a wire rack. This cooling step is important before adding the brownie layer.


Crafting the Rich Fudge Brownie Layer
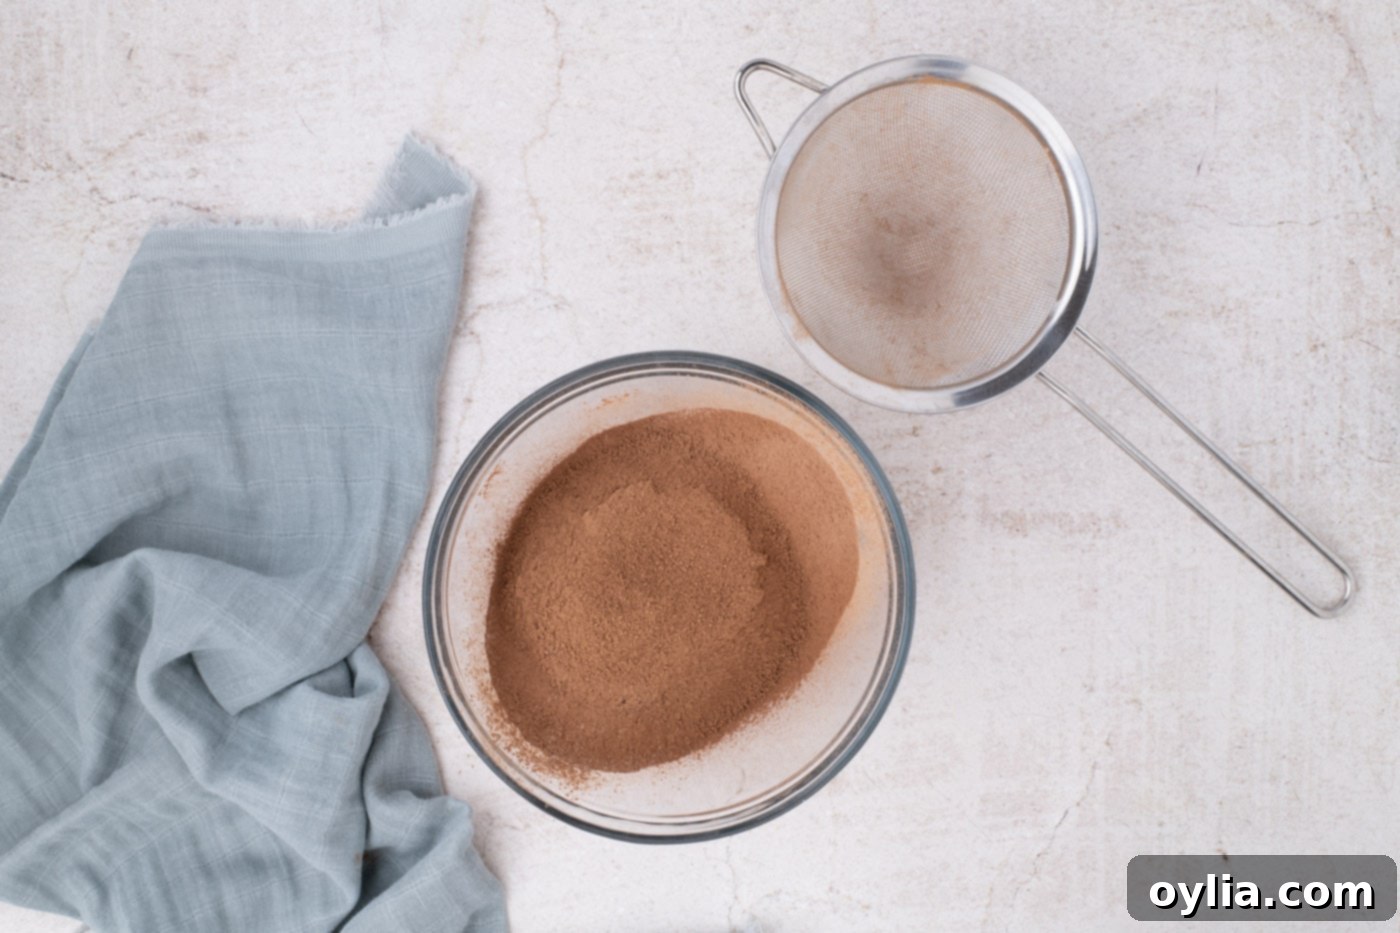
- Sift Dry Ingredients: In a medium-sized bowl, sift together the all-purpose flour, unsweetened cocoa powder, and salt. Sifting is a small but impactful step that makes a big difference, removing any lumps and ensuring your brownie batter is smooth and uniform, ultimately leading to a perfectly textured, fudgy brownie.


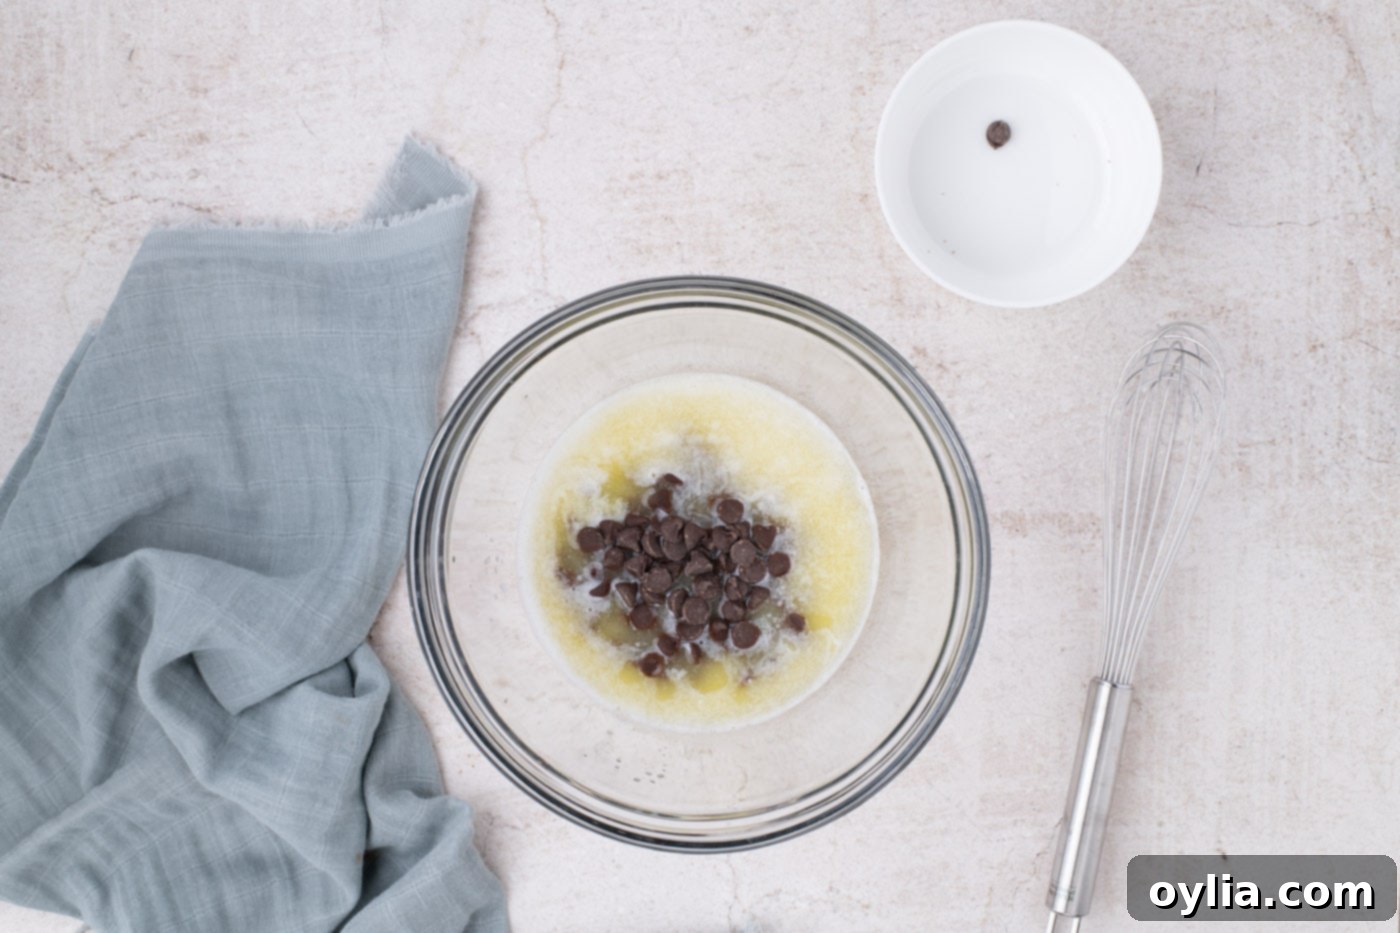
- Melt Chocolate and Butter: In a large mixing bowl, combine the remaining melted butter with the semi-sweet chocolate chips. If your melted butter has cooled significantly, a quick 10-15 second microwave burst can bring it back to temperature to help melt the chips. Let the mixture sit undisturbed for 3-5 minutes; this “resting” period allows the residual heat from the melted butter to fully soften the chocolate chips, making them easier to stir. Once softened, stir the chocolate and butter together until completely smooth and glossy.

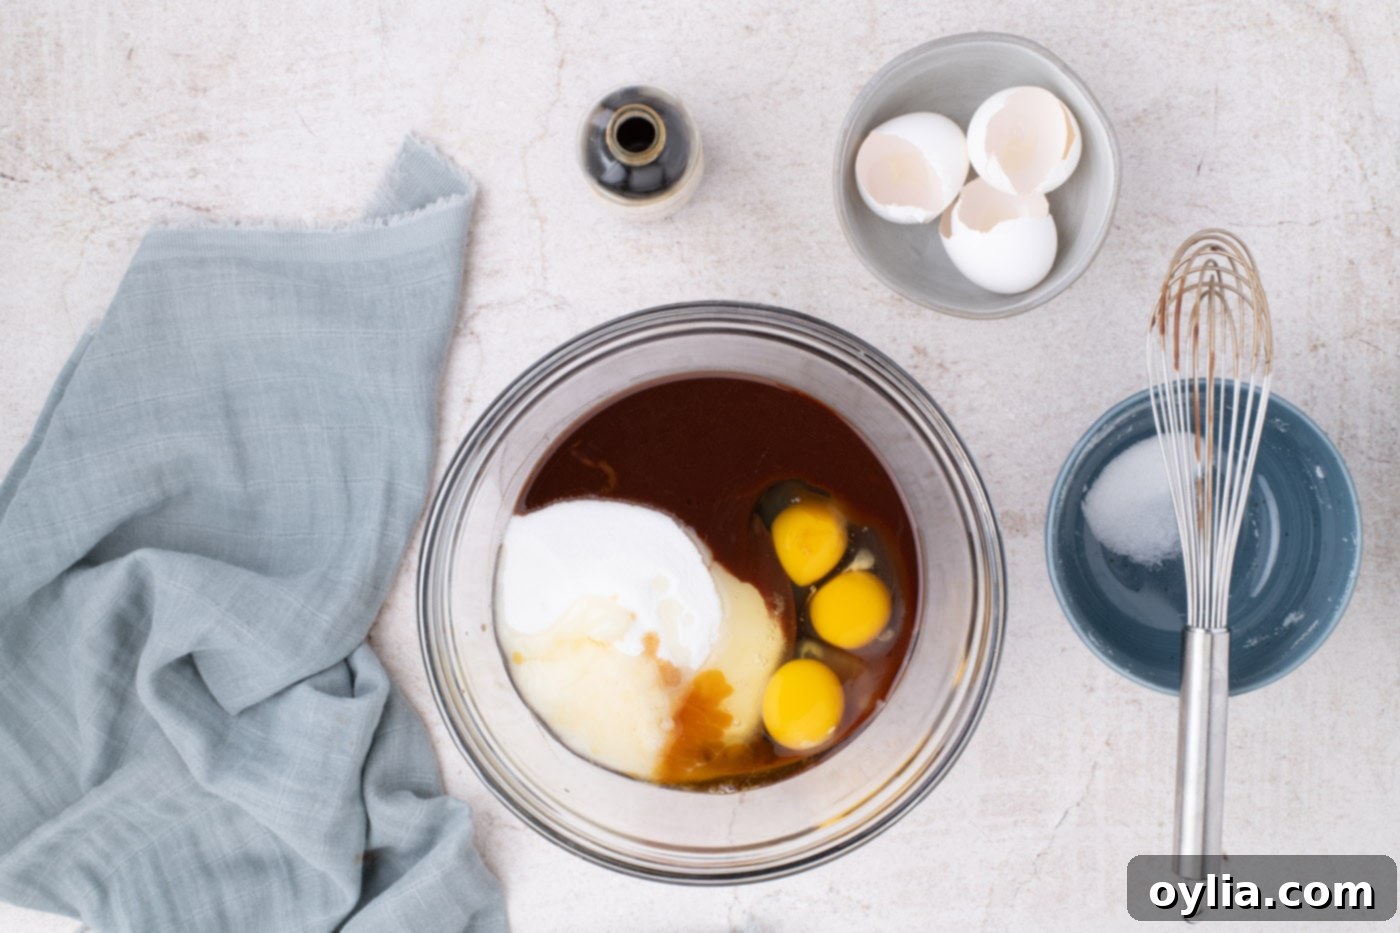
- Add Wet Ingredients: Whisk the large eggs, granulated sugar, and vanilla extract into the chocolate-butter mixture. Whisk vigorously for about 1-2 minutes until the mixture is well combined, has lightened slightly in color, and appears slightly thickened. This aeration helps to dissolve the sugar and is crucial for creating that desirable crinkly, shiny top on your finished brownies.

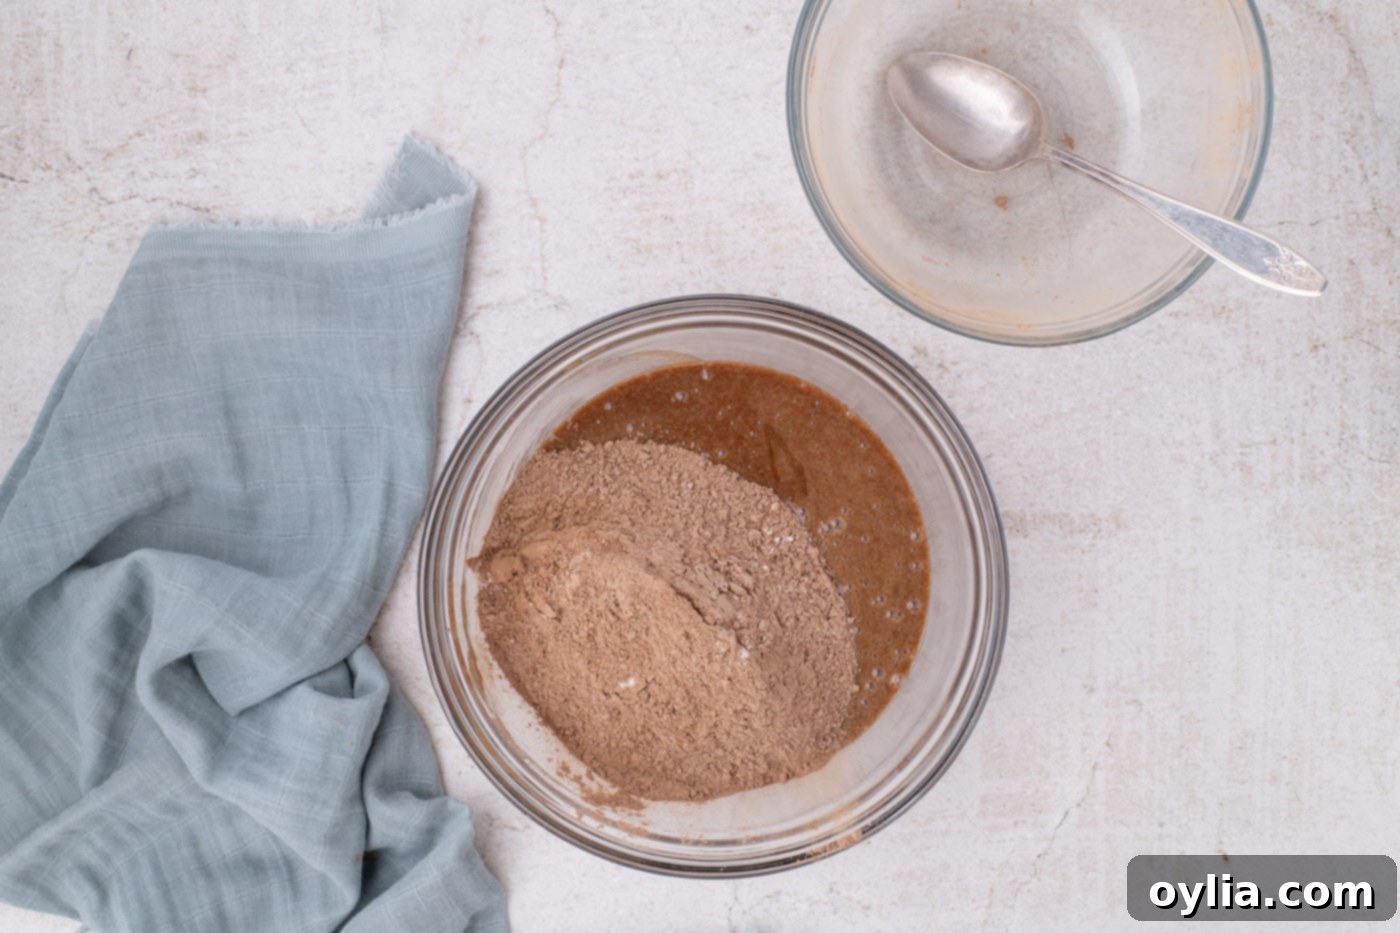
- Combine Wet and Dry: Gently add the sifted flour mixture to the wet ingredients. Using a soft silicone spatula, stir until just combined. Be careful not to overmix the batter; overmixing can develop the gluten in the flour too much, resulting in tougher, more cake-like, and less fudgy brownies. Stir only until no streaks of dry ingredients remain – a few small lumps are fine.

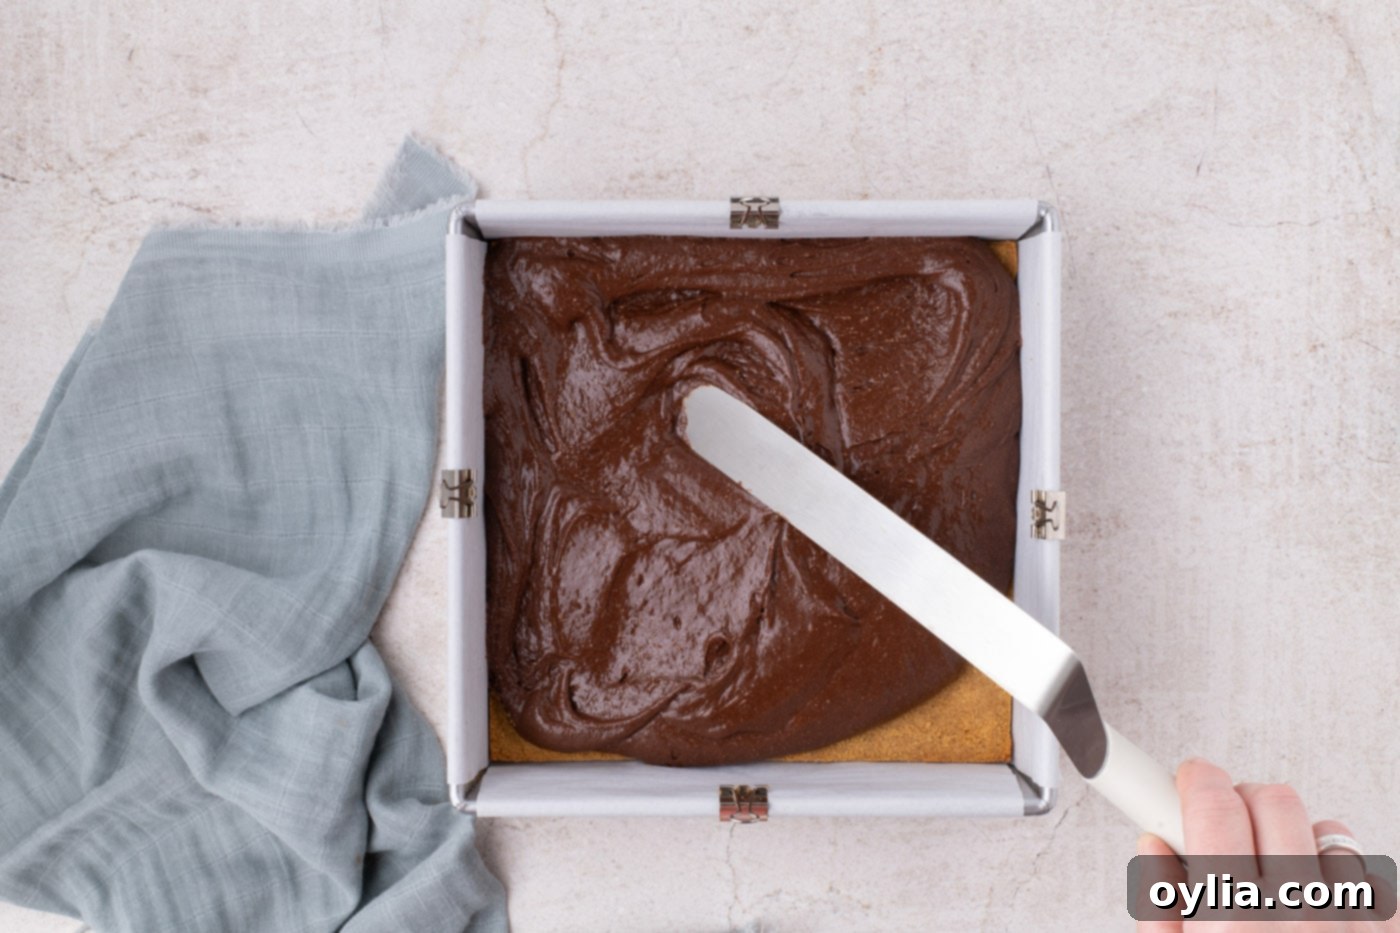
- Bake the Brownie Layer: Gently pour the luscious brownie batter over the cooled graham cracker base in the prepared pan. Spread it evenly using your spatula, ensuring it reaches all corners. Bake for approximately 25 minutes. To check for doneness, insert a toothpick into the center of the brownies. It should come out with a few moist crumbs attached, but not wet batter. This indicates a perfectly fudgy brownie interior. If it comes out completely clean, your brownies might be overbaked and dry.
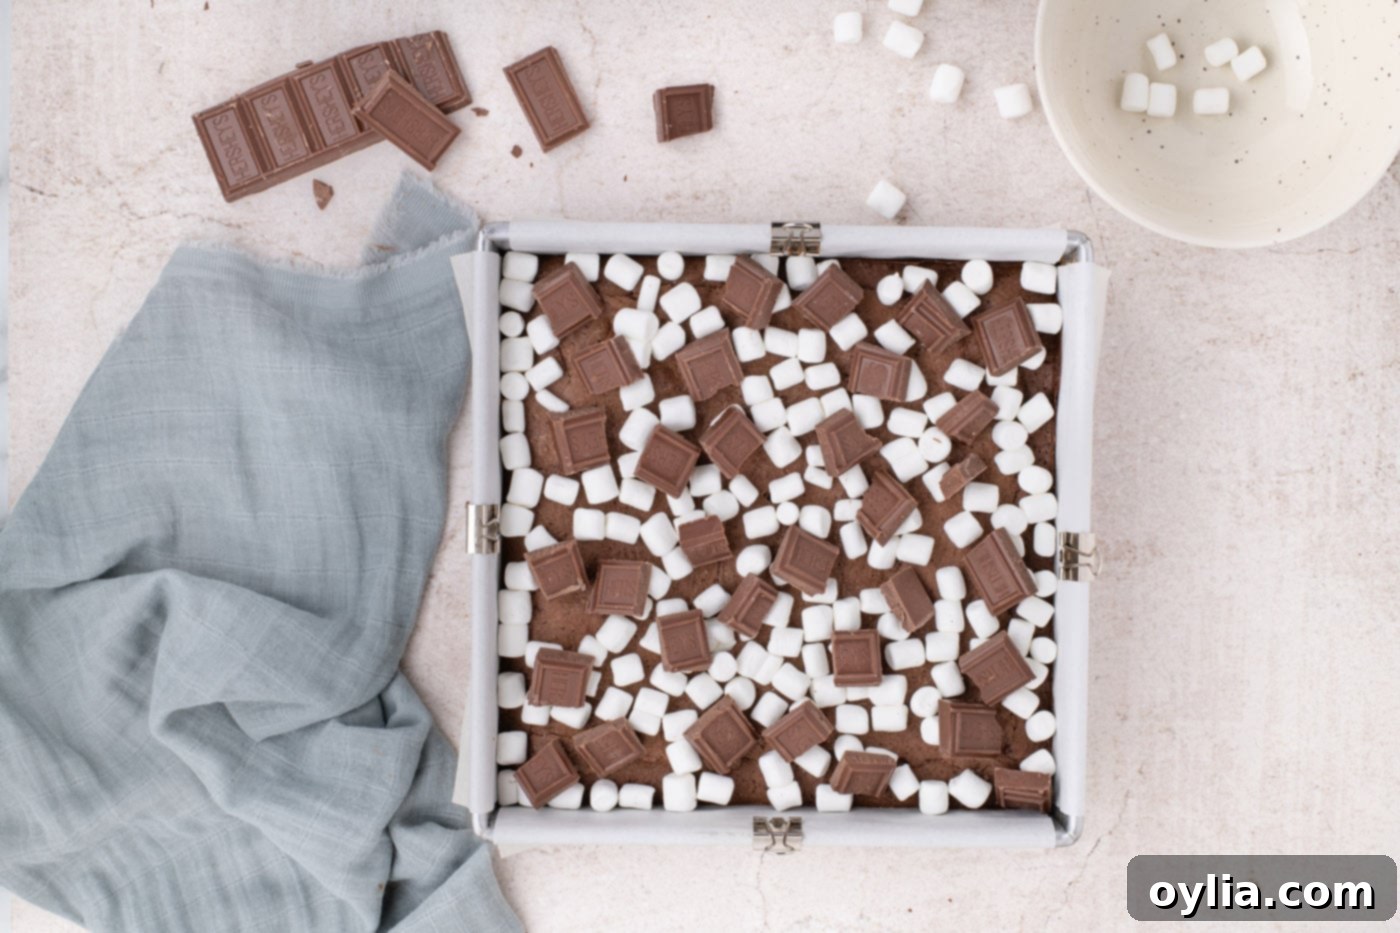
- Add S’mores Topping: Once the brownie layer is baked, remove the pan from the oven. Immediately and generously sprinkle the top with mini marshmallows and the broken pieces of Hershey’s chocolate bar. Work quickly while the brownies are still hot, as this helps the toppings adhere and the chocolate begin to melt from the residual heat.

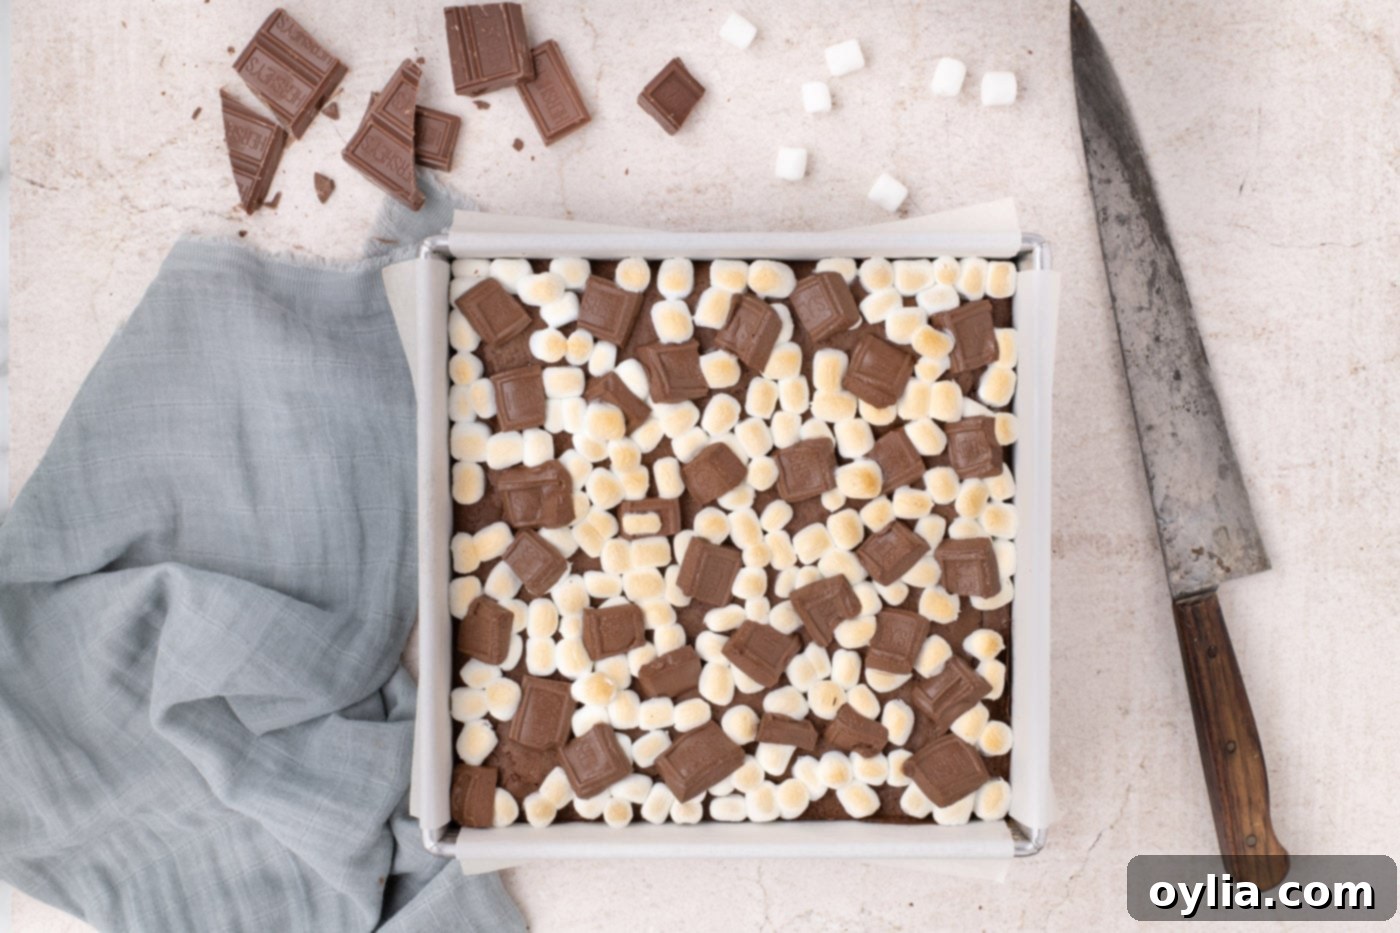
- Broil for Golden Perfection: Adjust your oven rack to the upper third of the oven. Change the oven setting to broil (or grill). Carefully return the baking pan to the oven and broil the marshmallows until they turn a beautiful golden brown and the chocolate pieces have melted and become slightly gooey. This typically takes only 3-5 minutes, but watch it very closely! Marshmallows can go from perfectly toasted to burnt in seconds. Keep the oven door slightly ajar if your oven heats intensely or rotate the pan if you notice uneven browning.

- Cool Completely: Remove the pan from the oven. Allow the s’mores brownies to cool on a wire rack for at least 45 minutes. This cooling time is crucial for the brownies to set properly, ensuring they are firm enough to cut and preventing a crumbly, sticky mess. Once cooled sufficiently, use the parchment paper sling to carefully lift the entire slab of brownies out of the pan.
- Slice and Serve: Let the brownies cool for an additional 15 minutes (or even longer, they’ll be cleaner to cut when fully cooled, ideally chilled for 30-60 minutes in the refrigerator) before cutting them into individual squares. For the cleanest cuts, refer to our expert tips below!
Frequently Asked Questions & Expert Tips for S’mores Brownies Success
Due to their delightfully gooey and sticky marshmallow topping, s’mores brownies are best stored in a single layer in an airtight container. This prevents them from sticking together and helps maintain their freshness. It’s highly recommended to store them in the refrigerator, as the cooler temperature helps to firm up the marshmallows and prevent excessive stickiness. When stored properly, they will retain their best quality for up to 5 days. For optimal enjoyment, you can gently warm them in the microwave for a few seconds before serving to bring back that melty, gooey texture, tasting just like they were freshly baked.
Slicing through sticky marshmallow and fudge brownie can be tricky, but a few expert tips will ensure beautifully clean cuts every time. First and foremost, make sure the brownies are completely cooled – ideally chilled in the refrigerator for at least 30 minutes, or even longer, before attempting to cut them. For the cleanest edges, use your sharpest, longest knife (a large chef’s knife or a serrated knife works exceptionally well). Before each cut, grease your knife with a little unsalted butter or a neutral vegetable oil. Wipe the knife clean with a damp cloth or paper towel between cuts to remove any sticky residue. Press down firmly and steadily through the layers in one swift motion, rather than sawing back and forth. This method will help prevent the marshmallows from dragging and tearing the brownie layers, resulting in perfect squares.
Absolutely! These s’mores brownies freeze remarkably well, making them an excellent make-ahead dessert or a way to enjoy a treat whenever a craving strikes. To prevent the marshmallows from sticking to the foil or other brownies, I highly recommend slicing them into individual squares first. Then, arrange the individual brownies on a baking sheet lined with parchment paper and flash-freeze them for about an hour, or until they are completely solid. Once solid, wrap each brownie individually in aluminum foil, then transfer the wrapped brownies into a large freezer-safe zip-top bag or an airtight container. This double layer of protection helps prevent freezer burn. They can be frozen for up to 3 months. When you’re ready to enjoy them, simply remove the desired number of brownies from the freezer, unwrap them, and thaw them at room temperature for an hour or two. You can also gently warm them in a microwave for a few seconds for that freshly baked, gooey experience.
While classic Hershey’s milk chocolate bars are traditional for s’mores and highly recommended for their authentic flavor and perfect melt, you can certainly experiment! Milk chocolate chips, chopped dark chocolate bars (for a less sweet profile), white chocolate chips, or even peanut butter chips could add a delightful twist. The key is to use chocolate that melts easily and adds that rich, creamy chocolate layer. You could even drizzle a bit of high-quality chocolate syrup on top after broiling for an extra layer of indulgence!
Broiling marshmallows requires your undivided attention! Ovens vary significantly, and the broiler element is very intense, so it’s crucial to stand by the oven and watch them continuously. The transformation from soft to golden-brown to burnt happens in a matter of seconds. Keep the oven door slightly ajar if your broiler is very strong, and rotate the pan halfway through if you notice uneven browning. Aim for a beautiful golden-brown color, not black. If you’re nervous or prefer more control, you can use a kitchen torch to toast the marshmallows after removing the brownies from the oven.
Serving Suggestions for Your S’mores Brownies
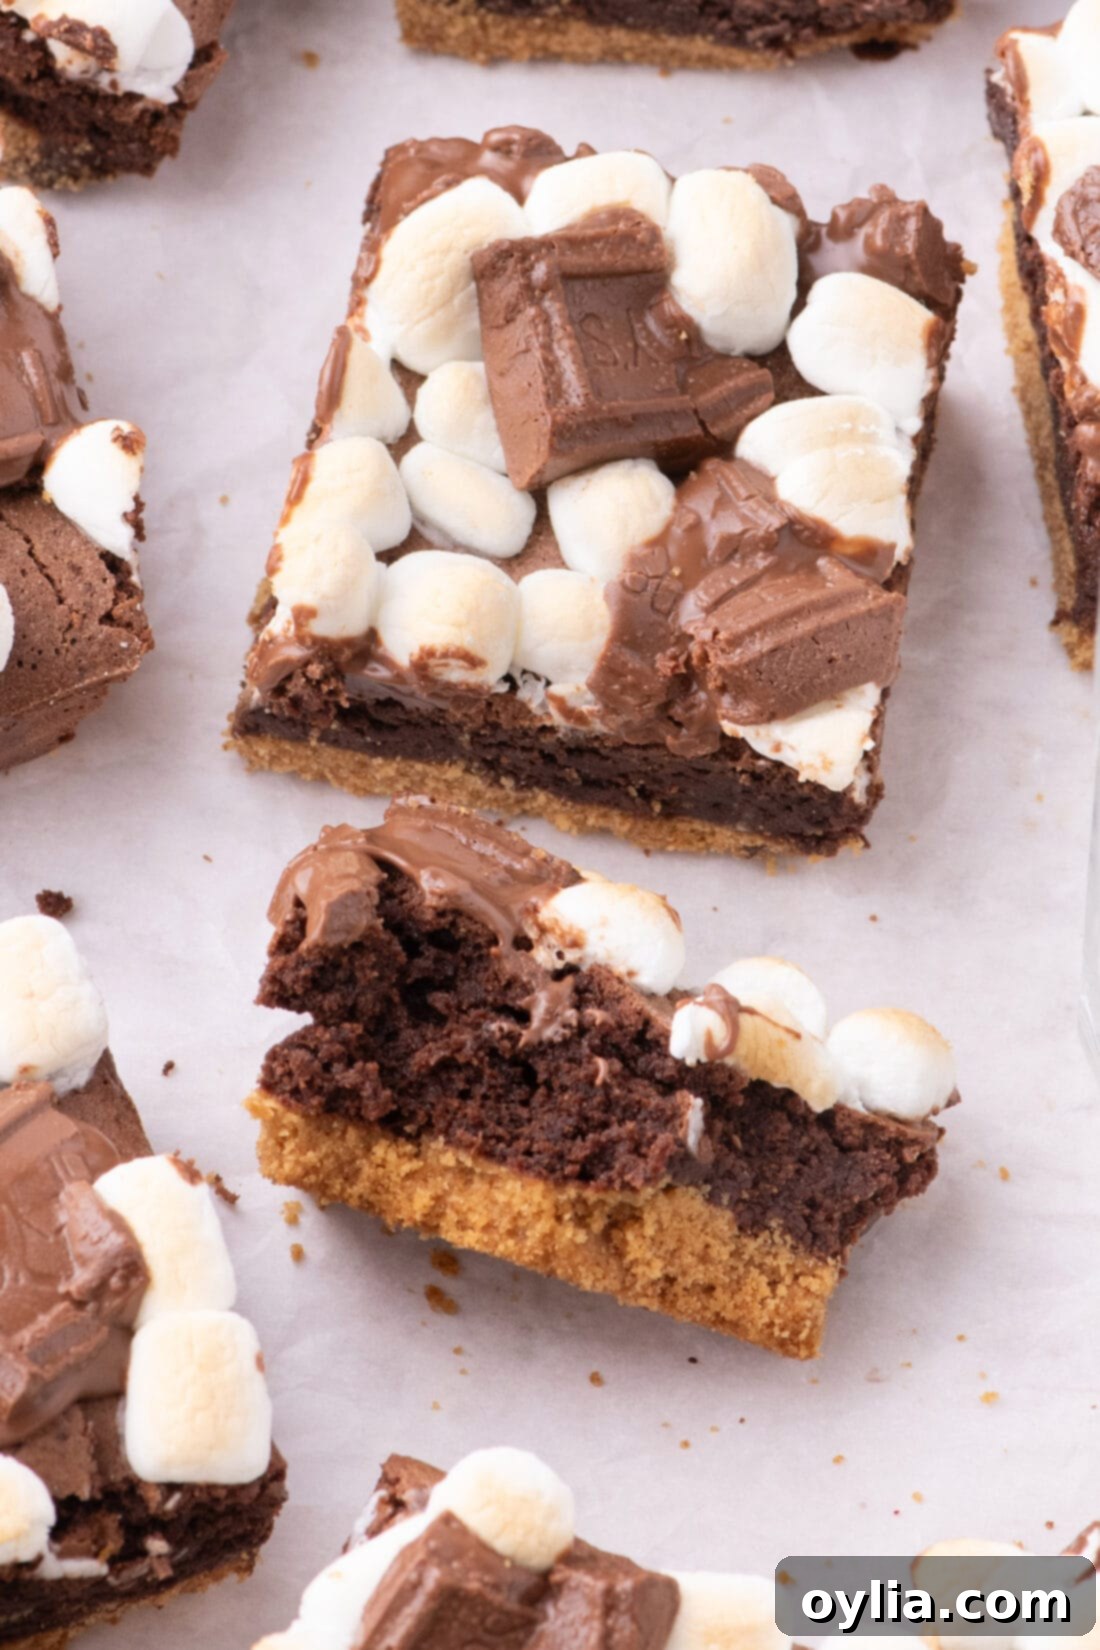
These s’mores brownies are undeniably delicious on their own, especially when served slightly warm, allowing the marshmallows to be extra gooey and the chocolate wonderfully melty. For an ultimate, indulgent treat, consider serving them with a generous scoop of premium vanilla bean ice cream – the cold, creamy ice cream is a perfect contrast to the warm, decadent brownie. A drizzle of additional chocolate syrup, a sprinkle of flaky sea salt (to enhance the chocolate flavor), or a dollop of whipped cream could also elevate the experience. They are fantastic for any gathering, from casual backyard BBQs to elegant dessert tables and cozy family nights. Given their universal appeal and how quickly they tend to disappear, you might even want to consider making two batches!
Creative Variations to Elevate Your S’mores Brownies
While the classic s’mores brownie recipe is a masterpiece in itself, don’t hesitate to get creative and experiment with these delicious variations to customize your treat:
- Different Chocolate Types: Instead of or in addition to Hershey’s milk chocolate for the topping, try dark chocolate chunks for a more intense cocoa flavor, white chocolate chips for extra sweetness, or even peanut butter chips for a delightful nutty twist. You can also mix different types of chocolate in the brownie batter itself.
- Add Nuts: For those who love a bit of crunch, fold chopped walnuts, pecans, or even roasted almonds into the brownie batter before baking. They add a wonderful texture and complementary flavor.
- Salted Caramel Drizzle: A light drizzle of homemade salted caramel sauce over the top after the brownies have cooled slightly would be an incredible addition, marrying sweet and savory notes.
- Espresso Powder Boost: To really enhance the chocolate flavor of the brownies without adding a coffee taste, add 1-2 teaspoons of instant espresso powder or finely ground coffee to the dry ingredients. It deepens the cocoa.
- Holiday Twist: During the holidays, swap out regular chocolate for crushed peppermint bark pieces on top for a festive, minty s’mores brownie. You could also add a touch of cinnamon to the brownie batter.
- Spiced Graham Crackers: Use cinnamon graham crackers for the crust instead of honey for an extra layer of warmth and spice.
Craving More S’mores? Explore These Delicious Recipes!
If you’ve fallen in love with the iconic s’mores flavor profile, you’re in luck! There are countless ways to enjoy this classic combination of graham crackers, chocolate, and toasted marshmallows. Here are some other fantastic s’mores-inspired recipes to satisfy your sweet tooth and keep the campfire spirit alive:
- S’mores Dip: A wonderfully communal dessert, perfect for sharing! Dip graham crackers, fruit, or cookies into a warm, gooey marshmallow and chocolate blend.
- S’mores Bars: Similar to these brownies but often with a slightly different base or layering, offering another take on the convenient, portable s’mores treat.
- Frozen S’mores: A cool and refreshing dessert that captures the s’mores essence in a delightful chilled form, perfect for hot summer days or a unique twist.
- S’mores Cookies: All the irresistible flavors of s’mores baked into a soft, chewy cookie form, complete with melty chocolate and gooey marshmallow.
- S’mores Cupcakes: Moist chocolate cupcakes topped with a decadent toasted marshmallow frosting, often garnished with graham cracker crumbs or chocolate shavings.
I absolutely adore creating and sharing my kitchen adventures with all of you! To make sure you never miss a new, delicious recipe, I offer a convenient newsletter delivered straight to your inbox every time a new post goes live. Simply subscribe here and start receiving your free daily recipes – a little dose of culinary inspiration each day!
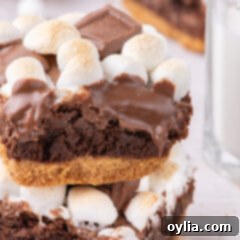
S’mores Brownies
IMPORTANT – Don’t miss the detailed Frequently Asked Questions and Expert Tips section earlier in the blog post for invaluable advice to perfect your brownies!
Print It
Pin It
Rate It
Save ItSaved!
Ingredients
- 16 graham cracker sheets
- 1 cup unsalted butter divided
- ¾ cup all purpose flour
- ¾ cup unsweetened cocoa powder
- ½ teaspoon salt
- ⅓ cup semi-sweet chocolate chips
- 3 large eggs
- 1 ¾ cup granulated sugar
- 2 teaspoons vanilla extract
- 1 ¼ cup mini marshmallows
- 7.56 ounce Hershey’s chocolate bar broken into pieces
Essential Equipment You’ll Need
-
9×9 baking pan (or similar size for thicker/thinner brownies)
-
Parchment paper (essential for easy removal)
-
Food processor (or a sturdy zip-top bag and rolling pin)
-
Mixing bowls (at least two: one for dry, one for wet ingredients)
-
Whisk
-
Silicone spatula
-
Wire rack
Before You Begin: Key Tips for Success
- If you don’t have a food processor, effortlessly crush your graham cracker sheets by placing them in a gallon-sized zip-top bag and using a rolling pin or the bottom of a heavy skillet to finely crush them. Ensure the crumbs are as fine as possible for a compact, even crust.
- Sifting your dry ingredients (flour, cocoa powder, and salt) is a quick step that significantly improves your brownies. It helps remove any lumps and aerates the mixture, resulting in a smoother batter and preventing dry, unmixed pockets in your finished brownies.
- For an extra layer of texture and visual appeal, consider scattering a few small chunks of graham crackers on top of the brownies along with the marshmallows and chocolate before broiling. This adds another element of the classic s’mores experience.
Instructions
-
Preheat your oven to 350° F (175° C). Prepare a 9×9-inch baking pan by lining it with parchment paper, ensuring the paper extends generously over the sides to create a convenient sling for easy removal later.
-
In a food processor, pulse the graham cracker sheets until they form fine, sand-like crumbs (approximately 2 cups). With the processor running, slowly drizzle in ½ cup of melted unsalted butter and continue pulsing until the mixture is well combined and moist.
-
Press the graham cracker mixture firmly and evenly into the bottom of the prepared baking pan. Bake for 10 minutes, or until the crust is golden. Remove from the oven and allow to cool completely on a wire rack while you prepare the brownie batter.
-
In a medium bowl, sift together the ¾ cup all-purpose flour, ¾ cup unsweetened cocoa powder, and ½ teaspoon salt. Set aside.
-
In a large mixing bowl, combine the remaining melted butter and ⅓ cup semi-sweet chocolate chips. Let stand for 3-5 minutes to allow the chocolate to soften, then stir until smooth and fully melted.
-
Whisk in the 3 large eggs, 1 ¾ cup granulated sugar, and 2 teaspoons vanilla extract into the chocolate mixture until well combined and slightly lightened in color.
-
Add the sifted flour mixture to the wet ingredients. Using a soft silicone spatula, stir gently until just combined and no dry streaks remain. Be careful not to overmix.
-
Carefully pour the brownie batter over the cooled graham cracker base, spreading it evenly. Bake for 25 minutes. To check for doneness, insert a toothpick into the center; it should come out with a few moist crumbs attached.
-
Remove the brownies from the oven. Immediately and evenly sprinkle the top with 1 ¼ cup mini marshmallows and the broken 7.56-ounce Hershey’s chocolate bar pieces.
-
Move the oven rack to the upper third position and set your oven to broil (or grill). Return the baking pan to the oven and broil for 3-5 minutes, watching constantly, until the marshmallows are golden brown and the chocolate has melted.
-
Allow the s’mores brownies to cool on a wire rack for at least 45 minutes before using the parchment sling to carefully lift them out of the pan.
-
For the cleanest cuts, let the brownies cool for an additional 15 minutes (or longer, even chilling them in the refrigerator for 30-60 minutes) before slicing into individual squares. Enjoy!
More Essential Tips for Perfect S’mores Brownies
- Don’t Overmix the Brownie Batter: Overmixing develops gluten, which can lead to tough, cakey brownies rather than the desired fudgy texture. Stir just until the dry ingredients are incorporated and no streaks of flour remain.
- Use Room Temperature Eggs: This helps the eggs incorporate more smoothly and evenly into the batter, leading to a better emulsion and a more uniform, superior brownie texture.
- Adjust Sweetness: If you prefer a less sweet dessert, you can slightly reduce the granulated sugar in the brownie batter by ¼ cup, but be aware this may slightly alter the brownie’s texture. Alternatively, opt for dark chocolate chips in the brownie and on top for a richer, less sweet profile.
- Customizing the Crust: While traditional honey graham crackers are classic, you could also experiment with crushed digestive biscuits or even chocolate sandwich cookies (like Oreos) for a different crust flavor and color.
