Irresistibly Chewy Butterscotch Brownies: The Ultimate Easy Recipe with Browned Butter & Toasted Pecans
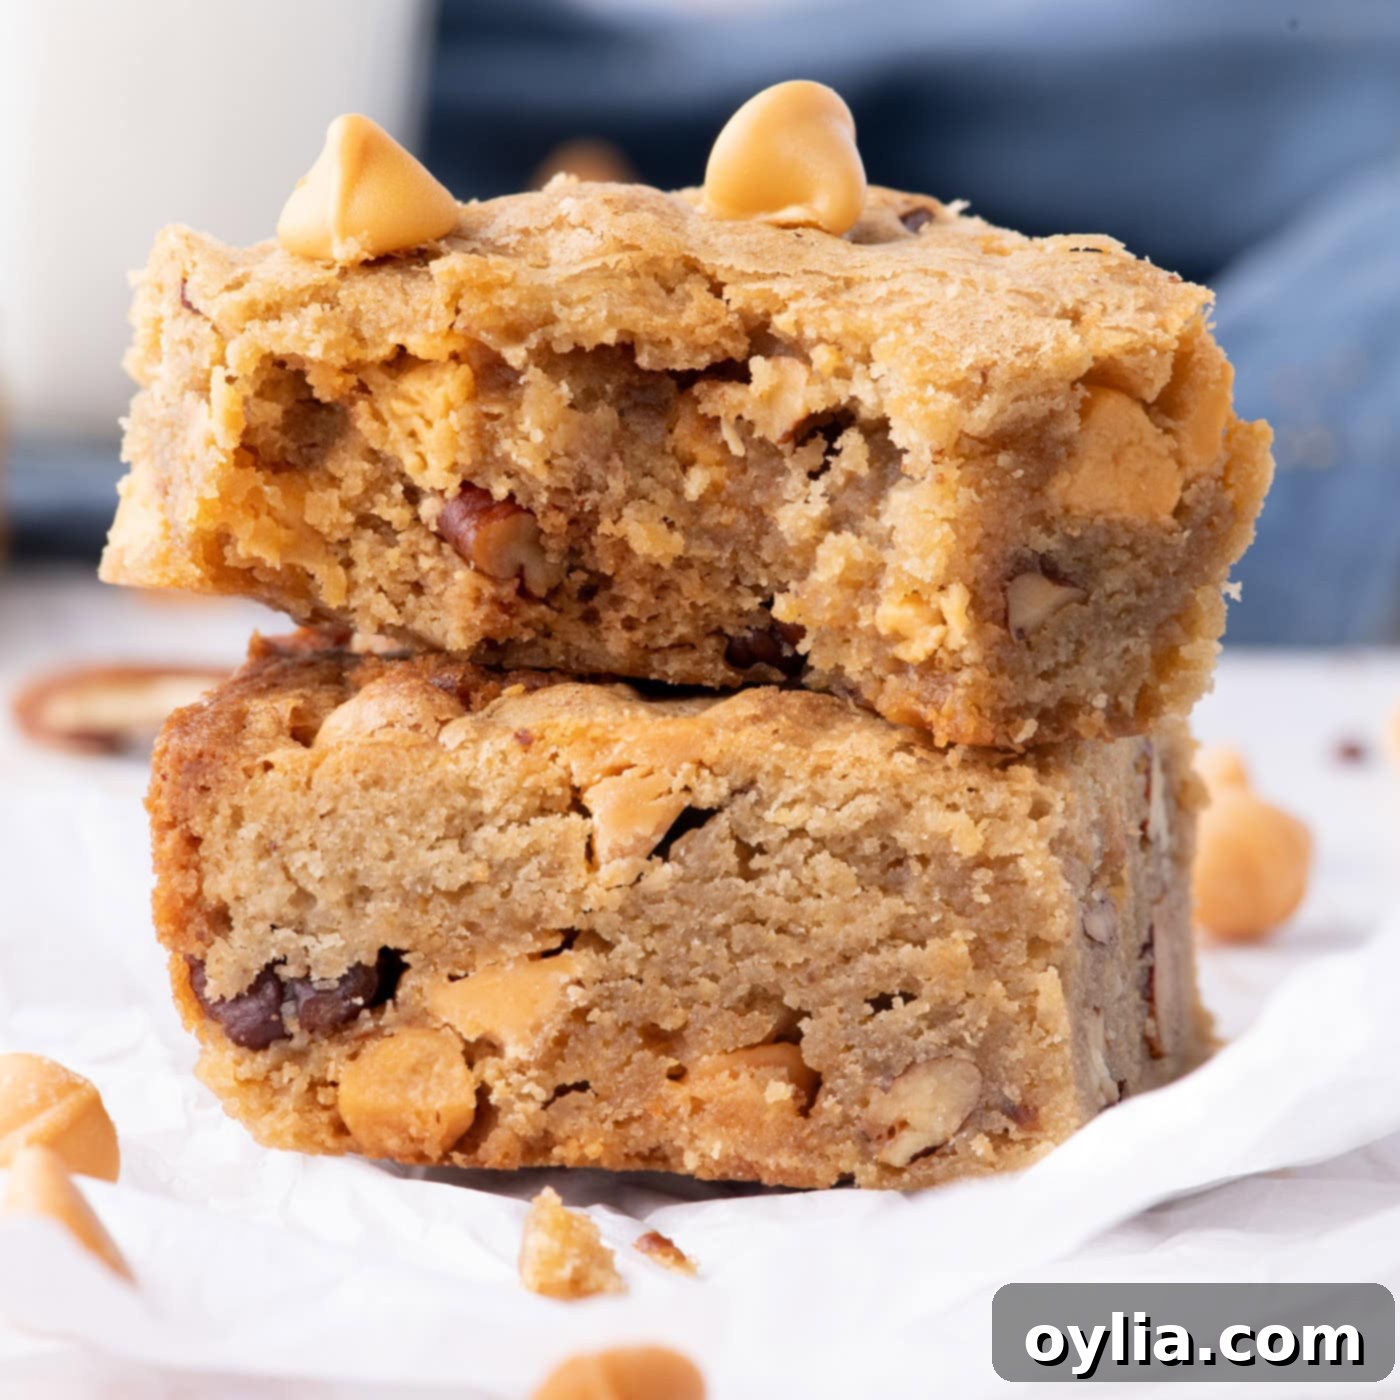
Prepare to fall in love with these incredibly chewy and soft butterscotch brownies! Each bite offers a delightful medley of sweet butterscotch chips, crunchy toasted pecans, and a rich, deep flavor imparted by a meticulously browned butter batter. This easy-to-follow recipe promises golden edges and a perfectly gooey center, making it a dessert that’s sure to impress with minimal effort.
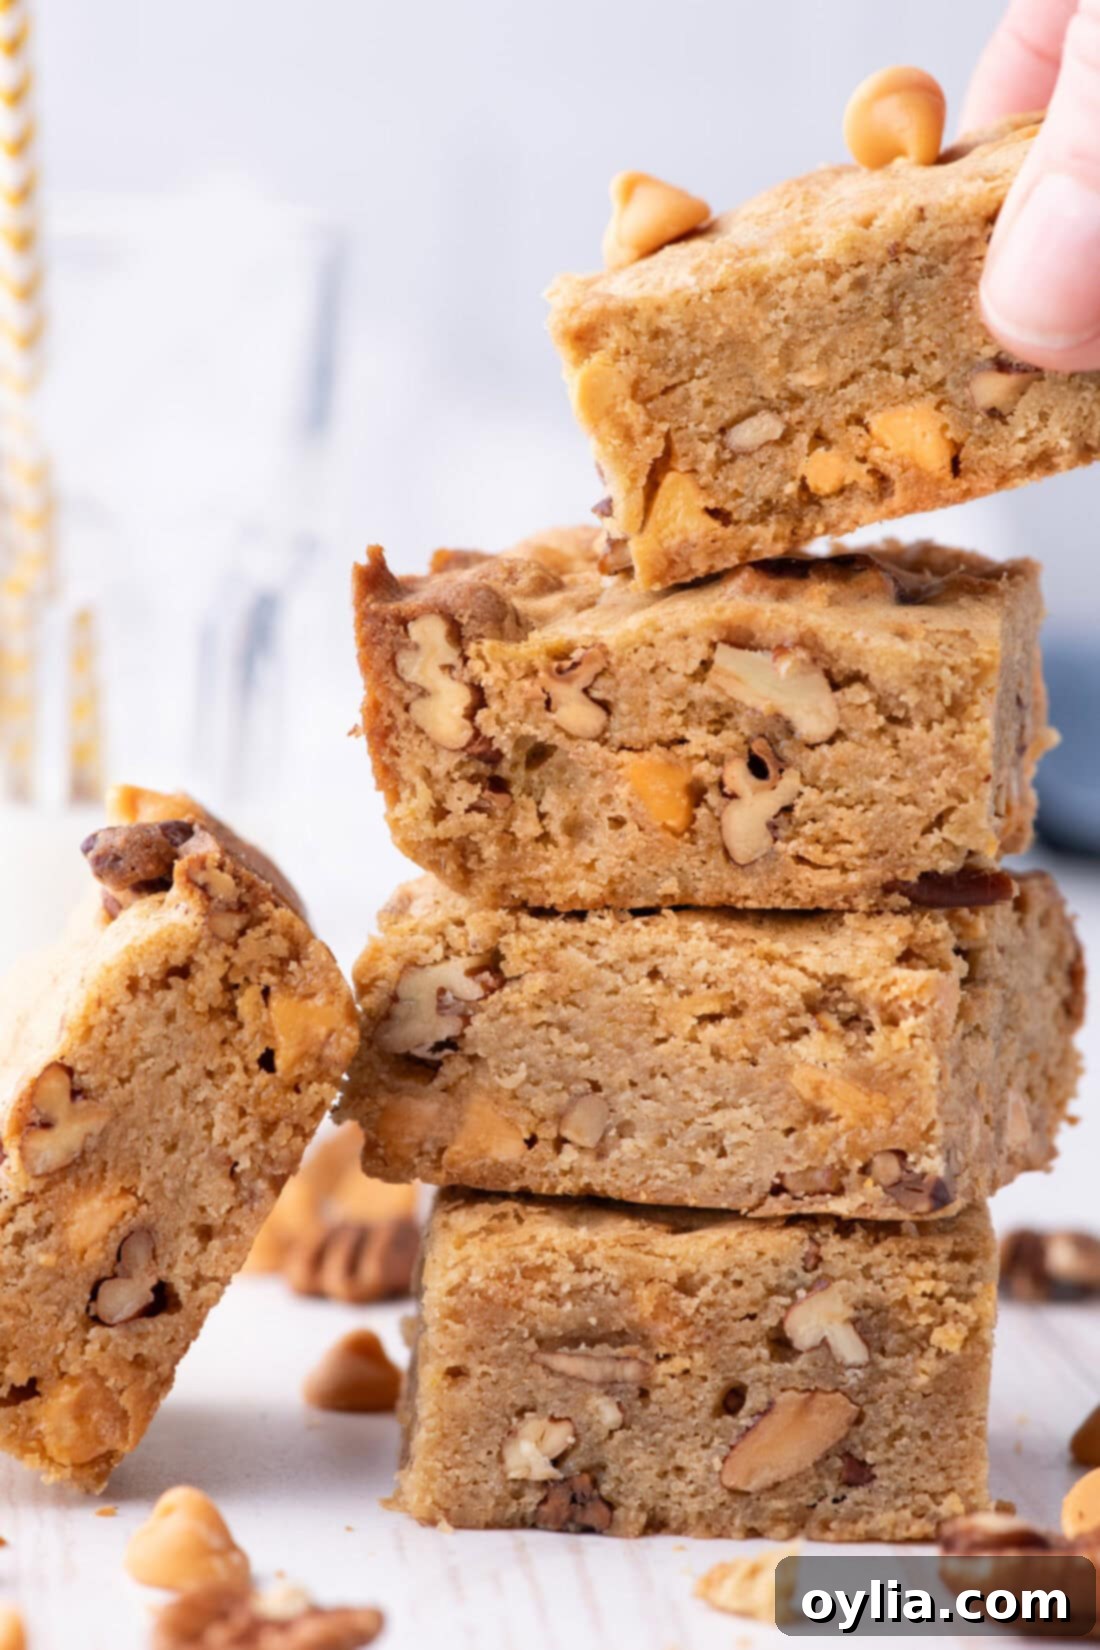
Why This Butterscotch Brownie Recipe Stands Out
Whether you prefer to call them butterscotch brownies or butterscotch blondies, one thing is undeniable: they are absolutely sensational. This recipe creates a dessert with a truly remarkable texture – a sumptuously chewy and soft interior that melts in your mouth, perfectly contrasted by delightfully crispy, golden-brown edges. The magic truly happens with every single bite, which bursts with the distinctive, sweet, and slightly caramelized notes of butterscotch.
Our butterscotch brownies draw inspiration from classic blondie recipes, but elevate the flavor profile significantly through the use of a rich browned butter base. This simple yet transformative technique adds an incredible depth of nutty, toffee-like flavor that pairs exquisitely with the butterscotch chips and toasted chopped pecans. We affectionately call them “brownies” because their dense, fudgy-like chewiness is more akin to a traditional brownie than the typically cake-like texture of a blondie. Regardless of the name, these bars are guaranteed to be an amazing treat that will disappear quickly!
What makes this specific recipe a winner? It’s the thoughtful combination of ingredients and techniques:
- Browned Butter Base: This isn’t just melted butter; it’s butter slowly cooked until golden brown, developing a complex, nutty aroma and flavor that acts as the backbone of these brownies. This step is crucial and provides an unparalleled richness.
- Perfect Texture Balance: We aim for that ideal chewy, soft center without being undercooked, alongside beautifully crisp edges that add a textural counterpoint.
- Signature Flavors: Premium butterscotch chips provide that classic, nostalgic sweet and buttery taste, while toasted pecans introduce a layer of earthy crunch and depth that complements the butterscotch perfectly.
- Simplicity: Despite the gourmet results, this recipe is incredibly straightforward and doesn’t require any fancy equipment or advanced baking skills. It’s perfect for both seasoned bakers and beginners alike.
Essential Ingredients for Perfect Butterscotch Brownies
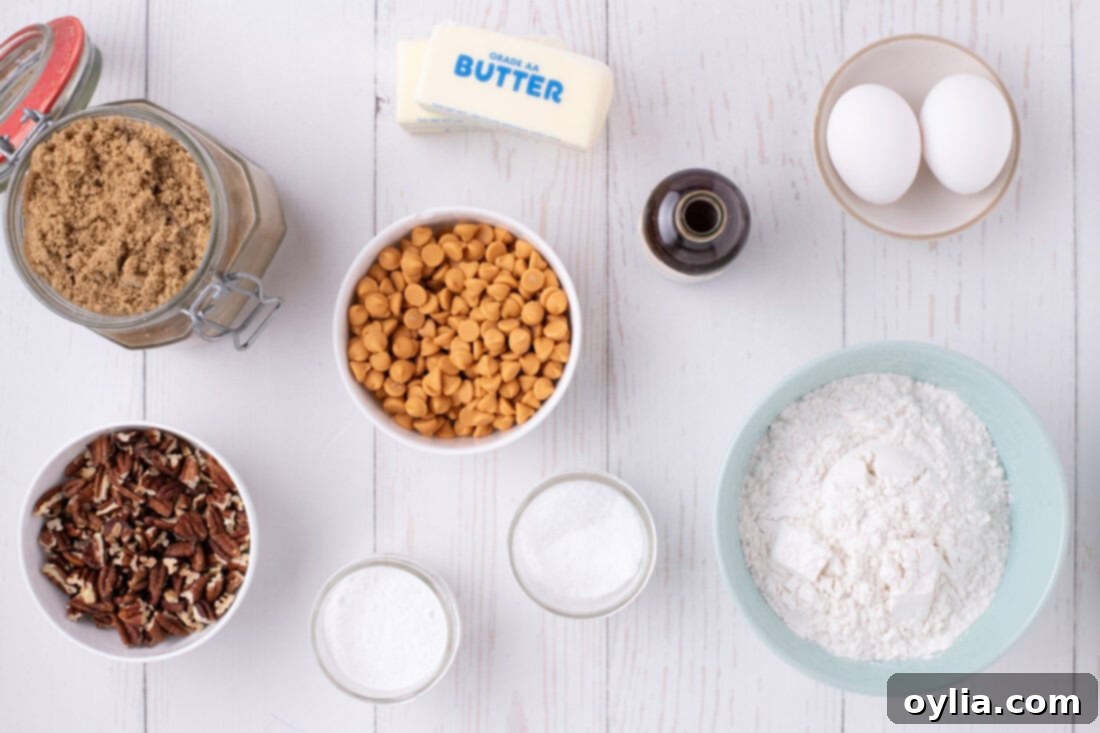
To create these delectable butterscotch brownies, you’ll need a selection of common pantry staples, enhanced by a few key flavor powerhouses. Remember, the quality of your ingredients directly impacts the final taste and texture of your baked goods. For exact measurements, please refer to the printable recipe card at the very end of this post.
Ingredient Information and Smart Substitutions
Understanding each ingredient’s role and knowing suitable alternatives can help you customize this recipe to your liking or dietary needs.
BUTTERSCOTCH CHIPS: These golden morsels are the star of the show, providing the signature sweet, caramel-like flavor. We highly recommend sticking to butterscotch chips for the most authentic taste. However, if you’re feeling adventurous or want to add another layer of flavor, consider substituting half of the butterscotch chips with white chocolate chips for a creamy sweetness, or semi-sweet chocolate chips for a classic “brookie” twist. This will add an extra dimension to your brownies!
NUTS: Toasted pecans are our preferred choice for this recipe. Toasting them beforehand enhances their natural nutty flavor, which beautifully complements the rich butterscotch. The crunch of the pecans also adds a fantastic textural contrast to the soft brownies. If pecans aren’t your favorite, feel free to substitute with chopped almonds for a slightly milder nutty flavor or walnuts for a more robust, earthy note. For those with nut allergies or simply preferring a nut-free version, you can easily omit the nuts entirely and replace them with an equal amount of additional butterscotch chips, or even some pretzels for a salty crunch.
BROWN SUGAR: This recipe specifically calls for dark brown sugar, and for good reason! The higher molasses content in dark brown sugar contributes to a deeper, richer, and more pronounced caramel-like flavor, as well as an incredibly moist and chewy texture. It also helps achieve that signature chewy characteristic. If you only have light brown sugar on hand, you can certainly use it, but be aware that the resulting brownies may have a slightly milder caramel flavor and a marginally less chewy texture. Both options yield delicious results, but dark brown sugar offers that extra “oomph.”
BUTTER: Unsalted butter is crucial for browning. Browning the butter adds a depth of nutty, toasted flavor that you simply can’t achieve with regular melted butter. This step elevates the entire dessert. Ensure it’s unsalted so you can control the overall saltiness of the recipe.
EGGS: Large eggs act as a binding agent and contribute to the rich, fudgy texture. Ensure they are at room temperature for better incorporation into the batter.
FLOUR, BAKING POWDER & SALT: All-purpose flour provides the structure. Baking powder gives a slight lift, ensuring the brownies aren’t too dense but still maintain their chewiness. Salt, especially when balanced with sweet ingredients, helps to enhance all the flavors and prevent the brownies from tasting overly sweet.
Step-by-Step Guide: How to Make Irresistible Butterscotch Brownies
These step-by-step photos and detailed instructions are provided to help you visualize each stage of making this delightful recipe. For a convenient printable version, complete with all measurements and instructions, simply Jump to Recipe at the bottom of this page.
- Prepare Your Baking Pan: First, preheat your oven to 350°F (175°C). Next, take an 8×8-inch baking pan and line it with two sheets of parchment paper. Arrange the parchment so that it extends over the sides of the pan, creating a “sling.” This clever trick will make it incredibly easy to lift the cooled brownies out of the pan without any sticking or breaking.
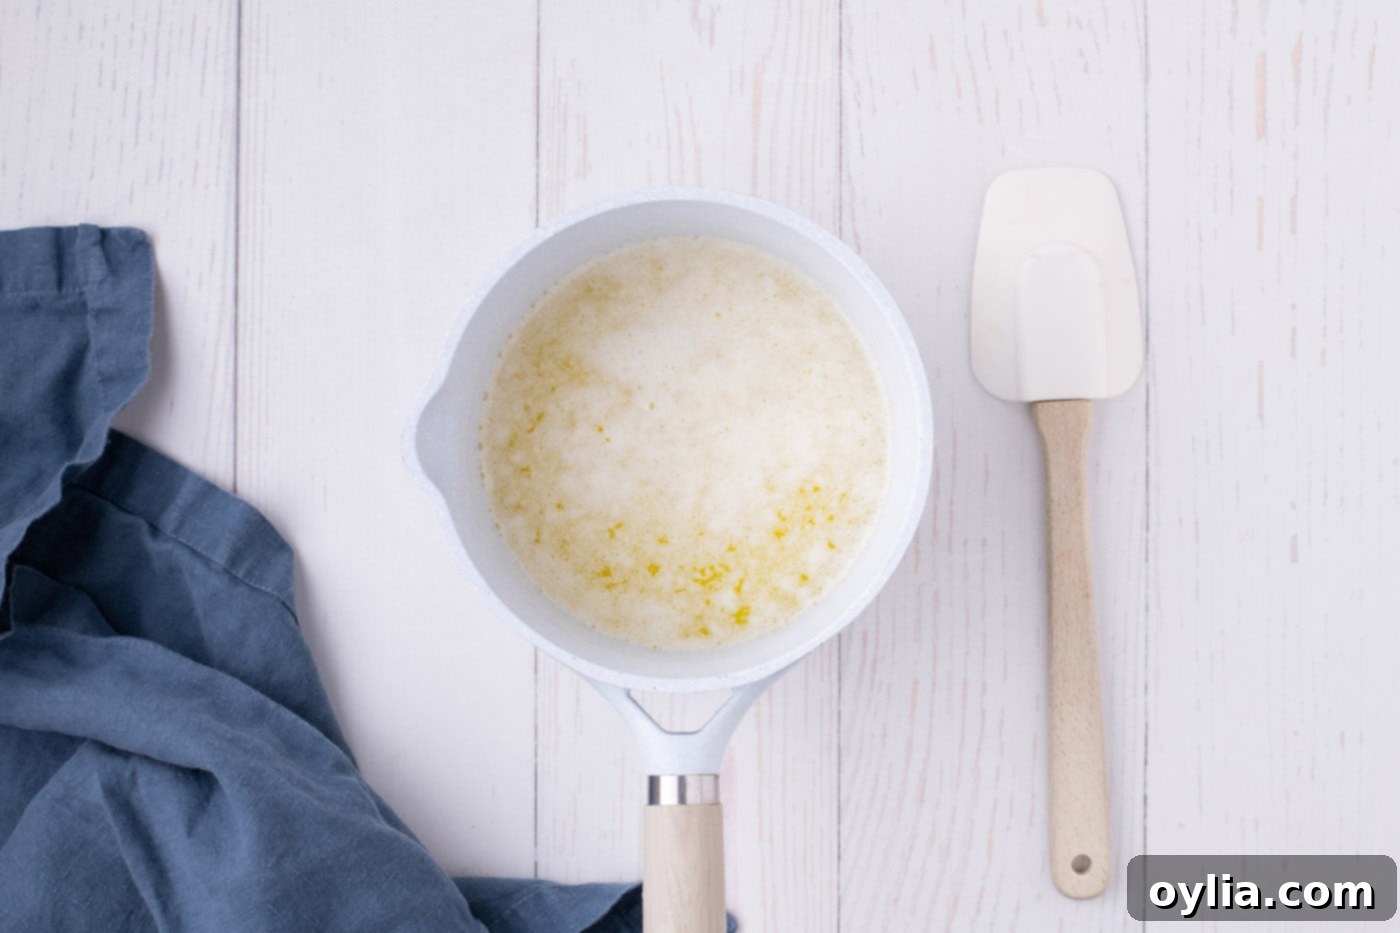
- Brown the Butter: In a small, light-colored saucepan (a light interior helps you monitor the browning process), melt the butter over medium heat. As the butter melts, it will begin to foam. Continuously stir with a soft silicone spatula, making sure to scrape any bits from the sides and bottom of the pan. This prevents burning and ensures even browning.

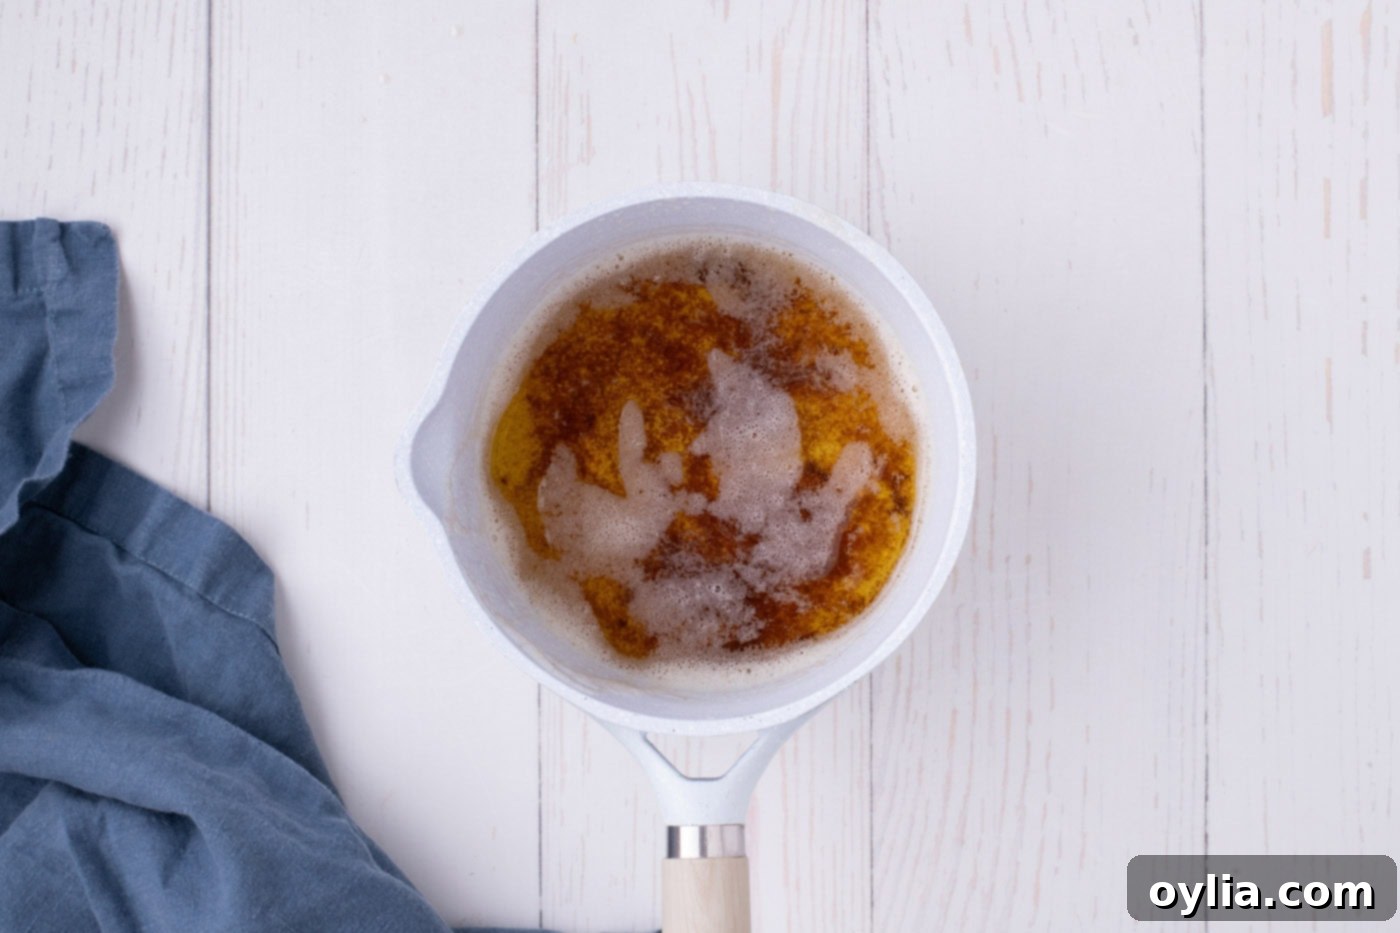
- Achieve Golden Brown: Continue stirring until the butter transforms into a beautiful medium golden brown color, with fragrant, nutty flecks at the bottom of the pan. This usually takes about 6-8 minutes. Immediately remove the saucepan from the heat and pour the browned butter (including all those flavorful brown bits!) into a large, heat-proof mixing bowl.
EXPERT TIP: Browning butter can go from perfect to burnt very quickly. To avoid burning, remove the saucepan from the heat at the very first sign of it turning a medium-golden color. The residual heat in the pan will continue the browning process until the butter is transferred to the cooler bowl. Keep a close eye and trust your nose – it should smell nutty, not acrid.

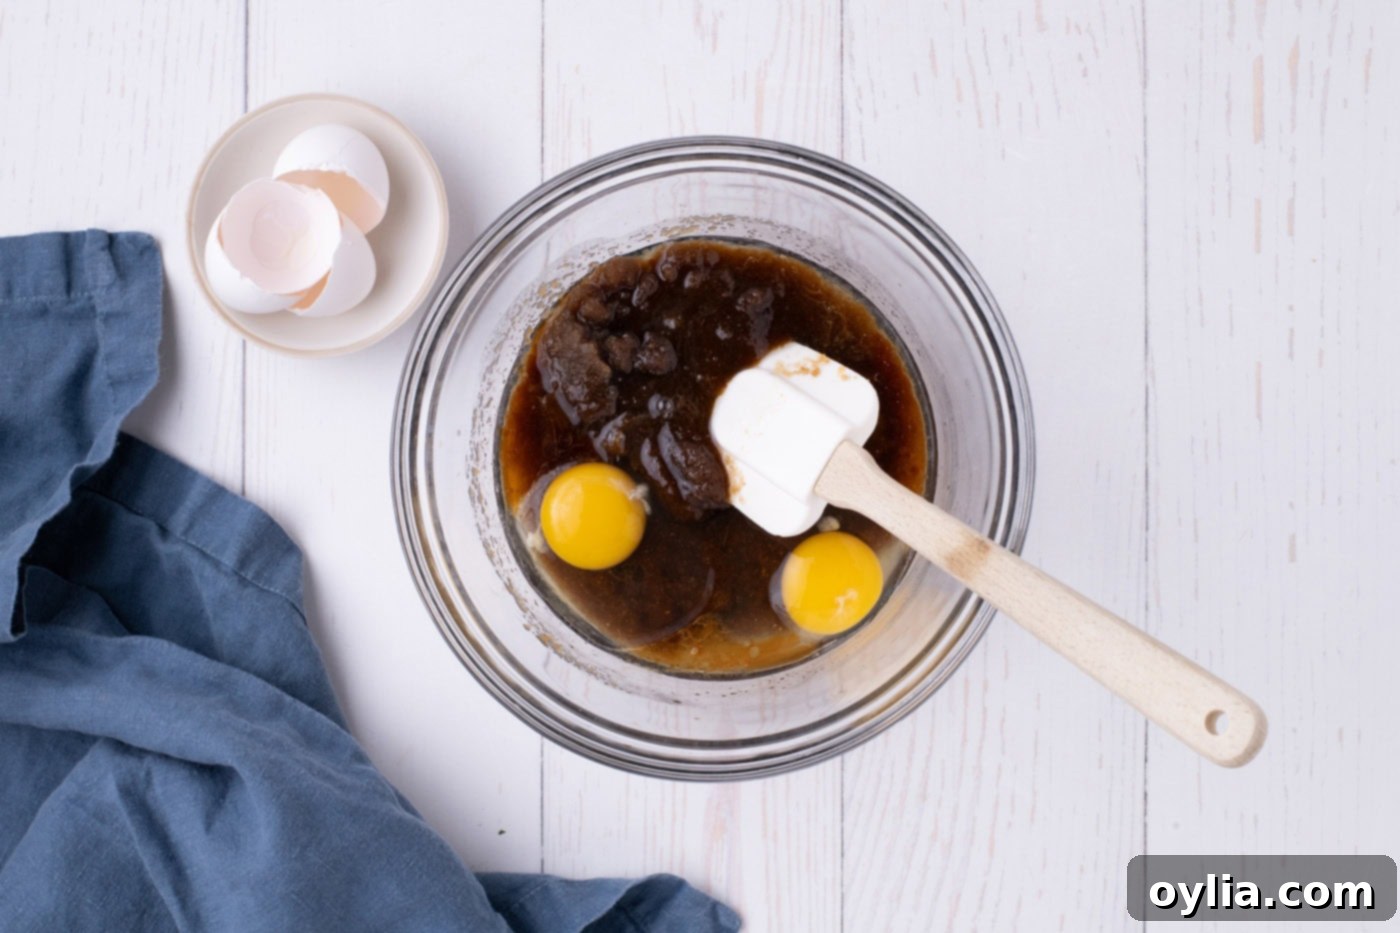
- Combine Wet Ingredients: To the browned butter, add the dark brown sugar and pure vanilla extract. Stir these ingredients together until they are well combined and the sugar starts to dissolve into the warm butter. Next, stir in the two large eggs. Mix just until incorporated.

- Whisk Dry Ingredients: In a separate, medium-sized bowl, whisk together the all-purpose flour, baking powder, and salt. Whisking ensures these dry ingredients are evenly distributed, preventing pockets of baking powder or salt in your finished brownies.
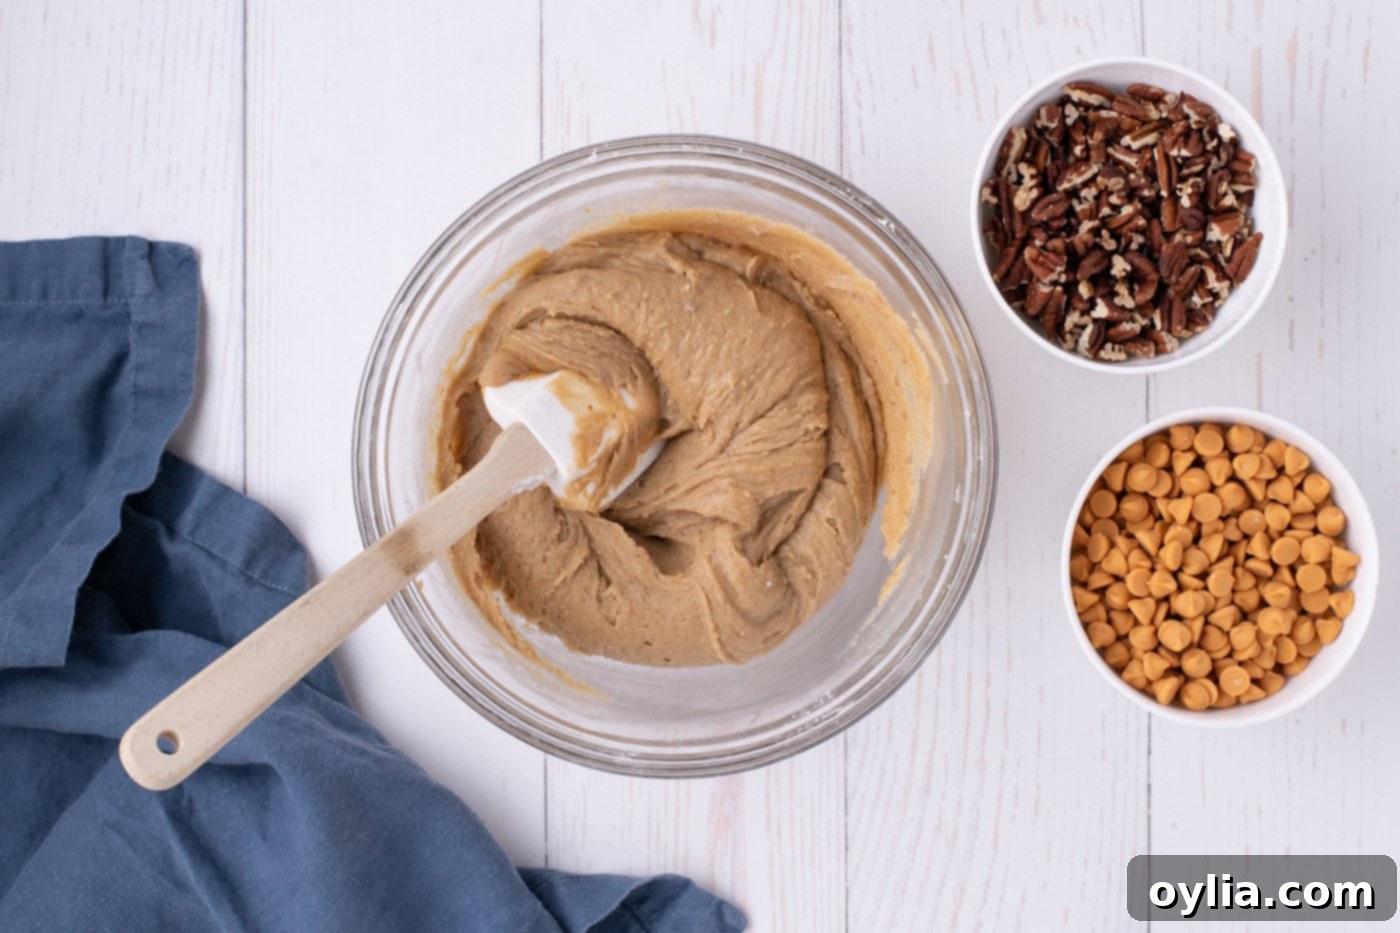
- Combine Wet and Dry: Gradually add the flour mixture to the butter/sugar mixture. Stir gently with your spatula or a wooden spoon until all the ingredients are just combined. Be careful not to overmix the batter; overmixing can develop the gluten in the flour, leading to tough brownies instead of soft, chewy ones.

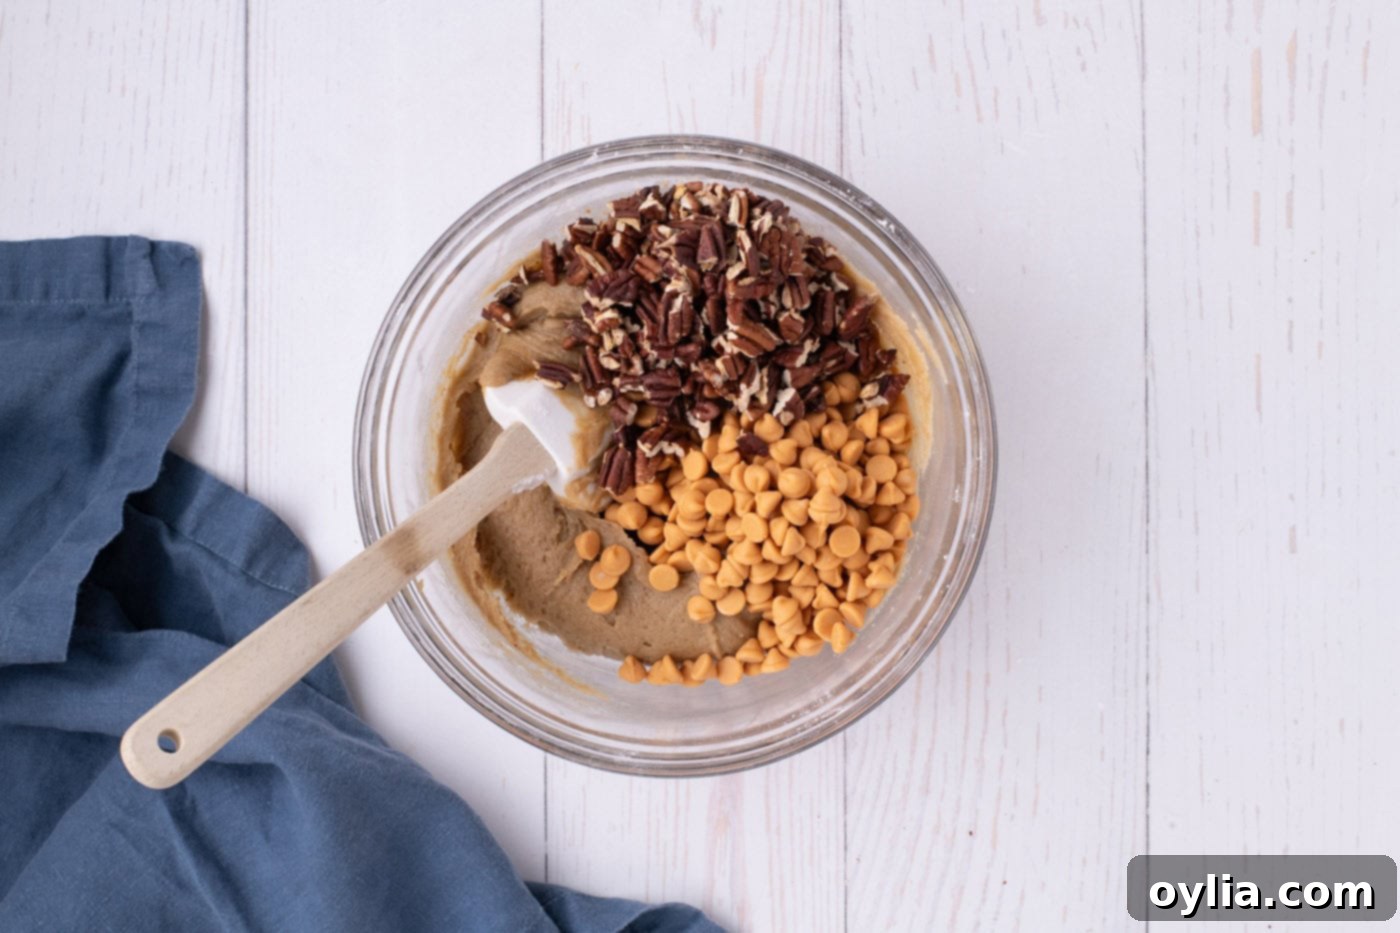
- Fold in Flavorful Add-ins: Gently fold in the toasted pecans and butterscotch chips. Distribute them evenly throughout the batter.

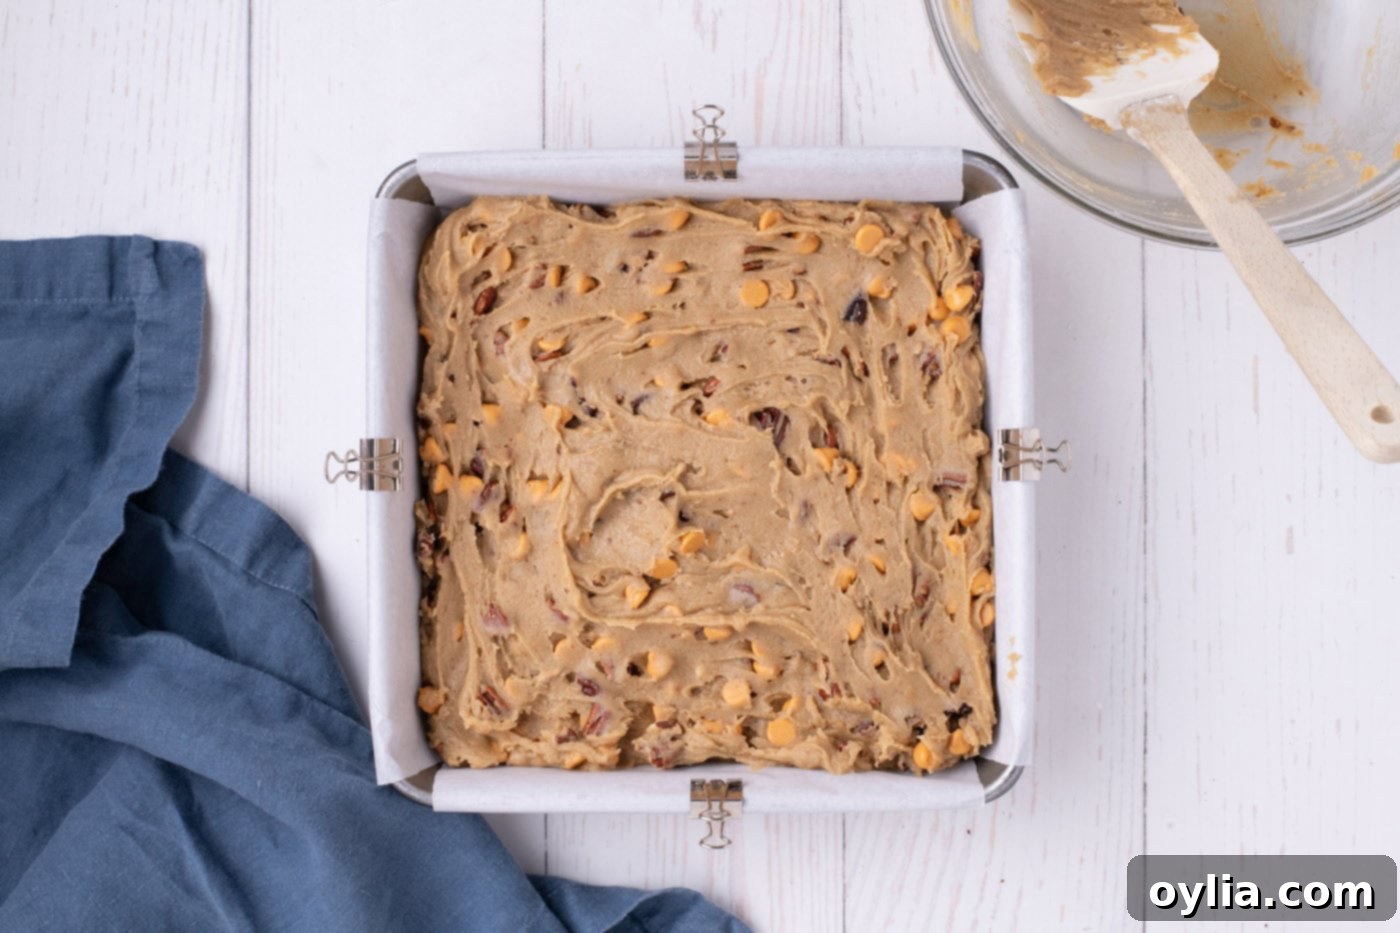
- Transfer to Pan: Transfer the thick batter to your prepared 8×8-inch baking pan. Using your spatula, spread the batter out into an even layer, ensuring it reaches all the corners for uniform baking. If you secured the parchment paper with clips (as suggested in the “Before You Begin” section), this step will be much easier!

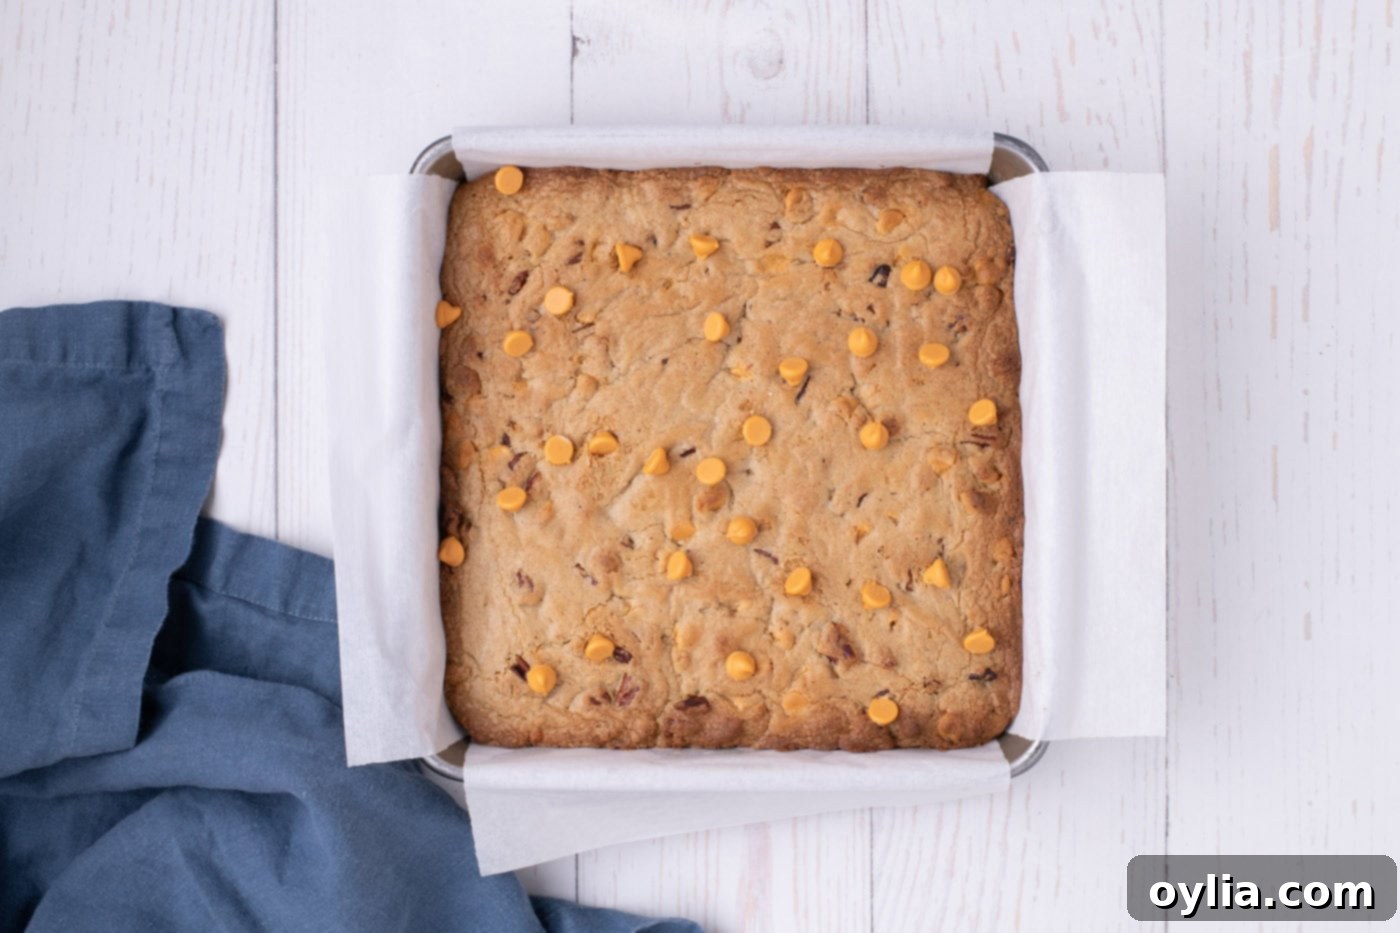
- Bake to Perfection: Bake in the preheated oven for 20 to 25 minutes. It’s important to keep a close eye on them to prevent overbaking, which can lead to dry brownies. The brownies are ready when the edges are beautifully golden, but the center still appears soft and slightly jiggly. A toothpick inserted into the center should come out with moist crumbs, not wet batter, and certainly not completely clean if you prefer a fudgy texture.
- Cool and Serve: Once baked, remove the brownies from the oven. Place the baking pan on a wire rack and allow them to cool completely in the pan for at least 30 minutes before slicing. Patience is key here! Cooling allows the brownies to set properly, making them easier to cut into neat squares and preventing them from falling apart.

Frequently Asked Questions & Expert Baking Tips
Once your butterscotch brownies are completely cooled, store them in an airtight container at room temperature. They will stay wonderfully fresh, chewy, and delicious for 2-3 days. For longer storage, you can refrigerate them, but allow them to come to room temperature before serving for the best texture.
Absolutely! These butterscotch blondies freeze beautifully. Once they are fully cooked and completely cooled, slice them into individual portions. Place the slices on a baking sheet and flash freeze them until solid (this prevents them from sticking together). Once solid, wrap each brownie individually in parchment paper, then transfer them to an airtight freezer-safe container or a large zip-top bag. They can be frozen for up to 3 months. To enjoy, simply unwrap a frozen brownie and let it thaw at room temperature. For a warm, freshly baked experience, you can optionally rewarm them briefly in the microwave or a low oven.
The key to perfect butterscotch brownies is not to overbake them. If you prefer a moist, slightly “wet” (fudgy) brownie, remove them from the oven when the edges are lightly golden brown and the center still appears soft and slightly jiggly. They will continue to set as they cool. For a firmer, more cake-like texture, bake for a few extra minutes until a toothpick inserted into the center comes out mostly clean, with just a few moist crumbs attached. Avoid a completely clean toothpick, as that often indicates overbaking for this type of dessert.
Browning butter is a game-changer! It’s a simple technique that transforms plain butter into a rich, nutty, and subtly caramelized ingredient. The milk solids in the butter toast, creating deep, complex flavors reminiscent of toffee or butterscotch itself. This adds an incredible depth and warmth to the brownies that you simply can’t achieve with melted butter, making the final product far more flavorful and sophisticated.
Yes, these brownies are fantastic for making ahead! They often taste even better the next day as the flavors have more time to meld and deepen. Bake them, allow them to cool completely, then store them as directed above. You can easily bake them a day or two before your event, keeping your dessert prep stress-free.
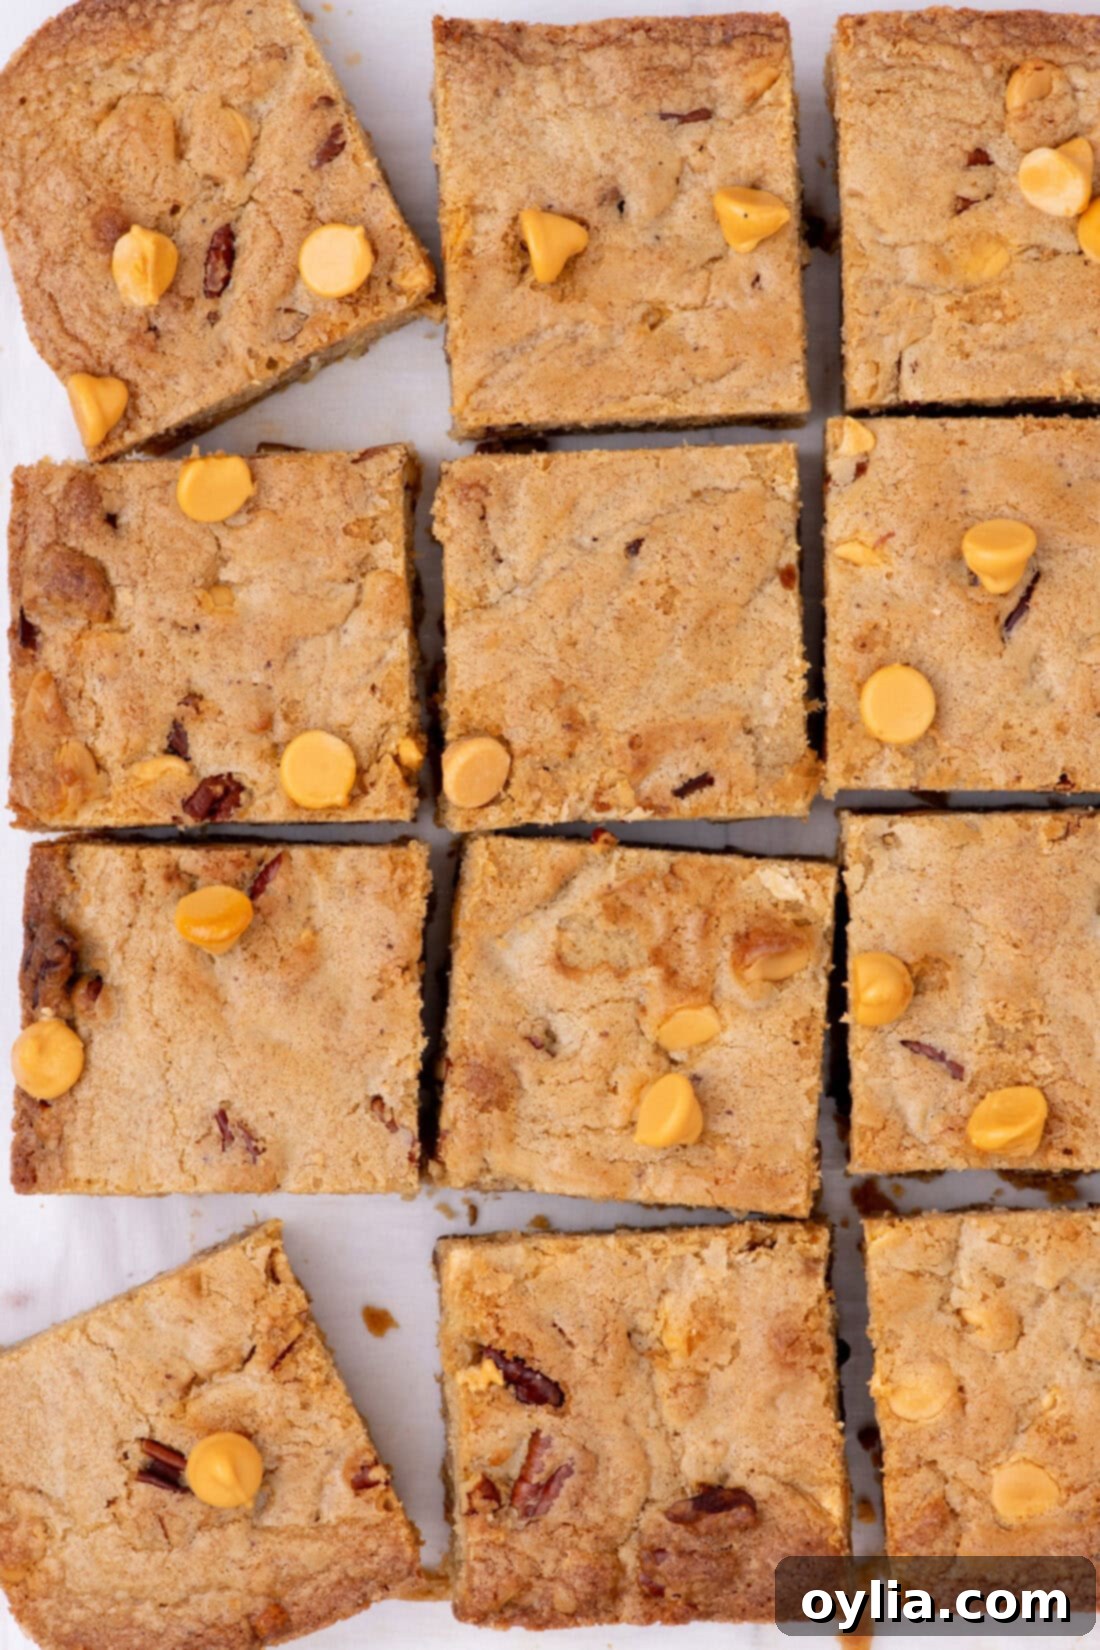
Delightful Serving Suggestions
While these butterscotch brownies are absolutely irresistible on their own, whether warm or at room temperature, there are many ways to elevate your indulgence:
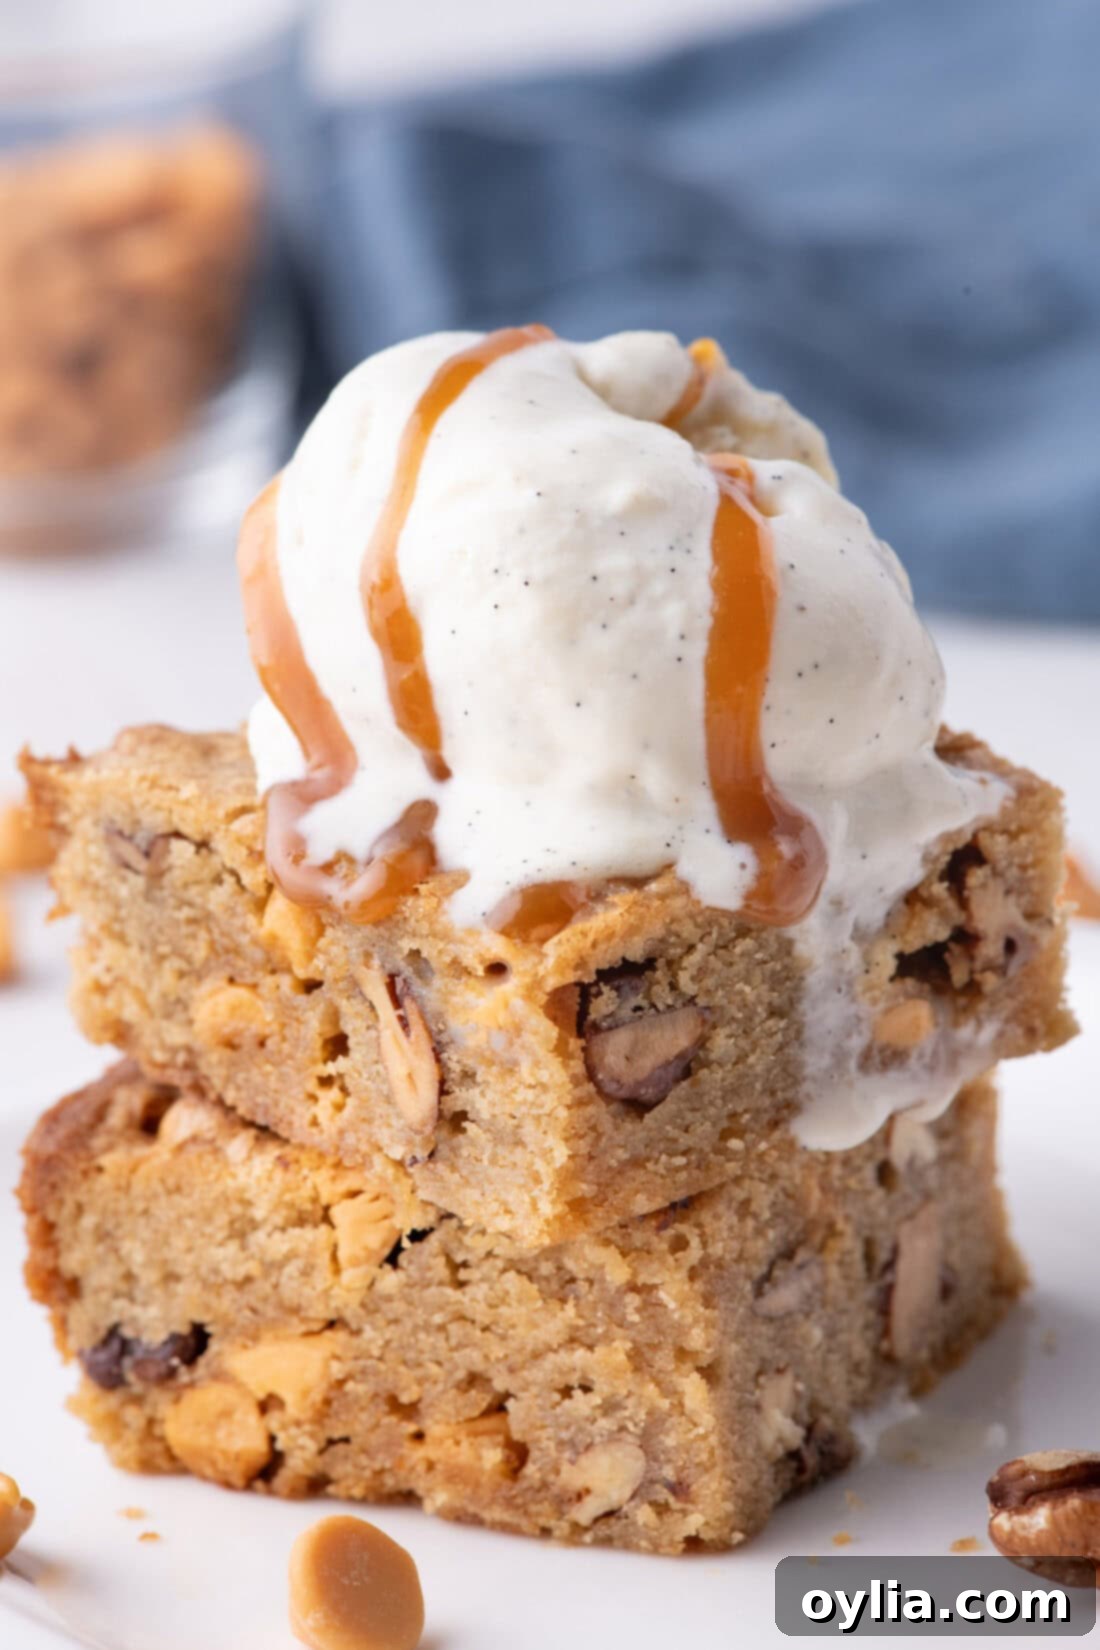
- Classic A La Mode: Serve them warm with a generous scoop of creamy vanilla bean ice cream. The contrast between the warm brownie and cold ice cream is simply heavenly.
- Caramel Drizzle: For an extra layer of decadence, add a luscious drizzle of homemade or store-bought caramel sauce over your warm brownie and ice cream combination.
- Whipped Cream & Toppings: A dollop of fresh whipped cream and a sprinkle of sea salt can beautifully enhance the butterscotch flavor. A light dusting of cinnamon or nutmeg could also add a festive touch.
- Coffee Companion: These rich brownies pair perfectly with a hot cup of coffee, a creamy latte, or a cold glass of milk for a comforting snack or dessert.
- Holiday Treat: Pack them in a decorative box for a thoughtful homemade gift during the holidays, or serve them as part of a dessert platter at your next gathering.
Discover More Irresistible Brownie and Bar Recipes
If you loved these butterscotch brownies, you’re in for a treat! Explore our other favorite bar and brownie recipes that are perfect for any occasion:
- Brookies: The Best of Both Worlds – Can’t decide between a brownie and a cookie? Have both!
- Zesty Lemon Brownies – A bright and tangy twist on the classic brownie.
- Decadent Pecan Pie Brownies – All the flavors of pecan pie in a fudgy brownie form.
- Fudge Brownies with Creamy Peanut Butter Frosting – A classic pairing that never disappoints.
- Moist Zucchini Brownies – A clever way to sneak in some veggies while enjoying a rich chocolate treat.
I absolutely adore sharing my passion for baking and cooking with all of you! To make sure you never miss a new delicious recipe, I offer a convenient newsletter. Simply subscribe today and start receiving your free daily recipes straight to your inbox!
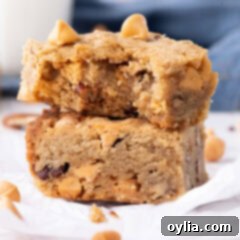
Chewy Butterscotch Brownies
IMPORTANT – There are often Frequently Asked Questions within the blog post that you may find helpful. Simply scroll back up to read them!
Print It
Pin It
Rate It
Save It
Saved!
Prevent your screen from going dark
Course: Dessert
Cuisine: American
Ingredients
- 1 cup unsalted butter
- 1 ½ cups dark brown sugar lightly packed
- 2 teaspoons pure vanilla extract
- 2 large eggs
- 1 ¾ cups all purpose flour
- ½ teaspoon baking powder
- ½ teaspoon salt
- ¾ cup toasted pecans chopped
- ¾ cup butterscotch chips
Things You’ll Need
-
8×8 baking pan
-
Saucepan
-
Mixing bowls
-
Rubber spatula
Before You Begin & Expert Tips
- Salt Adjustment: If you are using Kosher salt instead of regular table salt, increase the amount to ¾ teaspoon for the best flavor balance.
- Parchment Paper Trick: To make spreading the thick brownie batter easier and to prevent the parchment from slipping, use small clips (like binder clips or clothespins) to hold down the edges of the parchment paper to the baking pan. Remember to remove them before placing the pan in the oven!
- Nut Variations: While toasted pecans offer a fantastic flavor and crunch, you can easily substitute them with chopped almonds or walnuts if preferred. For a truly nut-free version, simply replace the nuts with an equal amount of additional butterscotch chips or another mix-in like mini pretzels for a salty contrast.
- Achieving Fudgy vs. Cakey: For a more moist, fudgy, and ‘wet’ brownie, remove them from the oven when the edges are lightly golden brown and the very center still looks soft and slightly unset. Then, allow the brownies to cool completely in the pan on a wire rack. Leaving them in the hot pan will allow them to continue to bake and set without over-drying. If you prefer a firmer, more cake-like brownie, bake for a few extra minutes until a toothpick inserted into the center comes out with minimal moist crumbs.
- Room Temperature Eggs: Ensure your eggs are at room temperature. This helps them emulsify better with the browned butter and sugar, creating a smoother, more uniform batter and a finer crumb in the finished brownies.
Instructions
-
Preheat the oven to 350°F (175°C).
-
Line an 8×8-inch baking pan with 2 sheets of parchment paper, ensuring the paper extends over the sides to create a convenient sling for easy removal.
-
Melt and brown the butter in a small saucepan over medium heat. Stir continuously with a soft silicone spatula, scraping the bottom and sides to prevent burning, until the butter foams and turns a fragrant medium golden brown (approximately 6-8 minutes).1 cup unsalted butter
-
Immediately remove the saucepan from the heat and pour the browned butter, including all the delightful brown bits, into a large heat-proof bowl.
TIP – To prevent the butter from burning, remove it from the heat as soon as it reaches a medium-golden hue. The residual heat will continue to darken it slightly in the pan before you transfer it to the bowl.
-
Add the dark brown sugar and pure vanilla extract to the browned butter. Stir well until thoroughly combined.1 1/2 cups dark brown sugar, 2 teaspoons pure vanilla extract
-
Stir in the two large eggs until just incorporated. Set the mixture aside.
TIP – Ensure the browned butter mixture isn’t excessively hot before adding the eggs, as you don’t want to accidentally cook them.
2 large eggs -
In a separate medium-sized bowl, whisk together the all-purpose flour, baking powder, and salt until evenly combined.1 3/4 cups all purpose flour, 1/2 teaspoon baking powder, 1/2 teaspoon salt
-
Gradually add the whisked flour mixture to the browned butter and sugar mixture. Stir gently with a spatula until the ingredients are just combined and no dry streaks of flour remain. Avoid overmixing.
-
Gently fold in the toasted pecans and butterscotch chips, ensuring they are evenly distributed throughout the thick batter.3/4 cup toasted pecans, 3/4 cup butterscotch chips
-
Transfer the brownie batter to the prepared 8×8-inch baking pan. Using your spatula, spread it out evenly, making sure to push it into all the corners for a consistent thickness.
-
Bake for 20 to 25 minutes. Monitor closely to ensure the brownies do not overbake. They should achieve a beautiful golden color around the edges while the center remains delightfully soft and slightly gooey.
-
Remove the baked brownies from the oven and immediately place the baking pan on a wire rack. Allow them to cool completely for at least 30 minutes before attempting to slice, which ensures a clean cut and perfect texture.
Additional Expert Tips & FAQs
- Storage Perfection: To maintain optimal freshness, store your fully cooled butterscotch brownies in an airtight container at room temperature for 2-3 days. This helps keep their signature chewy texture.
- Freezing for Later: For longer storage, these brownies freeze wonderfully. Slice the cooled brownies, then arrange them on a baking sheet and flash freeze until solid. Once solid, wrap each portion individually in parchment paper, then place them in an airtight freezer bag or container. They can be stored in the freezer for up to 3 months. Thaw at room temperature, or gently rewarm in the microwave or oven for a “freshly baked” feel.
- Temperature Matters: Ensure all your cold ingredients (especially eggs) are at room temperature before mixing. This promotes better emulsification, leading to a smoother batter and a more uniform, tender crumb in your finished brownies.
- Don’t Rush Cooling: Resisting the urge to cut into warm brownies is crucial! Cooling completely allows the brownies to set, ensuring they are perfectly firm and chewy, and much easier to slice neatly without crumbling.
- Evenly Spread Batter: When transferring the batter to the pan, take extra care to spread it evenly into all corners. This ensures consistent baking and prevents some parts from being undercooked or overbaked.
Nutrition Information
Tried this Recipe? Pin it for Later!Follow on Pinterest @AmandasCookin or tag #AmandasCookin!
The recipes on this blog are tested with a conventional gas oven and gas stovetop. It’s important to note that some ovens, especially as they age, can cook and bake inconsistently. Using an inexpensive oven thermometer can assure you that your oven is truly heating to the proper temperature. If you use a toaster oven or countertop oven, please keep in mind that they may not distribute heat the same as a conventional full sized oven and you may need to adjust your cooking/baking times. In the case of recipes made with a pressure cooker, air fryer, slow cooker, or other appliance, a link to the appliances we use is listed within each respective recipe. For baking recipes where measurements are given by weight, please note that results may not be the same if cups are used instead, and we can’t guarantee success with that method.
