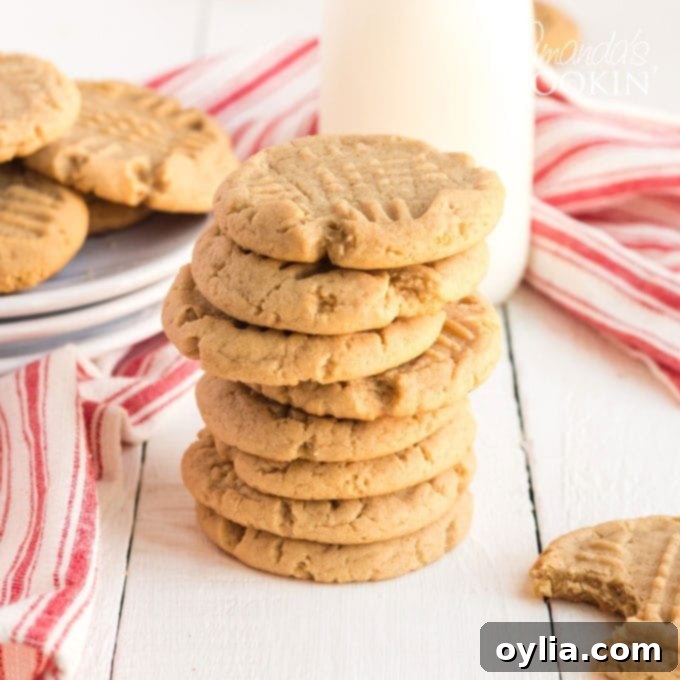
The Ultimate Guide to Baking Soft & Chewy Peanut Butter Cookies: A Foolproof Recipe
Achieving perfectly soft and delightfully chewy peanut butter cookies is simpler than you might think, and it all comes down to one crucial, foolproof technique: slight underbaking. Many home bakers make the mistake of baking these delicious treats until they look “done,” which often results in a disappointingly crunchy texture. This guide will reveal the secrets to a melt-in-your-mouth peanut butter cookie that remains soft for days, making it an instant classic in your baking repertoire.
While I cherish many cookie recipes, from the cinnamon-sugar delight of Snickerdoodles to the timeless comfort of Soft Chocolate Chip Cookies, this particular peanut butter cookie recipe holds a special place at the very top of my list. Its rich flavor and irresistible texture are simply unmatched, consistently earning rave reviews from everyone who tries them.
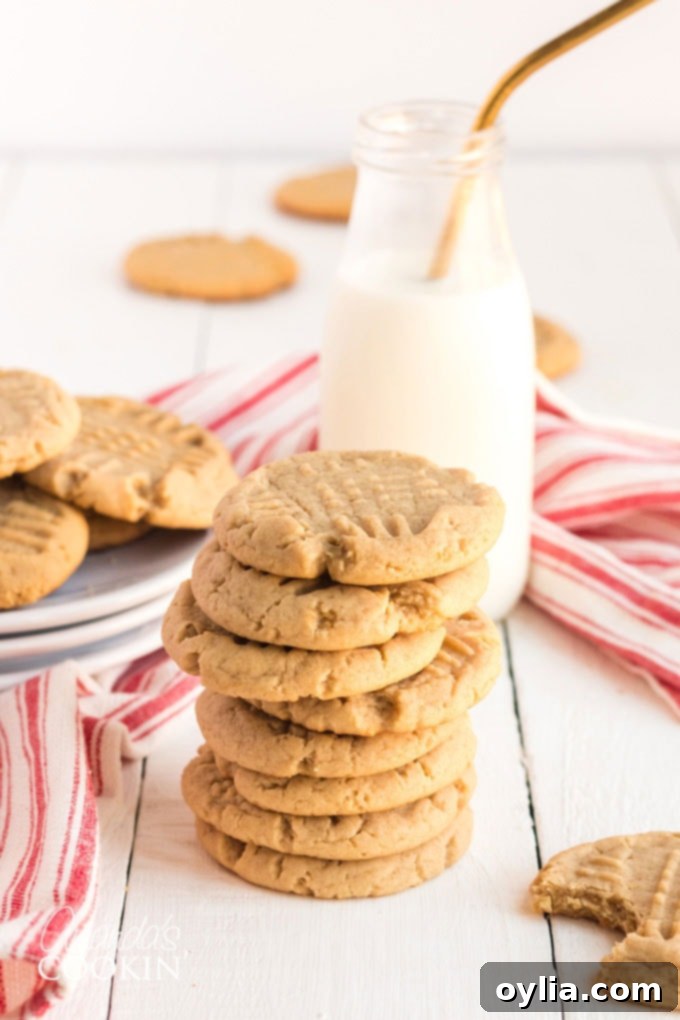
The Beloved Classic Peanut Butter Cookie Recipe
This cherished peanut butter cookie recipe has been a fixture in my family for decades. I’ve kept it in my recipe binder since my children were toddlers, and now my oldest is 25! It’s a recipe that transcends generations, always bringing a smile to everyone’s face. My father-in-law, for instance, would specifically request these cookies every time he visited, a testament to their enduring appeal. While we also adore making delightful peanut butter chocolate chunk bars, there’s just something incredibly satisfying and comforting about the classic, perfectly baked peanut butter cookie. It truly is “the bomb,” as my family would say.
The magic of these cookies lies in their ability to disappear almost instantly. They rarely make it off the cooling rack and into a storage container because they are devoured too quickly! This speaks volumes about their irresistible taste and texture. Whether you’re baking for a family gathering, a school event, or simply to treat yourself, this recipe guarantees a batch of cookies that everyone will adore.
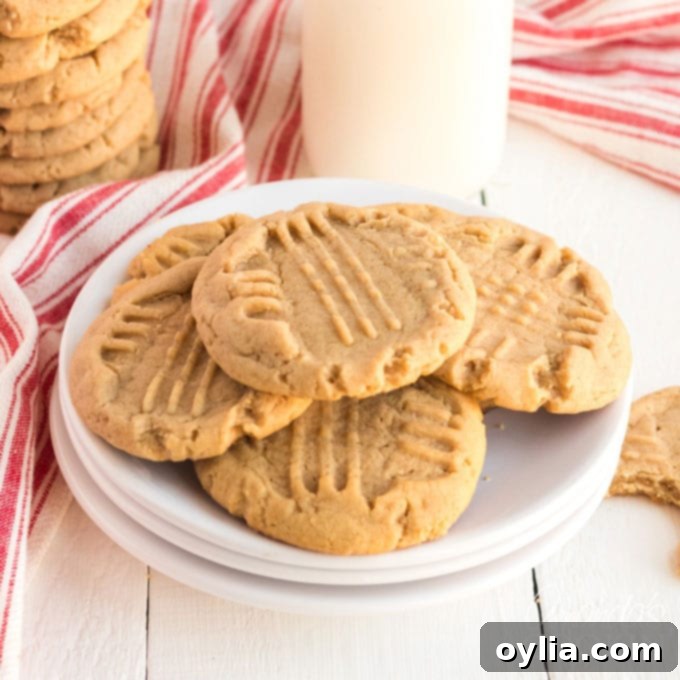
Shaping Your Peanut Butter Cookies: Smooth or Rustic Appeal?
The aesthetic of your peanut butter cookies is entirely up to you, and thankfully, both neat and rustic styles yield equally delicious results. For those who prefer a more uniform, “neat as a pin” appearance, begin by scooping the dough precisely with a cookie scoop. Then, gently roll the scooped dough in the palms of your hands to form perfectly smooth, round balls. This method creates beautifully consistent cookies.
If you’re aiming for a charmingly rustic, homemade look, simply release the dough directly from the scooper onto your baking sheet. Don’t worry about rolling or shaping further; the natural form of the dropped dough will give your cookies a lovely, organic appeal. Whichever style you choose, don’t forget the signature criss-cross pattern made with a fork – it’s not just for tradition, it also helps flatten the cookies and ensures even baking, contributing to that perfect soft and chewy texture.
Shortening vs. Butter: The Fat Factor in Peanut Butter Cookies
This particular recipe, a classic that I later discovered originates from the back of an old Crisco can, specifically calls for shortening. Over the years, I’ve successfully used both plain vegetable shortening and butter-flavored shortening, with excellent results every time. Shortening, being 100% fat with no water content, contributes to an incredibly tender crumb and a consistently soft texture in cookies. It also has a higher melting point than butter, which means the cookies spread less and retain their shape better during baking, leading to that desirable chewy center.
While I haven’t personally experimented with substituting butter in *this specific recipe*, the old adage “If it ain’t broke, don’t fix it!” certainly applies here for me. Butter, with its 20% water content, can sometimes lead to a slightly crispier cookie and a different spread. If you decide to try this recipe with butter, perhaps using an equal amount of unsalted butter, I would be absolutely thrilled to hear about your results and how the texture compares! It’s always interesting to see how small changes can impact the final bake.
Essential Baking Notes for Perfect Soft & Chewy Peanut Butter Cookies
The key to these incredibly soft and chewy peanut butter cookies lies in careful observation during baking. When you first try this recipe, I highly recommend starting with a small test batch. Bake just a few cookies and keep a close eye on them. My oven consistently yields perfect results at 8 minutes, but every oven is unique. Begin checking your cookies around the 7-minute mark.
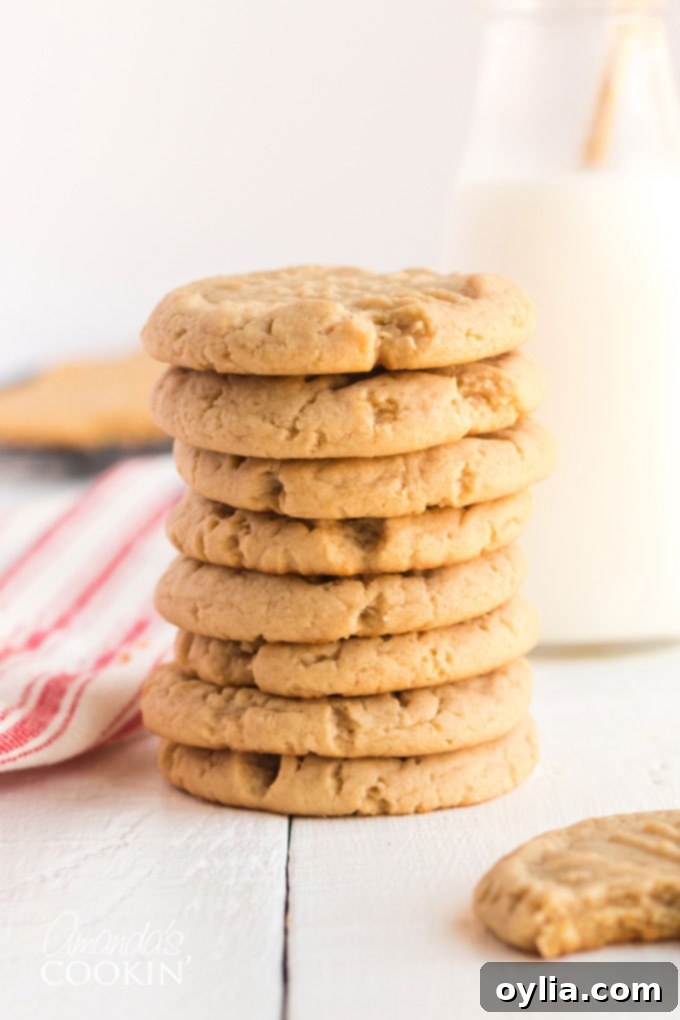
What you’re looking for is a cookie that still looks slightly underdone and appears a bit puffy in the center. The edges should be just set and very lightly golden, but the middle should still seem quite soft. Do not wait for them to look golden brown all over, as this will lead to a crunchy cookie. Once you remove them from the oven, allow them to cool on the baking sheet for a couple of minutes. During this crucial resting period, they will continue to bake gently from the residual heat, set up, and flatten slightly, transforming into that ideal soft and chewy texture we’re aiming for. Transfer them to a cooling rack to cool completely, but be warned – they are often irresistible even when warm!
Key Ingredients for the Best Homemade Peanut Butter Cookies
Crafting the perfect peanut butter cookie starts with selecting the right ingredients. This recipe, adapted from a time-tested classic, relies on a few specific choices to achieve its signature soft and chewy perfection.
- I always opt for shortening, and butter-flavored shortening is my personal preference. As discussed, shortening is a key component for that tender, non-spreading texture. If you have an aversion to shortening, you can certainly try substituting an equal amount of unsalted butter, but please be aware that the final texture may be slightly different, potentially less chewy or a bit crisper.
- For the creamy core of these cookies, I am partial to classic brands like Skippy or Jif creamy peanut butter. The consistent emulsification in these mainstream brands contributes to a smooth dough and even flavor. I haven’t yet experimented with natural peanut butters (which often separate) or other nut butters, but feel free to share your experiences if you do!
- Using firmly packed light brown sugar is essential. Unlike granulated sugar, brown sugar contains molasses, which not only adds a wonderful depth of flavor but also contributes significantly to the moist and wonderfully chewy texture of these cookies.
- A small amount of milk is included in this recipe. I’ve always used cow’s milk, and it helps bring the dough together with the right consistency. If you decide to experiment with plant-based milks, I’d be interested to hear about your results!
- You will also need pure vanilla extract to enhance the overall flavor profile, and one large egg. When baking, always stick with large eggs as they are the standard size used in most recipes, ensuring proper moisture and structure.
- I make these cookies with regular all-purpose flour. This standard flour provides the necessary structure without making the cookies tough. I haven’t tested alternative flours in this particular recipe.
- Finally, you’ll need regular table salt to balance the sweetness and enhance the flavors, and baking soda, which acts as a leavening agent, helping the cookies rise slightly and achieve their characteristic puffiness before settling into chewiness.
Helpful Kitchen Tools for Baking Peanut Butter Cookies
Having the right tools can make your baking experience much smoother and more enjoyable. For these peanut butter cookies, a few essentials will come in handy:
- Electric mixer: Whether a stand mixer or a hand mixer, this is invaluable for creaming together the fats and sugars, ensuring a light and airy base for your dough.
- Mixing bowls: Multiple sizes are always useful, especially a large one for combining all the wet ingredients and then the dry.
- Cookie scoop: This ensures uniform cookie sizes, leading to even baking and a professional look. It’s a game-changer for consistency.
- Measuring cups and spoons: Accuracy in baking is paramount, so having a reliable set is key.
- Cooling rack: Essential for allowing air circulation around the cookies as they cool, preventing them from becoming soggy on the bottom and ensuring they set properly.
Step-by-Step: How to Make Soft and Chewy Peanut Butter Cookies
Follow these detailed instructions to bake a batch of homemade peanut butter cookies that are perfectly soft, chewy, and utterly delicious.
- Prepare Your Oven and Baking Sheets: Begin by preheating your oven to 375 degrees F (190 degrees C). While the oven heats, line your baking sheets with parchment paper or a silicone baking mat. This step is crucial for preventing sticking and ensuring easy removal of your cookies.
- Cream Wet Ingredients: In a large mixing bowl, combine the shortening, creamy peanut butter, firmly packed light brown sugar, milk, and vanilla extract. Using an electric mixer, beat these ingredients together at medium speed until they are thoroughly blended and have achieved a smooth, creamy consistency. This creaming process incorporates air, which contributes to the cookies’ light texture.
- Incorporate the Egg: Add the large egg to the creamed mixture. Continue to beat with the electric mixer, but only until the egg is just blended into the dough. Be careful not to overmix at this stage.
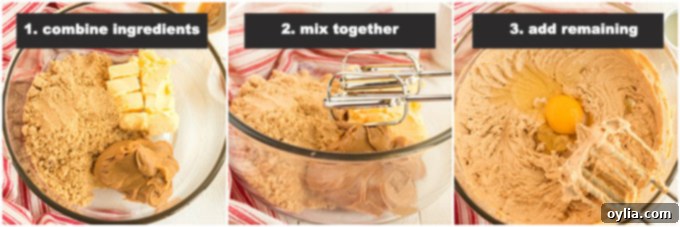
- Add Dry Ingredients: In a separate bowl, whisk together the all-purpose flour, salt, and baking soda. Gradually add this dry mixture to the creamed wet ingredients in the large bowl. Mix at low speed with your electric mixer, just until the flour mixture is fully blended and no streaks of dry flour remain. Overmixing the dough once the flour is added can lead to tough cookies, so mix just until combined.
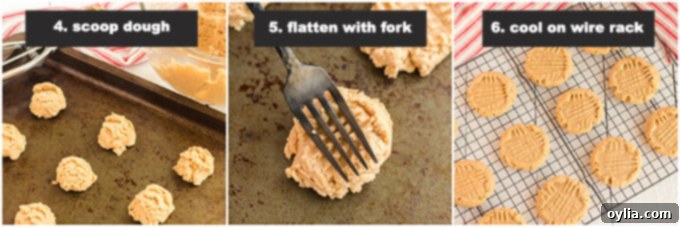
- Scoop and Place Dough: Using a cookie scoop (or a heaping tablespoon), drop spoonfuls of dough onto your prepared baking sheets, spacing them about 2 inches apart to allow for spreading.
- Create the Classic Criss-Cross Pattern: Take a fork and gently flatten each cookie dough ball in a criss-cross pattern. This not only gives peanut butter cookies their iconic look but also helps them spread evenly and bake uniformly, ensuring a perfectly chewy result.
- Bake to Perfection (Don’t Overbake!): Bake the cookies for 7 to 8 minutes, or until the edges are just set and very lightly beginning to brown, but the centers still look slightly soft and puffy. This is the crucial step for achieving that desired soft and chewy texture. Seriously, DO NOT OVER BAKE them! They will look a little underdone, but that’s the secret to their irresistible chewiness.
- Cool and Enjoy: Once baked, remove the cookies from the oven and let them cool on the baking sheet for 2 minutes. This allows them to finish setting without becoming hard. After 2 minutes, carefully transfer the cookies to wire racks to cool completely. Resist the urge to eat them all at once!

More Delicious Peanut Butter Cookie Ideas and Variations
If you’ve fallen in love with these classic soft and chewy peanut butter cookies, you might be interested in exploring some delightful variations and other peanut butter-themed treats:
- Peanut Butter Nutella Cookies: For a decadent twist, try my tweaked Nutella version of these cookies. The addition of hazelnut spread adds another layer of rich flavor that’s simply divine. Find the recipe here: Peanut Butter Nutella Cookies.
- Chocolate Peanut Butter Cookies: If you’re a fan of the classic chocolate and peanut butter combination, these super popular cookies are a must-try. They perfectly blend the two beloved flavors. Check them out: Chocolate Peanut Butter Cookies.
- Peanut Butter Corn Flake Cookies: For a unique texture and a delightful crunch, these cookies that incorporate corn flakes look absolutely amazing and are a fun departure from the norm. (External link) Peanut Butter Corn Flake Cookies.
- Peanut Butter and Corn Chip No-Bake Cookies: For those days when you prefer not to turn on the oven, or just need a quick treat, these no-bake cookies with a savory crunch are right up your alley! (External link) Peanut Butter and Corn Chip No Bake Cookies.
No matter your preference, there’s a peanut butter cookie out there for everyone. Enjoy exploring these delicious options!
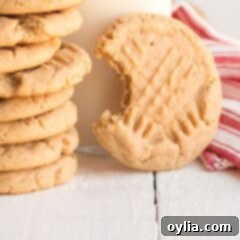
Classic Soft & Chewy Peanut Butter Cookies
IMPORTANT – There are often Frequently Asked Questions within the blog post that you may find helpful. Simply scroll back up to read them!
Print It
Rate It
Save ItSaved!
Ingredients
- ½ cup shortening or butter flavored shortening
- ¾ cup creamy peanut butter
- 1 ¼ cups firmly packed light brown sugar
- 3 tbsp milk
- 1 tsp vanilla
- 1 large egg
- 1 ¾ cups all purpose flour
- ¾ tsp salt
- ¾ tsp baking soda
Before You Begin
Instructions
-
Preheat oven to 375 degrees F (190°C). Line baking sheets with parchment paper or a silicone baking mat.
-
In a large bowl, combine shortening, creamy peanut butter, firmly packed light brown sugar, milk, and vanilla. Beat with an electric mixer at medium speed until well blended and creamy. Add the large egg and beat just until fully incorporated.
-
In a separate bowl, whisk together all-purpose flour, salt, and baking soda. Gradually add this dry mixture to the wet ingredients, mixing at low speed until just blended. Avoid overmixing.
-
Drop the dough by heaping tablespoonfuls (a cookie scoop works perfectly for uniform sizing) onto the prepared baking sheets, ensuring cookies are about 2 inches apart. Flatten each dough ball slightly in a criss-cross pattern using the tines of a fork.
-
Bake for 7 to 8 minutes, or until the edges are lightly set and just beginning to brown, but the centers still look slightly underdone and puffy. DO NOT OVERBAKE to ensure a soft and chewy texture! Let cookies cool on the baking sheet for 2 minutes before carefully transferring them to wire racks to cool completely.
Nutrition
The recipes on this blog are tested with a conventional gas oven and gas stovetop. It’s important to note that some ovens, especially as they age, can cook and bake inconsistently. Using an inexpensive oven thermometer can assure you that your oven is truly heating to the proper temperature. If you use a toaster oven or countertop oven, please keep in mind that they may not distribute heat the same as a conventional full sized oven and you may need to adjust your cooking/baking times. In the case of recipes made with a pressure cooker, air fryer, slow cooker, or other appliance, a link to the appliances we use is listed within each respective recipe. For baking recipes where measurements are given by weight, please note that results may not be the same if cups are used instead, and we can’t guarantee success with that method.
This recipe for soft and chewy peanut butter cookies was originally published on this blog on May 25, 2010, and has been a family favorite ever since!
