Ultimate Instant Pot Oreo Cheesecake: Easy & Decadent Recipe
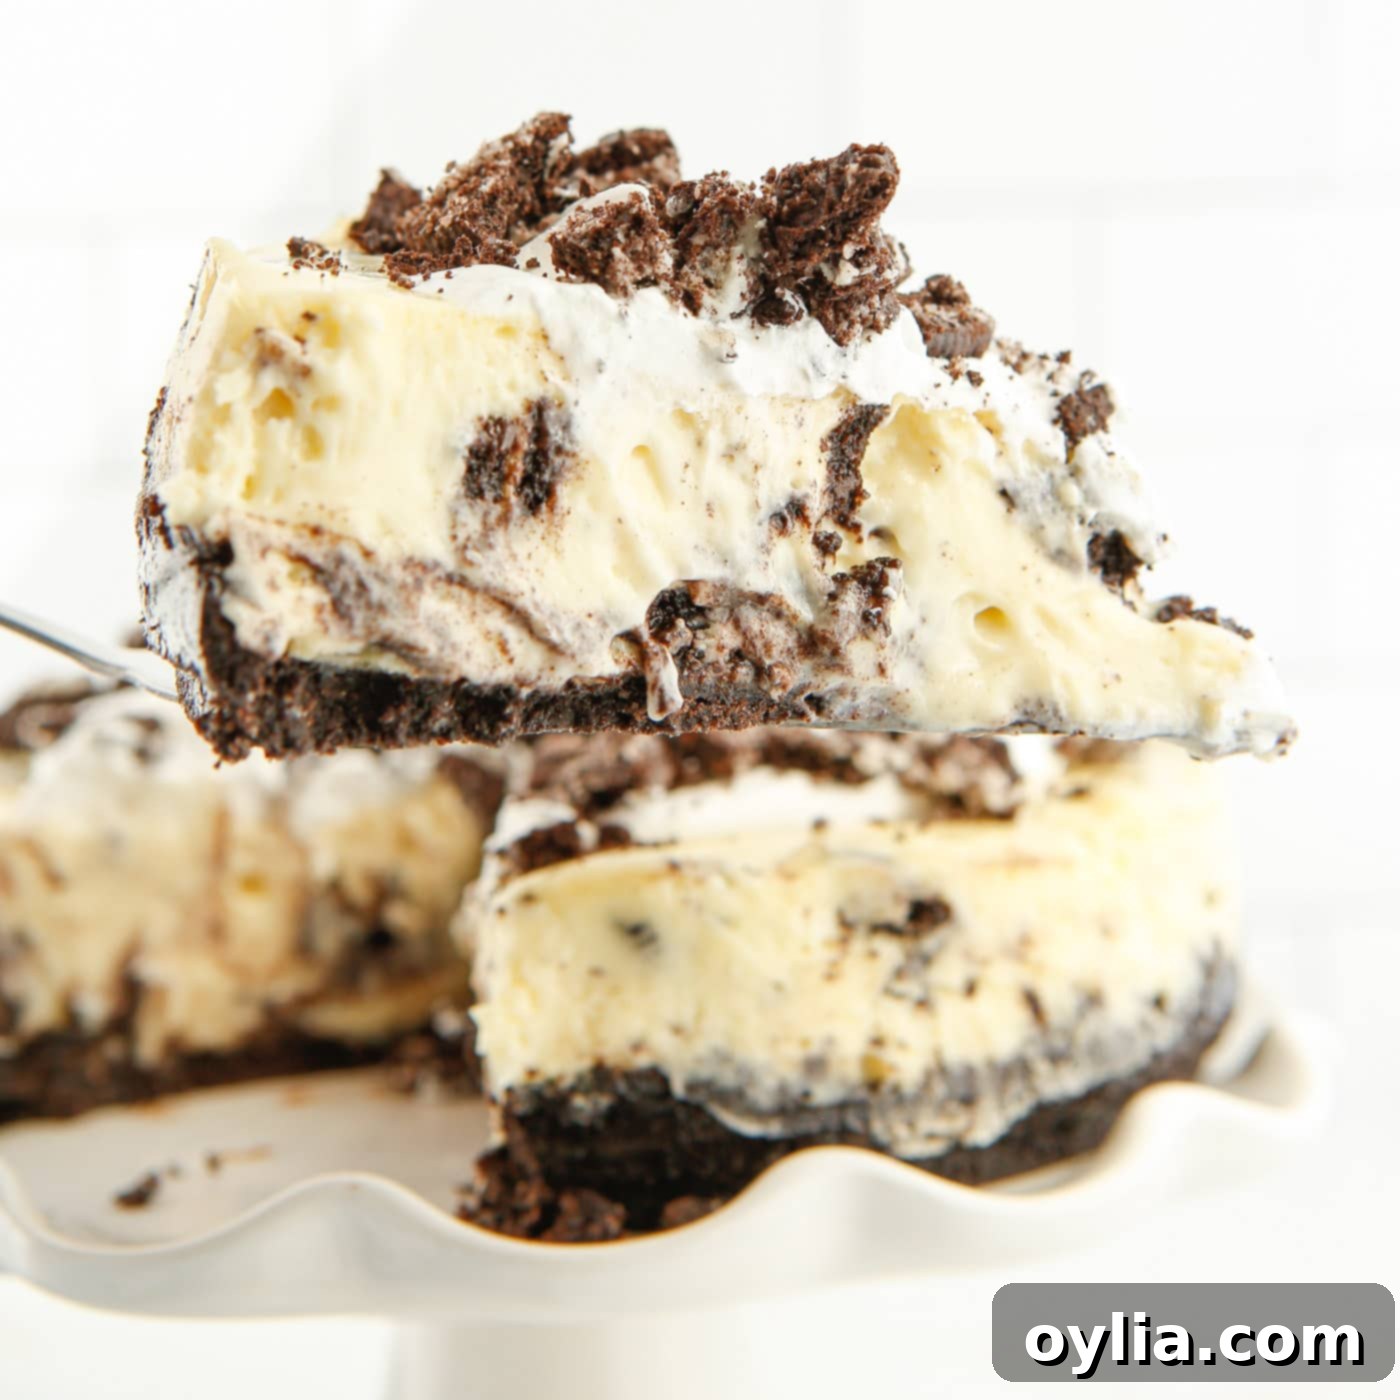
Prepare to be absolutely captivated by your new favorite dessert: the **Instant Pot Oreo Cheesecake**. This recipe is a game-changer, delivering an incredibly decadent and lusciously creamy cheesecake with minimal effort, all thanks to the magic of your Instant Pot. Forget complicated water baths or unpredictable oven temperatures; this method promises a consistently perfect cheesecake every single time. It begins with a robust, yet delightfully tender, chocolate cookie crust, providing the ideal foundation for the rich filling. Following this, a velvety vanilla cream cheese base, generously studded with chunks of crushed Oreo cookies, creates a symphony of textures and flavors that will have everyone asking for seconds. Get ready to impress with this easy, foolproof, and utterly irresistible cookies and cream masterpiece!
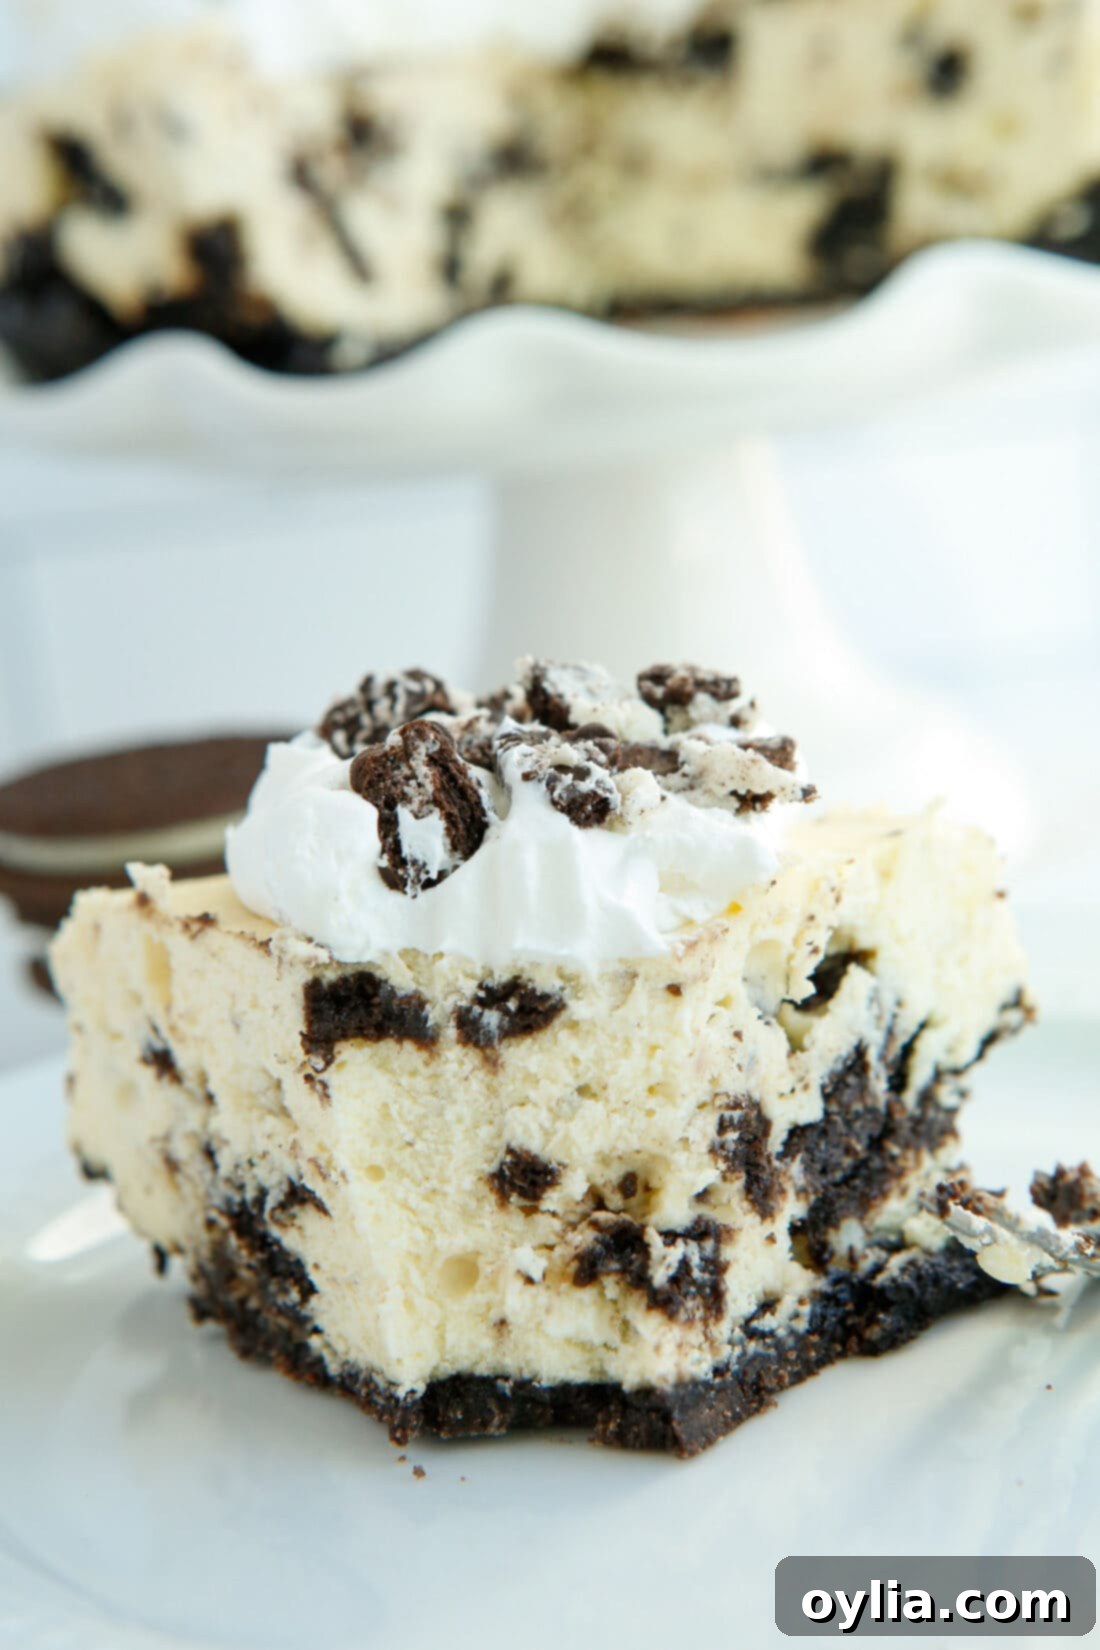
Why This Instant Pot Oreo Cheesecake Recipe Works So Well
If you’re already a devoted fan of our classic Oreo cheesecake recipe, you’re absolutely going to fall head over heels for this Instant Pot version. The secret to its undeniable success and sheer deliciousness lies in the wonders of pressure cooking. Traditional cheesecakes can be notoriously tricky, often prone to cracking due to uneven baking temperatures or sudden fluctuations in heat that cause the delicate custard to seize. The Instant Pot, however, creates a perfectly consistent, steamy environment that gently cooks the cheesecake from all sides, resulting in an exceptionally smooth, crack-free surface and a wonderfully creamy, melt-in-your-mouth texture every single time. This ingenious method completely eliminates the need for a separate water bath, which can be messy, intimidating, and often a source of baking anxiety for many home bakers.
Beyond its foolproof cooking method, this recipe truly excels in delivering maximum flavor and indulgence. It’s not just a cheesecake; it’s a celebration of cookies and cream! Our Instant Pot Oreo Cheesecake is generously packed with rich Oreo chunks, ensuring that delightful chocolatey crunch and beloved flavor in every single bite. From the crumbly, buttery Oreo crust that forms the perfect foundation, to the vanilla-infused cream cheese filling, every component is meticulously designed for peak deliciousness. Plus, this particular recipe only requires about 35 minutes of active pressure cooking time, making it significantly faster than most oven-baked cheesecakes that demand longer baking and cooling periods. Honestly, preparing cheesecake in the Instant Pot is surprisingly easy and incredibly reliable. You simply mix the batter, pour it into your prepared pan, and let your pressure cooker handle all the complex temperature management. It’s a fantastic, stress-free solution for busy weeknights when you crave a gourmet dessert, or for entertaining when you want a show-stopping treat that comes together effortlessly and impresses everyone at the table.
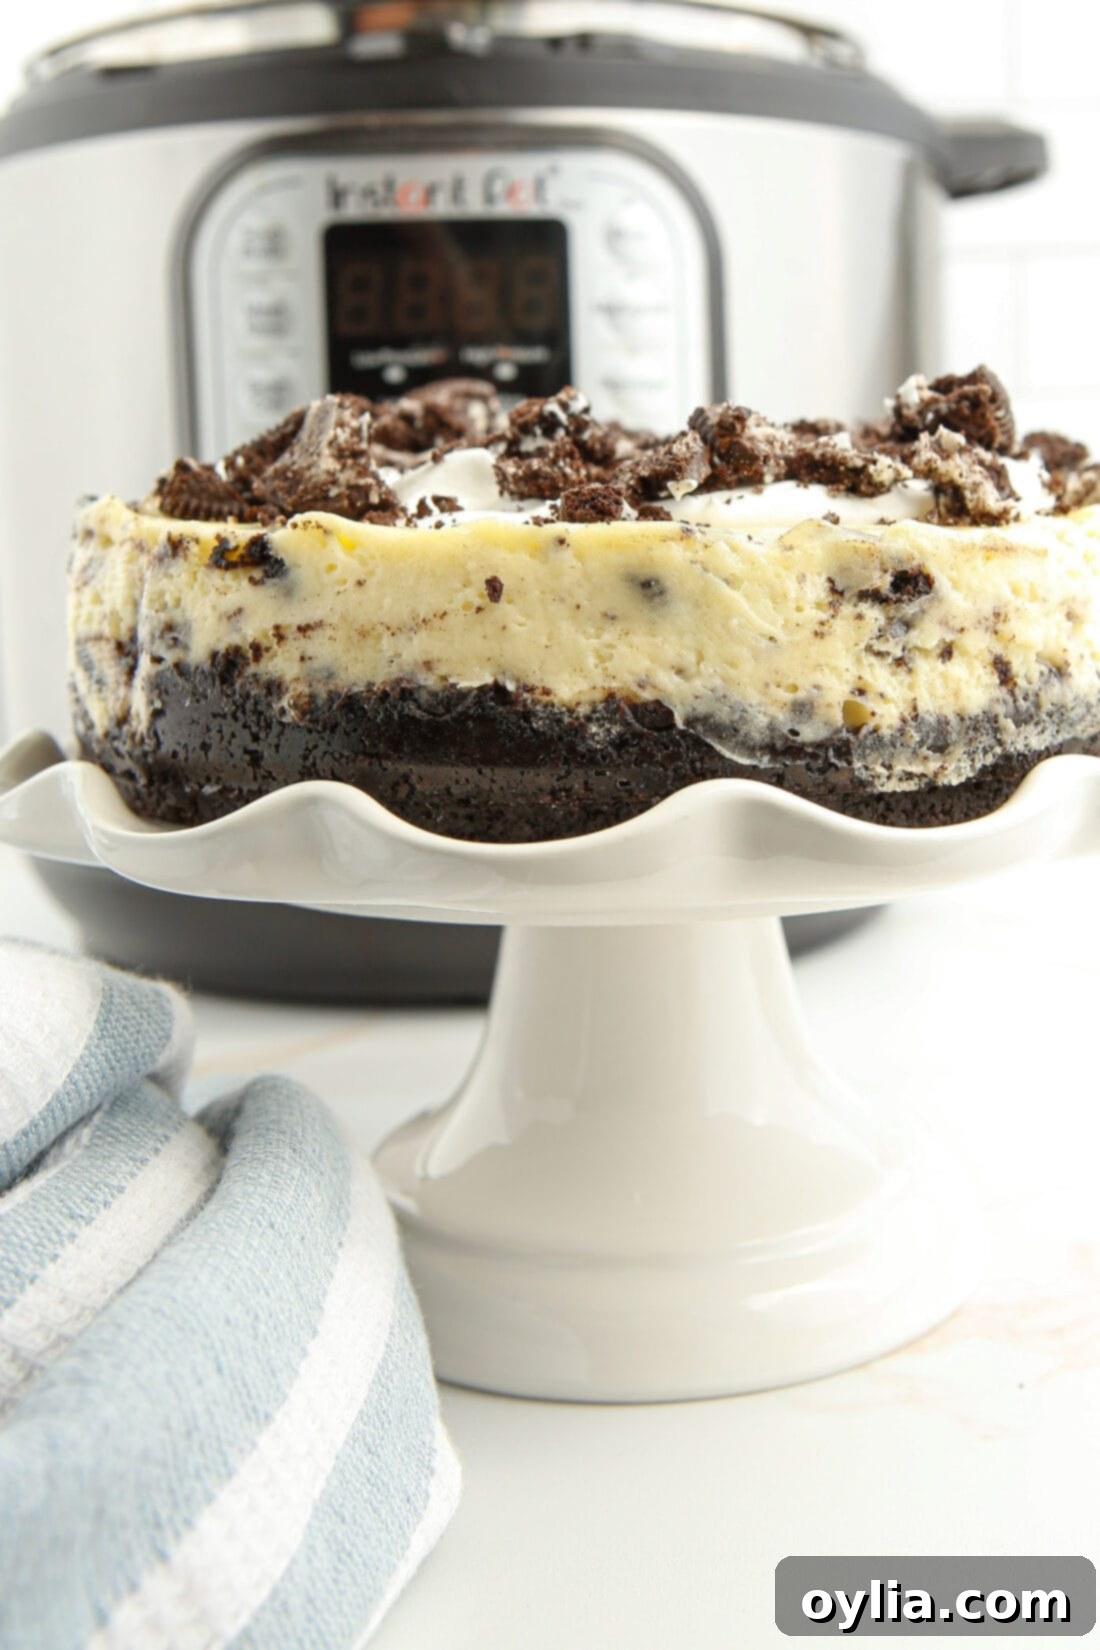
Key Ingredients for Your Instant Pot Oreo Cheesecake
Crafting this incredible dessert requires a few simple yet essential ingredients, most of which are easily found at any local grocery store. The true magic happens when these components come together, creating a harmonious balance of creamy, crunchy, and delightfully sweet flavors. Below, you’ll find a quick overview of what you’ll need to gather. For precise measurements, detailed quantities, and comprehensive instructions, a full printable recipe card is conveniently located at the very end of this post, making your baking experience as smooth and enjoyable as possible.
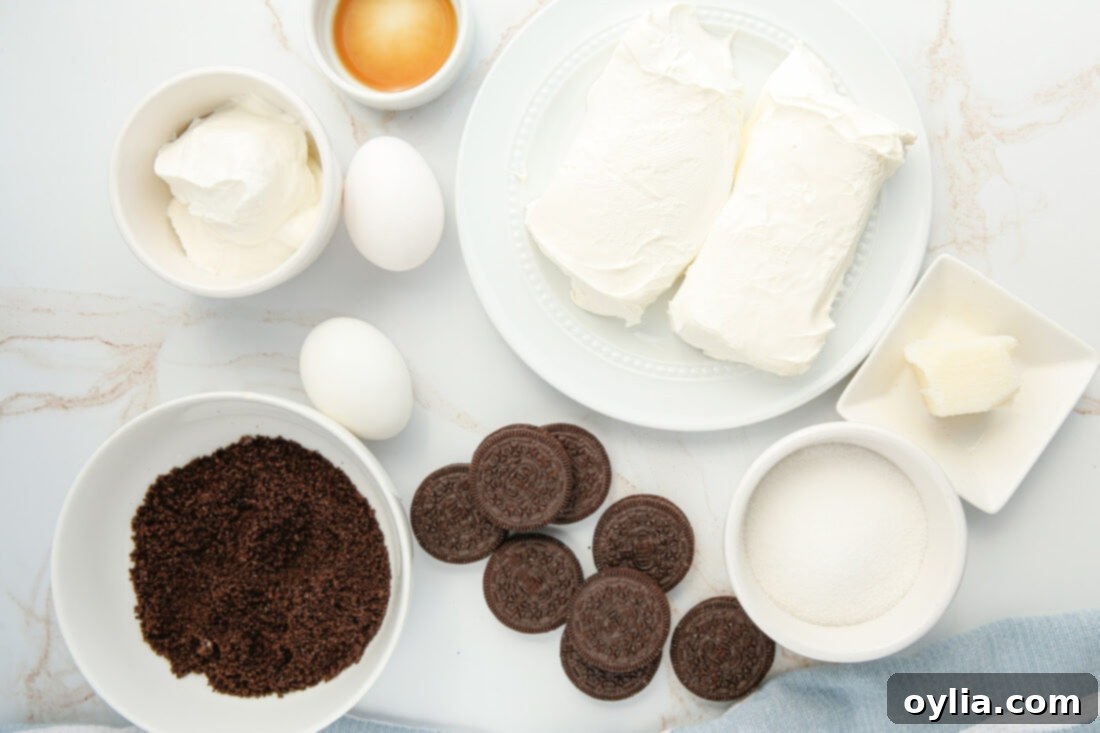
Ingredient Insight & Clever Substitutions for a Perfect Cheesecake
Understanding your ingredients and their roles is absolutely crucial for achieving that perfect, velvety smooth cheesecake texture and rich flavor. Here’s a deeper dive into the essential components of your Instant Pot Oreo Cheesecake and some helpful substitution tips to ensure your baking success:
- For the Creamy Cheesecake Batter: Using **room temperature ingredients** is not just a suggestion; it’s paramount for achieving the silkiest, most uniform texture and preventing any unwanted lumps or curdling in your cheesecake filling. Cold cream cheese simply will not blend smoothly with the sugar and other wet ingredients, leading to a grainy or chunky result. To expedite the softening process for your cream cheese, remove it from its packaging, cut it into 1-inch cubes, and spread them out on a plate. Allow them to sit at room temperature for at least 30-60 minutes, or until easily indentable with a gentle press of a finger. When it comes to eggs, always choose **large eggs**, not jumbo. Jumbo eggs contain a slightly higher liquid content, which can subtly alter the delicate balance of the recipe, potentially affecting the cheesecake’s final consistency and setting. The eggs, along with a small amount of **all-purpose flour**, act as crucial bonding and thickening agents, providing essential structure and preventing the cheesecake from becoming too fragile, watery, or prone to cracking.
- For the Irresistible Crust: The iconic **Oreo cookies** are undoubtedly the star of this crust, providing that signature chocolatey crunch. They are crushed into fine crumbs, and here’s an important tip: you should use the entire cookie – cream filling and all! The creamy center of the Oreos contributes significantly to the crust’s ability to bind together beautifully with the melted butter, adding an extra layer of flavor and ensuring a firm, yet tender, base that holds its shape when sliced. If you’re looking for an alternative or simply prefer a different flavor profile, a traditional **graham cracker crust** can also work wonders. For a complementary chocolate twist, I highly recommend opting for chocolate graham crackers if you go this route. You can find inspiration on how we crafted a delicious graham cracker crust in our Instant Pot Cherry Cheesecake recipe, which provides a great template for adaptation. Remember, a sturdy and flavorful crust is essential for supporting the creamy, decadent filling!
- Sour Cream & Vanilla Extract: While these might seem like minor additions, they play surprisingly significant roles in enhancing the overall profile of your cheesecake. The **sour cream** adds a subtle tanginess that beautifully balances the sweetness of the cheesecake, preventing it from being overly cloying, and contributes immensely to its ultra-creamy and smooth consistency. It also helps in tenderizing the cheesecake, ensuring it’s not too dense. **Vanilla extract** is a classic flavor enhancer for almost any dessert, providing warmth, depth, and a comforting aromatic quality to the overall profile. Don’t skimp on quality here; using a good pure vanilla extract makes a noticeable difference in the final taste.
Crafting Your Instant Pot Oreo Cheesecake: A Detailed Step-by-Step Guide
These detailed step-by-step photos and instructions are designed to guide you visually through every stage of the process, ensuring your success in creating a truly magnificent Instant Pot Oreo Cheesecake. For a convenient, printable version of this recipe, complete with precise measurements and comprehensive instructions, simply Jump to Recipe at the bottom of this post.
- **Prepare Your Pan & Instant Pot for Success:** Begin by meticulously getting your equipment ready. Take a 7-inch springform pan and line its bottom with a pre-cut parchment paper round. This simple yet crucial step ensures that your cheesecake will release cleanly and effortlessly from the pan after chilling. Lightly grease the inner sides of the pan with cooking spray or a thin layer of butter to prevent any sticking. Next, pour exactly 1 ½ cups of water into the bottom of your Instant Pot insert. This measured amount of water is vital for creating the perfect steam environment needed for pressure cooking your delicate cheesecake.
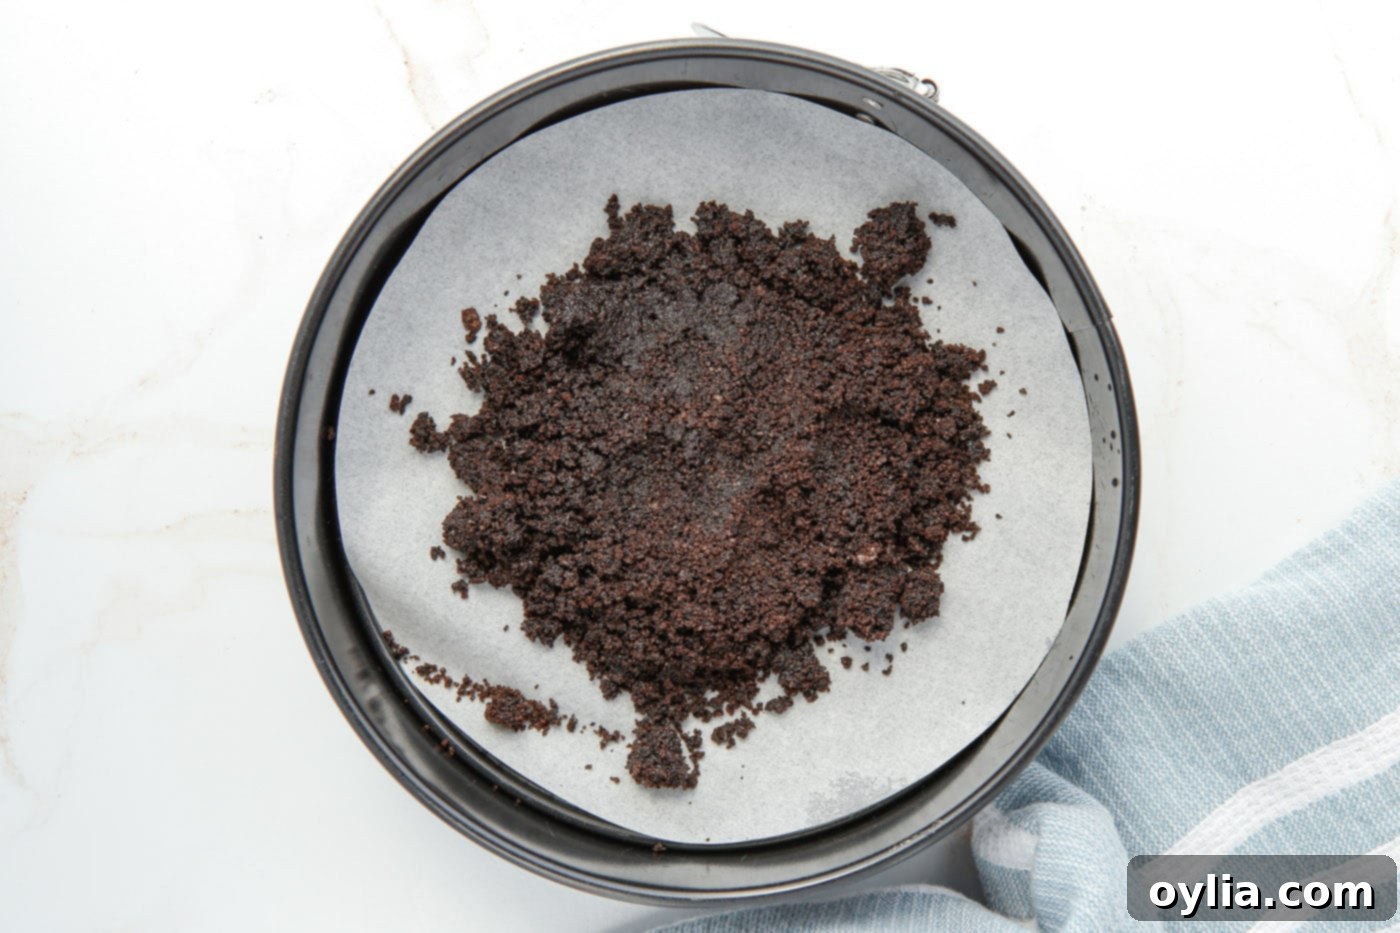
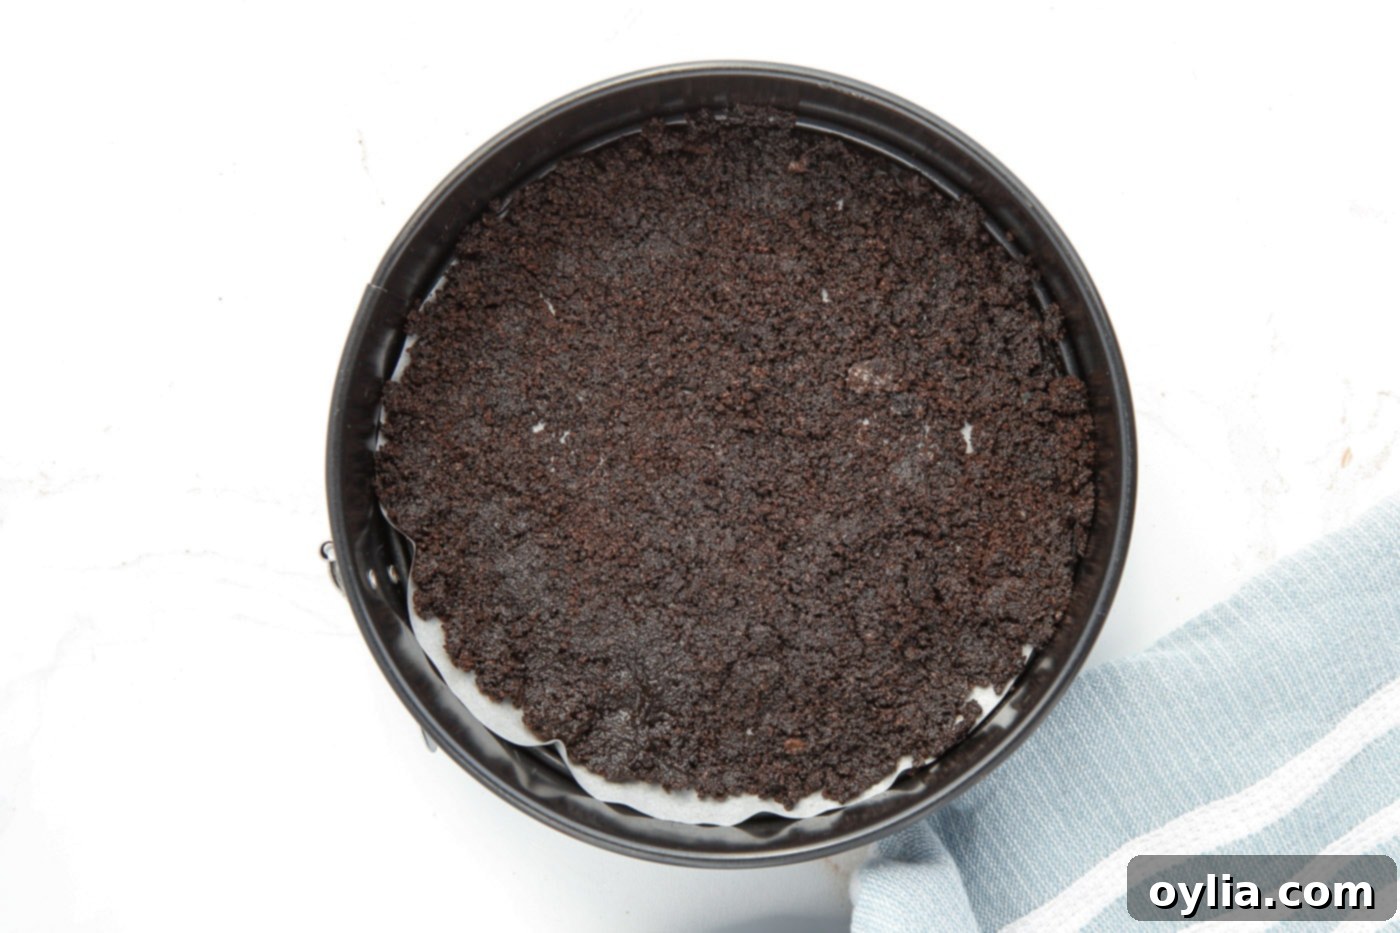
- **Form the Irresistible Oreo Crust:** In a medium-sized mixing bowl, combine your finely crushed Oreo cookies (remember, use the whole cookie, cream filling and all, for maximum flavor and binding!) with the melted unsalted butter. Mix these ingredients thoroughly until the cookie crumbs are evenly moistened and have the consistency of wet sand. Transfer this rich, dark mixture into the bottom of your prepared springform pan. Using the flat bottom of a drinking glass or your clean fingertips, press the Oreo mixture down firmly and evenly across the bottom of the pan to form a compact and sturdy crust. This compression is key to preventing a crumbly crust. Immediately place the pan with the crust into the freezer while you proceed with preparing the cheesecake filling. This chilling step allows the butter to solidify and helps the crust set, ensuring it remains firm and doesn’t fall apart when sliced.


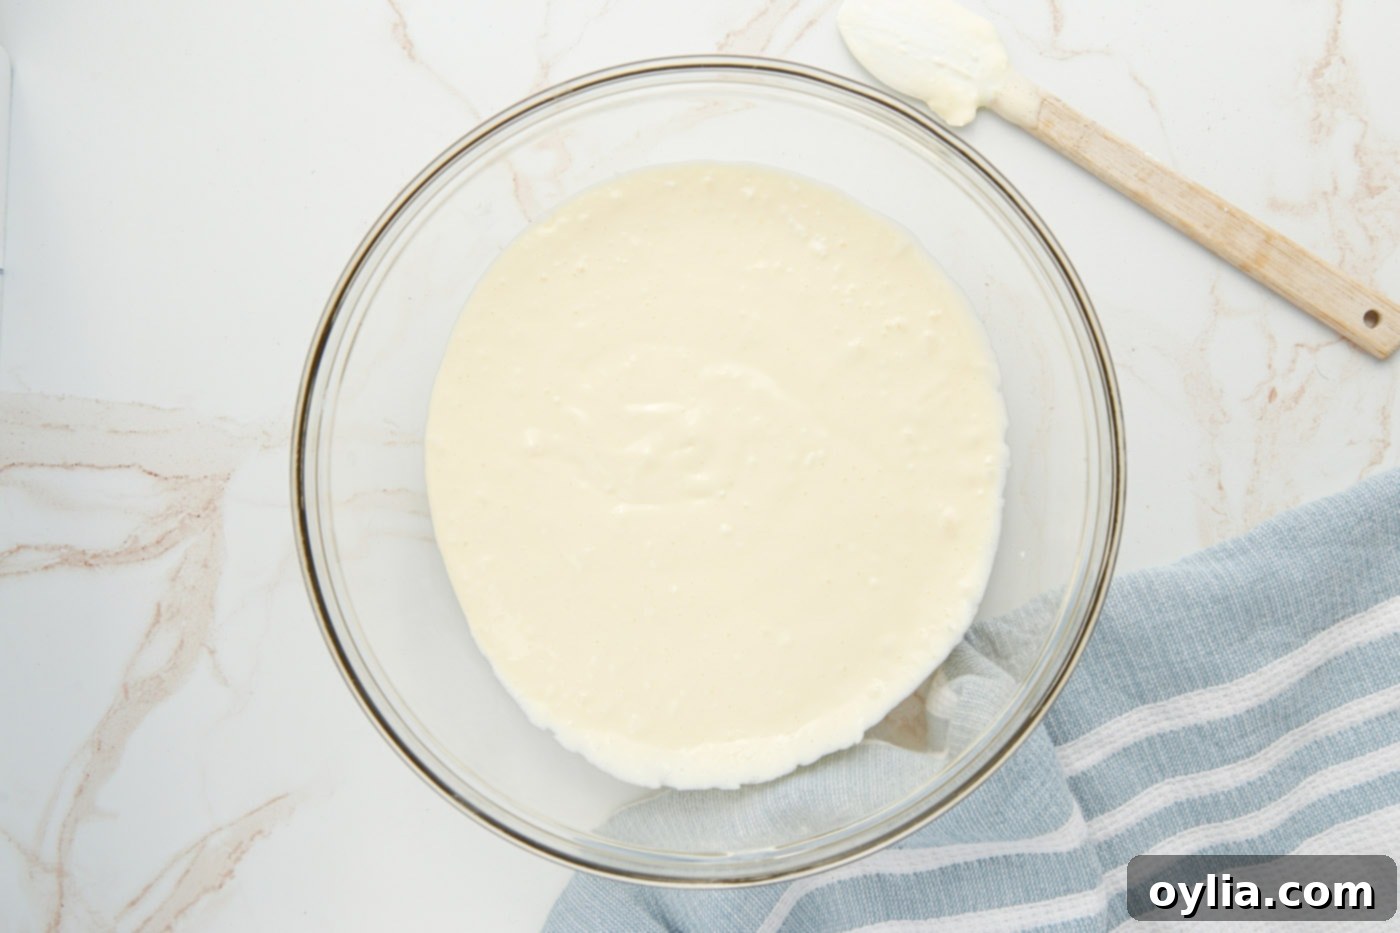
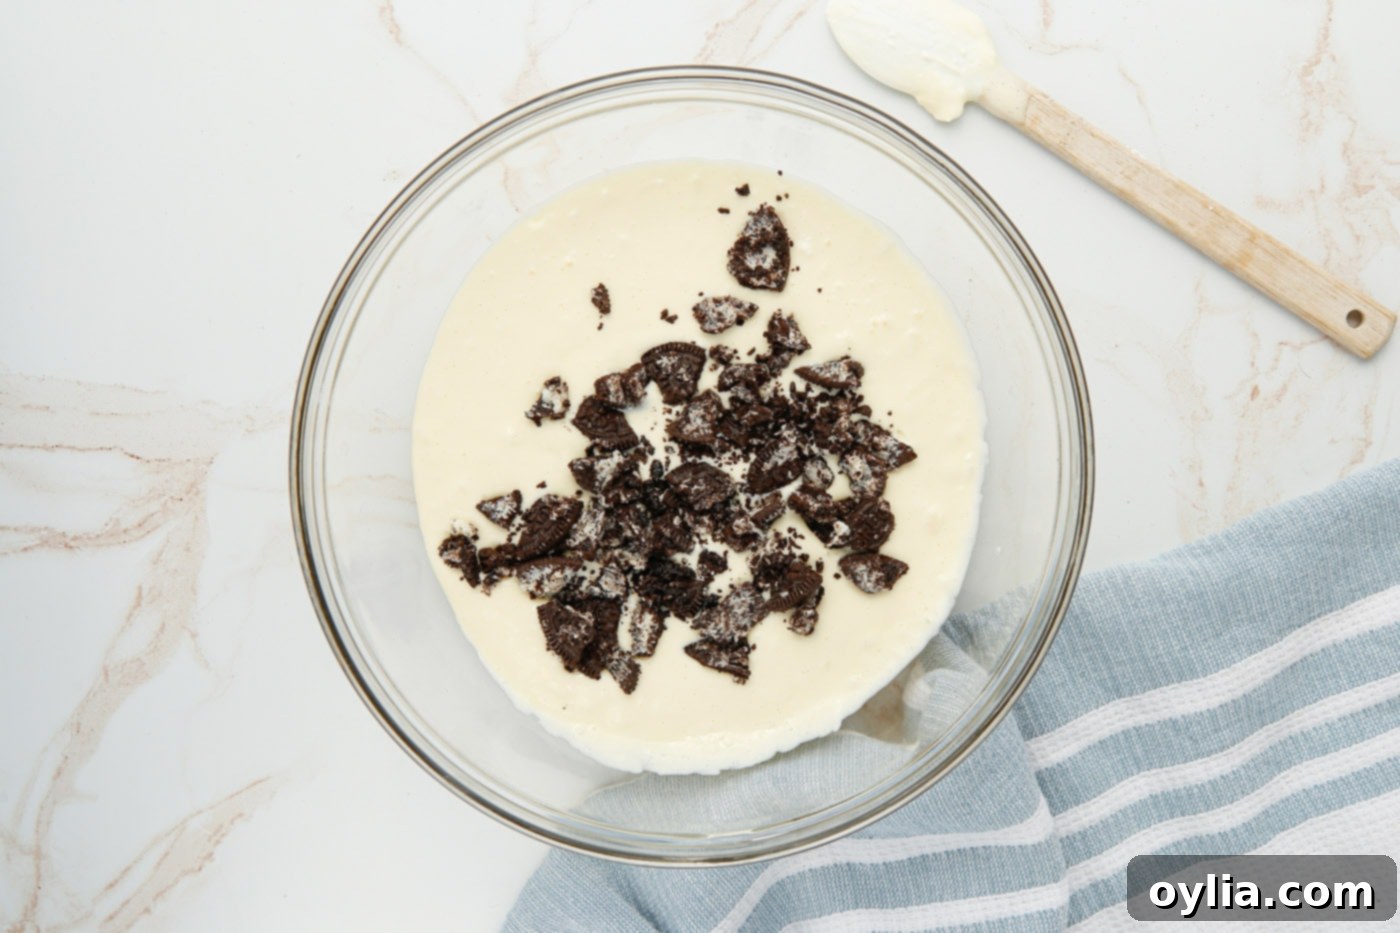
- **Mix the Smooth & Creamy Cheesecake Filling:** In a large mixing bowl, combine your well-softened cream cheese and granulated sugar. Using a hand mixer or a stand mixer fitted with the paddle attachment, beat the mixture on medium speed until it’s incredibly smooth, light, and creamy, with absolutely no lumps visible. Be sure to scrape down the sides of the bowl frequently to ensure everything is incorporated. Next, add the large eggs, one at a time, mixing only until just combined after each addition. **Do not overmix the eggs**, as incorporating too much air can cause the cheesecake to puff up during cooking and then crack as it cools. Finally, gently mix in the sour cream, the sifted all-purpose flour, and the vanilla extract until they are just blended into the batter. Once the base filling is smooth and uniform, carefully fold in half of your roughly chopped Oreo cookies using a rubber spatula. This gentle folding ensures a delightful distribution of crunchy cookie pieces throughout the creamy filling without crushing them excessively.


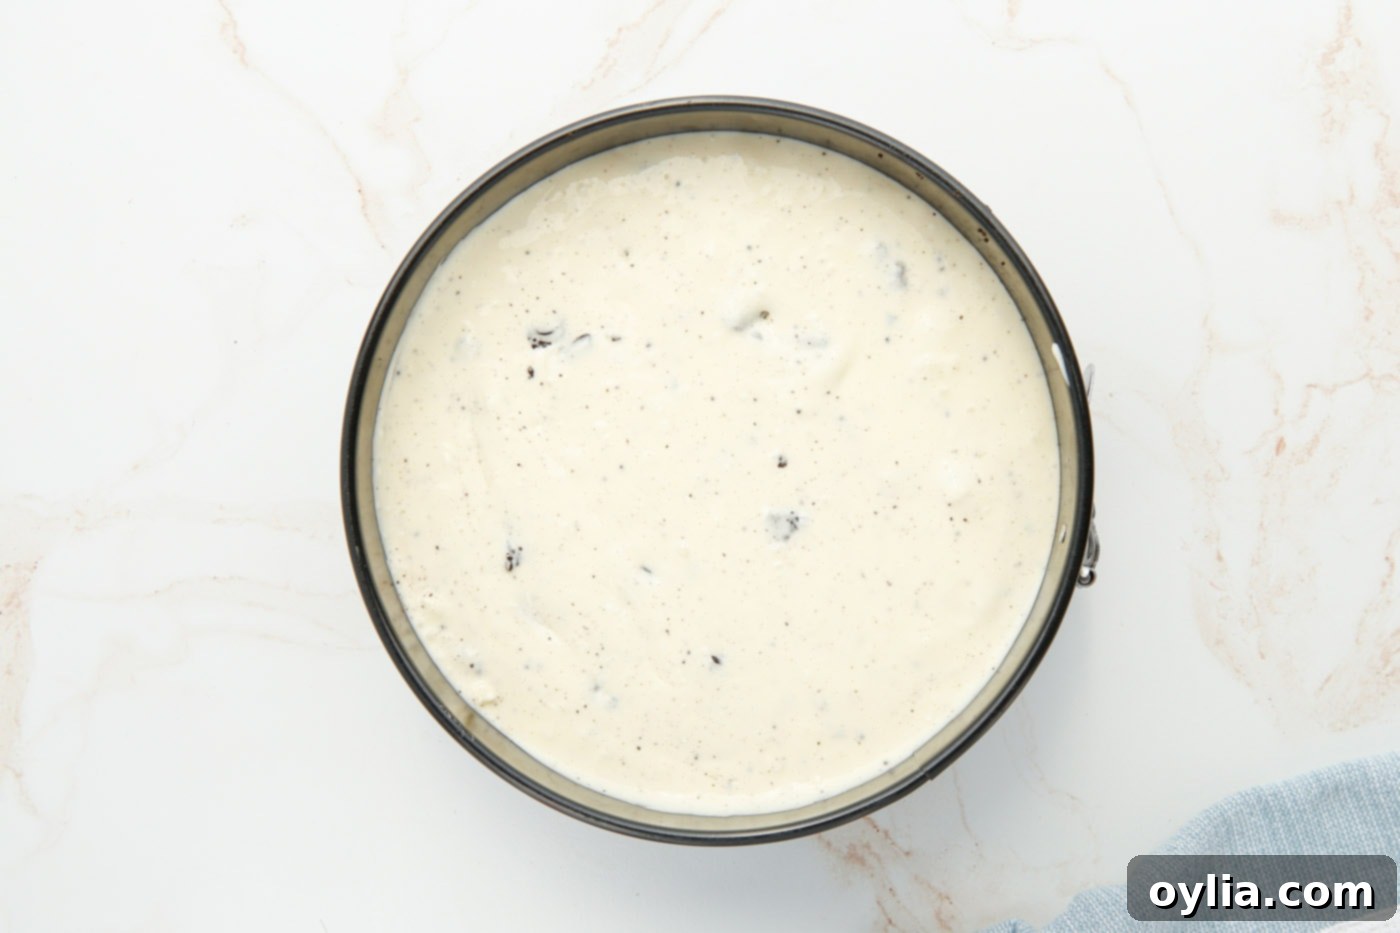
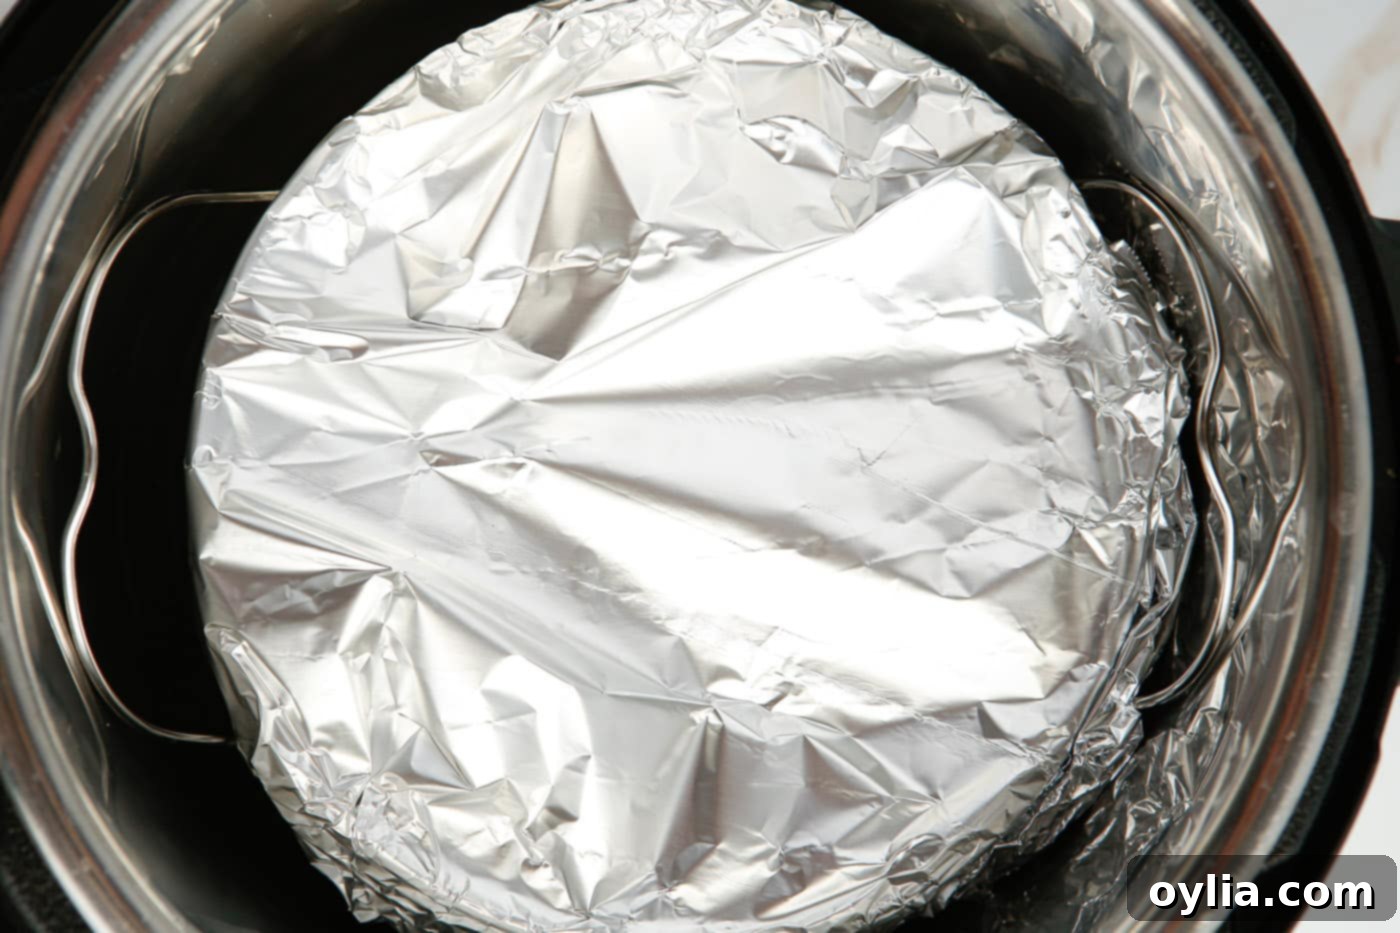
- **Assemble & Seal for Pressure Cooking:** Carefully pour the prepared cheesecake filling directly over the chilled Oreo crust in the springform pan. Use a small offset spatula or the back of a spoon to gently smooth the top surface of the cheesecake for an even and aesthetically pleasing finish. To prevent any excess moisture from the Instant Pot’s internal steam from dripping onto and potentially marring your beautiful cheesecake while it cooks, meticulously wrap the entire top of the springform pan tightly with aluminum foil. This acts as a protective shield.
- **Pressure Cook to Perfection:** Carefully lower the foil-wrapped cheesecake pan onto the trivet (or a homemade foil sling for easy removal) inside your 6-quart Instant Pot. Ensure the trivet is stable. Secure the Instant Pot lid, making absolutely sure it’s properly sealed according to your model’s instructions. Turn the steam release valve to the “Sealing” position. Select the “Manual” or “Pressure Cook” setting on high pressure and set the cooking timer for 35 minutes. Once the cooking cycle is complete, **do not open the lid immediately!** Allow the pressure to **naturally release (NR) for 10 minutes**. This slow release of pressure is vitally important as it helps the cheesecake to gradually settle and reduces the risk of cracks forming on its surface. After 10 minutes, carefully perform a quick release of any remaining steam by turning the valve to the “Venting” position. Once the float valve drops completely, you can safely open the lid.


- **Cool & Chill for Optimal Texture:** Once your cheesecake is carefully removed from the Instant Pot, gently remove the aluminum foil. Let the cheesecake cool on your kitchen counter for about 15 minutes. This initial cooling allows it to slowly adjust to room temperature. After this period, transfer the cheesecake (still in its springform pan) to the refrigerator. This is a critical step that cannot be rushed! Chill the cheesecake for a minimum of 6 hours, or ideally, overnight. Proper and thorough chilling is absolutely essential for the cheesecake to fully set, develop its rich, deep flavor, and achieve that signature dense, incredibly creamy, and firm texture. Patience truly is a virtue here, and it will be rewarded with a perfect slice.
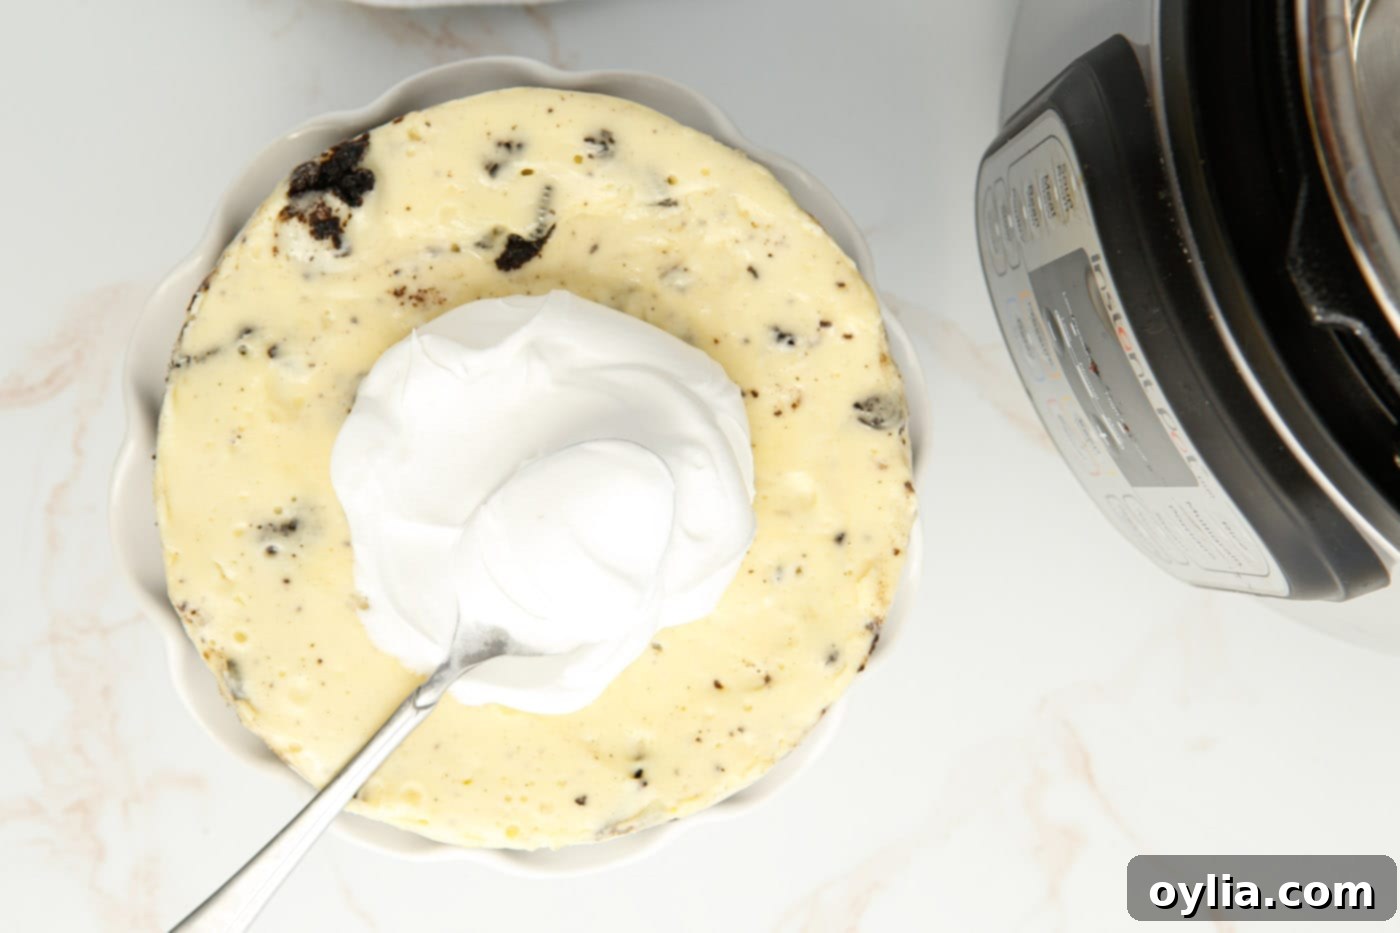
- **Garnish & Serve Your Masterpiece:** When your Instant Pot Oreo Cheesecake is perfectly chilled, firm, and ready to dazzle, carefully remove it from the springform pan. For a classic and utterly irresistible finish, spread a generous layer of freshly whipped cream evenly across the top surface of the cheesecake. Then, artistically sprinkle the remaining chopped Oreos over the whipped cream, creating a beautiful visual contrast and an extra layer of delightful crunch. This final touch not only enhances the flavor but also makes for a stunning presentation. Slice into elegant wedges, serve, and watch as this homemade Instant Pot Oreo Cheesecake becomes the undeniable star of your dessert table!

Frequently Asked Questions & Expert Tips for Instant Pot Cheesecakes
To maintain its peak freshness, creamy texture, and prevent it from absorbing any refrigerator odors, it’s essential to store your Instant Pot Oreo Cheesecake in an airtight container. Place it directly in the refrigerator, where it will remain wonderfully delicious for 4-5 days. For the absolute best flavor and texture, we always recommend consuming it within this timeframe.
Absolutely! This Instant Pot Oreo Cheesecake freezes exceptionally well, making it perfect for meal prep or saving for a future craving. To freeze, first ensure the cheesecake is completely chilled and firm. **It is crucial not to add any toppings (like whipped cream or fresh Oreos) before freezing**, as they won’t hold up well during the thawing process. Flash freeze the “naked” cheesecake for about an hour on a baking sheet until it’s solid. Then, wrap it tightly in several layers of plastic wrap, followed by a layer or two of heavy-duty aluminum foil. This double-layer protection is key to preventing freezer burn. It can be stored safely in the freezer for up to 4 months. When you’re ready to enjoy it, simply allow it to thaw gradually in the refrigerator overnight, or at room temperature for a few hours. Once completely thawed, you can add fresh whipped cream and a sprinkle of crushed Oreos for that perfect finishing touch.
Condensation is a very common and completely normal occurrence when cooking with a pressure cooker, as steam naturally builds up inside the sealed environment. The aluminum foil cover over your springform pan is specifically designed to minimize this, acting as a barrier. However, some moisture might still accumulate on the surface of the foil or even slightly on the cheesecake itself. Don’t worry, it’s nothing to fret over! If you notice any excess moisture on the surface of your cheesecake after removing the foil, you can gently blot it up with a clean paper towel. This quick step will not affect the incredible taste or creamy texture of your delicious dessert.
It’s perfectly normal and expected for the center of your Instant Pot cheesecake to be slightly jiggly when it first comes out of the pressure cooker. At this stage, it will resemble a very soft custard. The cheesecake will continue to set and firm up considerably as it cools on the counter and, most importantly, during the extended chilling process in the refrigerator. **It is absolutely crucial not to skip or rush the chilling step!** This is where the magic happens for its final firm texture. If, after chilling for at least 6 hours (or ideally overnight), your cheesecake still seems excessively runny or too soft, you can attempt to return it to the Instant Pot. Cook it for another 5-10 minutes on high pressure, followed by a 10-minute natural release, then re-chill thoroughly. Also, double-check that all your ingredients, especially the cream cheese, were at proper room temperature before mixing, as cold ingredients can sometimes lead to lumps and affect the final set.
This particular recipe is meticulously optimized for a 7-inch springform pan, which fits perfectly within a standard 6-quart Instant Pot. If you choose to use a different size pan, you will certainly need to make adjustments to both the ingredient quantities and the cooking time. For a smaller pan (e.g., a 6-inch), you might slightly reduce the ingredient amounts and decrease the pressure cooking time. Conversely, for a larger pan (e.g., an 8-inch), you would need to increase the ingredient quantities proportionally and extend the pressure cooking time. Regardless of size, always ensure that your pan fits comfortably within your Instant Pot insert without touching the sides or obstructing the sealing ring, and that there’s enough clearance for the lid to close and seal properly.
The Instant Pot method is inherently fantastic for preventing cracks due to its consistent, humid, and gentle cooking environment, which minimizes drastic temperature changes. However, a few additional expert tips can further guarantee a flawless, crack-free surface:
- **Always Use Room Temperature Ingredients:** As highlighted earlier, this is paramount. Cold ingredients lead to overmixing and a lumpy batter, which can trap air and cause cracks as the cheesecake cools and contracts.
- **Do Not Overmix the Batter:** Overmixing incorporates too much air into the cheesecake filling. This air expands rapidly during cooking and then collapses during cooling, often resulting in unsightly cracks. Mix only until the ingredients are just combined and smooth.
- **Utilize Natural Pressure Release (NR):** The 10-minute natural release period after cooking is absolutely vital. It allows the cheesecake to slowly and gradually adjust to the change in pressure and temperature, reducing any thermal shock that could lead to cracking.
- **Ensure Proper Chilling:** Do not rush the chilling process! A slow, gradual chill in the refrigerator allows the cheesecake to fully set and solidify without stress, helping to maintain its smooth, beautiful surface.
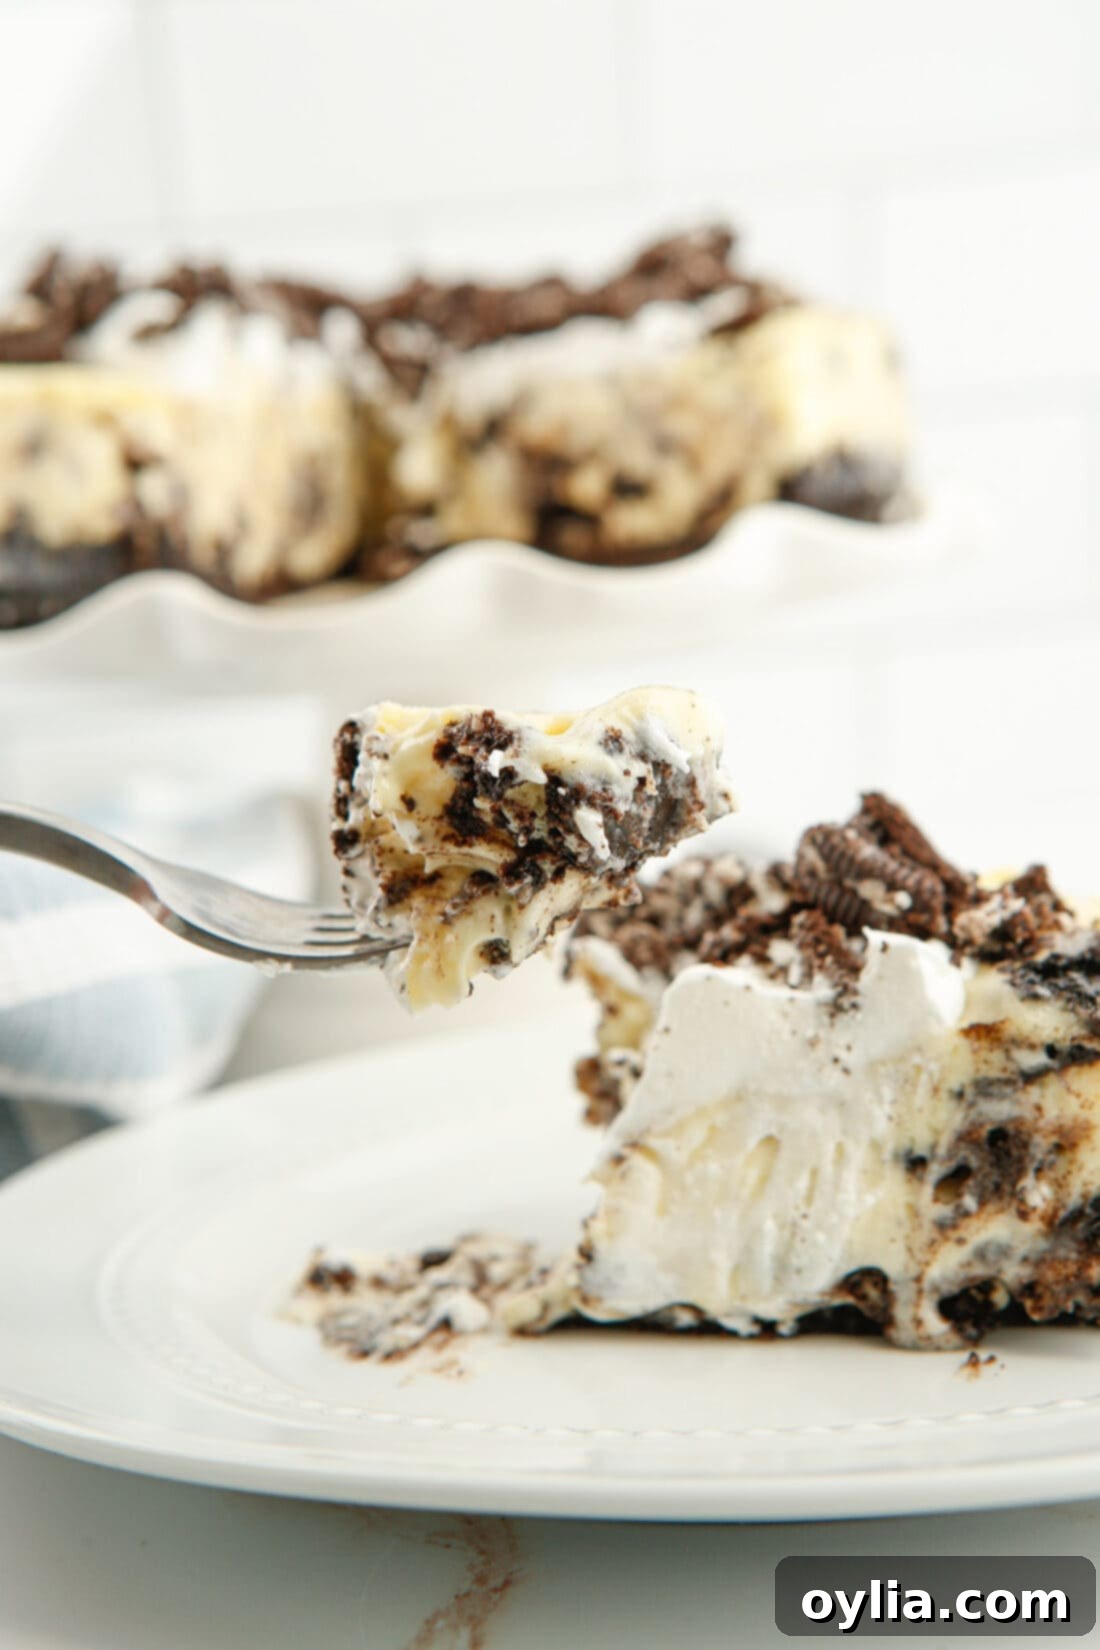
Serving Suggestions for Your Decadent Oreo Cheesecake
While this Instant Pot Oreo Cheesecake is undoubtedly a showstopper all on its own, a few thoughtful garnishes and accompaniments can truly elevate it to an even more spectacular dessert experience. For a classic and universally loved presentation, simply add a generous dollop of freshly whipped cream to each slice and finish with a sprinkle of extra crushed Oreos for that signature cookies and cream flair. The delightful contrast of the light, airy cream and the crunchy cookie bits is simply divine.
If you’re aiming for a truly elegant and fancy presentation, consider taking it up a notch. You could drizzle a silky smooth chocolate ganache or even a sweet white chocolate ganache glaze over the top of the entire cheesecake before adding your final cookie crumble. This adds another layer of rich flavor, a glossy finish, and significant visual appeal. A scattering of fresh berries, such as vibrant raspberries or juicy strawberries, can also provide a beautiful pop of color and a refreshing, tart counterpoint to the cheesecake’s sweetness. For the ultimate indulgence that will surely impress, serve each slice with a scoop of premium vanilla bean ice cream or a warm drizzle of homemade fudge sauce. Remember, this Instant Pot Oreo Cheesecake is always at its absolute best when served thoroughly chilled, as this allows its creamy texture and rich, complex flavors to fully shine.
More Irresistible Oreo Dessert Ideas to Savor
Can’t get enough of that delightful cookies and cream flavor? You’re in luck! Oreos are incredibly versatile and form the delicious base of many fantastic desserts. If you loved making (and devouring!) this Instant Pot Oreo Cheesecake, be sure to explore these other crowd-pleasing Oreo creations that are perfect for any occasion, from casual gatherings to special celebrations:
- Oreo Cupcakes: Perfectly portioned and utterly delicious, these cupcakes are a fantastic way to enjoy Oreo goodness in individual, bite-sized servings.
- Oreo Icebox Cake: A no-bake wonder that’s incredibly easy to assemble and absolutely perfect for warm weather. Layers of cookies and cream magically soften into a delectable, cake-like texture overnight.
- Oreo Cheesecake Bars: Enjoy all the beloved flavor of cheesecake with the added convenience and portability of a bar. These are great for parties, potlucks, or just a quick treat.
- Oreo Cheesecake Brownies: The ultimate mashup of two beloved desserts – fudgy, rich brownies swirled with creamy, dreamy Oreo cheesecake. A truly indulgent combination!
- Fried Oreos: Bring a classic fairground treat right into your home! These warm, gooey, and absolutely addictive fried Oreos are a nostalgic delight.
Explore More Delicious Instant Pot Cheesecake Recipes
Once you realize how incredibly easy, efficient, and reliable it is to make a perfectly smooth and creamy cheesecake in your Instant Pot, you’ll undoubtedly want to dive into exploring every possible flavor combination! The pressure cooker method consistently ensures a beautifully set, crack-free, and delightful result, no matter the variation you choose. Expand your Instant Pot cheesecake repertoire and discover new favorites with these other delightful recipes from our collection:
- Instant Pot Cherry Cheesecake: A vibrant and exquisitely fruity delight, generously topped with a luscious cherry filling that provides a beautiful contrast.
- Instant Pot Funfetti Cheesecake: A truly celebratory cheesecake, bursting with colorful sprinkles and a joyful, sweet flavor that’s perfect for birthdays and happy occasions.
- Instant Pot Strawberry Cheesecake: Fresh and sweetly aromatic, this version is absolutely perfect when adorned with a homemade fresh strawberry topping.
- Instant Pot Lemon Curd Cheesecake: A bright, zesty, and tangy option, featuring a delightful and refreshing lemon curd swirl throughout the creamy filling.
I absolutely adore sharing my passion for baking and cooking with all of you! It can sometimes be tricky to remember to check back every day for new and exciting ideas, which is precisely why I offer a convenient newsletter. This brings fresh, inspiring recipes directly to your inbox whenever a new one is posted on the blog. Simply subscribe today and start receiving your free daily recipes – never miss out on discovering a delicious new dish again!
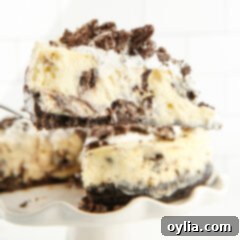
Instant Pot Oreo Cheesecake
IMPORTANT – There are often Frequently Asked Questions within the blog post that you may find helpful. Simply scroll back up to read them!
Print It
Pin It
Rate It
Save ItSaved!
Ingredients
Crust
- 12 Oreo cookies crushed into fine crumbs (use whole cookies with cream filling)
- 3 Tbsp unsalted butter melted
Cheesecake Filling
- 16 oz cream cheese 2 8 oz packages, well softened at room temp
- ½ cup granulated sugar
- 2 large eggs at room temperature
- ¼ cup sour cream
- 3 Tbsp all-purpose flour sifted
- 1 tsp vanilla extract
- 15 Oreo cookies roughly chopped, divided (for filling and topping)
- 1 ½ cups water for the bottom of Instant Pot
- 1 cup whipped cream for topping (optional)
Essential Equipment
-
6 qt Instant Pot Duo
-
7 inch springform pan
-
Electric mixer
Pro Tips for Success
- **Room Temperature is Key:** Always ensure your cream cheese and eggs are at room temperature. This is essential for a smooth, lump-free batter and helps prevent unsightly cracks in your finished cheesecake.
- **No Need to Separate Oreos:** For the crust, feel free to crush whole Oreos (with the cream filling). The cream helps bind the crumbs together and adds an extra layer of delicious flavor.
- **Don’t Overmix the Batter:** When preparing the filling, mix only until the ingredients are just combined, especially after adding the eggs. Overmixing can incorporate too much air, which may lead to cracks during cooling.
- **Jiggly is Good:** It’s completely normal for your cheesecake to still be slightly jiggly in the center immediately after cooking. It will continue to set and firm up beautifully as it cools on the counter and, most importantly, during the chilling process.
- **Springform Pan for Easy Release:** A springform pan is highly recommended for effortless removal of the cheesecake. If you find it sticking slightly, gently run a warm, thin butter knife around the inner edge of the pan before unclipping.
- **Chilling is Crucial:** For the best possible texture, flavor, and stability, allow your cheesecake to chill in the refrigerator for a minimum of 6 hours, or ideally, overnight. This step is non-negotiable for a truly decadent result.
- **Storage:** Store any leftover Instant Pot Oreo Cheesecake in an airtight container in the refrigerator. It will maintain its deliciousness for 4-5 days.
- **Freezing:** For longer storage (up to 4 months), flash freeze the cheesecake (without any toppings) until firm. Then, wrap it tightly in plastic wrap followed by aluminum foil. Thaw it in the refrigerator before serving and add fresh toppings.
Instructions
-
Prepare a 7-inch springform pan by lining the bottom with parchment paper and greasing the sides. Pour 1 ½ cups of water into the Instant Pot insert.
-
For the crust, crush 12 Oreo cookies into fine crumbs and mix thoroughly with 3 Tbsp of melted unsalted butter. Press the mixture firmly into the bottom of the prepared springform pan. Place the crust into the freezer to chill while preparing the filling.
-
In a large mixing bowl, beat 16 oz of softened cream cheese and ½ cup granulated sugar until smooth and creamy. Add 2 large eggs, one at a time, mixing until just combined after each. Stir in ¼ cup sour cream, 3 Tbsp sifted all-purpose flour, and 1 tsp vanilla extract until just blended. Gently fold in half of the 15 roughly chopped Oreo cookies.
-
Pour the cheesecake filling over the chilled crust in the springform pan. Smooth the top with a small spatula or knife.
-
Tightly wrap the top of the pan with aluminum foil to prevent condensation from dripping onto the cheesecake during cooking.
-
Carefully lower the cheesecake (on a trivet) into the Instant Pot. Close the lid and turn the steam release valve to “Sealing.” Set to “Manual” or “Pressure Cook” on high pressure for 35 minutes. Once done, allow a Natural Release for 10 minutes, then Quick Release any remaining pressure.
-
Remove the cheesecake from the Instant Pot and let it cool on the counter for 15 minutes. Then, transfer to the refrigerator and chill for at least 6 hours, or preferably overnight, to set completely.
-
When ready to serve, remove the cheesecake from the pan. Spread 1 cup of whipped cream evenly over the top and sprinkle with the remaining chopped Oreos. Slice and enjoy!
Nutrition Information (Estimated)
The recipes on this blog are tested with a conventional gas oven and gas stovetop. It’s important to note that some ovens, especially as they age, can cook and bake inconsistently. Using an inexpensive oven thermometer can assure you that your oven is truly heating to the proper temperature. If you use a toaster oven or countertop oven, please keep in mind that they may not distribute heat the same as a conventional full sized oven and you may need to adjust your cooking/baking times. In the case of recipes made with a pressure cooker, air fryer, slow cooker, or other appliance, a link to the appliances we use is listed within each respective recipe. For baking recipes where measurements are given by weight, please note that results may not be the same if cups are used instead, and we can’t guarantee success with that method.
