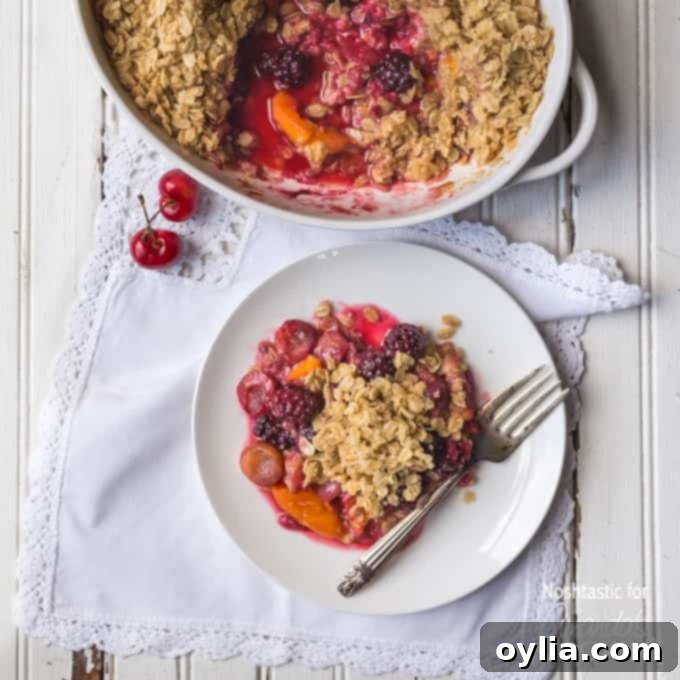
The Ultimate Summer Fruit Crisp: A Delightful Seasonal Dessert & Healthy Breakfast Option
There’s nothing quite like a homemade fruit crisp to capture the essence of summer. This beautiful summer fruit crisp is the perfect way to utilize an abundance of seasonal fruits, transforming them into a warm, inviting, and utterly delicious baked dessert. But its appeal doesn’t stop there! With a balanced sweetness, it’s also low enough in sugar per serving to gracefully double as a healthy, fruit-filled breakfast option. Imagine starting your day with a spoonful of warm, tender fruit topped with a wholesome, crunchy oat layer – pure bliss!
This versatile berry crisp can be served hot, allowing the fruit juices to meld with the buttery topping, or enjoyed cold, offering a refreshing treat. Elevate your experience by pairing it with a scoop of creamy vanilla ice cream, a dollop of freshly whipped cream, or simply savor its natural flavors on its own. Whether it’s a family gathering, a casual brunch, or a quiet evening at home, this fruit crisp promises to be a crowd-pleaser and a personal favorite. In fact, many find it just as delightful as a prize-winning classic, like this incredible berry rhubarb crumble!
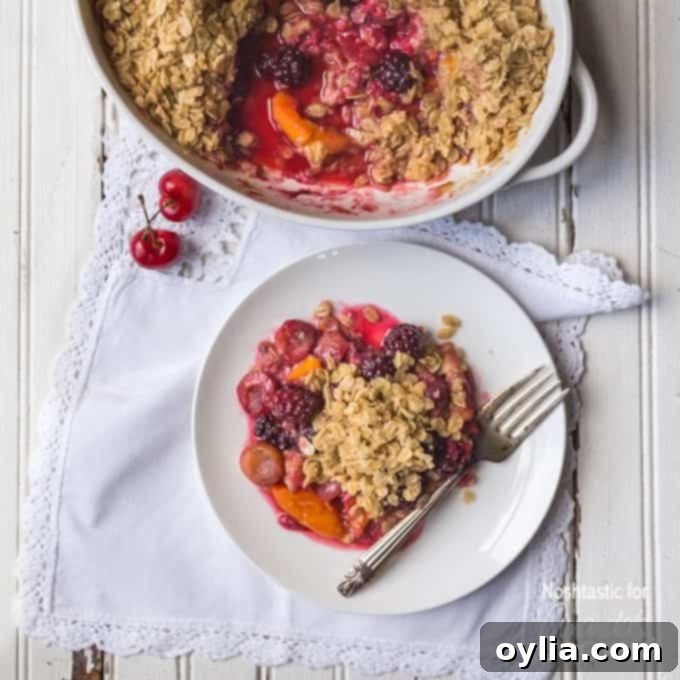
Crafting Your Perfect Summer Fruit Crisp: Tips for Choosing and Preparing Seasonal Fruits
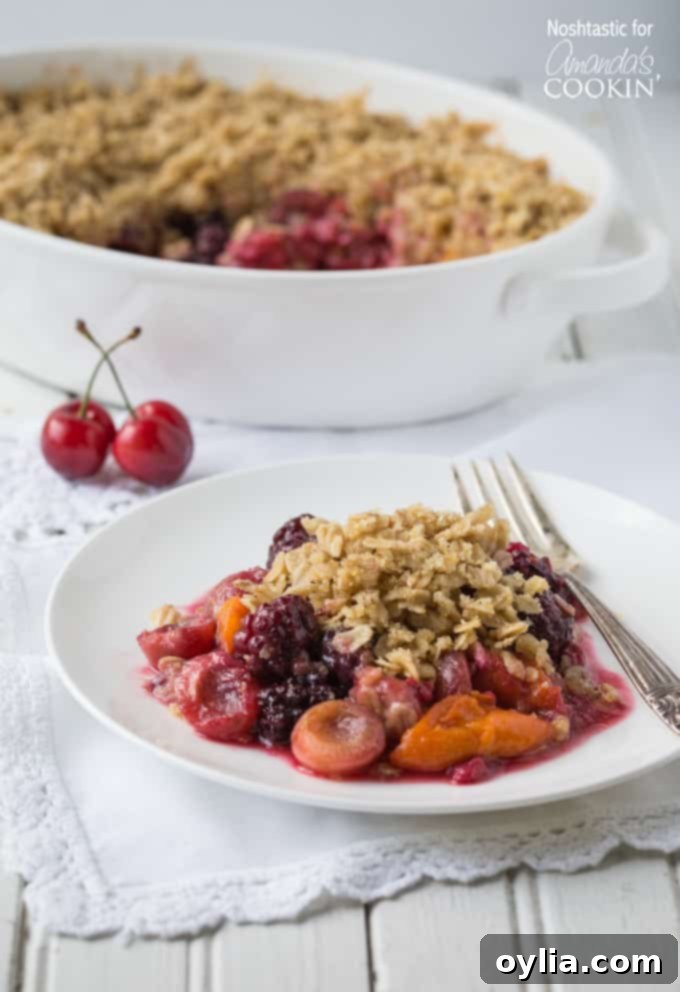
One of the true joys of making this Summer Fruit Crisp is its incredible adaptability. While our chosen selection of apricots, blackberries, raspberries, and cherries creates a harmonious blend of sweet and tart flavors, you can easily vary the fruit depending on what’s in season and readily available at your local market. Don’t be afraid to experiment with your favorite summer produce!
For instance, we opted for apricots because they were perfectly ripe and waiting in the fridge. However, ripe peaches or nectarines would make a absolutely lovely and equally flavorful alternative, offering a different but equally delightful sweetness. If you’re struggling to find good quality peaches, as is often the case early in the season, don’t force it. The beauty of a fruit crisp lies in using the best fruit you can find. Similarly, if blueberries are abundant, they can be an easy and delicious substitution for blackberries, adding their own unique burst of juicy flavor. Consider combinations like strawberries and rhubarb, apples and pears, or even a tropical medley if you’re feeling adventurous. The key is to select fruits that are fresh, ripe, and full of natural sweetness, as this forms the heart of your crisp.
The Art of the Crisp Topping: Achieving Golden Perfection
Creating the signature crispy topping for this fruit crisp is surprisingly straightforward, requiring just a few simple steps. The magic happens by combining all the topping ingredients – flour, brown sugar, rolled oats, and butter – and mixing them until a crumbly texture forms. Don’t get too concerned about the precise size or uniformity of the butter chunks; once the crisp begins to bake, the butter will melt, coating the oats and flour, and coming together in the oven to form that irresistible, golden-brown, and perfectly crispy layer that gives the dessert its name.
For best results, we recommend using cold butter, which helps create those wonderful pockets of crispness as it melts slowly. You can use your fingertips to rub the butter into the dry ingredients, a pastry blender, or even a food processor for a quicker method. The goal is a mixture that resembles coarse crumbs, with some larger pieces of butter still visible. This ensures a varied texture in the final product, from tender and crumbly to delightfully crunchy.
There are affiliate links in this post. That means if you buy something from that link, I will earn a small commission, but it won’t cost you anything additional.
Essential Ingredients for Your Summer Fruit Crisp
Gathering your ingredients is the first exciting step towards a delicious homemade crisp. Here’s what you’ll need for the vibrant fruit filling:
- 3 apricots, sliced and pitted
- 1 1/4 cups blackberries
- 1 1/4 cups raspberries
- 1 1/4 cup cherries, pitted and halved for easier eating
- 2 tbsp light brown sugar (adjust to taste based on fruit sweetness)
Perfecting the Crispy Topping Ingredients:
This simple yet effective topping creates the signature crunchy layer:
- 1/3 cup all-purpose flour
- 1/4 cup (packed) light brown sugar
- 1 cup rolled oats (ensure they are not instant oats for the best texture)
- 1 stick (8 tablespoons) unsalted butter, cut into small, cold pieces
Useful Tools for Your Baking Adventure:
Having the right tools can make the crisp-making process even more enjoyable:
- Cherry pitter: An invaluable tool for quickly preparing cherries.
- 8×8 baking dish: A standard size for this recipe, or consider this beautiful porcelain alternative for an elegant presentation.
- Mixing bowls: Essential for combining your fruit filling and crisp topping ingredients.
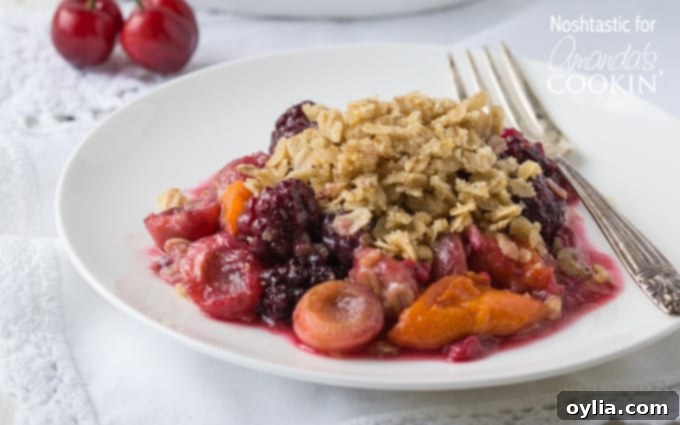
Expert Baking Tips for Your Best Summer Fruit Crisp Ever:
Achieving the ideal balance between a tender, bubbling fruit filling and a golden, crunchy topping is an art form. Here are some tips to help you customize your crisp to perfection:
- For a Super Crispy Topping: If your heart desires a very crispy, deeply golden topping, you can certainly leave your crisp in the oven for a few extra minutes beyond the recommended baking time. Keep a close eye on it to prevent burning. However, do note that a longer cooking time will inevitably result in the fruit becoming softer, more jam-like. It’s a trade-off that many find worthwhile!
- Preserving Fruit Shape: Conversely, if your preference leans towards fruit that retains more of its individual shape and a slightly firmer texture, you might need to adjust your expectations for the topping’s crispness. A shorter baking time will ensure the fruit doesn’t overcook, but the topping might be a little lighter in color and crunch. It truly comes down to personal preference; feel free to adjust the cooking time to achieve your desired outcome for both components.
- Quick Browning Boost: For those comfortable with using their broiler, it can be a fantastic tool for a last-minute crispness and color boost. Once your crisp is almost done, you could carefully pop it under a preheated broiler for just a minute or two. Watch it like a hawk – the topping can go from perfectly golden to burnt in mere seconds! This method is ideal for achieving a beautiful, deeply browned finish without overcooking the fruit.
- Cooling is Key: While it’s tempting to dig in immediately, allowing your fruit crisp to cool for 5-10 minutes after removing it from the oven is crucial. This cooling period allows the fruit juices to thicken slightly and the topping to set, making for a cleaner serve and a more pleasant eating experience.
- Doneness Cues: Beyond the timing, look for visual cues. The fruit filling should be visibly bubbling around the edges, indicating it’s hot and tender. The topping should be golden brown and feel firm to the touch. A delightful aroma of cooked fruit and toasted oats will also fill your kitchen!
Scroll Down for the Easy-to-Follow, Printer-Friendly Recipe Card!
Amanda’s Culinary Journey: From Crisp Skeptic to Devoted Fan
I absolutely adore this fruit crisp that Sheena so generously shared with us! It’s funny how tastes evolve over time. I must confess, cobblers and crisps weren’t always at the top of my dessert list. Growing up, these warm, baked fruit delights weren’t a staple in my mom’s kitchen, so for a long time, they felt a bit foreign to me. They simply weren’t part of my culinary upbringing.
However, as I’ve grown older and become more adventurous in the kitchen, I’ve opened myself up to trying new things – and what a delicious journey it’s been! Now, I can confidently say I love a good fruit crisp just like everyone else! There’s something incredibly comforting and satisfying about the combination of tender, sweet fruit and a buttery, crunchy topping, especially when served warm and generously topped with a scoop of creamy vanilla ice cream. Sheena’s Summer Fruit Crisp looks utterly amazing, and I genuinely cannot wait to try making it myself and sharing it with my family!
Speaking of favorite crisps, one standout from my extensive recipe library is this fantastic Apple Cranberry Crisp. The tart cranberries paired with sweet apples create an irresistible flavor profile that I particularly love during the autumn months. The good news is, I often keep bags of fresh cranberries stashed away in my freezer, making this a delightfully easy crisp to whip up at any time of year, whenever the craving strikes.
If you don’t happen to have cranberries readily available in your freezer, or if you’re looking for another seasonal fruit crisp inspiration, this Pear-Peach Crisp may be an even better choice. This one also holds a special place among my favorites, largely because I don’t get to enjoy fresh peaches as often as I’d like. The way the sweet, juicy peaches combine with the delicate, slightly firm pears in this particular dessert is simply amazing and truly a treat for the taste buds!
And for those times when convenience is key, and you occasionally enjoy the ease of making dessert from a cake mix, we have some fantastic options that will be right up your alley. You absolutely must try our delightful crockpot apple cobbler for a hands-off approach, or this incredibly quick and satisfying Quick Cranberry Apple Cobbler. Have you started to notice a pattern yet? I clearly have a deep affection for serving these warm, comforting desserts with a generous scoop of cold vanilla ice cream – it’s truly the perfect contrast!
We genuinely hope you enjoyed this delicious journey through our favorite crisp recipes and are inspired to create your own! Be sure to subscribe to our newsletter for even more FREE recipes, creative craft ideas, and seasonal delights delivered straight to your inbox.
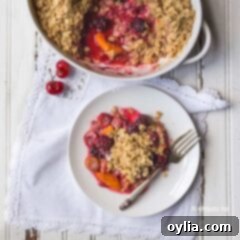
Summer Fruit Crisp
IMPORTANT – There are often Frequently Asked Questions within the blog post that you may find helpful. Simply scroll back up to read them!
Print It
Rate It
Save ItSaved!
Ingredients
- 3 apricots sliced and pitted
- 1 ¼ cups blackberries
- 1 ¼ cups raspberries
- 1 ¼ cup cherries pitted and halved
- 2 tbsp light brown sugar
TOPPING
- ⅓ cup all purpose flour
- ¼ cup light brown sugar
- 1 cup rolled oats not instant
- 1 stick butter cut into small pieces
Instructions
-
Preheat your oven to 375°F (190°C).
For the fruit filling:
-
Place all prepared fruit (apricots, blackberries, raspberries, cherries) into a large mixing bowl. Sprinkle with the light brown sugar. Stir gently to ensure the fruit is evenly coated.
-
Transfer the fruit and sugar mixture into an 8×8 baking dish, spreading it out into an even layer.
For the topping:
-
In a separate medium-sized bowl, combine all topping ingredients: all-purpose flour, packed light brown sugar, rolled oats, and cold butter pieces. Mix them together until the mixture resembles coarse crumbs. You can use a fork, a pastry blender, or rub the butter into the dry ingredients using your fingertips.
For the crisp:
-
Evenly sprinkle the prepared topping mixture over the fruit in the baking pan. Bake for 30 – 45 minutes, or until the topping is lightly golden brown and the fruit filling is bubbling around the edges. If you prefer a darker, crisper topping, you can bake it a little longer (keeping an eye on it!), but be aware that extended baking time may result in the fruit becoming softer.
-
Once baked, remove the fruit crisp from the oven and allow it to cool for 5-10 minutes before serving. This brief resting period helps the fruit juices set and the topping maintain its crispness.
The recipes on this blog are tested with a conventional gas oven and gas stovetop. It’s important to note that some ovens, especially as they age, can cook and bake inconsistently. Using an inexpensive oven thermometer can assure you that your oven is truly heating to the proper temperature. If you use a toaster oven or countertop oven, please keep in mind that they may not distribute heat the same as a conventional full sized oven and you may need to adjust your cooking/baking times. In the case of recipes made with a pressure cooker, air fryer, slow cooker, or other appliance, a link to the appliances we use is listed within each respective recipe. For baking recipes where measurements are given by weight, please note that results may not be the same if cups are used instead, and we can’t guarantee success with that method.
