The Best Fluffy Rice Pilaf Recipe with Celery and Onion: An Easy Homemade Side Dish
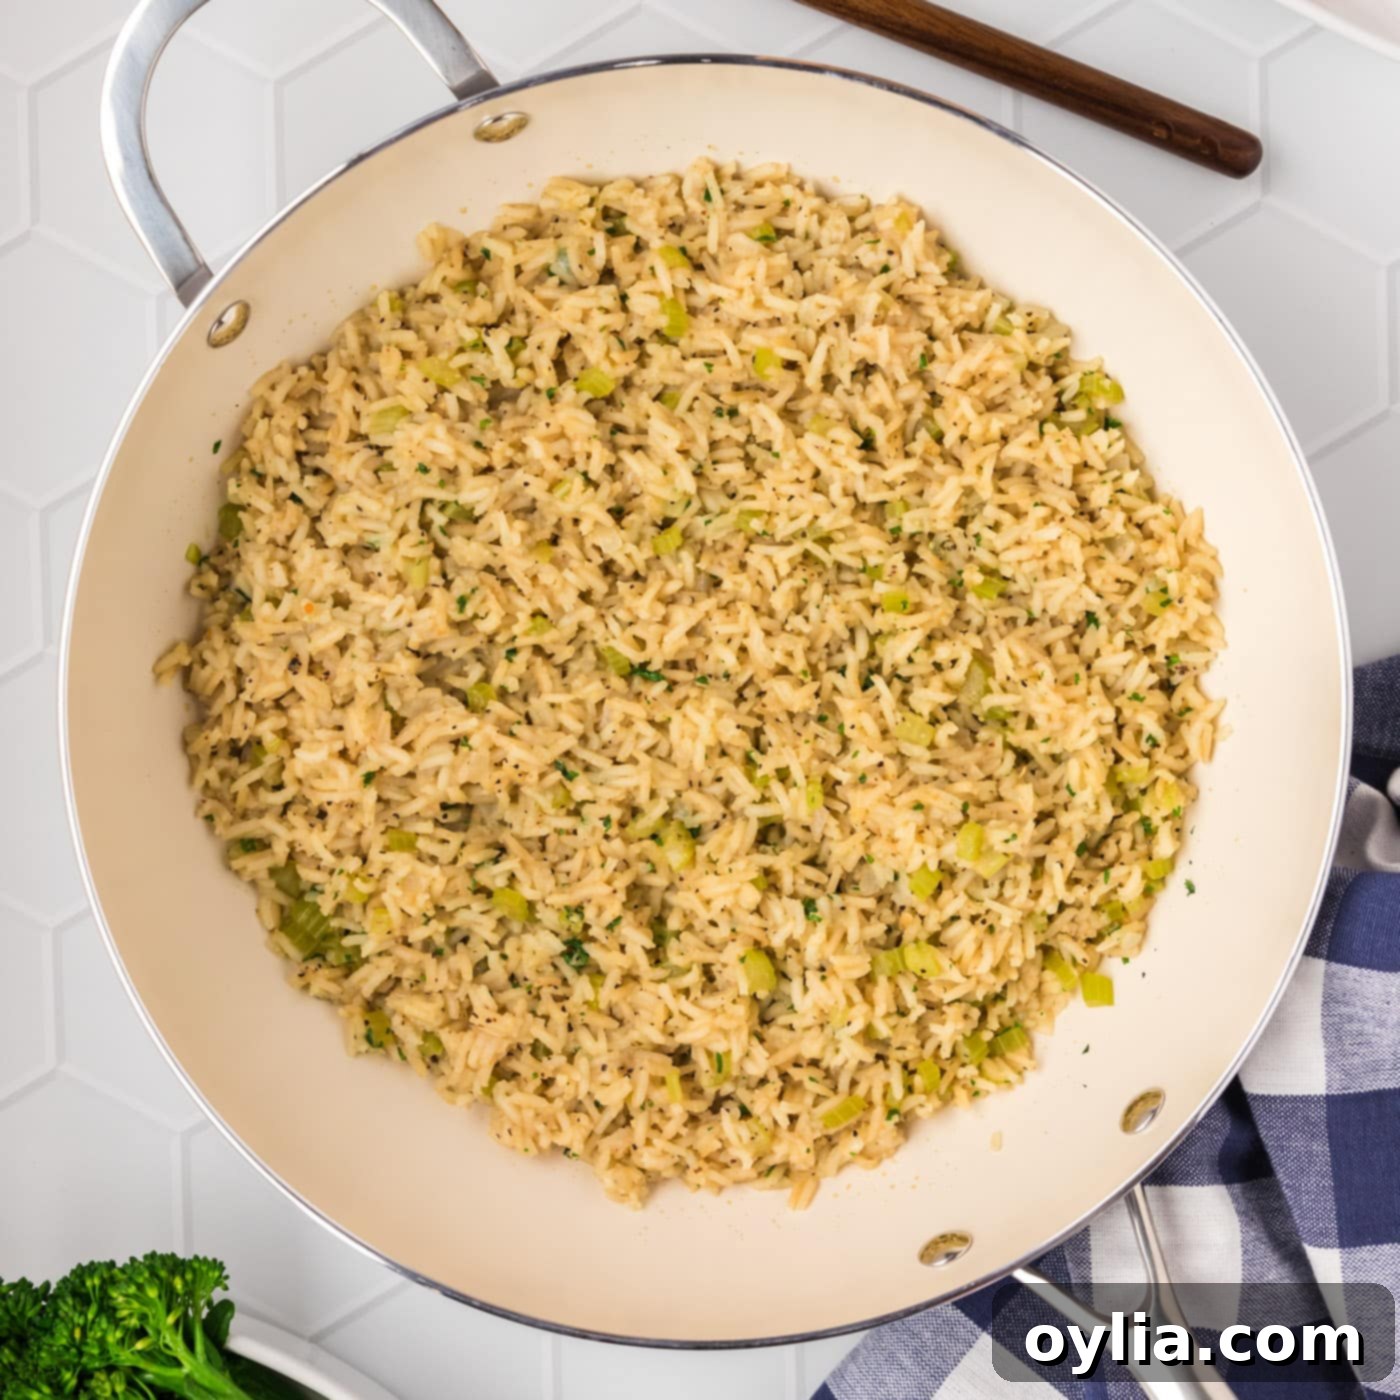
Transform your ordinary rice into an extraordinary side dish with our incredibly easy and delicious **Fluffy Rice Pilaf recipe**. This homemade version elevates plain white rice by infusing it with the aromatic flavors of sautéed celery and onion, simmered to perfection in a rich chicken stock. The result is a light, tender, and irresistible pilaf that will complement any meal and leave your taste buds craving more!
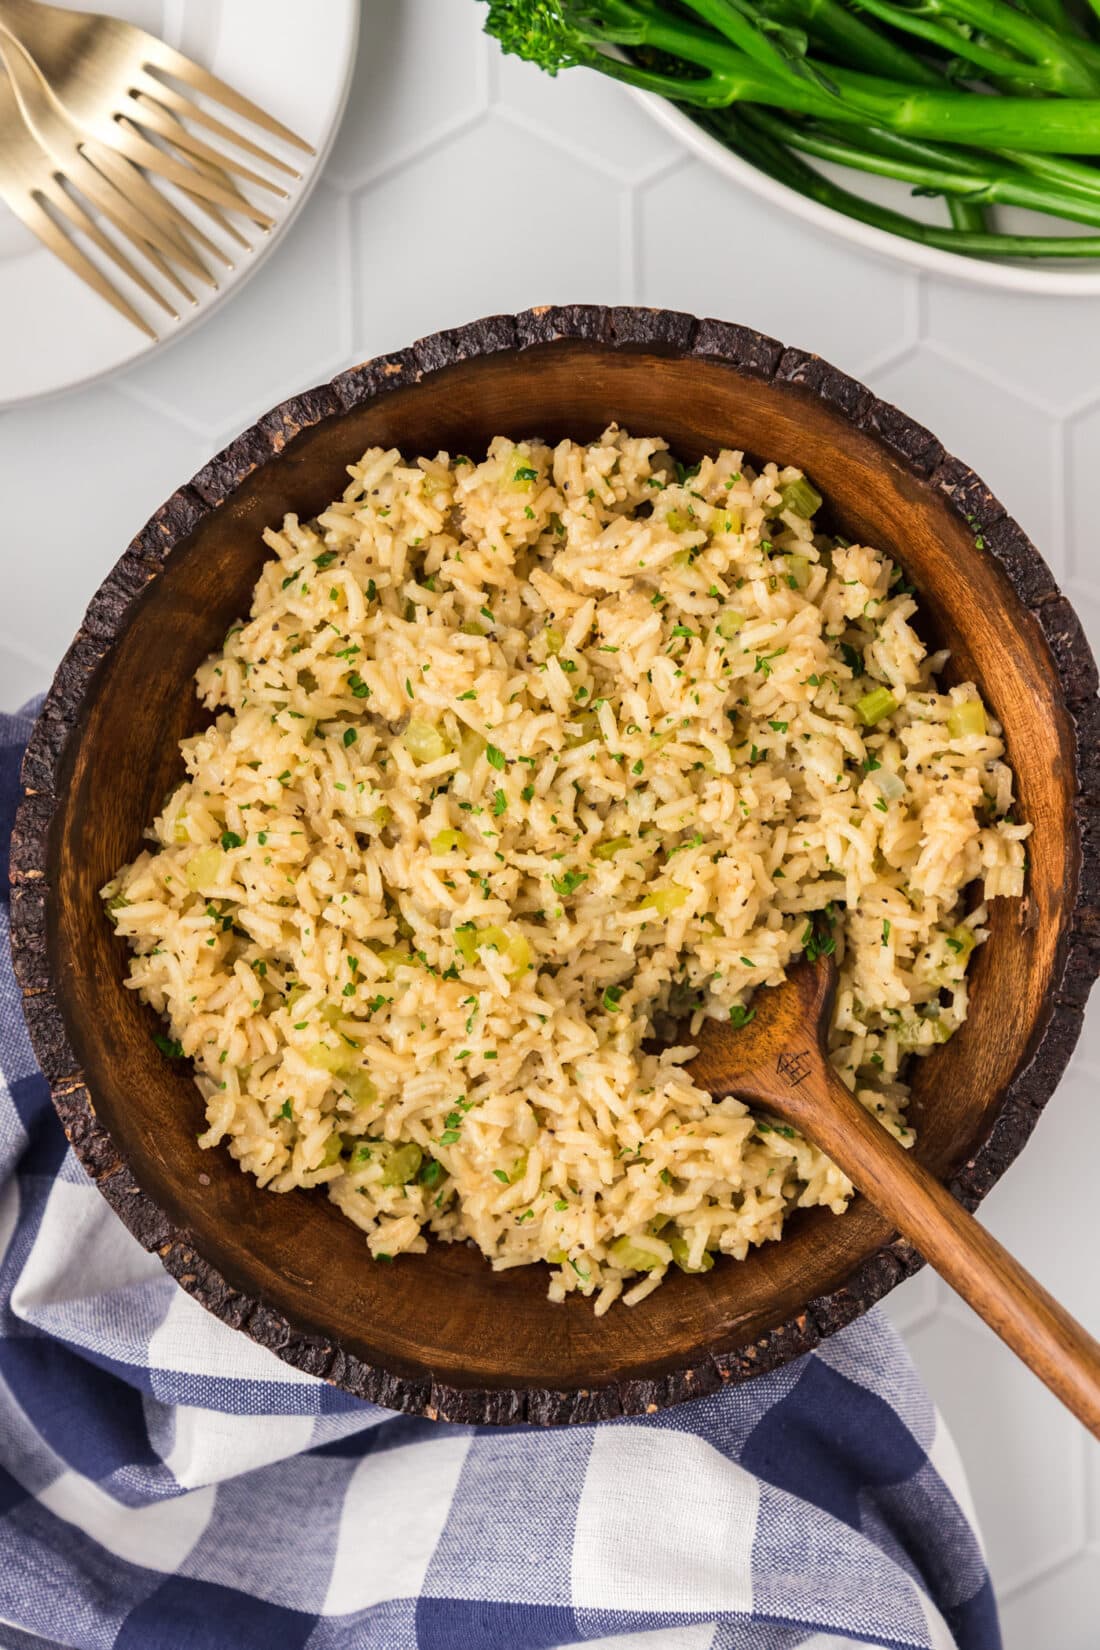
Why This Homemade Rice Pilaf Recipe Works Wonders
This **rice pilaf recipe** isn’t just another side; it’s a game-changer that will quickly become a staple in your kitchen. Here’s why it stands out:
- Effortlessly Simple: While it delivers complex flavors, the process itself is incredibly straightforward, making it a perfect **quick and easy side dish** for busy weeknights. Everything comes together beautifully on the stovetop, allowing you to focus on your main course.
- Superior Flavor & Texture: Forget the bland, often gummy results of store-bought box mixes. Our **homemade rice pilaf** is miles ahead in terms of taste and texture. Each grain of long-grain white rice cooks up perfectly fluffy and distinct, never sticky.
- Aromatic Foundation: The magic begins with a simple sauté of finely diced onion and celery in butter. This classic combination creates an aromatic base that permeates every grain of rice, offering a depth of flavor that’s both comforting and sophisticated. The butter adds a rich, subtle nuttiness that enhances the overall experience.
- Moisture and Richness: Simmering the rice in a combination of water and high-quality **chicken stock** (or your preferred stock) ensures maximum moisture and incredible savory flavor. The stock is key to transforming plain rice into a fragrant, flavorful component of your meal.
- Incredible Versatility: This pilaf is fantastic on its own, but it’s also a blank canvas for culinary creativity. You can easily adapt it to suit your preferences, making it a truly versatile addition to your recipe repertoire.
This recipe proves that making delicious food from scratch doesn’t have to be complicated. With minimal effort, you get a flavorful, fluffy side that genuinely elevates any dinner.
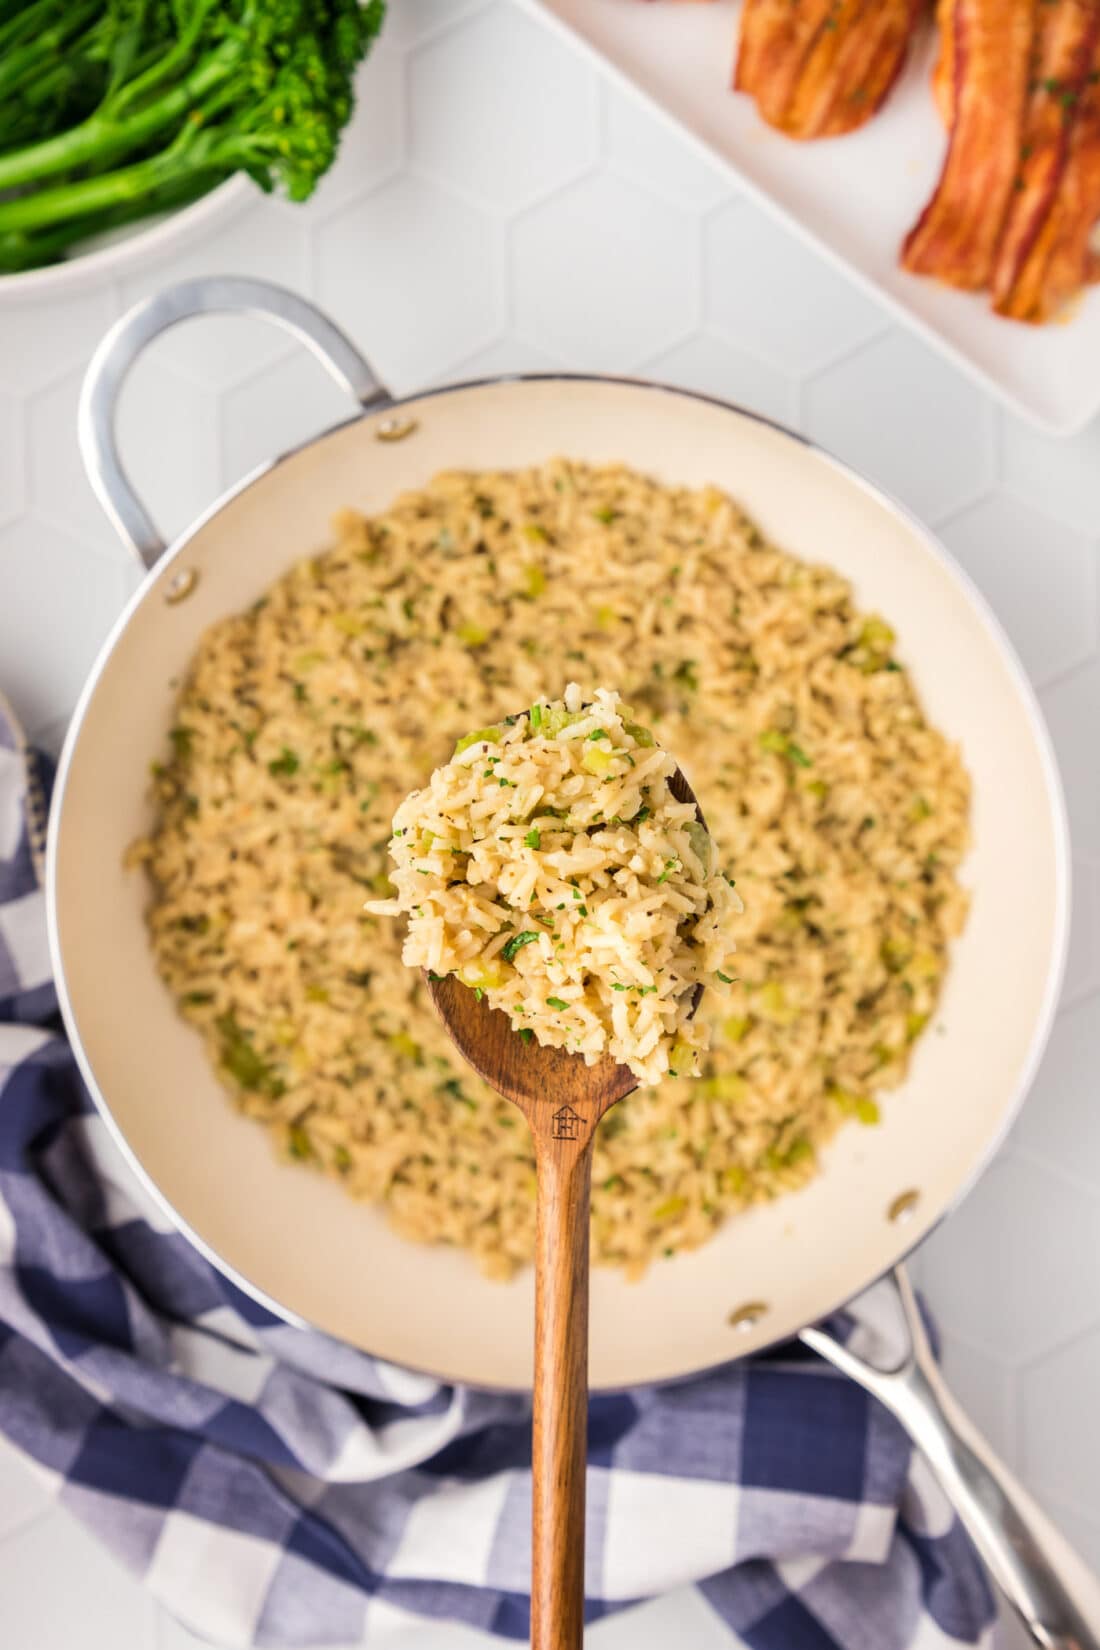
Essential Ingredients for Your Perfect Rice Pilaf
Making delicious rice pilaf from scratch requires only a few simple, high-quality ingredients. You’ll find a complete list of all measurements and detailed instructions in the printable recipe card at the very end of this post.
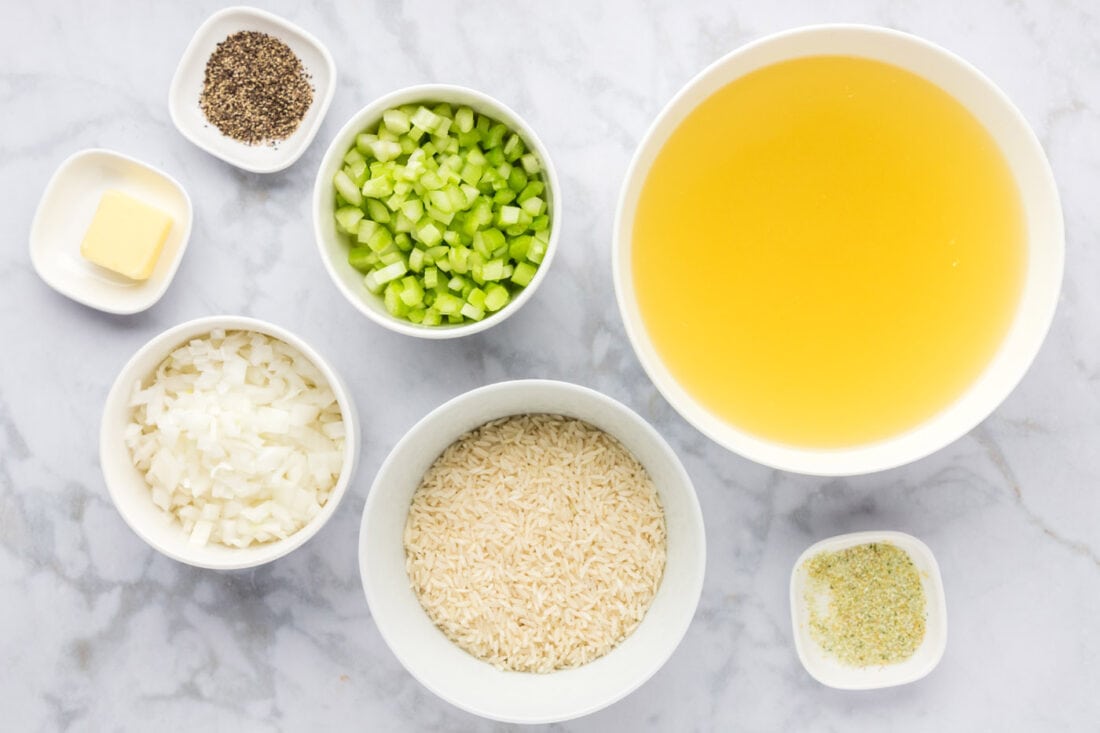
Ingredient Information and Expert Substitution Suggestions
Here’s a closer look at the key ingredients and how you can adapt them to your pantry and preferences:
- RICE: We highly recommend using **long-grain white rice** for its classic pilaf texture—fluffy and separate grains. However, feel free to experiment with other varieties:
- Basmati Rice: Known for its fragrant aroma and long, slender grains that cook up beautifully distinct.
- Jasmine Rice: Offers a slightly softer texture and a delicate, floral aroma.
- Brown Rice: If using brown rice, remember it requires more liquid (typically about 20-30% more) and a longer cooking time (around 45-50 minutes). It will yield a nuttier, chewier pilaf with added fiber.
- Wild Rice Blend: For an earthier flavor and varied texture, a wild rice blend can be a delightful, albeit longer-cooking, option.
- ADDITIONS: While our recipe calls for a balanced amount of black pepper, you can certainly adjust it to your taste.
- Increased Pepper: For a bolder, more peppery pilaf, feel free to increase the black pepper to 2 teaspoons.
- Herbs & Spices: Enhance the flavor profile with other herbs like dried thyme, a bay leaf, or a pinch of marjoram cooked with the rice. For a Middle Eastern twist, consider a touch of cumin or turmeric for color. Fresh dill or chives can also be stirred in at the end along with the parsley.
- Nuts & Dried Fruits: For a traditional pilaf experience, consider toasting a handful of slivered almonds or pine nuts and stirring them in at the end. Golden raisins or dried cranberries can also add a delightful sweetness and chewiness.
- Lemon Zest: A little lemon zest grated in at the very end can brighten the flavors beautifully.
- STOCK: The choice of stock significantly impacts the final flavor of your pilaf.
- Chicken Stock: Our go-to for its balanced savory flavor that complements almost anything.
- Vegetable Stock: An excellent choice for a vegetarian-friendly pilaf, offering a light and earthy flavor.
- Beef Stock: Will give your pilaf a richer, deeper, and more robust flavor, especially good if serving with beef or lamb dishes.
Always opt for a good quality stock (low sodium is often best so you can control the seasoning) to ensure the most flavorful outcome. If you only have bouillon cubes or powder, ensure it’s dissolved completely in hot water before adding.
Step-by-Step Guide: How to Make Perfect Rice Pilaf
These step-by-step photos and detailed instructions are here to help you visualize how to make this delicious recipe. For a concise, printable version of this recipe, complete with precise measurements and instructions, simply Jump to Recipe at the bottom of this page.
- Prepare the Hot Stock: In a medium saucepan, combine the chicken stock and water. Heat over medium-high heat until it reaches a gentle boil. Keeping the stock hot ensures that when it’s added to the rice, it doesn’t drop the temperature of your skillet too much, leading to more even cooking.
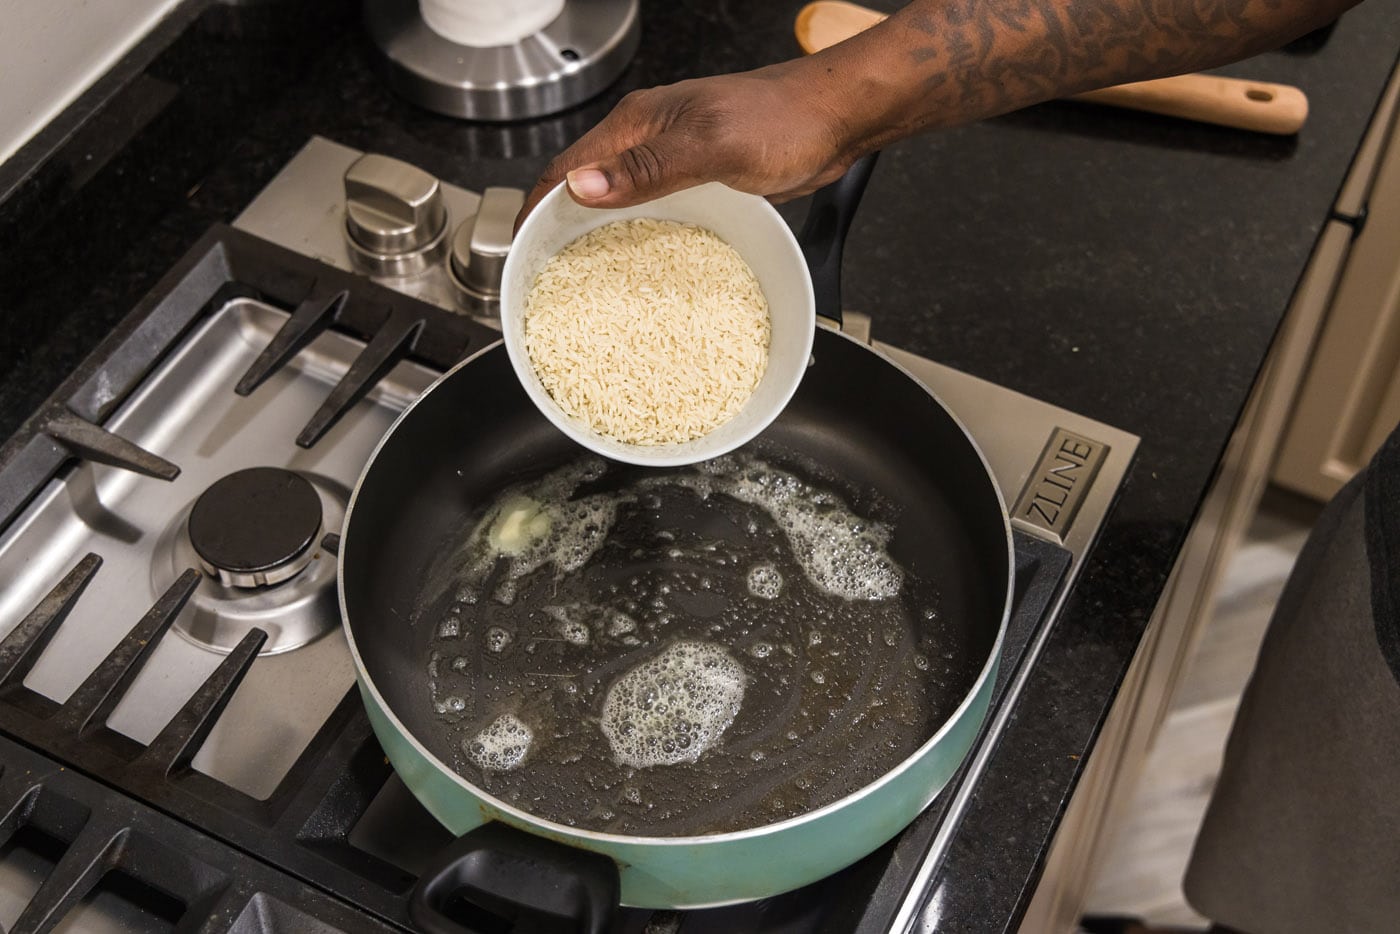
- Melt the Butter: Melt butter in a large skillet over medium heat. A heavy-bottomed skillet is ideal as it distributes heat evenly, preventing the rice from scorching.
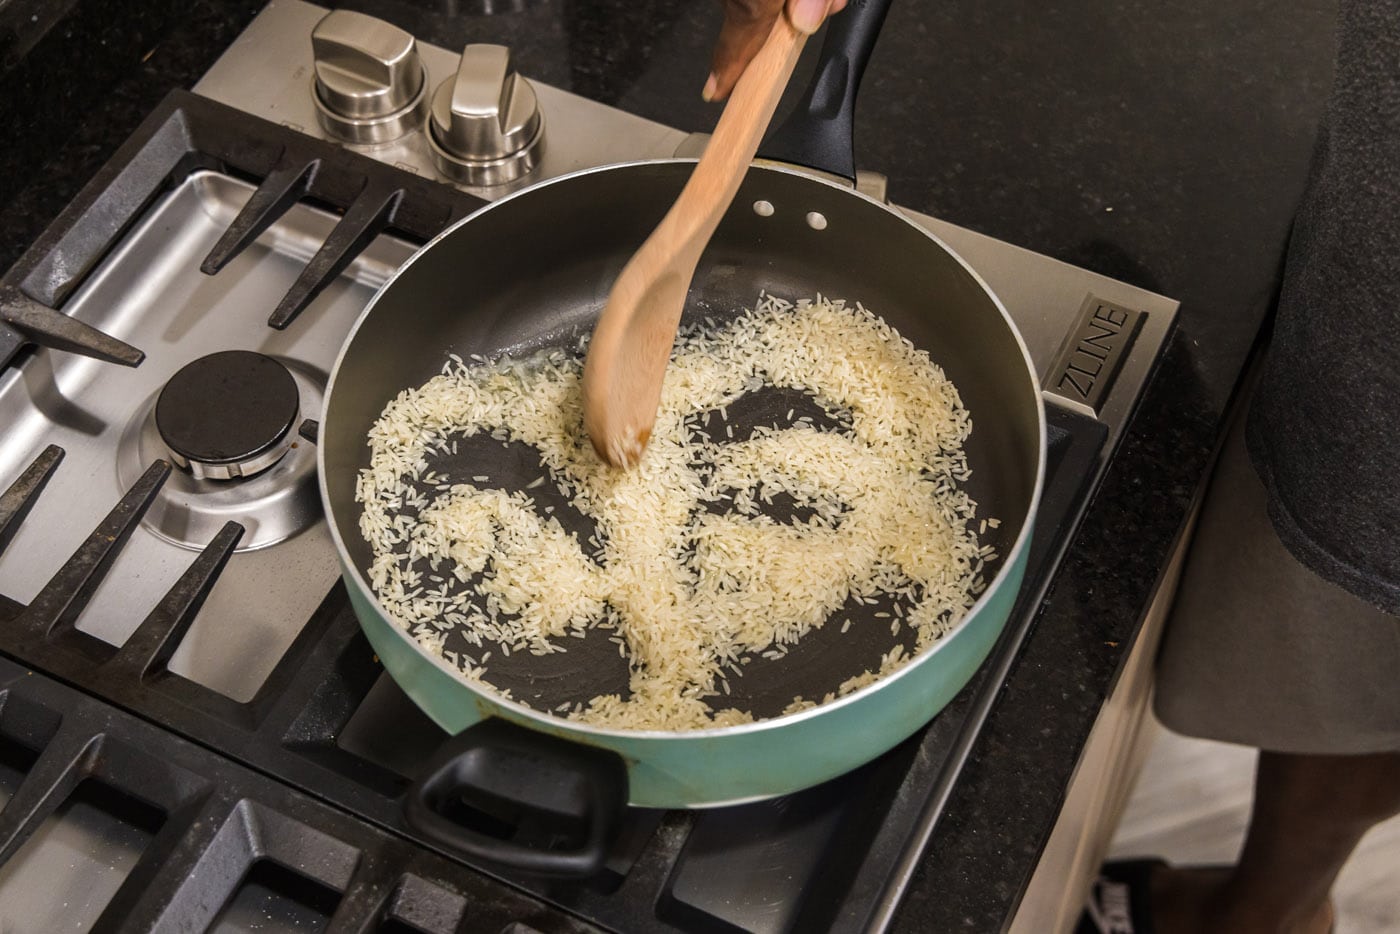
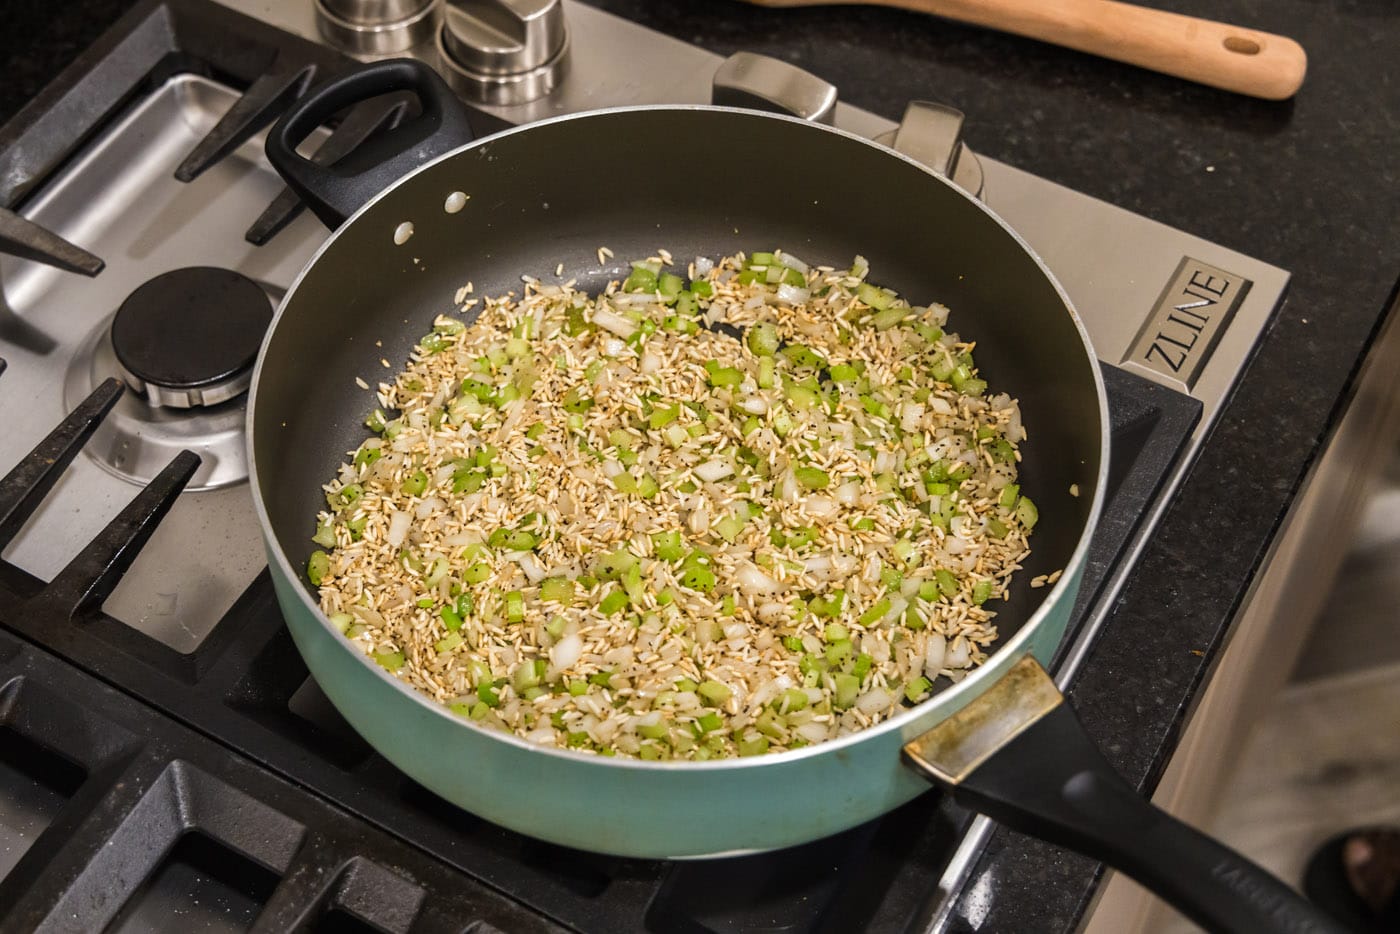
- Toast the Rice: Add the uncooked rice to the melted butter in the skillet. Stir it occasionally for 2-3 minutes until the rice grains are lightly browned and appear slightly translucent. This crucial step, known as toasting, develops a nutty flavor, prevents the grains from sticking together, and helps them absorb liquid more evenly.


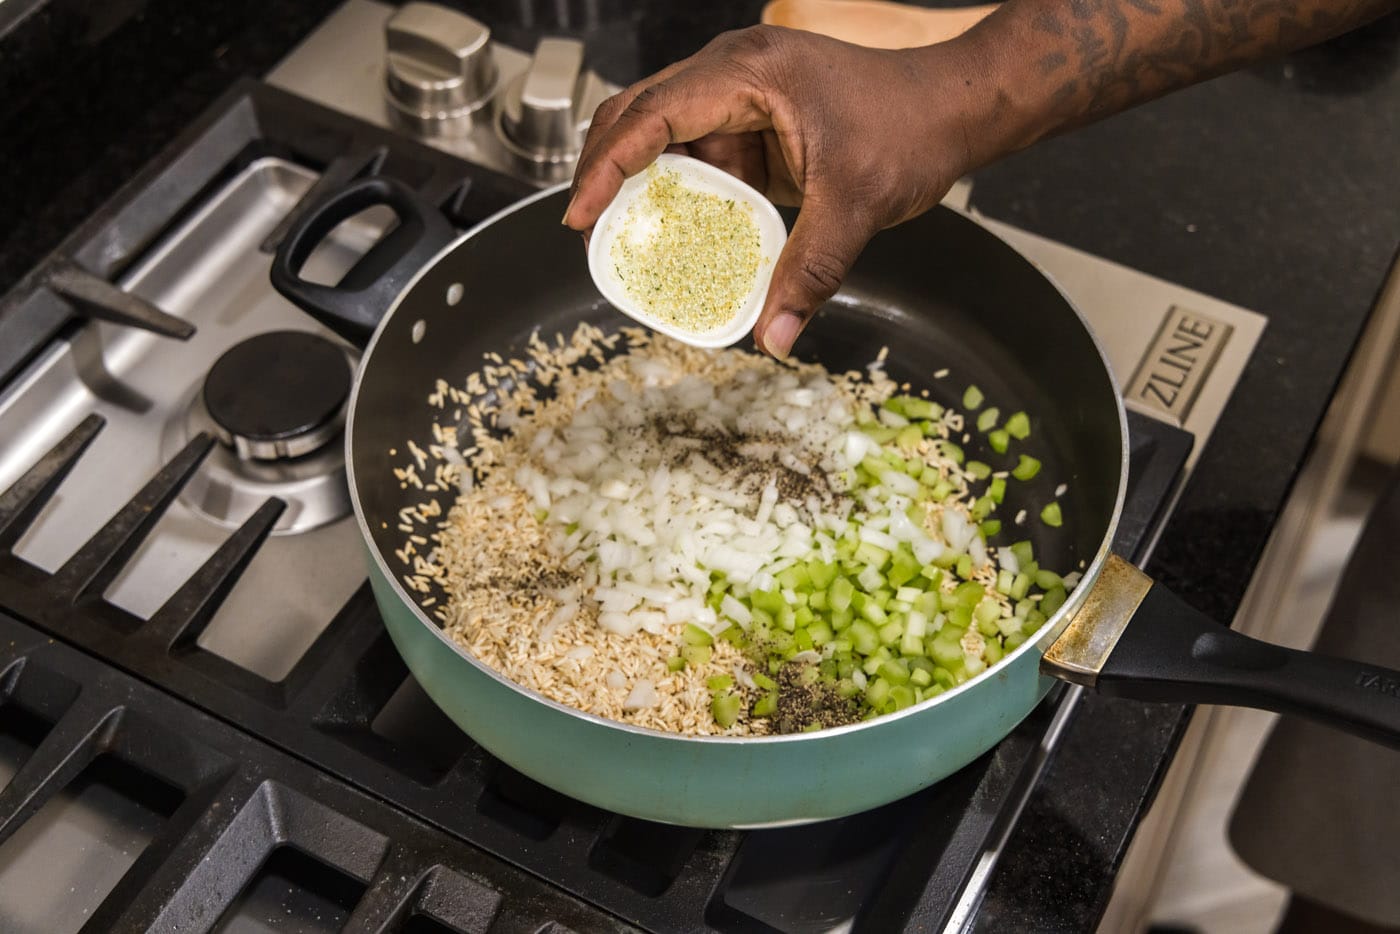
- Sauté Aromatics: Add the diced celery, onion, garlic salt, and black pepper to the skillet. Stir well to combine all ingredients. Continue to cook for about 4-5 minutes, stirring occasionally, until the vegetables begin to soften and become slightly tender. This step releases their wonderful aromas and sweetens them slightly.


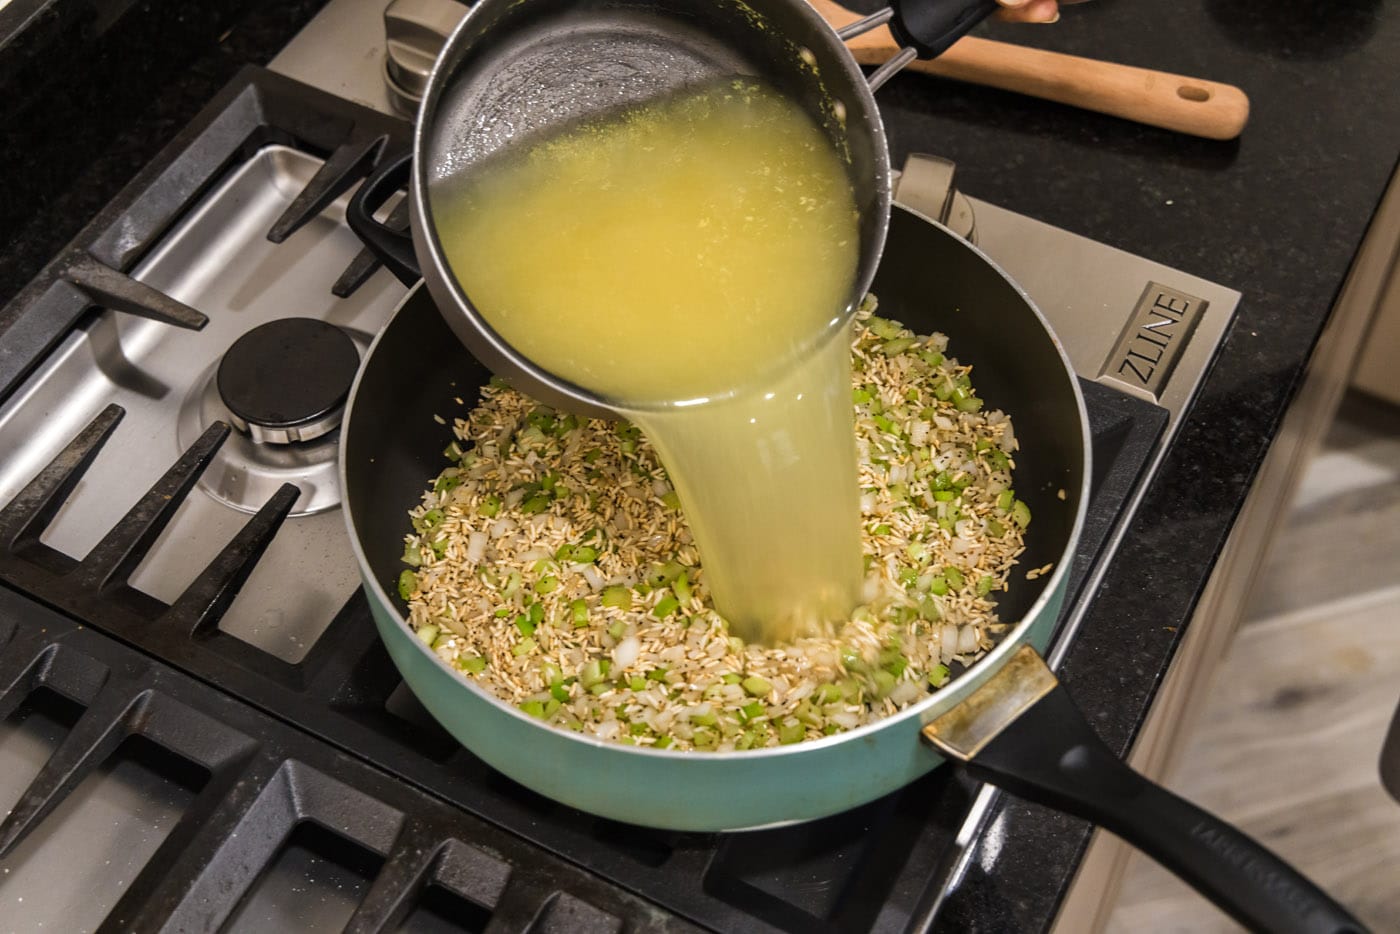
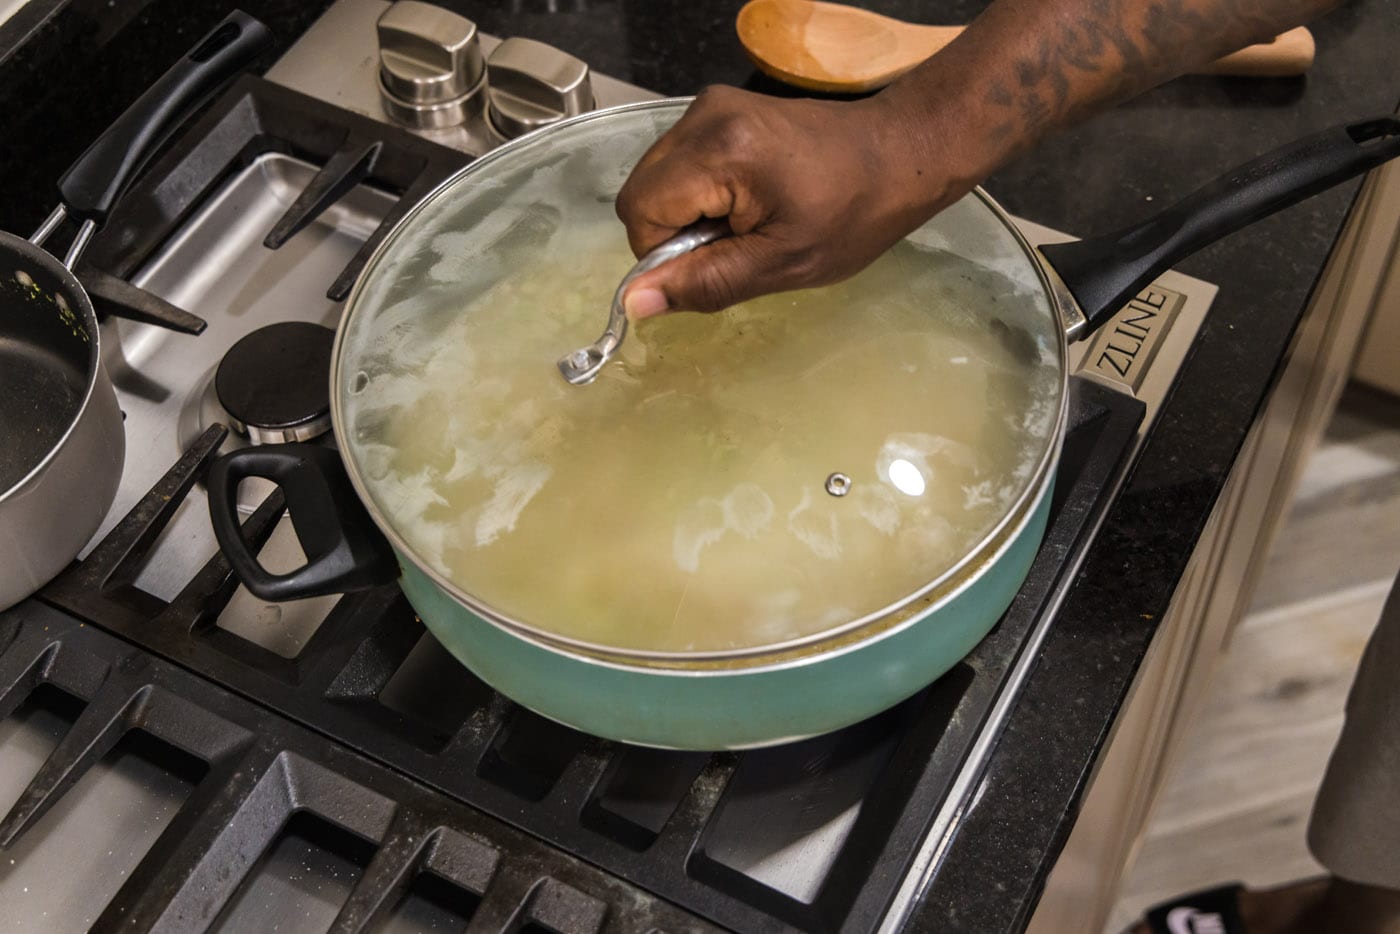
- Simmer and Steam: Carefully pour the hot stock mixture into the skillet with the rice and vegetables. Stir everything gently to combine. Immediately cover the skillet tightly with a lid. Reduce the heat to low and allow it to cook undisturbed for 15-20 minutes, or until nearly all the liquid has been absorbed and the rice is tender. It’s crucial not to lift the lid during this process, as the steam trapped inside is what cooks the rice perfectly.


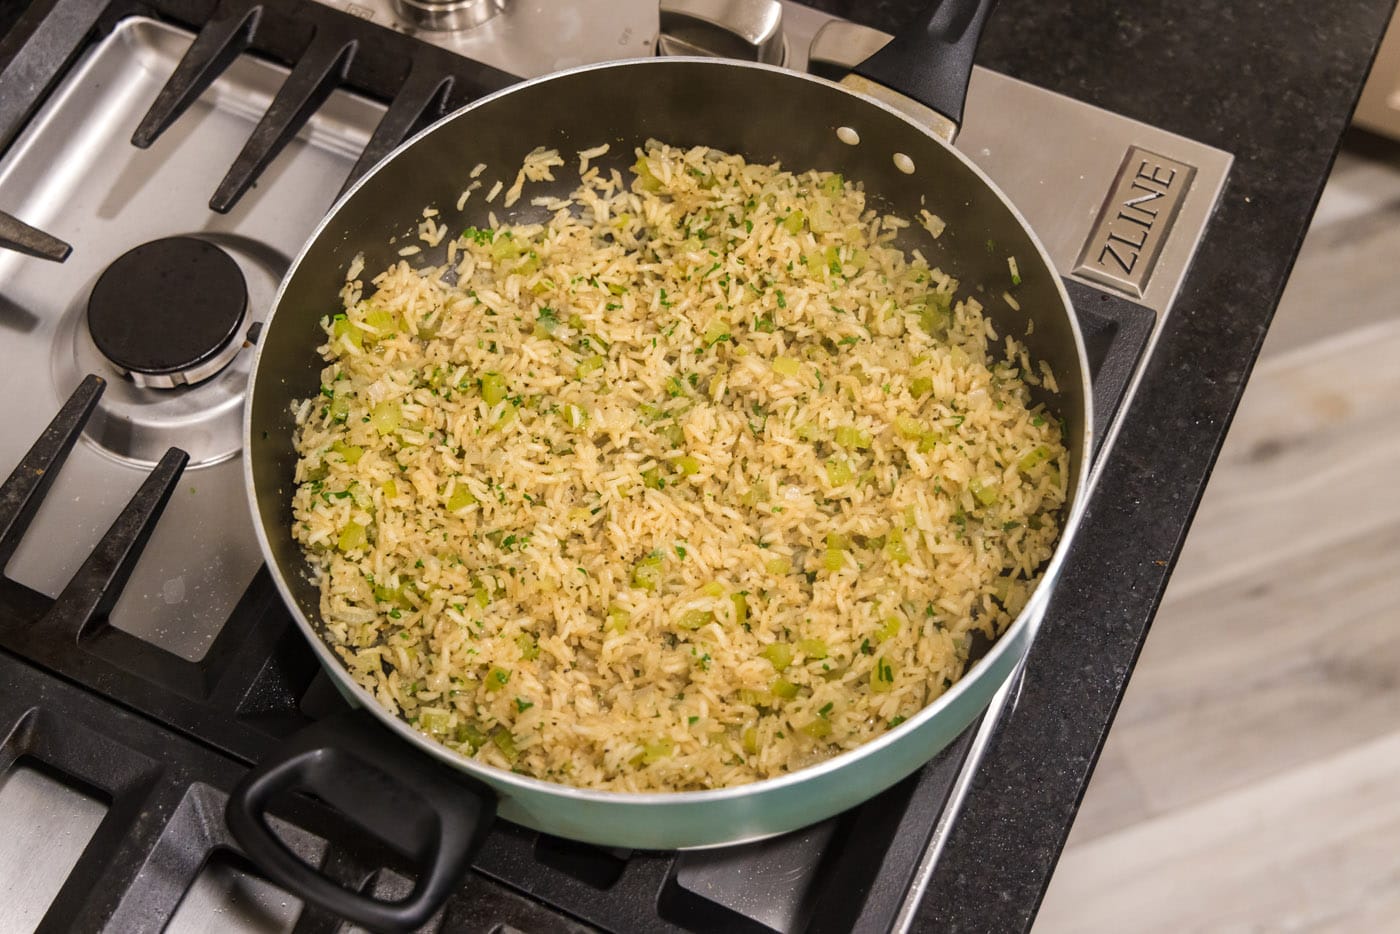
- Fluff and Garnish: Once cooked, remove the lid. Stir in the fresh minced parsley. Fluff the rice gently with a fork before serving to ensure every grain is light and separate. The parsley adds a vibrant pop of color and a fresh, herbaceous note.

Frequently Asked Questions & Expert Tips for Rice Pilaf
Proper storage is key to enjoying your delicious **homemade rice pilaf** for days to come. Store any leftover pilaf in an airtight container immediately after it has cooled completely (within 1-2 hours of cooking). Keep it in the refrigerator for up to 4-5 days. Please note that rice tends to dry out the longer it sits in the fridge. To rehydrate and restore its fluffy texture when reheating, add a small splash of water or a bit of chicken stock to the rice before microwaving or reheating on the stovetop. This helps to bring back the moisture and prevent it from becoming hard or brittle.
Absolutely! **Rice pilaf freezes beautifully**, making it an excellent meal prep option. To freeze, ensure the pilaf has cooled completely. Transfer it into a large heavy-duty freezer-safe ziptop bag, pressing out as much air as possible, or an airtight container. It can be frozen for up to 2 months. When you’re ready to enjoy it, thaw the frozen pilaf overnight in the refrigerator. Reheat it in the microwave, adding a splash of chicken stock or water to help regain moisture, as described above. Alternatively, you can reheat it on the stovetop over medium-low heat, stirring occasionally, until thoroughly heated through.
While this recipe primarily uses **long-grain white rice**, many types of rice work wonderfully for pilaf, each offering a slightly different characteristic. Regular long-grain white rice is a fantastic choice for a classic, fluffy pilaf. **Basmati** and **Jasmine rice** are also excellent options; Basmati provides a fragrant, nutty aroma and distinct grains, while Jasmine rice offers a delicate floral scent and a slightly softer texture. If you opt for **brown rice**, be aware that it will require a bit more liquid (about 1/4 to 1/2 cup more per 2 cups of rice) and a longer cooking time, typically around 45-50 minutes, to ensure it cooks to a tender, chewy consistency. The key is to select a rice that you enjoy and adjust the liquid and cooking time accordingly.
While not strictly mandatory for this recipe, **rinsing long-grain white rice** before cooking can significantly improve the final texture of your pilaf. Rinsing removes excess starch from the surface of the rice grains, which helps prevent them from becoming sticky or clumpy during cooking. For the fluffiest, most separate grains, we recommend rinsing the rice under cold running water until the water runs clear, then draining it thoroughly before toasting.
Several factors contribute to perfectly fluffy rice pilaf. First, **toasting the rice** in butter (as detailed in step 3) helps seal the grains and prevents them from breaking down. Second, maintaining the **correct liquid-to-rice ratio** is crucial; too much liquid leads to mushy rice. Third, and perhaps most importantly, **do not lift the lid** while the rice is simmering. The trapped steam is essential for even cooking. After cooking, let the pilaf rest, still covered, off the heat for 5-10 minutes. This allows the steam to redistribute, resulting in perfectly tender and separate grains.
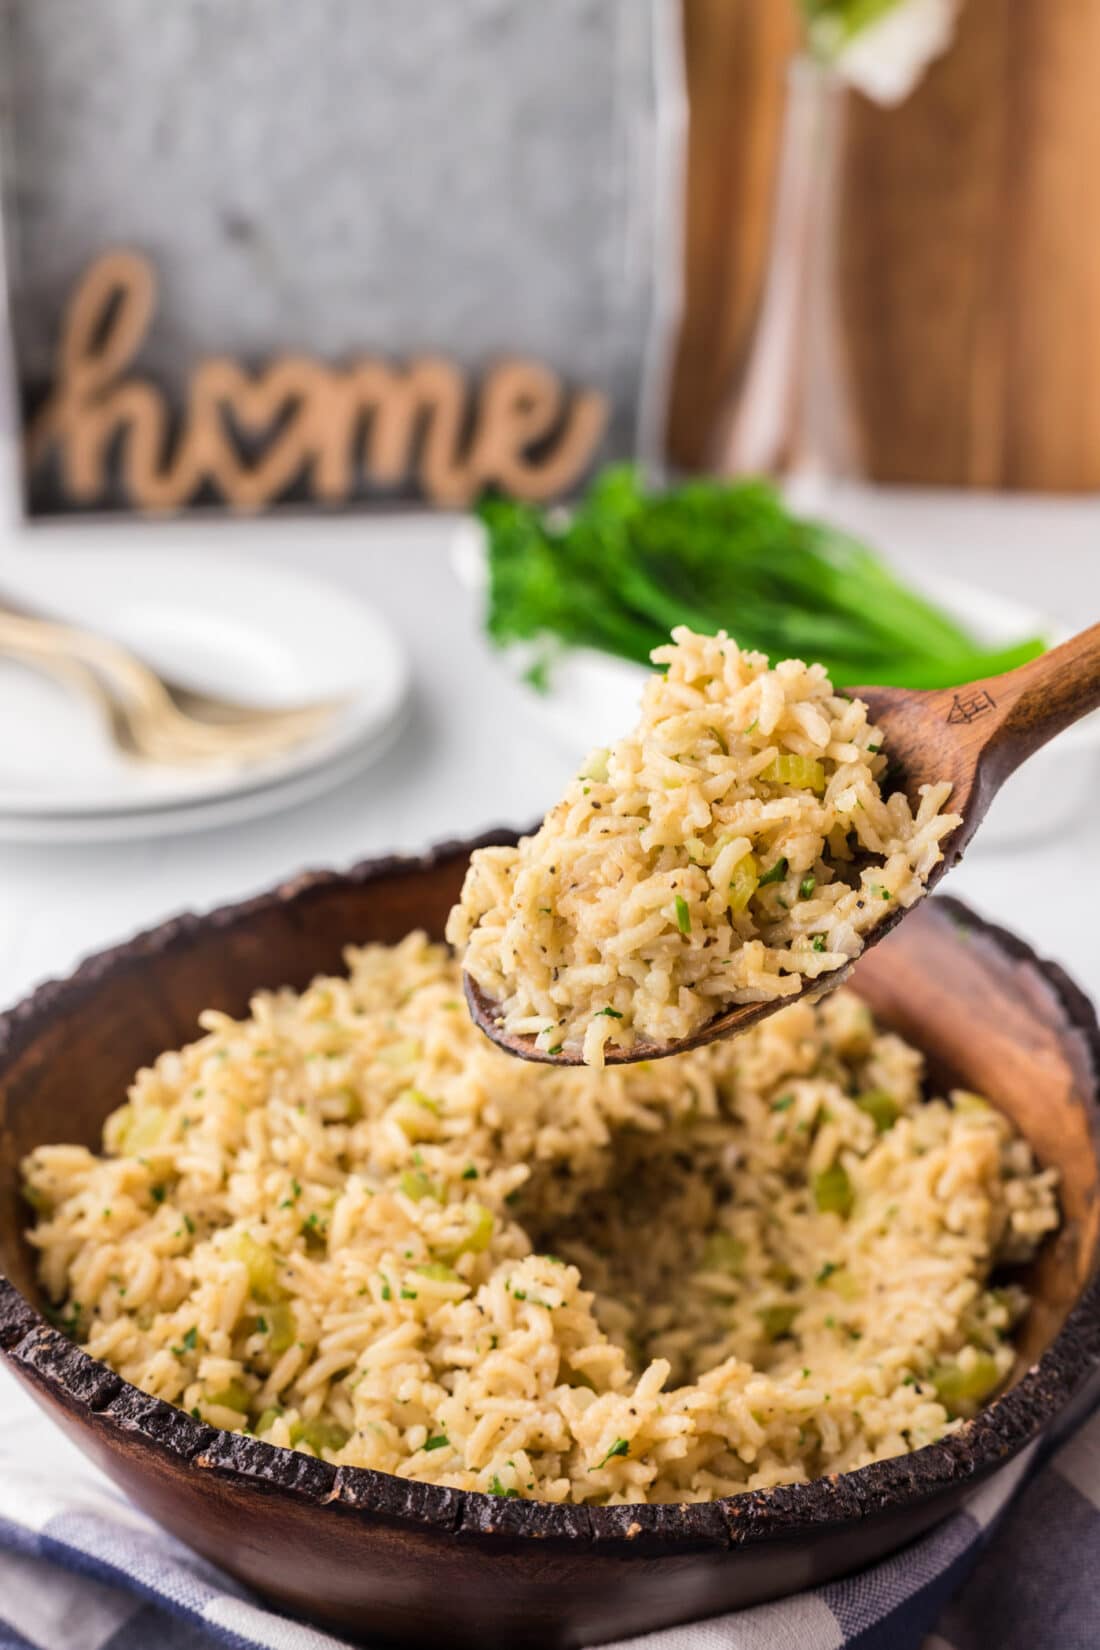
Delicious Serving Suggestions for Rice Pilaf
This versatile **celery and onion rice pilaf** is an ideal accompaniment to a wide variety of main dishes. Its mild yet flavorful profile makes it a fantastic canvas to pair with almost any protein. Enjoy it warm, fluffed with a fork, alongside your favorite meal!
- Poultry: It’s a classic match for roasted chicken, turkey, grilled chicken breasts, or even crispy fried chicken. The lightness of the pilaf beautifully balances richer poultry dishes.
- Beef: Serve it with succulent roasted beef, tender beef short ribs, or simple pan-seared steaks.
- Pork: Pairs wonderfully with pork chops, pork tenderloin, or even a slow-cooked pork roast.
- Fish & Seafood: For a lighter meal, consider serving it with baked salmon, pan-seared cod, or grilled shrimp.
- Vegetarian Options: It can be a hearty base for a vegetarian meal when paired with roasted vegetables, grilled halloumi, or a lentil stew.
- Holiday Meals & Potlucks: Its impressive flavor and ease of preparation make it a perfect dish for holiday gatherings, family dinners, or potluck events.
What to Serve with Your Aromatic Rice Pilaf
Looking for specific main course ideas to pair with this delicious homemade rice pilaf? Here are some excellent choices from our collection:
- Veal Chops
- Chicken Francesca
- Fried Pork Chops
- Crockpot Sticky Chicken
- Instant Pot Beef Short Ribs
I love to bake and cook and share my kitchen experience with all of you! Remembering to come back each day can be tough, that’s why I offer a convenient newsletter every time a new recipe posts. Simply subscribe and start receiving your free daily recipes!
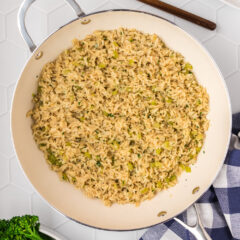
Fluffy Celery and Onion Rice Pilaf
IMPORTANT – There are often Frequently Asked Questions within the blog post that you may find helpful. Simply scroll back up to read them!
Print It
Pin It
Rate It
Save ItSaved!
Course:
Side Dish
Cuisine:
American
8 servings
225
Amanda Davis
Ingredients
- 3 cups chicken stock
- 1 cup water
- 1 tablespoon butter
- 2 cups uncooked long-grain white rice
- 1 cup diced celery
- 1 cup diced yellow onion
- 1 tablespoon garlic salt
- 1 teaspoon black pepper
- 2 tablespoons fresh minced parsley for garnish
Equipment You’ll Need
-
Medium Saucepan
-
Large Skillet with Lid
Expert Tips & Before You Begin
- Seasoning Adjustment: If you enjoy a bolder, more peppery flavor, you can absolutely increase the black pepper to 2 teaspoons. Feel free to also add other dried herbs like a pinch of dried thyme or a bay leaf during simmering for extra depth.
- Choosing Your Rice: While long-grain white rice is standard, Basmati or Jasmine rice work wonderfully for their aromatic qualities. If using brown rice, remember to add about 1/4 to 1/2 cup more liquid per 2 cups of rice and extend the cooking time to approximately 45-50 minutes.
- Stock Options: This recipe is incredibly adaptable! Chicken, beef, or vegetable stock will all yield delicious results. Choose the stock that best complements the meal you’re serving.
- Rinsing Rice: For truly fluffy, separate grains, consider rinsing your long-grain white rice under cold running water until the water runs clear before you begin the toasting step. This removes excess starch.
- Storing Leftovers: Keep any leftover rice pilaf in an airtight container in the refrigerator for 4-5 days. As cooked rice can dry out, add a small splash of water or chicken stock when reheating to restore moisture and fluffiness.
- Freezing for Later: This pilaf freezes well! Once completely cooled, transfer it to a large freezer-safe ziptop bag or airtight container and freeze for up to 2 months. Thaw overnight in the refrigerator and reheat as directed for leftovers.
- Don’t Peek! Resist the urge to lift the lid while the rice is simmering. The steam trapped inside is crucial for cooking the rice evenly and achieving that perfect fluffy texture.
Instructions
-
In a medium saucepan over medium-high heat, heat the chicken stock and water until it boils gently. Keep it hot.
-
Melt butter in a large, heavy-bottomed skillet over medium heat.
-
Add the uncooked long-grain white rice to the skillet and stir occasionally until the rice is lightly browned and slightly translucent, about 2-3 minutes.
-
Stir in the diced celery, onion, garlic salt, and black pepper. Continue to cook for about 4-5 minutes, stirring occasionally, until the vegetables are slightly tender.
-
Pour the hot stock mixture into the skillet with the rice. Stir gently to combine. Cover the skillet tightly with a lid, reduce the heat to low, and cook for 15-20 minutes, or until most of the liquid is absorbed and the rice is tender. Do not lift the lid during this time.
-
Remove the skillet from heat and let it rest, still covered, for 5-10 minutes. Then, remove the lid, stir in the fresh minced parsley, and fluff gently with a fork before serving warm.
Nutrition Facts
Tried this Recipe? Pin it for Later!Follow on Pinterest @AmandasCookin or tag #AmandasCookin!
The recipes on this blog are tested with a conventional gas oven and gas stovetop. It’s important to note that some ovens, especially as they age, can cook and bake inconsistently. Using an inexpensive oven thermometer can assure you that your oven is truly heating to the proper temperature. If you use a toaster oven or countertop oven, please keep in mind that they may not distribute heat the same as a conventional full sized oven and you may need to adjust your cooking/baking times. In the case of recipes made with a pressure cooker, air fryer, slow cooker, or other appliance, a link to the appliances we use is listed within each respective recipe. For baking recipes where measurements are given by weight, please note that results may not be the same if cups are used instead, and we can’t guarantee success with that method.
