Mastering Broiled Scallops: A Quick & Easy Recipe for Perfectly Tender Seafood
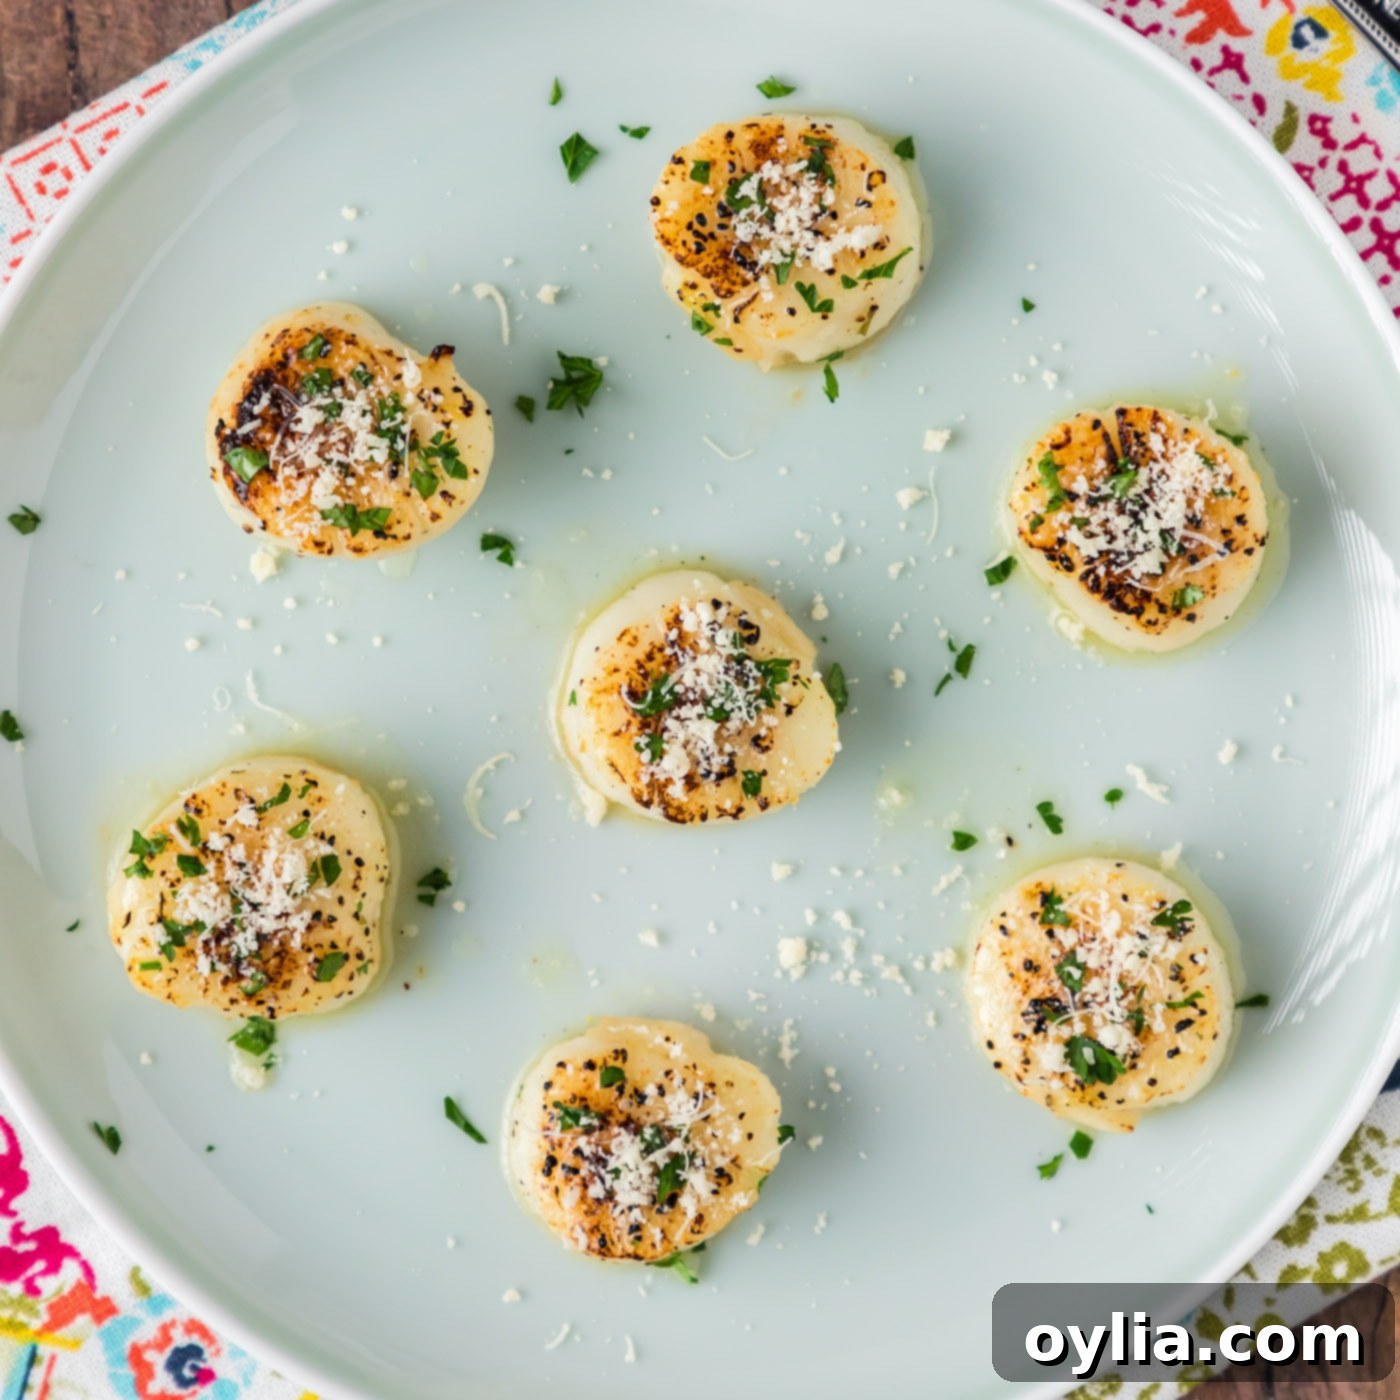
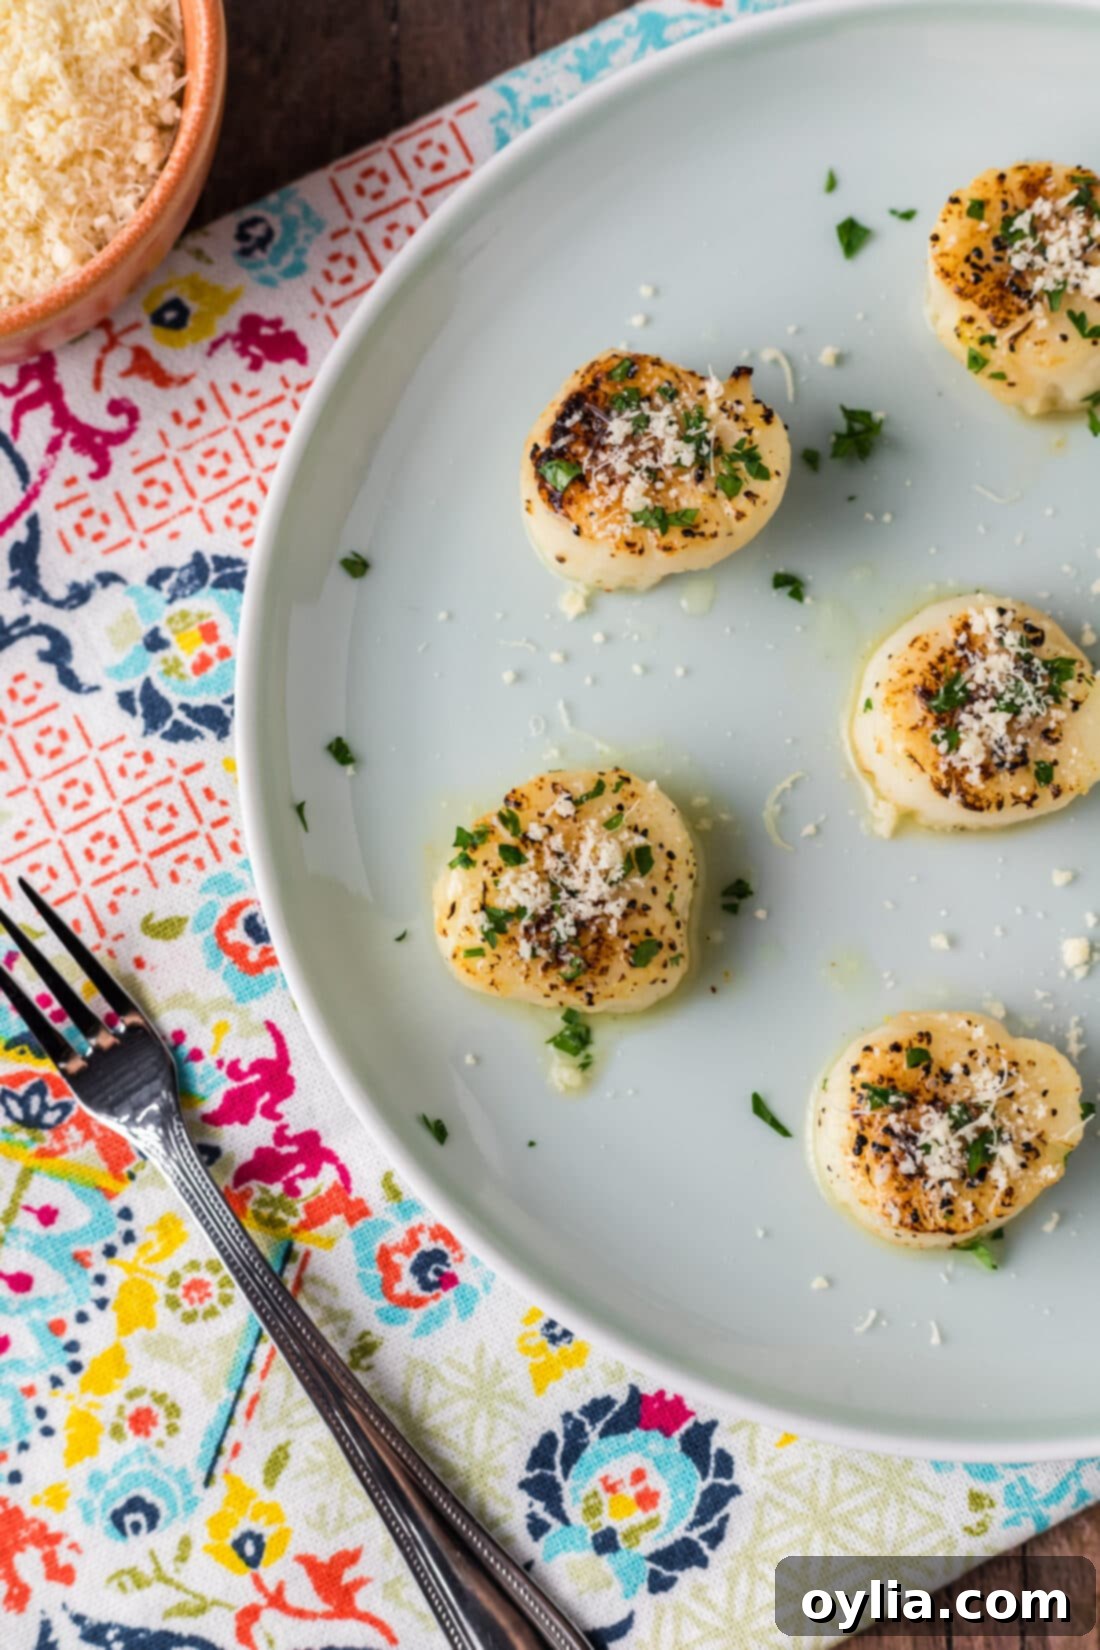
Prepare to elevate your home cooking with this incredibly simple yet elegant broiled scallops recipe. In just around 20 minutes, you can create a dish that boasts a delicate, golden-brown caramelized crust, giving way to an unbelievably tender and succulent center. Whether you’re planning a sophisticated appetizer for guests or a quick, healthy main course for a weeknight dinner, these buttery, melt-in-your-mouth scallops are sure to impress.
Why This Broiled Scallops Recipe Is a Must-Try
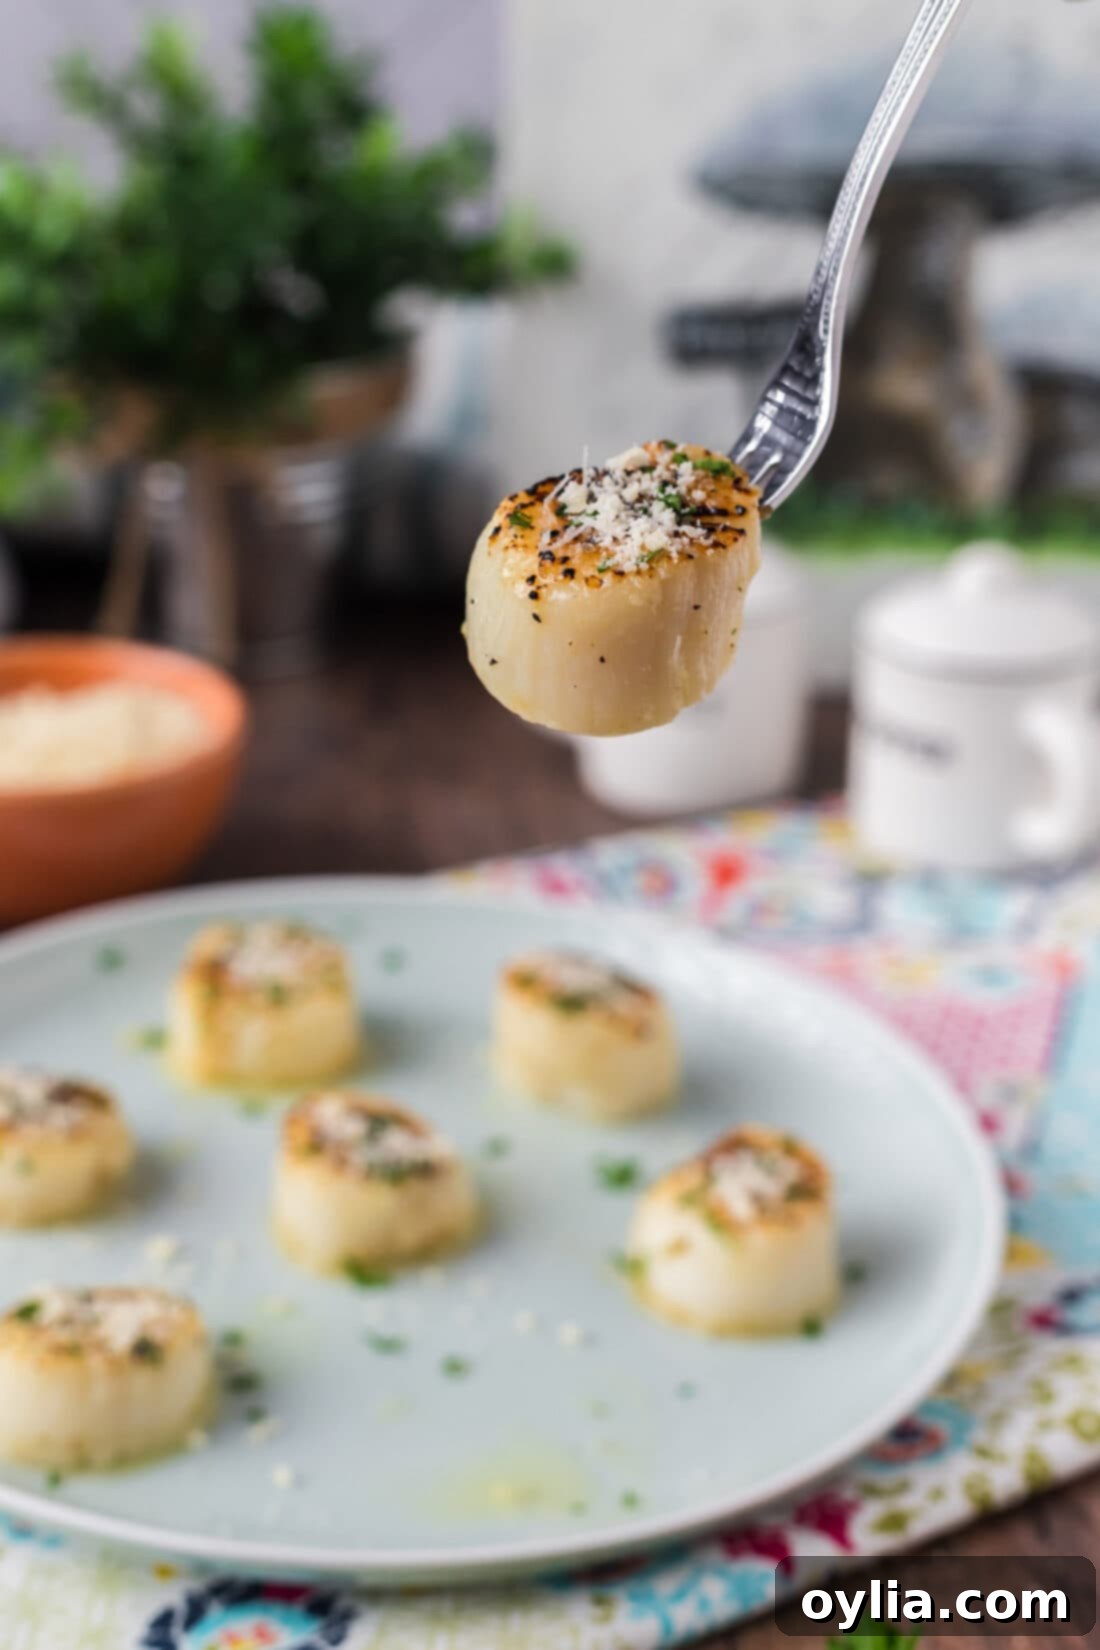
Scallops are truly one of the ocean’s most delectable treasures. Whether they’re baked, grilled, or pan-seared, these sweet, delicate seafood morsels are renowned for their incredible tenderness and surprisingly simple preparation. This particular recipe takes the “easy” factor to a whole new level by utilizing the broiler, offering a hands-off approach that guarantees phenomenal results with minimal effort.
What makes broiling such a fantastic method for scallops? The intense, direct heat of the broiler quickly cooks the scallops, creating a beautiful, buttery, and slightly caramelized crust on the exterior while preserving their natural sweetness and keeping the interior unbelievably moist and tender. Unlike pan-searing, which requires constant attention, broiling allows you to simply coat the scallops, place them under the heat, and watch as they transform into golden perfection. It’s the ideal technique for achieving that restaurant-quality sear without the fuss.
With just a quick smear of softened butter seasoned with garlic salt and pepper, these scallops develop an irresistible flavor profile that perfectly complements their delicate texture. The butter not only adds richness but also aids in the browning process under the high heat, creating those coveted golden edges that are so visually appealing and delicious. This recipe proves that you don’t need complex techniques or an endless list of ingredients to create an impressive and mouth-watering seafood dish.
Essential Ingredients for Perfect Broiled Scallops
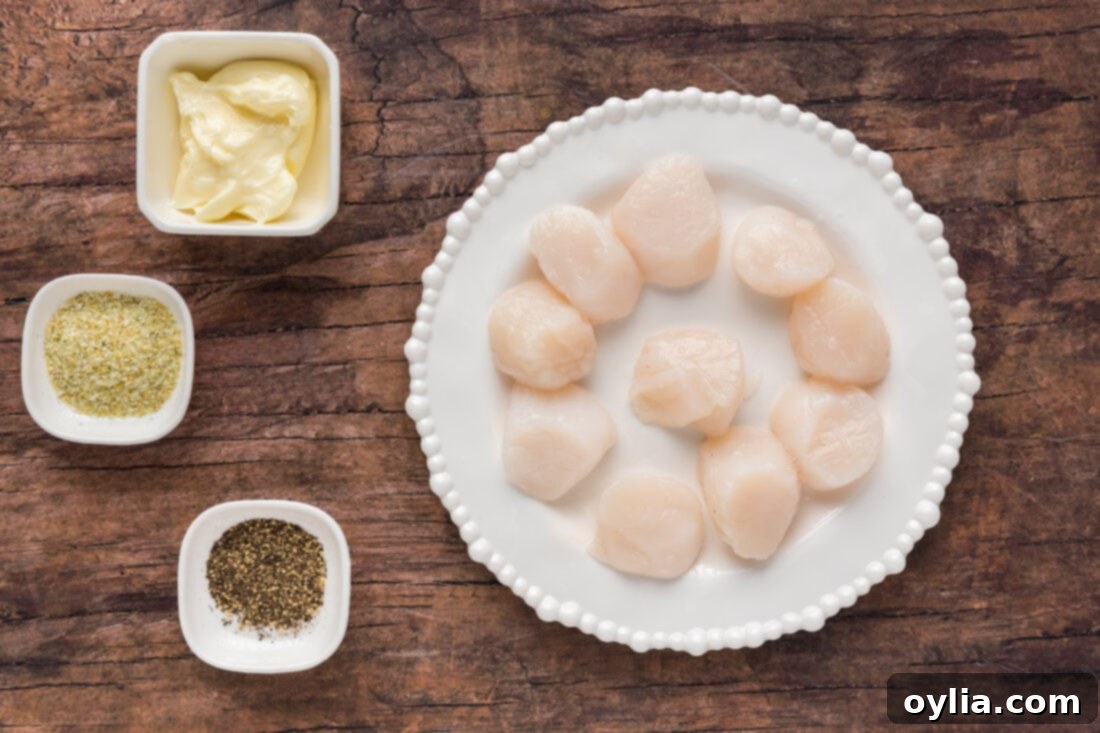
Crafting delicious broiled scallops requires only a handful of key ingredients. Simplicity is key here, allowing the natural sweetness of the scallops to shine through. You’ll find all the precise measurements and detailed instructions in the printable recipe card at the very end of this post, but let’s take a closer look at what you’ll need.
Ingredient Spotlight & Expert Tips
- SCALLOPS: The star of our show! For this recipe, you’ll want to purchase large sea scallops. When shopping, you might encounter labels like “wet” and “dry” scallops. This distinction is crucial for optimal results.
- Wet Scallops: These scallops have been soaked in a phosphate solution, which acts as a preservative to extend shelf life. While this might sound good, it causes the scallops to absorb and retain more water. When cooked, this excess moisture steams rather than sears, making it incredibly difficult to achieve that desirable golden-brown crust. They often shrink more and can have a slightly “bouncy” or rubbery texture.
- Dry Scallops: Our preferred choice! Dry scallops are natural, untreated, and contain no added water or chemicals. Their pure flavor and lower moisture content allow them to caramelize beautifully under the broiler, yielding that perfect tender-firm texture and sweet taste.
Always opt for dry sea scallops if available. If using frozen scallops, ensure they are fully thawed in the refrigerator overnight or under cold running water. Before cooking, thoroughly rinse the thawed scallops under cold water and then pat them exceptionally dry with paper towels. Removing as much surface moisture as possible is key to preventing the butter mixture from sliding off and promoting that gorgeous crust.
- UNSALTED BUTTER: We specify unsalted butter to give you full control over the saltiness of your dish. It should be truly soft – think a pudding-like consistency, not melted. This ensures it’s easy to brush onto the foil and adhere to the scallops. If your butter is too cold, microwave it in short 5-second bursts until it reaches the right consistency, stirring between bursts.
- GARLIC SALT: This provides a convenient blend of savory garlic flavor and essential seasoning. If you don’t have garlic salt, you can substitute it with a mix of garlic powder and regular salt (e.g., 1 teaspoon garlic powder + 1/2 teaspoon salt).
- BLACK PEPPER: Freshly ground black pepper adds a wonderful aromatic kick. Adjust the amount to your taste preferences.
- OPTIONAL GARNISHES: A squeeze of fresh lemon juice, a sprinkle of grated Parmesan cheese, or a dash of fresh chopped parsley can truly brighten and enhance the flavors of the finished scallops. These add a touch of freshness and a burst of complementary taste.
Step-by-Step: How to Make Irresistible Broiled Scallops
These step-by-step photos and instructions are here to help you visualize how to make this recipe. You can Jump to Recipe to get the printable version of this recipe, complete with measurements and instructions at the bottom.
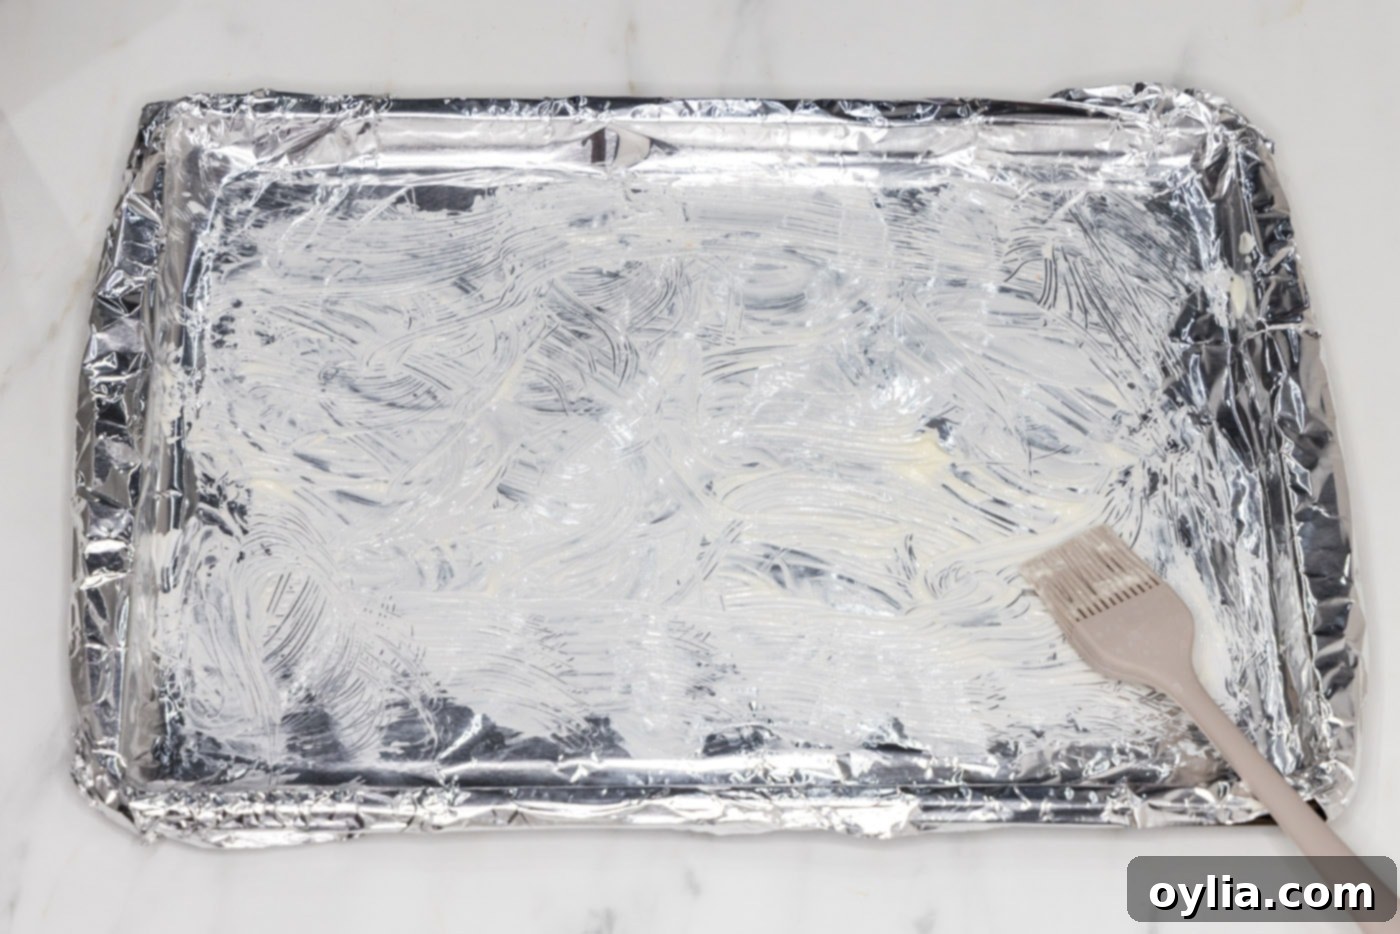
- Prepare Your Broiler and Baking Sheet: Begin by preheating your oven’s broiler. Most broilers heat up quickly, so keep an eye on it. Line a baking sheet with aluminum foil. This makes cleanup incredibly easy and helps prevent sticking. Position your oven rack in the second position from the top, typically about 4-6 inches below the heating element. This distance is crucial for even cooking and browning without charring.
- Prepare the Scallops: Thoroughly rinse your scallops under cold running water. This helps remove any grit or sand. Then, and this is a critical step, pat them *very* dry with paper towels. Any excess moisture will hinder the browning process, preventing that delicious caramelized crust. Remove the small, tough side muscle if present, as it can be chewy.
- Ensure Butter is Perfectly Soft: Take your unsalted butter and make sure it is genuinely soft, with a consistency akin to pudding or soft cream cheese. It should not be melted into a liquid state. This ensures it will spread easily and adhere well to the scallops and the foil.
- Butter the Baking Sheet: Lightly brush a thin, even layer of the softened butter onto the aluminum foil on your baking sheet. This initial layer of butter will help prevent the scallops from sticking and contribute to the overall buttery flavor and browning on the bottom. Remember, you won’t use all the butter for this step.

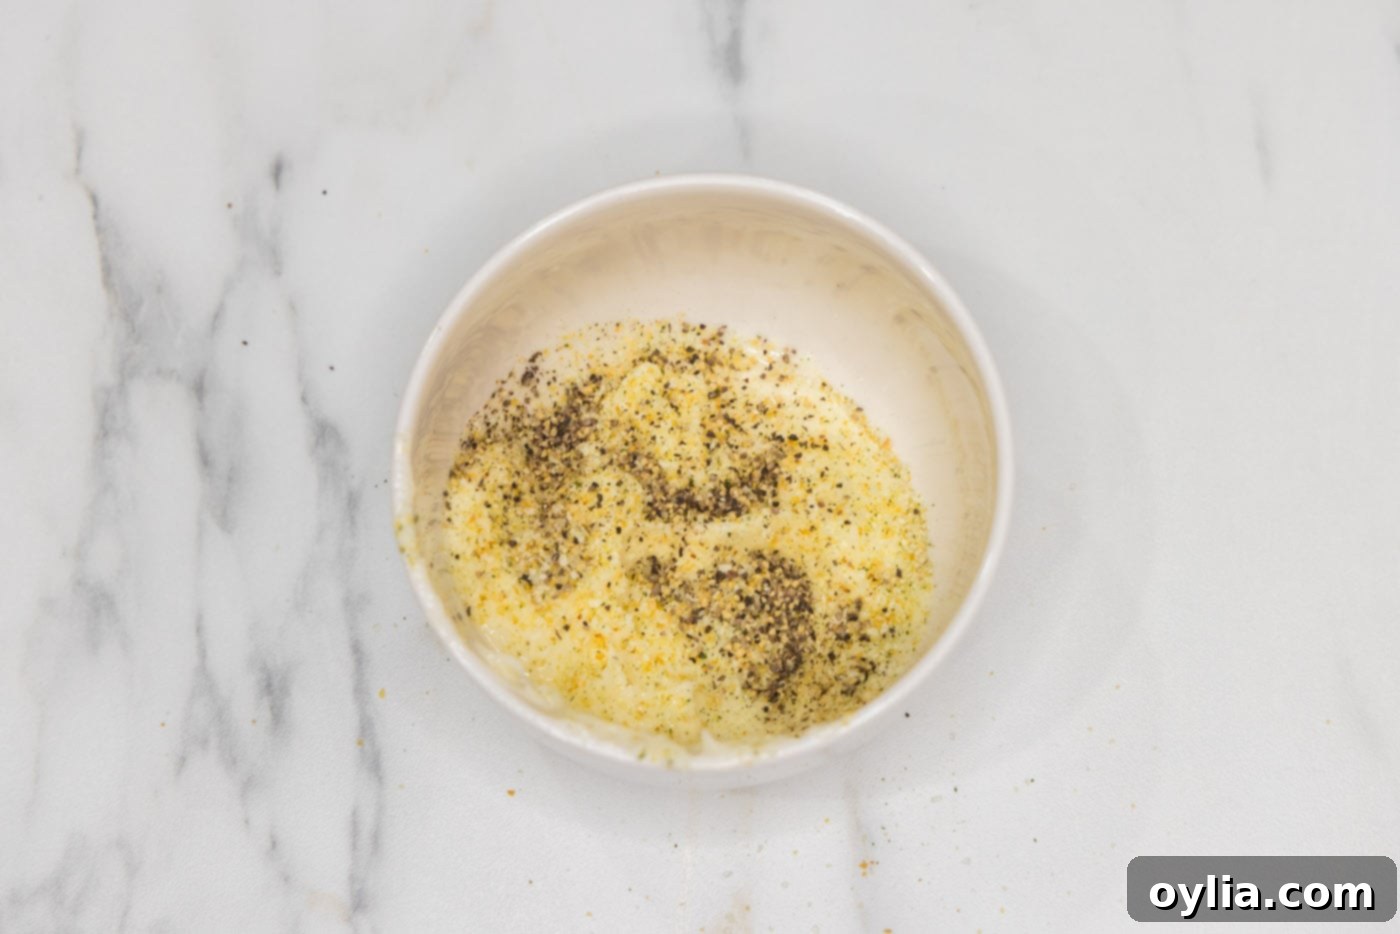
- Season the Remaining Butter: To the bowl containing the remaining softened butter, add the garlic salt and black pepper. Stir these ingredients together thoroughly until they are well combined. This seasoned butter will be used to coat the scallops, infusing them with savory flavor.

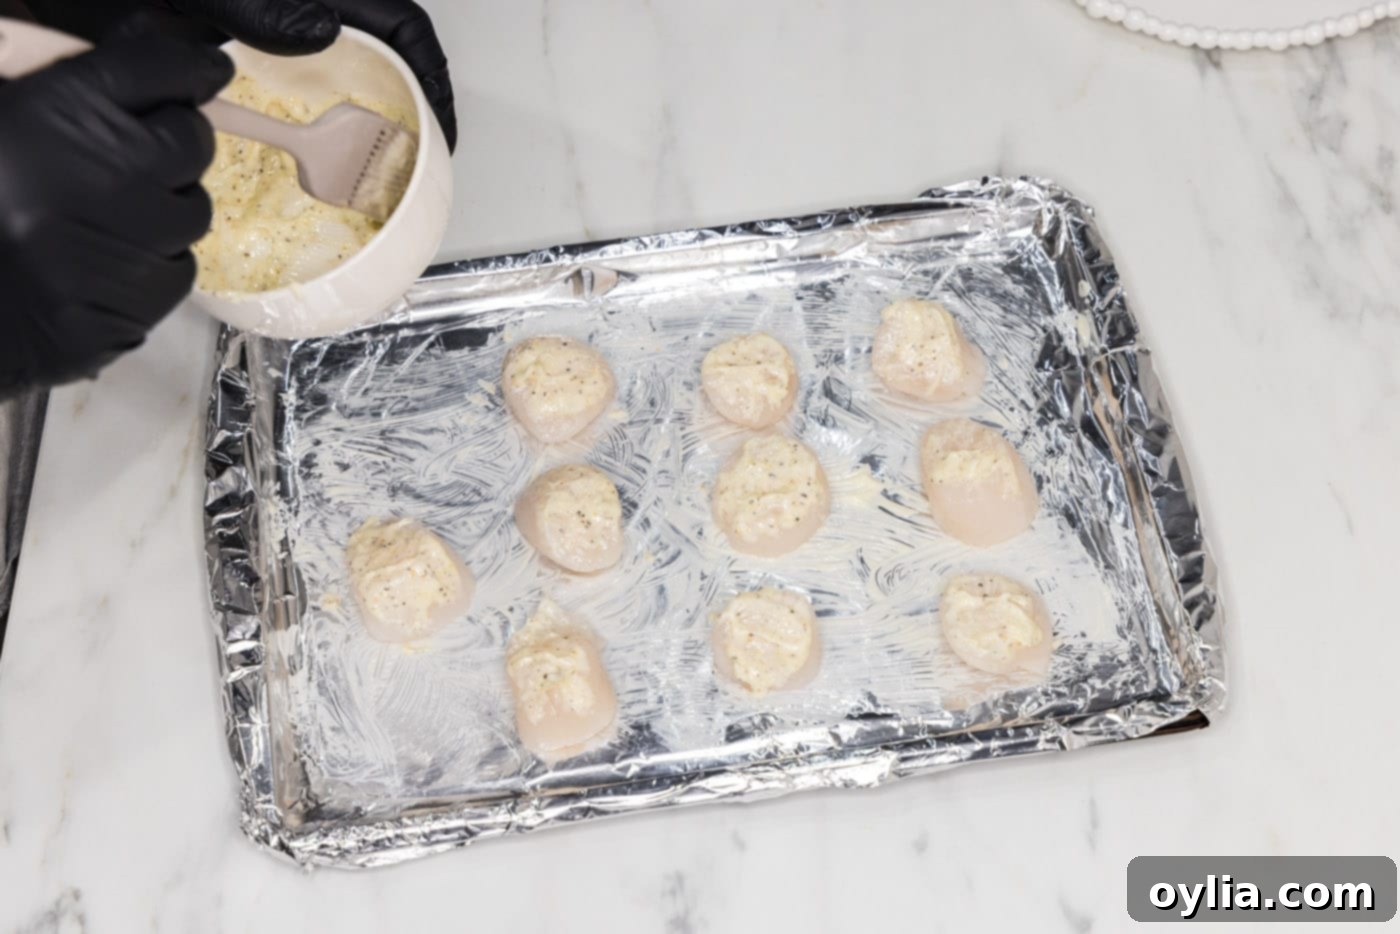
- Arrange Scallops on the Pan: Place the patted-dry scallops onto the buttered aluminum foil in a single layer, ensuring they are not touching each other. This allows for even cooking and browning on all sides.
- Coat Scallops with Butter Mixture: Using a basting brush, add small dollops or brush a thin layer of the seasoned butter mixture onto the top of each scallop. This buttery coating is what will help create that beautiful caramelized crust under the broiler. Again, you will likely have some butter mixture leftover – save it for serving!

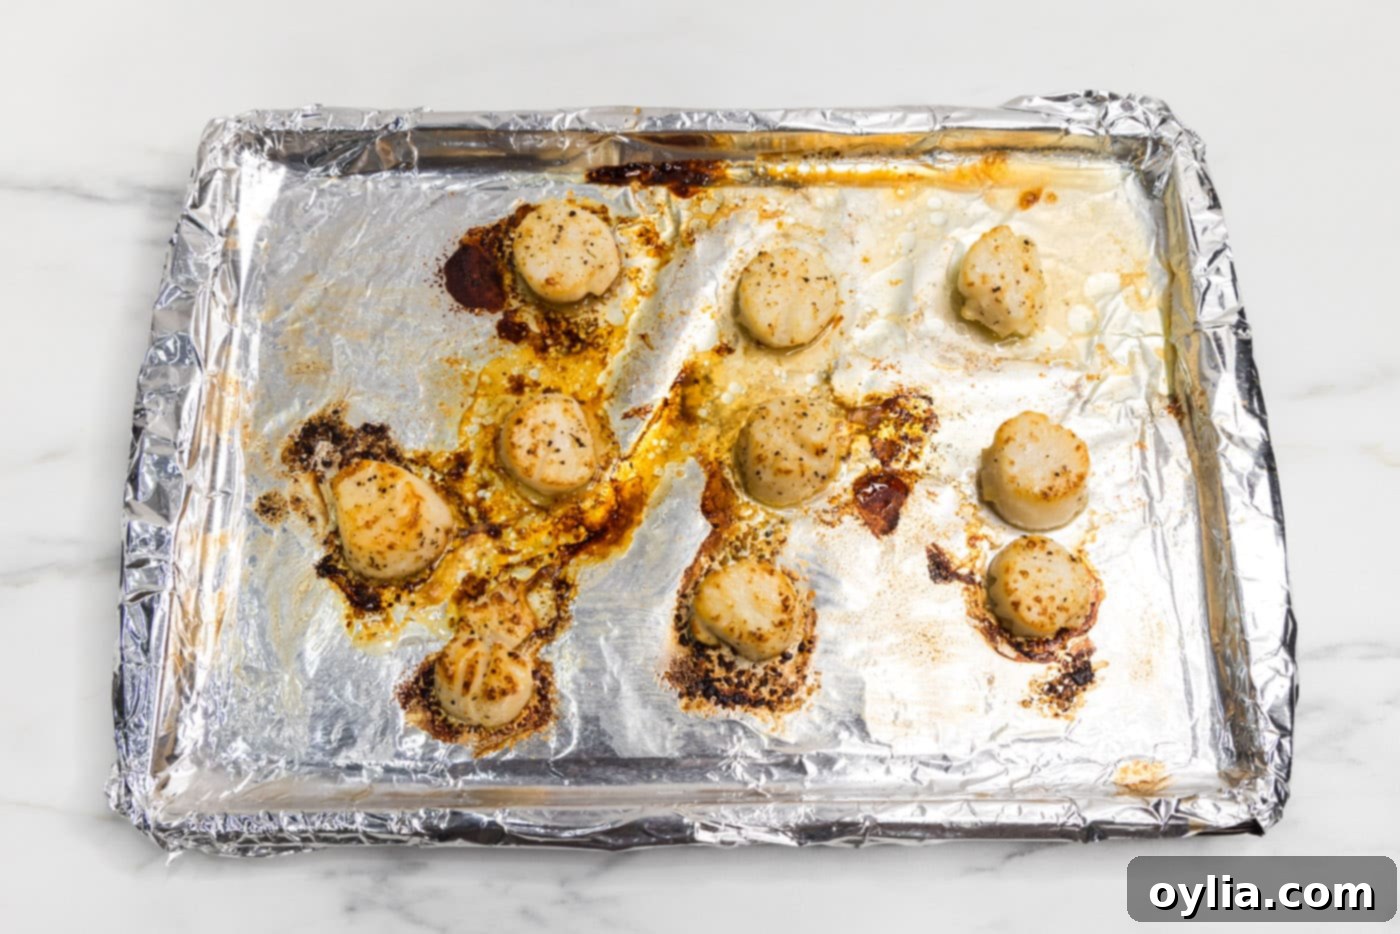
- Broil to Perfection: Carefully place the baking sheet with the scallops into the preheated oven on the designated high rack. Broil for 7-10 minutes.
IMPORTANT TIP – Broilers vary significantly in intensity. It is absolutely crucial to watch the scallops very carefully during this time. They can go from perfectly golden to burnt in a matter of seconds. Keep the oven door slightly ajar if your oven allows, or check every minute or two after the 5-minute mark. You’re looking for a beautiful golden-brown crust.
- Finish and Serve: Once the scallops have reached that gorgeous golden hue and are opaque throughout, carefully remove the pan from the oven. Dollop any remaining seasoned butter onto the hot scallops for extra flavor and moisture. If desired, sprinkle with fresh grated Parmesan cheese for a savory finish, or a squeeze of lemon juice and chopped parsley for freshness. Serve immediately and enjoy!

Frequently Asked Questions & Expert Tips for Broiled Scallops
Broiled scallops are truly best enjoyed immediately after cooking for optimal flavor and texture. However, if you have leftovers, allow them to cool completely before transferring them to an airtight container. Store them in the refrigerator for up to two days. Reheating can sometimes make them a bit rubbery, so it’s often best to enjoy them chilled in a salad or as part of a seafood cocktail if not served warm. Scallops are perishable and can spoil quickly, so prompt consumption is recommended.
Knowing when your scallops are perfectly cooked is key to avoiding a rubbery texture. Here are the signs to look for:
- Color: The scallops should turn opaque throughout. The outside will develop a beautiful, light golden-brown caramelized crust.
- Texture: When gently pressed with a fork, a perfectly cooked scallop will feel tender-firm, with a slight bounce back. It should not feel overly squishy (undercooked) or hard and resistant (overcooked).
- Internal Temperature: For the most accurate measure, use an instant-read thermometer. Scallops are safely cooked when they reach an internal temperature of 125-130°F (52-54°C).
Remember, every broiler is different and can vary in intensity. It’s crucial to keep a close eye on your scallops throughout the broiling process to prevent them from overcooking or becoming charred. Overcooked scallops will quickly become tough and take on an unappetizing rubbery texture, losing their delicate sweetness.
Absolutely! Frozen scallops can be a great option, especially if fresh dry scallops are hard to find. The most important step is to thaw them properly and thoroughly. Transfer them from the freezer to the refrigerator a day before you plan to cook them. Once thawed, follow the instructions to rinse them well and, most importantly, pat them extremely dry with paper towels to remove all excess moisture. This critical step ensures they will sear and caramelize beautifully under the broiler, just like fresh ones.
The secret to maximum caramelization lies in two primary factors: dryness and direct heat. First, ensure your scallops are as dry as possible after rinsing. Use multiple layers of paper towels and press firmly to wick away all surface moisture. Secondly, place your oven rack at the recommended distance from the broiler element (typically 4-6 inches). This direct, intense heat allows the sugars in the scallops and the butter to quickly caramelize, creating that irresistible golden crust.
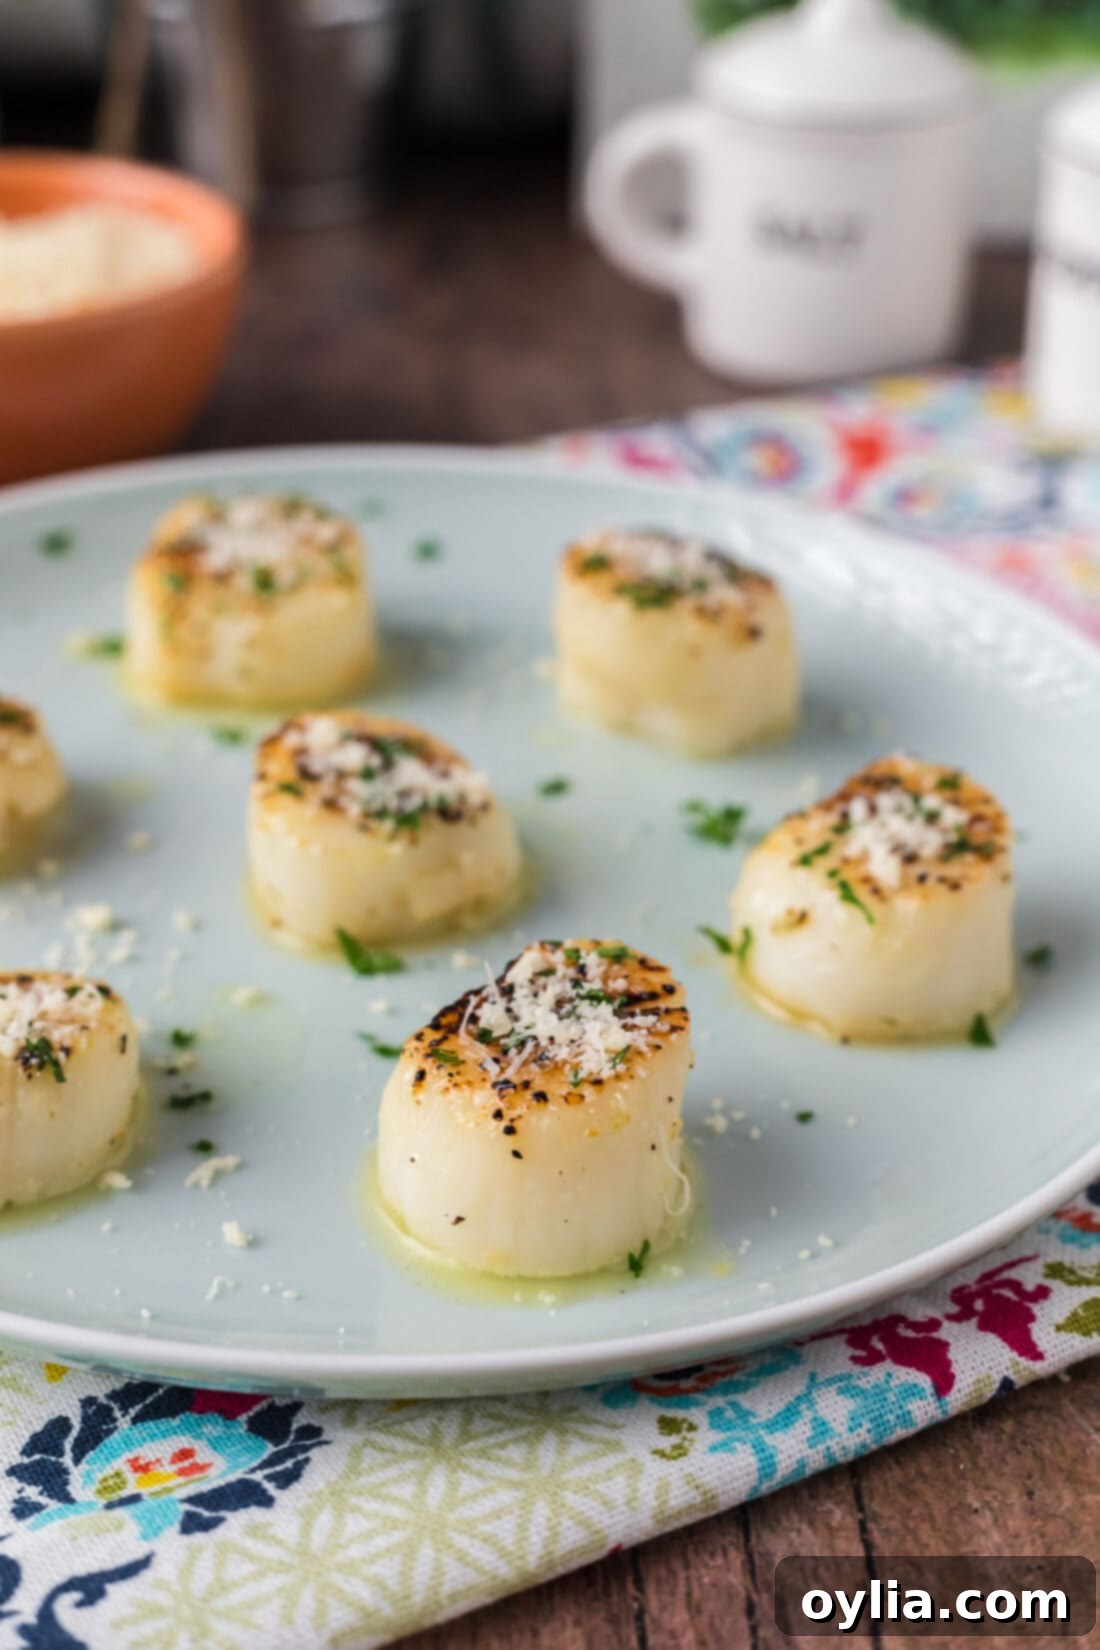
Delightful Serving Suggestions for Broiled Scallops
Broiled scallops are incredibly versatile and can be enjoyed in a multitude of ways, whether as a sophisticated appetizer or the star of your main course. Their delicate flavor pairs beautifully with a wide array of side dishes and garnishes.
As a Main Course:
- With Roasted Vegetables: Complement the scallops with vibrant roasted asparagus, broccolini, or a medley of colorful bell peppers. The earthy flavors and slight char of roasted veggies create a balanced meal.
- Over a Bed of Grains: Serve them atop fluffy couscous, creamy risotto (lemon-herb risotto is exceptional!), or a simple bed of white or brown rice to soak up all the delicious buttery juices.
- Alongside Pasta: Gently toss freshly cooked pasta with a light sauce, like a lemon-butter-garlic sauce or a touch of pesto, and then add the broiled scallops for a truly elegant seafood pasta dish. Try our Scallop Pasta recipe for inspiration!
- With a Simple Salad: For a lighter meal, pair them with a crisp green salad dressed with a bright vinaigrette.
As an Appetizer:
- With Dipping Sauce: Serve them warm with a small bowl of melted garlic butter or a spicy aioli for dipping.
- On Skewers: Thread them onto small skewers with cherry tomatoes or basil leaves for an easy-to-handle party bite.
- Crusty Bread: Offer slices of warm, crusty baguette to sop up the flavorful butter on the plate.
Optional Garnishes to Enhance Flavor:
- Fresh Lemon Juice: A squeeze of fresh lemon juice just before serving brightens the flavors and adds a zesty finish.
- Grated Parmesan Cheese: A sprinkle of finely grated Parmesan adds a savory, umami note that complements the sweet scallops beautifully.
- Fresh Chopped Parsley or Chives: These fresh herbs add a pop of color and a touch of herbaceous freshness.
- Red Pepper Flakes: For those who enjoy a little heat, a tiny pinch of red pepper flakes can add a subtle kick.
Enjoy these tender, succulent scallops as part of your next culinary adventure!
Explore More Delicious Scallop Recipes
If you’ve fallen in love with scallops and are eager to try them prepared in different ways, we have a variety of other fantastic recipes that celebrate this incredible seafood:
- Scallop Pasta: A hearty and flavorful dish combining tender scallops with your favorite pasta.
- Fried Scallops: For a crispy, golden-brown indulgence that’s perfect for a treat.
- Pan Seared Scallops: A classic method for achieving a perfect crust and juicy interior on the stovetop.
- Bacon Wrapped Scallops: The ultimate appetizer, combining the sweetness of scallops with savory, crispy bacon.
I love to bake and cook and share my kitchen experience with all of you! Remembering to come back each day can be tough, that’s why I offer a convenient newsletter every time a new recipe posts. Simply subscribe and start receiving your free daily recipes!
Broiled Scallops
IMPORTANT – There are often Frequently Asked Questions within the blog post that you may find helpful. Simply scroll back up to read them!
Print It
Pin It
Rate It
Save ItSaved!
Ingredients
- 1 pound large sea scallops
- 3 Tablespoons unsalted butter well softened
- 1 ½ teaspoons garlic salt
- 1 ½ teaspoons black pepper
Optional Garnish
- grated parmesan cheese
- chopped parsley
- lemon juice
Things You’ll Need
-
Baking sheet
-
Aluminum foil
-
Basting brush
Before You Begin
- You will want to purchase large sea scallops for this recipe. You may notice them labeled “wet” and “dry” at the grocery store. Wet scallops are soaked in a preservative to extend shelf life, but this causes the scallops to retain more moisture when cooked. We prefer to use dry sea scallops. Be sure to thaw them first then pat them dry after rinsing so the butter mixture doesn’t slide right off in the oven.
Instructions
-
Preheat your oven’s broiler. Line a baking sheet with aluminum foil. Place oven rack in the second position.
-
Rinse scallops and pat dry with paper towels.
-
Be sure your butter is really soft but not melted. It should have a pudding like texture.
-
Lightly brush a thin layer of the soft butter (you will not use it all) onto the aluminum foil on your baking sheet.
-
To the remaining butter in the bowl, add the garlic salt and black pepper. Stir to combine.
-
Place scallops onto the buttered aluminum foil.
-
Using a brush, add dollops of butter mixture to the top of each scallop. Again, you will not use all the butter.
-
Place pan of scallops into the oven on the highest rack. Broil for 7-10 minutes, watching them carefully so they don’t burn.
* Everyone’s broiler is different. It’s important to keep an eye on it so the scallops don’t overcook or become charred. Overcooked scallops will take on an unappetizing rubbery texture.
-
Remove from oven and dollop remaining butter onto the scallops. Sprinkle with parmesan cheese if desired.
Expert Tips & FAQs
- Store the broiled scallops in an air-tight container kept in the refrigerator for up to two days. Scallops are best served right away as they spoil rather quickly.
- Scallops are done cooking when they are opaque in color, with the outside being lightly browned. When you press down on the scallop it should feel tender-firm and not overly squishy. If the scallops are squishy, they’re undercooked and if they are firm with not a lot of give, they are overcooked.
Nutrition
The recipes on this blog are tested with a conventional gas oven and gas stovetop. It’s important to note that some ovens, especially as they age, can cook and bake inconsistently. Using an inexpensive oven thermometer can assure you that your oven is truly heating to the proper temperature. If you use a toaster oven or countertop oven, please keep in mind that they may not distribute heat the same as a conventional full sized oven and you may need to adjust your cooking/baking times. In the case of recipes made with a pressure cooker, air fryer, slow cooker, or other appliance, a link to the appliances we use is listed within each respective recipe. For baking recipes where measurements are given by weight, please note that results may not be the same if cups are used instead, and we can’t guarantee success with that method.
