Ultimate Crispy Buffalo Chicken Tenders: Your Guide to Homemade Perfection
Prepare your taste buds for an explosion of flavor and texture! There’s nothing quite like biting into a perfectly cooked chicken tender: impossibly crispy on the outside, incredibly juicy on the inside, and then drenched in a rich, tangy, and spicy homemade buffalo sauce. This isn’t just any chicken tender recipe; this is your definitive guide to crafting the most irresistible **crispy buffalo chicken tenders** right in your own kitchen. Forget the soggy, bland versions – we’re talking about restaurant-quality tenders that will have everyone reaching for more, whether it’s game day, a party, or just a delicious family dinner.
Why This Buffalo Chicken Tender Recipe Is a Winner
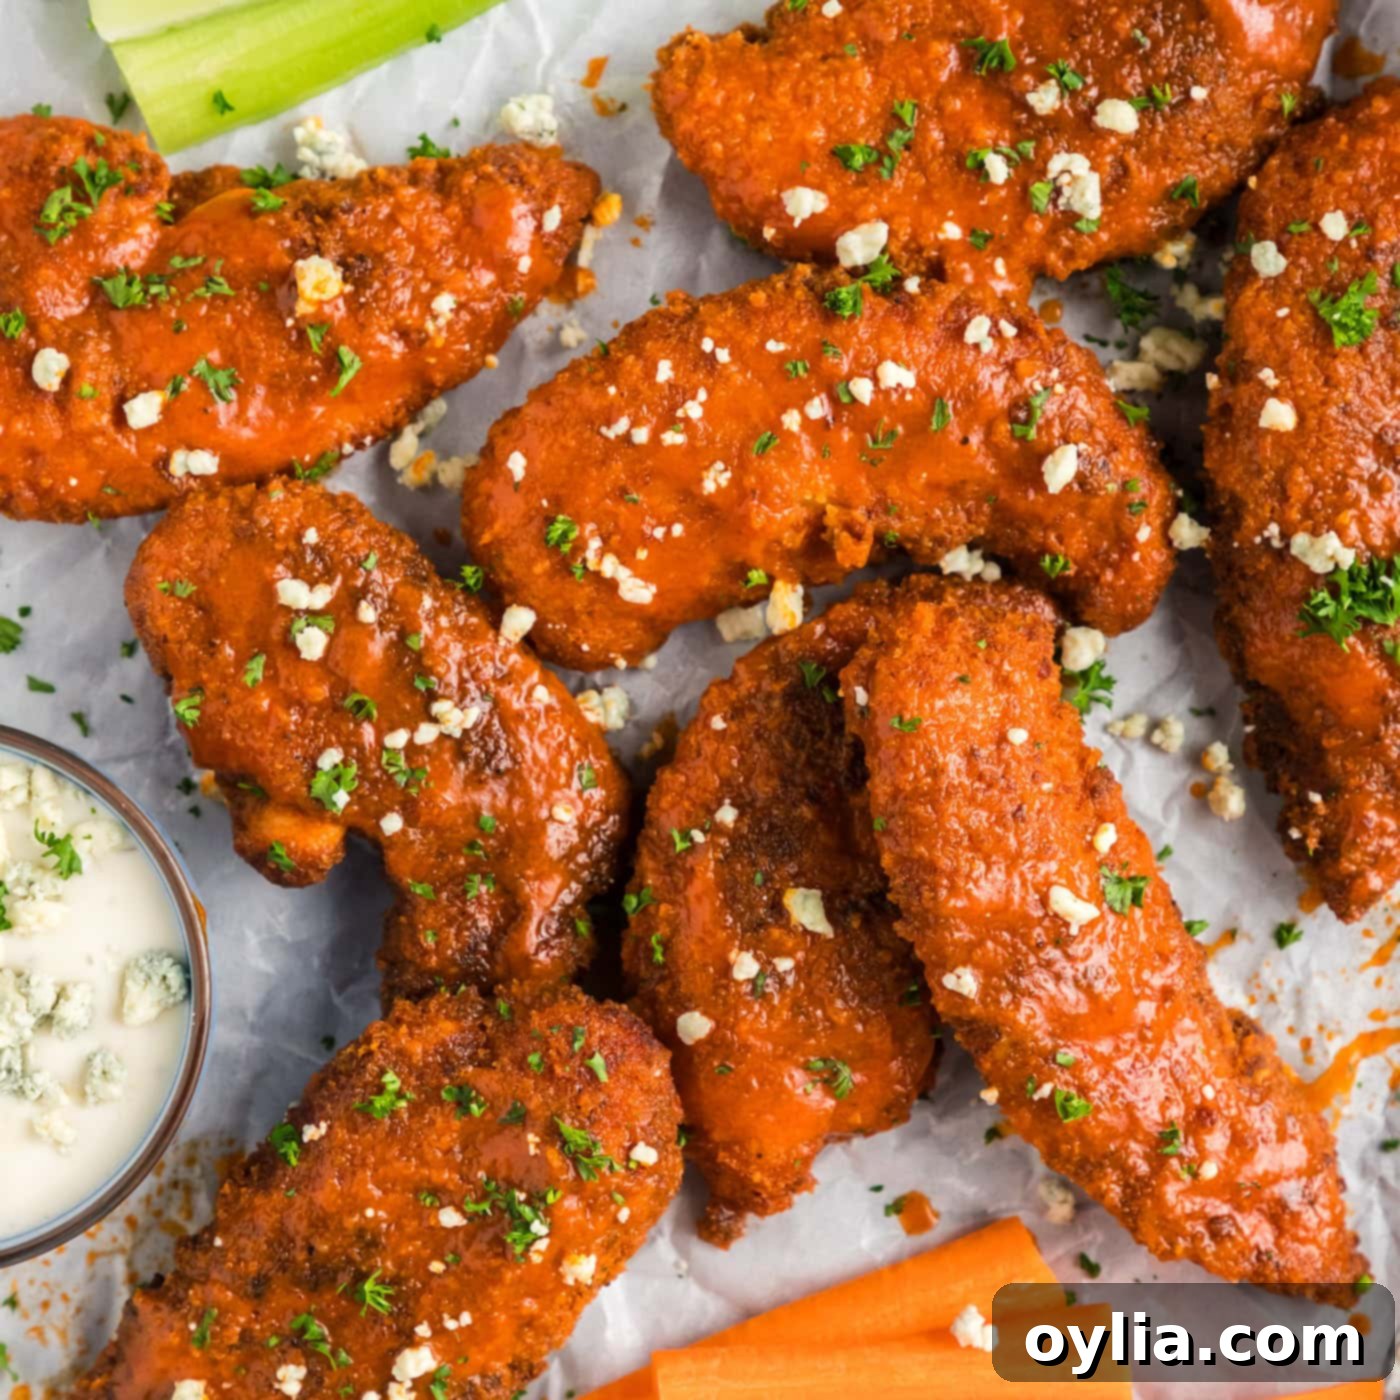
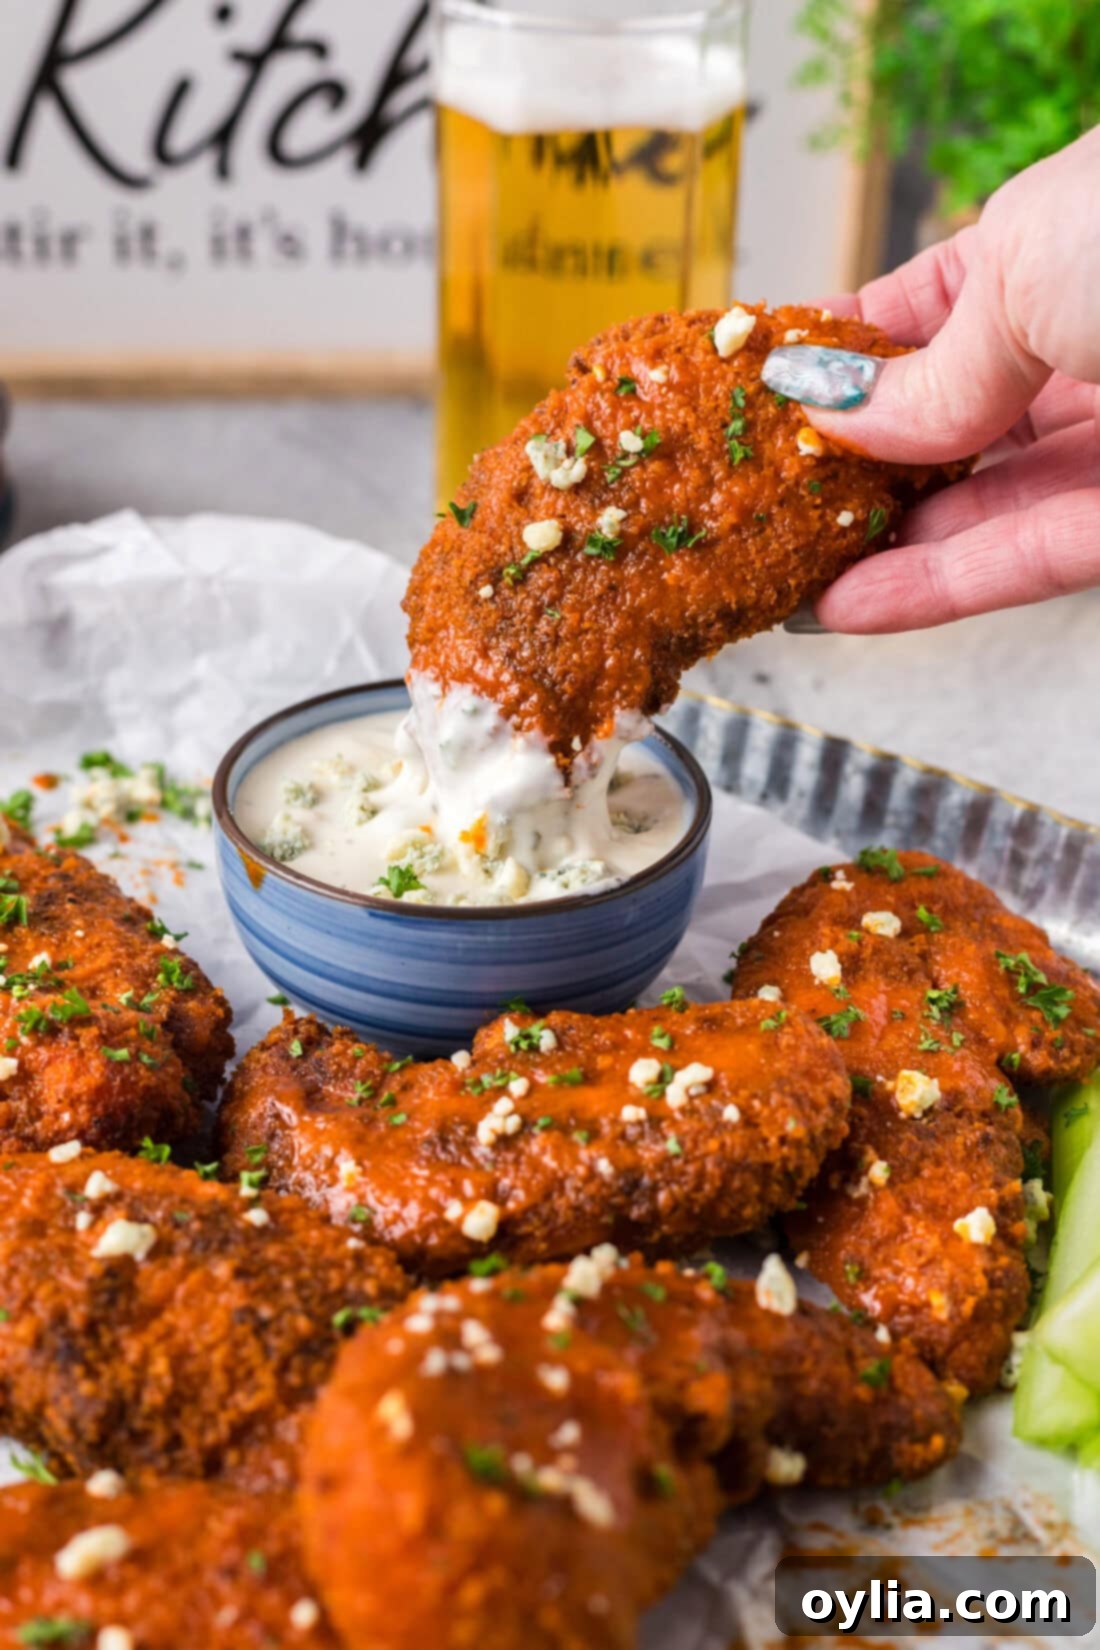
What makes these **buffalo chicken tenders** stand head and shoulders above the rest? It’s all about the perfect synergy of textures and flavors. We start with tender, succulent chicken enveloped in a golden-brown, extra-crunchy coating. This isn’t just any breading; it’s specifically designed to create maximum surface area for our star — the irresistible buffalo sauce. Every dip, groove, and crevice of that crispy exterior becomes a vessel for the savory, spicy, and buttery goodness that is true buffalo sauce.
The magic of buffalo sauce lies in its balanced kick. It offers a decent tingle on the tongue without being overwhelmingly hot, making it a crowd-pleaser for various spice tolerances. This unique blend of heat and tang is why classics like our buffalo chicken dip are perennial favorites. When that robust, finger-licking sauce coats our perfectly fried tenders, it transforms a simple chicken strip into an extraordinary culinary experience. The result is a dish that’s not just delicious, but genuinely addictive. Trust us, you’ll be coming back for more, long after the first bite.
Gather Your Ingredients for Perfect Buffalo Chicken
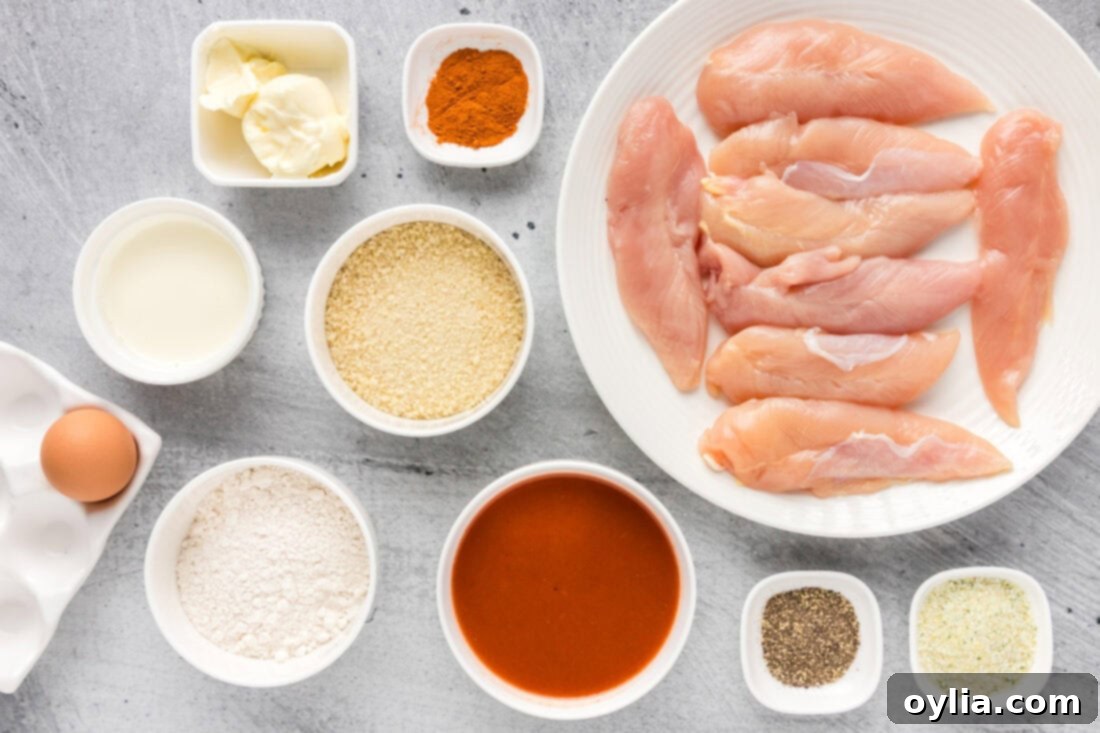
Crafting delicious **homemade buffalo chicken tenders** starts with the right ingredients. Below is a visual overview, and you’ll find all precise measurements and a detailed list in the printable recipe card at the very end of this post.
Ingredient Spotlight & Expert Substitutions
Let’s dive deeper into the components that make these **crispy chicken tenders** truly exceptional:
- BREADING: The secret to an extra-crispy exterior lies in our carefully constructed breading. It begins with a foundational dredge in all-purpose flour, creating a base for adherence. Next, a dip in a mixture of buttermilk, a touch of hot sauce, and egg ensures maximum flavor penetration and helps the panko breadcrumbs stick perfectly. Panko breadcrumbs are crucial here, as their larger, flaky structure provides a superior crunch compared to traditional breadcrumbs. We then elevate the flavor profile with cayenne pepper for an added kick, garlic salt for savory depth, and a sprinkle of black pepper, all working together to create a beautifully golden brown and incredibly satisfying crust.
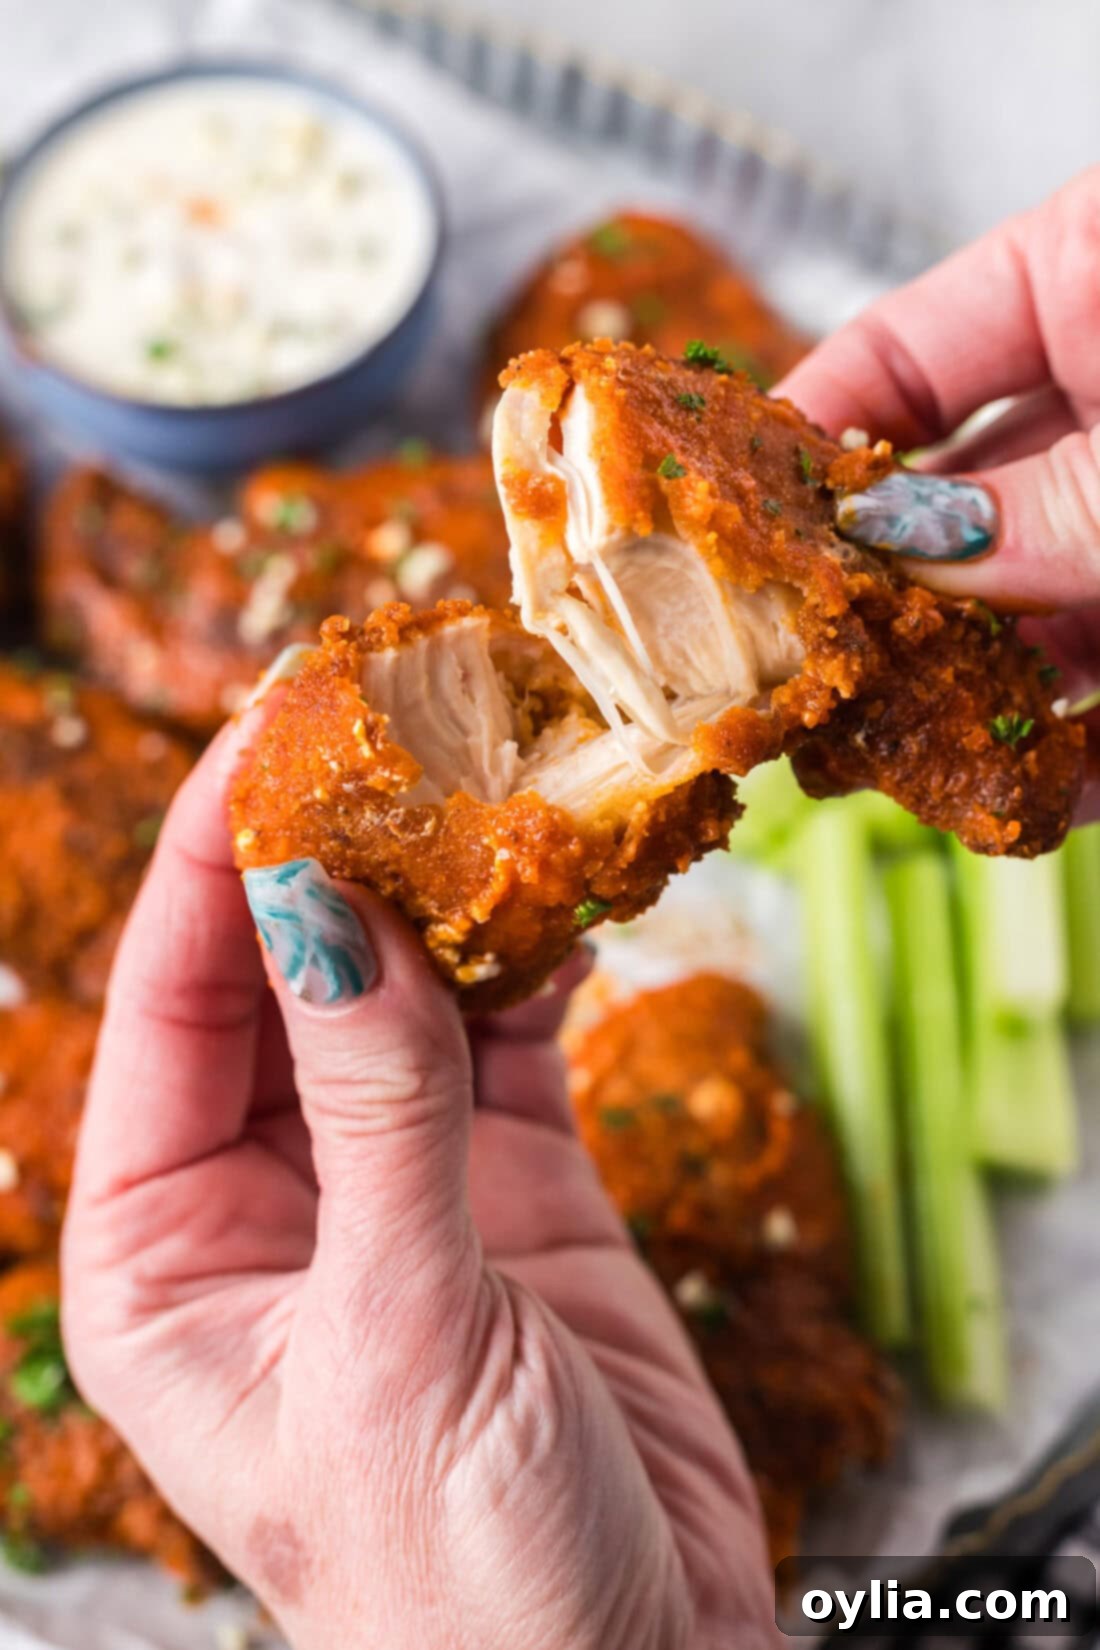
- CHICKEN: While chicken tenderloins are naturally, well, tender, you can easily use boneless, skinless chicken breast as a substitute. Simply slice the chicken breasts into uniform strips, about ¾-inch to 1-inch thick, to mimic the size and shape of tenders. Ensure they are of similar thickness for even cooking. For an extra boost of flavor and tenderness, consider marinating your chicken in buttermilk for at least 30 minutes (or up to 4 hours) before starting the breading process. This helps break down the muscle fibers, resulting in an even juicier final product.
- BUFFALO SAUCE: Our homemade buffalo sauce is a simple yet powerful combination of hot sauce and melted butter. For that authentic, classic buffalo flavor, we highly recommend using Frank’s Red Hot. Its cayenne pepper base provides the perfect balance of heat and tang that has become synonymous with buffalo wings and tenders. However, don’t hesitate to experiment with your favorite hot sauce if you prefer a different flavor profile or heat level. For a milder sauce, you can slightly increase the butter-to-hot-sauce ratio. For extra heat, a pinch more cayenne pepper can be added to the sauce, or opt for a spicier brand of hot sauce.
- OIL FOR FRYING: The type of oil you use for frying makes a difference. We recommend using oils with a high smoke point and neutral flavor, such as vegetable oil, canola oil, or peanut oil. These oils can withstand the necessary high temperatures without burning and imparting unwanted flavors to your chicken. Ensure you have enough oil to submerge at least half of the chicken tenders, about an inch deep in your skillet, to achieve even cooking and that signature golden crisp.
Step-by-Step: Crafting Your Perfect Buffalo Chicken Tenders
These step-by-step photos and detailed instructions are here to help you visualize how to make this recipe. You can Jump to Recipe to get the printable version of this recipe, complete with precise measurements and instructions at the bottom.
- To begin, set up your breading station efficiently. In one of your breading trays (or a shallow dish), combine the panko breadcrumbs, garlic salt, cayenne pepper, and black pepper. Whisk or stir these ingredients thoroughly to ensure the spices are evenly distributed.
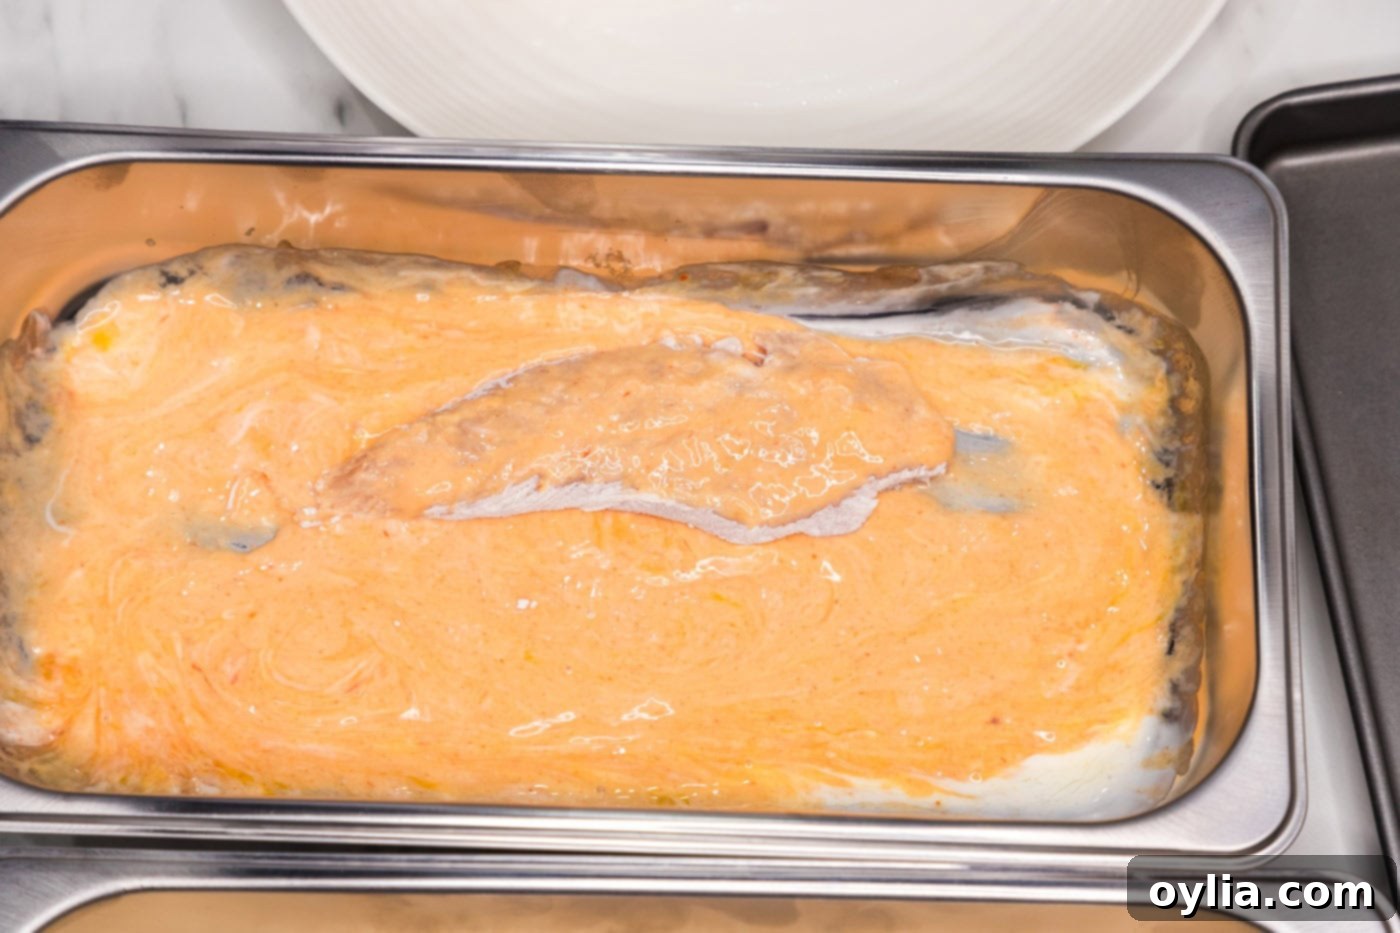
- In a second breading tray, whisk together the buttermilk, egg, and 2 tablespoons of hot sauce until well combined. This mixture will act as the binder for your breadcrumbs and infuse an initial layer of flavor.
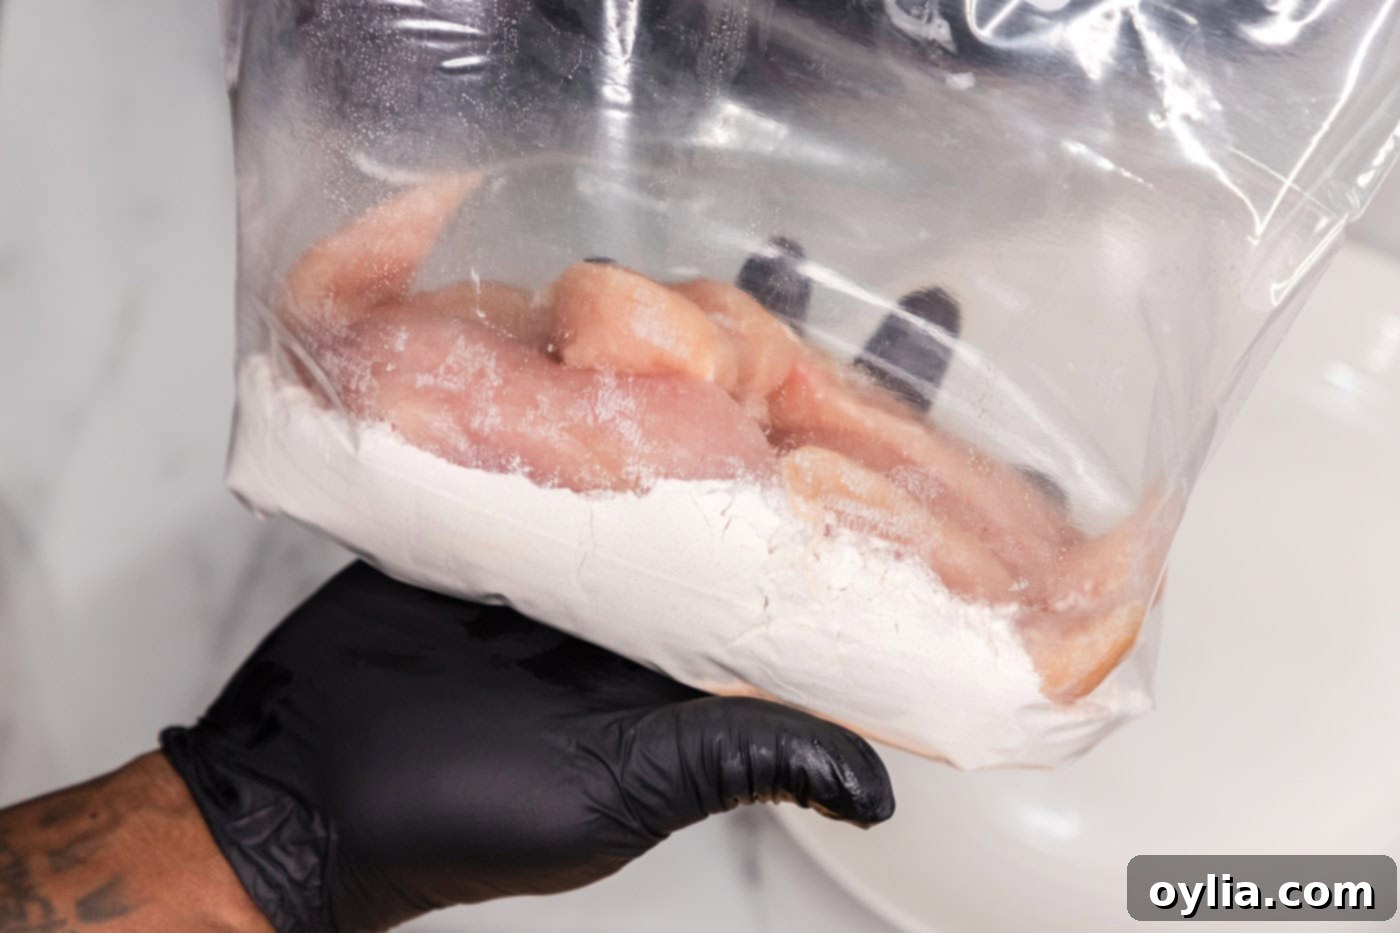
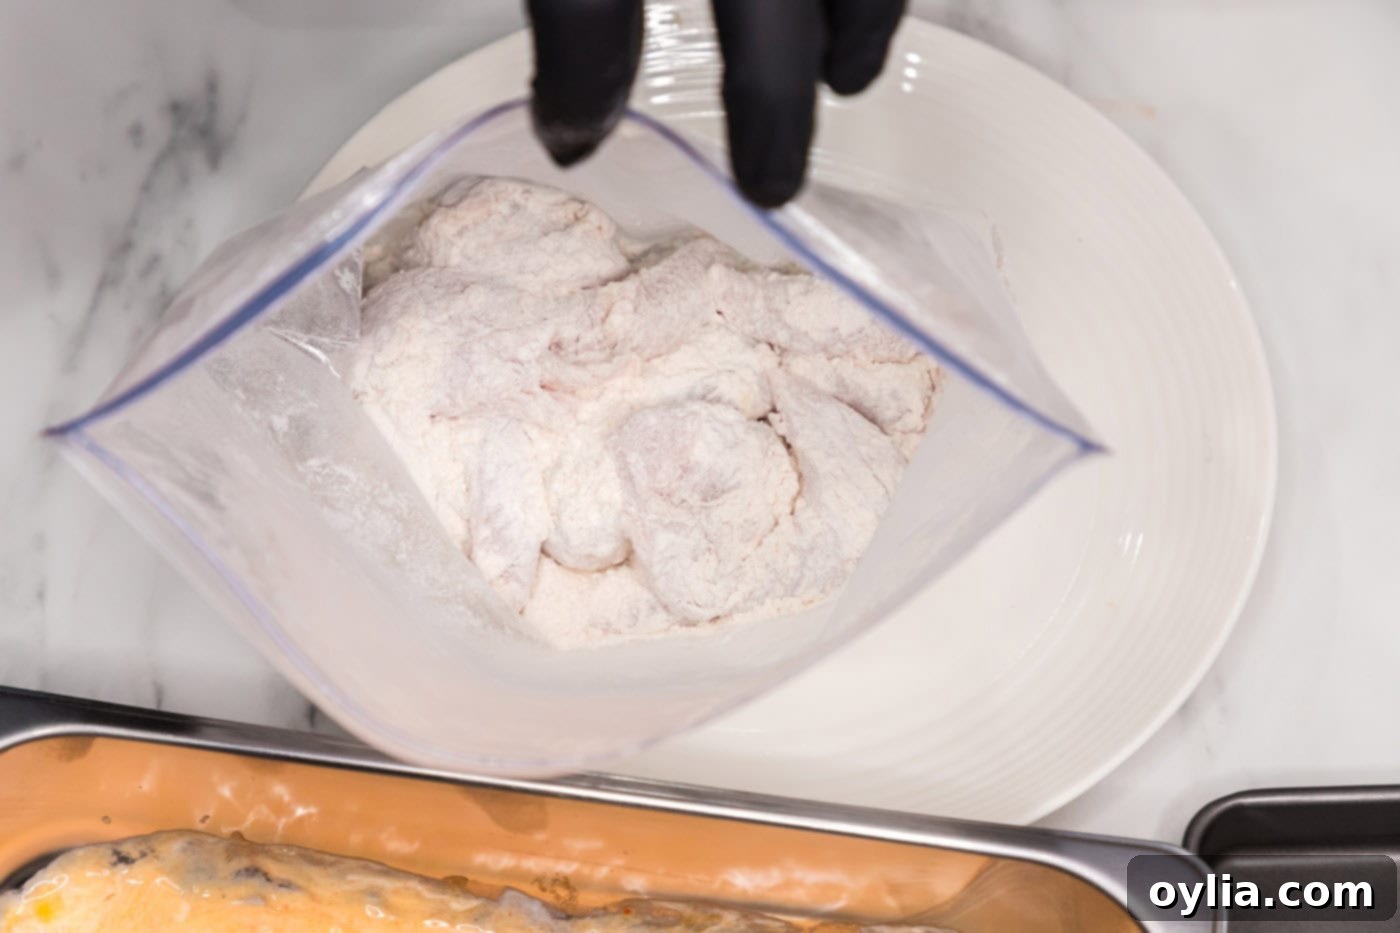
- For the initial flour dredge, add the all-purpose flour to a gallon-sized zipper bag. Place the chicken tenderloins into the bag, seal it tightly, and shake vigorously to coat all the tenderloins evenly with flour. This ensures a consistent base for the wet mixture.


- Working with one tenderloin at a time, remove it from the flour bag and dip it into the buttermilk mixture. Turn it completely to ensure it is thoroughly coated. Allow any excess liquid to drip off before moving to the next step.

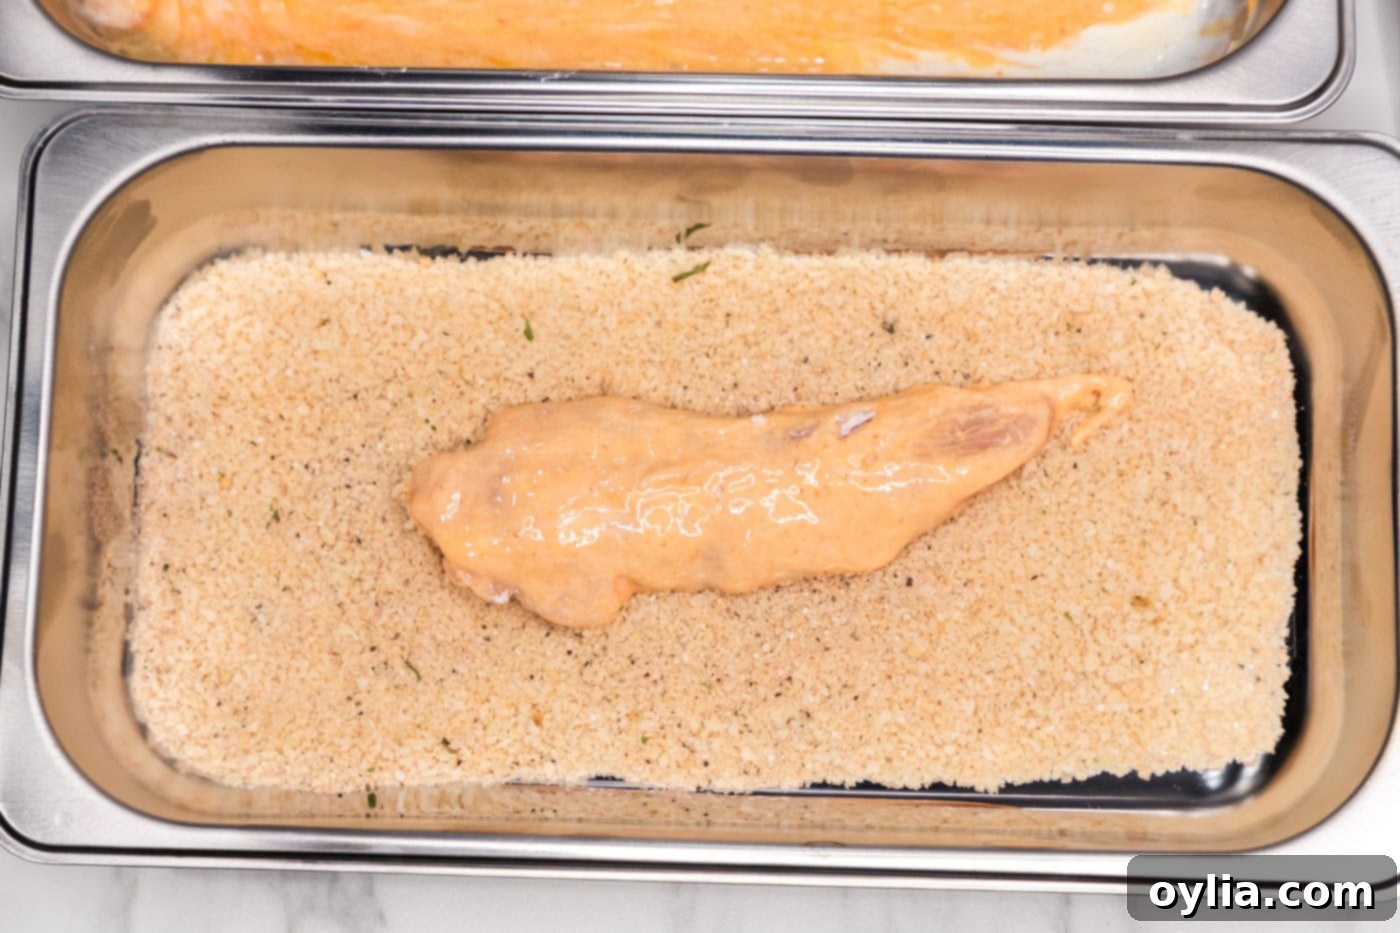
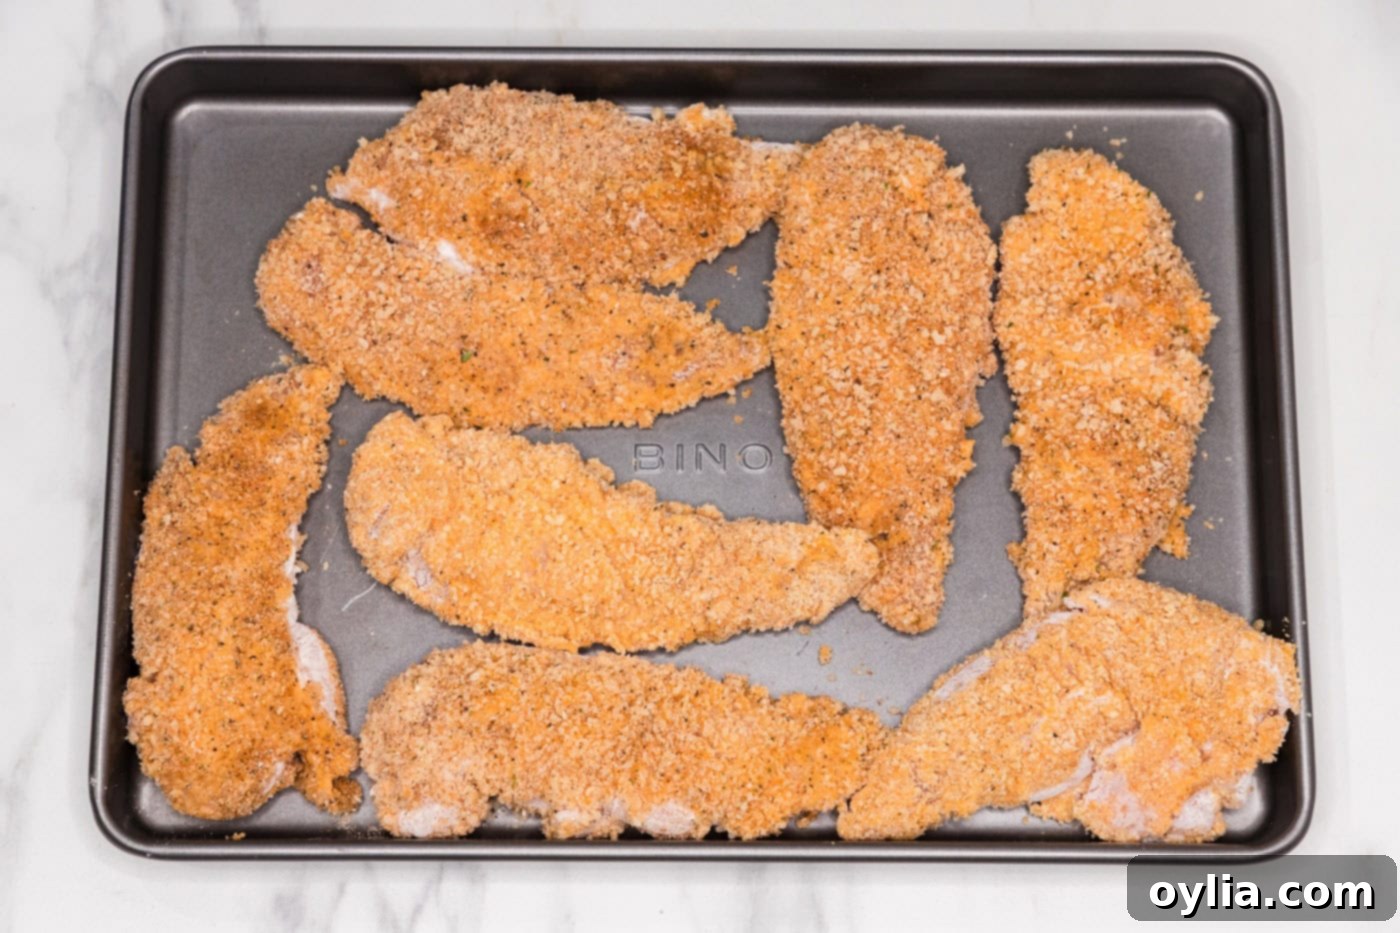
- Next, place the buttermilk-coated tenderloin into the seasoned breadcrumb mixture. Turn it over several times to fully coat it. Gently press both sides of the chicken to help the panko breadcrumbs adhere firmly. Transfer the coated tenderloin to a clean tray or plate to rest. Repeat this process for all remaining chicken pieces. Allowing them to rest for a few minutes helps the breading set, which prevents it from falling off during frying.


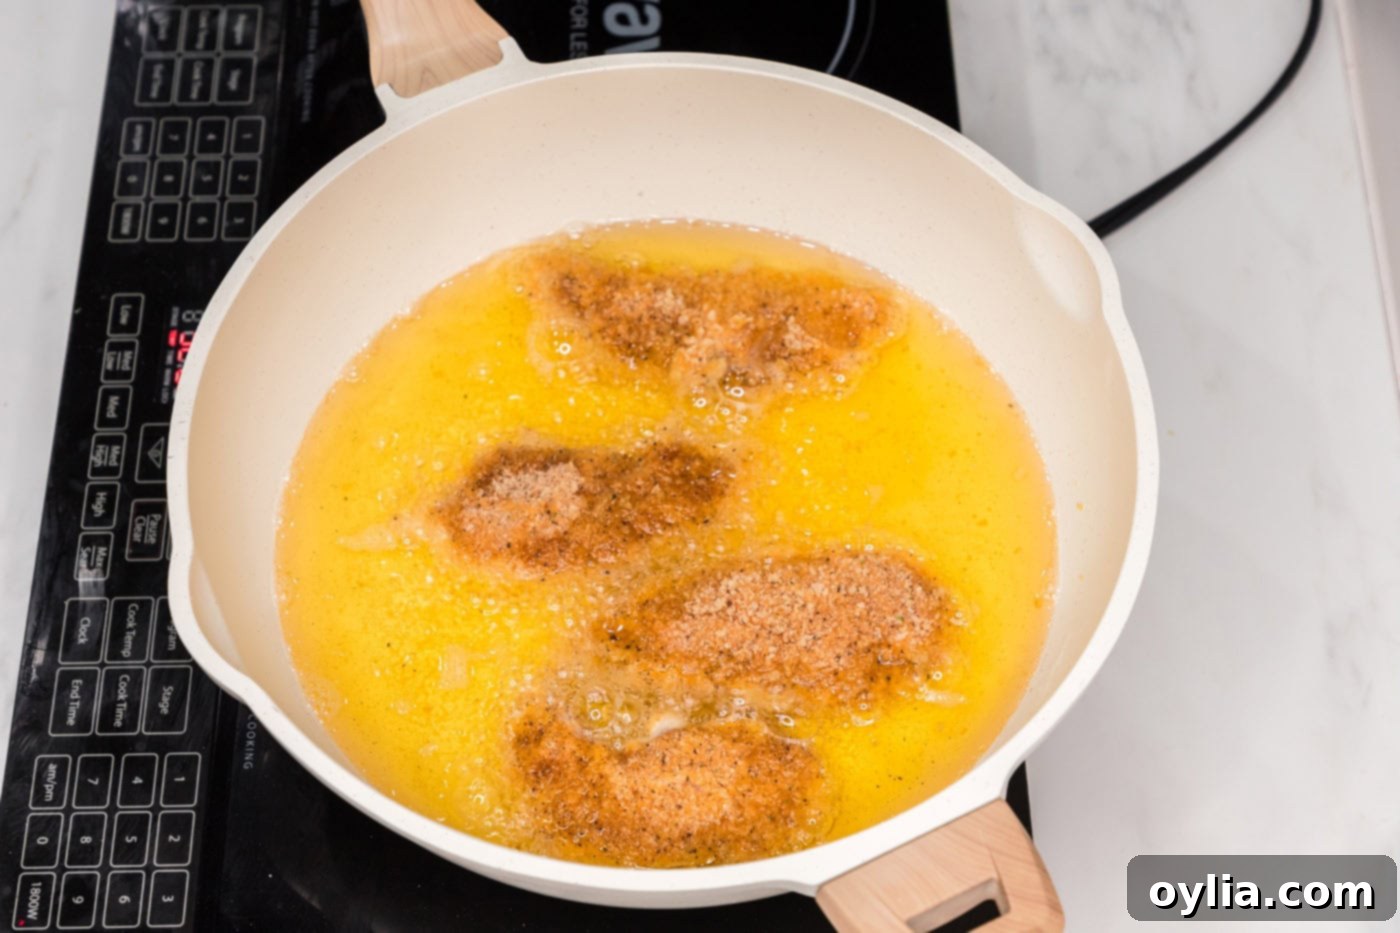
- In a large, heavy-bottomed skillet with deep sides, add enough cooking oil to reach about an inch up the sides of the pan. Heat the oil over medium-high heat until it reaches a temperature of 350°F (175°C).
EXPERT TIP: Maintaining the correct oil temperature is paramount for truly **crispy fried chicken tenders**. The temperature will naturally fluctuate as you add and remove the chicken, so a reliable clip-on thermometer is your best friend here. If the oil is too cold, the chicken will absorb too much oil, resulting in greasy and soggy tenders. If it’s too hot, the exterior will burn before the inside cooks through. Adjust your heat as needed to keep it as close to 350°F as possible. You can test the oil by dropping a tiny pinch of breadcrumbs; if they sizzle immediately, it’s ready.
- Once the oil reaches the correct temperature, carefully add the tenderloins to the skillet, one at a time. Be mindful not to overcrowd the pan, as this will drop the oil temperature and lead to uneven cooking. You will likely need to cook the chicken in batches.

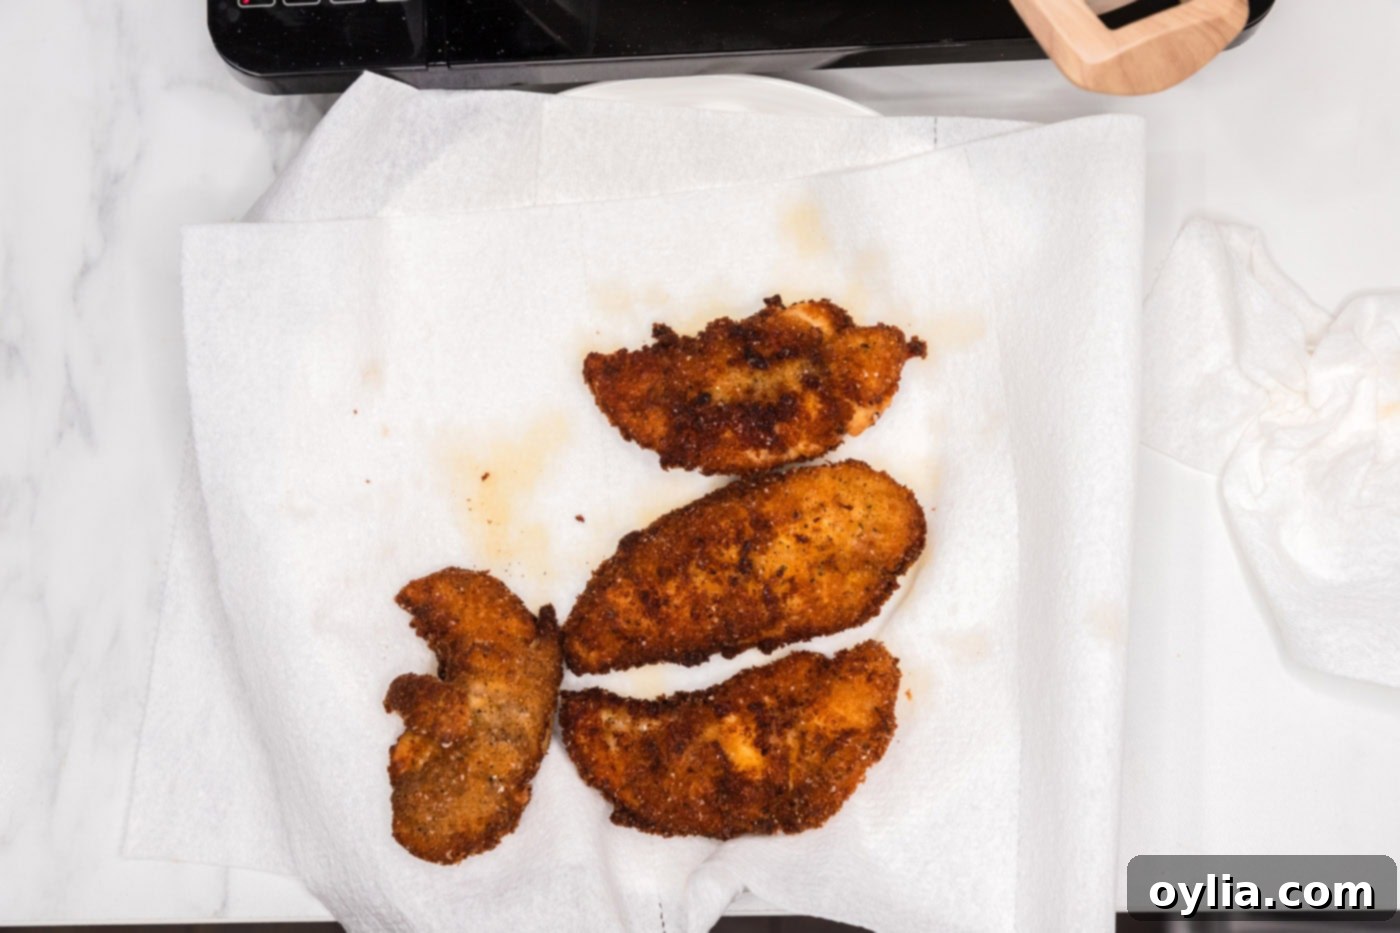
- Cook the tenders for 3-4 minutes per side, turning them once or twice with tongs until they are beautifully golden brown and cooked through. The internal temperature should reach 165°F (74°C). Remove the cooked tenders from the skillet and place them on a paper towel-lined plate to drain any excess oil. This step helps maintain their crispiness.

Crafting the Classic Homemade Buffalo Sauce
The buffalo sauce is incredibly simple yet essential for truly authentic flavor:
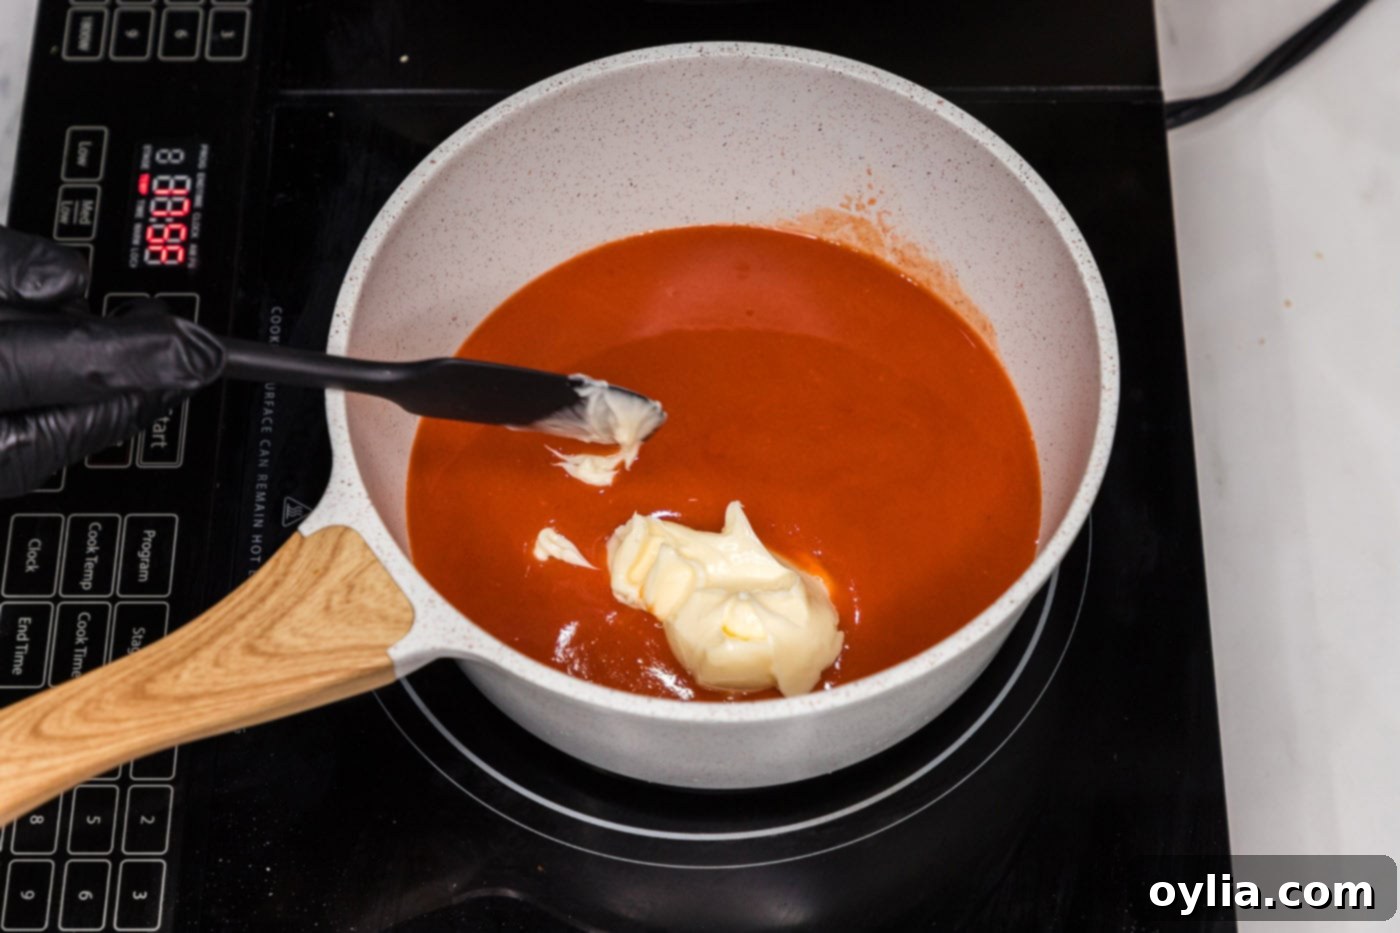
- To make the glorious buffalo sauce, add the remaining hot sauce and butter to a small saucepan. Heat this mixture over medium-high heat, stirring occasionally, just long enough for the butter to fully melt and combine with the hot sauce. You’re not looking to boil it, just to create a smooth, emulsified sauce. Once melted and combined, turn off the heat.

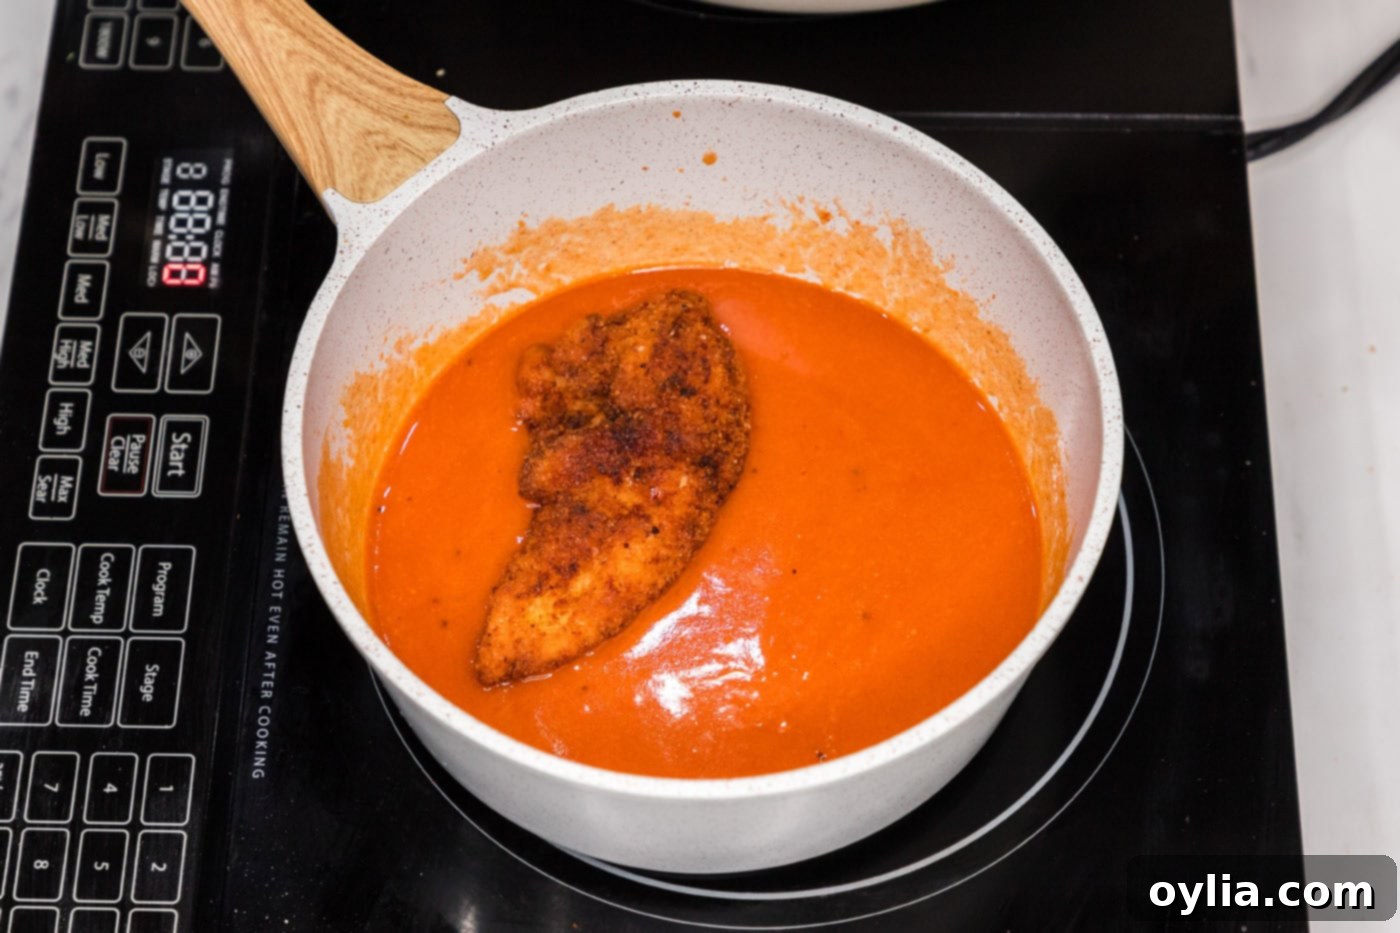
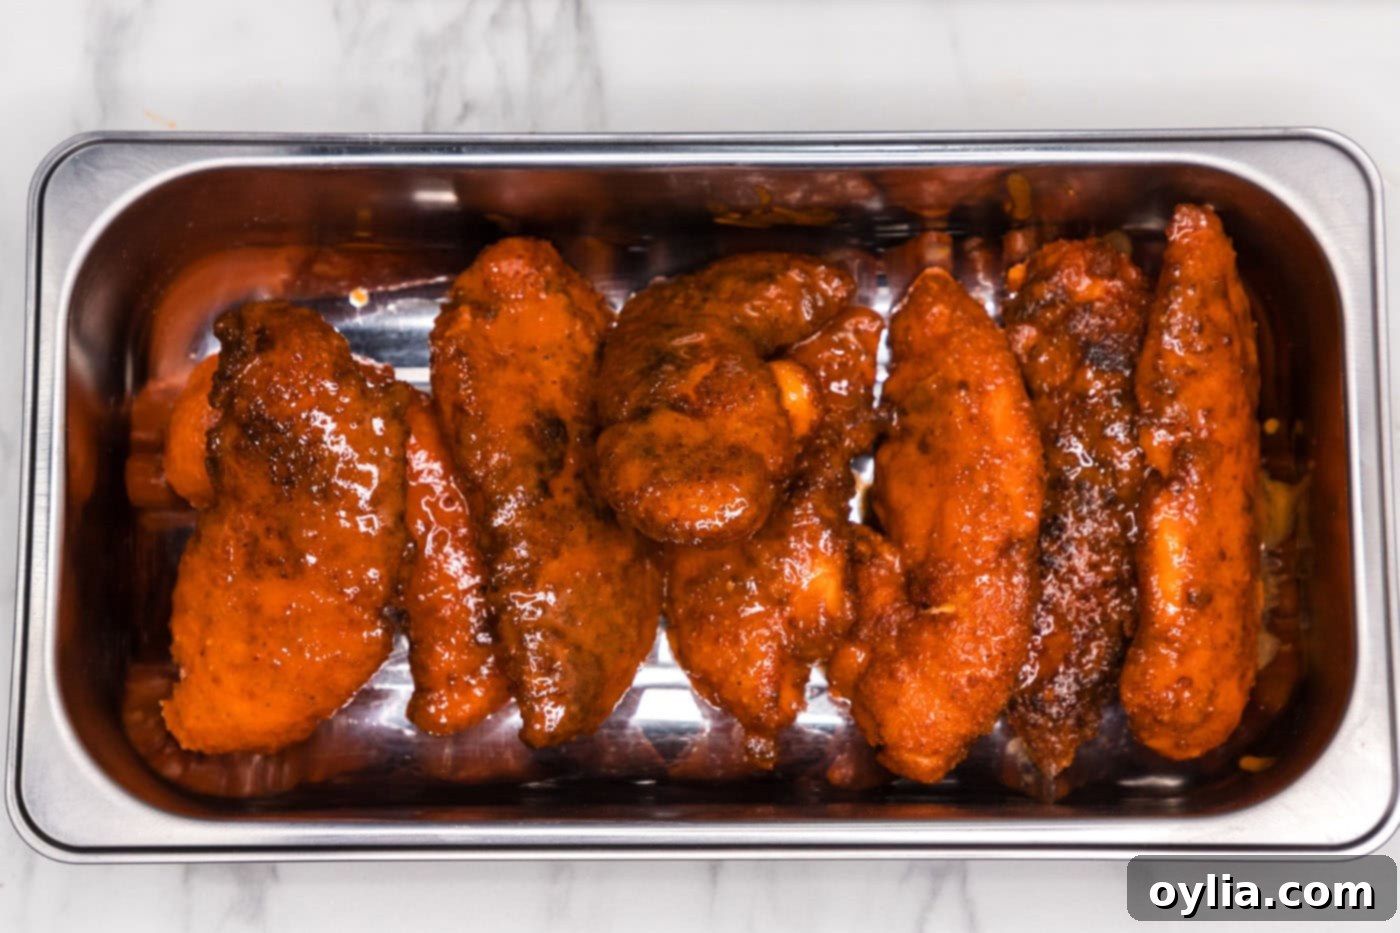
- Once the chicken tenders are fried, place them one at a time into the warm buffalo sauce. Turn each tender to coat it completely, ensuring every inch of that crispy breading is drenched in the savory sauce. Remove and place on a serving platter.


- Don’t let any of that delicious sauce go to waste! Any remaining buffalo sauce is perfect for dipping, or drizzling over additional sides.
Frequently Asked Questions & Expert Tips for Buffalo Chicken Tenders
To keep your **buffalo chicken tenders** fresh, store any leftovers in an air-tight container in the refrigerator for up to 3-4 days. While they won’t be as crispy as fresh, reheating them properly can bring back some of their former glory. The best methods for reheating are in an air fryer at 350°F (175°C) for 5-7 minutes, or in a 350°F (175°C) oven for 10-15 minutes, until thoroughly warmed and re-crisped. Avoid the microwave, as it will make them soggy. Always save any extra buffalo sauce for dipping or tossing when reheating to revive their flavor and moisture!
Chicken is safely cooked and ready to eat when it reaches an internal temperature of 165°F (74°C). Always use an instant-read thermometer inserted into the thickest part of the meat (avoiding bone) to confirm doneness. This ensures safety and prevents overcooking, keeping your tenders juicy.
Yes, you can absolutely bake these for a slightly healthier alternative! Follow the breading steps, then place the coated tenders on a wire rack set over a baking sheet (this allows air to circulate for crispiness). Bake in a preheated oven at 400°F (200°C) for 20-25 minutes, flipping halfway through, until golden brown and cooked to 165°F internal temperature. While they might not be as intensely crispy as fried, they will still be delicious, especially when tossed in the homemade buffalo sauce.
The beauty of homemade buffalo sauce is its customizability! For a milder sauce, you can increase the butter slightly or use a less spicy hot sauce. For extra heat, add a pinch more cayenne pepper to the sauce, or choose a hotter variety of hot sauce. You could also experiment with adding a dash of smoked paprika for depth of flavor without adding significant heat.
Delightful Serving Suggestions for Your Buffalo Chicken Tenders
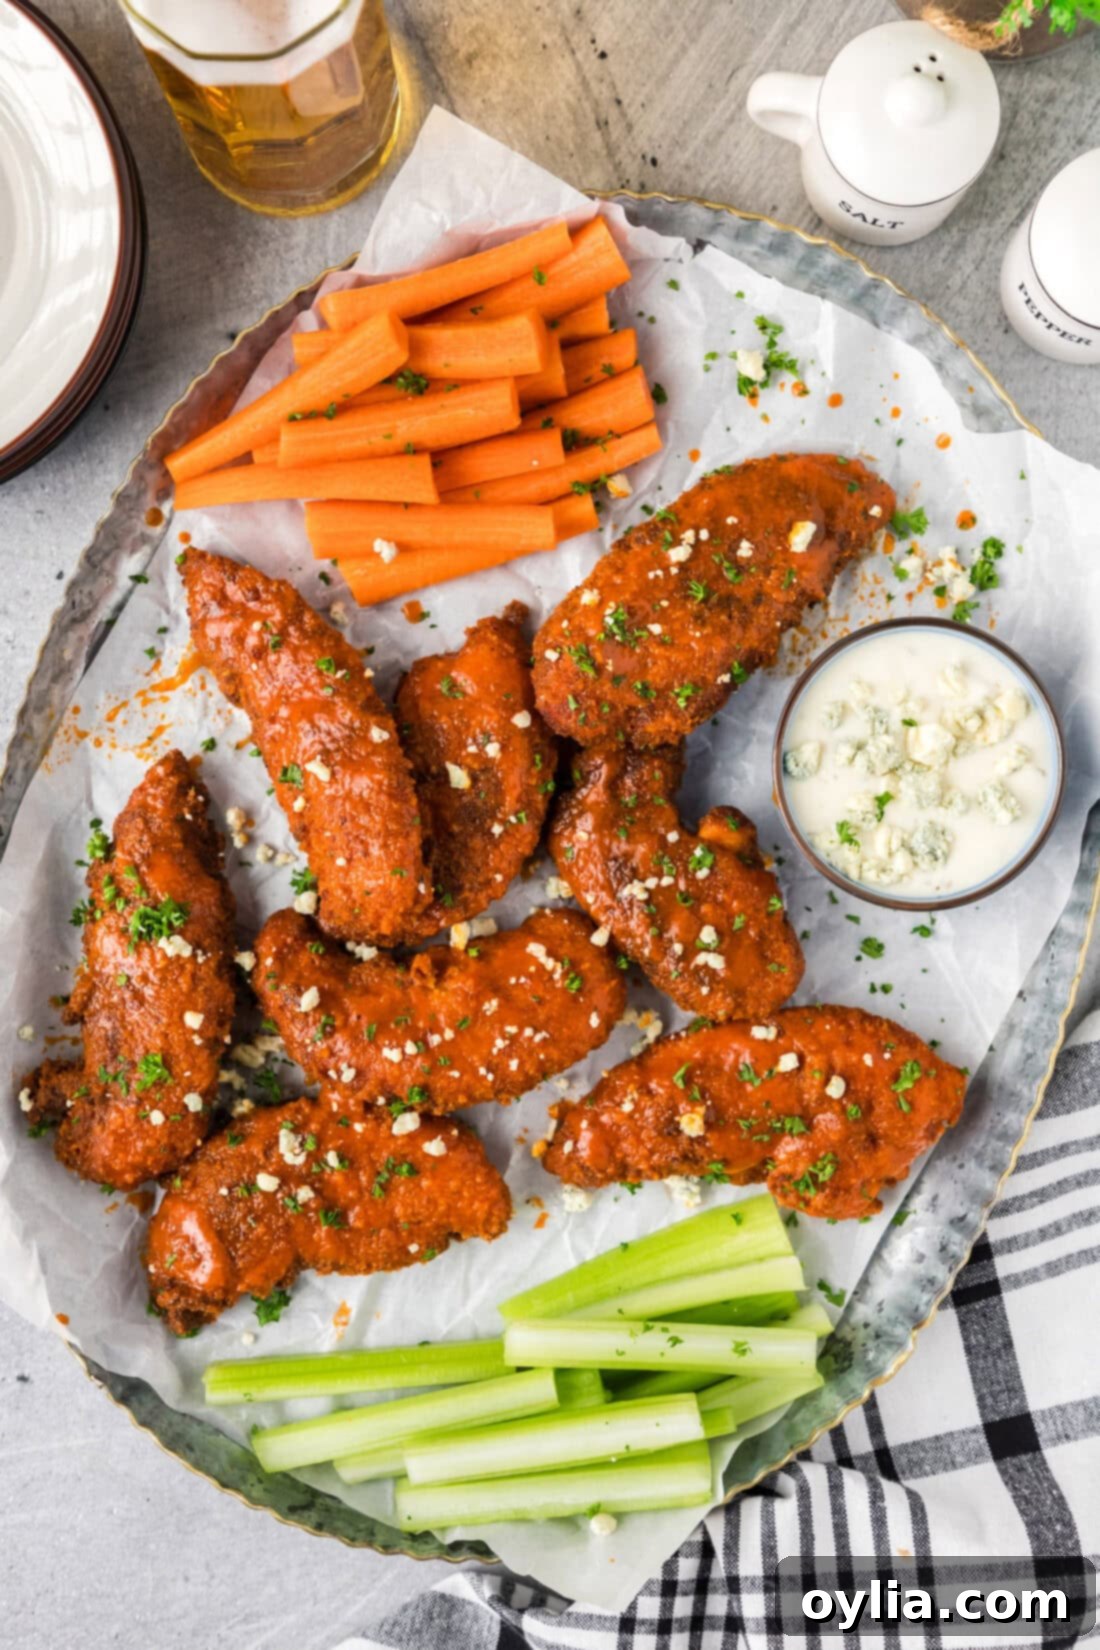
Once your **homemade crispy buffalo chicken tenders** are coated in that glorious sauce, it’s time to assemble the perfect meal or snack! These versatile tenders pair wonderfully with a variety of sides and dips, catering to any craving.
- Classic Dipping Sauces: The go-to choices are, of course, a creamy ranch dressing or a robust blue cheese dressing. The cool, tangy flavors of these dips provide a refreshing contrast to the spicy heat of the buffalo sauce, creating a harmonious bite every time.
- Refreshing Sides: For a refreshing crunch, serve alongside crisp celery sticks and carrot sticks. These not only offer a cool counterpoint but also add a healthy element to your plate.
- Hearty Pairings: French fries are a quintessential partner to chicken tenders. Consider serving them with a side of homemade potato wedges, a fresh coleslaw, or even some tangy macaroni and cheese for a truly indulgent meal.
- Creative Entrees: Don’t limit these to just a plate! Slice your buffalo chicken tenders and use them in creative ways. They make an incredible topping for a leafy green salad, adding protein and a spicy kick. You can also chop them up for delicious buffalo chicken wraps or sandwiches, transforming a simple meal into something extraordinary. They can even be used as a topping for homemade buffalo chicken pizza or in spicy tacos.
For the best experience, enjoy your **buffalo chicken tenders** immediately after coating them in the sauce. This ensures you get that ultimate crispiness before the breading has a chance to absorb too much of the sauce, maintaining that perfect texture contrast we all love. Pair them with your favorite cold beverage for a truly satisfying treat!
Explore More Delicious Recipes
If you loved this recipe, be sure to check out these other fantastic chicken dishes that bring similar flavors and comforting satisfaction to your table:
- Buffalo Chicken Pasta
- Buffalo Chicken Casserole
- Air Fryer Chicken Tenders
- Crispy Baked Chicken Wings
I love to bake and cook and share my kitchen experience with all of you! Remembering to come back each day can be tough, that’s why I offer a convenient newsletter every time a new recipe posts. Simply subscribe and start receiving your free daily recipes!

Buffalo Chicken Tenders
IMPORTANT – There are often Frequently Asked Questions within the blog post that you may find helpful. Simply scroll back up to read them!
Print It
Pin It
Rate It
Save ItSaved!
Ingredients
- ½ cup panko breadcrumbs
- 2 teaspoons garlic salt
- 1 teaspoon cayenne pepper
- 1 teaspoon black pepper
- ¼ cup buttermilk
- 1 large egg
- ¾ cup hot sauce divided
- ½ cup all purpose flour
- 1 pound chicken tenderloins
- oil for frying
- 2 ½ Tablespoons butter
Things You’ll Need
-
Breading trays
-
Whisk
-
Gallon sized zipper bag
-
Large heavy bottomed skillet with deep sides
-
Tongs
-
Saucepan
Before You Begin
- It’s important to maintain the temperature of the oil while frying. The temperature will fluctuate as you add and remove the chicken tenders. If the oil temperature is too low, the chicken will absorb more oil and you may end up with soggy tenders. Your best bet is to attach a thermometer with a clip to the pan.
- You can substitute the tenderloins with boneless skinless chicken breast, just slice the breasts into strips to resemble tenders.
- I recommend using Frank’s Red Hot as the hot sauce of choice, but you can substitute with your favorite brand.
Instructions
-
To one of the breading trays, add bread crumbs, garlic salt, cayenne pepper, and black pepper. Whisk or stir to combine.
-
To another breading tray, add buttermilk, egg, and 2 tablespoons of the hot sauce. Whisk to combine.
-
To a gallon zipper bag, add the flour. Place chicken tenderloins into the bag and seal. Shake the bag to coat all the tenderloins evenly.
-
Working with one at a time, dip a floured tenderloin into the buttermilk mixture. Turn to coat completely.
-
Place coated tenderloin into the breadcrumb mixture and turn to coat. Gently press both sides to adhere the crumbs. Place on a tray to rest while you coat all the other pieces.
-
Add enough cooking oil to the skillet to come about an inch up the sides of the pan. Heat over medium-high until temperature reaches 350 F.
-
When oil is ready, add tenderloins, one at a time, to the skillet, being careful not to crowd. You may need to work in batches.
-
Cook for 3-4 minutes per side, turning once or twice. They should be nicely browned. Remove to a paper towel lined plate to drain.
-
To make the buffalo sauce, add the remaining hot sauce and butter to a saucepan. Heat over medium-high, just long enough for the butter to melt. Turn off heat.
-
One at a time, place cooked tenderloins in the buffalo sauce, turn to coat, and remove.
-
The remaining sauce can be used for dipping if you like.
Expert Tips & FAQs
- Store leftovers in an air-tight container kept in the refrigerator for 3-4 days. Reheat in the air fryer or a 350F oven until warmed through to help them regain their crispiness. Don’t forget to save any leftover buffalo sauce to help revive the reheated chicken tenders.
Nutrition
The recipes on this blog are tested with a conventional gas oven and gas stovetop. It’s important to note that some ovens, especially as they age, can cook and bake inconsistently. Using an inexpensive oven thermometer can assure you that your oven is truly heating to the proper temperature. If you use a toaster oven or countertop oven, please keep in mind that they may not distribute heat the same as a conventional full sized oven and you may need to adjust your cooking/baking times. In the case of recipes made with a pressure cooker, air fryer, slow cooker, or other appliance, a link to the appliances we use is listed within each respective recipe. For baking recipes where measurements are given by weight, please note that results may not be the same if cups are used instead, and we can’t guarantee success with that method.
