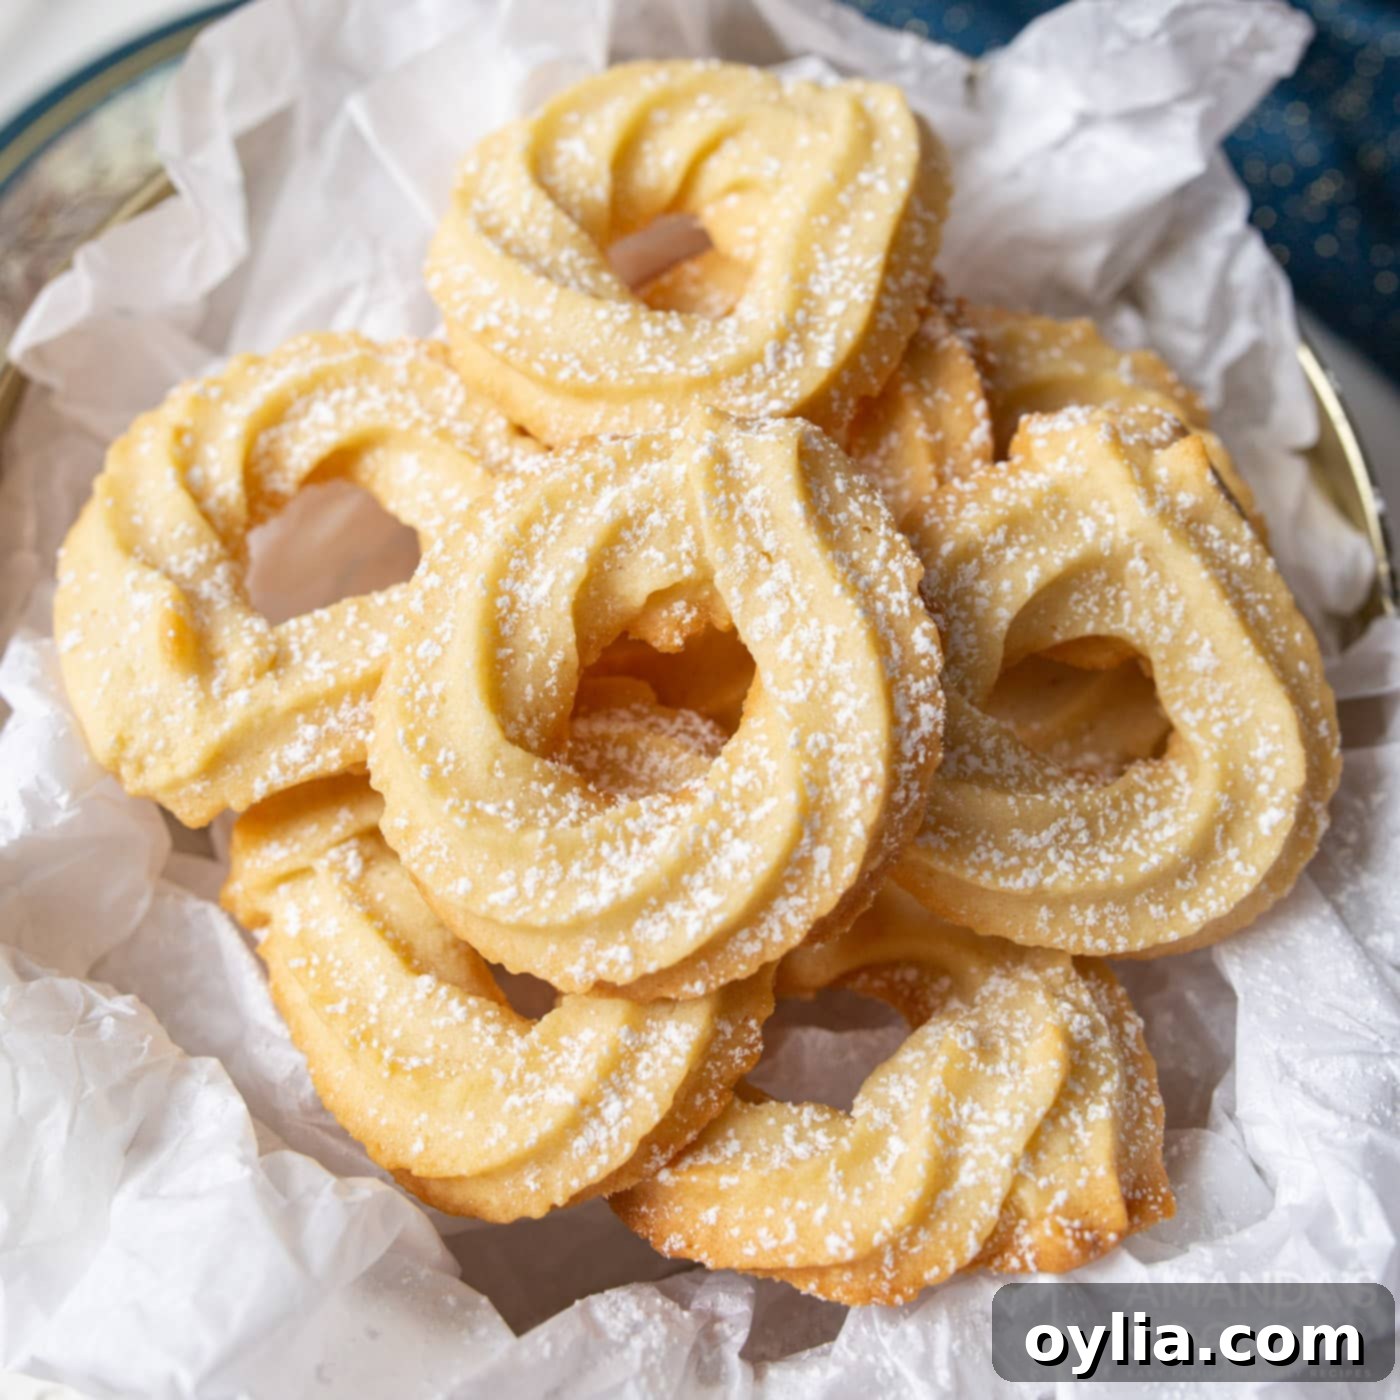
Authentic Danish Butter Cookies: The Ultimate Guide to Perfect Homemade Swirls
Indulge in the timeless charm of these exquisite Danish butter cookies. Each delicate swirl is meticulously piped, offering a rich, unmistakable buttery flavor that melts in your mouth. Experience the delightful contrast of a soft, tender interior with a light, satisfying crunch, making these classic treats a true pleasure for any occasion. Perfect for holiday gatherings, a cozy afternoon tea, or simply a sweet moment to yourself, these homemade butter cookies are surprisingly simple to master.
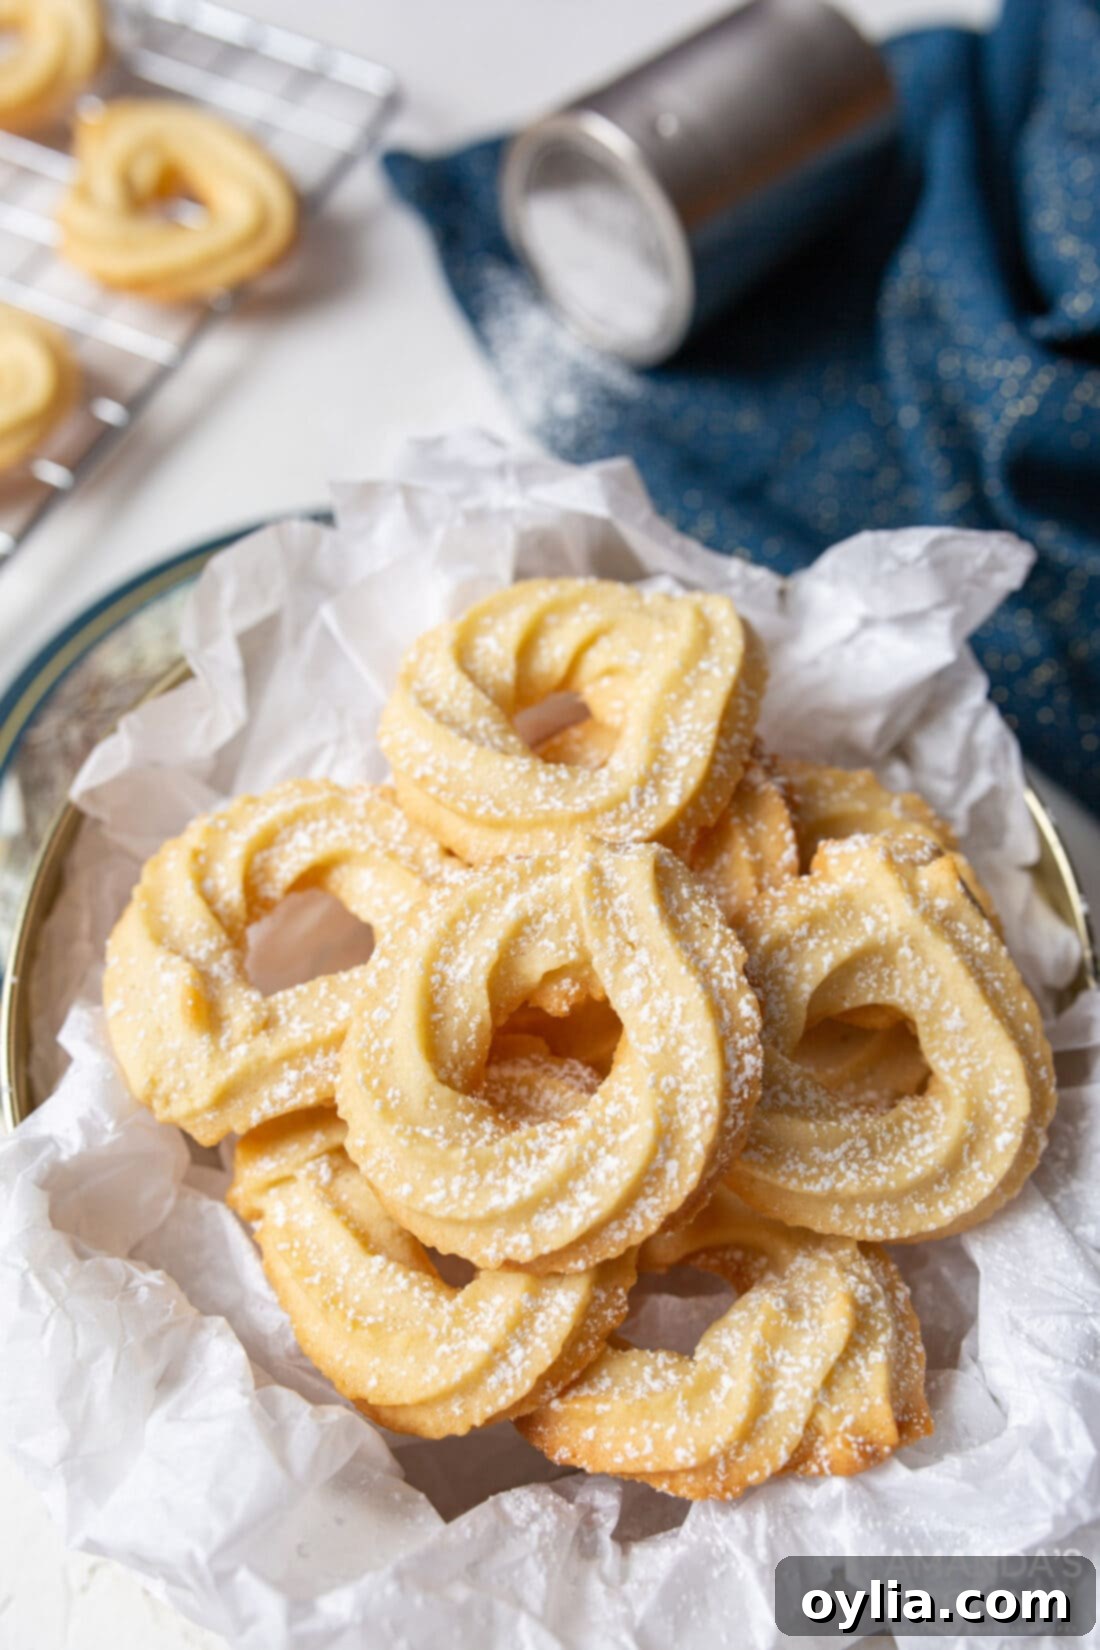
Why This Danish Butter Cookie Recipe Is a Must-Try
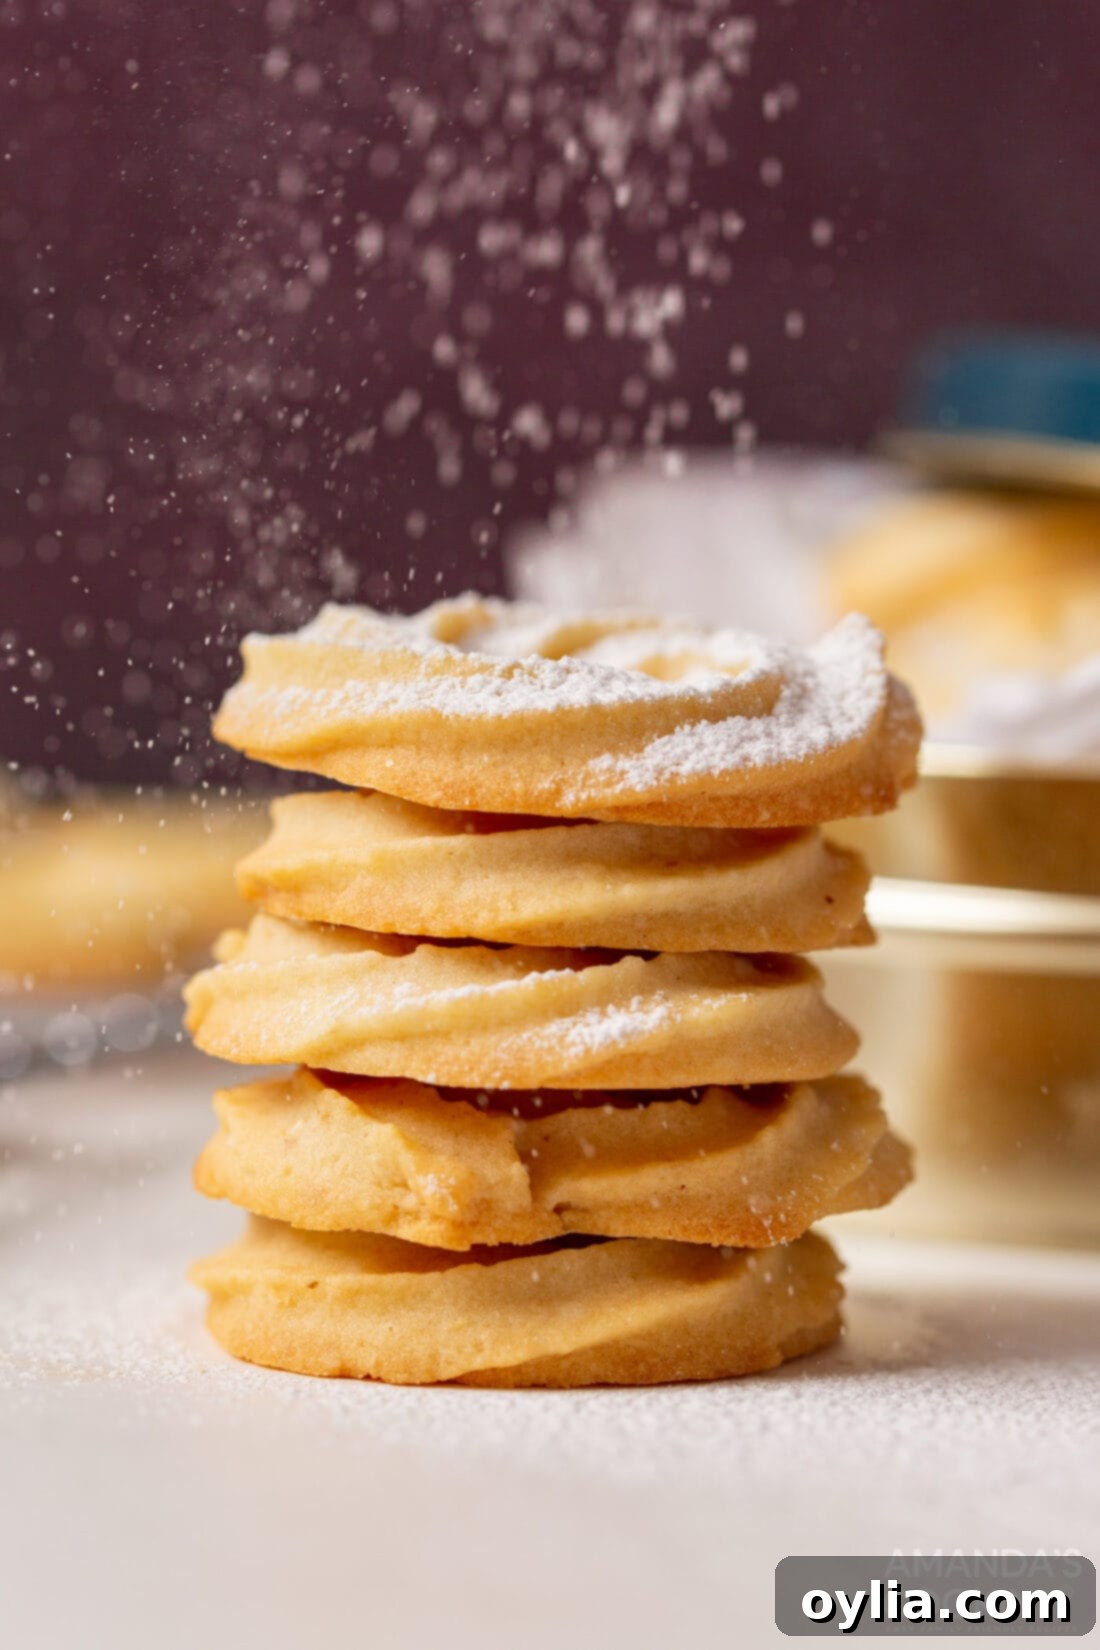
Danish butter cookies are beloved worldwide for their exquisite taste and delicate texture. While often compared to Spritz cookies, this Danish version boasts a slightly firmer dough, perfectly suited for piping intricate swirls and beautiful shapes using a star tip. This unique characteristic is what gives them their signature elegant appearance. Each bite delivers a harmonious blend of rich, creamy butter and a subtle sweetness that never overpowers. They are incredibly soft, remarkably delicate, and truly melt in your mouth, leaving a delightful, light crunch in their wake.
This recipe truly shines for those who appreciate gourmet desserts that aren’t overly sweet. The magic lies in the high-quality butter and precise measurements, creating a cookie that is both satisfying and refined. Whether you’re an experienced baker or just starting your culinary journey, these authentic Danish butter cookies offer a rewarding experience and a delicious result that will impress everyone.
Key Ingredients for Danish Butter Cookies
Crafting the perfect Danish butter cookie starts with selecting the right ingredients. Below is a comprehensive list of what you’ll need, along with essential tips and substitution suggestions. You can find all precise measurements and detailed instructions in the printable recipe card at the conclusion of this article.
2021: 12 DAYS OF CHRISTMAS COOKIES
12 Christmas cookies you will love, PLUS bonus baking tips!
Get the Christmas cookies cookbook! ONLY $9.97!!
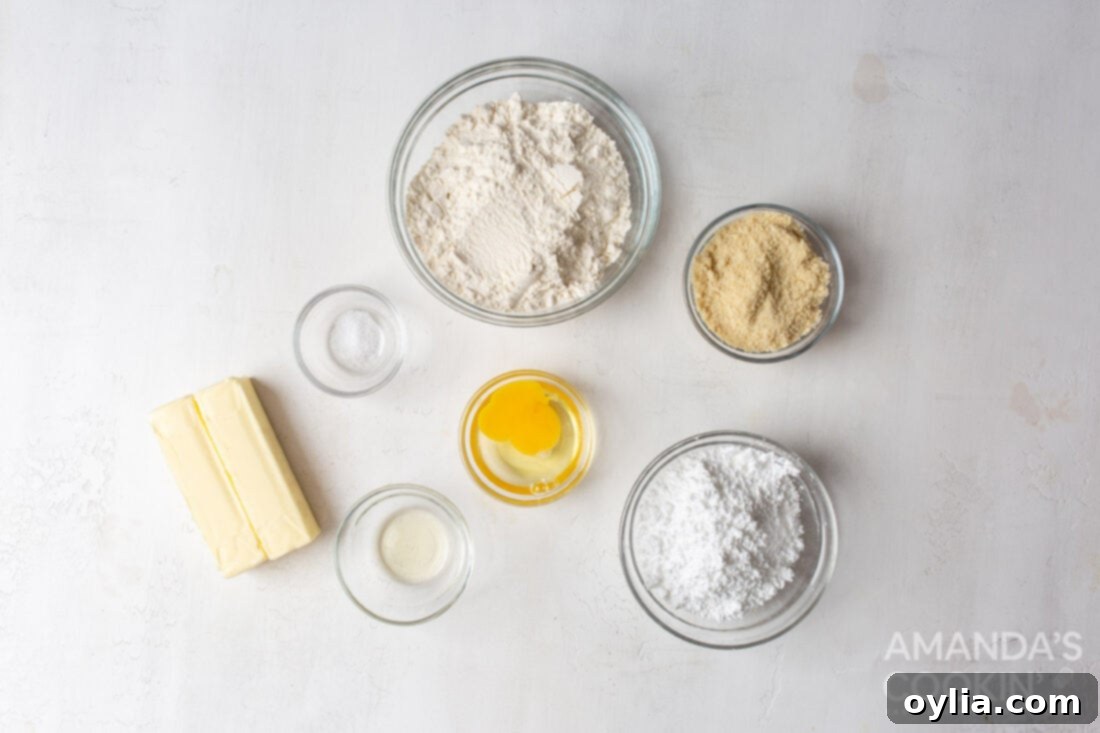
Ingredient Info and Substitution Suggestions for Perfect Danish Butter Cookies
Understanding each ingredient’s role is key to baking perfect Danish butter cookies every time. Here’s a breakdown:
FLOUR – Accurate flour measurement is paramount in all cookie recipes, especially for delicate piped cookies. To ensure you have just the right amount, first, gently aerate the flour in its container with a spoon. Then, lightly spoon the flour into your measuring cup without packing it down. Level off the top of the measuring cup with the straight edge of a knife. Avoid tapping the cup or pressing the flour, as this will result in too much flour, leading to denser, drier cookies that are difficult to pipe. This recipe utilizes a blend of all-purpose flour and almond flour. The almond flour contributes a subtle sweetness, a delightful nutty undertone, and an even more tender crumb. If almond flour isn’t available or preferred, you can substitute it with an equal amount of all-purpose flour, though the texture and flavor will be slightly different.
SUGAR – Powdered sugar, also known as confectioners’ sugar or icing sugar, is a critical component for these cookies’ signature melt-in-your-mouth experience. Unlike granulated sugar, powdered sugar is finely milled and often contains a small amount of cornstarch. This finer texture allows it to dissolve more completely into the butter, resulting in an incredibly smooth dough and a delicate, tender cookie. The cornstarch also helps to absorb moisture, preventing the cookies from becoming too crisp and ensuring that deliciously soft texture you crave.
BUTTER – For the best Danish butter cookies, always use unsalted butter at room temperature. The quality of your butter will significantly impact the flavor of these simple, butter-forward cookies. Unsalted butter allows you to control the exact amount of salt in your recipe. If salted butter is your only option, simply omit the ½ teaspoon of salt specified in the recipe card below. Achieving true room temperature butter is crucial for proper creaming. This means your butter should be soft enough to indent easily with your finger but not greasy or melted. Typically, this takes about 35-45 minutes on the counter, depending on your kitchen’s temperature. Cold butter won’t cream properly, and overly soft butter can lead to flat, greasy cookies.
VANILLA EXTRACT – A good quality vanilla extract enhances the overall flavor profile, complementing the richness of the butter and adding a warm, aromatic note. Don’t skip this ingredient, as it significantly contributes to the classic taste of these butter cookies. For an extra special touch, you could even consider using vanilla bean paste.
EGG – The single egg in this recipe acts as a binder, bringing the dough together and adding richness. It also contributes to the cookie’s structure and helps achieve that desirable soft texture. Ensure your egg is also at room temperature to incorporate smoothly with the creamed butter and sugar mixture, preventing any curdling.
SALT – Even in a sweet recipe, salt is vital. It balances the sweetness of the sugar and enhances all the other flavors, particularly the rich butter. If using unsalted butter, adding the specified amount of salt is crucial for the optimal taste.
How to Make Perfect Danish Butter Cookies: Step-by-Step Guide
These step-by-step photos and instructions are here to help you visualize how to make this recipe. You can Jump to Recipe to get the printable version of this recipe, complete with measurements and instructions at the bottom.
- Prepare Your Workspace: Preheat your oven to 325°F (160°C). Line a baking sheet with parchment paper. Parchment paper is essential for preventing sticking and ensuring even baking.
- Combine Dry Ingredients: In a large bowl, thoroughly whisk together the all-purpose flour and almond flour. Whisking ensures that the flours are well combined and aerated, which contributes to the cookies’ light texture. Set this mixture aside.
- Cream Butter and Sugar: In the bowl of a stand mixer fitted with a paddle attachment, cream together the softened room temperature butter and powdered sugar. Beat on medium-high speed for 3-5 minutes until the mixture is light, fluffy, and pale in color. This step is critical as it incorporates air, which makes the cookies tender. Scrape down the sides and bottom of the bowl frequently to ensure everything is evenly combined.
- Add Wet Ingredients: Add the egg and vanilla extract to the creamed butter and sugar mixture. Continue mixing on medium speed until just combined, again scraping down the sides as needed. Be careful not to overmix at this stage.
- Incorporate Flours: Gradually add the whisked flour mixture to the stand mixer, mixing on low speed until just thoroughly combined. Mix only until no streaks of flour remain; overmixing can develop the gluten, resulting in tougher cookies. The dough will be thick and somewhat stiff, which is exactly what you want for piping.
- Pipe the Cookies: Transfer the cookie dough, working in batches if necessary, to a piping bag fitted with a large star piping tip (like a Wilton 1M). On your parchment-lined baking sheet, pipe 1-inch squared circles or traditional rosette shapes. Apply even, steady pressure to create consistent sizes and shapes. Leave about an inch of space between each cookie as they will spread slightly during baking.
- Bake to Golden Perfection: Bake in the preheated oven for approximately 22 minutes. Keep an eye on them; the exact baking time may vary depending on your oven. The cookies are done when their edges begin to turn a light golden brown and they feel set to the touch.
- Cool and Garnish: Carefully remove the baking sheet from the oven. Allow the cookies to cool on the baking sheet for a few minutes before transferring them to cooling racks to cool completely. Once fully cooled, you can optionally dust them with a light coating of confectioner’s sugar for an added touch of elegance and sweetness. These delicate treats make a beautiful homemade holiday gift when packaged thoughtfully.
Frequently Asked Questions & Expert Tips for Danish Butter Cookies
Absolutely! These butter cookies freeze wonderfully, both unbaked dough and baked cookies. To freeze the unbaked dough, prepare and pipe the dough onto a parchment paper-lined baking sheet as instructed. Place the entire baking sheet in the freezer until the cookies are solid (this is called flash-freezing). Once frozen, carefully transfer the solid cookie shapes from the baking sheet into an airtight freezer-safe container or a large zip-top bag. They can be stored in the freezer for up to 2 months. When you’re ready to bake, simply place the frozen piped cookies on a parchment-lined baking sheet and bake as directed, adding a few extra minutes to the baking time if needed. This method is fantastic for preparing ahead for holidays or enjoying freshly baked cookies on demand. Baked cookies can also be frozen in an airtight container for up to 1 month; thaw at room temperature before serving.
The consistency of Danish butter cookie dough is crucial for successful piping. If your dough is too stiff, it might be due to over-measuring flour (especially if scooped directly from the bag) or using butter that isn’t sufficiently at room temperature. Try letting the dough warm up slightly more on the counter, or add a teaspoon of milk or cream at a time to reach a workable consistency. If the dough is too soft, it could be that your butter was too warm or melted, or too little flour was used. Chilling the dough in the refrigerator for 20-30 minutes can help firm it up. For future batches, ensure accurate flour measurement and that your butter is perfectly softened, not melted.
While some butter cookie recipes are suitable for cookie presses, the dough for these traditional Danish butter cookies is typically a bit stiffer than standard cookie press dough. This firmer consistency is what allows for the defined piped shapes. Most cookie presses require a softer dough to function properly. Using this recipe’s dough in a press might be challenging and could strain your equipment. For the best results and authentic swirls, sticking to a piping bag with a large star tip is highly recommended.
To maintain their crisp edges and tender centers, store baked Danish butter cookies in an airtight container at room temperature. They will stay fresh and delicious for up to one week. If you prefer, you can also store them in the refrigerator, but allow them to come to room temperature before serving for the best texture and flavor. Storing them layered with parchment paper can help prevent them from sticking together, especially if they are frosted or decorated.
Creative Serving Suggestions for Danish Butter Cookies
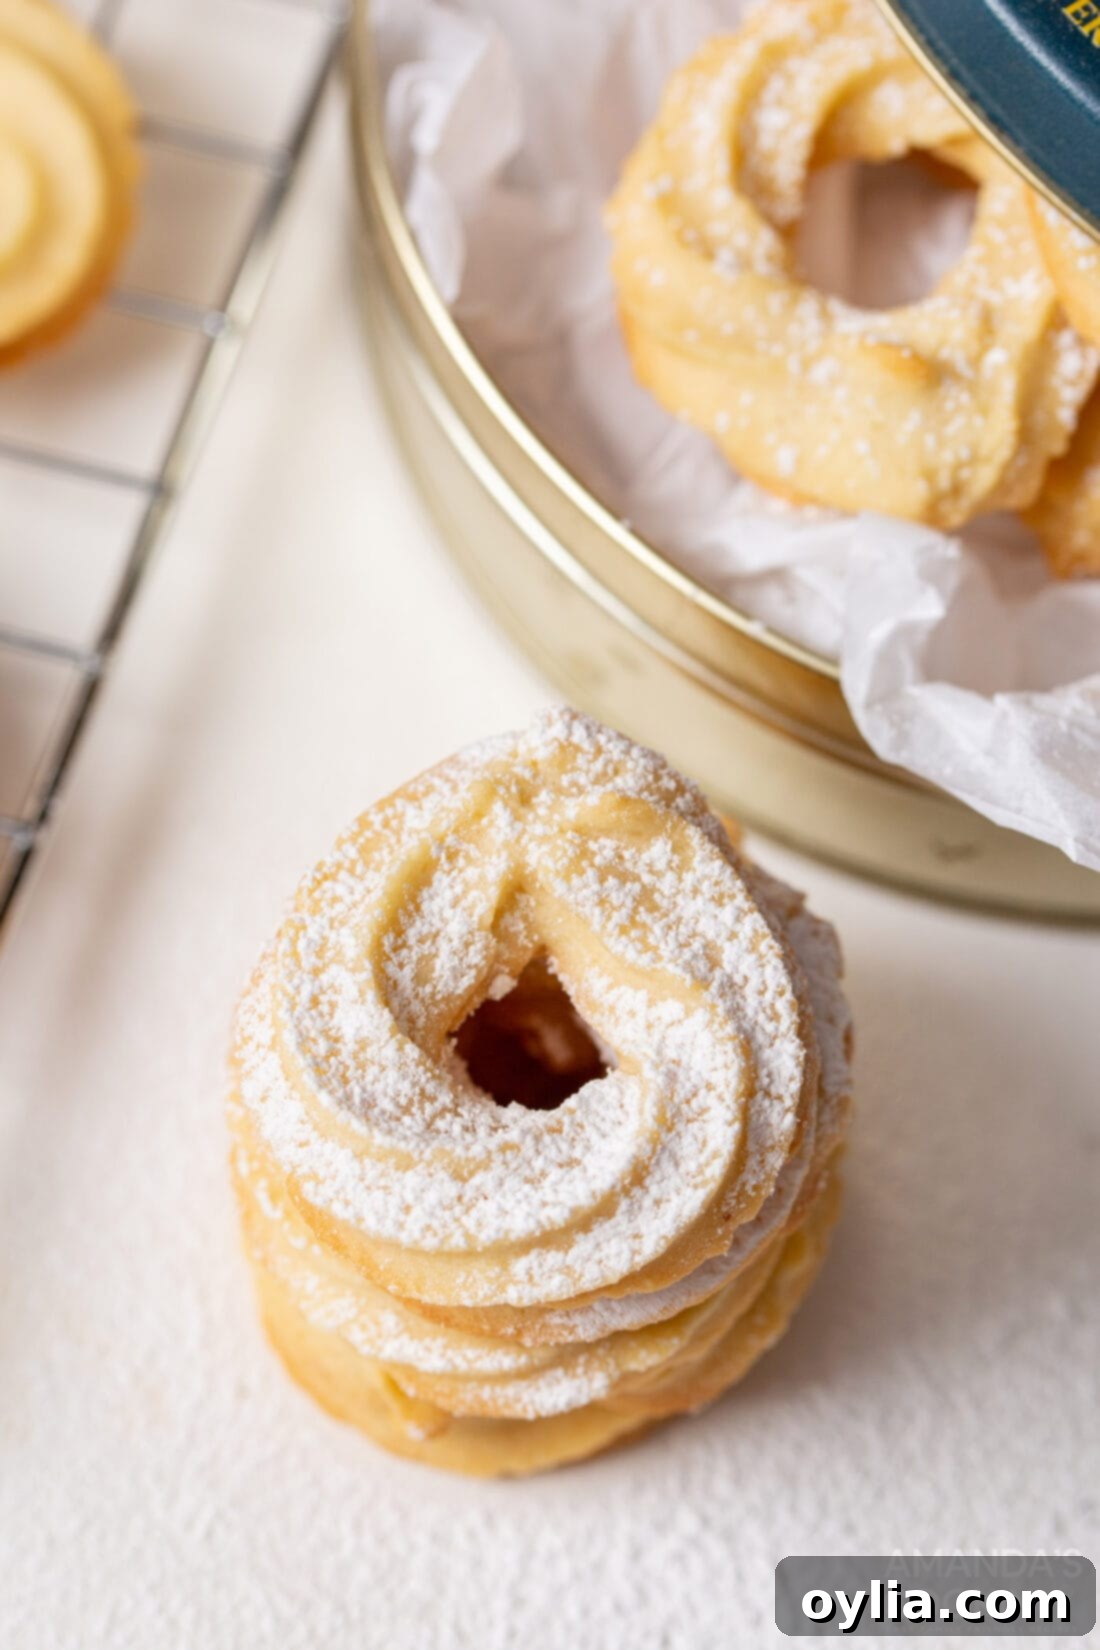
While Danish butter cookies are perfectly delightful on their own, a few simple additions can elevate their presentation and flavor. A classic touch is to optionally dust the top of your cooled cookies with a delicate layer of powdered sugar just before serving. This not only adds a touch of sweetness but also creates a beautiful, snowy appearance, perfect for holiday gatherings.
Though traditionally served plain, these versatile cookies can also be dressed up. Consider dipping half of each cookie in melted white or dark chocolate, then sprinkling them with festive nonpareils or finely chopped nuts, much like we did in our butter cookies recipe. A simple chocolate drizzle also adds an elegant touch. For a citrusy twist, mix a tiny bit of lemon or orange zest into the powdered sugar before dusting, or create a thin glaze with powdered sugar and a touch of citrus juice. They pair wonderfully with a warm cup of coffee, tea, or a glass of cold milk. Serve them on a pretty platter as part of a dessert spread, or arrange them in decorative tins for thoughtful homemade gifts.
More Delicious Cookie Recipes to Explore
- Hot Cocoa Cookies
- Stained Glass Cookies
- Peanut Butter Cookies
- Shortbread Cookies
- Cornflake Christmas Cookies
- Reeses Pieces Cookies
- Paintbrush Cookies
- Cherry Wink Cookies
I love to bake and cook and share my kitchen experience with all of you! Remembering to come back each day can be tough, that’s why I offer a convenient newsletter every time a new recipe posts. Simply subscribe and start receiving your free daily recipes!
Danish Butter Cookies
IMPORTANT – There are often Frequently Asked Questions within the blog post that you may find helpful. Simply scroll back up to read them!
Print It
Pin It
Rate It
Save ItSaved!
Ingredients
- 2 cups all-purpose flour
- ½ cup almond flour ground and unblanched
- 1 cup confectioners sugar aka powdered sugar or icing sugar
- 1 cup unsalted butter at room temperature
- 1 tsp vanilla extract
- 1 egg
- ½ tsp salt
- powdered sugar for garnish, optional
Things You’ll Need
-
Piping bag
-
Star piping tip (Wilton 1M)
-
Stand mixer
-
Baking sheets
Before You Begin
- The dough will be thick and a bit tough to pipe, this is normal and necessary for maintaining shape.
- If you only have salted butter on hand, omit the 1/2 tsp of salt called for in the recipe card below to avoid overly salty cookies. Allow your butter to come to room temperature for around 35-45 minutes so it’s perfectly softened before beginning. This ensures proper creaming with the sugar.
- Depending on the size of piping tip you use and how large you pipe your cookies, you may get more or fewer cookies than stated.
Instructions
-
Preheat oven to 325F.
-
In a large bowl whisk together the flours. Set aside.
-
In the bowl of a stand mixer using a paddle attachment, combine the sugar and butter until light and fluffy. Add the egg and extract, scraping down the sides as needed. Mix until combined.
-
Add the flours to the stand mixer and mix thoroughly.
-
Working in batches, add dough to the piping bag fitted with a large star tip. Create 1-inch squared circles on a baking sheet lined with parchment paper.*
-
Bake for 22 minutes until edges start to brown and cookies are set. Remove and allow to cool on cooling racks. Dust with optional confectioner’s sugar before packaging as the perfect homemade holiday gift.
Nutrition
The recipes on this blog are tested with a conventional gas oven and gas stovetop. It’s important to note that some ovens, especially as they age, can cook and bake inconsistently. Using an inexpensive oven thermometer can assure you that your oven is truly heating to the proper temperature. If you use a toaster oven or countertop oven, please keep in mind that they may not distribute heat the same as a conventional full sized oven and you may need to adjust your cooking/baking times. In the case of recipes made with a pressure cooker, air fryer, slow cooker, or other appliance, a link to the appliances we use is listed within each respective recipe. For baking recipes where measurements are given by weight, please note that results may not be the same if cups are used instead, and we can’t guarantee success with that method.
