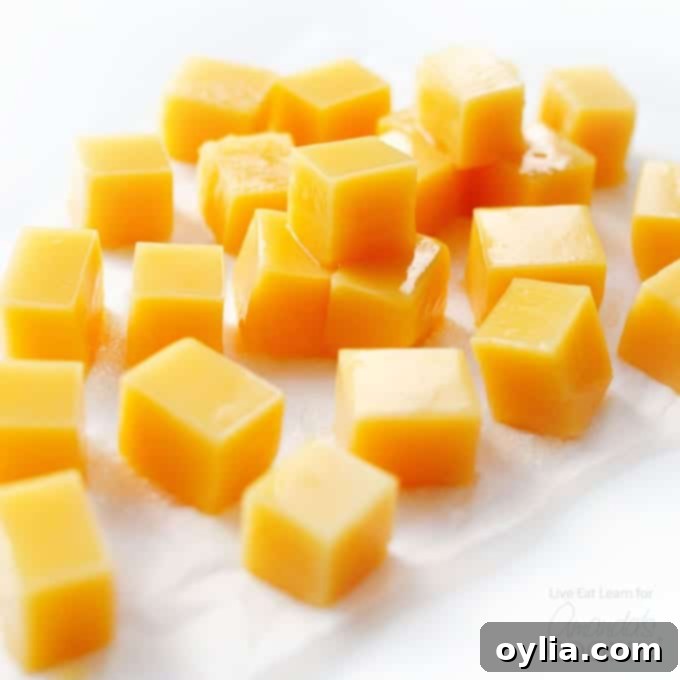
Delicious & Easy Homemade Orange Creamsicle Gummies: Your Simple Recipe Guide
Craving a sweet, nostalgic treat that’s both delightful and surprisingly simple to make? Look no further than these incredible Orange Creamsicle Homemade Gummies! Imagine the classic, creamy orange flavor of a creamsicle, transformed into a chewy, bite-sized gummy. Best of all, you can whip up a batch with just a few common ingredients and absolutely no complicated equipment or advanced techniques required. Forget fancy thermometers or intricate steps – this recipe is as straightforward as it gets, making it perfect for beginners and seasoned home cooks alike.
These homemade gummies are a fantastic alternative to store-bought candies. While they offer that satisfying sweetness we all love, they are significantly lighter and often healthier, especially when you control the ingredients. You can customize them by using different gummy molds to create a variety of fun shapes, from classic bears to playful fruits, or simply pour the mixture into a large rimmed pan and cut them into cubes once set. The possibilities are endless, and the process is truly that simple!
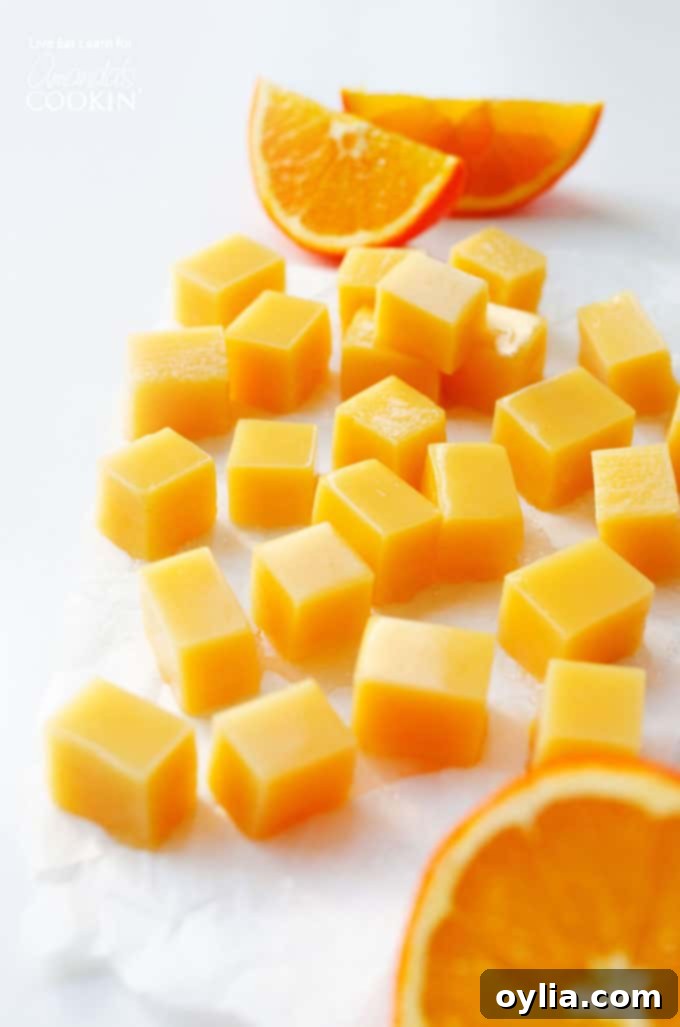
Why Make Homemade Orange Creamsicle Gummies?
With the holidays often bringing a surplus of rich foods and sugary treats, the new year often inspires a desire to lighten up our eating habits. Instead of cutting out all indulgences entirely, a more sustainable approach can be to make homemade versions of your favorite things. This allows you to control the ingredients, reduce artificial additives, and often create healthier alternatives.
This year, consider incorporating more homemade staples into your routine – from homemade vegetable or chicken stock to fermenting your own kombucha. And when it comes to sweet treats, these Orange Creamsicle Homemade Gummies are a perfect example of how easy and rewarding it can be. With only five simple ingredients, they offer a delightful burst of flavor without the guilt often associated with store-bought candies. They are a wonderful way to enjoy a sweet moment while staying mindful of what you consume.
Making these homemade gummies is genuinely incredibly easy. The magic happens when you combine vibrant orange juice, creamy coconut milk, a touch of vanilla, natural maple syrup, and either gelatin or agar-agar (for a fantastic vegetarian/vegan option). A quick simmer on the stove to dissolve your gelling agent, a pour into your chosen molds or a pan, and a little chill time is all it takes! In under an hour, you’ll have a batch of these irresistible gummies ready to enjoy.
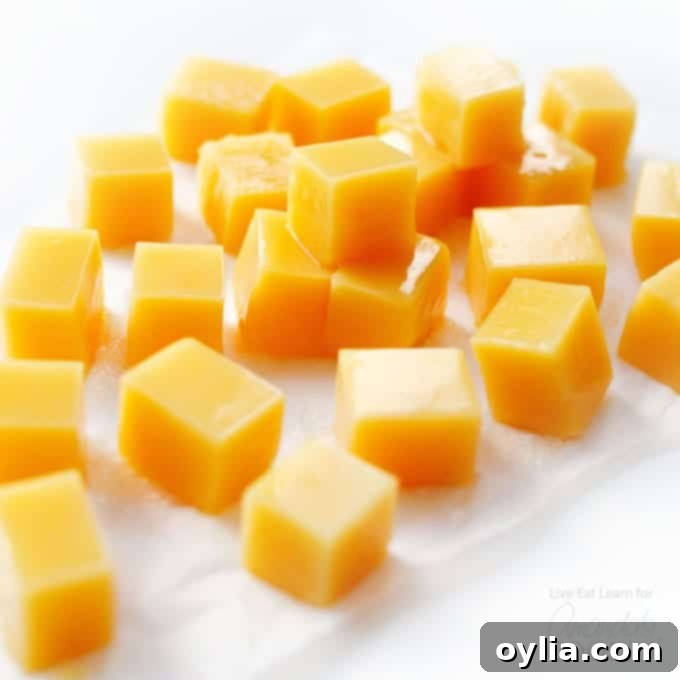
Essential Ingredients for Your Homemade Gummies
Creating these delightful Orange Creamsicle Gummies only requires a handful of ingredients, each playing a crucial role in achieving that perfect flavor and texture. Here’s what you’ll need and why:
To make homemade gummies you’ll need:
- 2 cups orange juice: This provides the primary citrus flavor and natural sweetness. For the best taste, opt for fresh orange juice or a high-quality, not-from-concentrate variety. It’s also a great source of Vitamin C!
- 1 cup low fat coconut milk: This is the secret to the “creamsicle” part, lending a rich, creamy texture and a subtle tropical note without being overly heavy. You can adjust to full-fat coconut milk for an even creamier, richer gummy.
- 2 Tbsp maple syrup: A natural sweetener that pairs beautifully with orange and coconut. You can adjust the amount to your sweetness preference or substitute with honey (if not vegan) or agave syrup.
- ½ tsp vanilla extract: Enhances the creamsicle flavor, adding warmth and depth to the overall taste profile. Don’t skip this for that authentic creamsicle experience!
- 3 Tbsp gelatin or agar agar: This is your gelling agent.
- Gelatin: Derived from animal collagen, it creates a wonderfully chewy and jiggly texture, similar to traditional gummies.
- Agar Agar: A plant-based alternative derived from seaweed, perfect for vegetarian and vegan gummies. It yields a slightly firmer, more jelly-like texture. Be aware that the heating instructions differ slightly for agar agar compared to gelatin to ensure proper setting.
Helpful Kitchen Tools for Gummy Making
While this recipe is designed to be simple and doesn’t require specialized equipment, having a few basic kitchen tools can make the process even smoother and more enjoyable. These items are generally versatile and useful for many other culinary adventures:
Kitchen tools you may find useful:
- Gummy molds: These silicone molds come in various fun shapes (bears, stars, fruits) and make unmolding super easy. They add an extra touch of whimsy to your homemade treats.
- Large rimmed baking sheet: If you don’t have gummy molds or prefer to cut your gummies into squares, a baking sheet is essential for pouring and setting the mixture. Line it with parchment paper for easy removal.
- Medium saucepan: A good quality saucepan is crucial for evenly heating and dissolving the ingredients without scorching.
- Liquid measure: Accurate measurements are key for the right gummy consistency. A liquid measuring cup ensures precision.
- Whisk: While not explicitly listed, a whisk is invaluable for thoroughly combining ingredients and preventing clumps, especially when adding gelatin or agar agar.
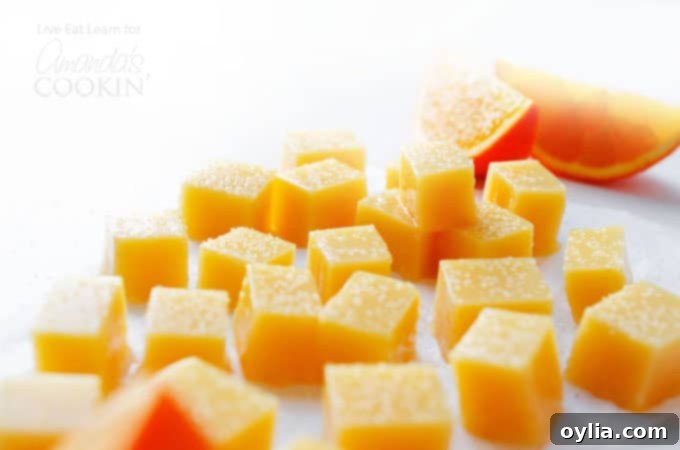
The Benefits of Going Homemade
You wouldn’t believe how incredibly easy it is to make homemade versions of everyday foods, and how much healthier they can actually be for you and your family! By preparing snacks and treats from scratch, you gain complete control over the ingredients, allowing you to avoid artificial colors, flavors, high fructose corn syrup, and excessive preservatives often found in commercial products. This recipe for Orange Creamsicle Gummies is a perfect example of how to enjoy a beloved flavor in a more wholesome way.
Beyond gummies, consider trying other simple homemade recipes. For instance, these Homemade Fruit Roll-Ups are a fantastic addition to your kids’ lunch boxes or a delightful afternoon snack for anyone. They offer real fruit goodness without the hidden sugars and additives. Or explore other culinary projects like Homemade Berry Jam, allowing you to savor fresh fruit flavors all year round, or even 5 Minute Homemade Ricotta for a fresh, creamy addition to your meals.
Dive into More Orange Creamsicle Delights!
If you’re a true connoisseur of the vibrant and creamy orange creamsicle flavor, these gummies are just the beginning! This beloved combination of sweet orange and smooth vanilla cream translates beautifully into a variety of desserts and treats. Explore other recipes that celebrate this iconic taste profile:
- For a rich and indulgent dessert, try this decadent creamsicle fudge.
- Beat the heat with our refreshing creamsicle popsicles, a frosty treat that perfectly captures the flavor.
- Elevate your baking with our delightful creamsicle cupcakes, a moist and flavorful dessert.
- One of our all-time favorites for a crowd-pleasing dessert is this amazing orange poke cake, bursting with citrusy goodness.
- And for adults looking for a fun party treat, don’t miss our playful orange jello shots.
Explore More Homemade Candy Recipes
If you’ve enjoyed making these homemade gummies, you’ll love discovering the world of other simple, delightful candy recipes you can create in your own kitchen. Making your own confections can be a fun and rewarding experience, offering unique flavors and the satisfaction of a handcrafted treat.
- Cake Balls: Bite-sized delights perfect for parties or a sweet indulgence.
- Potato Candy: An old-fashioned, surprisingly delicious treat with a unique history.
- Saltine Toffee: A dangerously addictive, easy-to-make crunchy, buttery, and chocolatey snack.
- Candied Pecans: Perfect for snacking, salads, or as a garnish for desserts.
- Microwave Caramels: Rich, chewy caramels made quickly and easily in the microwave.
- Homemade Lollipops: Customize your own hard candy pops with various flavors and colors.
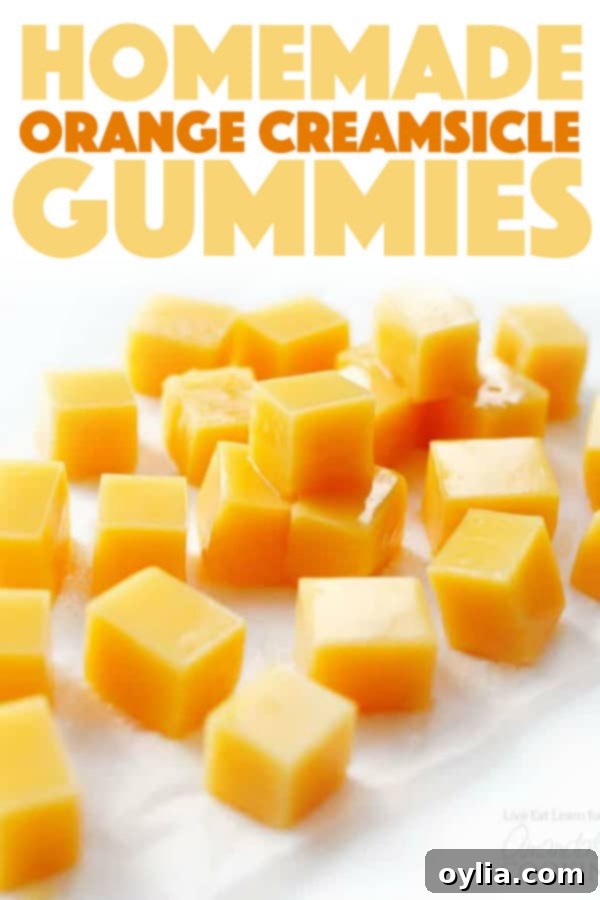
Orange Creamsicle Gummies
IMPORTANT – There are often Frequently Asked Questions within the blog post that you may find helpful. Simply scroll back up to read them!
Print It
Pin It
Rate It
Save ItSaved!
Ingredients
- 2 cups orange juice
- 1 cup low fat coconut milk
- 2 Tbsp maple syrup
- ½ tsp vanilla extract
- 3 Tbsp gelatin or agar agar
Instructions
-
Combine orange juice, coconut milk, maple syrup, vanilla, and gelatin or agar agar in a medium saucepan. Whisk thoroughly to ensure the gelling agent is well distributed and there are no clumps.
-
If using gelatin: Heat the mixture over medium-low heat, stirring constantly, until the gelatin is completely dissolved. Do not boil. This usually takes about 5-7 minutes. You’ll know it’s ready when the mixture is smooth and clear. If using agar agar: Heat over medium-high heat and bring to a full simmer, then let it simmer for 2 minutes, stirring occasionally. Agar agar needs to boil to activate its gelling properties.
-
Remove the saucepan from heat. Carefully pour the mixture into your chosen gummy molds or into a large rimmed baking sheet (lined with parchment paper if preferred for easy removal). Place them in the fridge to set. This will take approximately 30 minutes for gelatin and about 1 hour for agar agar. Once firm, unmold the gummies or cut them into desired shapes from the baking sheet.
Nutrition
The recipes on this blog are tested with a conventional gas oven and gas stovetop. It’s important to note that some ovens, especially as they age, can cook and bake inconsistently. Using an inexpensive oven thermometer can assure you that your oven is truly heating to the proper temperature. If you use a toaster oven or countertop oven, please keep in mind that they may not distribute heat the same as a conventional full sized oven and you may need to adjust your cooking/baking times. In the case of recipes made with a pressure cooker, air fryer, slow cooker, or other appliance, a link to the appliances we use is listed within each respective recipe. For baking recipes where measurements are given by weight, please note that results may not be the same if cups are used instead, and we can’t guarantee success with that method.
This post was originally published on this blog on Jan 26, 2018. It has since been updated and expanded to provide even more helpful tips and delicious content.
