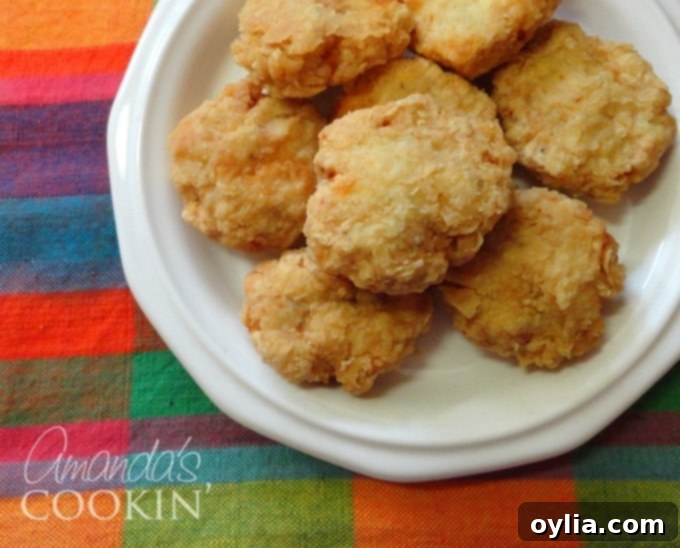
The Ultimate Homemade Chicken Nuggets Recipe (Better Than McDonald’s!)
If you’ve ever dreamt of recreating that iconic, crispy, and juicy flavor of chicken nuggets right in your own kitchen, then your search ends here! This incredible homemade chicken nuggets recipe delivers a taste remarkably similar to your favorite fast-food version, but with the unbeatable advantage of knowing exactly what goes into every bite. Forget artificial ingredients and preservatives; these are made completely from scratch with wholesome ingredients. Gather the family, call the kids, and get ready for a fun and delicious cooking adventure today!
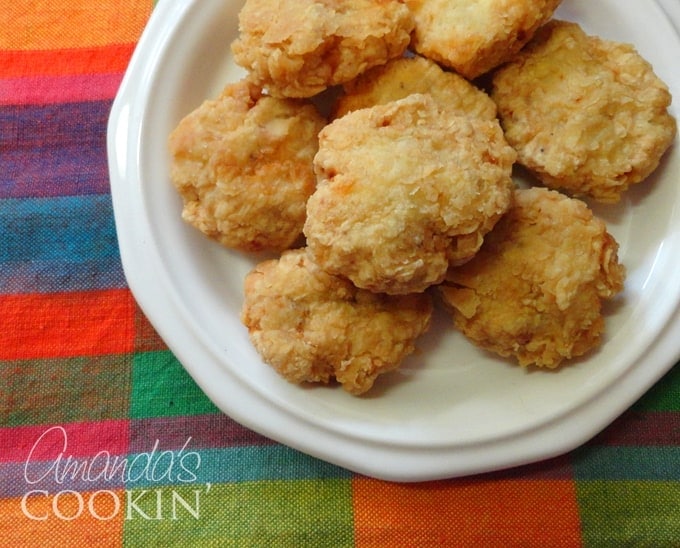
I’ve personally prepared these homemade chicken nuggets countless times, and each occasion has been met with enthusiastic acclaim from my family and friends. The feedback is consistently phenomenal, with everyone amazed at how closely they resemble the beloved fast-food classic. I’ve also proudly shared this recipe with many others, and they too have achieved remarkable success and delighted palates. I genuinely encourage you to give this recipe a try; you won’t be disappointed, and I’d love to hear your thoughts once you do!
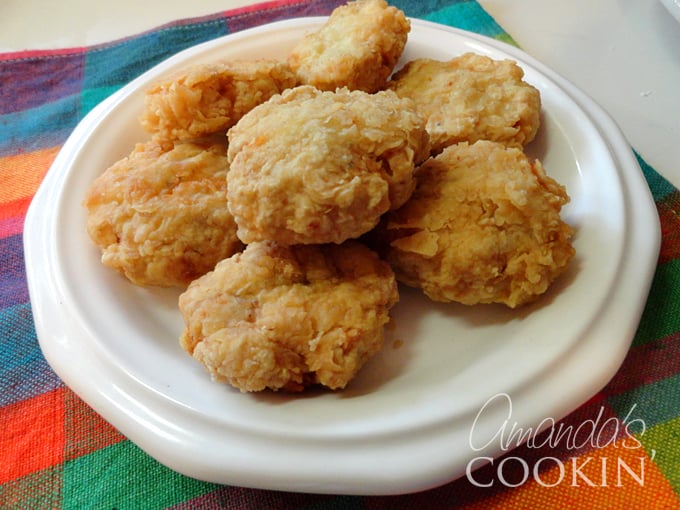
Why Make Homemade Chicken Nuggets?
There are countless reasons to swap store-bought or fast-food nuggets for a homemade version. First and foremost, you gain complete control over the ingredients. This means no mystery meat, no artificial flavors, colors, or preservatives. You can choose high-quality, lean chicken breasts and a simple blend of seasonings, ensuring a healthier meal for your family.
Beyond the health benefits, the taste of freshly made chicken nuggets is simply superior. The texture is perfectly tender on the inside with an incredibly crispy coating on the outside. Plus, making them at home can be a fantastic activity to do with kids. They love to help roll and bread the chicken, making them more likely to enjoy the meal they helped create.
Discover More Delicious Chicken Dinners!
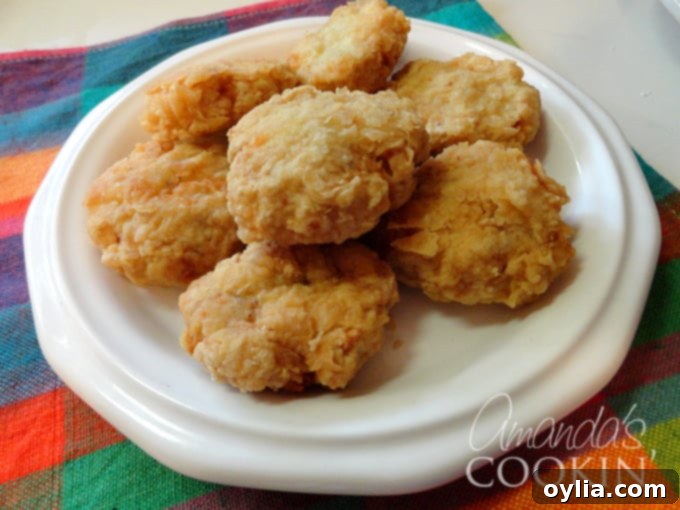
I don’t know about you, but chicken is undeniably one of my absolute favorite proteins! It’s incredibly versatile, wonderfully easy to prepare, and consistently delivers mouth-watering results. If you’re looking for more ways to incorporate this beloved ingredient into your weekly menu, I’ve compiled my very best, tried-and-true recipes.
My “Chicken Dinners Cookbook” features 20 delicious chicken dinners that your family will rave about! From quick weeknight meals to impressive weekend feasts, you’ll find exciting new ways to enjoy chicken. Only $9.97!
Get Your Chicken Dinners Cookbook Now!
See ALL my cookbooks here!
Frequently Asked Questions About Homemade Chicken Nuggets
One of the most common questions I receive about this particular recipe is regarding the state of the chicken before processing. Let’s clear that up immediately:
The chicken used in this recipe is raw, not cooked. Processing raw chicken ensures a smooth, uniform texture that closely mimics the classic fast-food nugget consistency.
Preparing the Chicken: From Breast to Paste
The journey to the perfect homemade chicken nugget begins with your boneless, skinless chicken breasts. You’ll want to cut them into manageable cubes first. This helps your food processor work more efficiently and ensures a consistent grind.
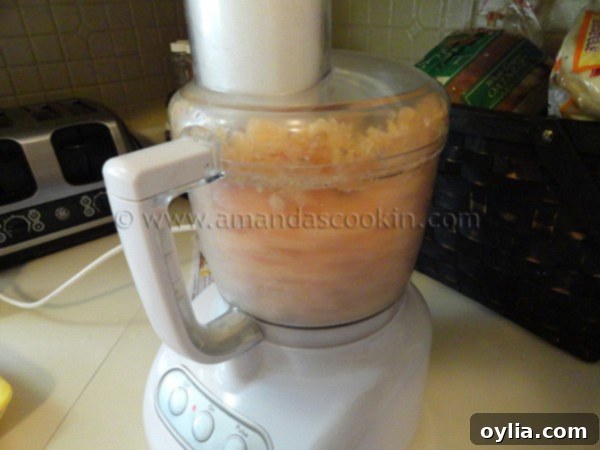
Once cubed, place the chicken into your food processor. The goal is to process the chicken into a fine paste. This is crucial for achieving that signature McDonald’s-like texture – smooth, yet tender. Be careful not to over-process, which can turn it into a liquid, but aim for a consistency that can be easily formed into nuggets.
A Note on Food Processors: I’ve learned a valuable lesson about investing in quality kitchen tools. The food processor pictured above was an inexpensive model, costing around $70, and unfortunately, it lasted me less than a year. The bowl (which includes the handle) broke three separate times, requiring me to order replacements directly from the manufacturer each time. By the end of it, the cost of replacement bowls alone could have easily covered a more robust, higher-capacity machine. So, take my advice and consider investing in a durable model. I personally upgraded to a Cuisinart 12-cup food processor, which has proven to be a workhorse in my kitchen, handling everything with ease and consistently delivering excellent results.
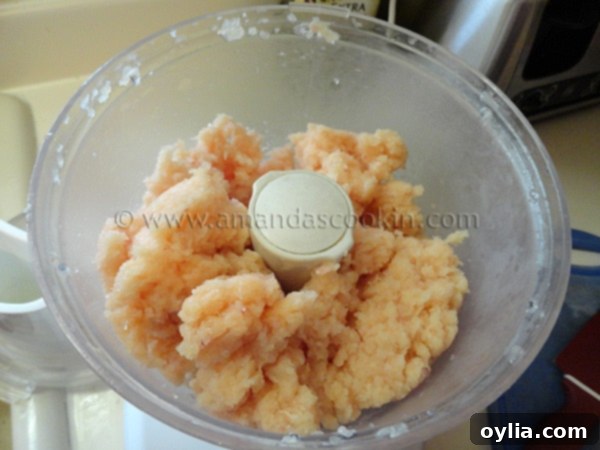 Here’s what the finely processed chicken looks like when it’s perfectly done – a smooth, uniform paste.
Seasoning for Flavor
The secret to great chicken nuggets isn’t just in the texture; it’s also in the seasoning. This recipe uses a classic blend that enhances the chicken’s natural flavor and adds that familiar savory kick.
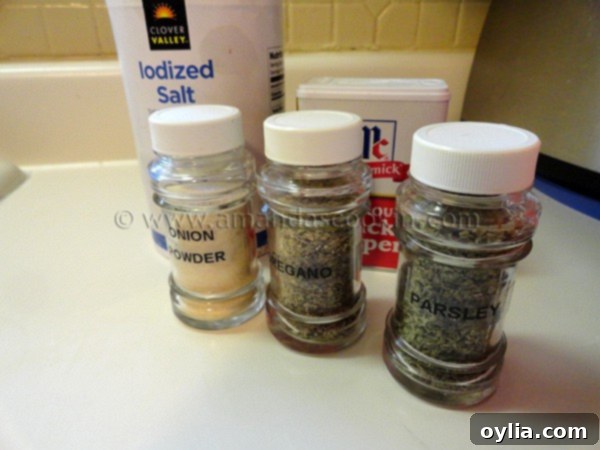 In a small bowl, combine your salt, pepper, onion powder, oregano, and parsley. This aromatic blend will infuse the chicken with delicious flavor.
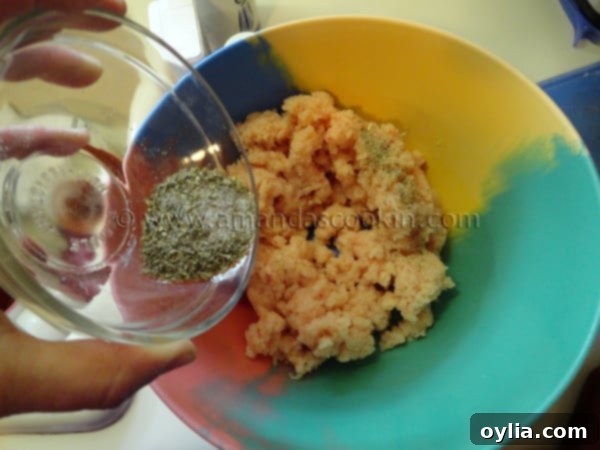 Sprinkle this delightful seasoning mixture evenly over your ground chicken in a bowl. Then, using your hands (or a spoon), thoroughly mix everything together until the spices are well incorporated throughout the chicken paste. This ensures every nugget will be bursting with flavor.
Setting Up Your Breading Station
The key to crispy, golden nuggets is a proper breading station. You’ll need three key components:
- A bowl of whisked eggs.
- A plate or shallow dish with your seasoned flour mixture.
- Your prepared chicken “balls” and an empty plate for the breaded nuggets.
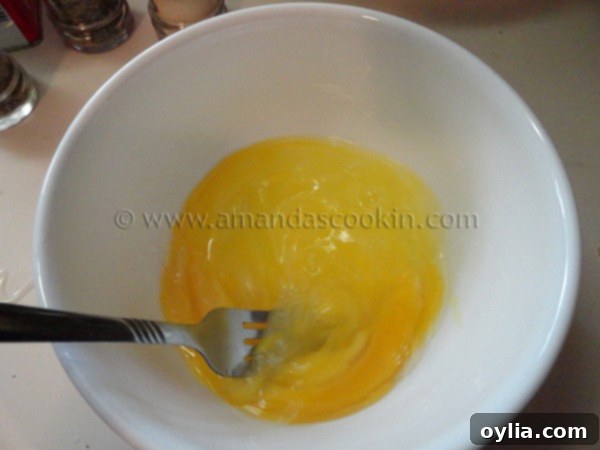 First, get your eggs ready by whisking them thoroughly in a small bowl until the yolks and whites are fully combined. This creates a smooth, consistent wash for your chicken.
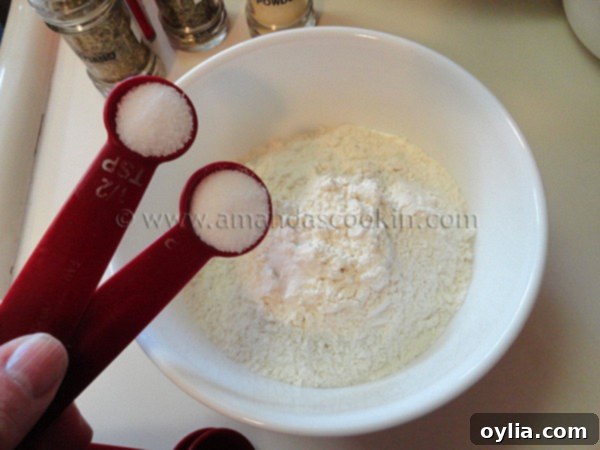 In a separate, wide and shallow bowl or plate, combine the flour and salt. This will be your dry coating. Ensure it’s mixed well.
Forming the Perfect Nugget Shape
For uniform, bite-sized nuggets, a cookie scoop is your best friend! It helps you portion out the chicken paste consistently, which leads to even cooking. Plus, it’s a fun step for kids!
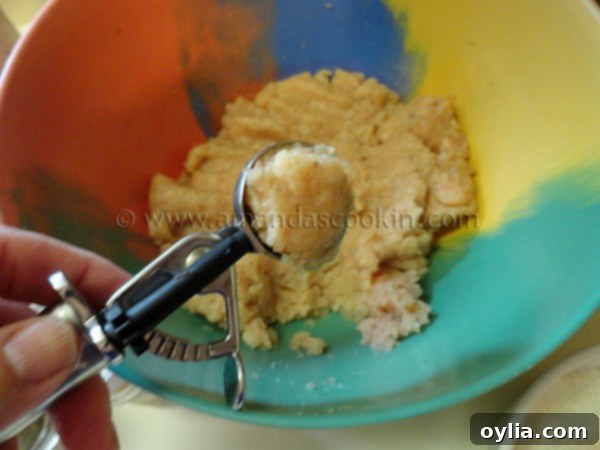 Use a cookie scoop to measure out portions of the chicken mixture. You’ll notice they look like little chicken balls at this stage. Ha ha, indeed!
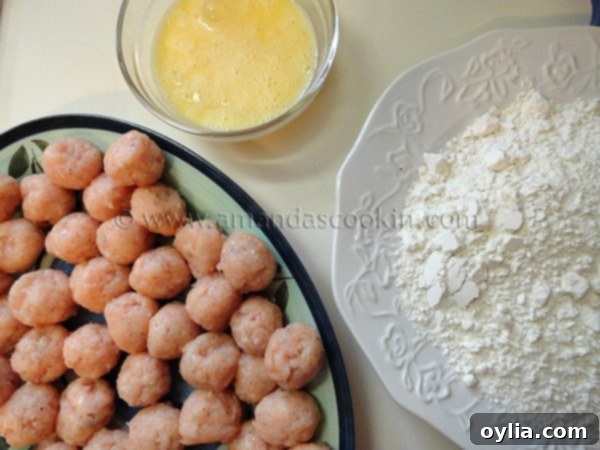 Before you start breading, roll each scooped portion between your palms to smooth out any rough edges, creating neat chicken balls. Then, ensure your breading station is perfectly set up: your bowl of whisked eggs, your plate of flour mixture, your raw chicken balls, and an empty plate to hold the fully breaded nuggets.
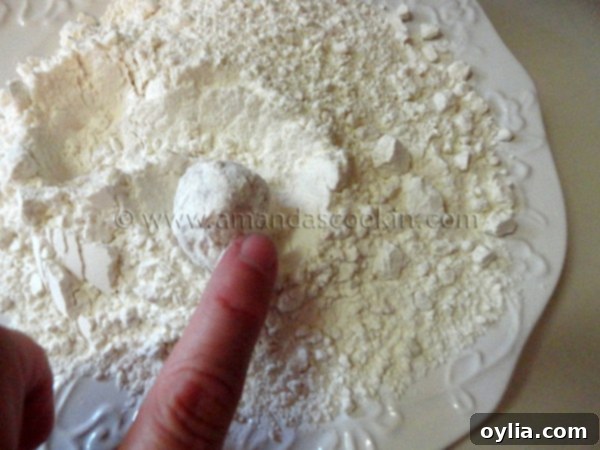 First, take a chicken ball and roll it thoroughly in the flour mixture, ensuring it’s completely coated. Shake off any excess flour.
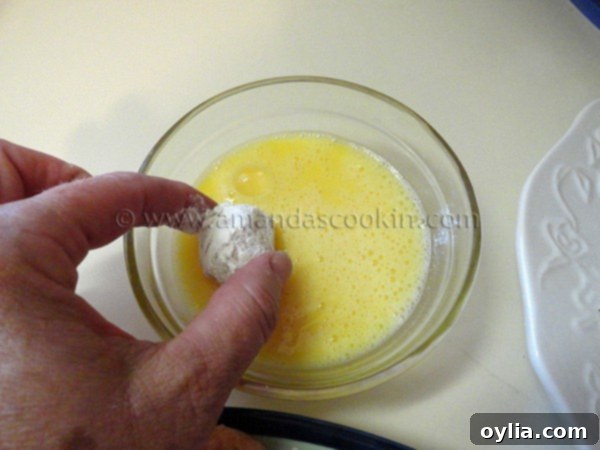 Next, transfer the floured chicken ball to the whisked eggs and coat it completely. Let any excess egg drip off.
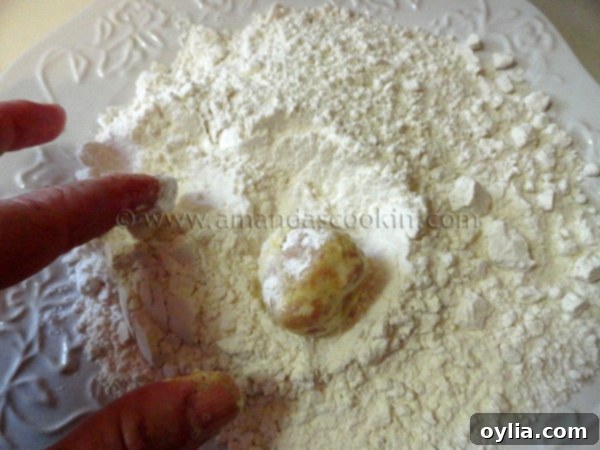
Finally, roll it in the flour mixture one last time. This double-coating technique is key to achieving that super crispy exterior. For best results and to keep your hands clean, I highly recommend using one hand exclusively for the wet ingredients (egg) and the other hand for the dry ingredients (flour). This prevents the flour from clumping onto your wet fingers, making the breading process much smoother and more efficient.
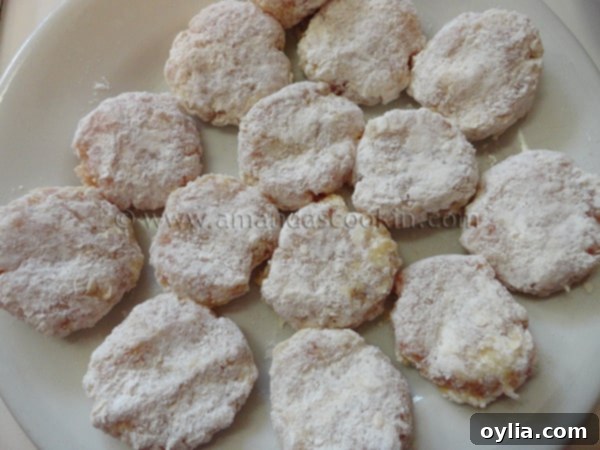
After the second flour coating, place the breaded chicken ball on an empty plate. Gently flatten it with your fingers to create the classic chicken nugget shape. Repeat this process for all your chicken paste until you have a plate full of perfectly formed, raw chicken nuggets.
Frying for Golden Perfection
The final step is to fry your nuggets to a beautiful golden crisp. You’ll need hot oil for this, and safety is paramount.
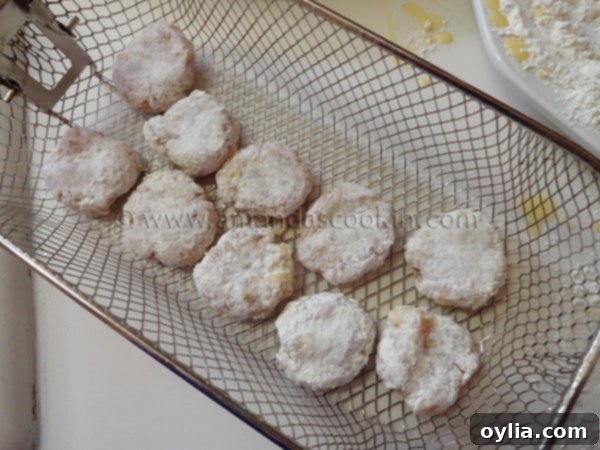
I utilized my deep fryer, setting the temperature precisely to 365°F for optimal crispiness. However, if you don’t own a deep fryer, don’t fret! A sturdy cast iron Dutch oven or even a heavy-bottomed saucepan will work just as effectively. The key is to maintain a consistent oil temperature, so a candy thermometer is highly recommended for accurate monitoring.
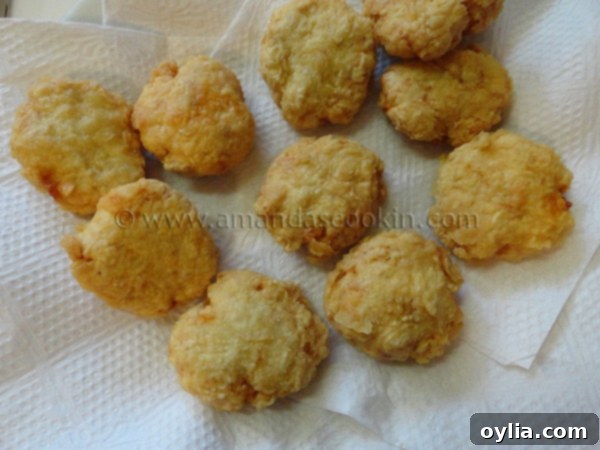
In my deep fryer, each batch of nuggets took approximately 7.5 minutes to cook through and achieve that desirable golden hue. I made sure to flip them over halfway through to ensure even cooking and browning on all sides. Once perfectly cooked, remove the nuggets from the oil and transfer them to a plate lined with paper towels. This crucial step helps drain any excess oil, ensuring your nuggets remain wonderfully crispy and not greasy.
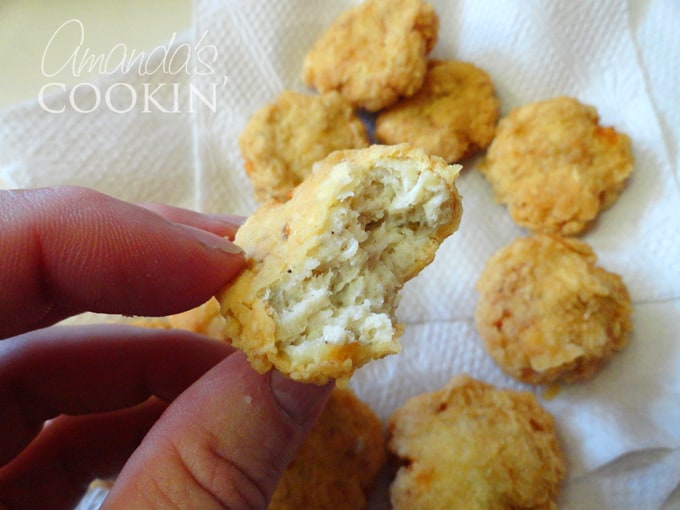
Now for the best part… Take a bite! Experience the satisfying crunch of the exterior followed by the tender, flavorful chicken inside. These truly are a homemade revelation.
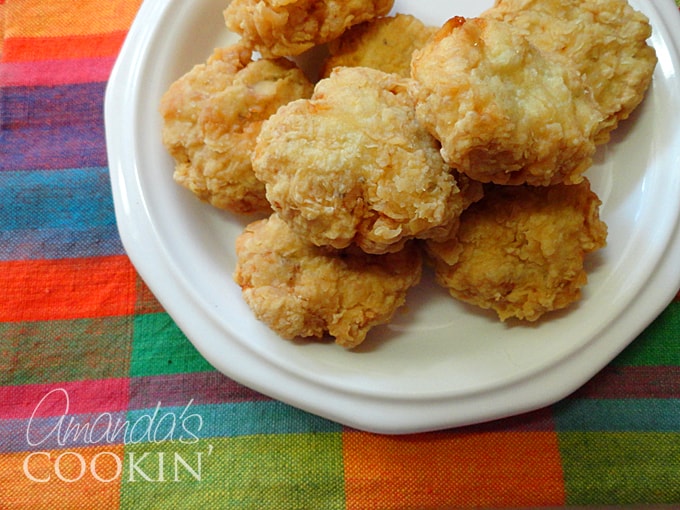
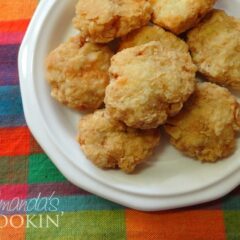
Homemade Chicken Nuggets
IMPORTANT – There are often Frequently Asked Questions within the blog post that you may find helpful. Simply scroll back up to read them!
Print It
Pin It
Rate It
Save It
Saved!
Ingredients
- 18 ounces boneless skinless chicken breasts (about 3 breasts)
- 1 ½ teaspoon salt
- ¾ teaspoon parsley flakes
- ¾ teaspoon oregano
- ¼ teaspoon onion powder (heaping)
- ¼ teaspoon pepper (heaping)
- 3 large eggs (beaten)
- 1 ½ cups flour
- 1 ½ teaspoons salt
- 2 cups canola oil
Instructions
-
Heat 2 cups of canola oil in a heavy-duty skillet, Dutch oven, or deep fryer on medium-high heat. Attach a candy thermometer to the side of the pan to monitor the oil temperature accurately.
-
While the oil is heating, cut the boneless, skinless chicken breasts into 1-inch cubes. Place the chicken cubes into a food processor and process until a fine, uniform paste is formed. Transfer the processed chicken to a large mixing bowl. In a small separate bowl, combine 1 ½ teaspoon salt, ¾ teaspoon parsley, ¾ teaspoon oregano, ¼ teaspoon heaping onion powder, and ¼ teaspoon heaping pepper. Sprinkle this seasoning blend over the chicken paste and mix thoroughly until well combined.
-
In a small bowl, whisk the 3 large eggs until fully beaten. In a wide, shallow plate or bowl, combine 1 ½ cups flour and 1 ½ teaspoons salt, mixing them well to create your dry breading mixture.
-
Use a cookie scoop to portion out the chicken paste, then roll each portion between your palms to form smooth, uniform balls (approximately 42 balls).
-
Set up your breading station: flour mixture, whisked eggs, then an empty plate. Take a chicken ball, roll it completely in the flour mixture (shaking off excess). Next, coat it in the whisked egg (letting excess drip off). Finally, roll it in the flour mixture again for a double coating. Gently flatten the coated ball with your fingers to form the classic chicken nugget shape. Repeat for all chicken balls.
-
Once the oil reaches 350-365°F, carefully place a batch of nuggets into the hot oil, ensuring not to overcrowd the pan. Fry until the bottoms are golden brown, then flip and fry until the other side is also golden and the nuggets are cooked through, about 4-5 minutes per side (total 8-10 minutes). Remove the cooked nuggets with a slotted spoon or tongs and transfer them to a plate lined with paper towels to drain any excess oil. Serve immediately with your favorite dipping sauces!
Nutrition
Calories: 60cal |
Carbohydrates: 3g |
Protein: 4g |
Fat: 3g |
Saturated Fat: 1g |
Cholesterol: 23mg |
Sodium: 186mg |
Potassium: 55mg |
Fiber: 1g |
Sugar: 1g |
Vitamin A: 26IU |
Vitamin C: 1mg |
Calcium: 4mg |
Iron: 1mg
The recipes on this blog are tested with a conventional gas oven and gas stovetop. It’s important to note that some ovens, especially as they age, can cook and bake inconsistently. Using an inexpensive oven thermometer can assure you that your oven is truly heating to the proper temperature. If you use a toaster oven or countertop oven, please keep in mind that they may not distribute heat the same as a conventional full sized oven and you may need to adjust your cooking/baking times. In the case of recipes made with a pressure cooker, air fryer, slow cooker, or other appliance, a link to the appliances we use is listed within each respective recipe. For baking recipes where measurements are given by weight, please note that results may not be the same if cups are used instead, and we can’t guarantee success with that method.
Tips for Success and Variations
Make-Ahead & Freezing Instructions:
- Uncooked Nuggets: You can prepare the chicken nuggets up to the breading stage. Arrange them in a single layer on a parchment-lined baking sheet and freeze until solid. Once frozen, transfer them to a freezer-safe bag or container for up to 2-3 months. When ready to cook, fry directly from frozen, adding a few extra minutes to the cooking time.
- Cooked Nuggets: Fully cooked nuggets can also be frozen. Allow them to cool completely, then store in an airtight freezer bag for up to 1 month. Reheat in the oven or air fryer until hot and crispy.
Serving Suggestions:
These homemade chicken nuggets are fantastic on their own, but truly shine with your favorite dipping sauces! Classic options include ketchup, mustard, BBQ sauce, honey mustard, or ranch. For a gourmet touch, try a homemade sriracha mayo or a sweet chili dipping sauce. Pair them with a side of crispy french fries, a fresh salad, or some steamed vegetables for a complete meal.
Alternative Cooking Methods:
- Air Fryer: For a healthier, less oily option, air fry your breaded nuggets at 375°F (190°C) for 10-15 minutes, flipping halfway through, until golden brown and cooked through.
- Baking: You can also bake these nuggets. Place them on a greased baking sheet and bake at 400°F (200°C) for 18-22 minutes, flipping halfway, until golden and cooked. While still delicious, they may not be quite as crispy as their deep-fried counterparts.
This recipe truly elevates the humble chicken nugget to a whole new level. It’s a testament to the fact that with a little effort and fresh ingredients, you can create restaurant-quality food right in your home. The joy of cooking, sharing, and savoring these crispy, flavorful bites with your loved ones is an experience you won’t soon forget. So go ahead, don your apron, and transform your kitchen into a nugget-making haven!
