Easy & Adorable Easter Nest Cupcakes: Your Go-To Holiday Dessert!
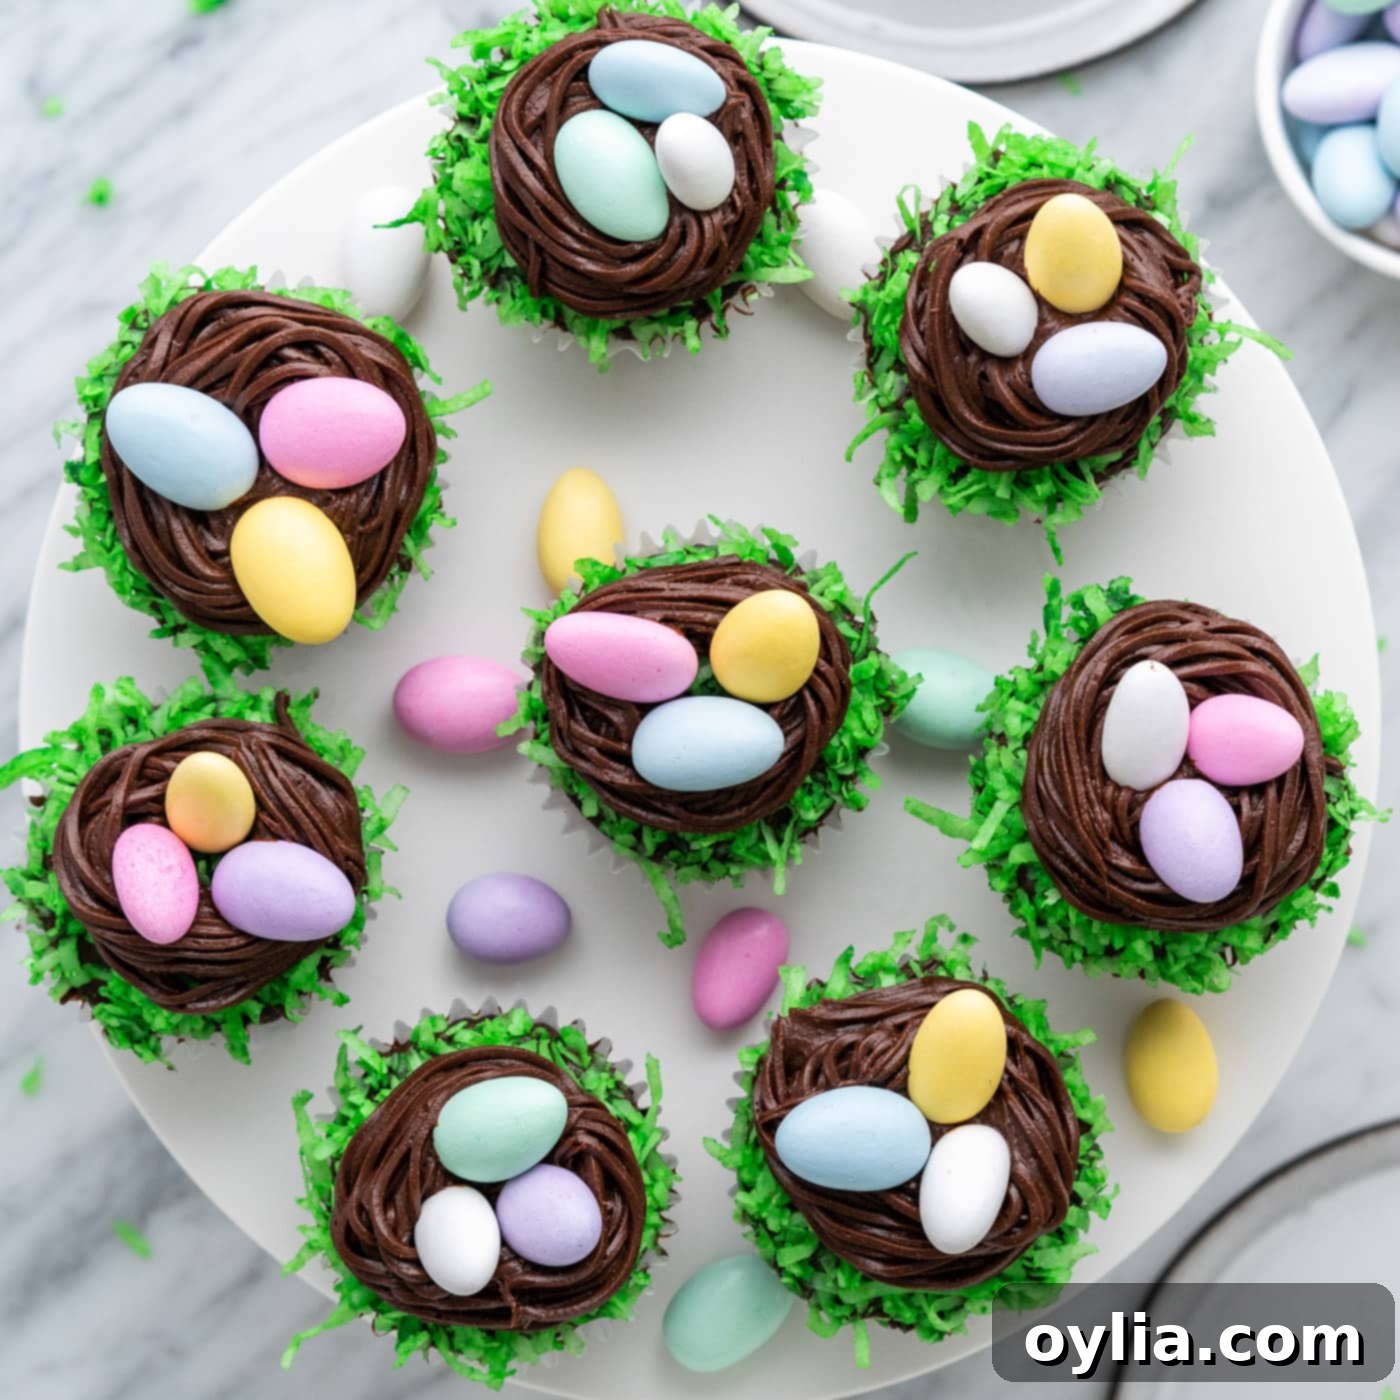
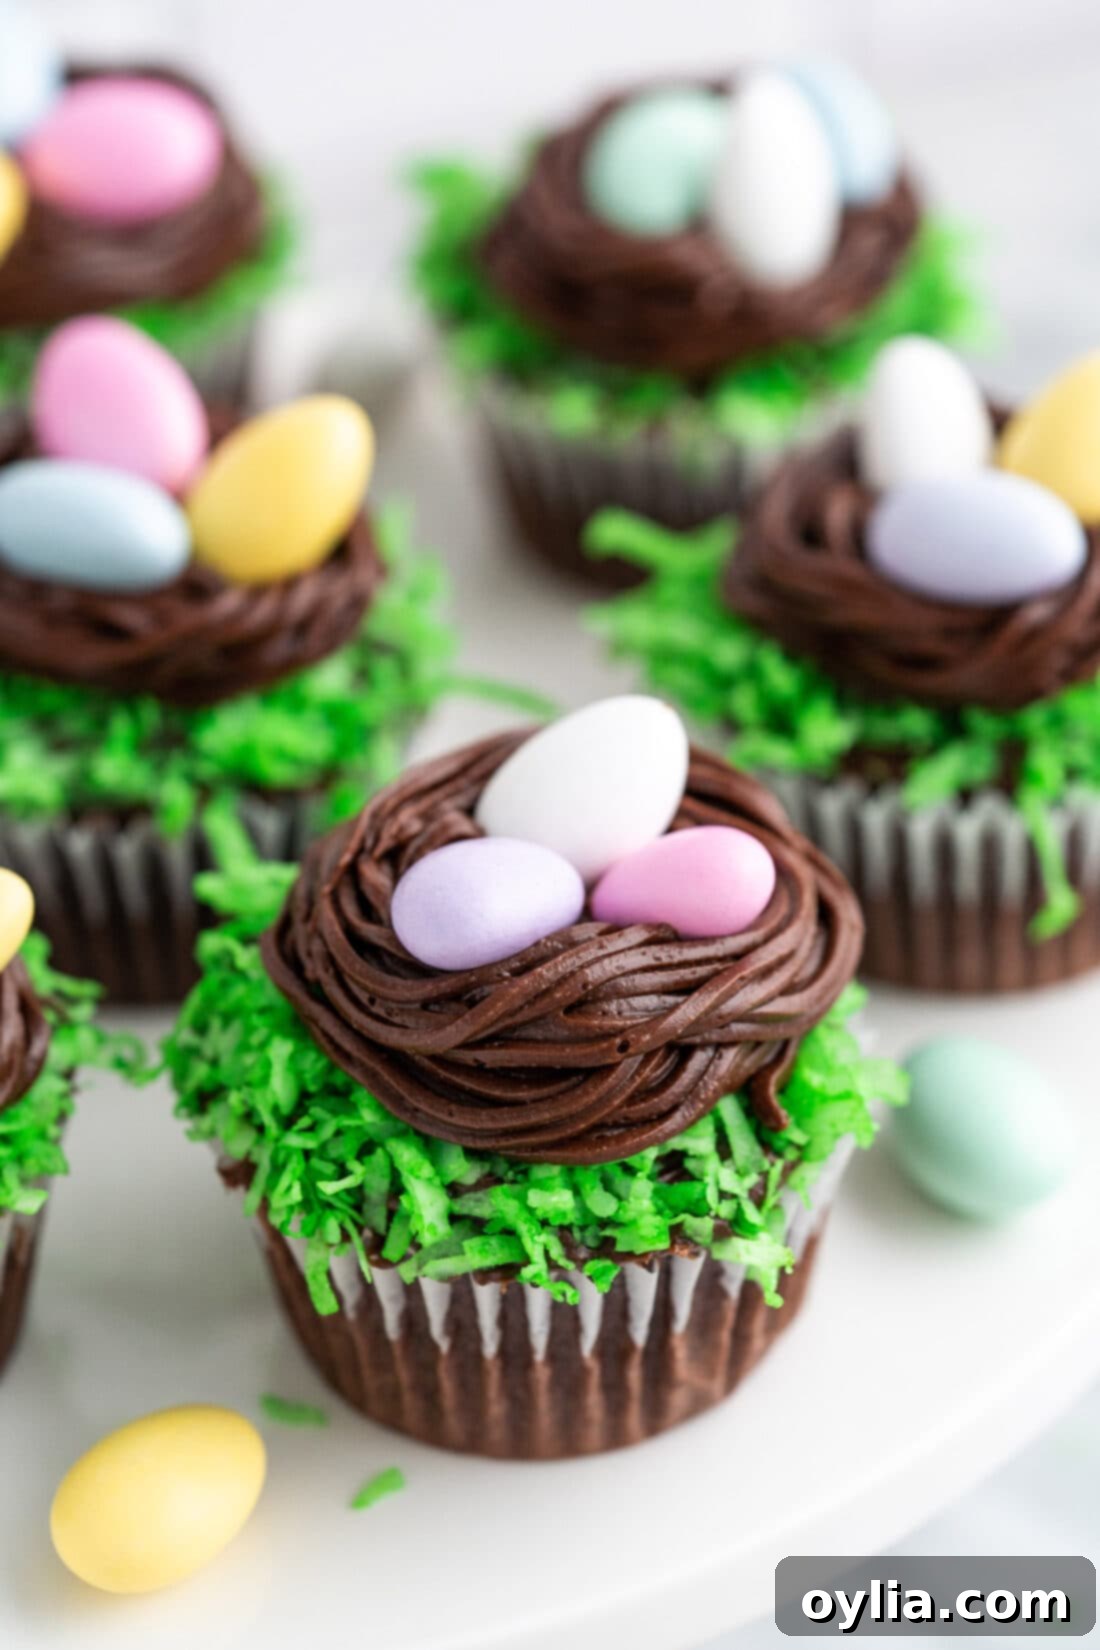
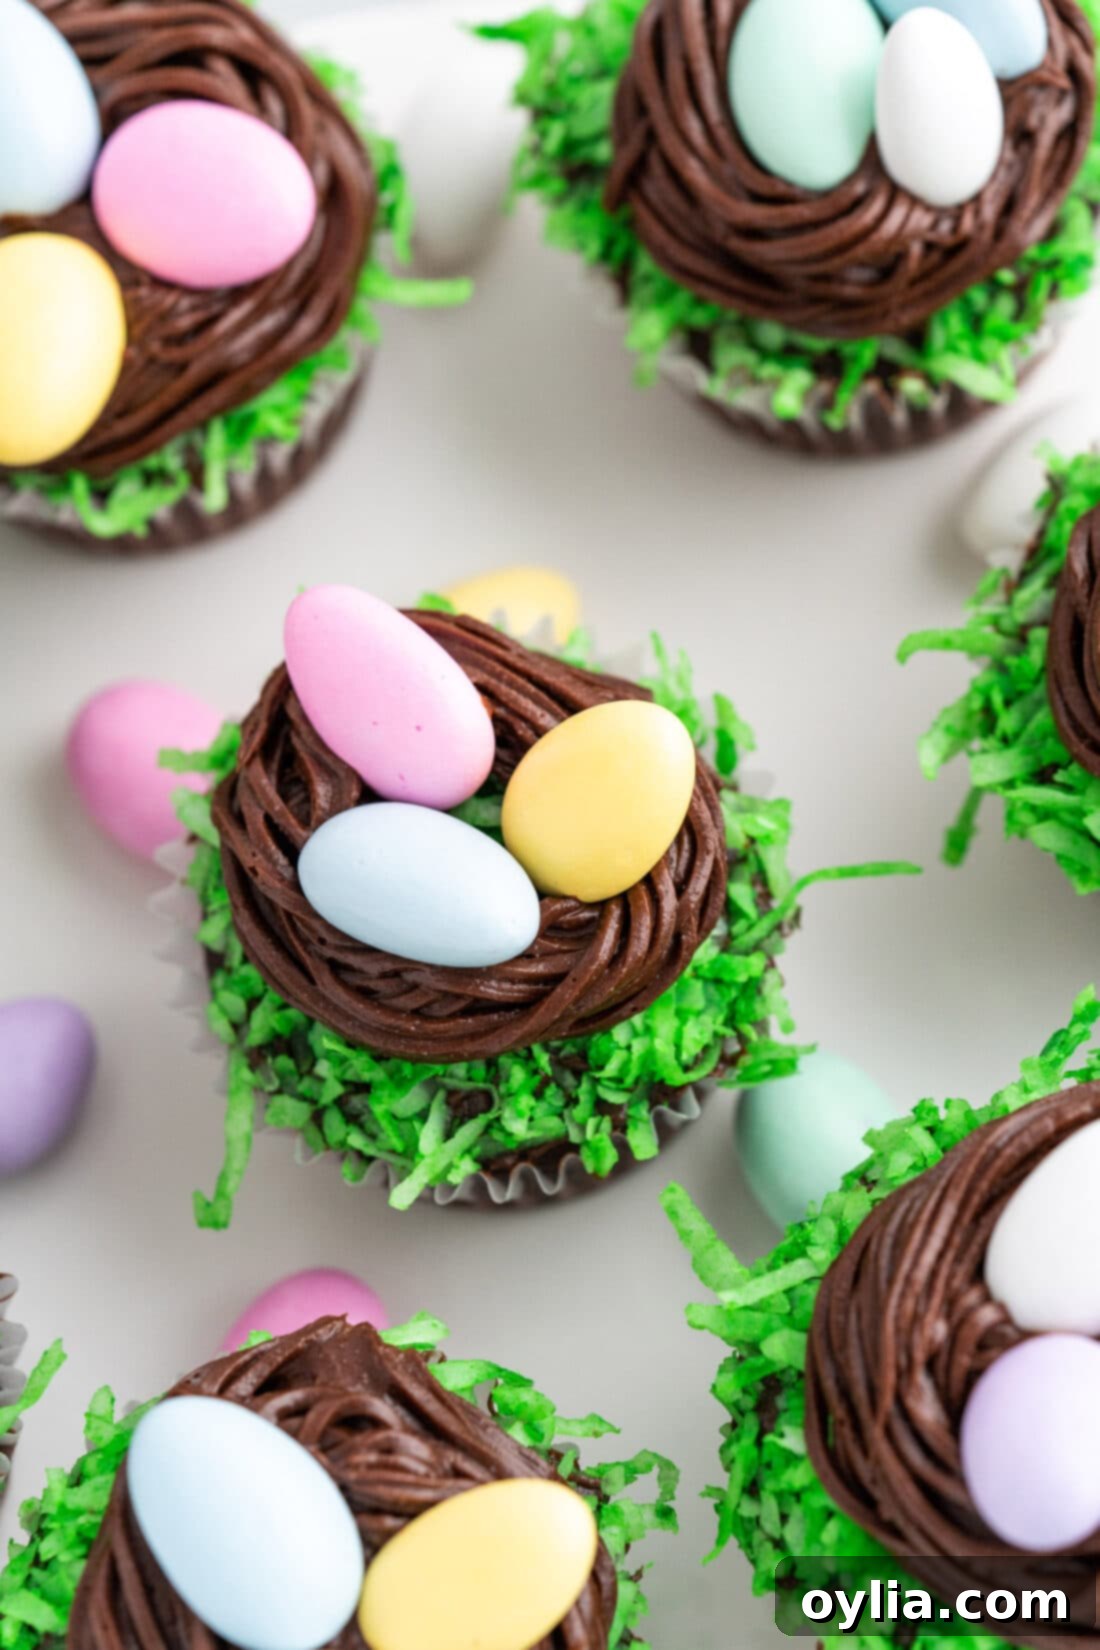
Get ready to delight your family and friends with the most charming and delicious treat this Easter season: our incredibly easy Easter Nest Cupcakes! Imagine fluffy cupcakes, topped with vibrant green shredded coconut mimicking fresh spring grass, and then adorned with a delicate chocolate frosting “bird’s nest” cradling colorful candy eggs. These delightful edible creations are not just visually stunning; they are surprisingly simple to whip up, even for novice bakers. Using a convenient box cake mix and store-bought chocolate frosting, you can achieve bakery-worthy results without spending hours in the kitchen. Perfect for holiday gatherings, school parties, or a sweet family activity, these bird’s nest cupcakes bring a touch of springtime magic to any dessert table.
Why These Easy Easter Nest Cupcakes Are a Must-Make This Spring
When it comes to holiday baking, we all want recipes that are not only delicious but also impressive and, ideally, not too complicated. These Easter Nest Cupcakes hit all those marks, making them an absolute must-try for your spring celebrations. They perfectly blend convenience with creativity, allowing you to produce an eye-catching dessert with minimal fuss.
Simplicity Meets Sweetness: A Recipe Designed for Ease
The beauty of this recipe lies in its elegant simplicity. We leverage readily available ingredients like a standard boxed cake mix and a tub of rich chocolate frosting to drastically cut down on prep time. This means less measuring, less mixing from scratch, and more time enjoying the decorating process – or simply relaxing! While the final presentation looks intricate, the steps are straightforward and manageable for bakers of all skill levels, including those little helpers in the kitchen.
Irresistible Visual Appeal: The Perfect Festive Touch
What truly sets these Easter Nest Cupcakes apart is their undeniable charm. Each cupcake transforms into a miniature springtime scene, complete with vibrant green coconut “grass” and a whimsical chocolate “bird’s nest” holding delicate candy eggs. This charming aesthetic instantly elevates your dessert spread, making them a centerpiece conversation starter at any Easter brunch, dinner, or children’s party. They’re more than just cupcakes; they’re little works of edible art that capture the joyous spirit of the season.
Versatile and Customizable: Make Them Your Own
While we adore the classic chocolate cake and chocolate frosting combination, this recipe offers fantastic flexibility. You can easily adapt the base cupcake flavor – think vanilla, lemon, or even a spiced carrot cake mix for an extra festive touch. The green coconut “grass” can be tinted to various pastel shades, and the candy eggs can be chosen to match your party’s color scheme or simply your favorite chocolate treats. This adaptability ensures that your Easter Nest Cupcakes always feel fresh and personal.
A Beloved Holiday Tradition: Join the Fun!
Easter is a wonderful time for creating cherished memories, and baking sweet treats is often at the heart of these traditions. Just like our popular Bunny Butt Cupcakes and cheerful Easter Chick Cupcakes, these bird’s nest cupcakes are designed to become a highlight of your holiday baking repertoire. They’re not just a dessert; they’re an experience that brings smiles and a sense of playful creativity to your Easter festivities.
Gather Your Ingredients for These Festive Easter Nest Cupcakes
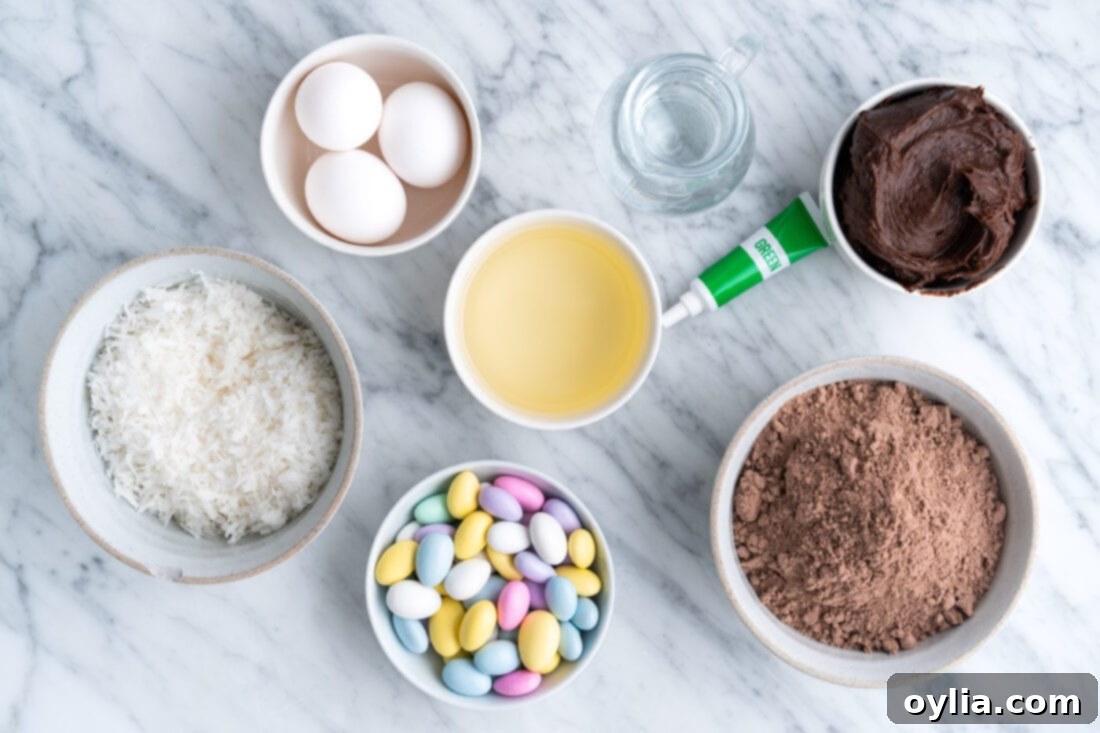
Crafting these adorable Easter nest cupcakes requires just a handful of accessible ingredients. The magic happens with a combination of pantry staples and a few festive embellishments. Below, we’ll dive into each component, offering tips and substitution suggestions to ensure your baking experience is as smooth and enjoyable as possible. For precise measurements and step-by-step instructions, be sure to check the printable recipe card at the end of this post.
Key Ingredients & Smart Substitutions:
- Cupcakes: The Foundation of Your Nest
Our recipe prioritizes speed and convenience by calling for a 15.25 ounce chocolate cake mix (plus the essential ingredients listed on the box, typically eggs, oil, and water). We love chocolate for its rich flavor and how it beautifully mimics the look of earthy “dirt” beneath the green coconut grass. However, feel free to personalize! A vanilla, white, or even a lemon cake mix would create a delightful contrast. If you’re feeling ambitious and have extra time, your favorite homemade cupcake recipe will work wonderfully as a base. Just ensure they are fully cooled before decorating to prevent frosting mishaps. - Frosting: Crafting the Perfect Chocolate Nest
For ultimate ease, we recommend using 32 ounces of pre-made chocolate frosting (typically two 16-ounce tubs). This saves valuable time and ensures a consistent texture for piping. The dark chocolate provides a fantastic contrast to the bright green coconut and colorful candy eggs, making the “nest” truly pop. If you prefer to make your own, a batch of homemade chocolate buttercream frosting or a decadent chocolate fudge frosting would be absolutely divine. Just ensure your homemade frosting has a firm enough consistency for piping intricate nest shapes. - Coconut Flakes: The Green Grass Bed
You’ll need 2 cups of sweetened shredded coconut flakes to create the vibrant “grass” base for your nests. Sweetened coconut adds a lovely texture and a touch of sweetness that complements the cupcakes. If you prefer less sweetness, unsweetened coconut can also be used. To achieve that signature green hue, you’ll also need green gel food coloring. Gel food coloring is preferred over liquid as it provides more intense color without significantly altering the coconut’s texture or moisture content. Start with a few drops and add more gradually until you reach your desired shade of vibrant spring green. - Candy Eggs: The Precious Cargo
No bird’s nest is complete without its eggs! You’ll need about 72 mini candy eggs for this recipe (which typically yields 24 cupcakes, placing 3 eggs in each nest). Chocolate candy eggs with a pastel candy coating are classic for Easter and add a beautiful splash of color. However, don’t limit yourself! Mini jelly beans, robin’s egg candies, or even small chocolate-covered almonds could make excellent alternatives. Choose candies that are small enough to sit comfortably within your piped nests.
Essential Equipment:
While most of these items are standard kitchen tools, having the right equipment makes the decorating process much smoother:
- Cupcake Pan: For baking your cupcakes to perfection.
- Mixing Bowls: For preparing the cake batter and coloring the coconut.
- Piping Bag: Essential for applying the frosting in a controlled and decorative manner.
- “Grass” Piping Tip (Wilton Tip 233 or similar): This is the secret to creating those realistic, stringy bird’s nests. It has multiple small holes that extrude frosting in thin strands, giving that natural twig-like appearance. If you don’t have a grass tip, a round piping tip (like Wilton 1A or 12) can be used to pipe a circular “nest” outline, or a star tip can create a textured nest.
Having these items ready will ensure a seamless and enjoyable baking and decorating experience for your delightful Easter Nest Cupcakes!
Step-by-Step Guide to Crafting Your Easter Nest Cupcakes
These step-by-step photos and detailed instructions are here to guide you visually through the process of making these delightful Easter Nest Cupcakes. For a quick reference or to print, you can Jump to Recipe to access the complete printable version with all measurements and instructions at the bottom of this post.
-
Bake Your Cupcake Base:
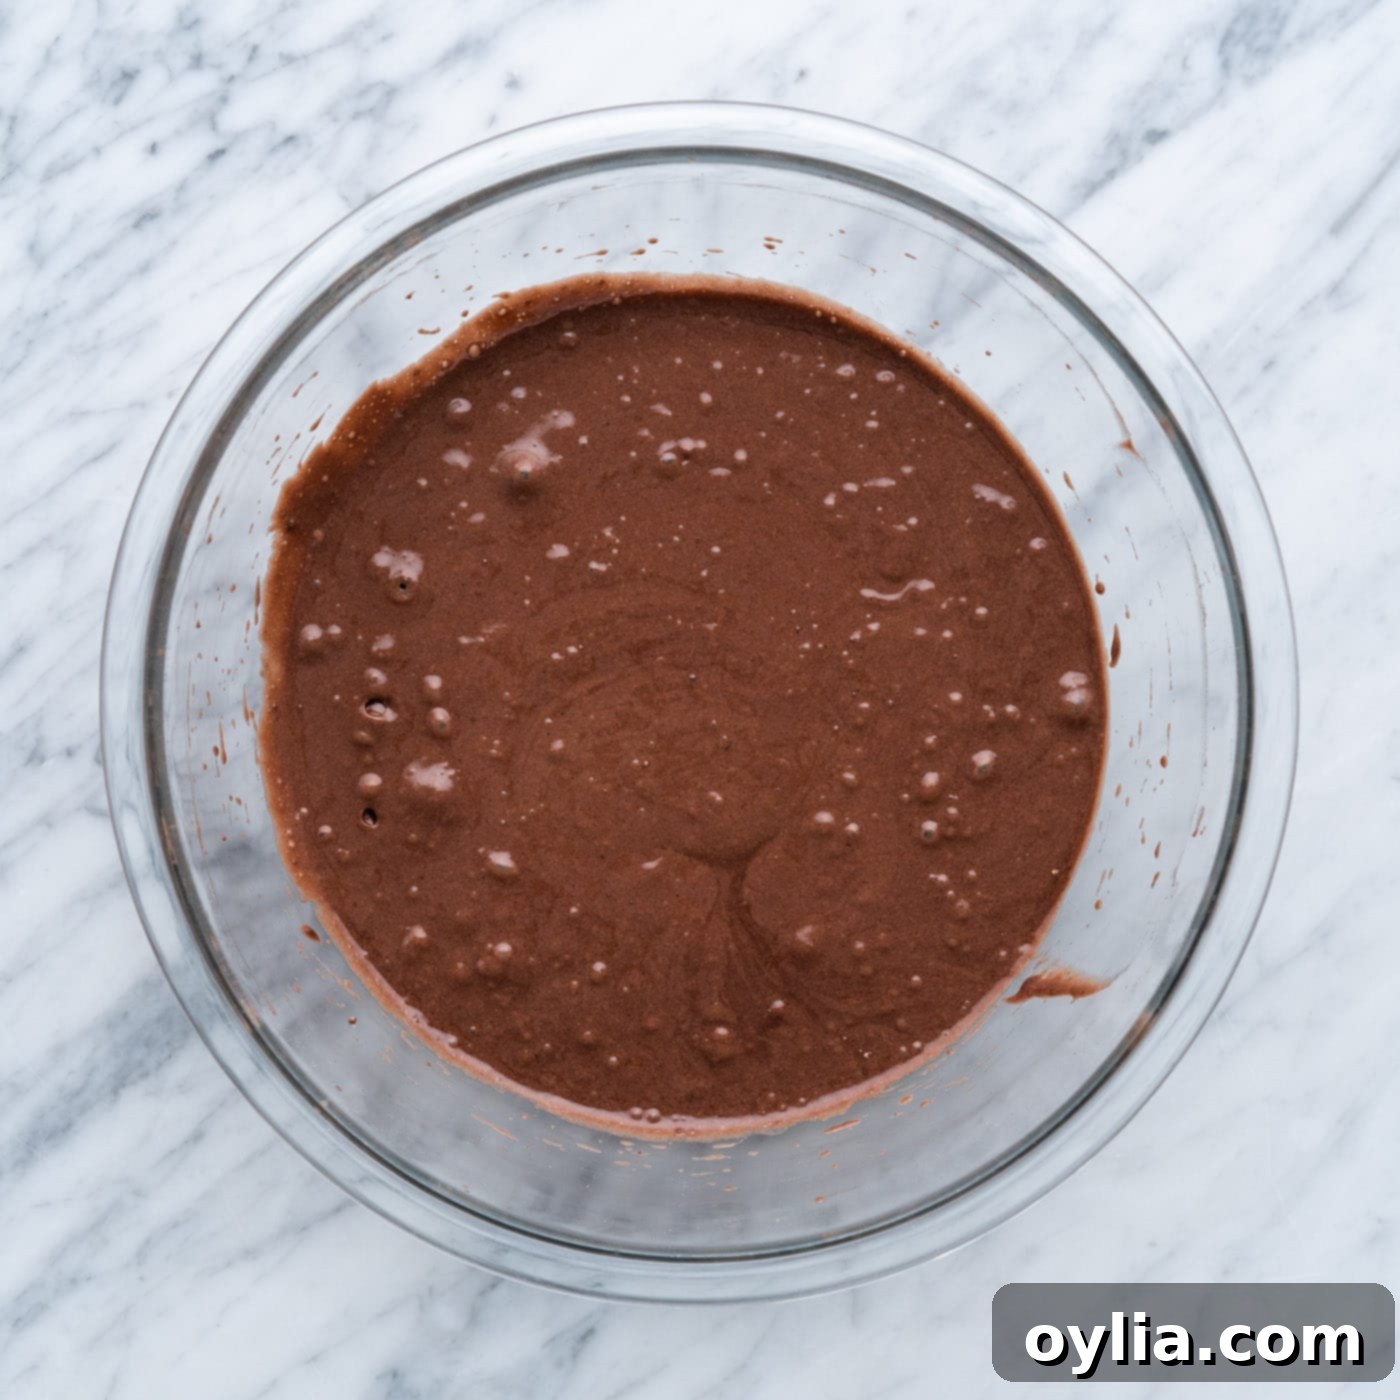
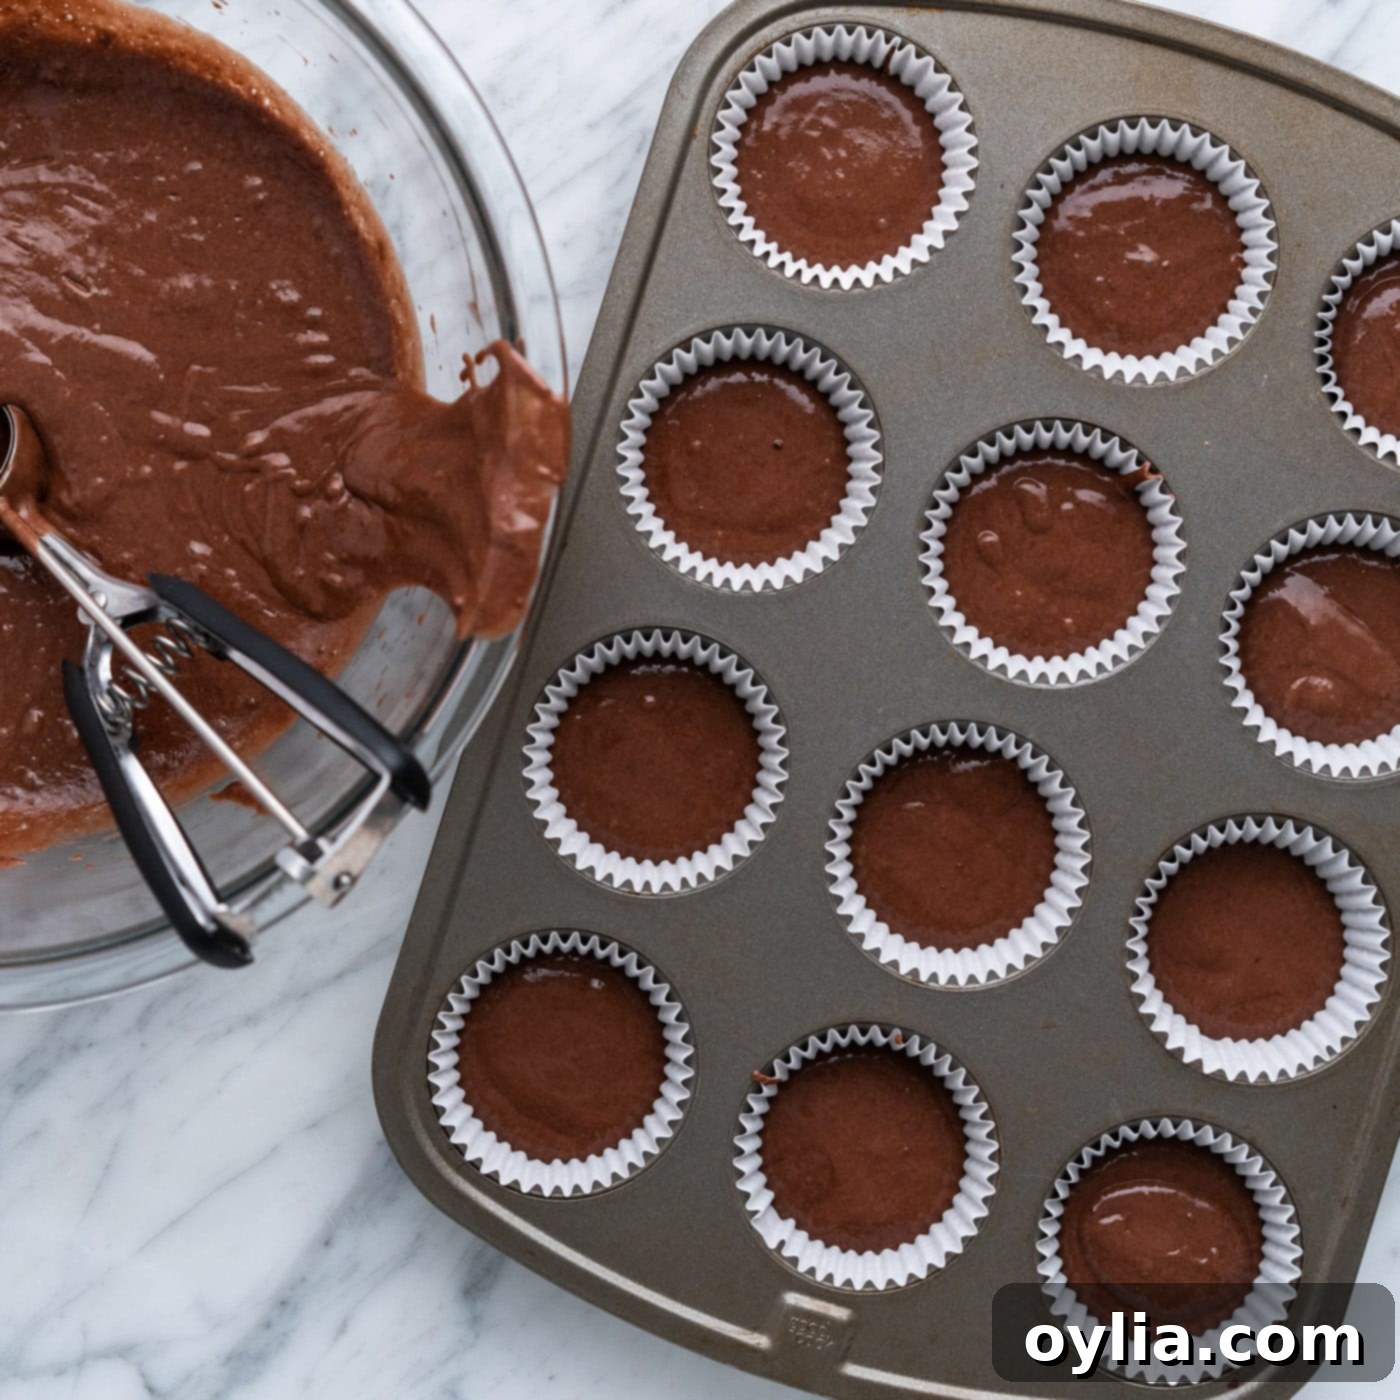
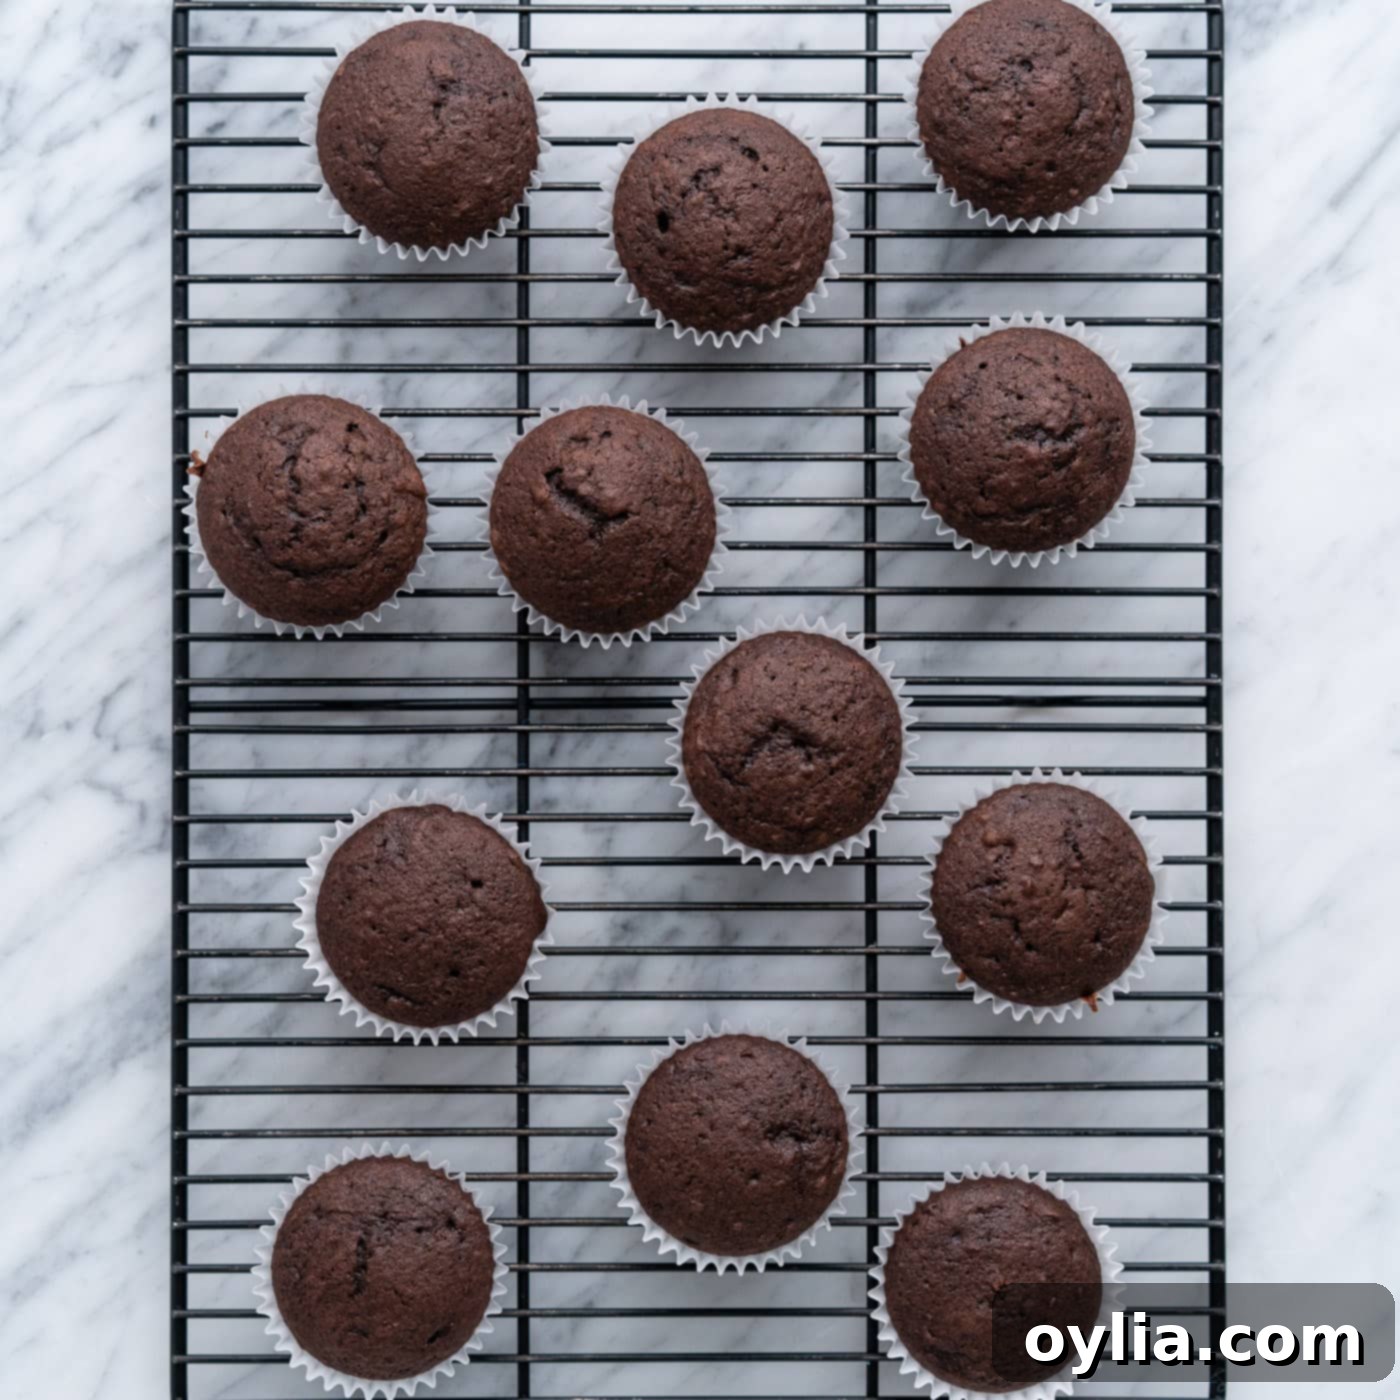
Prepare and bake the cupcakes according to the directions on your chosen cupcake or cake mix. This typically involves combining the mix with eggs, oil, and water, then dividing the batter into lined cupcake pans. It’s crucial to avoid overmixing the batter, as this can result in tough cupcakes. Bake until a toothpick inserted into the center comes out clean. Once baked, carefully remove the cupcakes from the pan and let them cool completely on a wire rack to room temperature. This step is vital; frosting warm cupcakes will cause the frosting to melt and slide off, making decorating difficult.


-
Color the Coconut Grass:
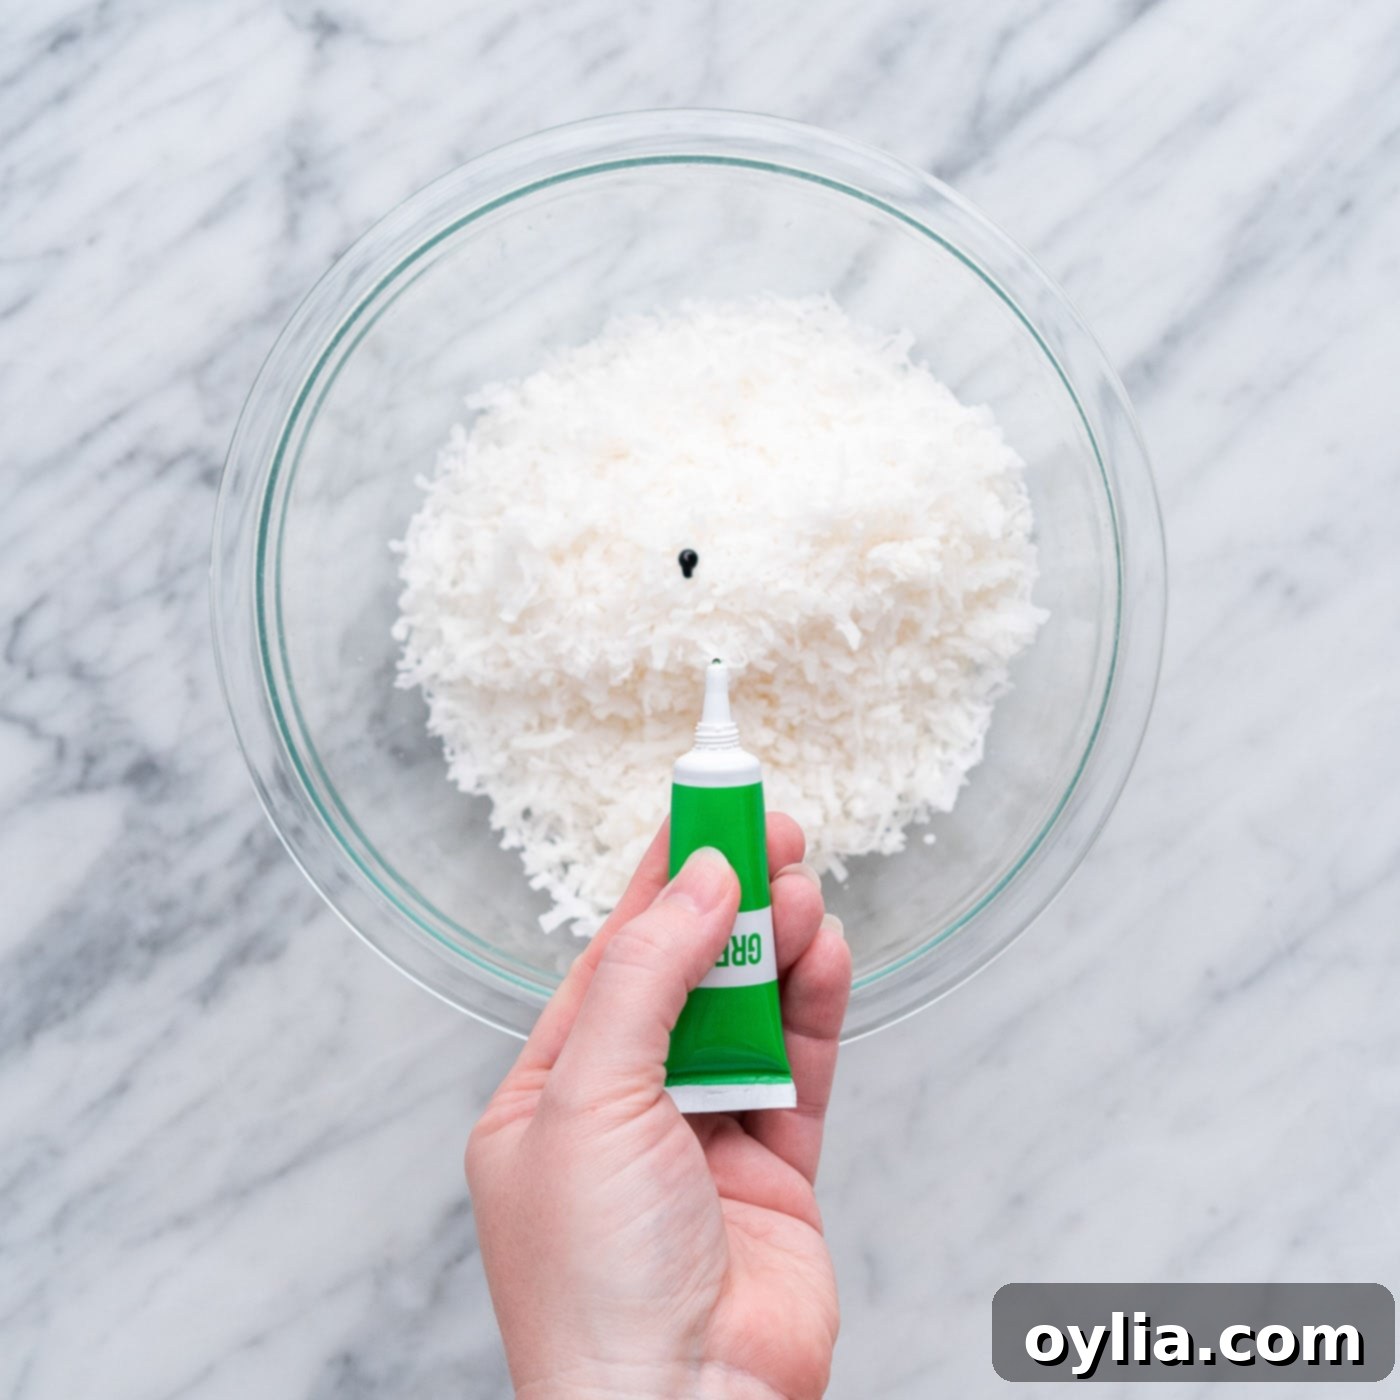
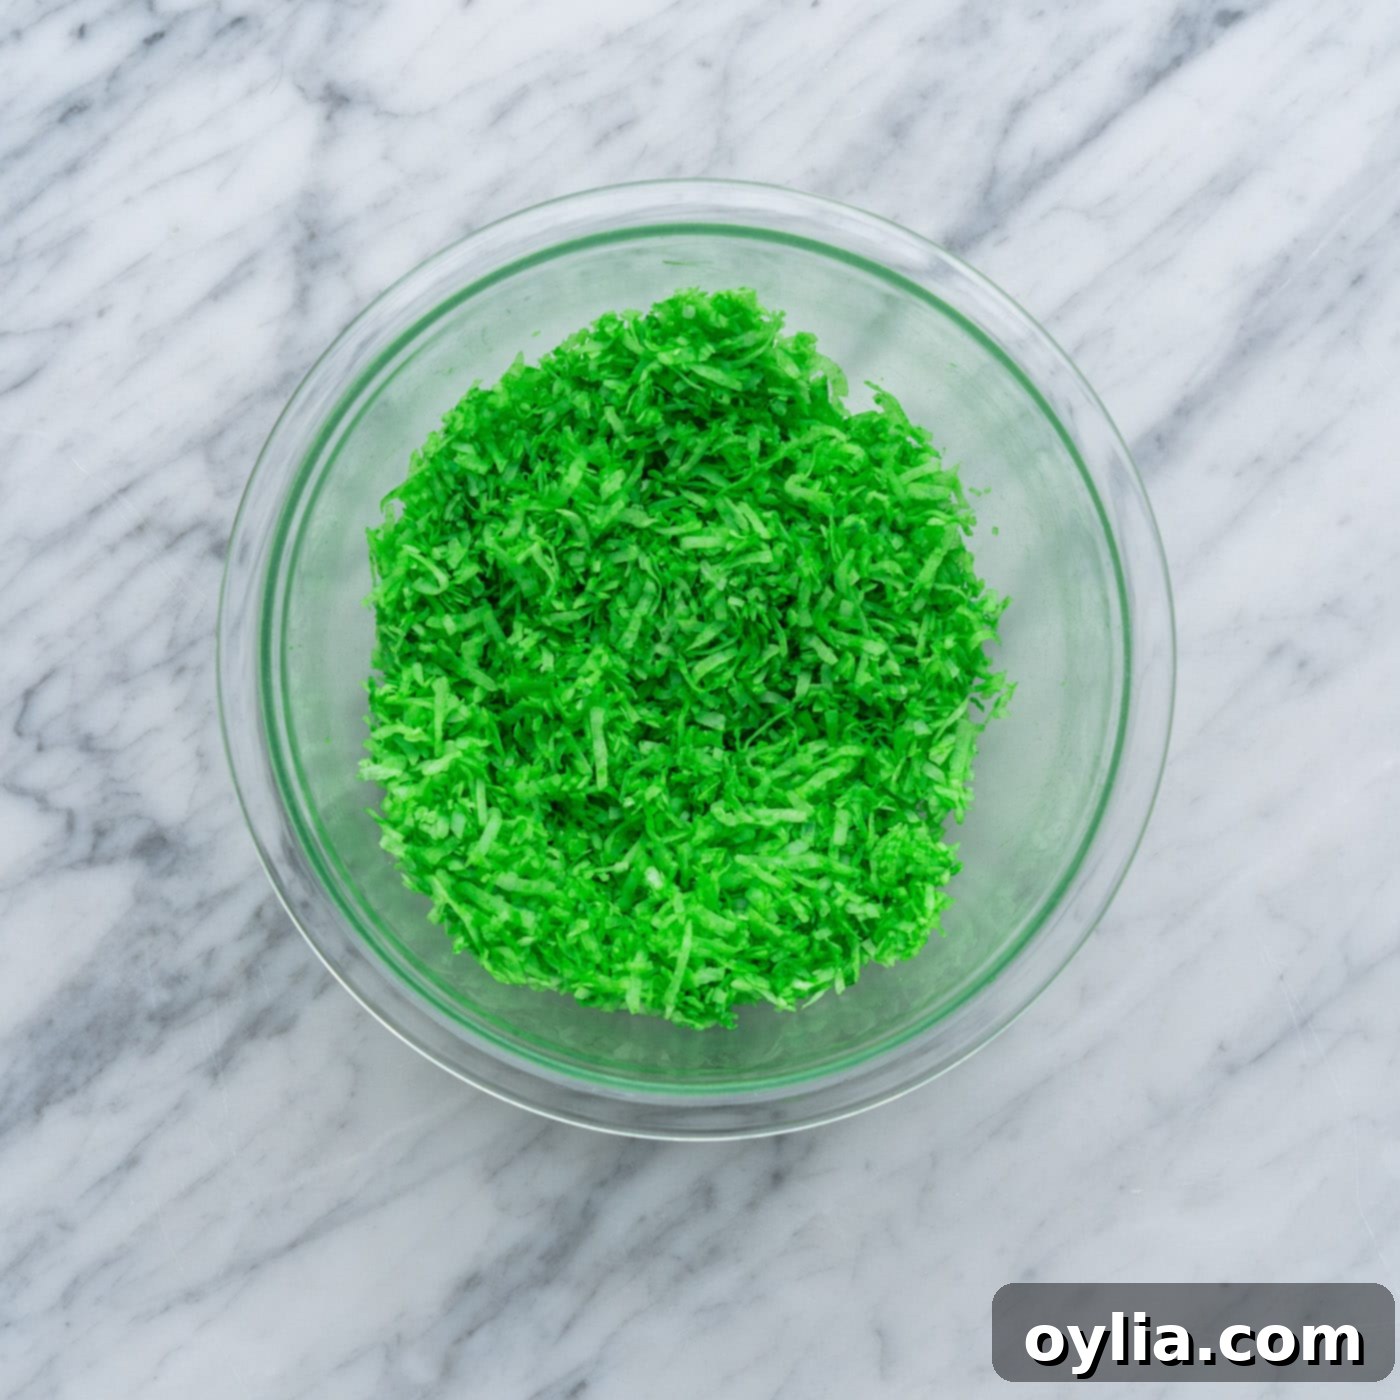
In a medium-sized bowl, add the shredded coconut. Begin by adding just a few drops of green gel food coloring. Using a fork or your hands (wearing gloves is recommended to prevent stained fingers!), gently toss and stir the coconut until the color is evenly distributed. Continue adding small amounts of food coloring, a drop or two at a time, and mixing until you achieve your desired shade of vibrant spring green. This will be the beautiful “grass” foundation for your edible nests.


-
Create the Coconut Base:
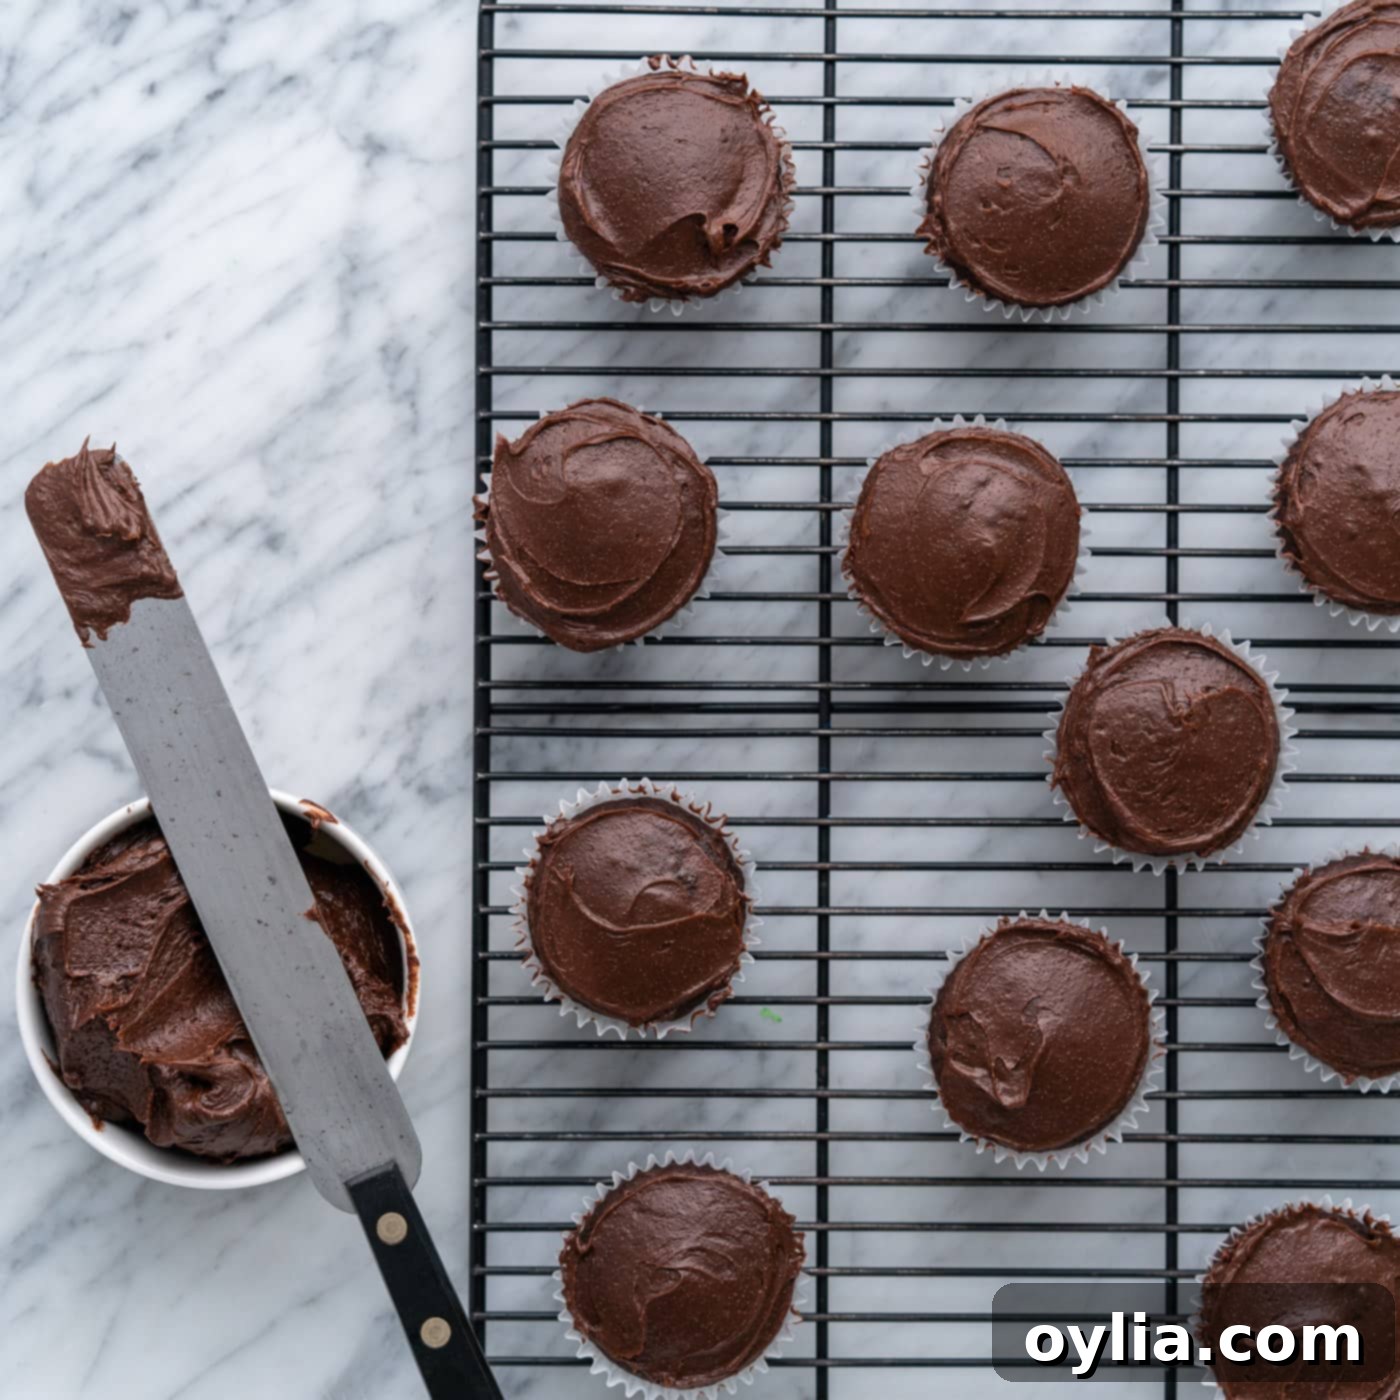
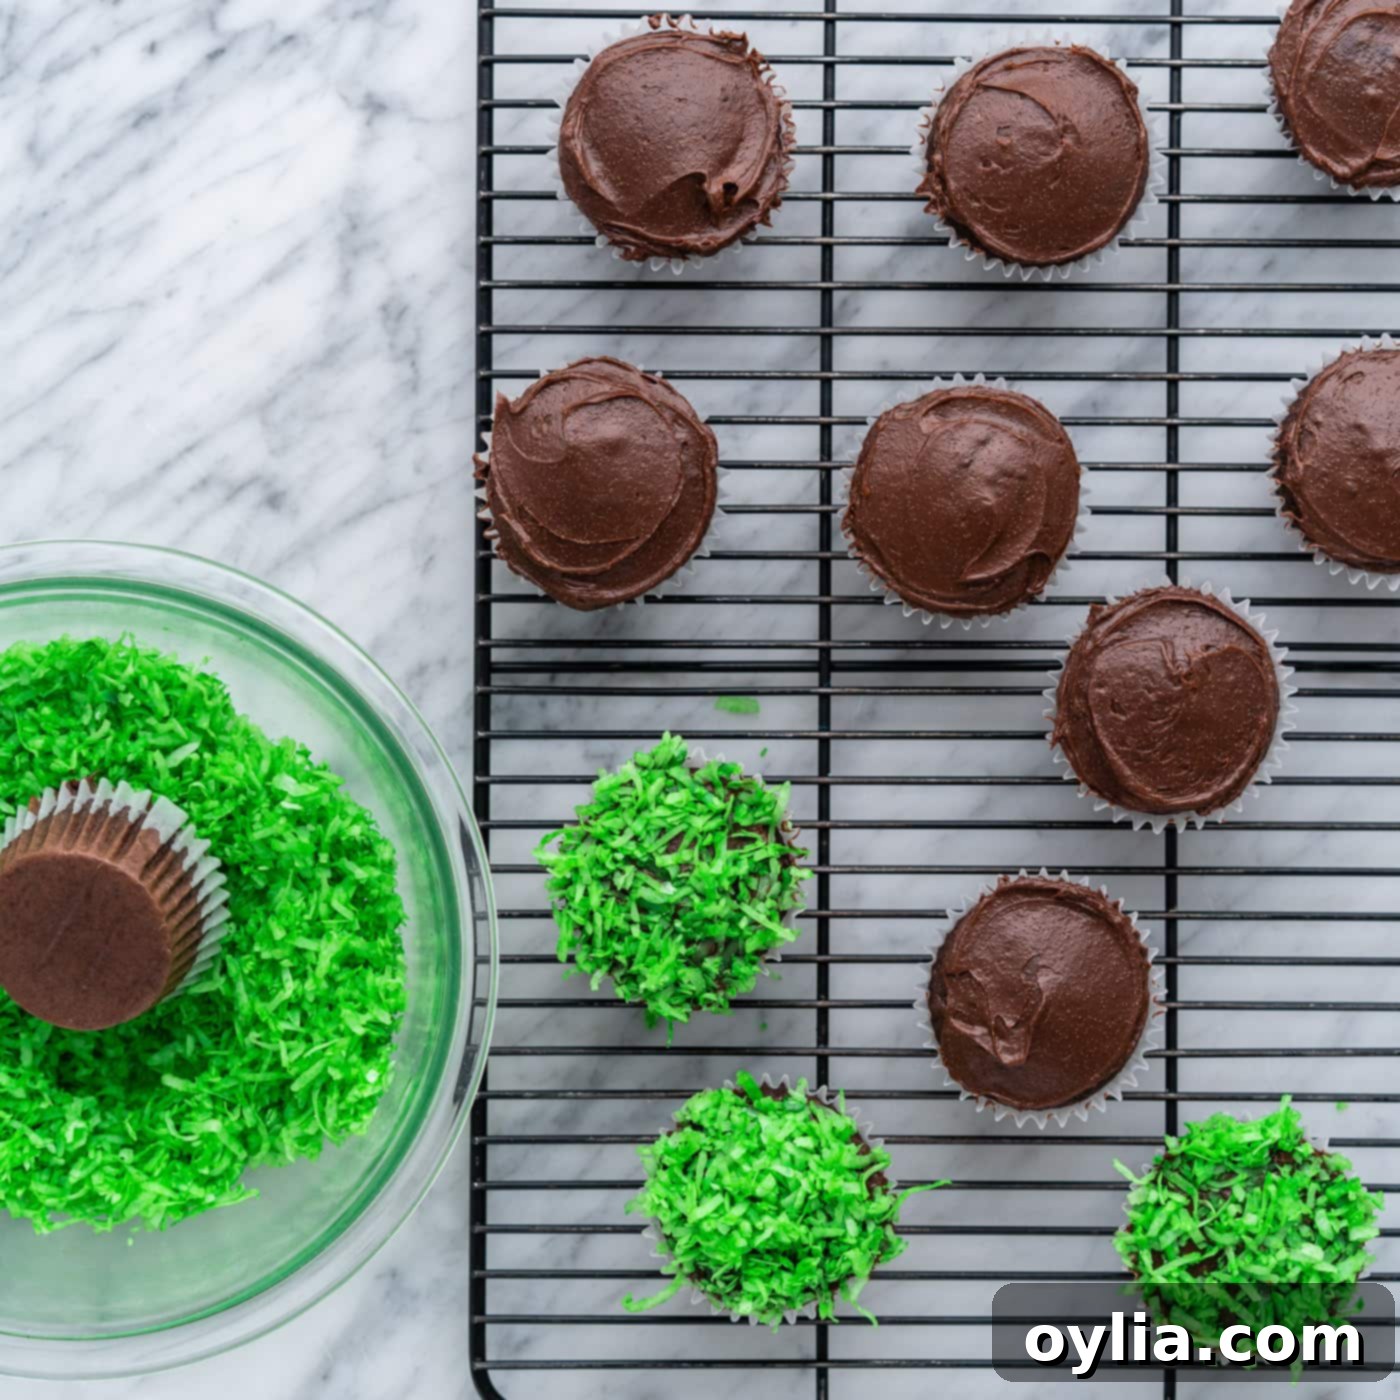
Once the cupcakes are completely cool, frost the tops with a thin, even layer of chocolate frosting. You can use an offset spatula or a butter knife for this. Immediately after frosting each cupcake, gently dip the frosted top into the bowl of green shredded coconut. Lightly press down to ensure the coconut adheres well and forms a fluffy, grassy layer over the entire frosted surface. Repeat this process for all cupcakes, creating a verdant base for each nest.


-
Pipe the Chocolate Nests:
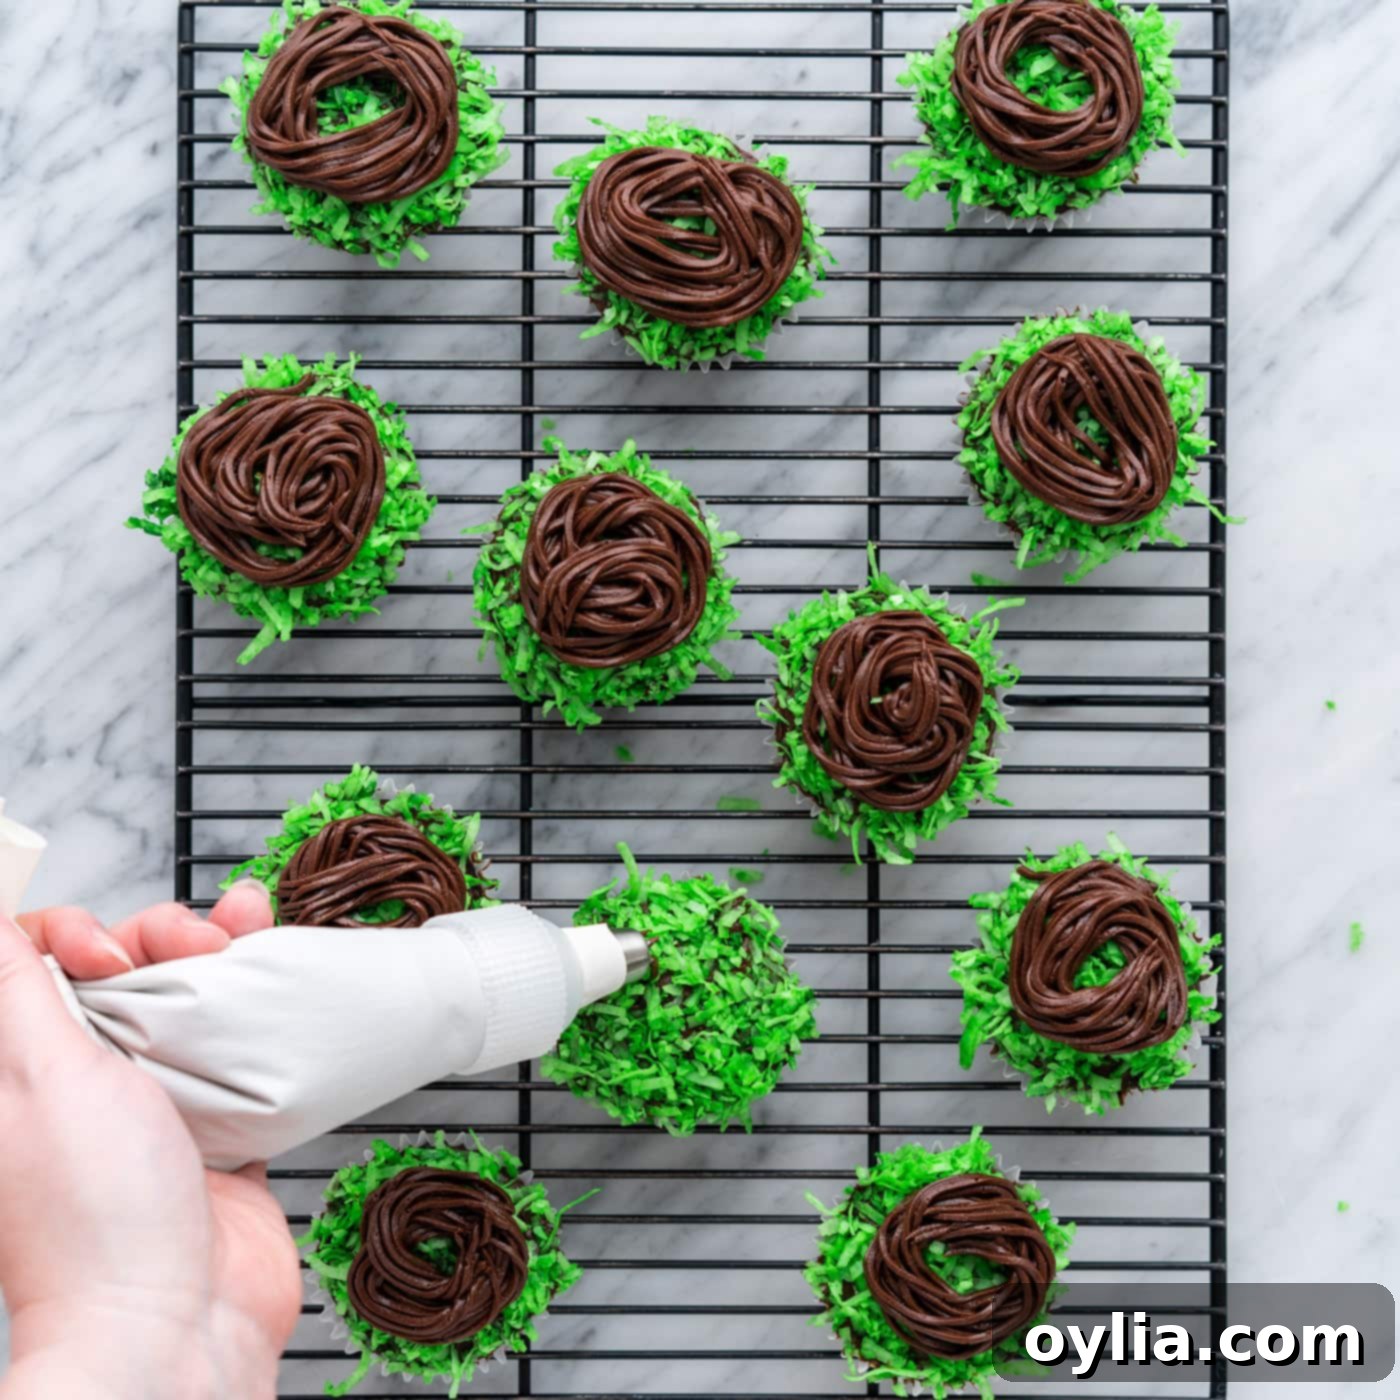
Once all the cupcakes are adorned with their coconut “grass,” prepare your piping bag. Fit it with a “grass” tip (such as Wilton Tip 233, as detailed in our notes and ingredient section) and fill it with the remaining chocolate frosting. To create the bird’s nest effect, pipe swirls of frosting in a circular motion on top of the coconut, starting from the outside and working inwards, building up the sides to form a recognizable nest shape. The multi-holed grass tip will create thin, stringy strands, perfectly mimicking twigs and branches. Aim for a nest that has enough depth to securely hold the candy eggs.

-
Place the Candy Eggs:
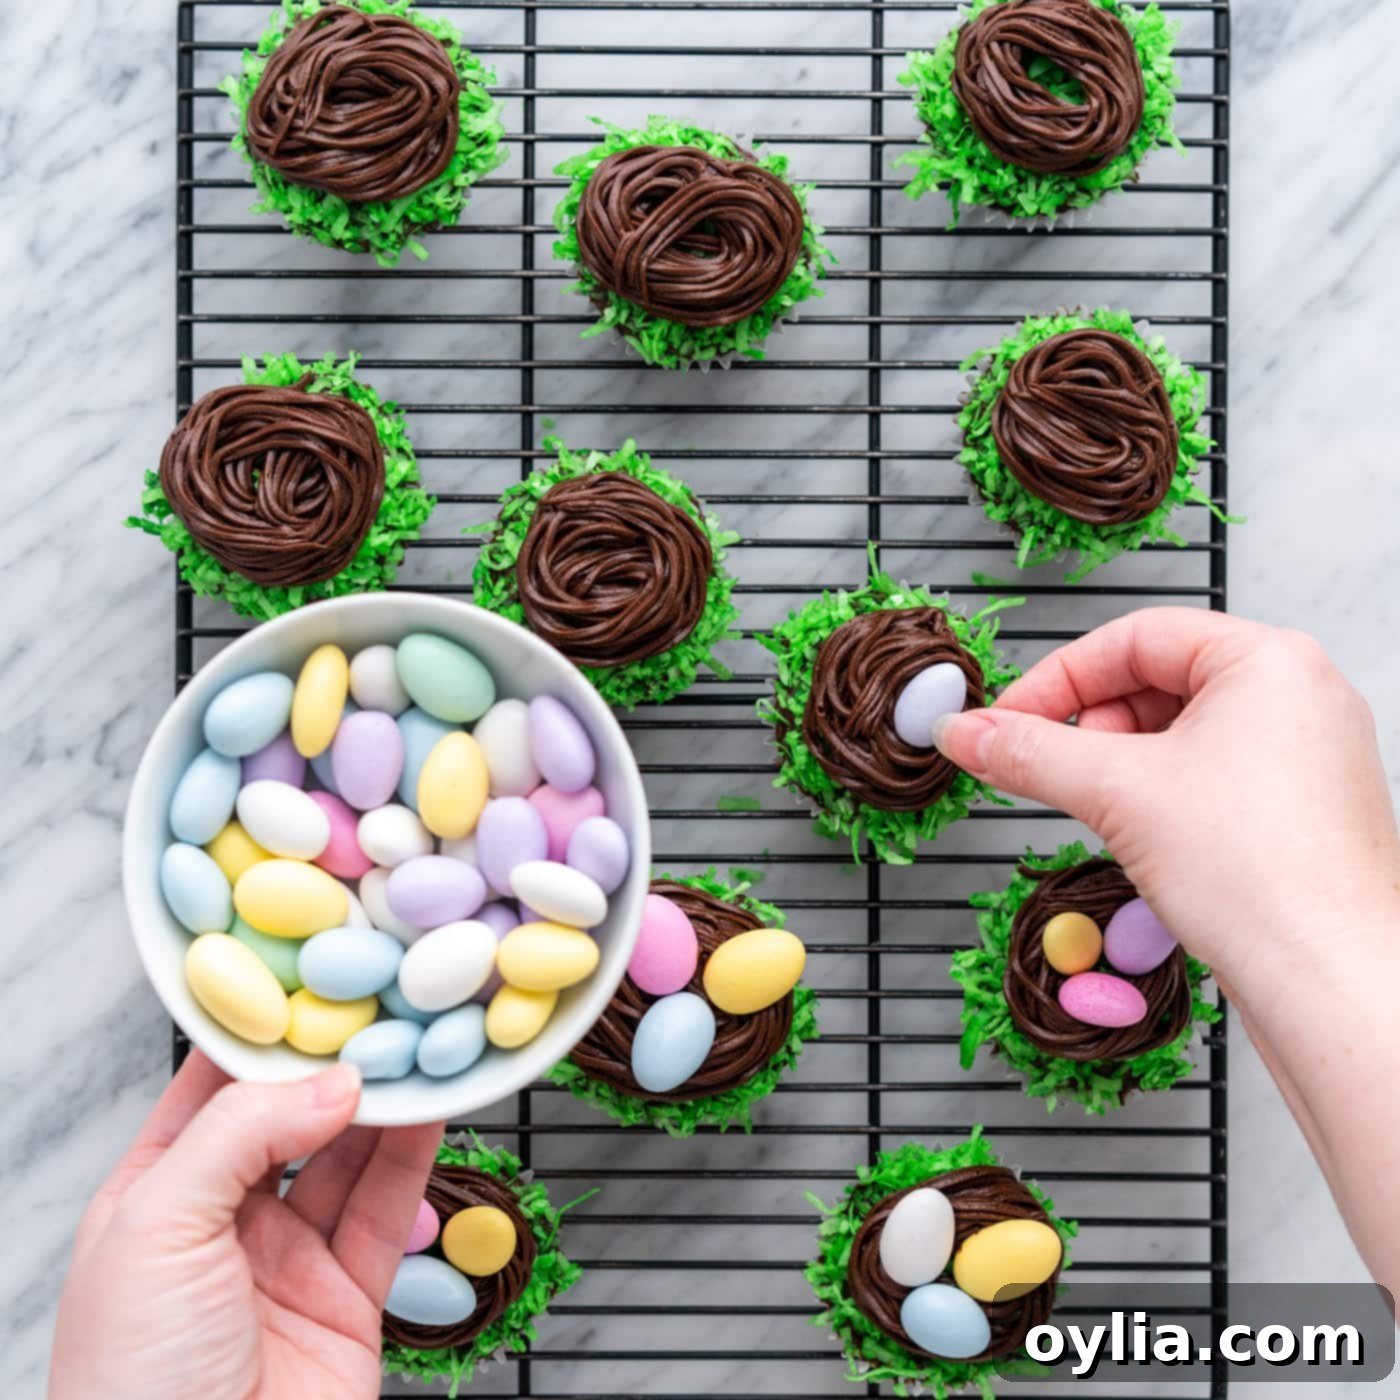
Finally, gently place three mini candy eggs into the center of each piped chocolate nest. Arrange them carefully to mimic a real bird’s nest. The contrast of the colorful eggs against the chocolate nest and green coconut creates a truly enchanting final product. Your delightful Easter Nest Cupcakes are now ready to be admired and enjoyed!.

Frequently Asked Questions & Expert Tips for Perfect Easter Nest Cupcakes
Absolutely! While the green shredded coconut beautifully mimics fresh grass, there are several delightful alternatives. You can opt for colorful green or chocolate sprinkles to create a similar “ground” effect, giving the cupcakes a fun, festive texture. Another excellent option is to use green frosting and the same “grass” piping tip (Wilton Tip 233) you’d use for the nests. Simply pipe short, vertical bursts of green frosting directly onto the cupcake top to create a lush, realistic grassy look. Edible green paper grass is another easy, store-bought alternative that kids especially love.
To maintain their freshness and beautiful decoration, store your Easter Nest Cupcakes in an airtight container at room temperature. They will stay fresh and delicious for 3-4 days. For longer storage, you can refrigerate them for up to a week. If refrigerating, allow them to come to room temperature for about 15-30 minutes before serving for optimal taste and texture. You can also freeze undecorated cupcakes for up to 3 months; simply thaw, frost, and decorate when ready to serve!
Yes, these cupcakes are perfect for making in advance, which is a huge time-saver during busy holiday preparations! You can bake the cupcakes up to 2-3 days beforehand and store them in an airtight container at room temperature. The green coconut can also be prepared a day in advance and stored in an airtight container. We recommend frosting and decorating the nests and adding the candy eggs no more than a day before serving to ensure the freshest appearance and taste.
No problem! While the grass tip (Wilton Tip 233) creates a very realistic nest, you can still achieve a beautiful effect with other piping tips. A small round tip (like Wilton 5 or 12) can be used to pipe thin, swirling lines that build up to form a nest shape. A star tip (like Wilton 1M or 21) will create a more textured, rosette-like nest, which is also very charming. You can even simply spoon a dollop of frosting onto the coconut and use the back of a spoon to create an indentation for the eggs if you’re going for a more rustic look.
Absolutely! Feel free to get creative with your “eggs.” While pastel chocolate eggs are traditional, mini jelly beans, M&M’s, small malted milk balls, or even homemade fondant eggs would look fantastic. You can also experiment with different colors or types of sprinkles for the “grass” if you want to move beyond green coconut. The key is to have fun and make them your own!
Creative Serving Suggestions for Your Easter Nest Cupcakes
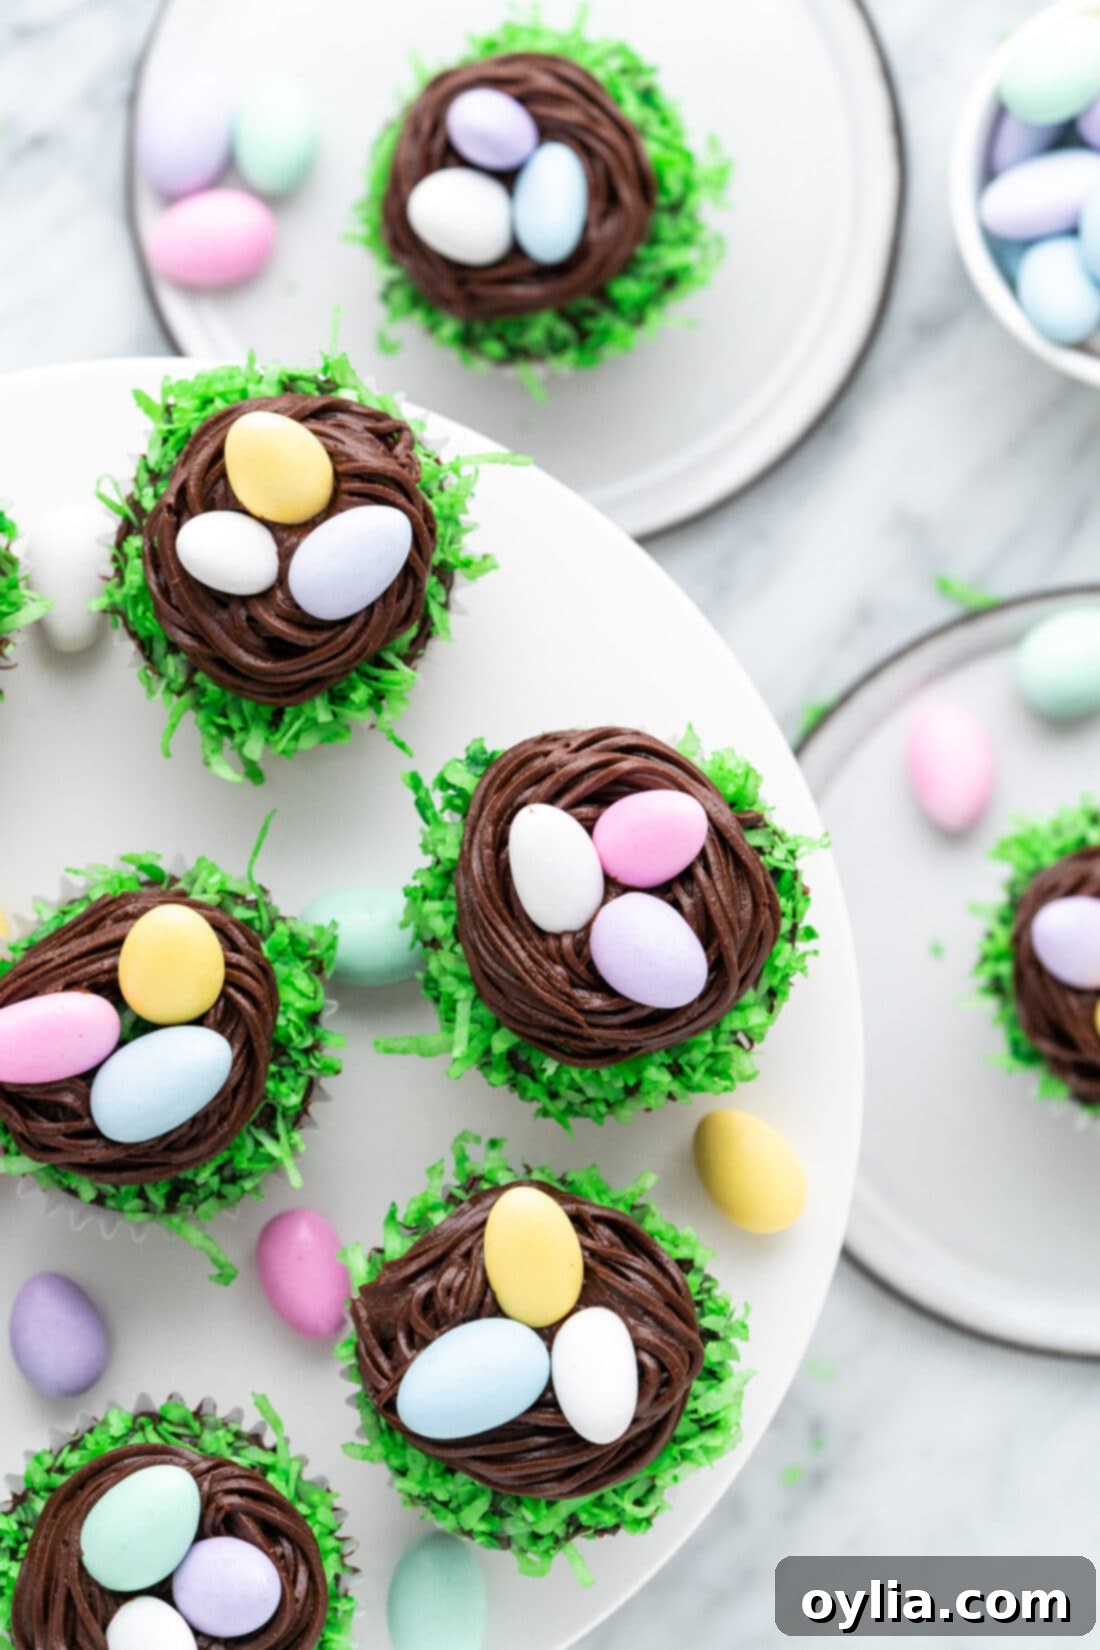
These delightful Easter Nest Cupcakes are already a showstopper on their own, but with a few creative touches, you can make them even more special and versatile for various occasions beyond just Easter! Their charming design lends itself beautifully to different presentation styles and events.
Perfect for Any Easter Gathering:
Naturally, these cupcakes are the quintessential dessert for Easter brunch, lunch, or dinner. Arrange them on a multi-tiered cake stand for an impressive centerpiece that doubles as a dessert. Scatter a few extra candy eggs or fresh spring flowers around the base of the stand for an added decorative touch. They are individual portions, making them easy to serve and enjoy without needing extra plates or cutting.
Beyond Easter: Versatile Springtime Treats
Don’t limit these adorable “bird’s nest” treats to just Easter! Their theme of new beginnings and spring makes them ideal for other celebrations:
- Baby Showers: They are absolutely precious for baby showers, especially those with a “nesting” or “baby bird” theme. You can even customize the color of the candy eggs to match the baby’s gender or the party’s color scheme.
- Spring Garden Parties: Hosting a garden party or a springtime tea? These cupcakes fit right in with the natural, fresh aesthetic.
- Birthday Parties: For children’s birthdays in spring, these can be a fun and engaging dessert, perhaps alongside other animal-themed treats.
Customization Galore:
The beauty of these cupcakes is how easily they can be customized. While green coconut provides a classic “grass” look, consider these variations:
- Pastel Coconut: Divide the shredded coconut into smaller portions and tint them with various pastel food colorings – light blue, pink, or yellow – for a vibrant, rainbow effect that’s particularly appealing to children.
- Different “Nests”: Instead of the chocolate frosting nest, you could use a piping of buttercream frosting tinted brown or even create edible nests using melted chocolate or bird nest cookies as a topper for a truly unique twist.
- Varied Toppings: Experiment with different types of candy eggs, such as speckled robin’s eggs, mini chocolate eggs, or even small sugar flowers for an extra delicate touch.
No matter how you choose to serve or customize them, these Easter Nest Cupcakes are guaranteed to bring smiles and joy to anyone who receives one. They are a true celebration of spring and the sweetness of the season.
More Delightful Easter Dessert Recipes
- Easter Toffee
- Easter Dirt Cake
- Rice Krispie Nests
- Easter Bunny Cupcakes
- Easter Egg Oreo Truffles
I love to bake and cook and share my kitchen experience with all of you! Remembering to come back each day can be tough, that’s why I offer a convenient newsletter every time a new recipe posts. Simply subscribe and start receiving your free daily recipes!
Easter Nest Cupcakes
IMPORTANT – There are often Frequently Asked Questions within the blog post that you may find helpful. Simply scroll back up to read them!
Print It
Pin It
Rate It
Save ItSaved!
Ingredients
- 15.25 ounce chocolate cake mix plus the ingredients on the back of the box
Coconut Grass
- 2 cups sweetened coconut flakes
- green gel food coloring
Other
- 32 ounces chocolate frosting two 16 ounce tubs
- 72 mini candy eggs
Things You’ll Need
-
Cupcake pan
-
Mixing bowls
-
Piping bag
-
Grass piping tip such as Wilton Tip 233
Before You Begin
- Many different brands make their own version of a “grass” piping tip, which is basically a piping tip with multiple holes; for Wilton, it is Tip 233.
- Feel free to use whatever flavor of cake mix and frosting you like.
- Store the cupcakes in an air-tight container kept at room temperature for 3-4 days. You can easily prepare them a day in advance to save some time.
- If you want to omit the coconut flakes, simply dip the frosted cupcakes in green sprinkles. You can also use the same piping tip called for to make the birds nests, to make the grass. Using green frosting, pipe upwards in short vertical spouts on top of the cupcake to create this look.
Instructions
-
Prepare and bake the cupcakes according to the directions on the cupcake/cake mix you bought. Let them cool to room temperature.
-
Add the coconut to a medium bowl. Start with a few drops of green food coloring, and stir it in, adding more as necessary to get the shade of green you want.
-
Once the cupcakes are cool, frost the tops with a thin layer of chocolate frosting and immediately dip the frosted tops into the green coconut.
-
After all the cupcakes are decorated with coconut, put the remaining frosting into a piping bag fitted with a “grass” tip (see Notes) to pipe the bird’s nests on top of the cupcakes. Pipe a bird’s nest on top on top of each cupcake by piping swirls of frosting around in a circle, building up the sides of the nest.
-
Place 3 candy eggs in each bird’s nest.
Nutrition
The recipes on this blog are tested with a conventional gas oven and gas stovetop. It’s important to note that some ovens, especially as they age, can cook and bake inconsistently. Using an inexpensive oven thermometer can assure you that your oven is truly heating to the proper temperature. If you use a toaster oven or countertop oven, please keep in mind that they may not distribute heat the same as a conventional full sized oven and you may need to adjust your cooking/baking times. In the case of recipes made with a pressure cooker, air fryer, slow cooker, or other appliance, a link to the appliances we use is listed within each respective recipe. For baking recipes where measurements are given by weight, please note that results may not be the same if cups are used instead, and we can’t guarantee success with that method.
