The Ultimate Creamy & Easy Stovetop Mac and Cheese Recipe: A Homemade Classic
If your childhood memories are filled with the familiar blue box of macaroni and cheese, get ready to elevate your comfort food game. This stovetop mac and cheese recipe is the perfect homemade alternative – incredibly easy, wonderfully cheesy, and astonishingly quick to prepare. Forget complicated techniques; this recipe brings you a rich, creamy, and satisfying dish that’s ideal for a speedy weeknight lunch or a comforting family dinner without much fuss. It’s so much more than just a side; it’s a nostalgic journey to deliciousness.
While this stovetop method is all about speed and simplicity, we understand that sometimes you need a hands-off approach. If you’re orchestrating a larger meal and prefer to “set it and forget it,” you might want to explore our fantastic crockpot macaroni and cheese recipe, which offers equal comfort with minimal effort.

The Story Behind This Beloved Stovetop Mac and Cheese
This particular stovetop mac and cheese recipe holds a special place in my heart, born out of a desire for a truly homemade version for my kids over a decade ago. Back then, I had a go-to homemade cheese sauce that worked wonders on vegetables like broccoli and cauliflower. One day, it clicked: why not pour that velvety, rich cheese sauce over some perfectly cooked macaroni elbows? The result was an instant hit, and it quickly became the official favorite macaroni and cheese recipe in our household. The sheer joy and satisfied smiles on my children’s faces after every bite cemented its status as a culinary classic in our home.
What makes this recipe truly stand out is its ability to deliver an authentic, deep cheesy flavor and an incredibly creamy texture, all achieved with simple ingredients and minimal fuss. It’s a testament to the fact that homemade doesn’t have to mean complicated or time-consuming. This dish is not just food; it’s a warm hug in a bowl, a comforting memory waiting to be made with every serving. It’s the ultimate upgrade from boxed versions, bringing a gourmet touch to an everyday meal.
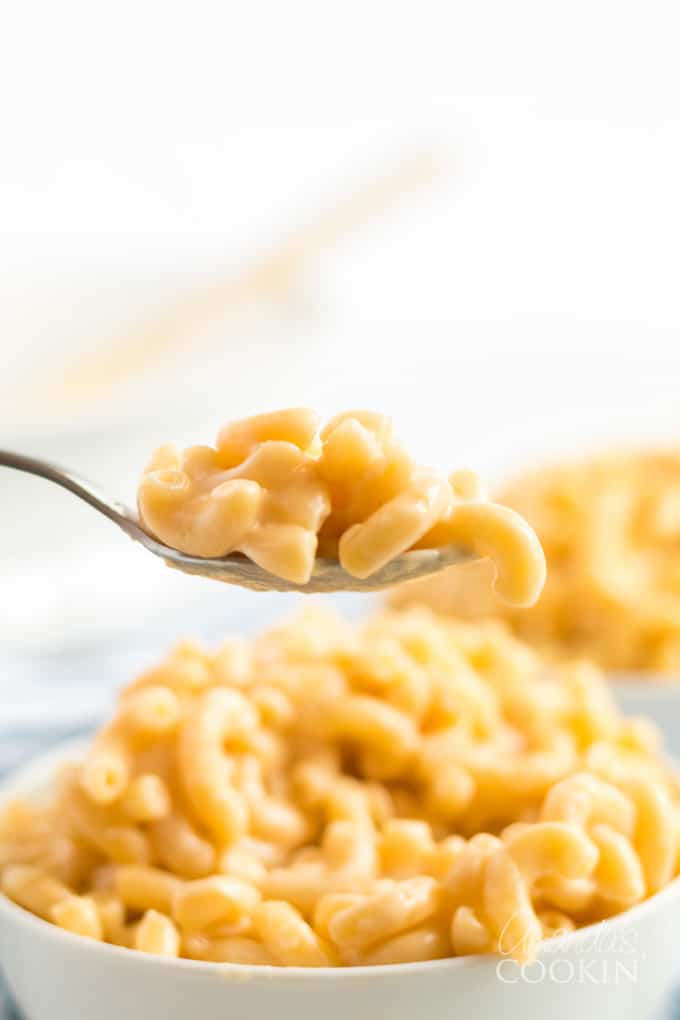
This recipe is not only delicious but also wonderfully adaptable. For those mindful of calorie intake, substituting whole milk with skim, 1%, or 2% milk is an easy adjustment that won’t significantly compromise the delightful flavor or creamy texture. The true secret to exceptional mac and cheese, however, lies in your choice of cheese. I personally favor a sharp or extra sharp cheddar for its robust flavor profile, which truly shines through in the finished dish. But don’t let that limit you!
Feel free to experiment with your own favorite cheeses. American cheese can provide an incredibly smooth and gooey texture, while white cheddar offers a more refined, slightly nutty note. For a different twist, consider a Swiss for its distinctive flavor, or even a low-fat cheese if you’re keeping an eye on dietary needs. For a touch of heat and a vibrant kick, pepper jack is an excellent choice. The key is to choose a cheese you love, as it will be the star of your homemade stovetop mac and cheese.
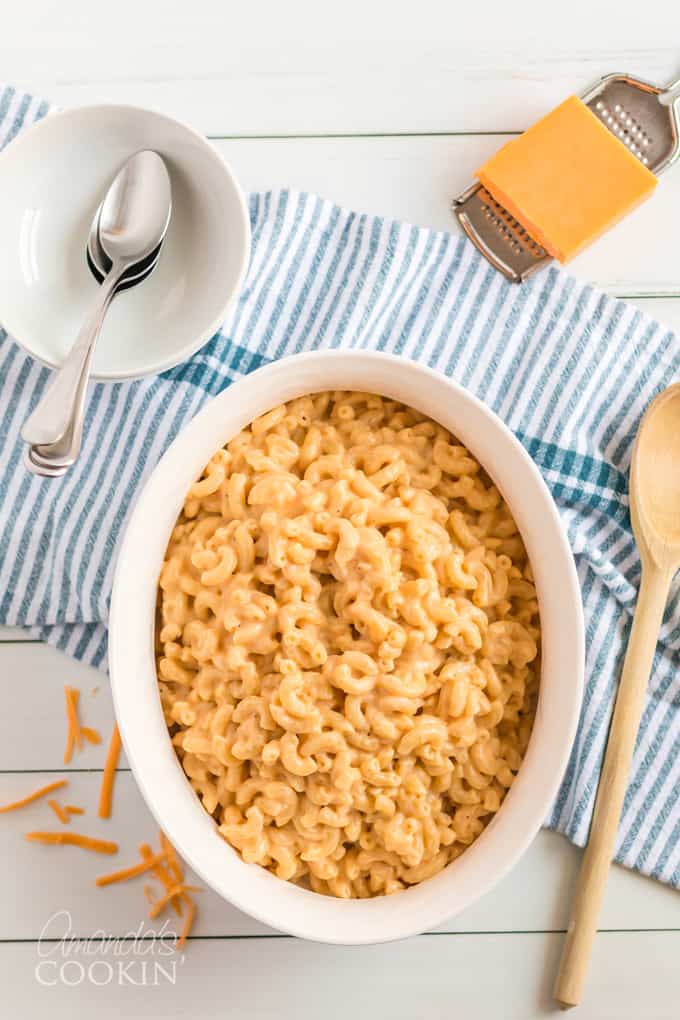
How to Make the Best Stovetop Mac and Cheese: Step-by-Step
Creating this rich and creamy stovetop mac and cheese is surprisingly simple. Follow these straightforward steps to achieve a dish that will become a regular in your rotation.
- Cook Pasta to Perfection: Begin by cooking your chosen pasta, preferably elbow macaroni, according to the package directions. Ensure the water is generously salted before adding the pasta, as this is your only chance to flavor the noodles from within. Cook until al dente – firm to the bite – to prevent mushy mac and cheese.
- Melt Butter for the Roux: While your pasta is cooking, melt the unsalted butter in a heavy-bottomed saucepan over low heat. The heavy bottom helps distribute heat evenly, preventing the butter from browning too quickly.
- Create the Flavorful Roux: In a small bowl, combine the all-purpose flour, salt, pepper, paprika, and dry mustard. Once the butter is fully melted, gradually whisk this dry mixture into the melted butter. Continue whisking constantly for 1-2 minutes to cook out the raw flour taste, creating a smooth, pale roux. This roux is the foundation of your rich cheese sauce, ensuring it thickens beautifully.
- Slowly Incorporate Milk: With your whisk still in motion, slowly pour in the milk. Adding it gradually and whisking continuously is crucial to prevent lumps and ensure a silky-smooth sauce base.
- Thicken the Sauce: Increase the heat slightly to medium-low. Continue to whisk often as the mixture gently warms and thickens. You’ll notice it coat the back of a spoon. Avoid bringing it to a rolling boil; you just want it to reach a good, thick consistency. This gentle heating allows the sauce to become rich and velvety.
- Melt in the Cheese: Remove the saucepan from the heat immediately. This prevents the cheese from separating or becoming grainy. Add the shredded cheese and whisk vigorously until it is completely melted and smoothly incorporated into the sauce. The residual heat will melt the cheese into a luscious, homogenous mixture.
- Combine Pasta and Sauce: Drain the cooked macaroni thoroughly. Do not rinse the pasta. The starches on the pasta’s surface are essential for the cheese sauce to cling properly to each noodle, resulting in an extra creamy and cohesive dish. Transfer the drained macaroni to a large bowl.
- Stir and Serve: Pour the warm, creamy cheese sauce over the macaroni. Stir gently but thoroughly until every single noodle is beautifully coated in that golden, rich sauce. Serve your homemade stovetop mac and cheese immediately while it’s hot and gloriously gooey!

NOTE: This recipe is designed for a one-pound box of elbow macaroni, yielding a generous amount perfect for families or gatherings. You can certainly halve all the ingredients to make a smaller batch if needed. Additionally, feel free to get creative with your pasta choice. While elbow macaroni is a classic, other pasta shapes like medium shells, cavatappi, or even penne can be fantastic substitutions, offering different textures and cradling abilities for the cheese sauce. Just ensure you cook any substitute pasta to al dente as per its package instructions.
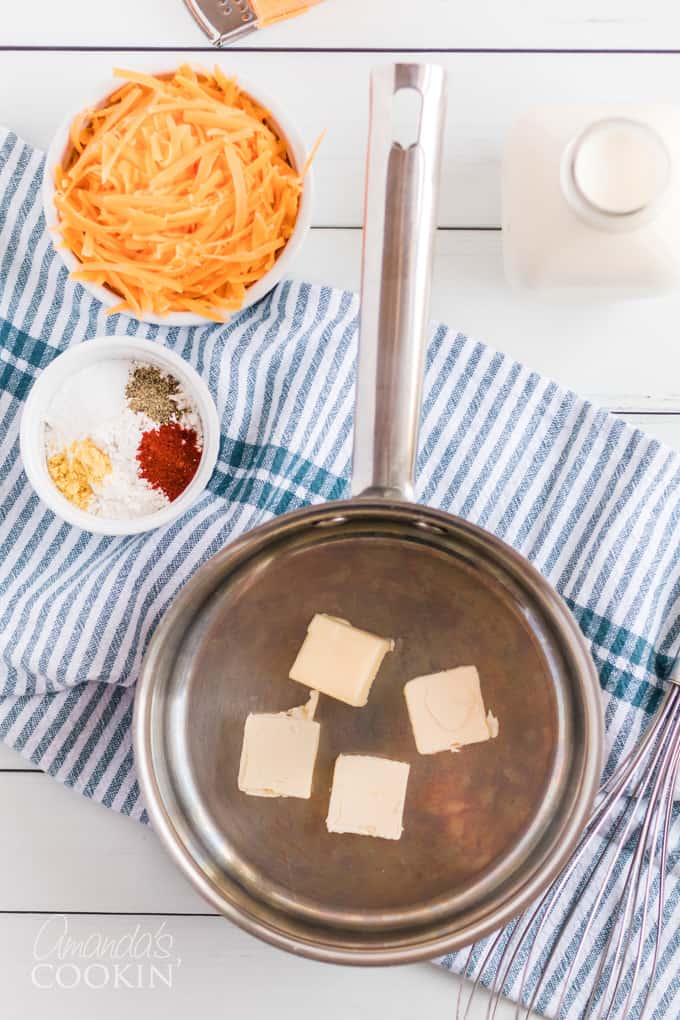
Essential Ingredients for My Creamy Stovetop Mac and Cheese
Gathering the right ingredients is the first step to a truly unforgettable homemade mac and cheese. Here’s a closer look at what you’ll need and some helpful tips:
- Elbow Macaroni: I typically opt for Barilla in the blue box, but any standard elbow pasta will perform beautifully. The key is to cook your pasta perfectly to al dente – this means it should be firm to the bite, offering a slight resistance. Overcooked pasta turns mushy and can ruin the texture of your mac and cheese. For those exploring alternative pastas like gluten-free options, please note that this recipe hasn’t been specifically tested with them, so results may vary in terms of texture and sauce adherence.
- Unsalted Butter: While unsalted butter gives you precise control over the saltiness of the dish, you can certainly use salted butter. Just be sure to reduce the added salt in the recipe by about ¼ to ½ teaspoon to avoid over-salting. Margarine can also be substituted, though it might slightly alter the flavor and richness of the sauce.
- All-Purpose Flour: This is crucial for creating the roux, which acts as the thickening agent for our luscious cheese sauce. I highly recommend sticking to all-purpose flour for consistent results. I have not experimented with whole wheat flour, or non-wheat flours like almond or coconut flour in this recipe, as they behave very differently and could lead to an undesirable texture or flavor in the sauce.
- Salt: Standard table salt is what I use, as its fine granules dissolve easily. If you prefer to use Kosher salt or sea salt, remember that their crystal structures are different, so you may need to adjust the amount. Generally, you’ll need slightly more Kosher or sea salt than table salt to achieve the same level of seasoning.
- Pepper: Good old-fashioned black pepper adds a subtle warmth and depth. While I enjoy grinding my own for maximum freshness, pre-ground black pepper works perfectly fine.
- Paprika: Regular paprika contributes a lovely color and a mild, sweet peppery note. For an exciting flavor twist, consider using smoked paprika, which adds a beautiful depth and smoky aroma. A pinch of garlic powder or onion powder could also be a delicious addition to enhance the savory profile.
- Dry Mustard: Don’t skip this! Found in the spice aisle, this yellow powder is a secret weapon. It doesn’t make the mac and cheese taste like mustard; instead, it brightens and deepens the cheese flavor, making it more pronounced and complex. Liquid mustard is not a suitable substitute here.
- Milk: While whole milk provides the richest, most decadent sauce, you have flexibility here. Skim, 1%, or 2% milk can easily be substituted if you’re looking to reduce the calorie count without sacrificing too much on creaminess. I have specifically only tested this recipe with cow’s milk and cannot guarantee results with plant-based milks, as their fat content and behavior when heated can vary significantly.
- Shredded Cheddar Cheese: For the absolute best flavor and melt, I wholeheartedly recommend using extra sharp cheddar cheese that you shred yourself from a block. Pre-shredded bagged cheese often contains anti-caking agents like cellulose, which can prevent the cheese from melting smoothly, leading to a gritty or floury texture in your sauce. Shredding your own cheese ensures a luxuriously smooth, melt-in-your-mouth experience. While extra sharp cheddar is my top pick, feel free to experiment with other cheeses like American for ultimate creaminess, white cheddar for a milder flavor, or even a blend with Monterey Jack or Colby for added complexity. A dash of pepper jack would also introduce a delightful kick!
Helpful Kitchen Tools
Having the right tools can make your mac and cheese making even smoother:
- Stockpot: For boiling your pasta.
- Whisk: Essential for creating a smooth roux and cheese sauce.
- Grater: For freshly shredding your cheese (highly recommended!).
- Measuring cups and spoons: For accurate ingredient portions.
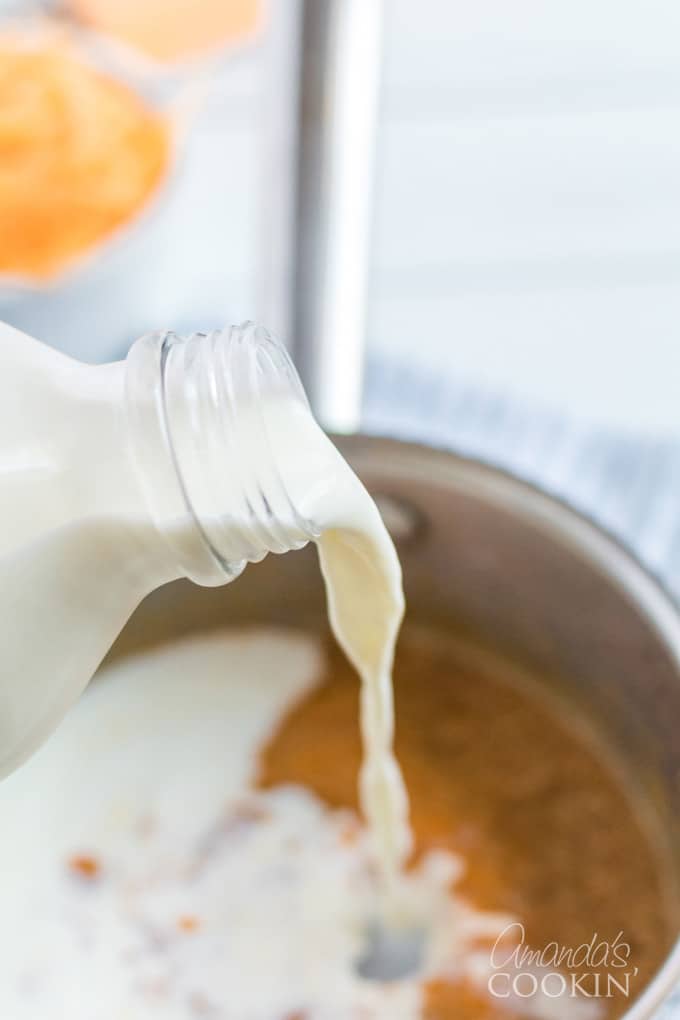
Tips for the Perfect Stovetop Mac and Cheese
- Freshly Shredded Cheese is Key: As mentioned, this is probably the most crucial tip for a smooth, creamy sauce. Pre-shredded cheeses contain anti-caking agents that can make your sauce grainy.
- Don’t Overcook the Pasta: Al dente pasta holds its shape and texture better in the rich sauce. Mushy pasta leads to mushy mac and cheese.
- Low and Slow for the Roux: Take your time melting the butter and cooking the flour. This cooks out the raw flour taste and ensures a lump-free base.
- Whisk, Whisk, Whisk: Constant whisking, especially when adding the milk and cheese, is vital for a smooth and homogenous sauce.
- Remove from Heat Before Adding Cheese: This prevents the cheese from breaking down and becoming oily or gritty. The residual heat will be enough to melt it perfectly.
Customization Ideas for Your Stovetop Mac and Cheese
This classic stovetop mac and cheese recipe is a fantastic base for endless delicious variations:
- Add-Ins: Stir in cooked crumbled bacon, diced ham, sautéed mushrooms, caramelized onions, or even some roasted bell peppers for extra flavor and texture.
- Veggies: Fold in steamed broccoli florets, peas, or spinach for a more wholesome meal.
- Spice It Up: A pinch of cayenne pepper, a dash of hot sauce, or a sprinkle of chili flakes can give your mac and cheese a delightful kick.
- Cheese Blends: Don’t hesitate to mix different types of cheeses! A combination of sharp cheddar, Gruyère, and a touch of smoked Gouda can create an incredibly complex and rich flavor profile.
Storage and Reheating Your Homemade Mac and Cheese
Leftover stovetop mac and cheese can be just as delicious as the fresh batch if stored and reheated properly. Allow the mac and cheese to cool completely before transferring it to an airtight container. It can be stored in the refrigerator for up to 3-4 days. To reheat, gently warm portions in a saucepan over low heat, adding a splash of milk (1-2 tablespoons per serving) to help bring back the creamy consistency. Stir frequently until heated through. You can also microwave individual portions, stirring halfway through and adding a touch of milk if it appears too thick.
Troubleshooting Common Mac and Cheese Issues
- Grainy Sauce: This usually happens if the cheese is added to a sauce that is too hot or if pre-shredded cheese with anti-caking agents is used. Always remove the sauce from heat before stirring in freshly grated cheese.
- Lumpy Sauce: Lumps often occur if the flour isn’t fully cooked in the roux, or if the milk is added too quickly without continuous whisking. Slowly add the milk while whisking vigorously to avoid this.
- Not Creamy Enough: Ensure you’re using enough fat (butter and milk, especially whole milk) and that you’re not overcooking the sauce, which can cause it to break. Freshly shredded cheese also contributes significantly to creaminess.
- Too Salty/Not Salty Enough: Always taste and adjust seasoning as you go, especially after adding cheese, as cheeses vary in salt content.
This stovetop mac and cheese is a tried-and-true recipe that I’ve lovingly prepared for many years, a true testament to its consistent deliciousness. While this is our go-to for a quick, comforting meal, our culinary adventures don’t stop here! We have a plethora of other fantastic macaroni and cheese options for every occasion and cooking preference:
- Instant Pot Macaroni and Cheese: For those days when you need mac and cheese even faster!
- Traditional Baked Mac and Cheese: A classic, bubbly, golden-crusted delight.
- Chili Mac: A hearty, flavorful fusion of two comfort food favorites.
- Macaroni Casserole with Ham and Peas: A complete meal in one comforting dish.
- Butternut Squash Mac & Cheese: A healthier, subtly sweet, and creamy twist.
Be sure to explore our top ten favorite macaroni and cheese recipes here for even more cheesy inspiration!
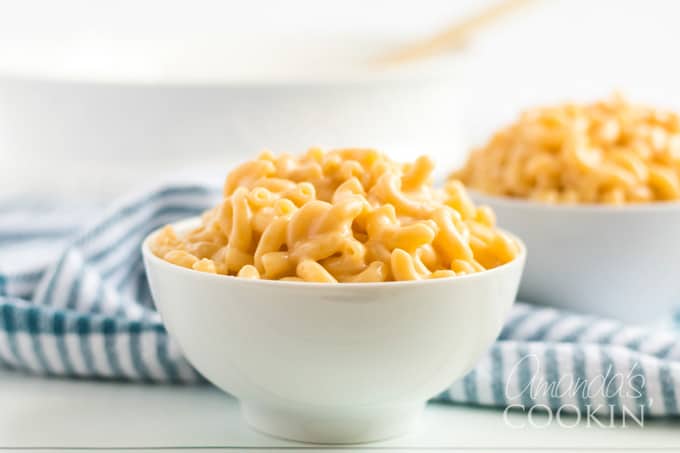

Stovetop Mac and Cheese
IMPORTANT – There are often Frequently Asked Questions within the blog post that you may find helpful. Simply scroll back up to read them!
Print It
Pin It
Rate It
Save ItSaved!
Ingredients
- 1 pound box dried elbow macaroni
- 4 tablespoon unsalted butter
- 4 tablespoon flour
- 1 teaspoon salt
- ¼ teaspoon pepper
- ¼ teaspoon paprika
- ¼ teaspoon dry mustard
- 2 cups milk
- 2 cups shredded cheddar cheese
Before You Begin
Instructions
-
Put a covered stock pot of water on to boil over high heat.
-
Meanwhile, over low heat melt the butter in a heavy bottomed saucepan.
-
While butter is melting, measure out and combine the flour, salt, pepper, paprika, and dry mustard in a small dish or bowl. When butter has melted, add the flour mixture to the butter and use a whisk to combine to make your roux.
-
Continue whisking and slowly add the milk, whisking to combine all the ingredients. Turn up the heat slightly (don’t go higher than medium-low) and whisking often, thicken the mixture. You may see occasional bubbles, and that’s ok, but you do not want it to boil, just to thicken. When thickened, remove from heat and add the shredded cheese, using the whisk to combine until melted and homogenous.
-
Drain the macaroni (do not rinse, the starch helps the cheese stick to the noodles) and place in a large bowl. Pour cheese sauce over the macaroni and stir to coat well. Serve while hot.
Nutrition
The recipes on this blog are tested with a conventional gas oven and gas stovetop. It’s important to note that some ovens, especially as they age, can cook and bake inconsistently. Using an inexpensive oven thermometer can assure you that your oven is truly heating to the proper temperature. If you use a toaster oven or countertop oven, please keep in mind that they may not distribute heat the same as a conventional full sized oven and you may need to adjust your cooking/baking times. In the case of recipes made with a pressure cooker, air fryer, slow cooker, or other appliance, a link to the appliances we use is listed within each respective recipe. For baking recipes where measurements are given by weight, please note that results may not be the same if cups are used instead, and we can’t guarantee success with that method.
This post originally appeared on this blog on Mar 21, 2010.
