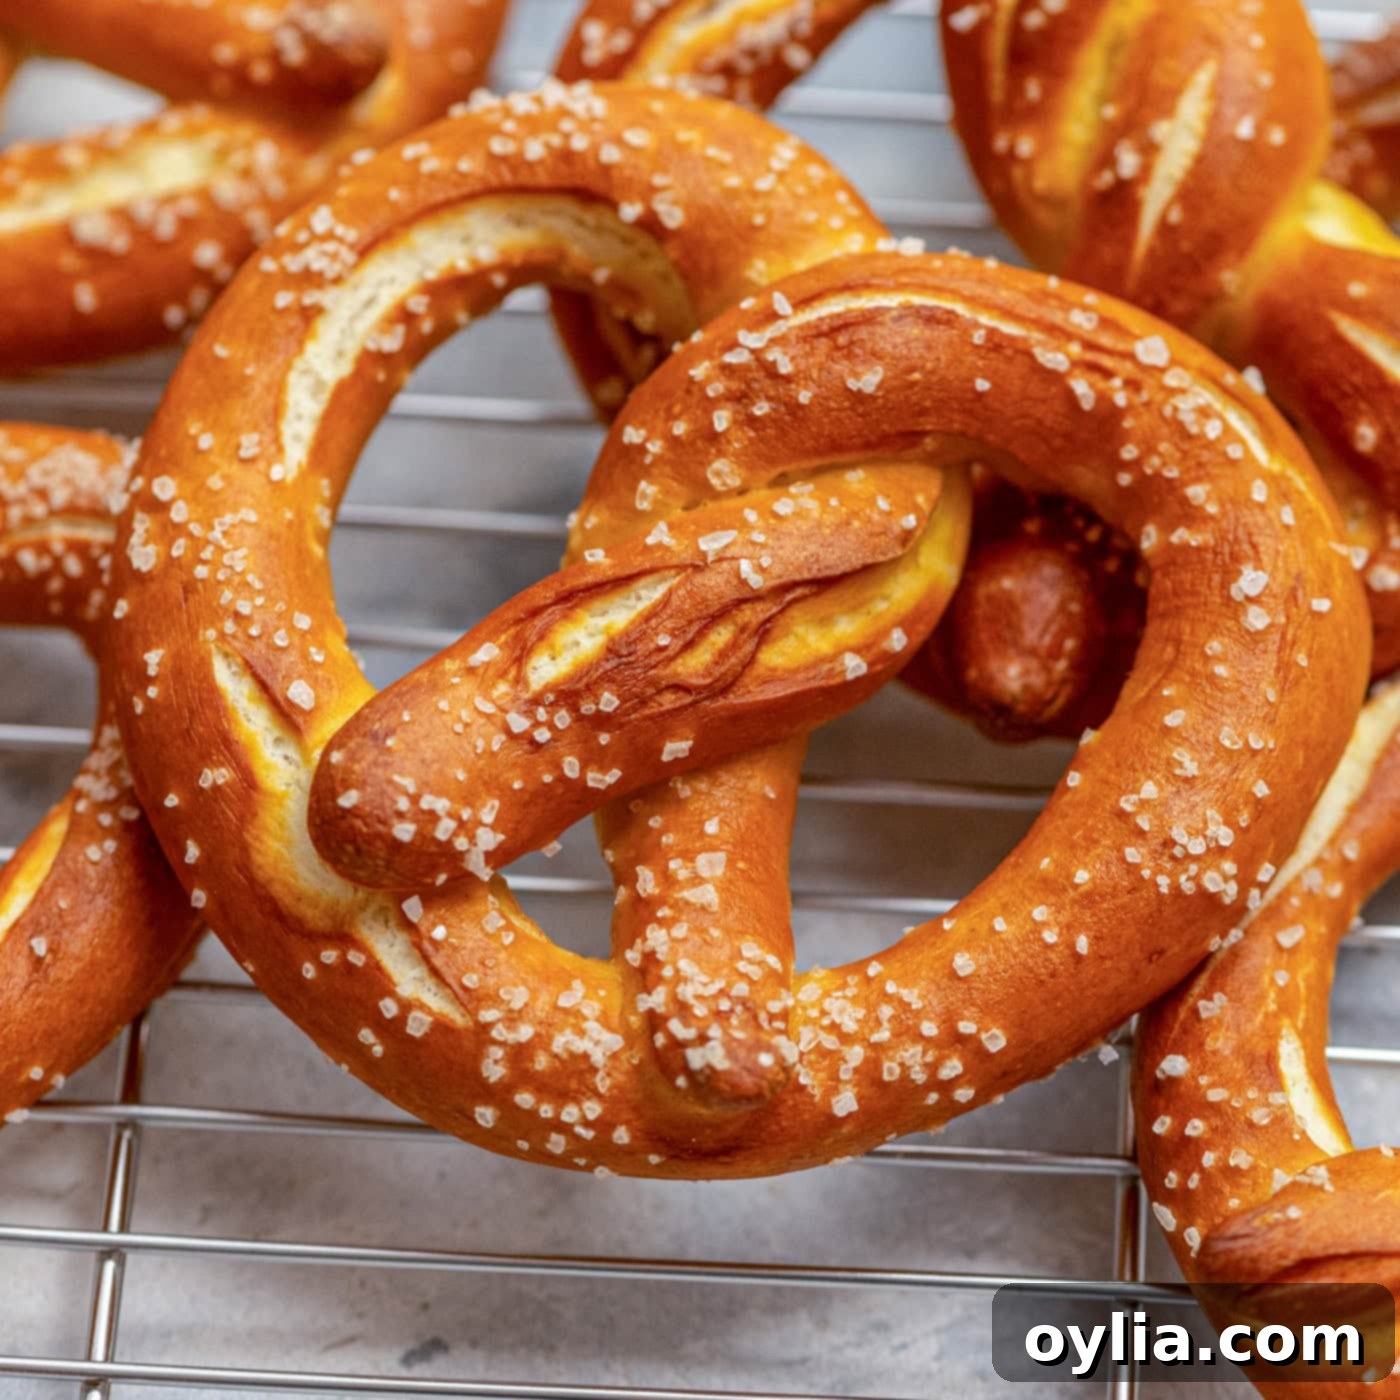
Mastering Authentic Homemade German Pretzels: Your Ultimate Recipe Guide
There’s something uniquely satisfying about biting into a warm, chewy, perfectly golden-brown pretzel, especially when it’s made from scratch. For years, my kitchen has been a hub of German culinary exploration, largely thanks to my kids’ high school German classes. The assignment was simple yet delightful: prepare or bake a German recipe to share. Over time, these assignments became cherished traditions, with classmates eagerly anticipating the next delicious snack. It was during her freshman year that my daughter expressed a particular craving, a desire to experience real, homemade German pretzels. This simple wish set me on a quest to uncover an authentic German pretzel recipe that would truly capture the essence of this beloved European treat.
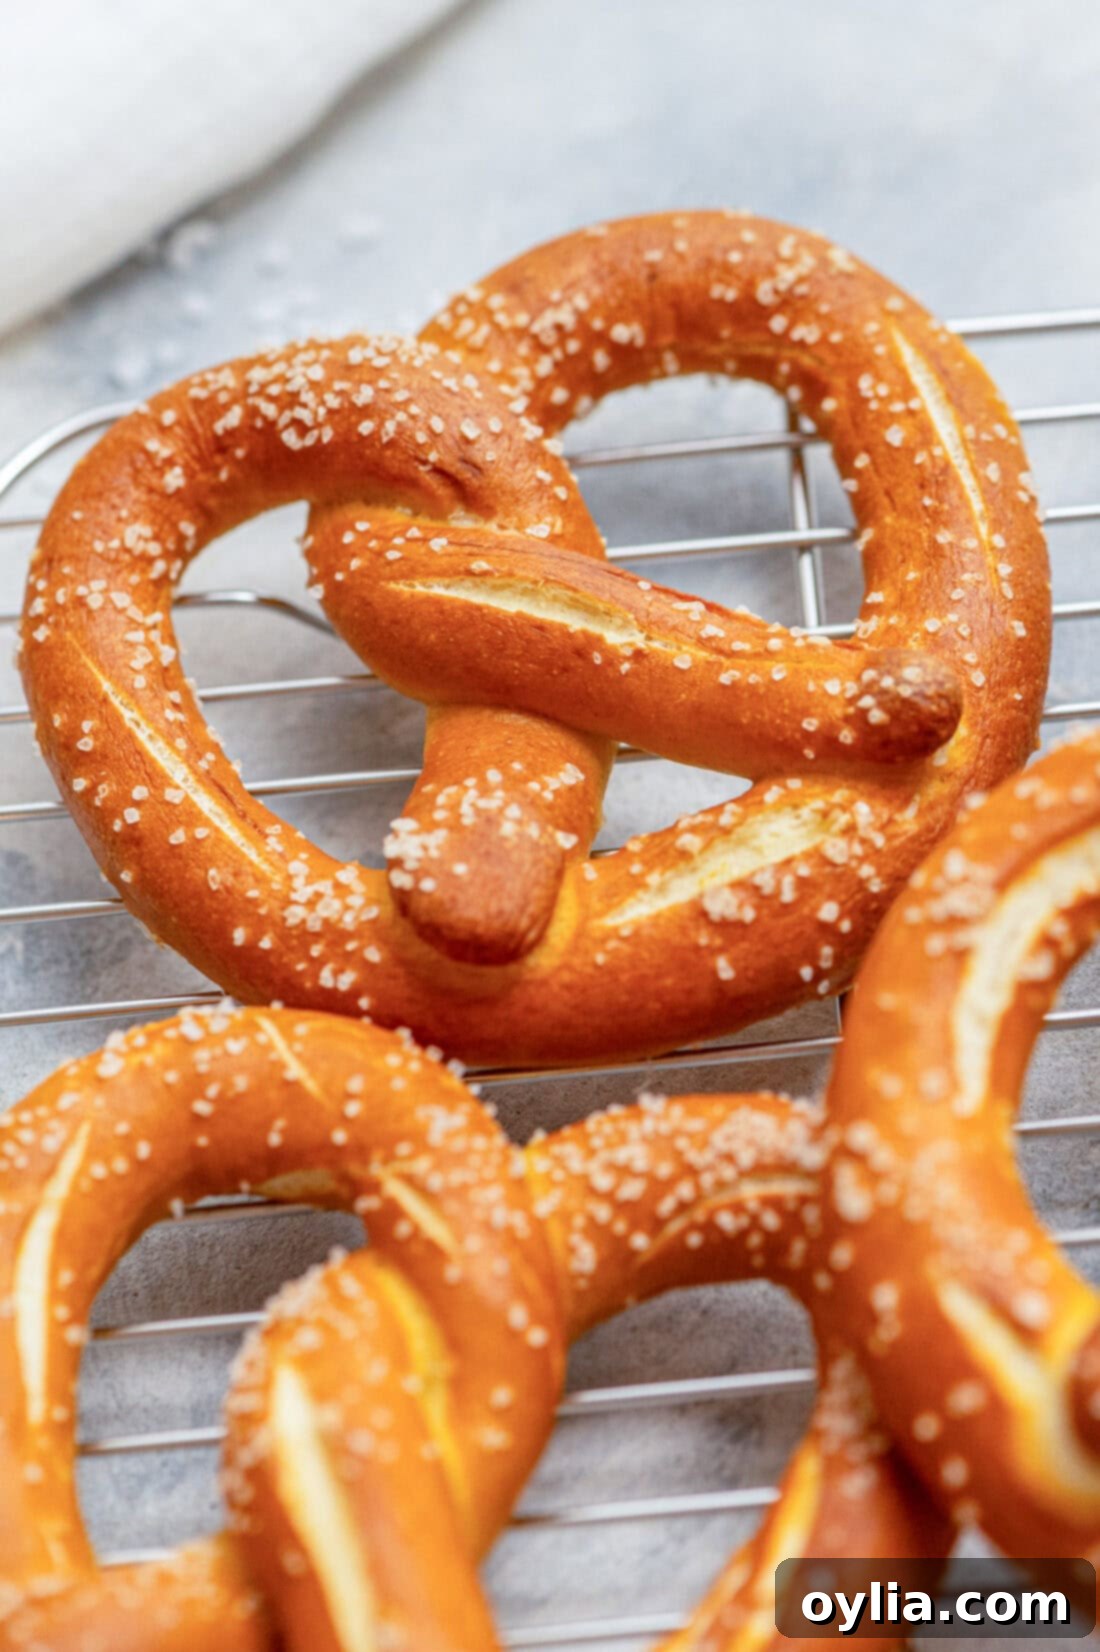
The Quest for the Perfect German Pretzel Recipe
My journey into German baking wasn’t entirely new. I had previously ventured into making Bretzel Rolls, which were a fantastic success and brought back fond memories of a favorite restaurant. These experiences provided a solid foundation, preparing me for the intricacies of pretzel making. For those same German class assignments, we also explored other delightful treats like mini lemon cakes (Zitronenkuchen) and the communal favorite, Partybrot. Each recipe brought a unique flavor of Germany into our home, but the pretzel held a special allure.
The search for an authentic German pretzel recipe led me to the wonderful blog La Cerise, run by Astrid, a talented baker living in Zurich. Astrid’s blog is a treasure trove of true baking masterpieces, and her dedication to authentic European recipes was immediately apparent. Her German pretzel recipe, originally adapted from a German website, promised the genuine article. The thought of recreating these traditional pretzels in my own kitchen was incredibly exciting.
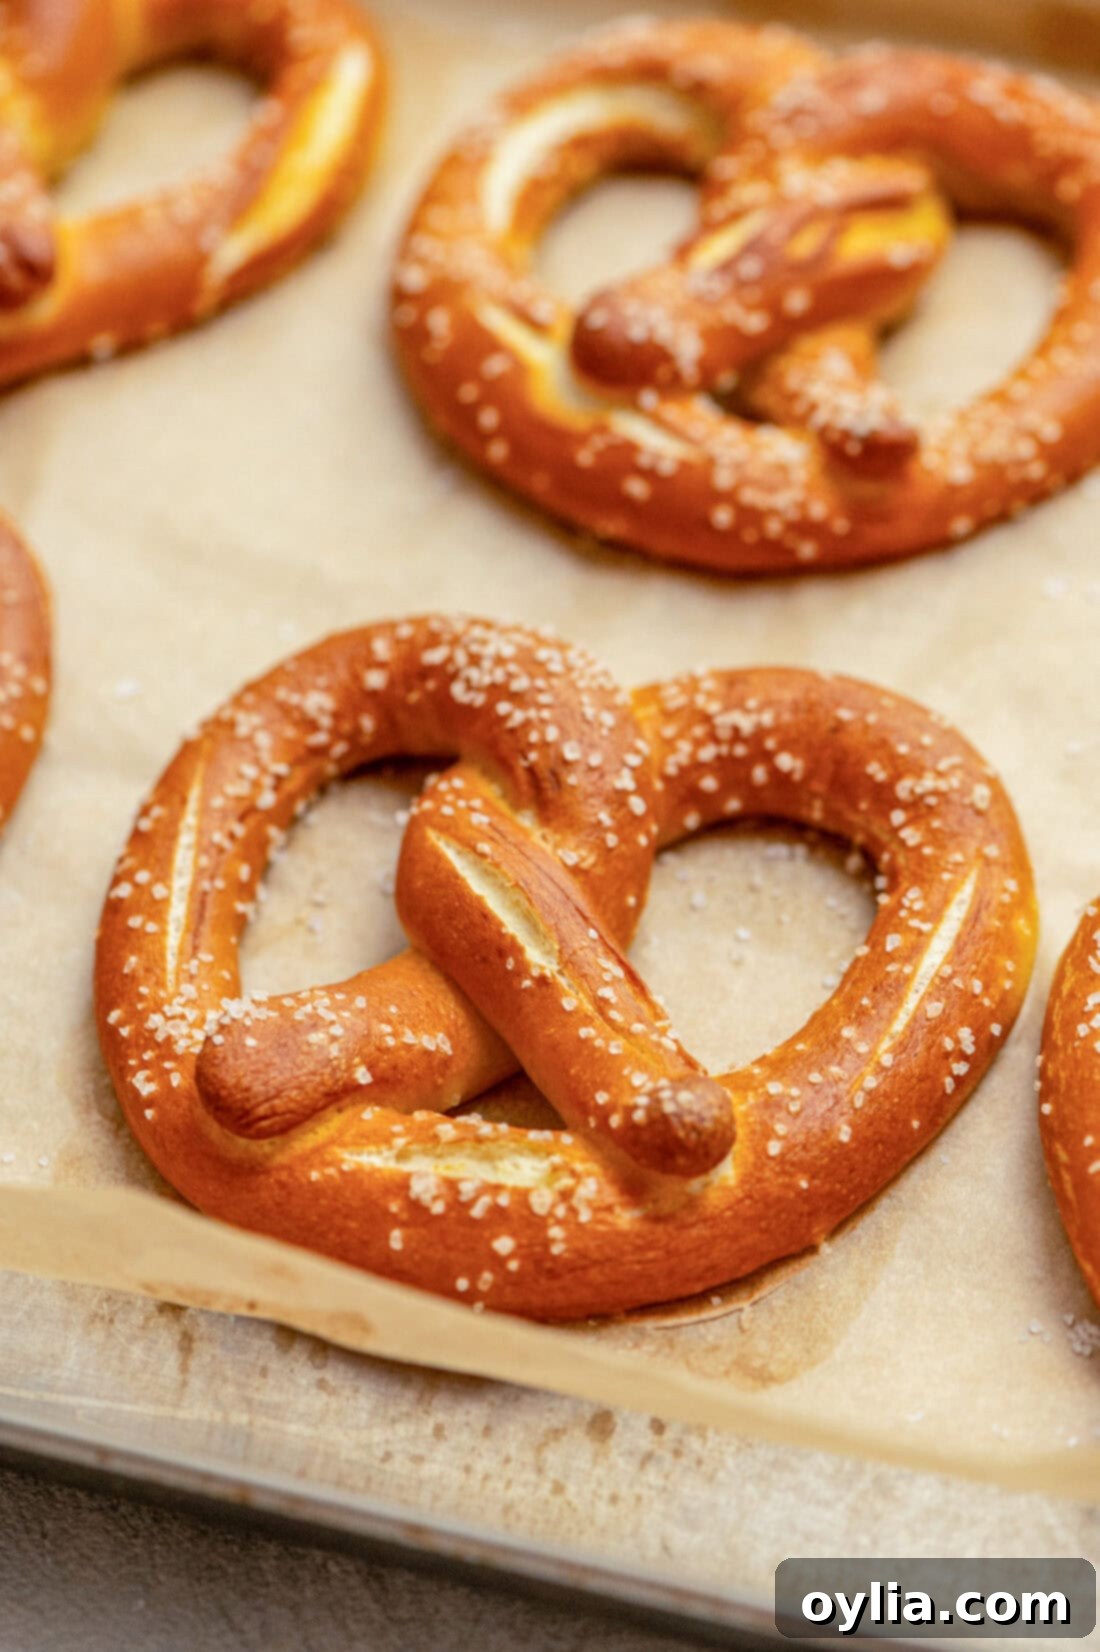
The Art of Crafting Pretzel Dough and Shaping
Translating a recipe from metric to standard measurements can be a bit of a challenge, but I meticulously calculated every adjustment. I was incredibly pleased when our homemade German pretzels came together so beautifully. However, my first attempt yielded pretzels considerably smaller and somewhat fatter than Astrid’s elegant creations. It was a learning curve, and it taught me the importance of the dough’s length and thickness during the rolling process. When I revisited the recipe, I consciously made sure to roll out my ropes much longer, aiming for that characteristic slender shape that defines a true German Laugenbrezel.
That initial baking experience was back in February of 2009. Since then, these delicious homemade German pretzels have become a staple in my kitchen, perfected over countless batches. Each time, I’ve honed the technique of rolling and shaping, transforming simple dough into the iconic pretzel form. The trick lies in creating long, tapered ropes, which allows for the distinctive twists and a balanced texture – a soft interior with a delightful chew.
The Baking Soda Bath: The Secret to the Golden Crust
Have you ever pondered why pretzels, despite being made from essentially bread dough, boast that irresistible deep brown, shiny crust, while a typical loaf of bread does not? The answer lies in a fascinating scientific phenomenon known as the “Maillard process.” Without diving too deep into a chemistry lesson, this process is a heat-activated chemical reaction that occurs between amino acids and reducing sugars. It’s responsible for the distinct flavors and colors in many cooked foods, from seared steaks to roasted coffee beans, and, of course, the classic pretzel.
The traditional method for achieving this coveted pretzel crust involves dipping the dough in a lye solution. Lye (sodium hydroxide) is a highly alkaline substance that radically alters the dough’s surface. As explained by Wisconsin Public Radio Ideas Network: “Dipping dough in lye alters the ratio between sugar and protein, because lye breaks proteins present in the dough into smaller bits. Those are the small amino acids that then combine with sugars in the dip to create the flavor compounds at the pretzel’s crust.” This chemical magic is what gives pretzels their signature taste and texture.
However, lye isn’t readily available in grocery stores and requires careful handling due to its caustic nature. Thankfully, a baking soda bath offers a perfectly safe and highly effective alternative to achieve remarkably similar results. When the baking soda (sodium bicarbonate) interacts with hot water, it creates an alkaline solution that facilitates a mild Maillard reaction on the pretzel’s surface. After a quick dip and a turn in the hot oven, you’ll be rewarded with that beautifully rich, brown crust and distinctive flavor that pretzels are so famous for, all without the risks associated with lye.
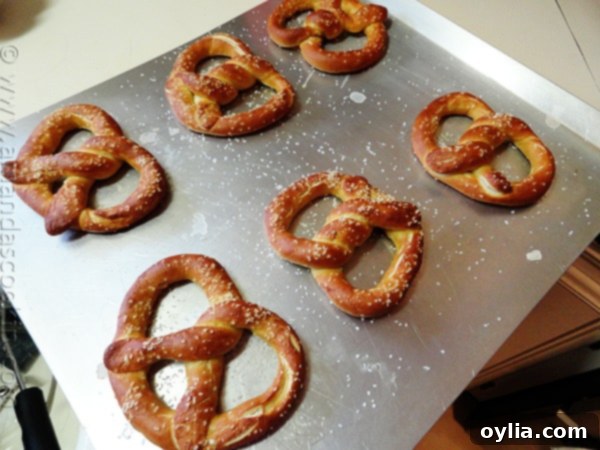
Distinguishing Authentic German Pretzels
It’s important to set expectations when making authentic German pretzels. They are typically a little smaller and possess a more refined, less “fat” appearance than the oversized, fluffy pretzels you might find at a county fair, local food stand, or American-style food truck. German pretzels, or “Laugenbrezel,” are characterized by their deeply browned, slightly crisp exterior, a distinct lye (or baking soda) flavor, and a dense, chewy interior. They are often served simply, perhaps with a smear of butter or alongside traditional German sausages and mustard.
Despite their more modest size compared to their American counterparts, these homemade German pretzels are absolutely delicious and offer a truly unique culinary experience. The process of making them is surprisingly fun and rewarding. From kneading the dough to twisting the shapes and watching them transform in the oven, it’s a journey that engages all the senses. Who knew that a bit of kitchen chemistry could result in such a delightful and tasty treat? I wholeheartedly encourage you to try this recipe and discover the joy of baking your own authentic German pretzels.
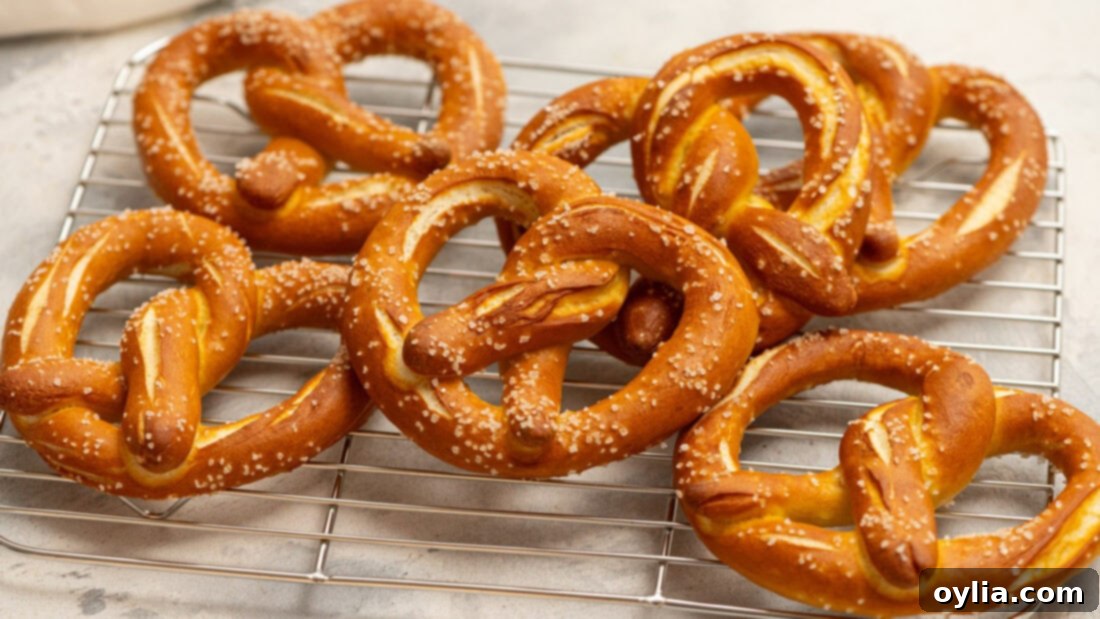
The reward for your efforts will be a batch of warm, savory pretzels with that iconic deep brown crust and chewy interior. They are perfect for snacking on their own, or paired with a variety of dips from coarse grain mustard to a rich beer cheese sauce. Don’t be intimidated by the process; it’s genuinely enjoyable and the end result is profoundly satisfying.
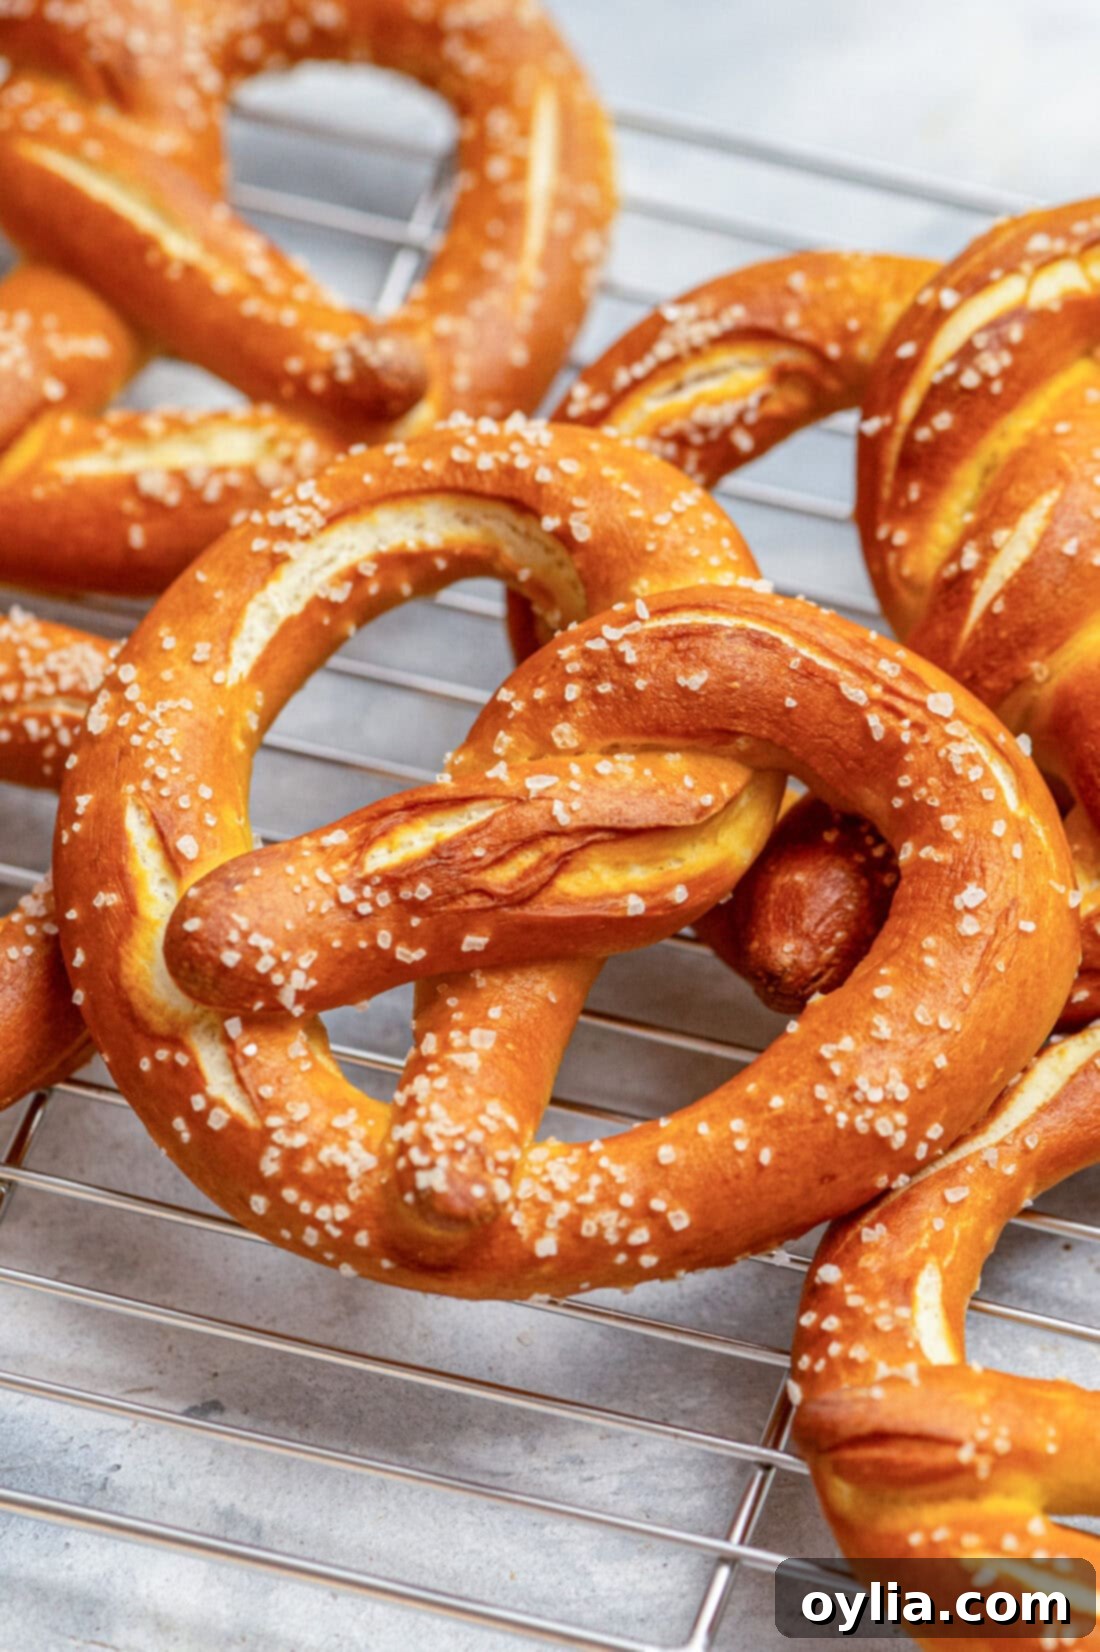
Frequently Asked Questions About Homemade German Pretzels
To ensure your pretzel-making experience is as smooth as possible, here are answers to some common questions:
-
What makes German pretzels unique?
Authentic German pretzels, or Laugenbrezel, are distinguished by their dark, shiny, and slightly crispy crust, achieved through an alkaline bath (traditionally lye, but baking soda for home bakers). This bath promotes the Maillard reaction, giving them a distinct flavor and a chewy, dense interior that differs significantly from softer American pretzels.
-
Can I use lye instead of baking soda?
While traditional recipes call for food-grade lye, baking soda is a safe and readily available alternative for home bakers. Lye requires extreme caution due to its caustic nature. If you choose to use lye, ensure you wear gloves and eye protection, work in a well-ventilated area, and follow all safety instructions diligently. For most home cooks, a baking soda bath provides excellent results with minimal risk.
-
How do I store homemade pretzels?
Homemade pretzels are best enjoyed fresh, ideally within a few hours of baking. However, you can store cooled pretzels in an airtight container at room temperature for up to 1-2 days. For longer storage, freeze them in a single layer on a baking sheet until solid, then transfer to a freezer-safe bag for up to 1-2 months. Reheat frozen pretzels in a preheated oven at 350°F (175°C) for 5-10 minutes.
-
What can I serve with pretzels?
Classic accompaniments include coarse-grain mustard, sweet mustard (Weisswurstsenf), or a simple smear of butter. In Bavaria, they’re often enjoyed with Weisswurst (white sausage) and beer. For a modern twist, consider a homemade beer cheese dip, a savory spinach and artichoke dip, or even a sweet cream cheese frosting if you’re feeling adventurous!
More Pretzel Recipes to Explore
If you’ve fallen in love with pretzel making, here are a few more recipes to satisfy your cravings for that distinct chewy texture and savory flavor:
- Ham & Cheese Pretzel Roll Sandwiches: A delicious twist on a classic sandwich.
- Bretzel Rolls (Pretzel Sandwich Rolls): Perfect for making gourmet sandwiches or as a side with soup.
- Air Fryer Pretzel Bites: A quicker, easier way to enjoy pretzel goodness.
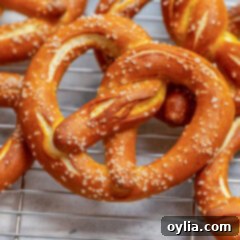
Homemade German Pretzels
IMPORTANT – There are often Frequently Asked Questions within the blog post that you may find helpful. Simply scroll back up to read them!
Print It
Pin It
Rate It
Save ItSaved!
Ingredients
- 1 ½ oz active dry yeast 4 1/2 teaspoons (2 packages)
- 1 cup lukewarm water 110-115 F
- 4 cups all-purpose flour
- 2 teaspoons salt
- 1 teaspoon granulated sugar
- 3 tablespoons unsalted butter
- Coarse salt for sprinkling
Soda Bath
- 2 quarts water
- ½ cup baking soda
Before You Begin
Instructions
-
In a small bowl, dissolve the active dry yeast in the lukewarm water. In a large mixing bowl, combine the all-purpose flour and salt. Create a well in the center of the flour mixture, then add the granulated sugar to this well. Pour the yeast and water mixture into the well. Allow this to rest undisturbed for 15 minutes to activate the yeast.1 1/2 oz active dry yeast, 1 cup lukewarm water, 4 cups all-purpose flour, 2 teaspoons salt, 1 teaspoon granulated sugar
-
Add the softened unsalted butter to the mixing bowl. Knead all ingredients together until a smooth, elastic dough forms. If using a stand mixer, attach the dough hook and knead on speed #2 for about 6 minutes. You may need to add an additional tablespoon of water if the dry ingredients aren’t fully incorporating. Once kneaded, remove the dough hook and let the dough rest in the bowl for 30 minutes.3 tablespoons unsalted butter
-
Divide the dough into twelve equal portions. On a clean, unfloured surface (you shouldn’t need flour as the dough has a good consistency), roll each portion into a long rope, approximately 20 inches in length, tapering slightly toward the ends. It’s crucial not to make the ropes shorter than 20 inches, as a thicker, shorter rope will make it difficult to achieve the traditional pretzel shape. Be mindful not to let the dough get too warm during rolling, as this can cause it to tear.
-
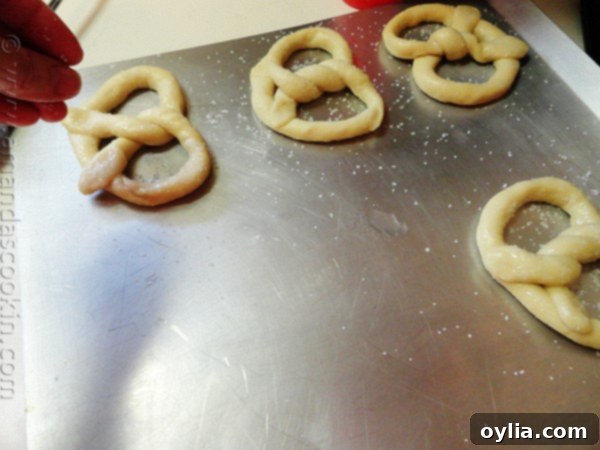
To form the classic pretzel shape, place a dough rope on a parchment-lined cookie sheet, forming a “U” shape. Take both ends of the “U” and cross them over each other twice to create a distinct twist. Bring this twisted section down and gently press it onto the bottom curve of the “U,” securing the shape.
-
Arrange the shaped pretzels on the parchment-lined baking sheets without covering them. Place them in the refrigerator for about an hour. This chilling process is vital as it helps develop a “skin” on the dough, which will better absorb the alkaline dipping solution and contribute to a beautifully shiny, crisp crust.
-
While the pretzels are chilling, preheat your oven to 400°F (200°C).
-
For the soda bath, fill a large stockpot or pasta pot about three-quarters full with water and bring it to a rolling boil. Carefully and slowly add the baking soda to the boiling water. Expect a vigorous reaction—the water will bubble furiously for a moment before calming down. Stand back slightly to ensure safety. Using a large slotted spoon or spider, gently immerse each pretzel into the bath for 10 seconds, then flip it over and submerge for another 10 seconds. Place the dipped pretzels back onto the parchment-lined baking sheets, ensuring they are well-drained.1/2 cup baking soda, 2 quarts water
-
Using a sharp razor blade or a very sharp knife, make a single, deep score (a cut about 1/4 to 1/2 inch deep) across the thickest part of the pretzel’s bottom curve, similar to how a baguette is scored. This allows the pretzel to expand properly during baking.
-
Generously sprinkle the pretzels with coarse salt. Bake them in the preheated oven for approximately 15 to 20 minutes. Baking time can vary based on your oven and desired crust color; I found 20 minutes resulted in a wonderfully dark and appealing crust. Keep an eye on them to achieve your preferred level of golden brown.Coarse salt for sprinkling
Nutrition
The recipes on this blog are tested with a conventional gas oven and gas stovetop. It’s important to note that some ovens, especially as they age, can cook and bake inconsistently. Using an inexpensive oven thermometer can assure you that your oven is truly heating to the proper temperature. If you use a toaster oven or countertop oven, please keep in mind that they may not distribute heat the same as a conventional full sized oven and you may need to adjust your cooking/baking times. In the case of recipes made with a pressure cooker, air fryer, slow cooker, or other appliance, a link to the appliances we use is listed within each respective recipe. For baking recipes where measurements are given by weight, please note that results may not be the same if cups are used instead, and we can’t guarantee success with that method.
This post originally published on February 19, 2009, and has been updated with enhanced details and expanded content for clarity and enjoyment.
