Recreate Nostalgia: The Ultimate McDonald’s Cherry Pie Copycat Recipe at Home

There’s a special place in my heart for those golden, flaky McDonald’s cherry pies. While many gravitated towards the classic apple, I always found myself reaching for the vibrant, sweet-tart cherry. It’s a sad reality that these beloved treats are becoming increasingly rare, no longer gracing the menus of all McDonald’s locations. This scarcity fueled my desire to perfect a homemade version – a delicious copycat recipe that brings that nostalgic flavor right into my kitchen. And let me tell you, crafting these delightful hand pies at home has been an incredibly rewarding and fun experience, easily surpassing the fast-food original in flavor and freshness.
For anyone who fondly remembers the piping hot, fruit-filled pastries from their childhood trips to McDonald’s, this recipe is for you. We’re not just making a cherry pie; we’re recreating a memory. The beauty of a homemade copycat lies in its ability to capture the essence of what we loved, while allowing us to elevate the quality and customize it to our exact preferences. Forget the disappointment of a missing menu item; with this recipe, you’ll have endless access to your favorite cherry hand pies, fresh from your oven.
The Quest for the Perfect Pie Crust: Simplified for Success

Every home cook and baker knows the feeling: that one culinary challenge that consistently tests your patience. For me, it has always been the quest for the *perfect* pie crust. I’ve successfully made them from scratch many times, achieving decent results. Yet, I know they could always be flakier, tenderer, and honestly, a lot easier to create. There are days when I embrace the challenge, but for a quick and satisfying copycat like this, I often opt for a simpler route. Why frustrate myself with dough nuances when I can enjoy the rest of the baking process? This is where a good quality refrigerated pie crust becomes my best friend.
Using a store-bought, pre-made pie crust is not a shortcut; it’s a smart strategy, especially when you’re aiming for convenience without sacrificing flavor. It frees up time and mental energy, allowing you to focus on the delicious filling and the joy of assembly. If you’re a pie crust aficionado who loves the tactile experience of mixing, rolling, and chilling your own dough, by all means, go for it! Your homemade crust will undoubtedly add another layer of personal touch to these cherry pies. However, for those seeking an effortless way to indulge in this nostalgic treat, a refrigerated crust is an absolute game-changer, ensuring a consistently flaky and delicious result every time.
Related Recipe – Classic Homemade Cherry Pie
Choosing Your Filling: Homemade Goodness or Convenient Canned?

When it comes to the heart of our cherry pie copycat, the filling, you have equally flexible options. I personally love using my homemade cherry pie filling. It offers an unparalleled depth of flavor and allows for control over sweetness and spice. There’s a certain satisfaction that comes from simmering fresh or frozen cherries into a glossy, thick, and wonderfully fragrant filling.
However, if time is short or you simply prefer the ease, a good quality canned cherry pie filling works absolutely wonderfully. Don’t let anyone tell you otherwise; many brands offer excellent, fruit-forward fillings that are perfectly suited for these hand pies. The goal here is to enjoy the process and the end result, not to adhere to rigid culinary rules. The convenience of canned filling means you can whip up these nostalgic treats in no time, making them perfect for a spontaneous craving or a last-minute dessert.
Regarding the amount of crust, some might raise an eyebrow at using half a refrigerated pie crust for just two pies. But trust me, for these particular hand pies, a slightly thicker crust is actually a benefit. It provides a sturdier vessel, making it easier to handle and preventing that delicious, hot cherry filling from oozing out and burning your fingers. If you prefer a thinner crust or want to maximize your yield, you could certainly roll out the entire crust thinner and potentially get three or four smaller hand pies. However, for that authentic, substantial McDonald’s pie experience, a slightly more generous crust is ideal. Just sayin’ – nobody wants a messy hand pie!
The Undeniable Charm of Handheld Pies
There’s something inherently appealing about handheld pies. They’re individual portions of pure delight, perfectly portable and incredibly charming. This format is especially great for households where full-sized desserts might go untouched or where everyone prefers their own personal sweet treat. I’ve found that hand pies are a fantastic solution, particularly when dealing with picky eaters (like my own children, who sometimes act as if fruit desserts are radioactive!). They’re less intimidating and more fun to eat, making them a hit with all ages.
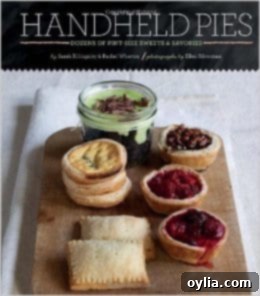
I’ve been eyeing a cookbook called Handheld Pies: Dozens of Pint-Size Sweets and Savories for a while now. It boasts some truly glowing reviews, and as a self-proclaimed “hand pie person,” I’m seriously considering adding it to my collection. The idea of exploring a wide array of sweet and savory mini pies is just too tempting. If any of you have had the pleasure of browsing through this book, I would absolutely love to hear your thoughts and recommendations! There’s a whole world of possibilities when it comes to these delightful, compact pastries, and cherry pies are just the beginning.
Step-by-Step Guide to Crafting Your Cherry Hand Pies
Creating these McDonald’s cherry pie copycats is surprisingly straightforward. Follow these easy steps for perfectly baked, golden hand pies every time.
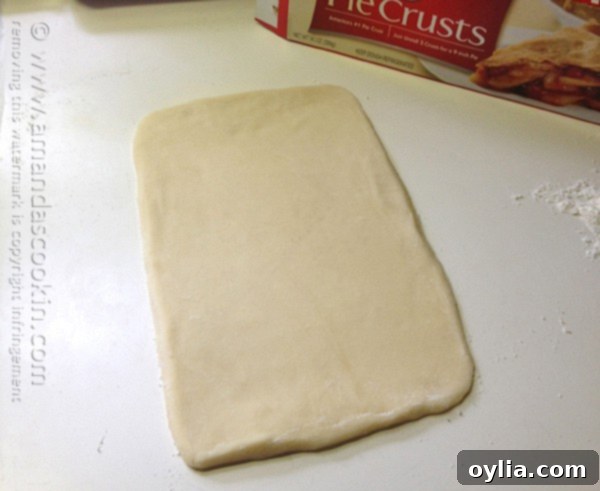
Step 1: Prepare the Dough. Start by lightly dusting your work surface with flour. Take your refrigerated pie crust dough, gently ball it up, and knead it a few times to make it pliable. Then, roll it out evenly into a rectangle, aiming for dimensions of approximately 10 inches by 6 inches. The key here is to achieve a consistent thickness, which ensures even baking.
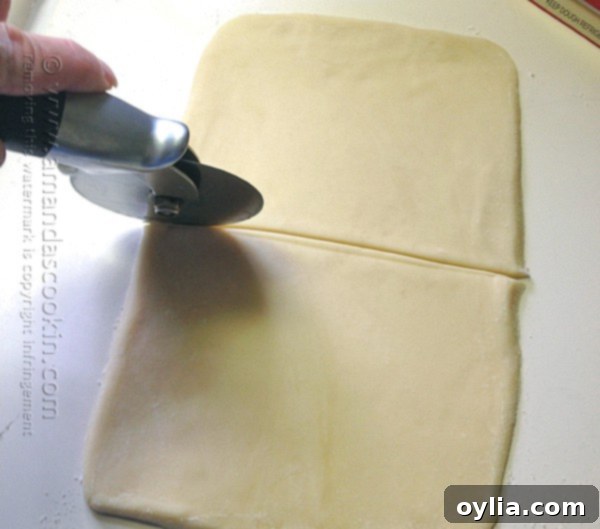
Step 2: Divide the Dough. Once your dough rectangle is rolled, carefully cut it in half lengthwise. This will give you two individual pieces, each measuring roughly 5 inches by 6 inches. These will form the base for your two delicious hand pies. Place these rectangles onto your prepared baking sheet.
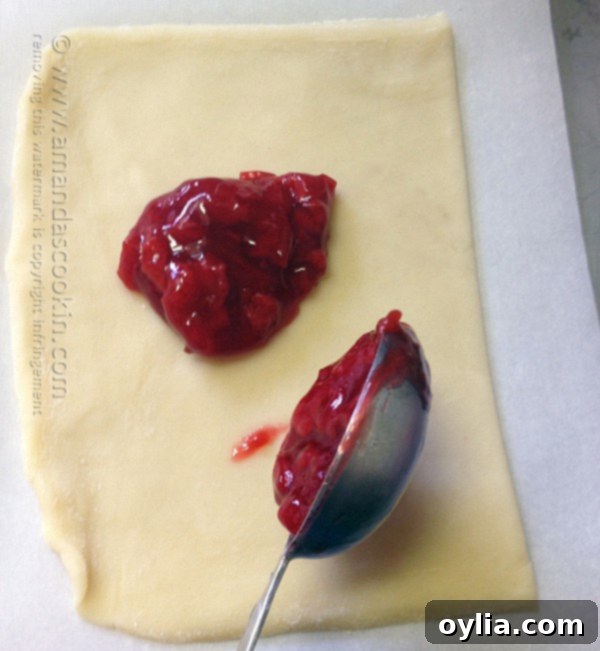
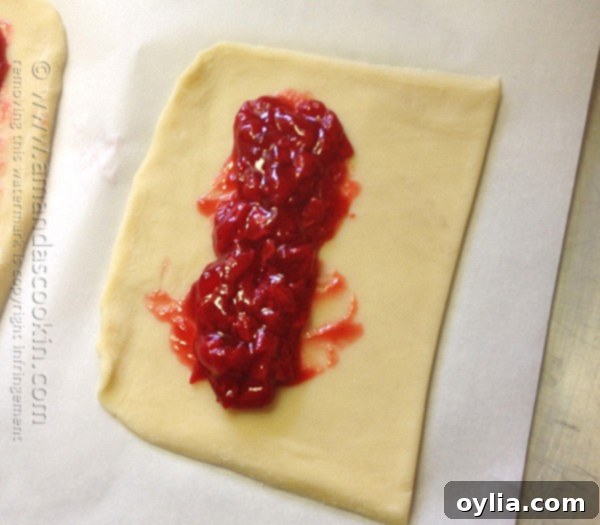
Step 3: Add the Filling. Now for the star of the show! Spoon approximately 2 generous tablespoons of your chosen cherry pie filling onto each of the dough rectangles. Position the filling slightly off-center, towards one of the longer edges, leaving a border for sealing. Be careful not to overfill, as this can make sealing difficult and lead to messy leakage during baking.
Step 4: Fold and Seal. Gently fold the dough rectangle lengthwise over the cherry filling, creating a neat pocket. Carefully press the edges together with your fingertips to seal them securely. For an extra strong seal, lightly moisten your fingertips with a little water before pressing. This helps the dough adhere to itself, preventing any delicious filling from escaping.
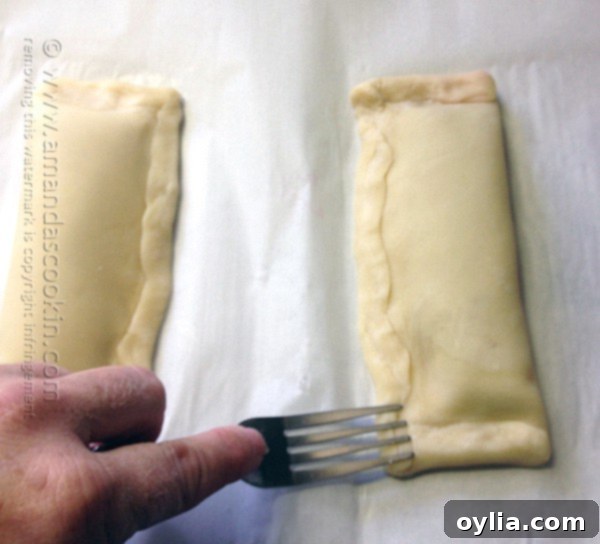
Step 5: Crimp the Edges. To further secure the filling and add a charming, rustic touch, use the tines of a fork to press down firmly along all the sealed edges of your pie. This creates a beautiful, classic crimped pattern and ensures no filling leaks during baking. It also gives your hand pies that unmistakable homemade look.
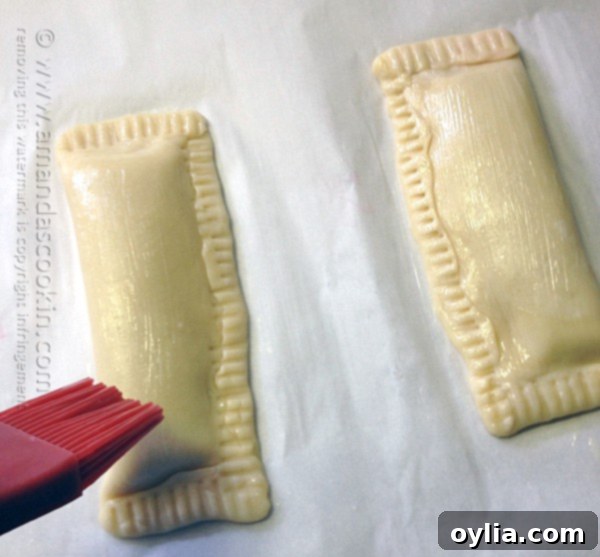
Step 6: Apply a Wash (Optional). For that beautiful golden-brown sheen, you can brush the top of each pie with an egg wash (one egg lightly beaten with 1/2 teaspoon of water) or a little melted butter. This step is entirely optional but adds a professional touch and a lovely color to your finished hand pies.
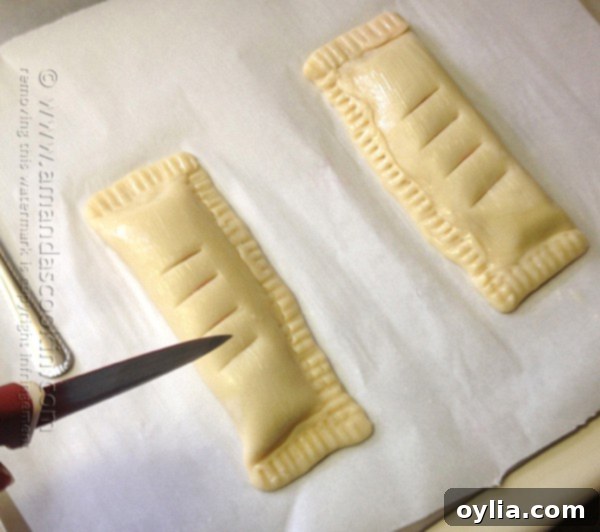
Step 7: Vent and Sweeten. Before baking, use a sharp knife to cut a few small slits into the top of each pie. These vents are crucial as they allow steam to escape during cooking, preventing the pies from bursting and ensuring a beautifully flaky crust. If you enjoy a little extra crunch and sparkle, sprinkle the tops with a coarse sugar like Sugar in the Raw before baking. This adds a delightful texture and a touch of sweetness.
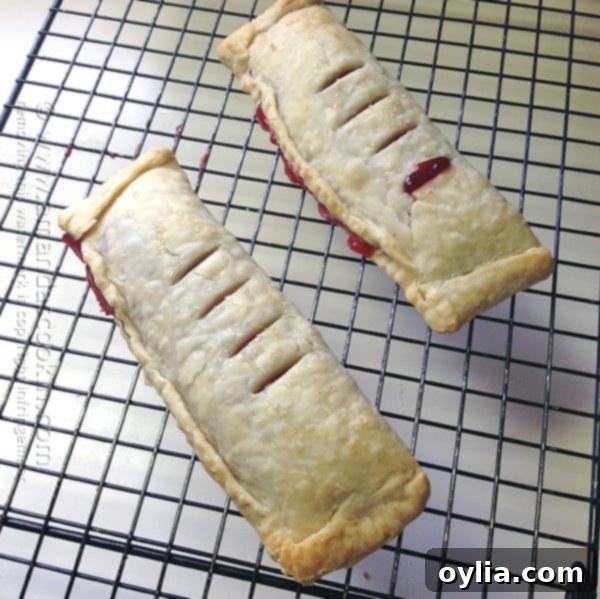
Step 8: Bake and Cool. Bake your hand pies in the preheated oven according to the recipe instructions. Keep an eye on them; they should turn a beautiful golden brown. Once baked, remove them from the oven and transfer them to wire racks to cool completely. This cooling step is important for the filling to set properly and for the crust to achieve its crisp texture. While it’s tempting to dig in right away, patience will be rewarded with the perfect bite!

There you have it – a simple yet incredibly satisfying way to bring back a beloved classic. These homemade McDonald’s cherry pie copycats are perfect for dessert, a sweet breakfast treat, or a delightful snack any time of day. Enjoy the process of baking and the joy of sharing these nostalgic flavors with friends and family!

