Easy No-Bake Peanut Butter Cookies: The Ultimate 7-Ingredient Recipe
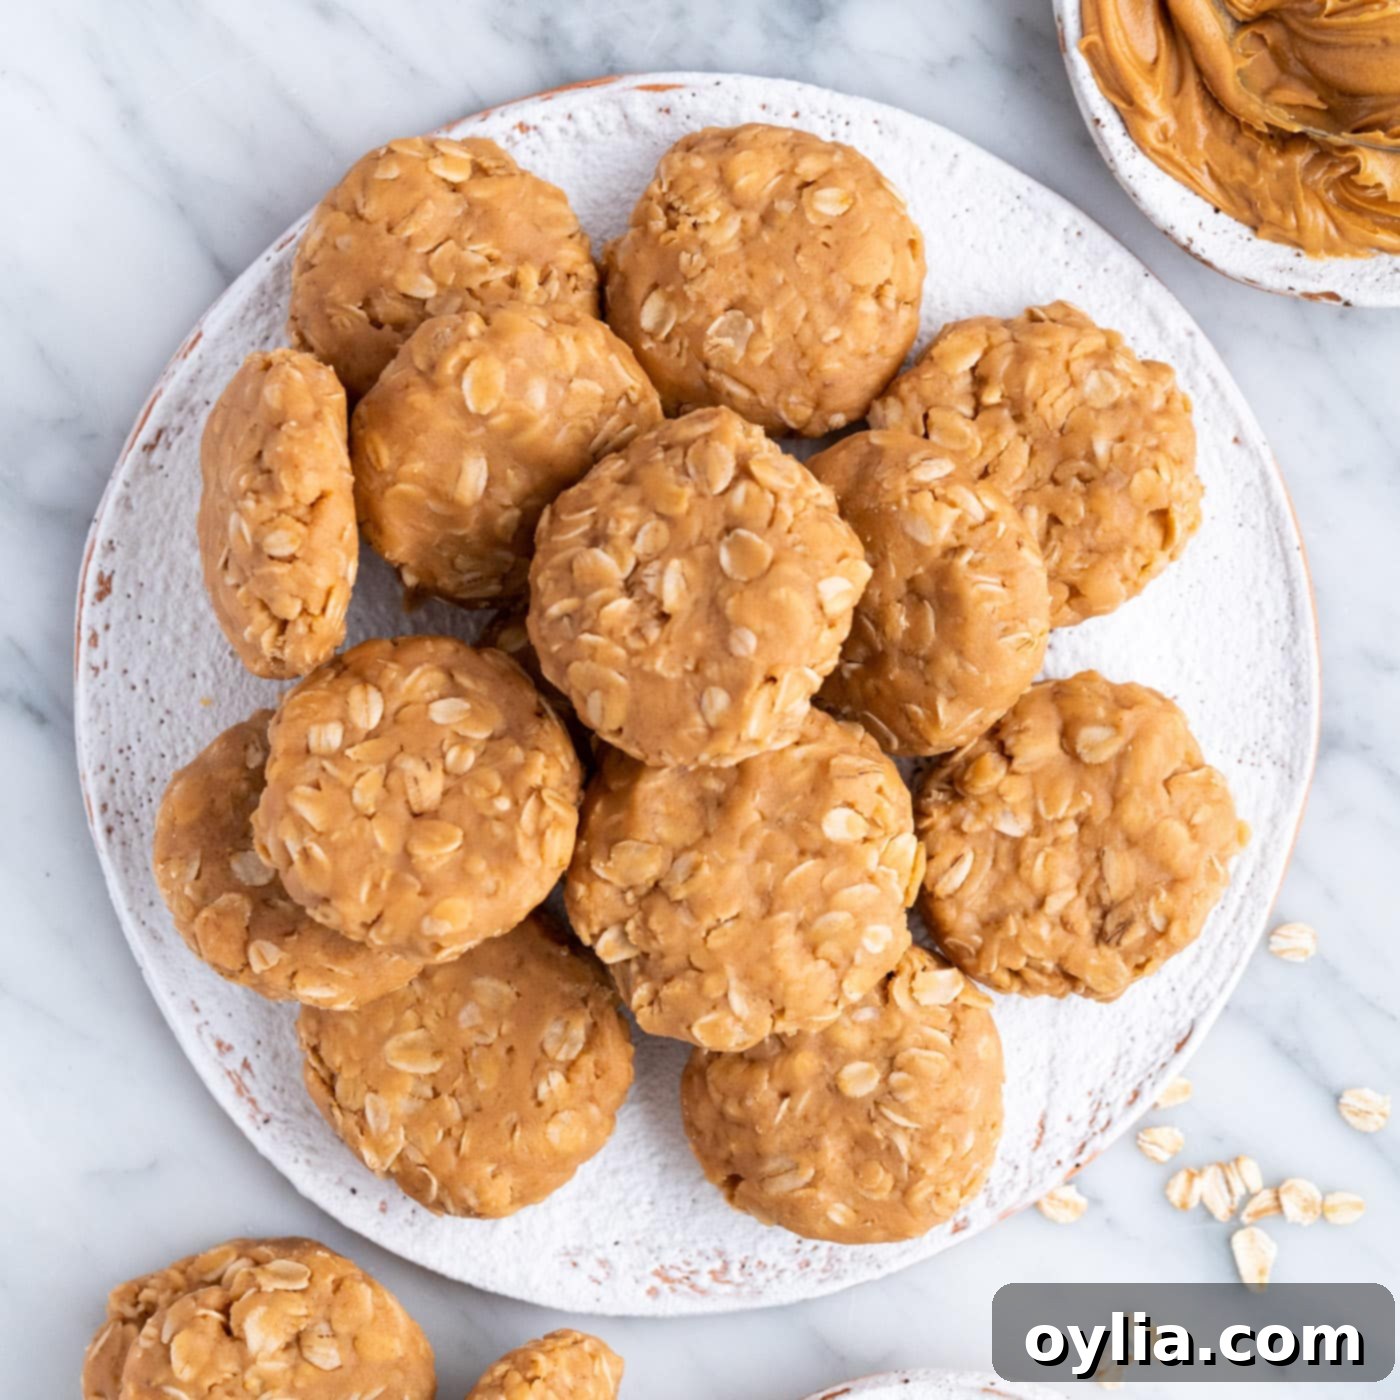
Craving a sweet, satisfying treat but don’t want to turn on your oven? Look no further than these incredible No-Bake Peanut Butter Cookies! Made with just 7 simple ingredients, these delightful cookies deliver all the classic flavor and chewy texture you remember from childhood. Perfect for quick desserts, summer days, or when you need a fuss-free snack, they combine wholesome oats with rich, creamy peanut butter for an irresistible bite every time.
Why This Easy No-Bake Peanut Butter Cookie Recipe is a Must-Try
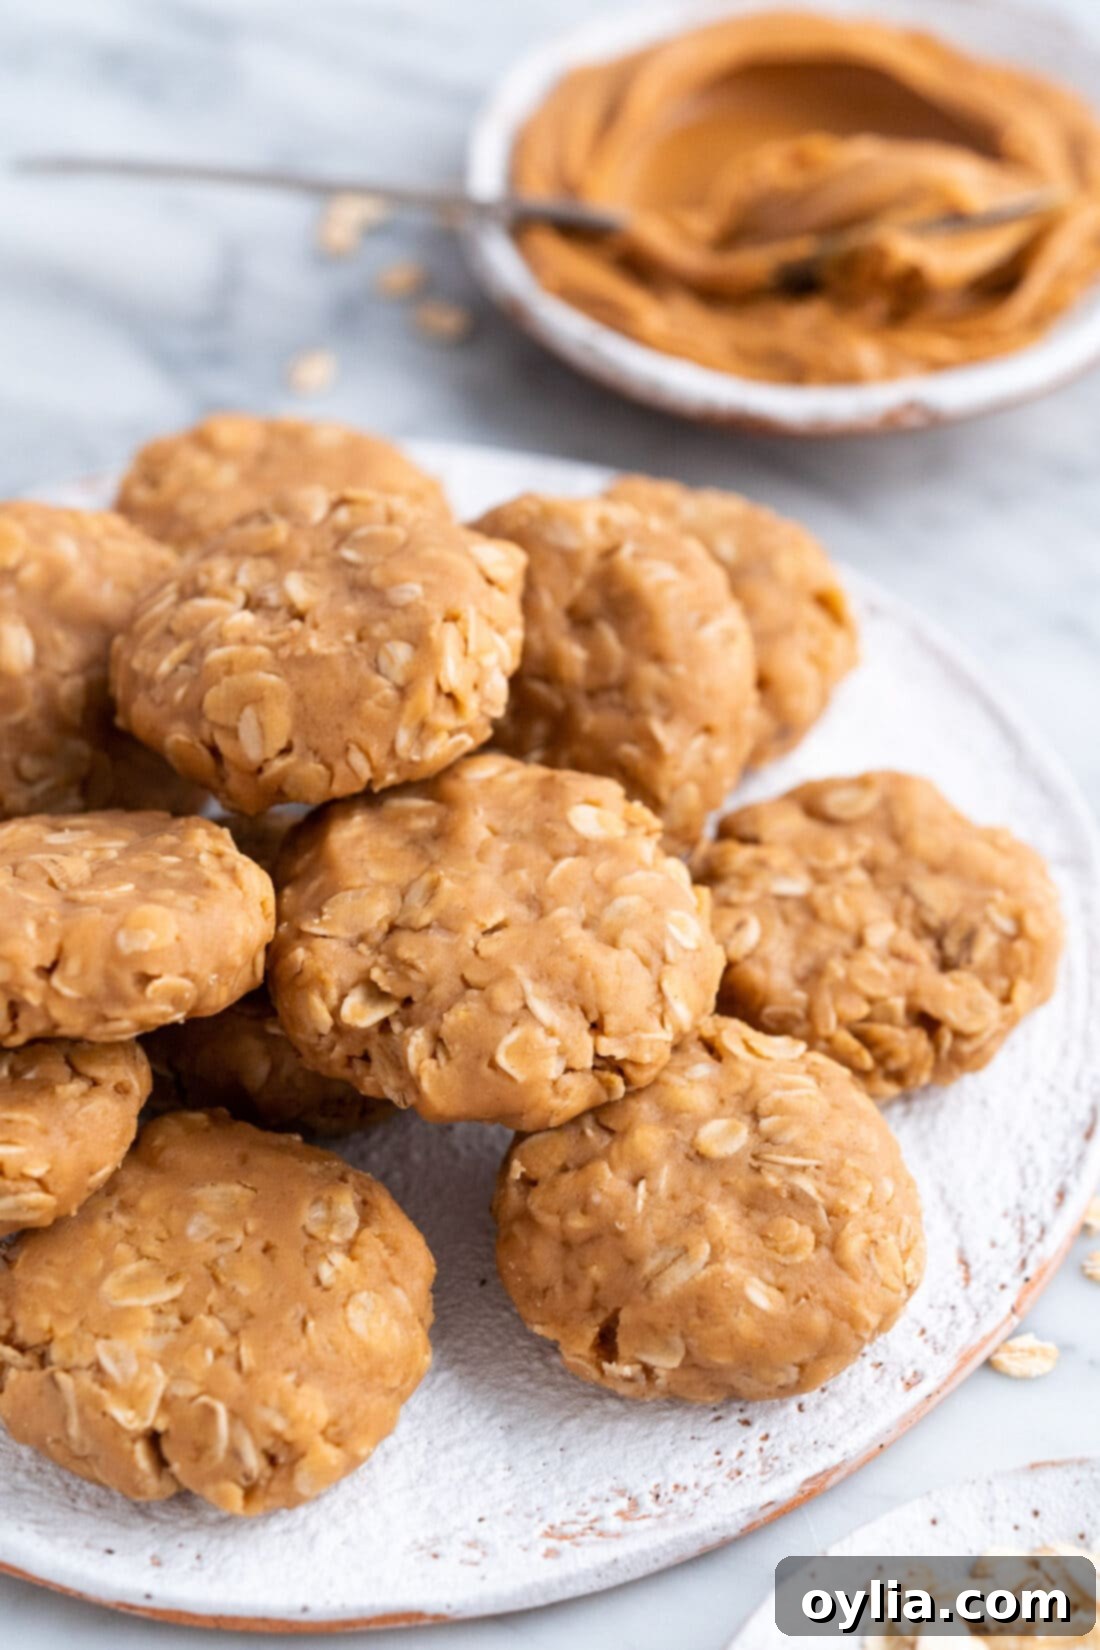
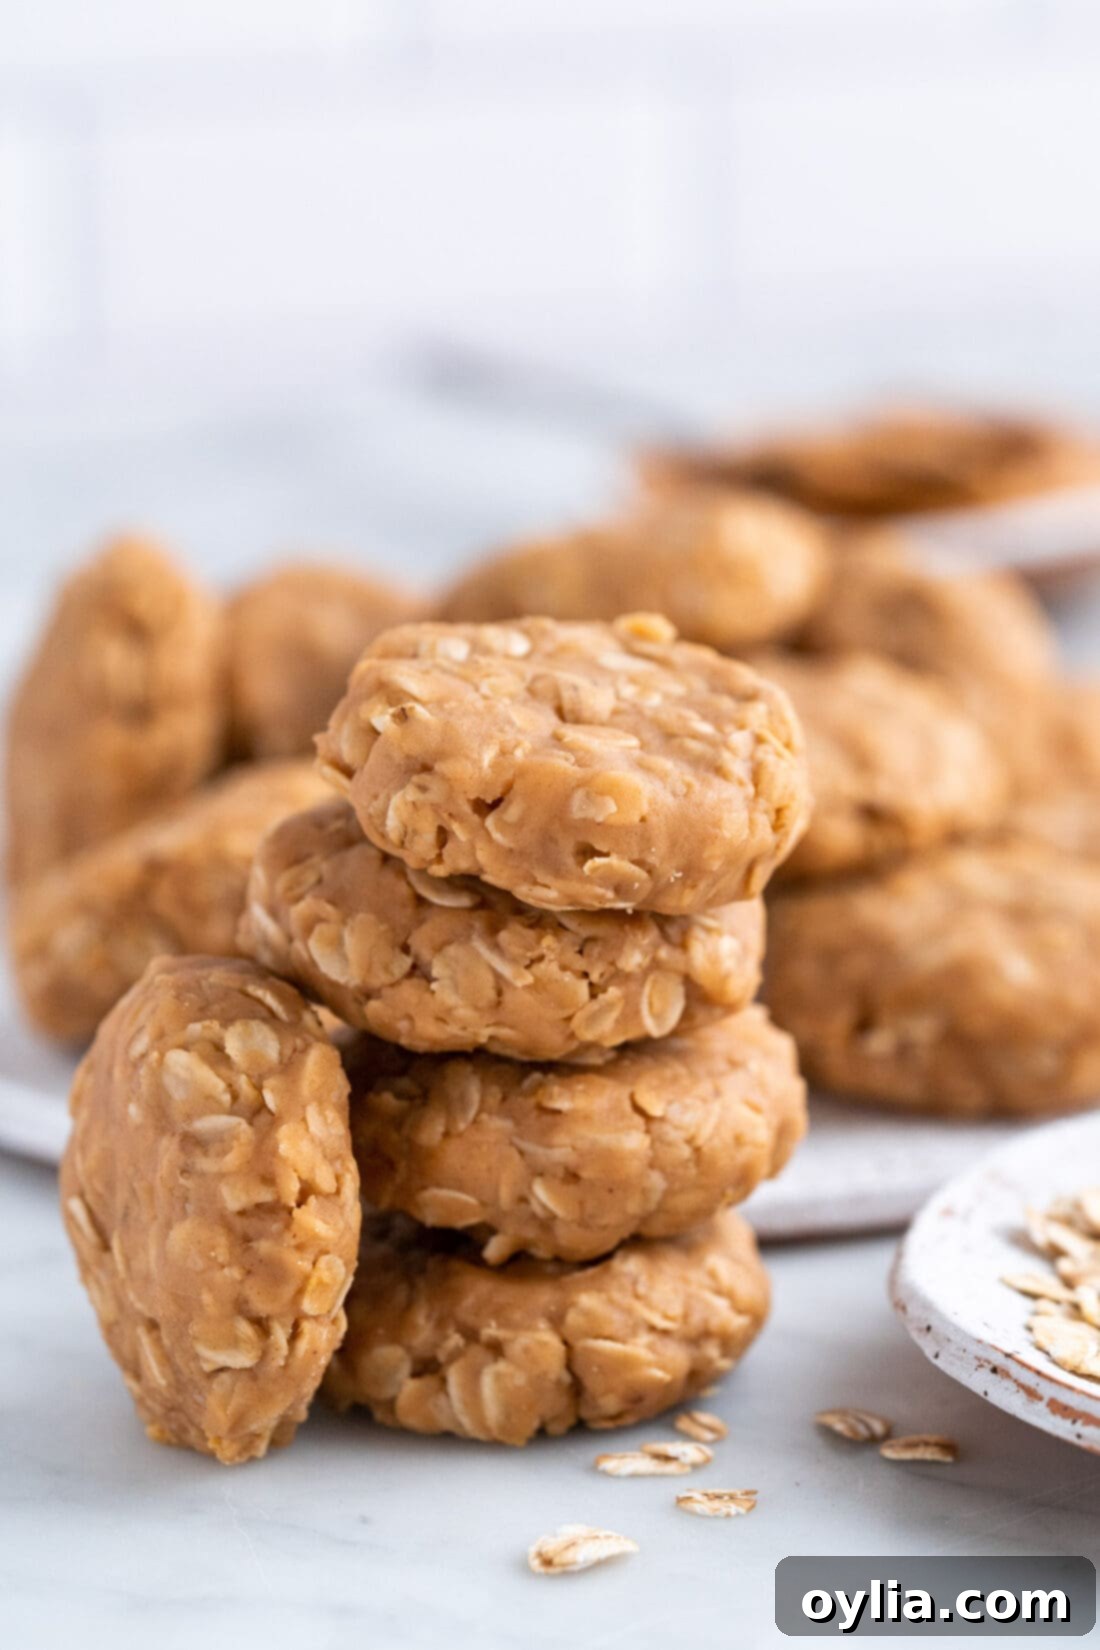
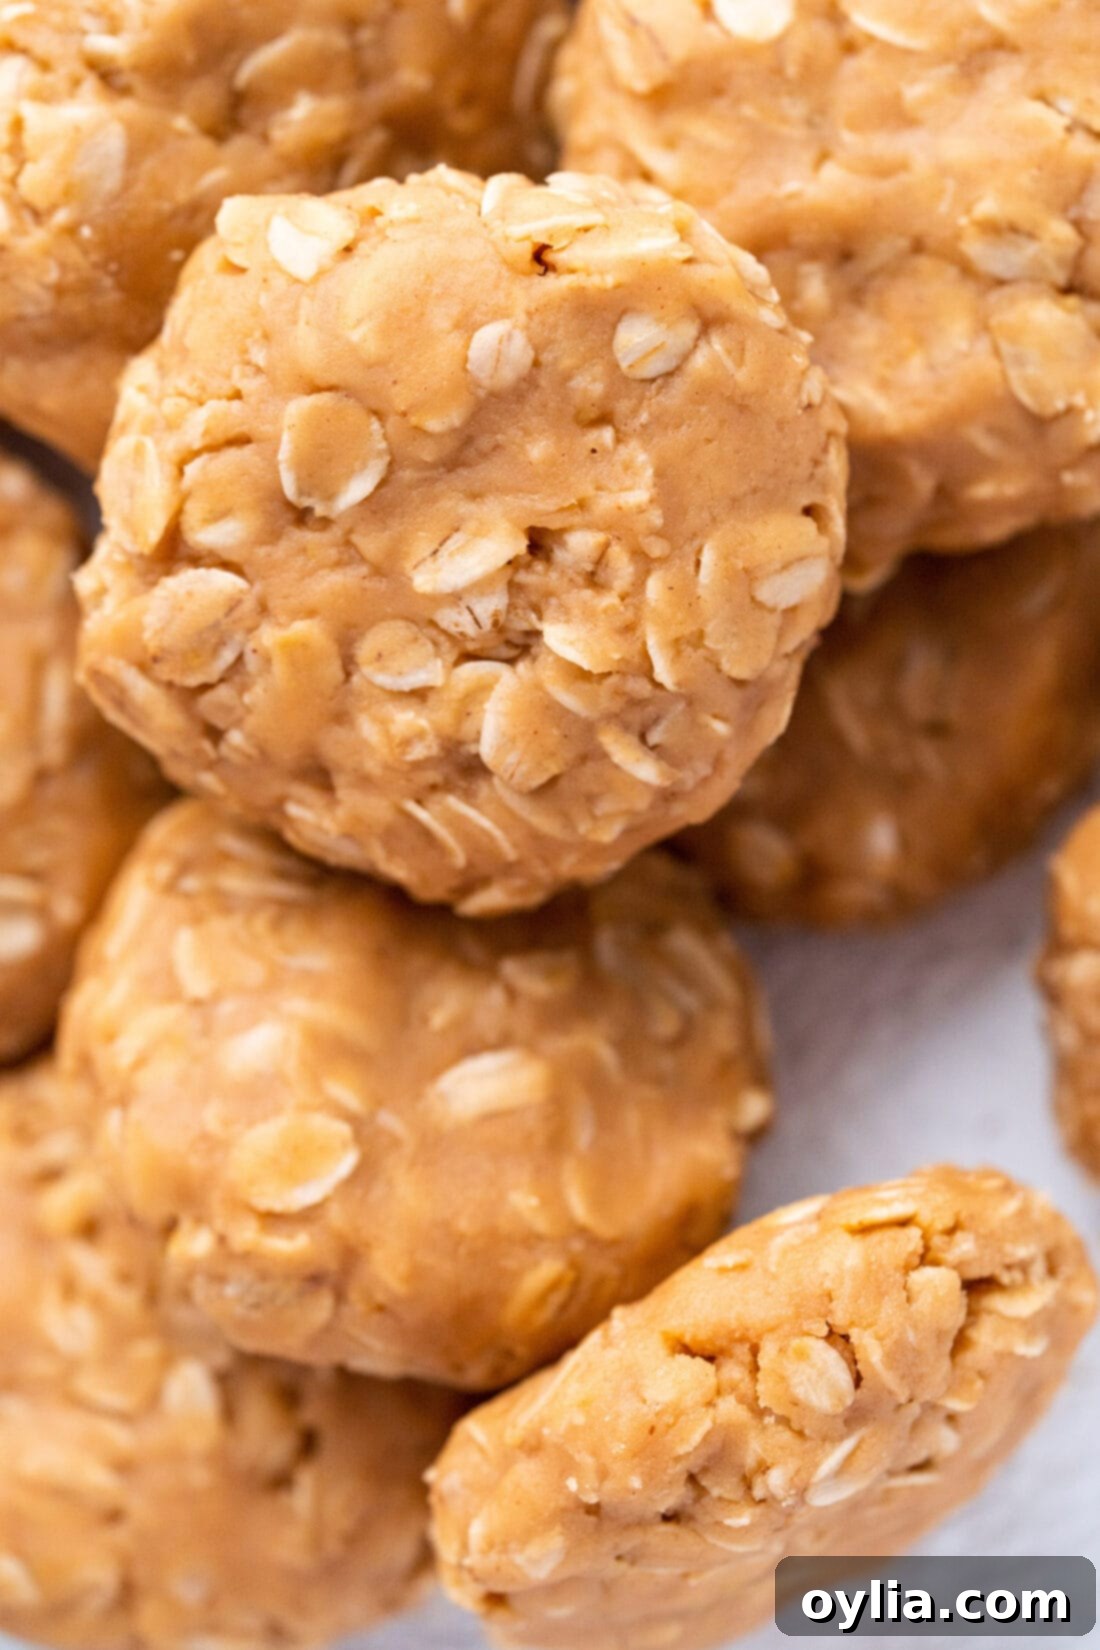
These aren’t just any cookies; our no-bake peanut butter cookies are a delightful blast from the past, designed to bring back those cherished childhood memories with every bite. The texture is truly what sets them apart – wonderfully chewy, yet soft, reminiscent of a hearty granola bar but undeniably a delicious cookie, brimming with rich, authentic peanut butter flavor. This makes them a fantastic alternative to traditional baked goods, especially when you’re short on time or facing a hot kitchen.
While incredibly simple to prepare, achieving the perfect set requires a little attention during the crucial boiling stage. But don’t worry, we’ll guide you through it to ensure your cookies turn out perfectly every time. If you’re a fan of the classic peanut butter and chocolate pairing, you absolutely must try our chocolate no-bake cookies too. Because, let’s be honest, what could possibly complement the richness of peanut butter better than a decadent swirl of chocolate?
This recipe is ideal for busy families, novice bakers, or anyone seeking a quick and satisfying dessert without the fuss of baking. They’re also a fantastic option for parties, picnics, or school lunchboxes, offering a wholesome, energizing, and utterly delicious treat.
Essential Ingredients for Perfect No-Bake Peanut Butter Cookies
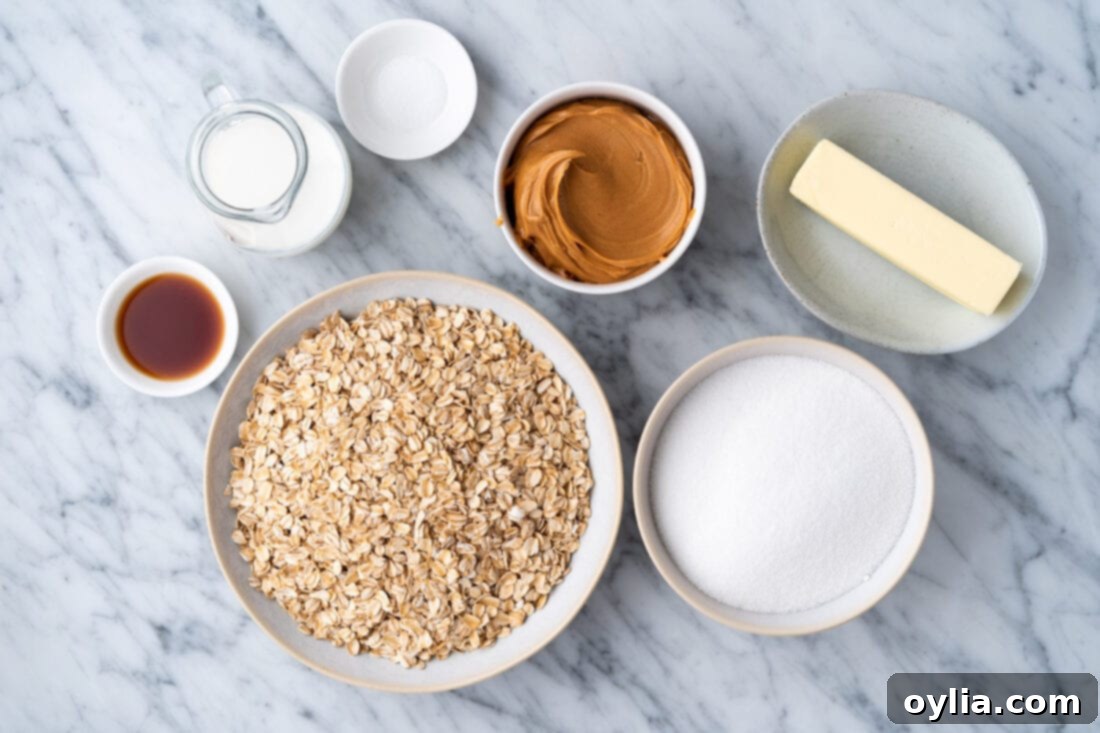
You’ll be amazed at how a few common pantry staples can transform into such a delicious treat! For all precise measurements, a detailed list of ingredients, and comprehensive instructions, be sure to check out the printable recipe card available at the conclusion of this post. Here’s a quick overview of what you’ll need to gather:
Ingredient Insights and Smart Substitutions for No-Bake Peanut Butter Cookies
To craft these delightful no-bake peanut butter cookies, you’ll need a core set of ingredients that contribute to their unique flavor and texture. Let’s dive into each one and discuss how you can adapt the recipe if needed.
- Unsalted Butter: The foundation of our cookie base, providing richness and helping the mixture come together. We recommend unsalted butter so you have full control over the salt content in your recipe. However, if you only have salted butter available, simply omit the ¼ teaspoon of additional salt called for in the recipe to prevent your cookies from becoming too salty.
- Granulated Sugar: This is essential not just for sweetness, but also for the structure of the cookies. When boiled with the other liquid ingredients, the sugar creates the syrup that binds everything together and allows the cookies to set properly.
- Whole Milk: Whole milk contributes to the creamy texture and aids in the boiling process. While whole milk is ideal for the best results, you can also use 2% milk. Be aware that using lower-fat milk might slightly alter the final texture, potentially making the cookies a little less rich or slightly softer.
- Salt: A small amount of salt is crucial for balancing the sweetness of the sugar and enhancing the deep, nutty flavor of the peanut butter. If you’re using salted butter, remember to adjust accordingly.
- Vanilla Extract: Vanilla is a flavor enhancer that adds a warm, aromatic note, elevating the overall taste of your cookies. Always use pure vanilla extract for the best flavor profile.
- Creamy Peanut Butter: The star of the show! Creamy peanut butter provides that smooth, rich, and unmistakable flavor. While you can opt for chunky peanut butter if you prefer a bit of texture, we strongly advise against using natural peanut butter (the kind that separates oil). Natural peanut butter often lacks the stabilizers found in conventional brands, which can lead to a runny mixture that won’t set correctly, resulting in crumbly or oily cookies. For successful no-bake cookies, a well-emulsified, classic creamy or chunky peanut butter is key.
- Old-Fashioned Rolled Oats: These are vital for the characteristic chewy texture of our cookies. Old-fashioned oats hold their shape well and provide a substantial, satisfying bite. You can substitute quick oats if that’s what you have on hand, but keep in mind they will result in a slightly softer cookie. Avoid instant oatmeal packets, as they often contain added sugars and flavorings that can throw off the recipe’s balance.
Mastering the Art: How to Make No-Bake Peanut Butter Cookies
These step-by-step photos and detailed instructions are here to help you visualize how to make this recipe with ease. You can Jump to Recipe to get the printable version of this recipe, complete with precise measurements and instructions at the bottom of the page.
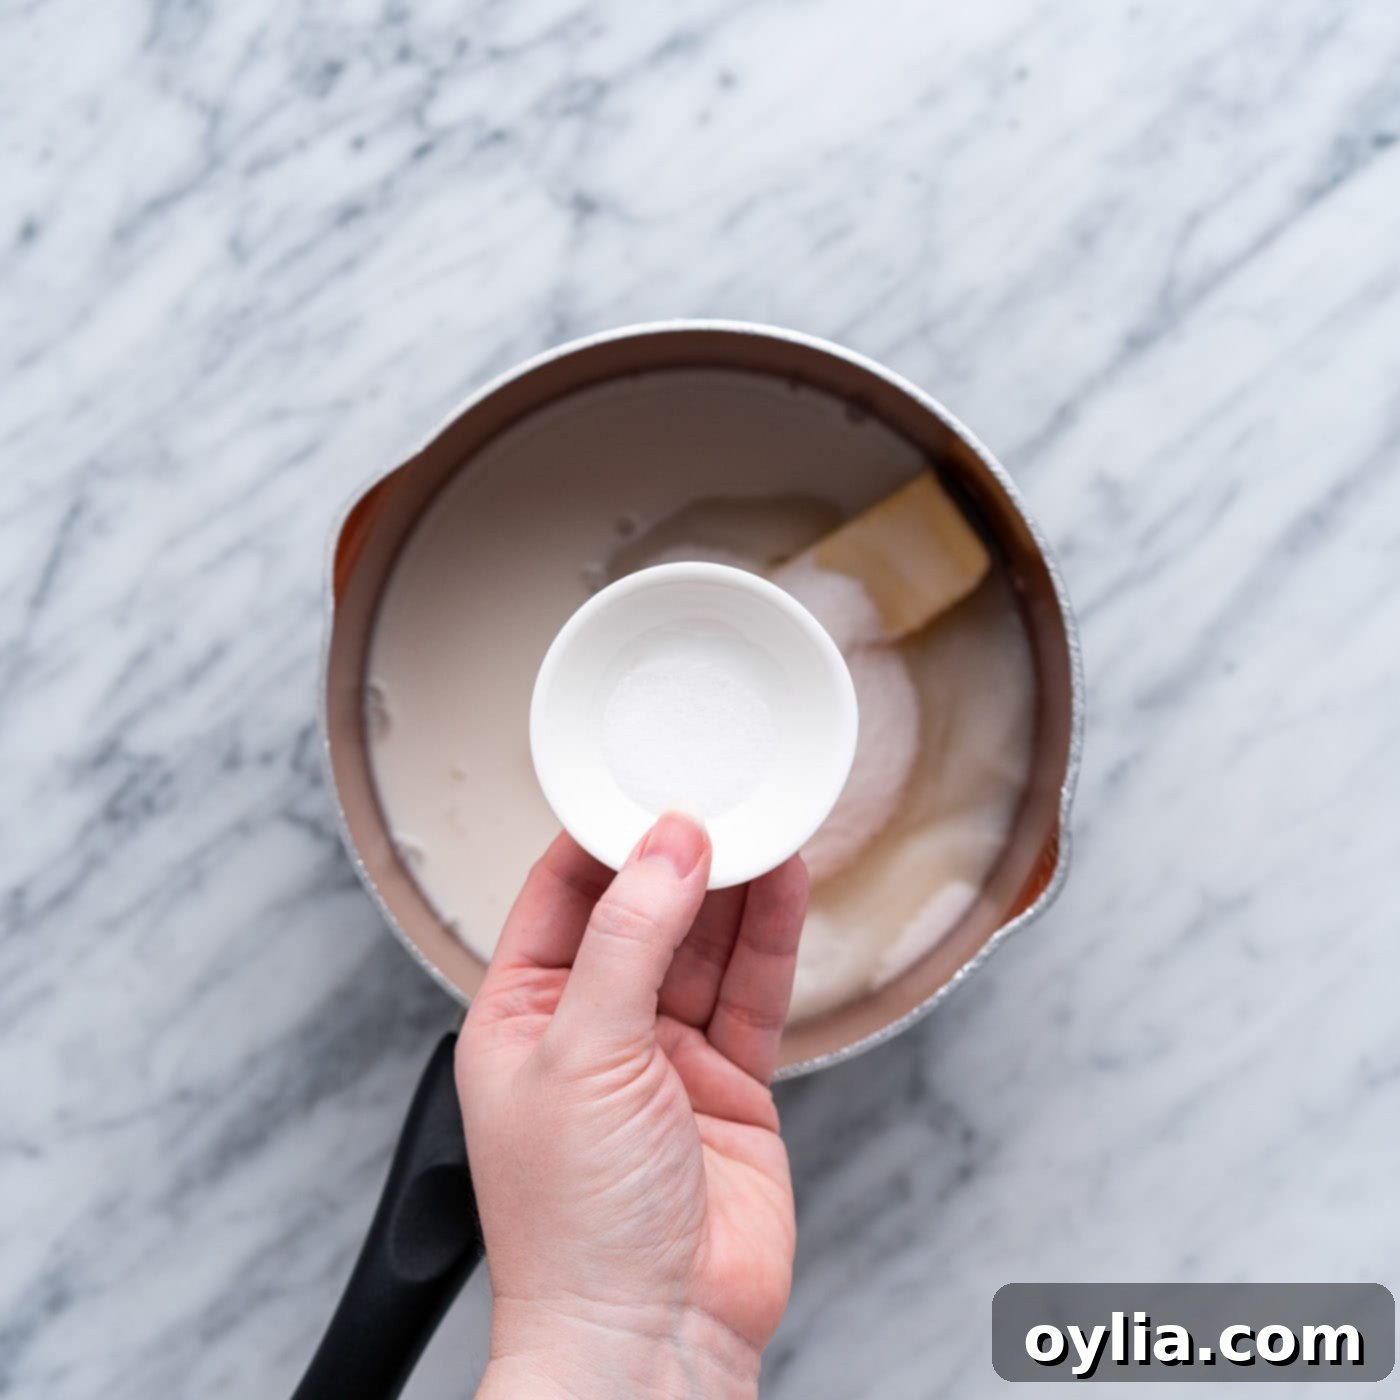
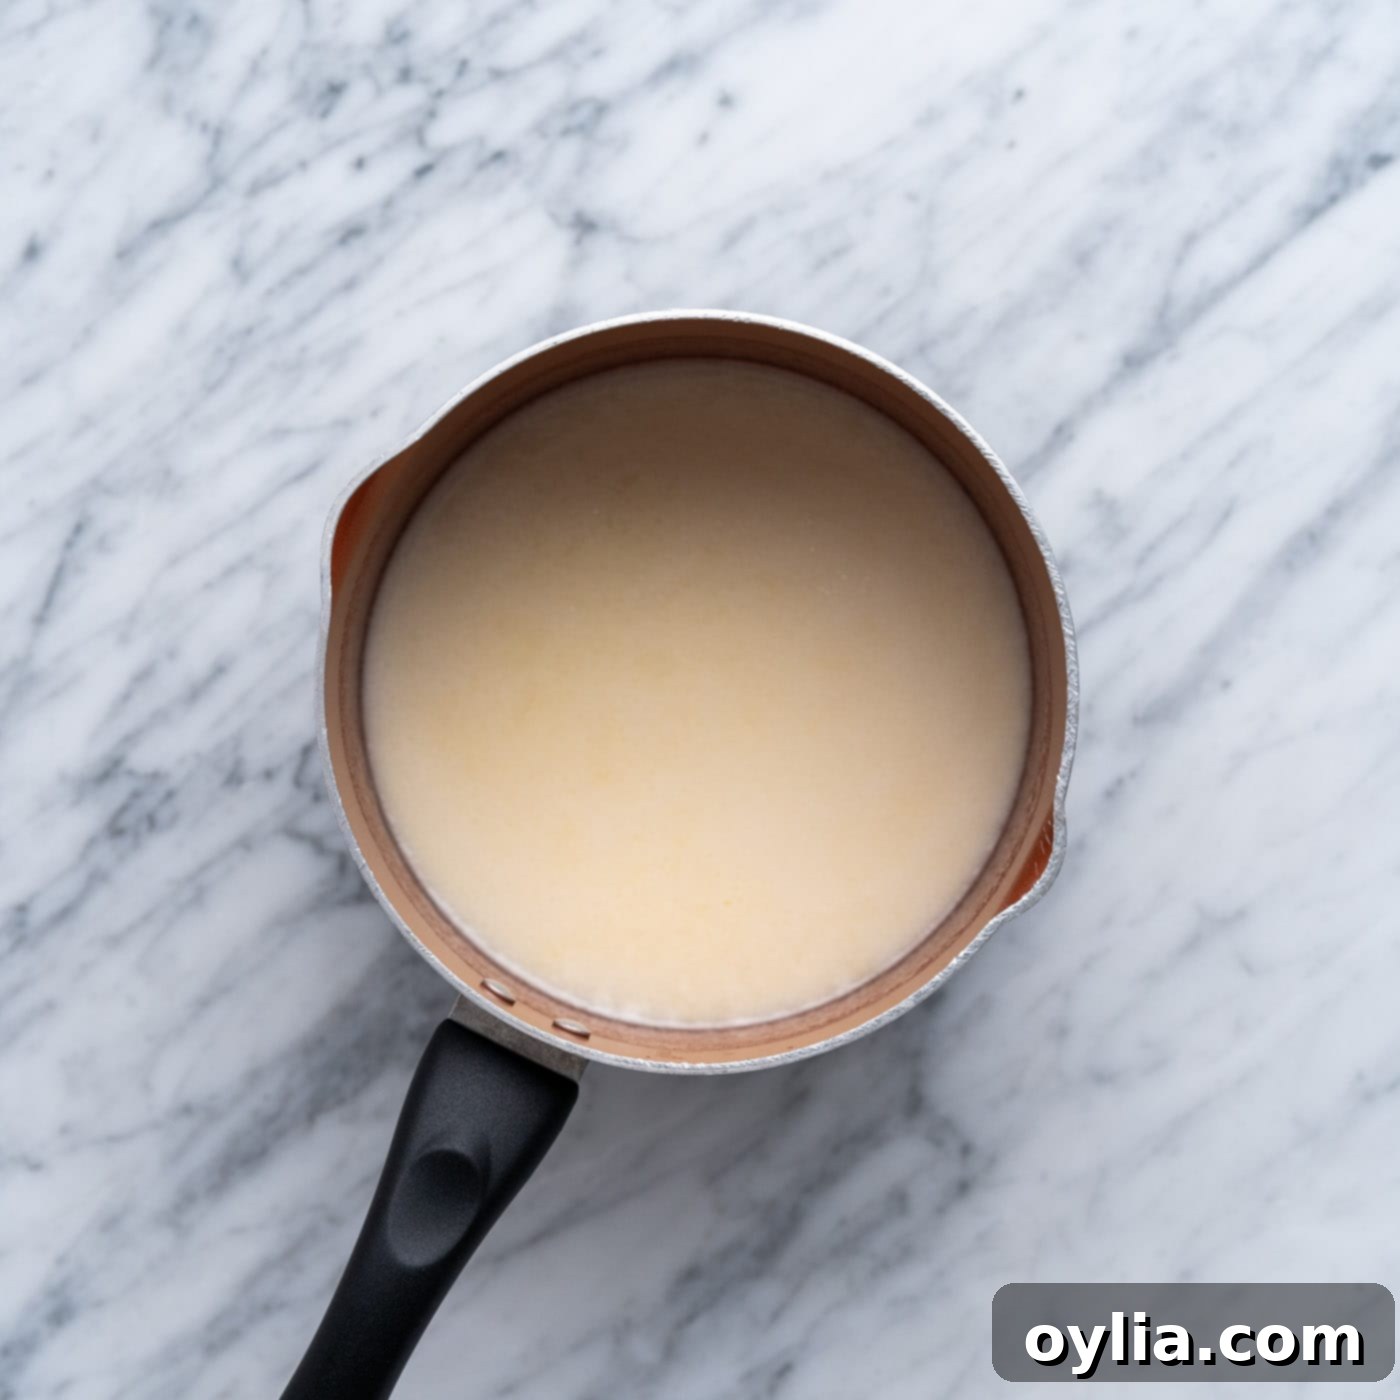
- Combine and Heat: Begin by adding the butter, granulated sugar, whole milk, and salt to a medium saucepan. Place the saucepan over medium heat, stirring the mixture occasionally. This initial stirring helps the butter melt evenly and ensures the sugar begins to dissolve into the liquid. You’ll notice the mixture becoming smooth as the sugar incorporates.


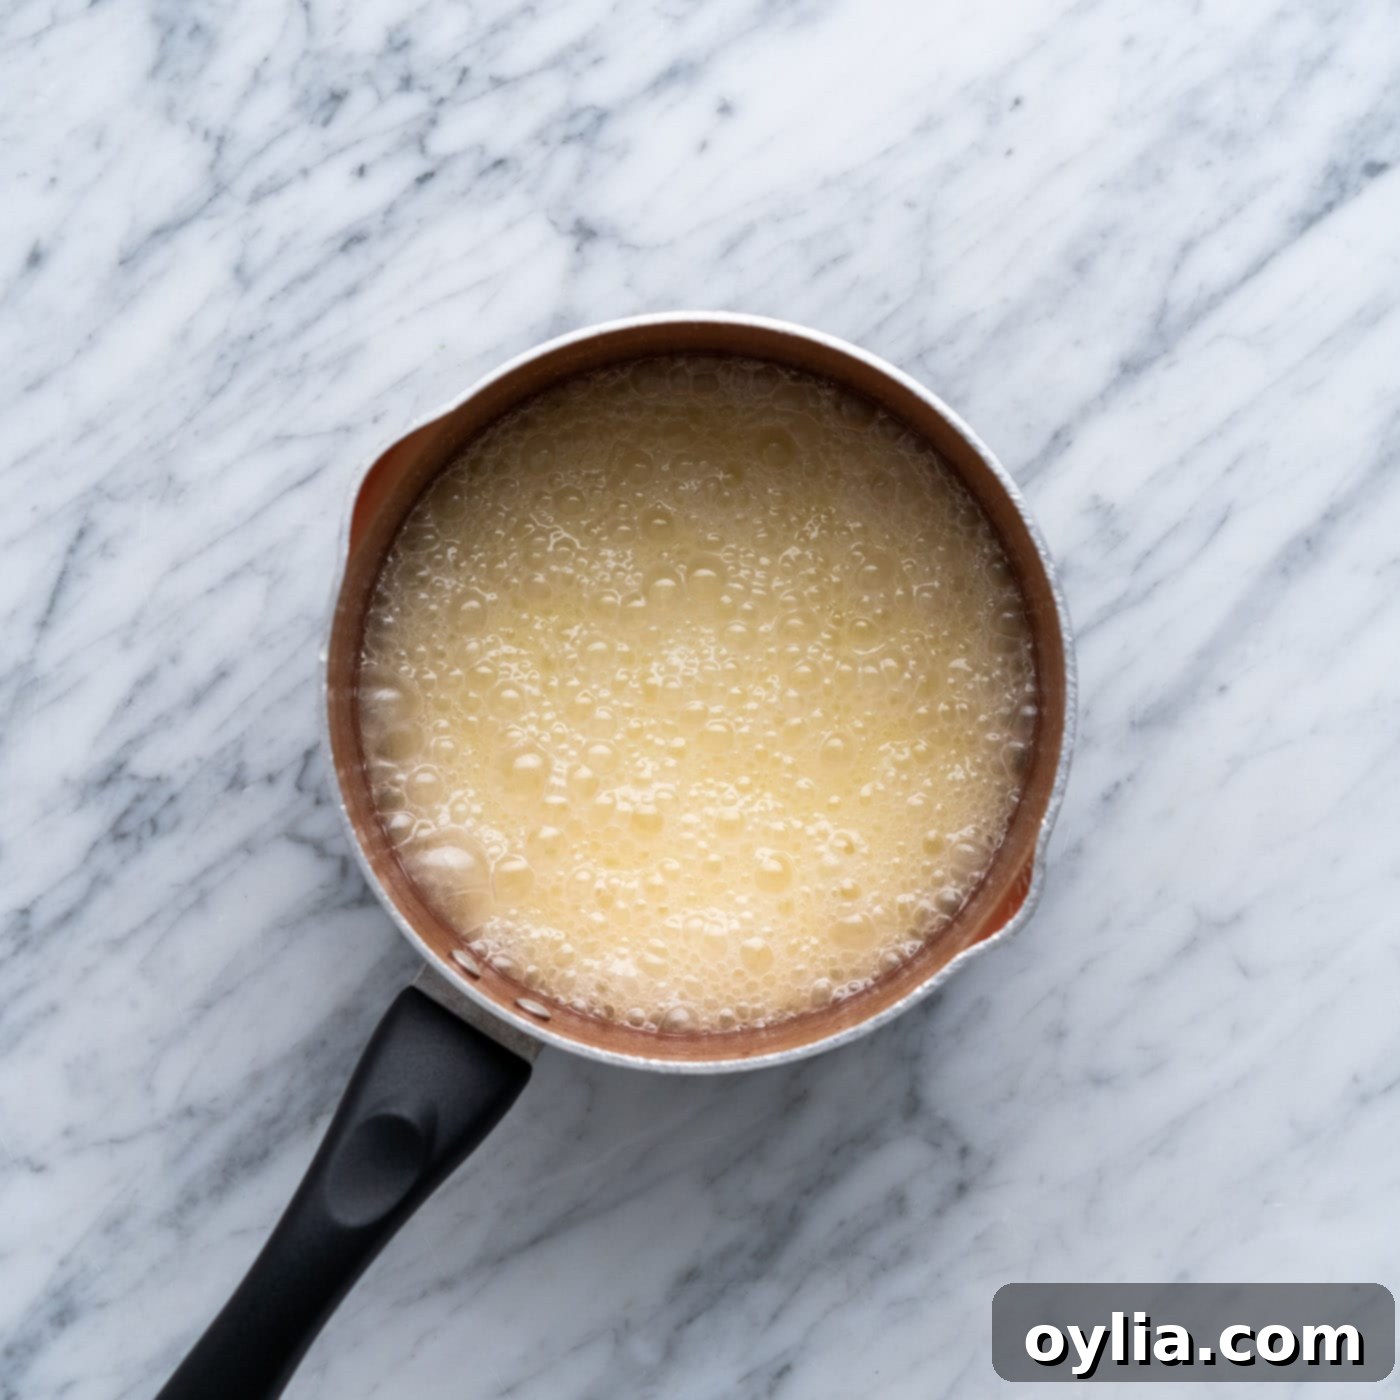
- The Crucial Boil: Once the mixture reaches a full, rolling boil (where bubbles break rapidly across the entire surface, not just the edges), start a timer for exactly 2 minutes. This timing is absolutely critical for the cookies to set properly. A gentle simmer or slow bubble is not enough; wait for that vigorous, consistent boil. If you boil for too short a time, the cookies won’t firm up, and if you boil for too long, they might become dry and crumbly. Precision here ensures the right candy stage for perfect no-bake cookies.

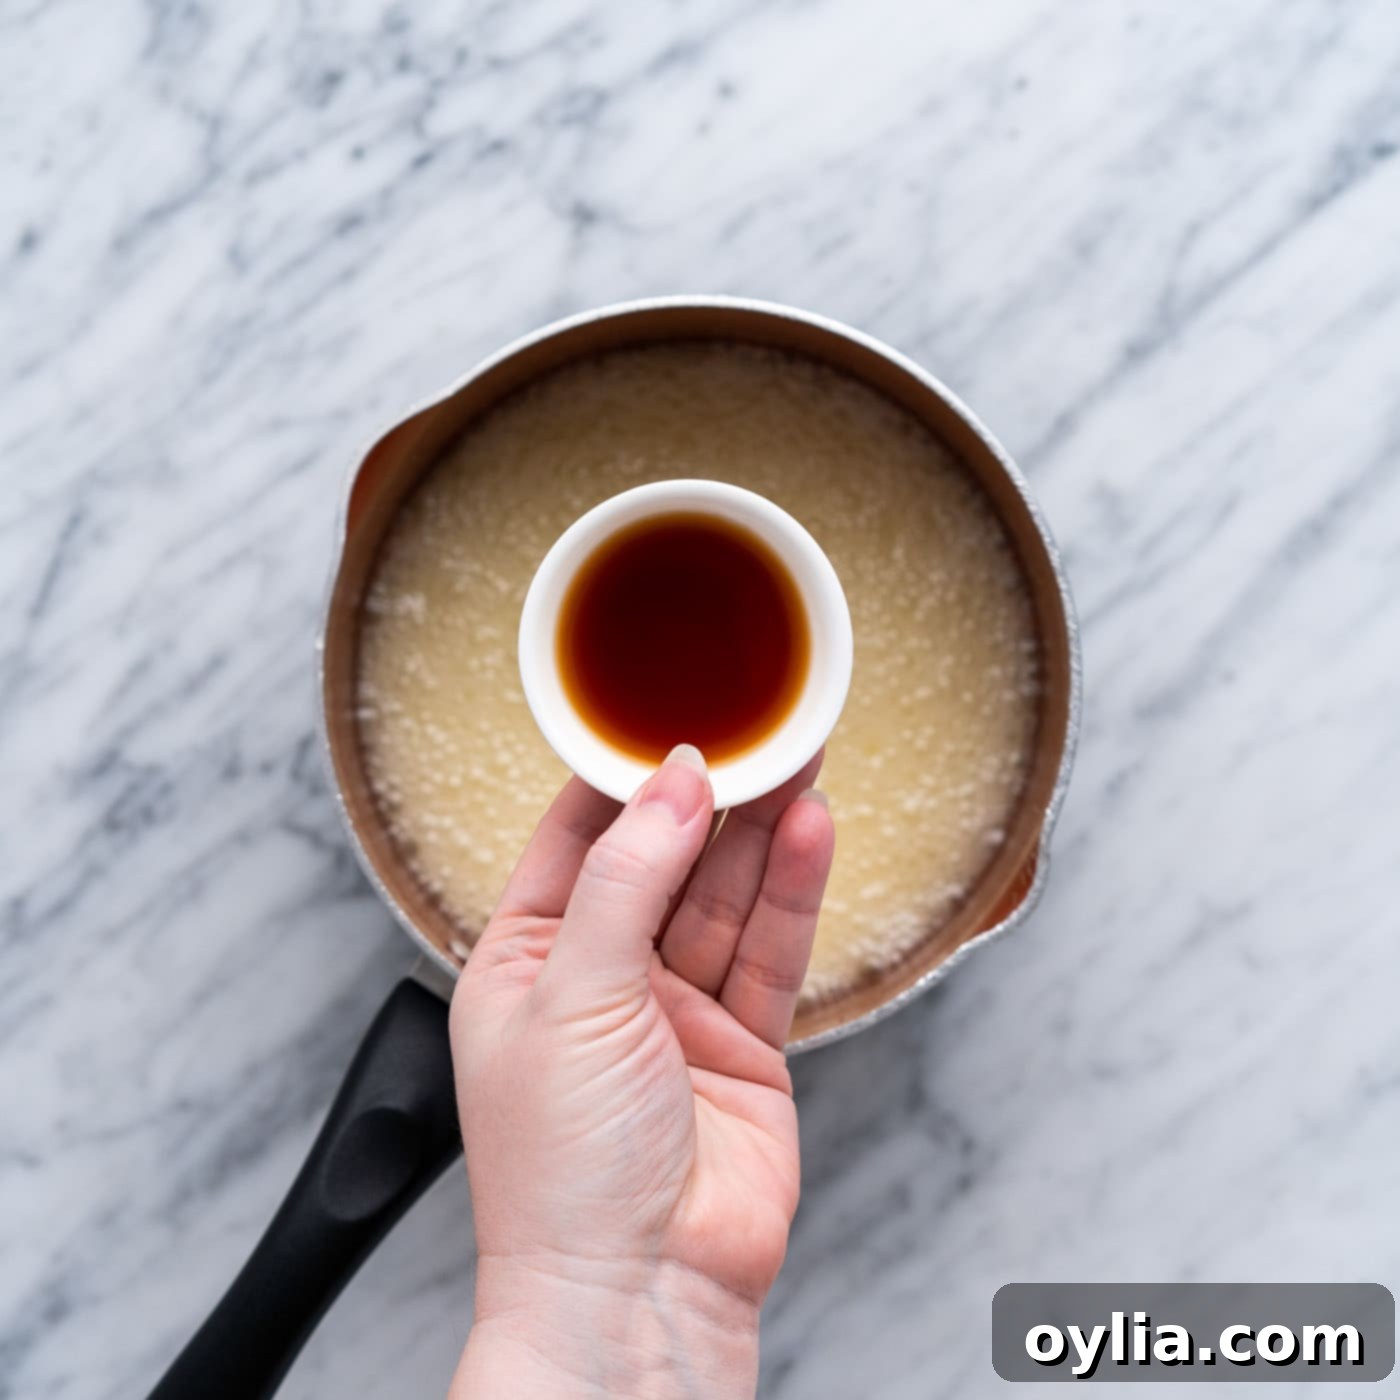
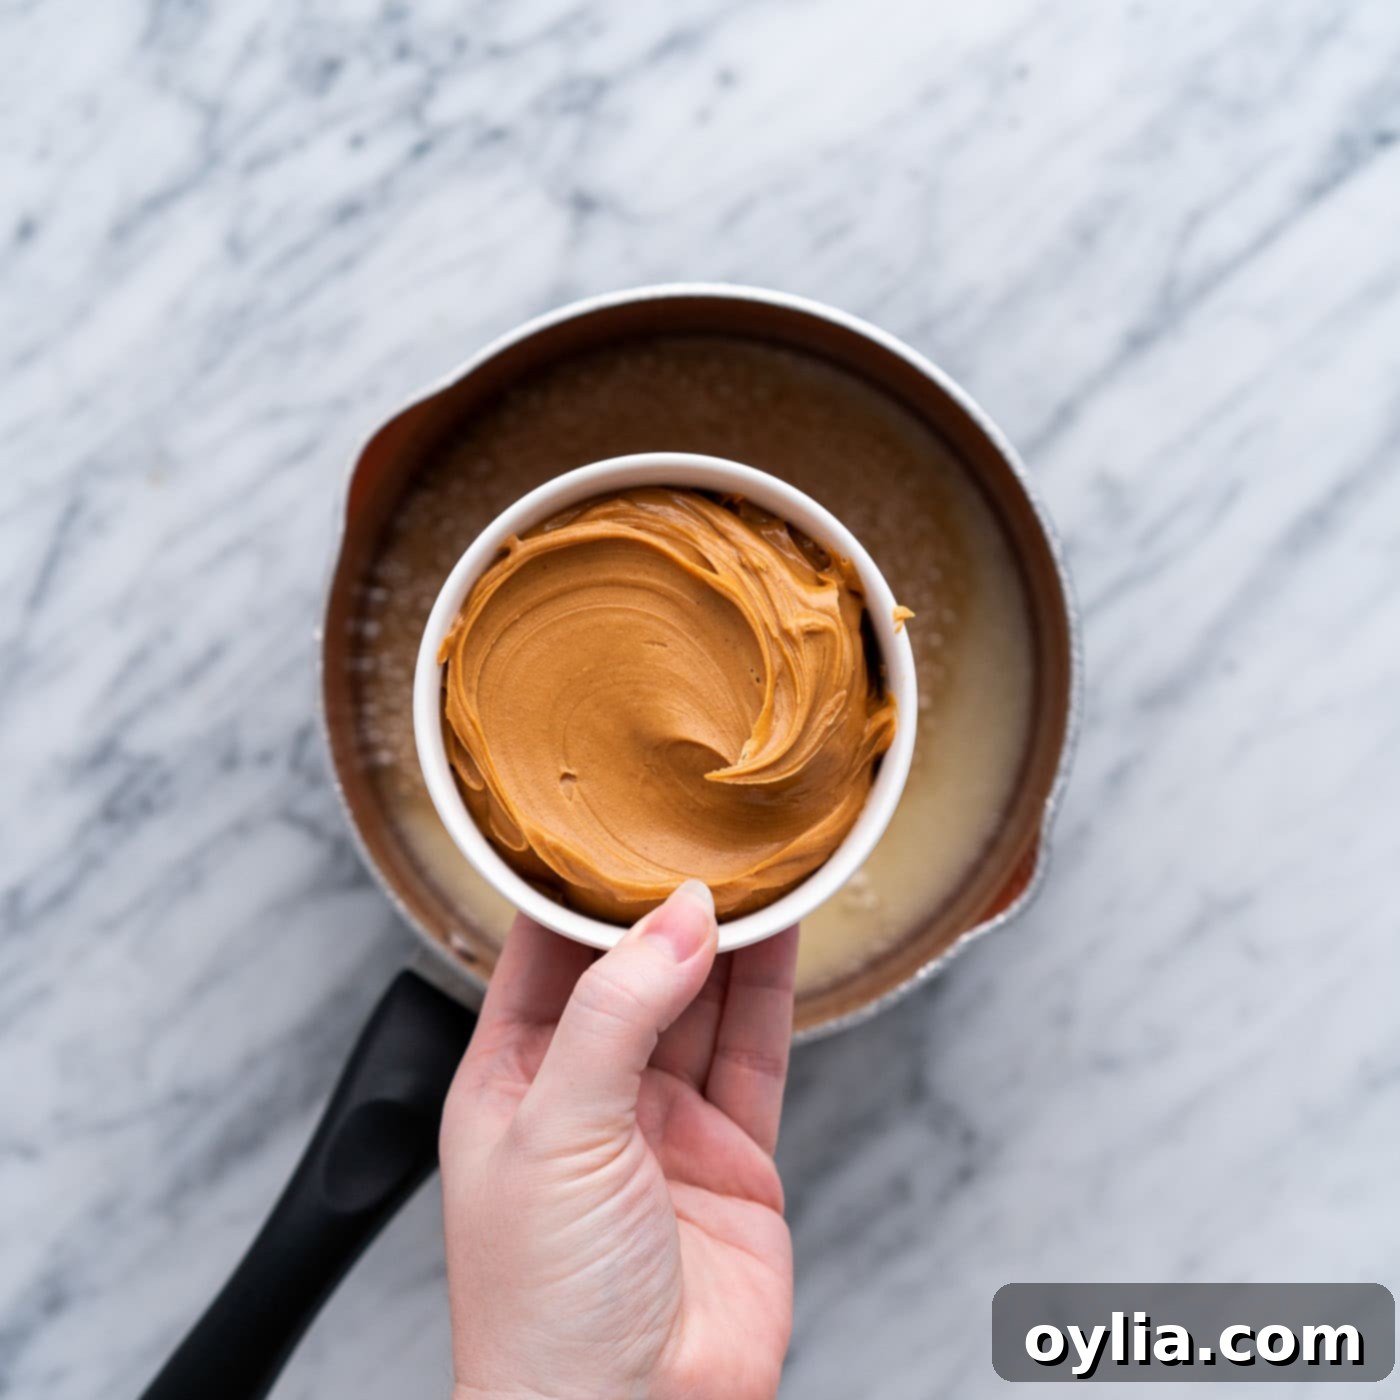
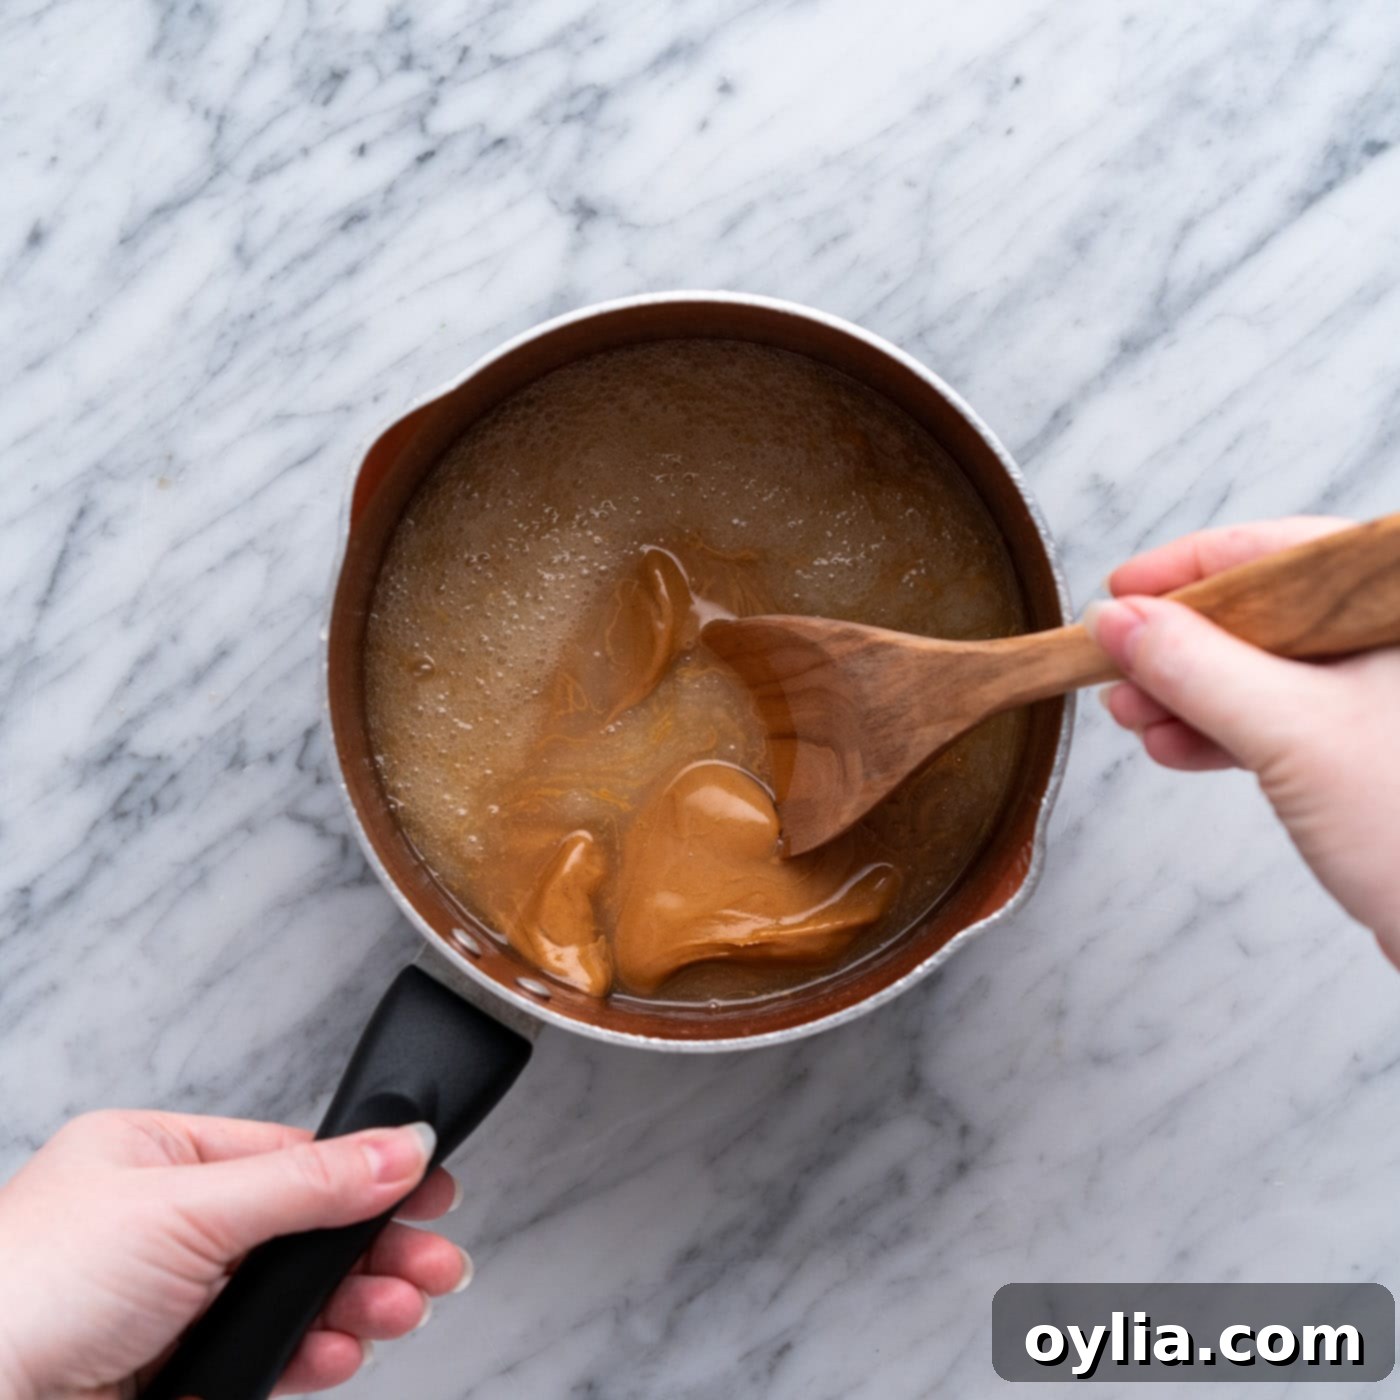
- Flavor Infusion: Immediately after the 2-minute boil, remove the saucepan from the heat. Stir in the vanilla extract and creamy peanut butter until everything is thoroughly combined and smooth. Adding these ingredients off the heat helps preserve the delicate flavor of the vanilla and prevents the peanut butter from seizing or altering its texture.


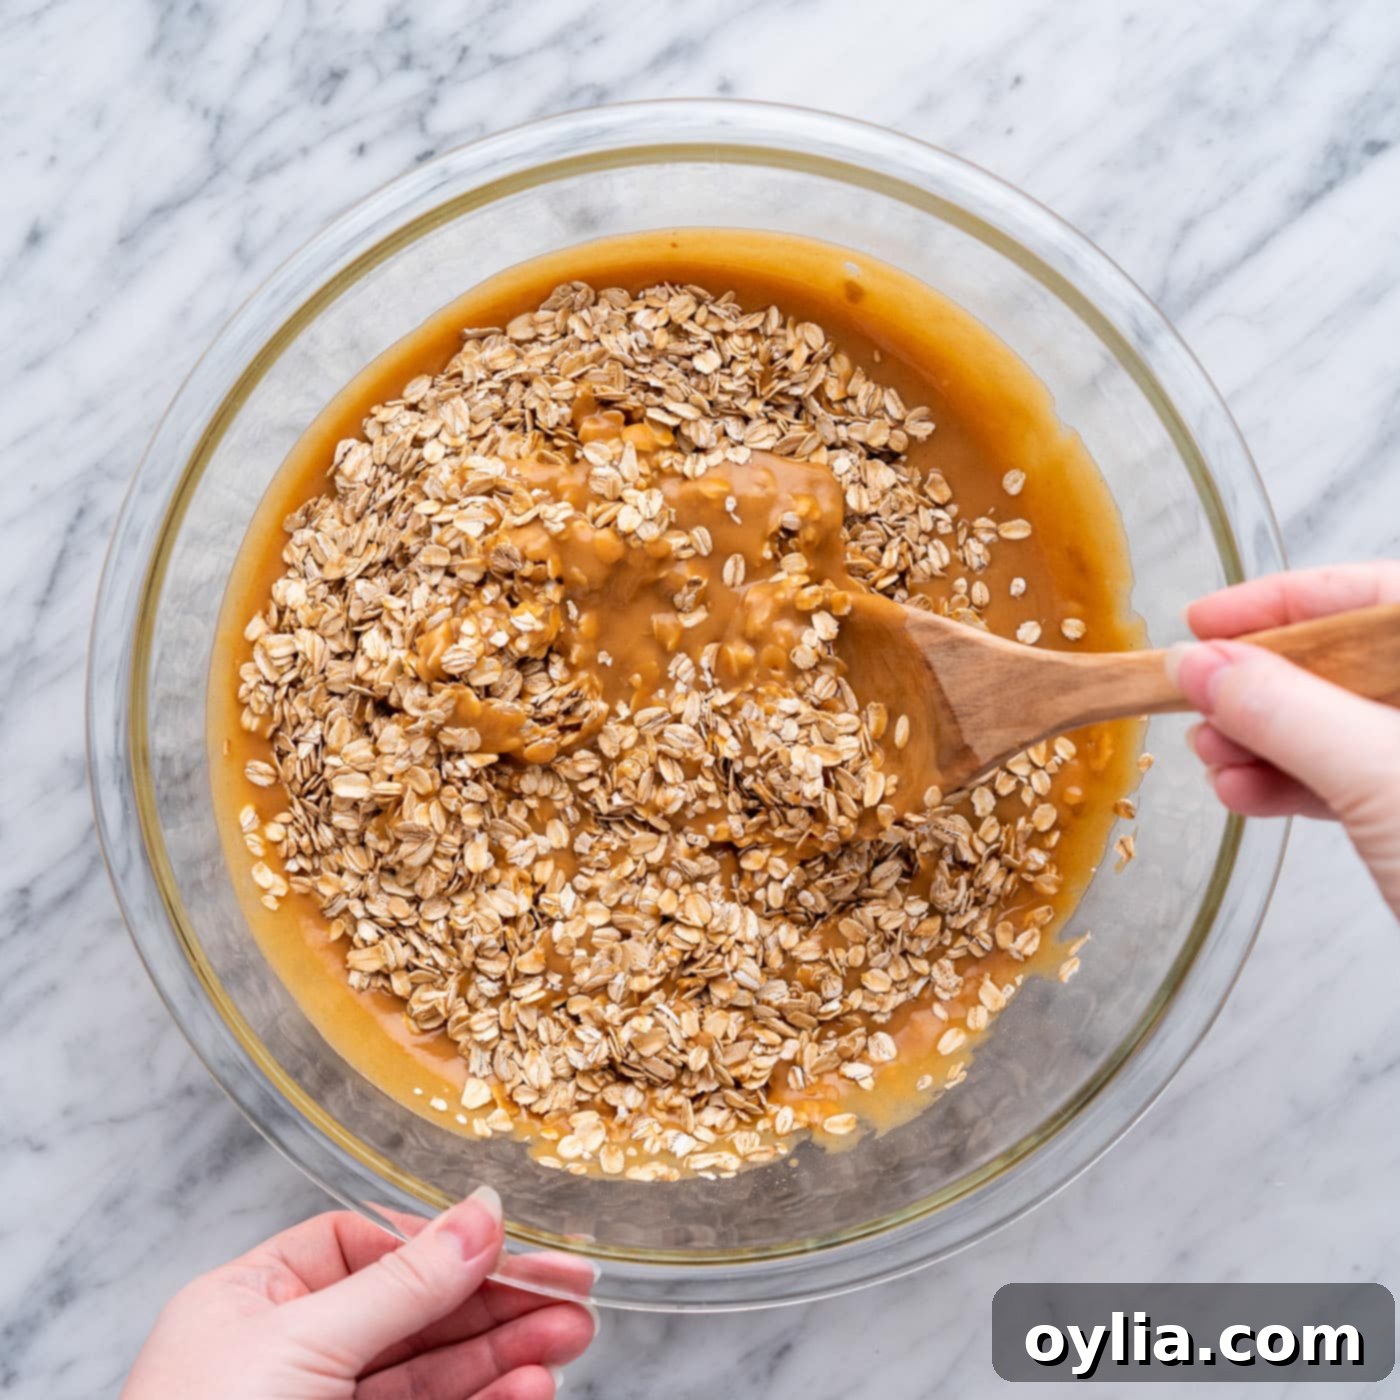
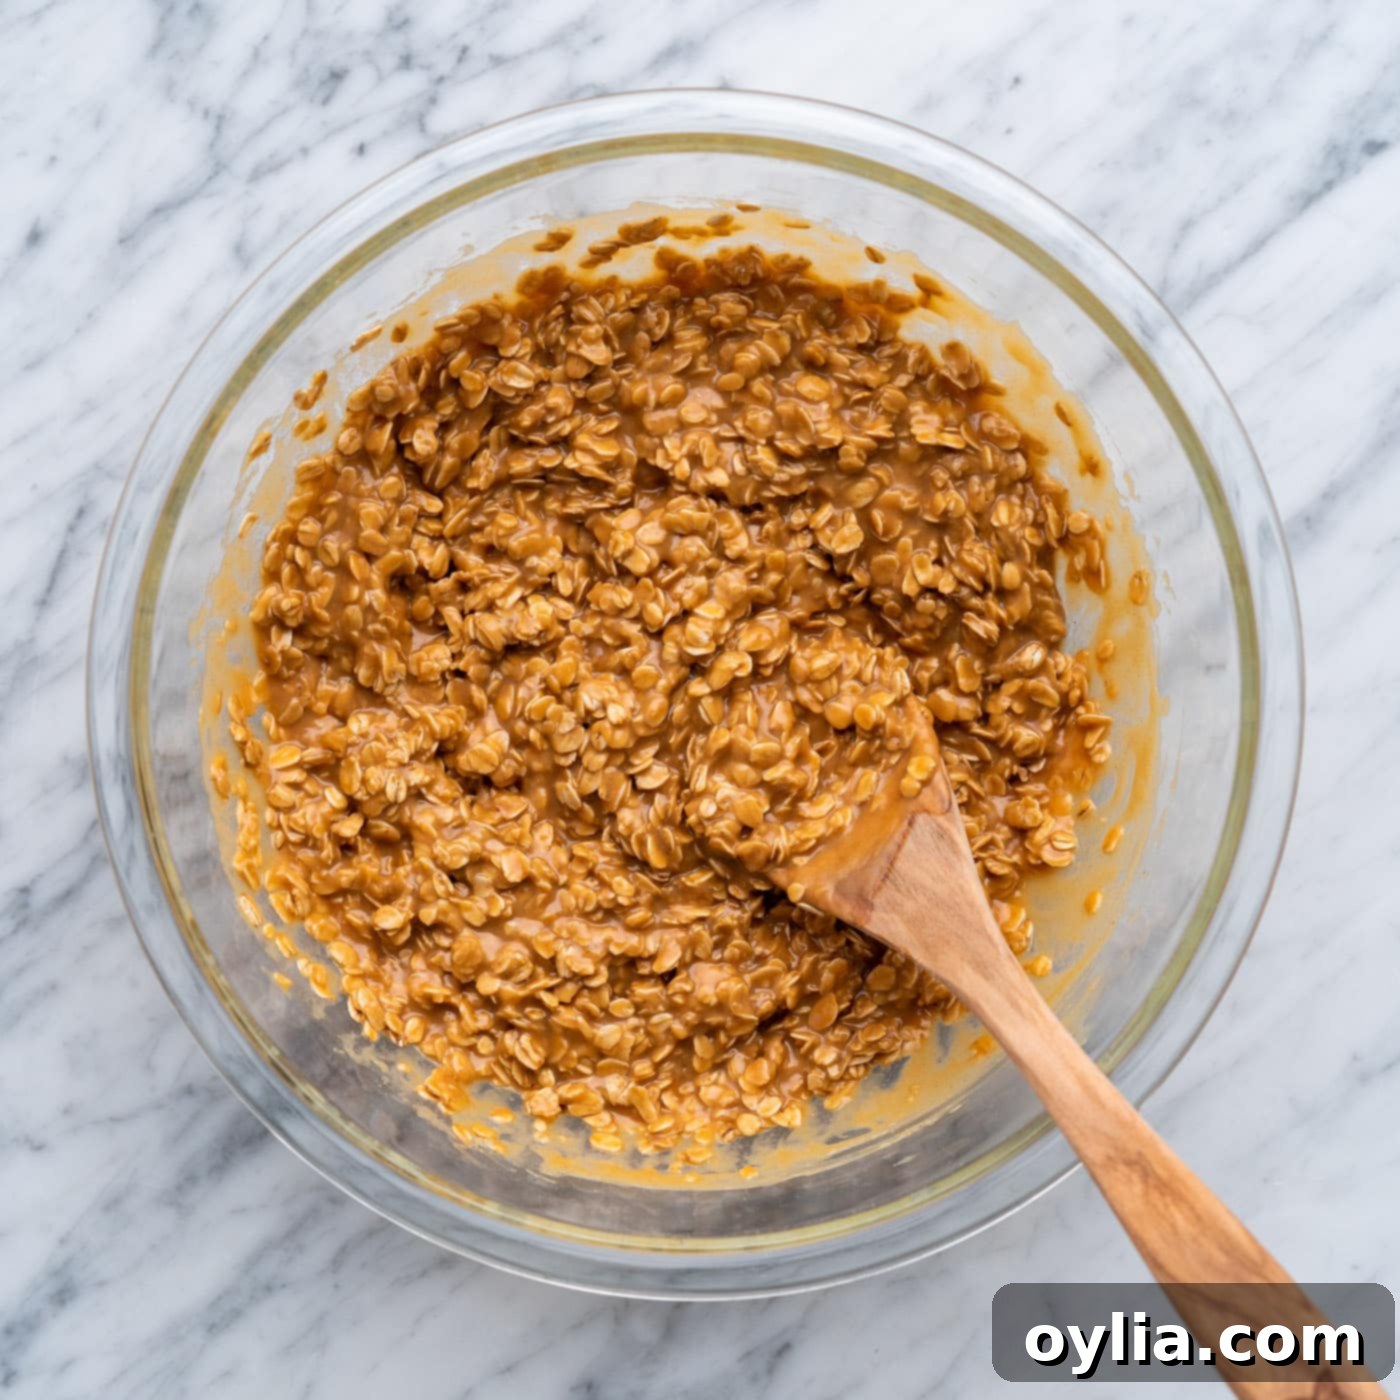
- Mixing in the Oats: Transfer the warm peanut butter mixture to a large bowl. Add the old-fashioned oats and stir vigorously until the oats are completely coated and incorporated into the mixture. Work quickly here, as the mixture will begin to cool and thicken.


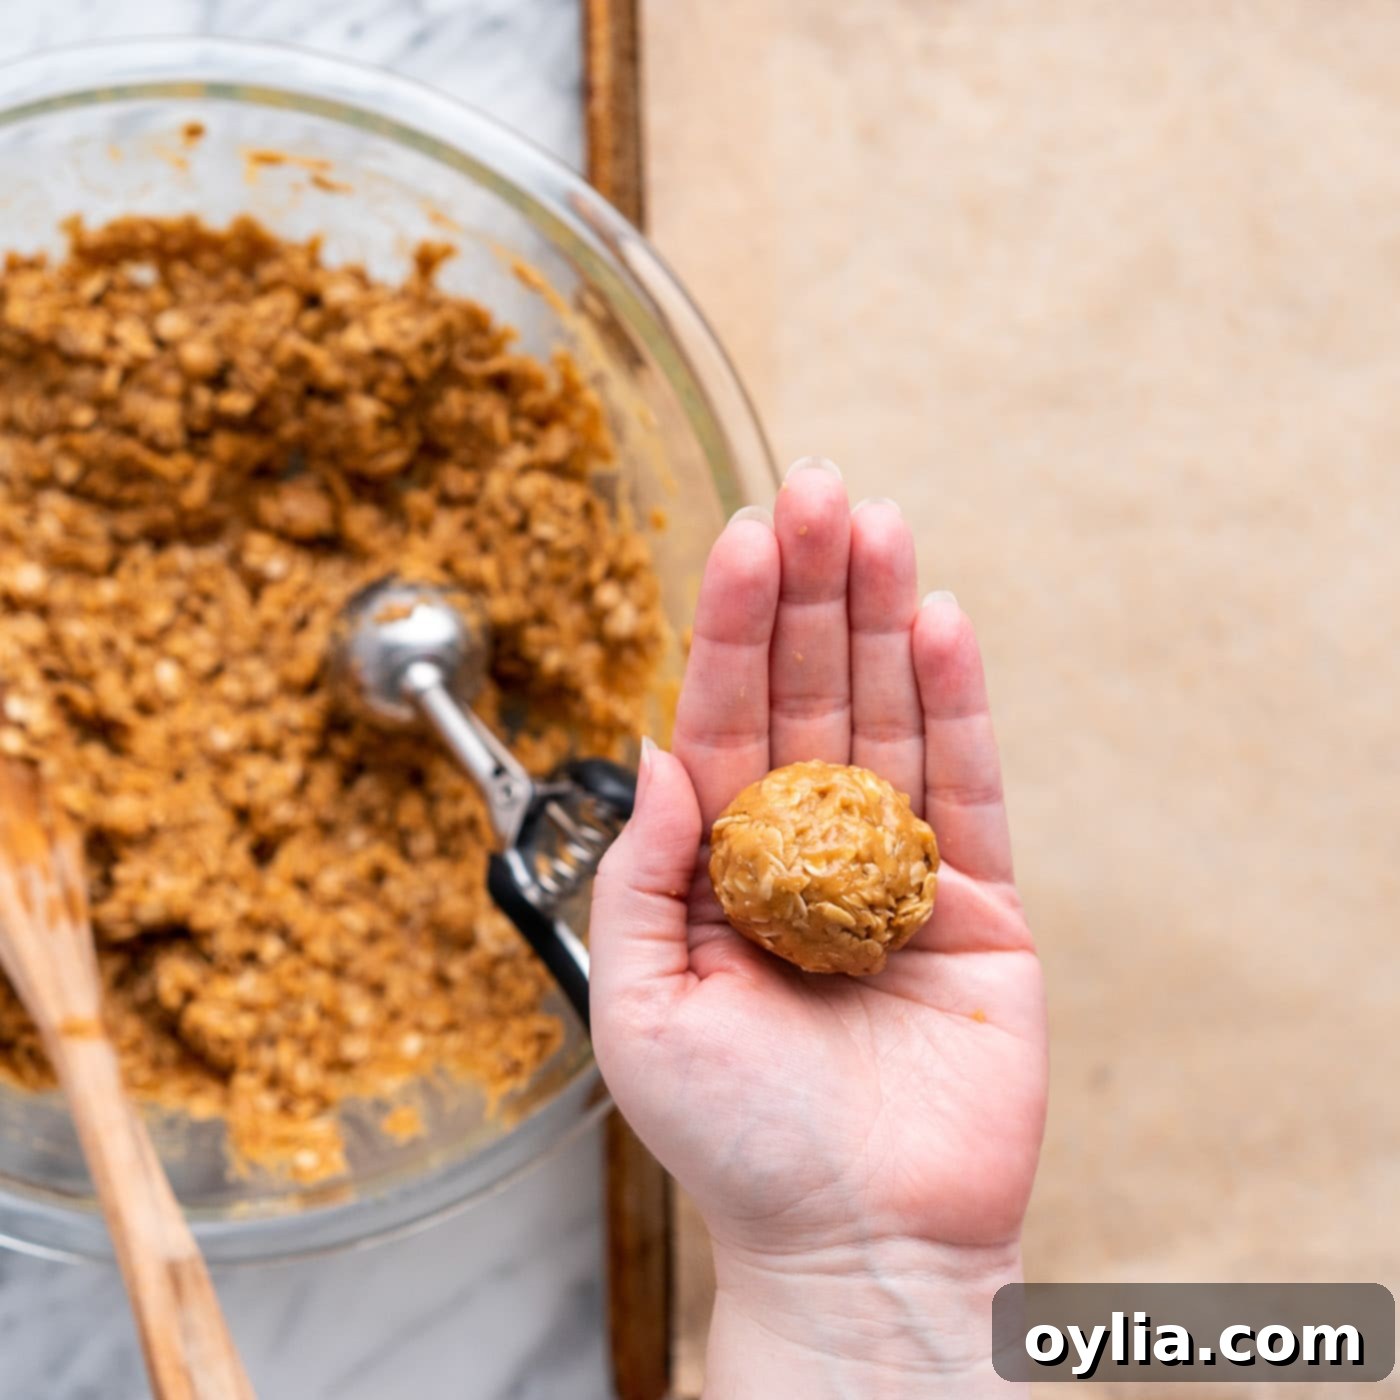
- Shape Quickly and Carefully: This is a delicate balance! The mixture needs to be cool enough for you to handle comfortably without burning yourself, yet still warm enough to be pliable and stick together into cookie shapes. As soon as you can touch it, start rolling the mixture into cookies. Work quickly, as it will continue to firm up as it cools. If it gets too cool, it will be crumbly and hard to shape.
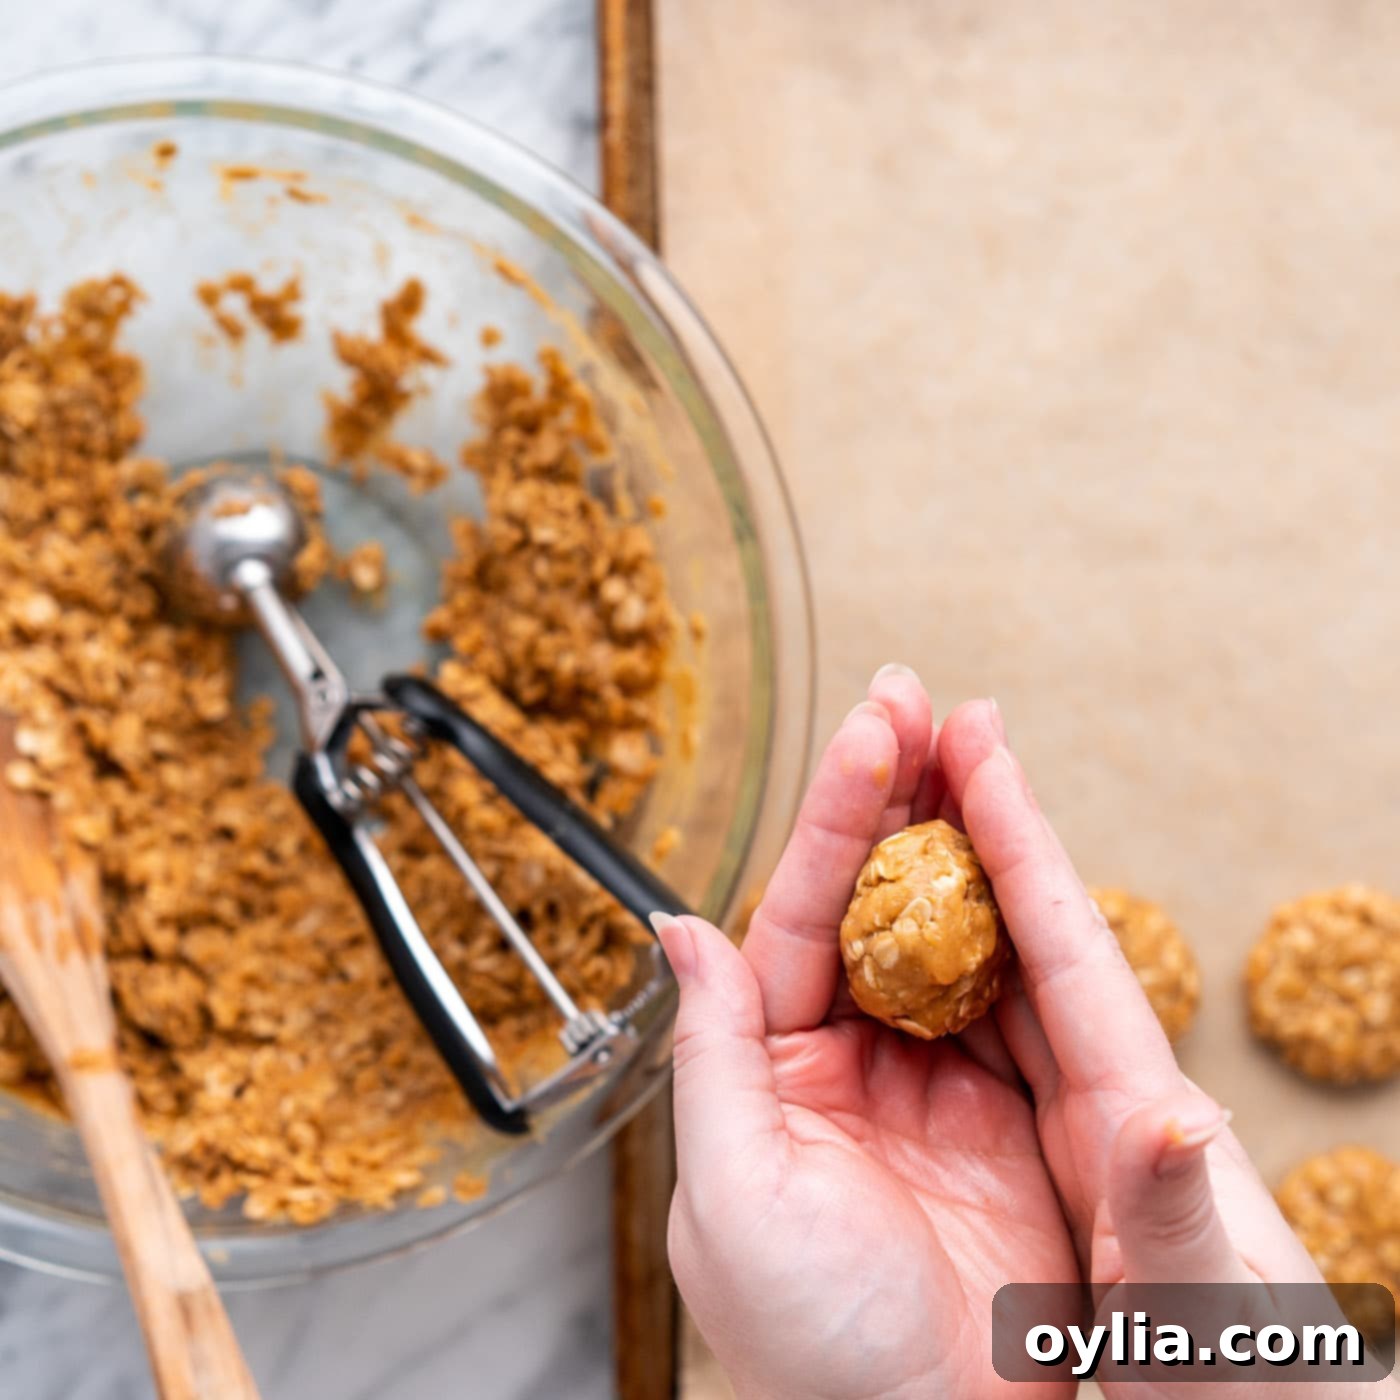
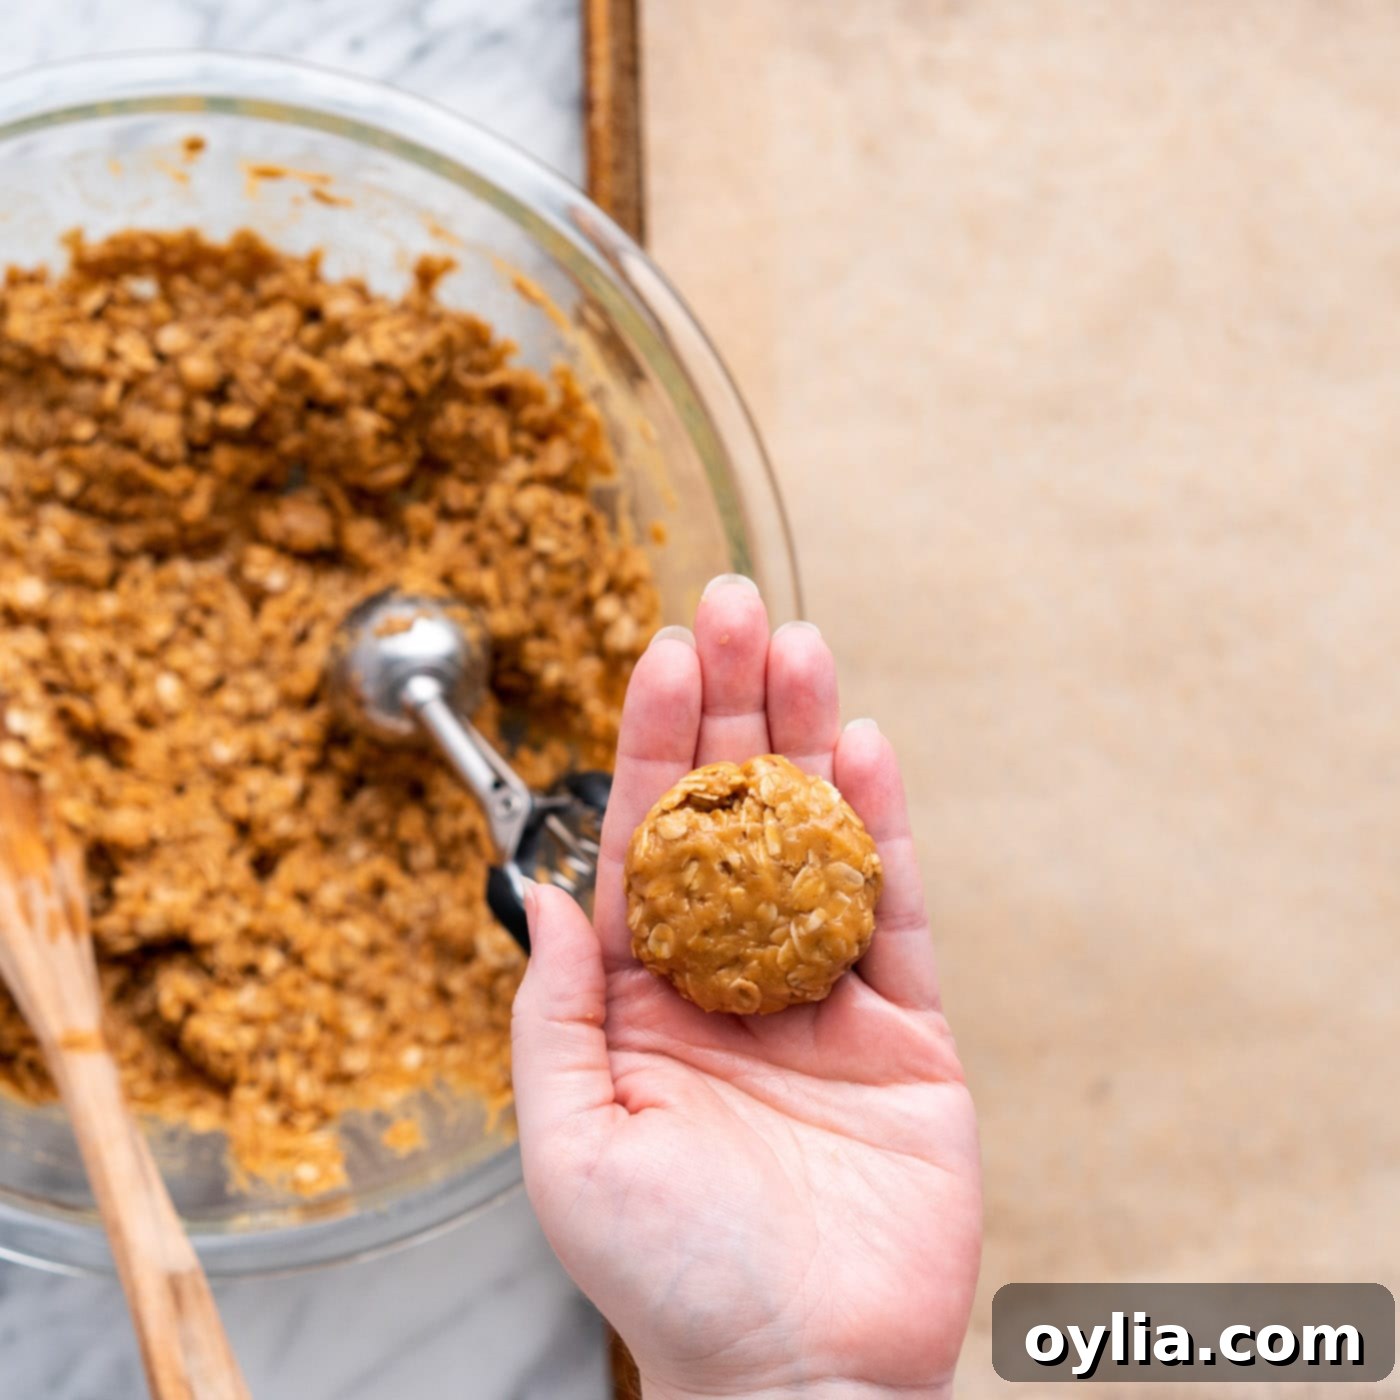
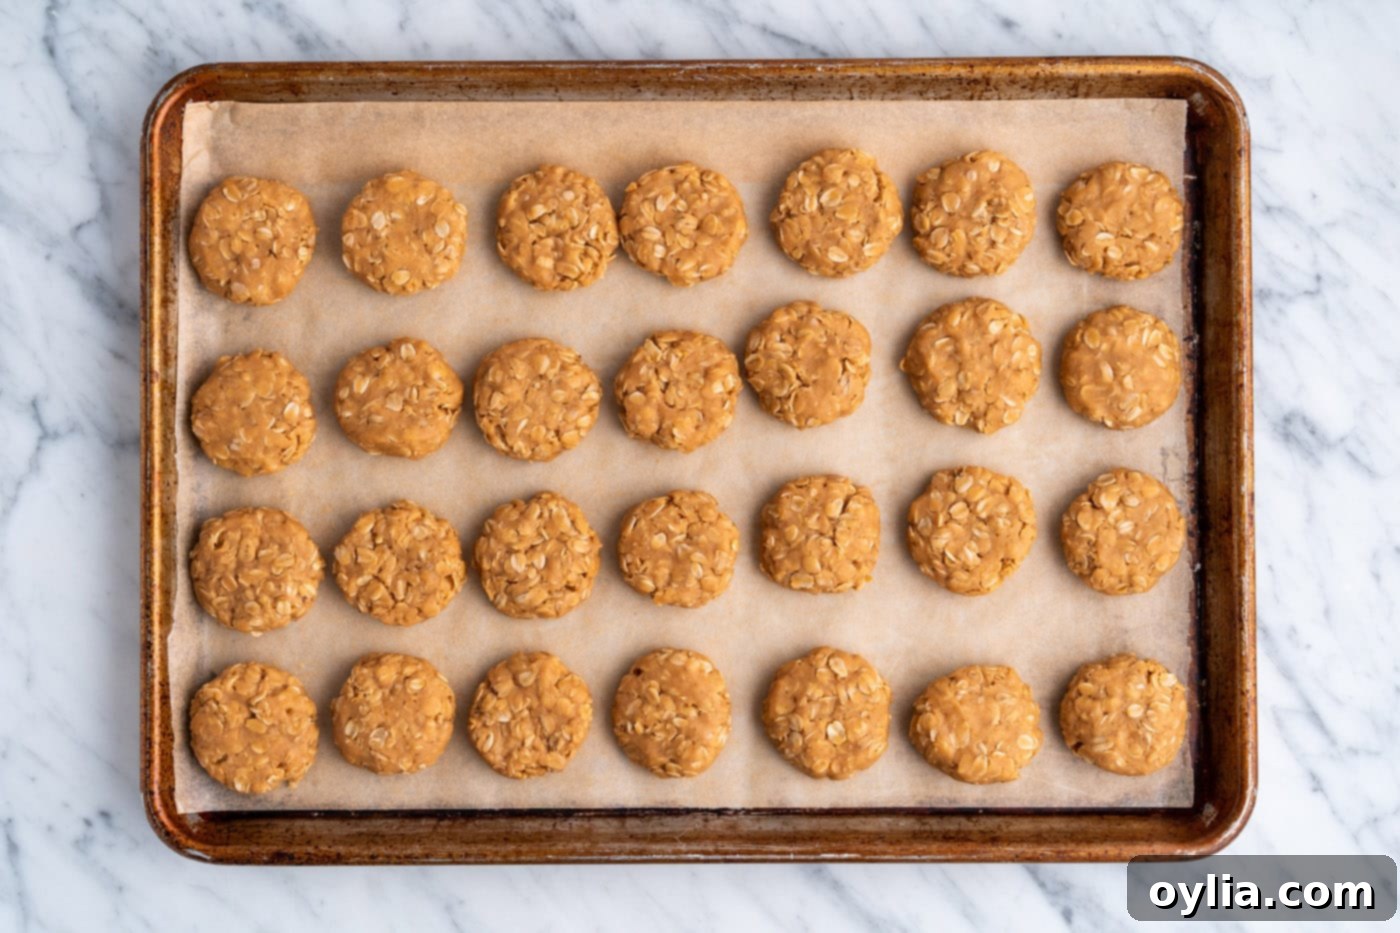
Use a slightly heaping 1.5-tablespoon scoop to portion out the dough. Roll each portion into a smooth ball between your palms, then gently flatten the balls into uniform circles, about 2 inches in diameter. The flattening helps create that classic cookie shape and ensures even setting.


- Cool and Set: Arrange the shaped cookies onto a parchment-lined baking tray. The parchment paper prevents sticking and makes for easy cleanup. Continue shaping the rest of the mixture until all your delicious cookies are formed.

- Allow to Harden: Let the cookies rest at room temperature for approximately 20 minutes. During this time, the mixture will cool completely and harden, giving you that perfect chewy cookie consistency. Resist the urge to move or eat them too soon!
Frequently Asked Questions & Expert Tips for No-Bake Peanut Butter Cookies
Absolutely! If you love a bit of extra texture and crunch in your cookies, chunky peanut butter is a fantastic choice and will work perfectly. However, it’s crucial to steer clear of natural peanut butter for this specific recipe. Natural peanut butter tends to separate its oils and lacks the emulsifiers found in conventional brands, which can prevent the cookies from setting up correctly and result in a greasy, crumbly mess.
The most common reason for no-bake cookies failing to set is usually insufficient boiling time. It is imperative to let the butter, sugar, and milk mixture reach a full, rolling boil (where bubbles appear rapidly and consistently across the entire surface) and then set a timer for *exactly* 2 minutes. Do NOT start your timer when the mixture first begins to bubble or simmer, as this is not a true boil. Boiling for less than 2 minutes at a full boil means the sugar syrup hasn’t reached the proper concentration to create the necessary structure for the cookies to firm up. Conversely, boiling for too long can make them overly crumbly and dry.
To maintain their delicious freshness and chewy texture, store your finished no-bake peanut butter cookies in an airtight container at room temperature. They will keep well for 3-4 days. For optimal quality, choose a cool, dry place away from direct sunlight or any heat sources, as warmth can cause them to soften or become oily.
Yes, these cookies freeze beautifully! Once the cookies have fully set and hardened at room temperature, transfer them to an airtight freezer-safe container or a large ziplock bag. You can layer them with parchment paper to prevent sticking. Stored properly in the freezer, they will remain fresh and delicious for up to 3 months. Thaw them at room temperature for a quick treat whenever a craving strikes!
If your mixture becomes too dry and crumbly, it likely means the sugar mixture was boiled for too long, or it cooled down too much before you started shaping the cookies. Remember, the 2-minute boil is crucial, and you need to work quickly once the oats are mixed in. If it’s slightly crumbly, try adding a tiny bit more milk (1 teaspoon at a time) and mixing quickly to see if it becomes pliable again. If it’s too far gone, unfortunately, it’s difficult to salvage, but you can still enjoy it as a peanut butter “granola” topping for yogurt or ice cream!
Absolutely! These cookies are wonderfully versatile. Consider stirring in a handful of mini chocolate chips (milk, dark, or white), chopped nuts (like peanuts or pecans) for extra crunch, or even a sprinkle of sea salt flakes before they set for a gourmet touch. Add any extra mix-ins along with the oats in step 4.
Delicious Serving Suggestions for Your No-Bake Peanut Butter Cookies
These versatile no-bake peanut butter cookies are fantastic on their own, but they’re also incredibly easy to elevate for any occasion. They pair perfectly with a tall, cold glass of milk, making for a nostalgic and satisfying snack. Their robust, chewy texture also makes them ideal for packing into sandwich bags for convenient lunches, after-school snacks, or quick energy boosts on the go.
For those who adore the classic combination of chocolate and peanut butter, why not take these cookies to the next level? Once the cookies have fully set and hardened, simply melt a little chocolate (milk, semi-sweet, or dark work wonderfully) and drizzle it generously over the tops. You can use a spoon or a piping bag for a more controlled design. Let the chocolate set, and you’ll have an even more indulgent treat that’s sure to impress!
Consider serving them on a dessert platter at your next gathering or packaging them up as a thoughtful, homemade gift. They’re also a great addition to a brunch spread or simply as a comforting treat to enjoy with your morning coffee or tea. The possibilities are endless when it comes to enjoying these easy and delicious cookies.
Explore More Easy No-Bake Recipes You’ll Love!
If you’ve fallen in love with the simplicity and deliciousness of these no-bake peanut butter cookies, you’re in for a treat! We have a whole collection of other fantastic no-bake recipes that are just as easy to make and equally satisfying. Whether you’re looking for another cookie variation, a hearty energy bar, or a different type of peanut butter delight, these recipes are perfect for avoiding the oven and enjoying quick, homemade treats:
- No Bake Energy Bars
- No Bake Cornflake Cookies
- No Bake Peanut Butter Bars
- Chocolate Peanut Butter Balls
- No Bake Peanut Butter Cornflake Cookies
I absolutely adore creating and sharing my kitchen adventures with all of you! Remembering to check back for new recipes can be tricky, which is why I offer a convenient newsletter delivered straight to your inbox every time a fresh recipe posts. Simply subscribe today and start receiving your free daily recipes, ensuring you never miss out on delicious inspiration!
No Bake Peanut Butter Cookies
IMPORTANT – There are often Frequently Asked Questions within the blog post that you may find helpful. Simply scroll back up to read them!
Print It
Pin It
Rate It
Save It
Saved!
Prevent your screen from going dark
Course:
Dessert
Cuisine:
American
28
cookies
40 minutes
172
Amanda Davis
Ingredients
-
½
cup
unsalted butter -
1 ¾
cups
granulated white sugar -
½
cup
whole milk -
¼
teaspoon
salt -
1
Tablespoon
vanilla extract -
1
cup
creamy peanut butter -
3 ¼
cups
old-fashioned rolled oats
Things You’ll Need
-
Saucepan -
1.5 Tablespoon Cookie Scoop -
Mixing bowls
Before You Begin
- Preparation is Key: Have all your mix-in ingredients ready to go (oats, peanut butter, vanilla, and salt) before you start cooking the base. This ensures you can work quickly once the syrup is ready, preventing the mixture from setting up prematurely before you’ve had the chance to scoop them into balls.
- Butter Type: If you only have salted butter on hand, remember to omit the ¼ teaspoon of additional salt called for in the recipe ingredients to avoid overly salty cookies.
- Peanut Butter Choice: You can substitute with chunky peanut butter if you prefer a bit of added texture. However, I strongly advise against using natural peanut butter (the kind that separates oil) for this recipe. Its lack of stabilizers tends to make the cookies too runny, preventing them from setting up correctly and leading to a messy, crumbly result.
- Crucial Boiling Step: This is the most vital part of the recipe for proper setting! It’s best to set a timer for exactly 2 minutes ONCE the mixture reaches a full, rolling boil (meaning rapid, consistent bubbles across the entire surface). Do NOT start the timer when it merely begins to bubble or simmer. Starting your timer too soon will prevent the cookies from setting properly, leaving them sticky and soft.
- Storage: Store your finished no-bake peanut butter cookies in an airtight container at room temperature. They will remain fresh and delicious for 3-4 days. Always keep them in a cool, dry place away from direct sunlight to maintain their best texture.
- Freezing: To freeze these cookies, allow them to fully set and harden at room temperature first. Then, transfer them to an airtight container or a large freezer-safe ziplock bag. They can be stored in the freezer for up to 3 months.
Instructions
-
Add the butter, sugar, milk, and salt to a medium saucepan over medium heat, stirring occasionally to help dissolve the sugar and melt the butter evenly.
-
Once the mixture reaches a full, rolling boil, let it boil for exactly 2 minutes. This precise timing is crucial for the cookies to set correctly.
-
Remove the saucepan from the heat and immediately stir in the vanilla extract and peanut butter until thoroughly combined and smooth.
-
Transfer the warm peanut butter mixture to a large bowl. Add the old-fashioned oats and stir vigorously until all the oats are completely coated.
-
Now, you need to work quickly! The mixture should be cool enough to handle comfortably, but still warm and pliable enough to stick together. As soon as you can safely touch it, begin shaping the cookies.
Use a slightly heaping 1.5-tablespoon scoop to portion the dough. Roll each portion into a ball between your palms, then gently flatten it into a circle about 2 inches in diameter. Place the shaped cookies onto a parchment-lined baking tray and continue until all the mixture is used.
-
Allow the cookies to set at room temperature for approximately 20 minutes. They will firm up and harden as they cool, achieving that perfect chewy consistency.
Nutrition
Serving:
1
cookie
|
Calories:
172
cal
|
Carbohydrates:
21
g
|
Protein:
3
g
|
Fat:
9
g
|
Saturated Fat:
3
g
|
Polyunsaturated Fat:
1
g
|
Monounsaturated Fat:
3
g
|
Trans Fat:
0.1
g
|
Cholesterol:
9
mg
|
Sodium:
63
mg
|
Potassium:
94
mg
|
Fiber:
1
g
|
Sugar:
14
g
|
Vitamin A:
108
IU
|
Calcium:
16
mg
|
Iron:
1
mg
Tried this Recipe? Pin it for Later!
Follow on Pinterest @AmandasCookin or tag #AmandasCookin!
The recipes on this blog are tested with a conventional gas oven and gas stovetop. It’s important to note that some ovens, especially as they age, can cook and bake inconsistently. Using an inexpensive oven thermometer can assure you that your oven is truly heating to the proper temperature. If you use a toaster oven or countertop oven, please keep in mind that they may not distribute heat the same as a conventional full sized oven and you may need to adjust your cooking/baking times. In the case of recipes made with a pressure cooker, air fryer, slow cooker, or other appliance, a link to the appliances we use is listed within each respective recipe. For baking recipes where measurements are given by weight, please note that results may not be the same if cups are used instead, and we can’t guarantee success with that method.
