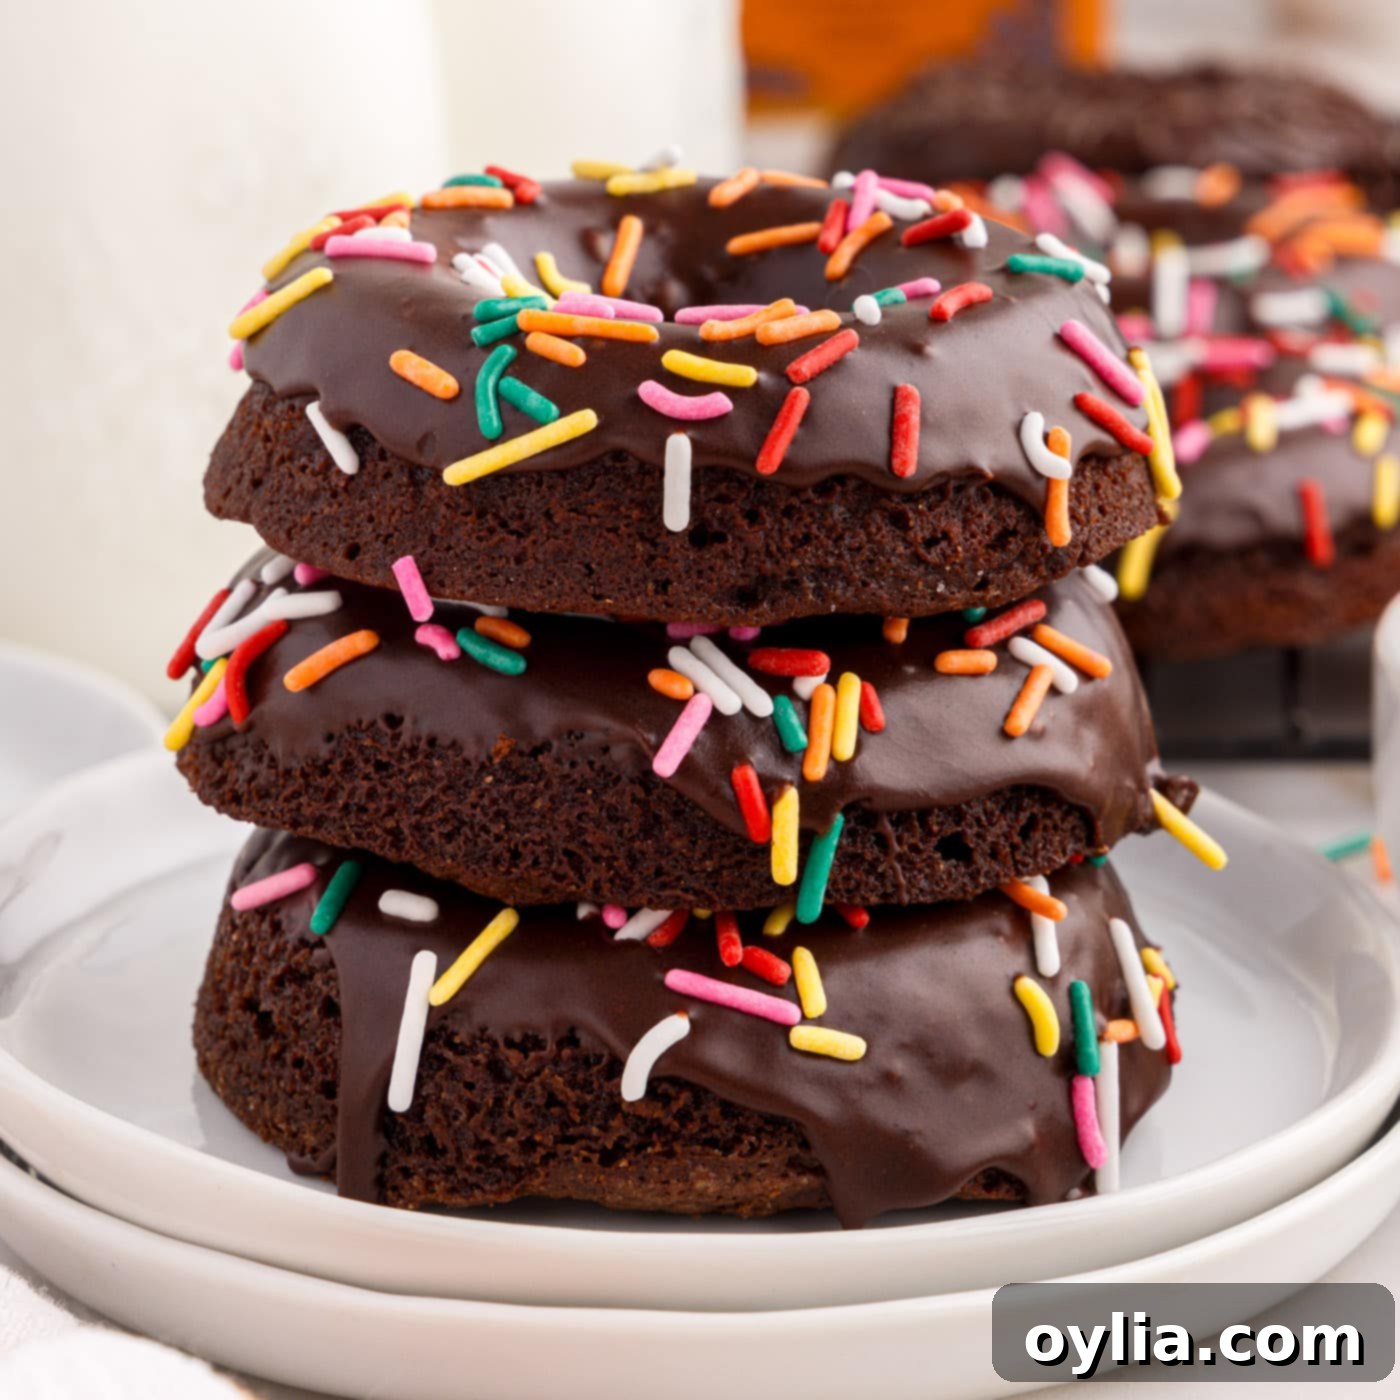
Irresistible Baked Bronuts: The Ultimate Fudgy Brownie Donut Recipe
Prepare to meet your new favorite dessert sensation: the Bronut! These incredible treats masterfully merge the rich, decadent texture of fudgy brownies with the delightful, soft bite of a classic cake donut. It’s a truly insane, yet utterly delicious, combination that creates an unparalleled chocolate experience. Whether you’re a seasoned baker or looking for a show-stopping dessert that’s surprisingly simple to make, these homemade brownie donuts are guaranteed to steal the spotlight and win hearts. Get ready to dive into a world where every bite is a perfect harmony of brownie bliss and donut delight.
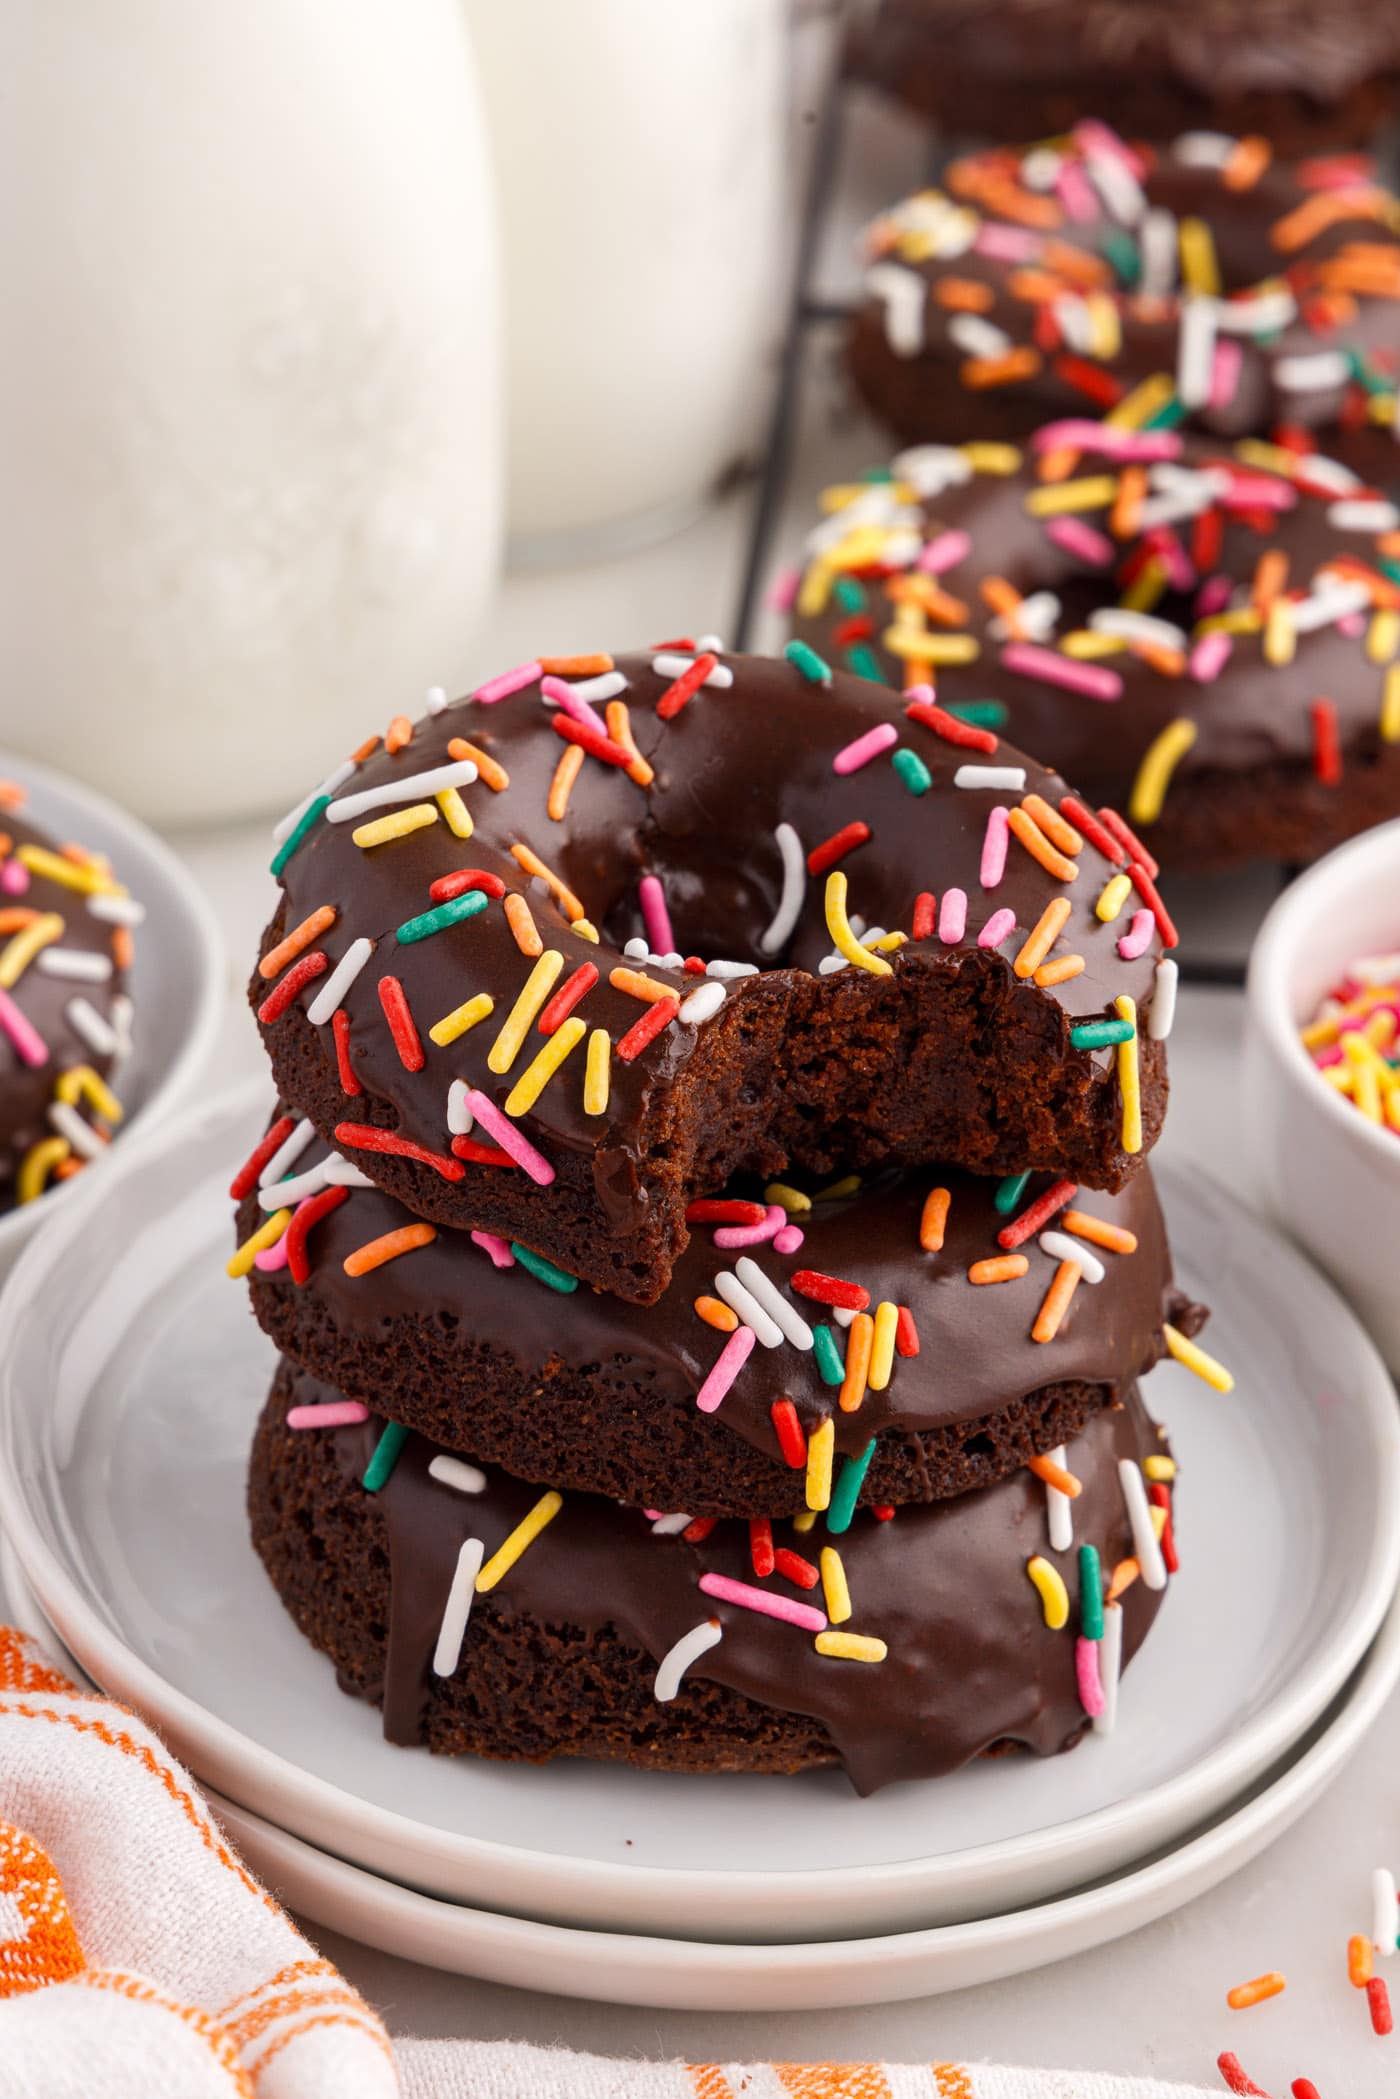
Why You’ll Love These Bronuts: The Best of Both Worlds
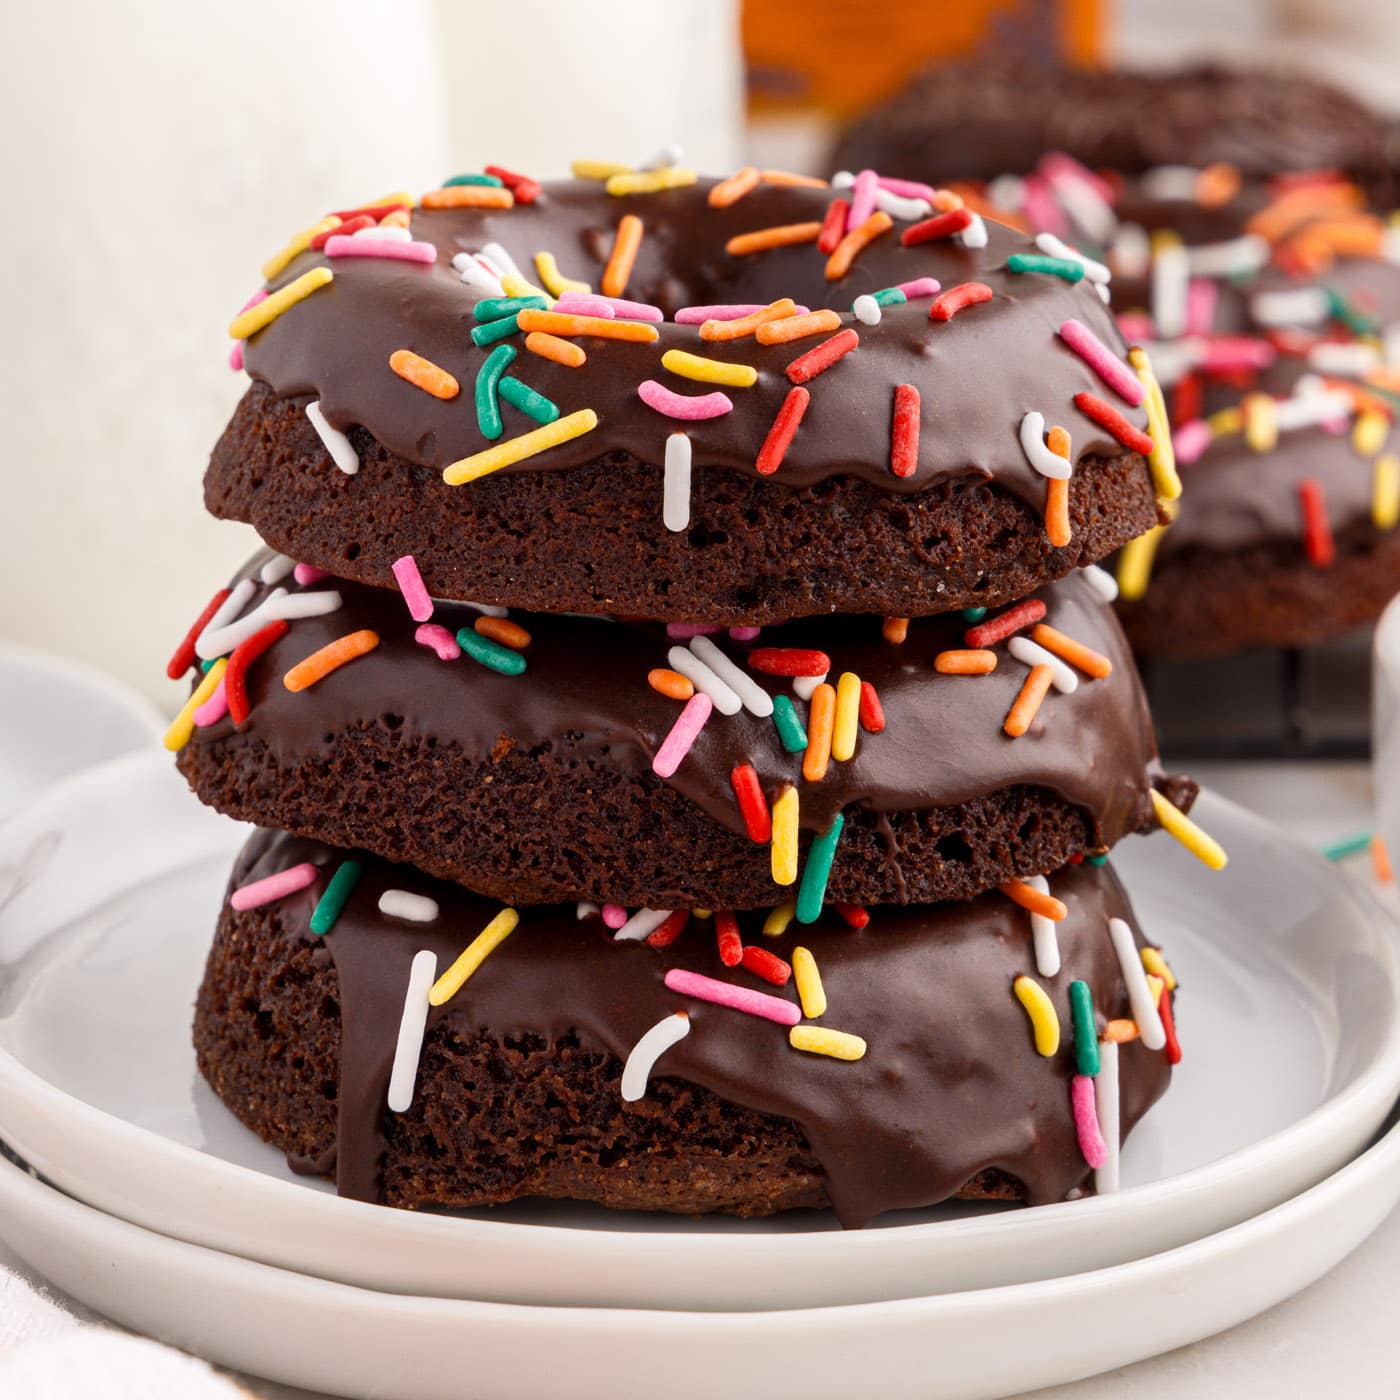
Bronuts are more than just a passing craze; they are a culinary revelation that truly delivers on all the hype. Imagine the dense, rich, and intensely chocolatey interior of your favorite fudge brownies, perfectly molded into the classic, convenient shape of a cake donut. This isn’t just a simple mashup; it’s a carefully crafted recipe that brings together the best attributes of both beloved desserts. You didn’t realize you needed this harmonious blend until you sink your teeth into one. Each bite offers that unmistakable fudgy chewiness complemented by a tender, moist cake-like consistency. Topped with a luscious chocolate glaze and vibrant sprinkles, these Bronuts are not just a dessert, they are an experience – an instant classic that will undoubtedly steal your heart and become a go-to treat for any occasion. Their irresistible charm speaks for itself, requiring no further convincing.
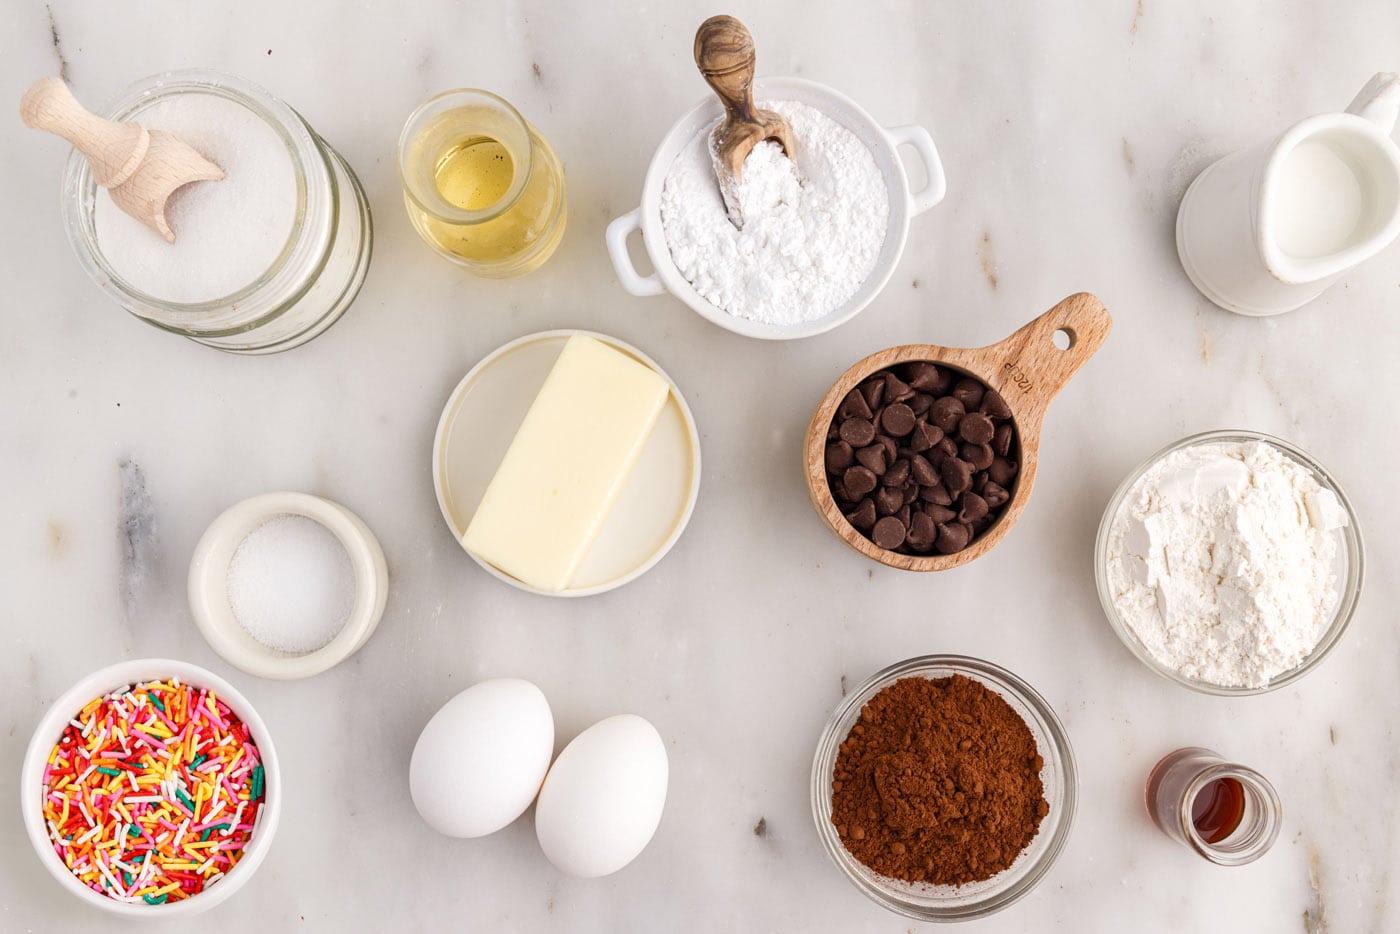
Key Ingredients for Perfect Bronuts
Creating these incredible brownie donuts starts with a selection of common baking ingredients, thoughtfully combined to achieve that signature fudgy and moist texture. Each component plays a crucial role in bringing out the deep chocolate flavor and perfect consistency that makes Bronuts so irresistible. Before you begin, gather all your ingredients, ensuring they are at the correct temperature as specified, which is vital for the best results. You’ll find a detailed list of measurements and instructions in the printable recipe card at the very end of this comprehensive guide.
Ingredient Breakdown and Smart Substitutions
For the Bronut Batter
Unsalted Butter & Semi-Sweet Chocolate Chips: The foundation of our fudgy texture and rich chocolate flavor. The combination of butter and oil in the brownie batter not only gives the Bronuts a wonderfully buttery taste but also ensures that moist, chewy texture we all crave in a brownie. For the chocolate, quality matters! While semi-sweet chocolate chips are standard, feel free to experiment with dark chocolate chips for a deeper, more intense flavor profile. You can also use chopped baking chocolate for an even smoother melt.
Granulated Sugar, Vanilla Extract, and Vegetable Oil: Granulated sugar contributes to both sweetness and the desirable crisp top crust often found on brownies. Vanilla extract is essential for enhancing the overall chocolate flavor, adding a warm, aromatic depth. Vegetable oil is the secret weapon for ultimate moisture and chewiness. If you prefer, you can substitute canola oil or another neutral-flavored oil.
Large Eggs: Eggs act as a crucial binding agent, providing structure and contributing to the richness and rise of the Bronuts. It’s important to use large eggs at room temperature. Room temperature eggs emulsify better with the other ingredients, leading to a smoother batter and a more consistent final product.
All-Purpose Flour, Salt, and Unsweetened Cocoa Powder: These dry ingredients form the bulk of our brownie donut. Sifting the dry ingredients together before adding them to the wet mixture is a critical step. This removes any lumps and ensures the flour, salt, and cocoa powder combine evenly into the batter, preventing pockets of unmixed ingredients. This also helps to lighten the dry ingredients, contributing to a tender crumb. For cocoa powder, unsweetened varieties like natural or Dutch-processed will work, but Dutch-processed tends to give a darker color and a milder, less acidic chocolate flavor. Do not overmix or over-whisk when incorporating these ingredients. Soft, fudgy brownies (and thus Bronuts) come from stirring minimally and avoiding the introduction of too much air into the batter, which can happen when you whisk vigorously. Overmixing develops the gluten in the flour, resulting in a tougher, less fudgy texture.
For the Decadent Chocolate Glaze
Powdered Sugar: Also known as confectioners’ sugar, this ingredient is key for achieving a smooth, lump-free glaze. Its fine texture dissolves easily, creating a beautifully flowing and quick-setting topping.
Milk: A small amount of milk helps to thin the powdered sugar and cocoa powder into a pourable glaze consistency. You can use any type of milk you prefer, whether it’s whole milk, low-fat milk, or even a non-dairy alternative like almond or oat milk, adjusting the amount slightly to reach your desired thickness.
Unsweetened Cocoa Powder: This adds an extra layer of chocolatey goodness and a lovely color to the glaze. Using unsweetened cocoa ensures the glaze isn’t overly sweet, balancing the sweetness of the powdered sugar.
How to Bake Your Own Bronuts: Step-by-Step Guide
These step-by-step photos and detailed instructions are here to help you visualize exactly how to make this delightful recipe. For all precise measurements and a convenient printable version of this recipe, complete with ingredients and instructions, please refer to the comprehensive recipe card at the bottom of this post. You can Jump to Recipe now to get started!
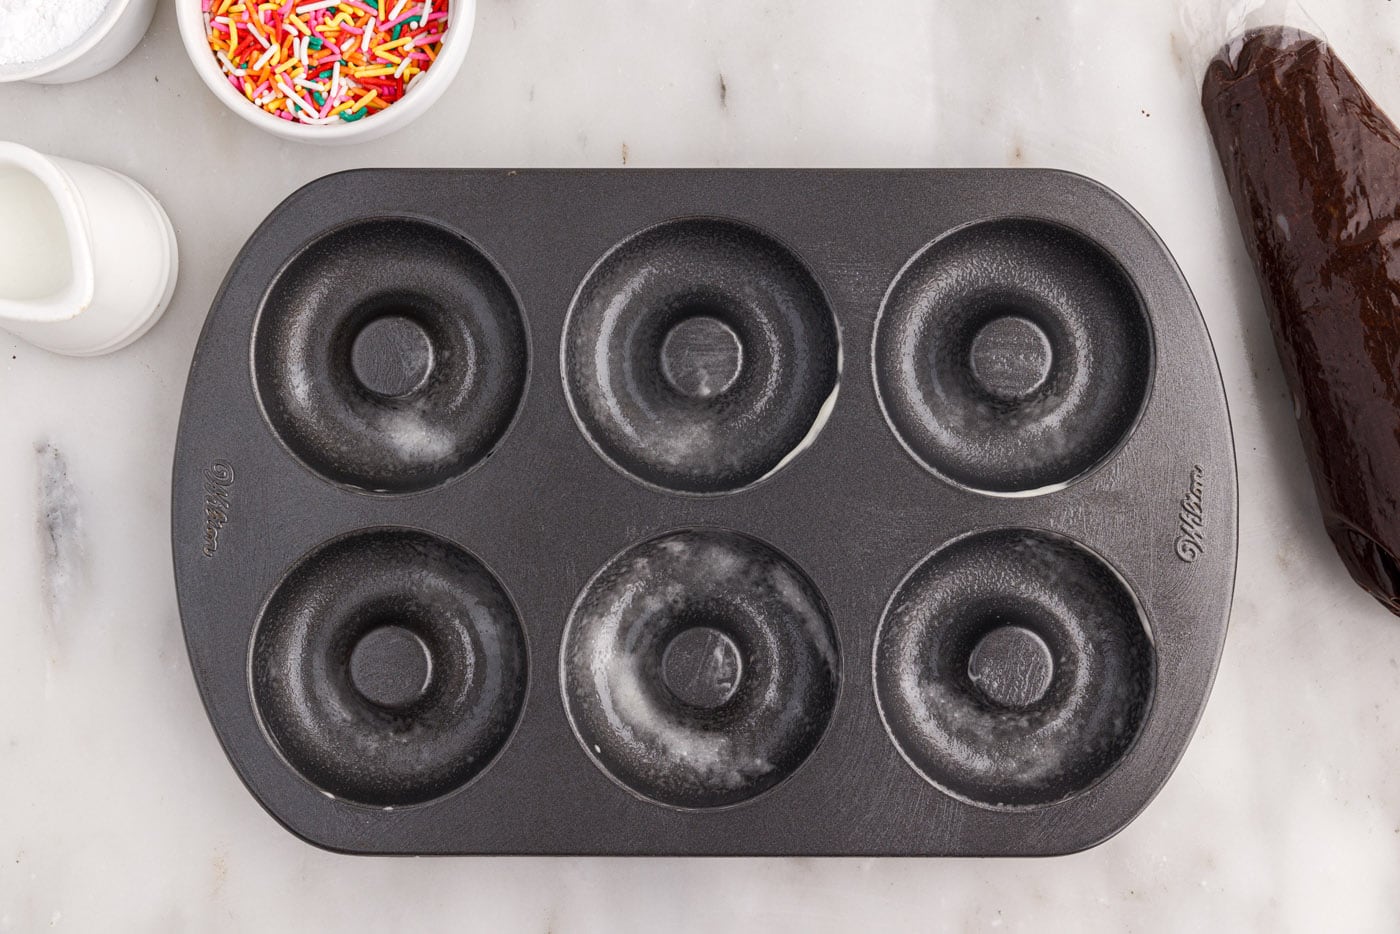
- Preheat and Prepare: Start by preheating your oven to 350°F (175°C). This ensures your oven is at the correct temperature for even baking. Next, generously spray your donut pan with a non-stick baking spray. The kind that contains flour works exceptionally well, helping the bronuts release smoothly after baking.
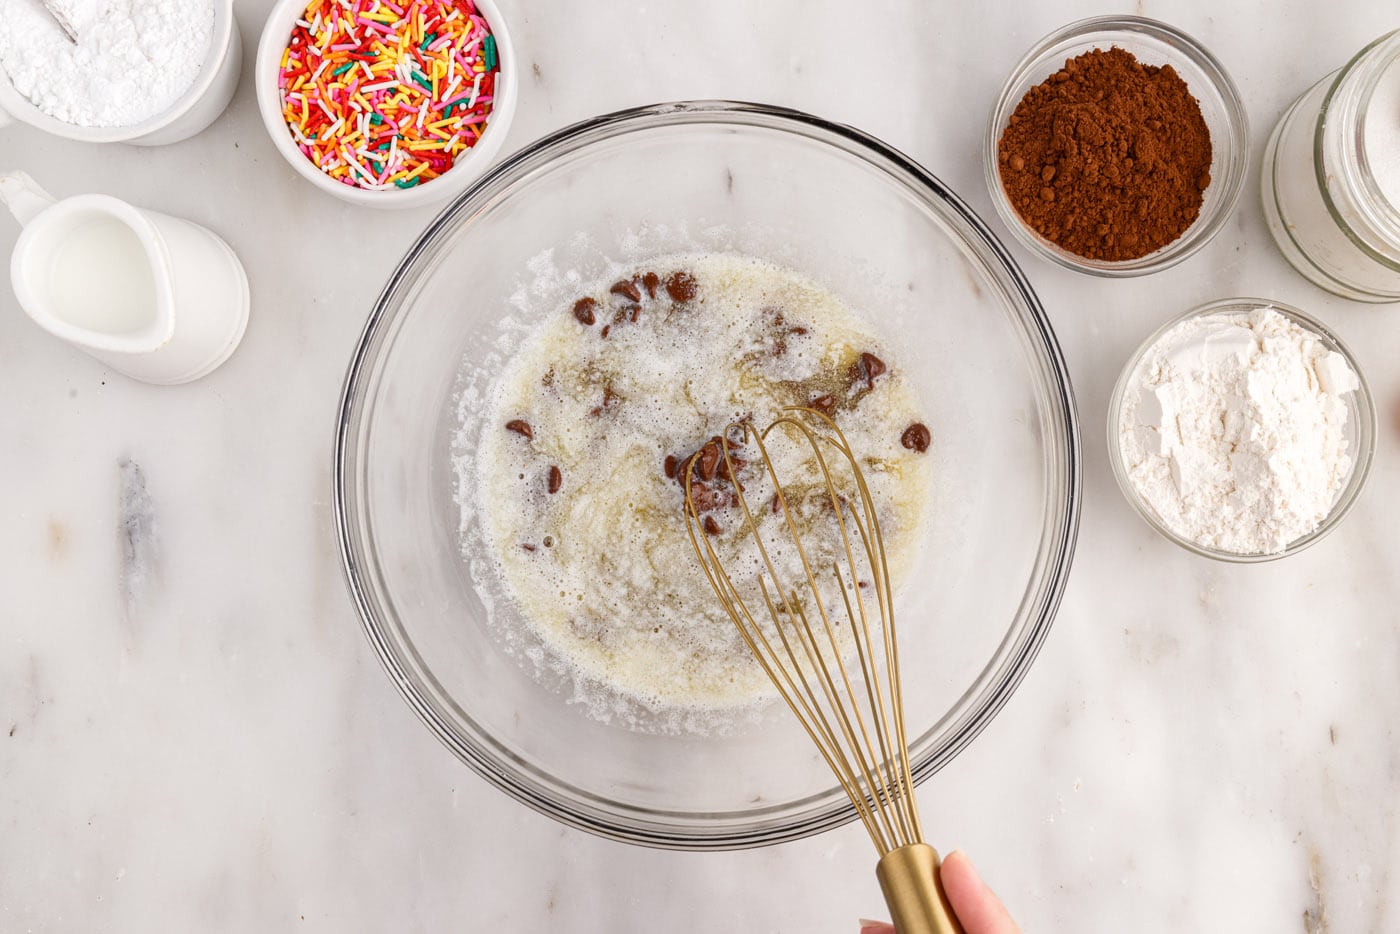
- Melt Chocolate and Butter: In a heat-proof bowl, combine the unsalted butter and semi-sweet chocolate chips. Microwave them in short 30-second increments, stirring after each, until the butter is completely melted and the chocolate is smooth and glossy. Be careful not to overheat the chocolate, as it can seize.
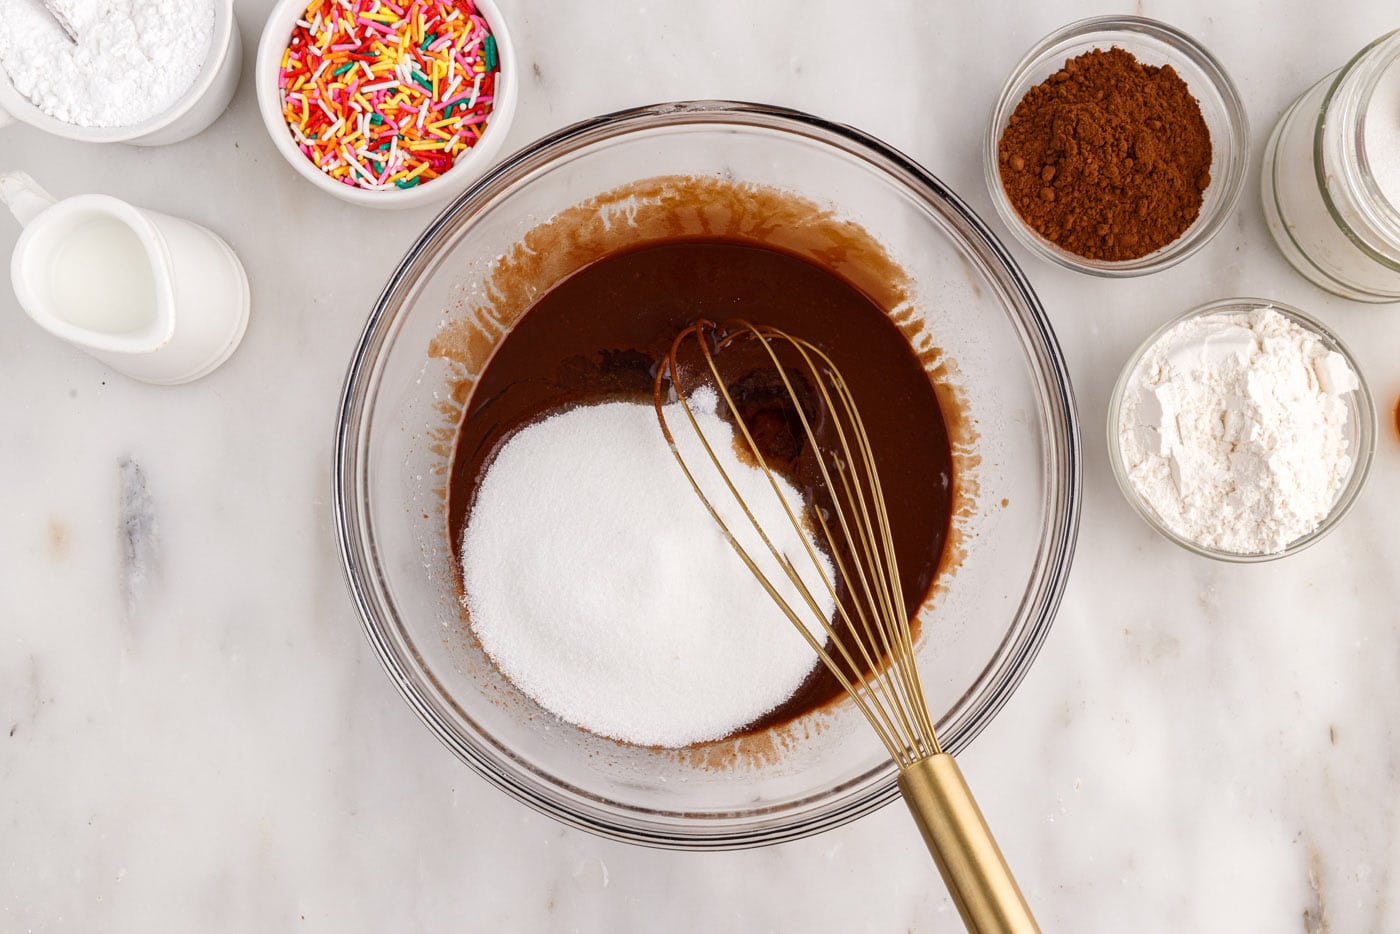
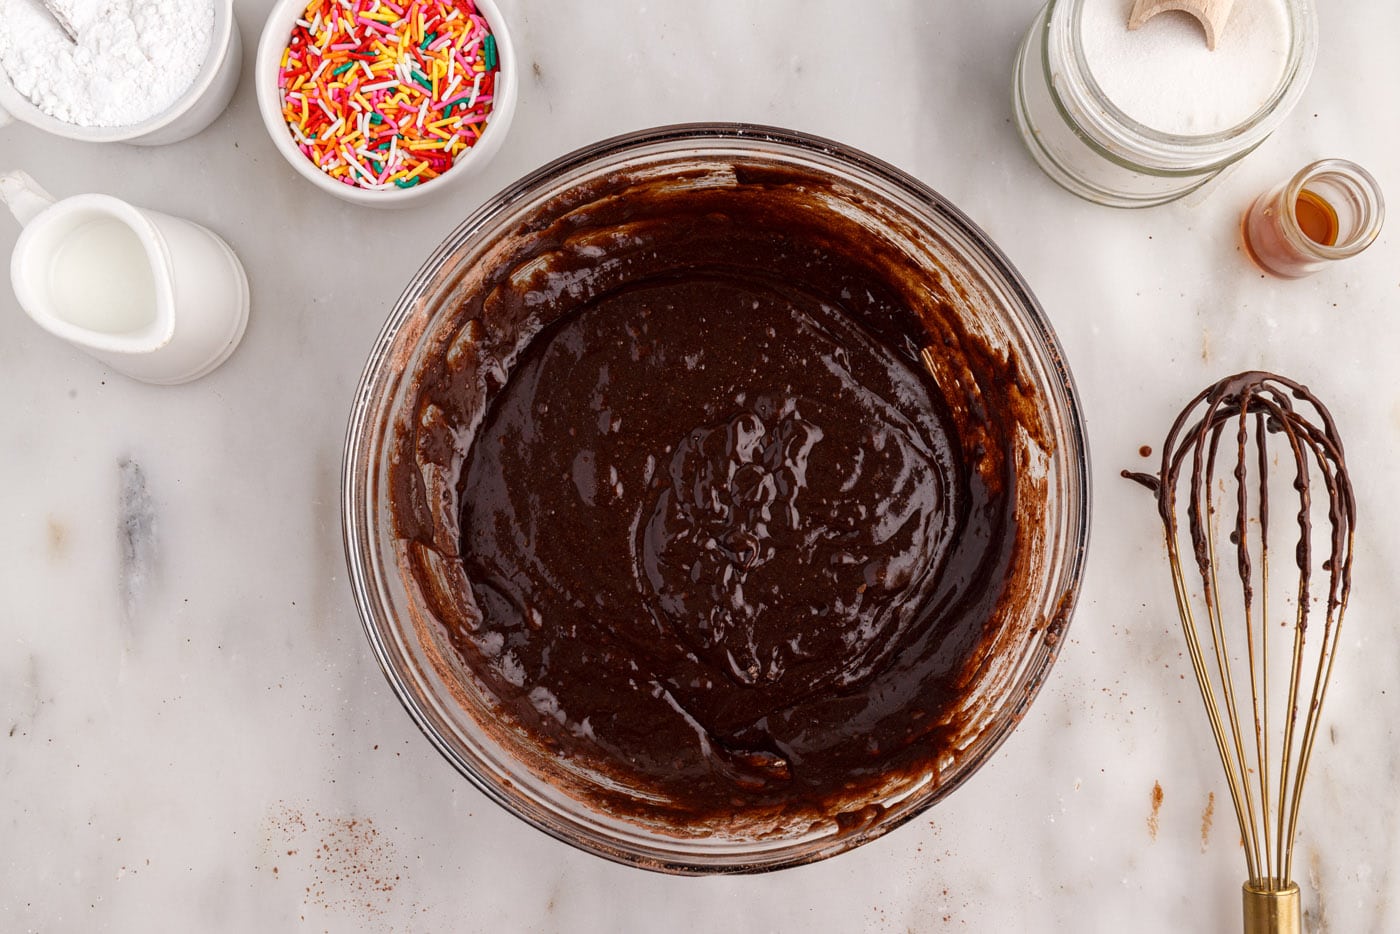
- Whisk in Wet Ingredients: To the smooth chocolate mixture, add the granulated sugar, vanilla extract, and vegetable oil. Whisk everything together until thoroughly combined. This creates the rich, liquid base for your fudgy bronut batter.
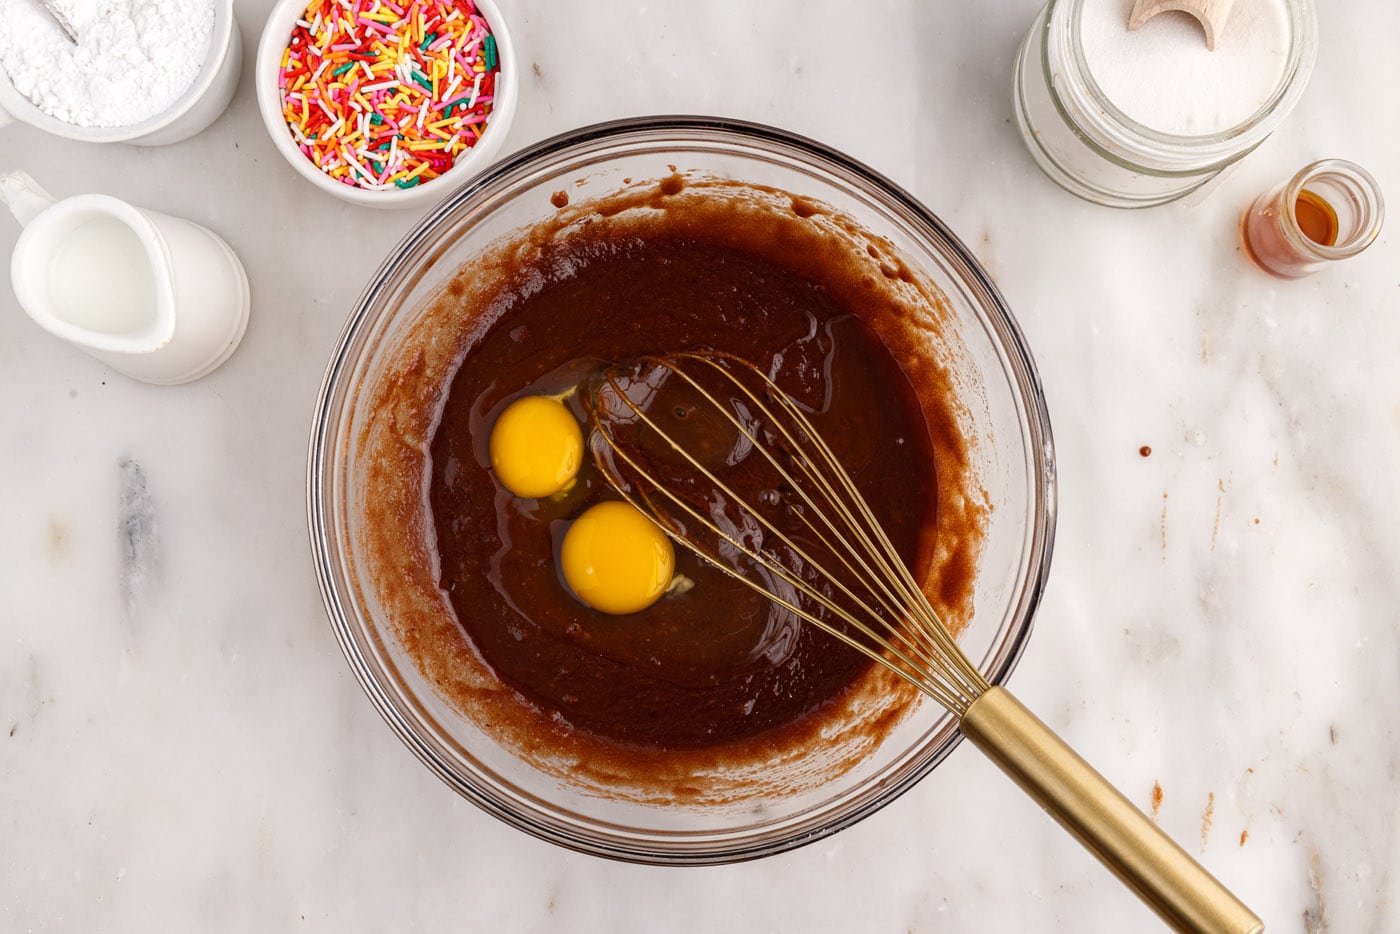
- Add Eggs Slowly: Gently whisk in the large eggs, one at a time, just until they are fully combined with the chocolate mixture. Remember, minimal mixing is key here to ensure your bronuts remain fudgy and tender, avoiding any excess air incorporation.
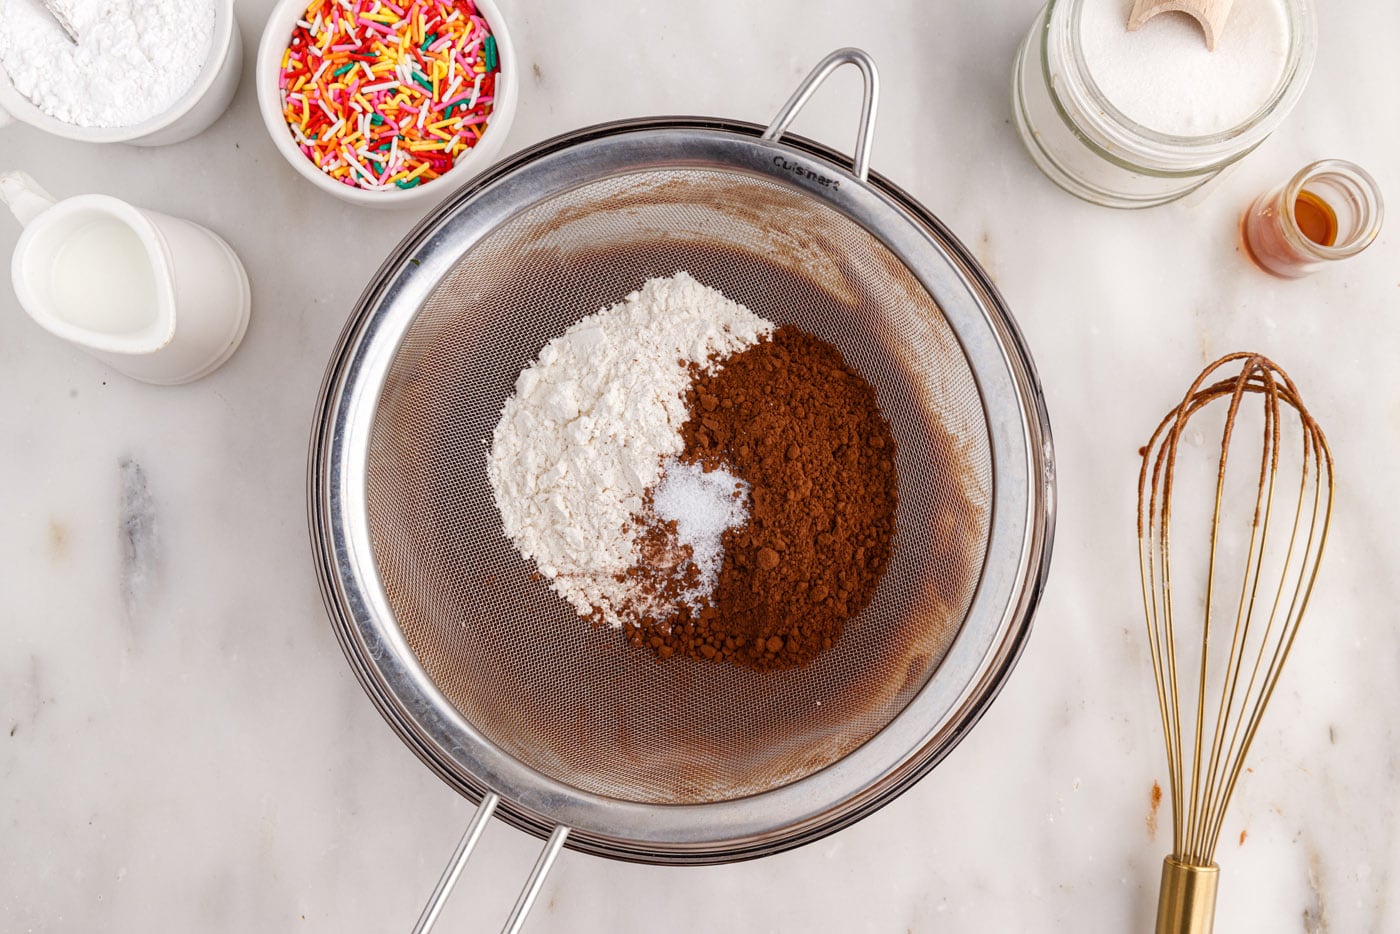
- Fold in Dry Ingredients: Sift the all-purpose flour, salt, and unsweetened cocoa powder through a sieve directly into the brownie mixture. Gently fold with a spatula until just combined. The batter should be smooth but avoid overmixing to keep the bronuts tender and fudgy.
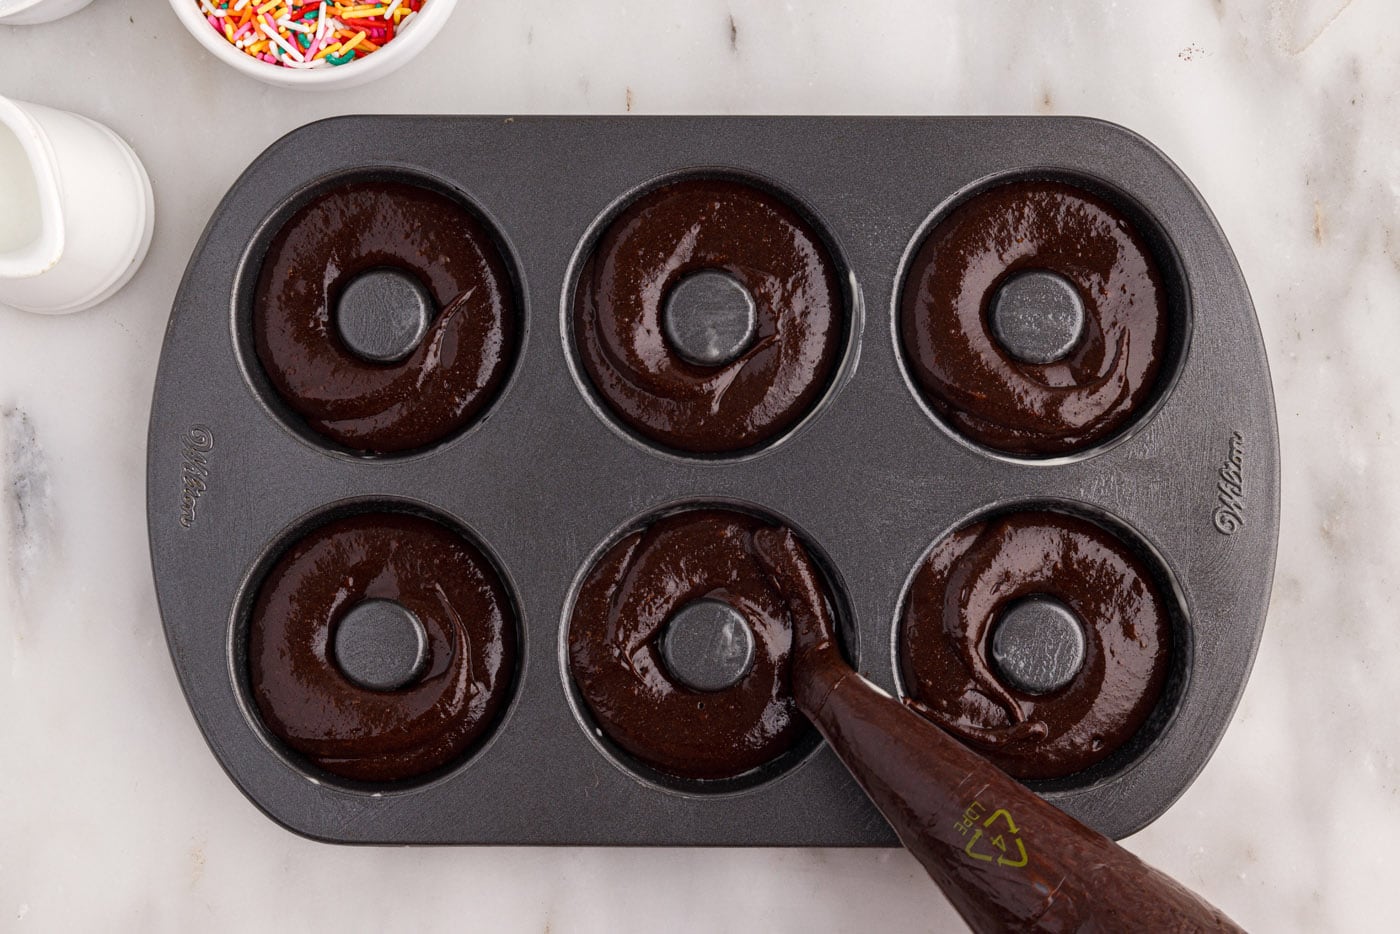
- Pipe the Batter: Transfer the thick bronut batter into a piping bag or a sturdy plastic bag with one corner snipped off. This makes it easy to fill the donut cavities neatly and evenly.
- Fill Donut Pan: Carefully pipe a ring of batter into each donut cavity of your prepared pan. Ensure you do not fill each cavity more than ½ full, as the bronuts will expand as they bake. Overfilling can lead to misshapen donuts.
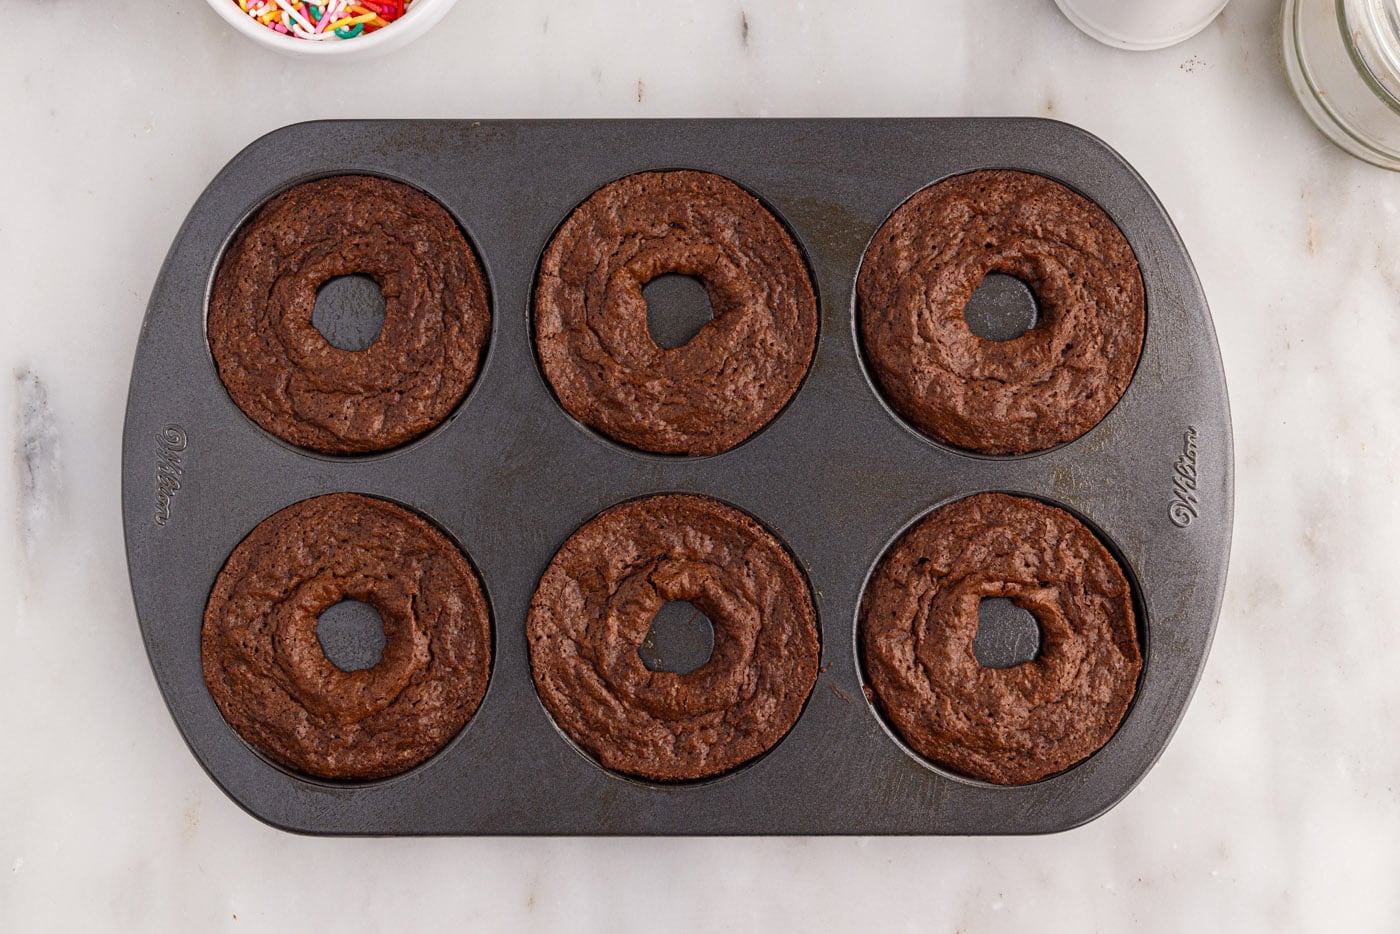
- Bake Until Done: Bake the bronuts for approximately 15 minutes. They are baked through when the tops feel dry to the touch and a toothpick inserted into the center comes out with a few moist crumbs attached. Avoid overbaking, as this can lead to dry bronuts.
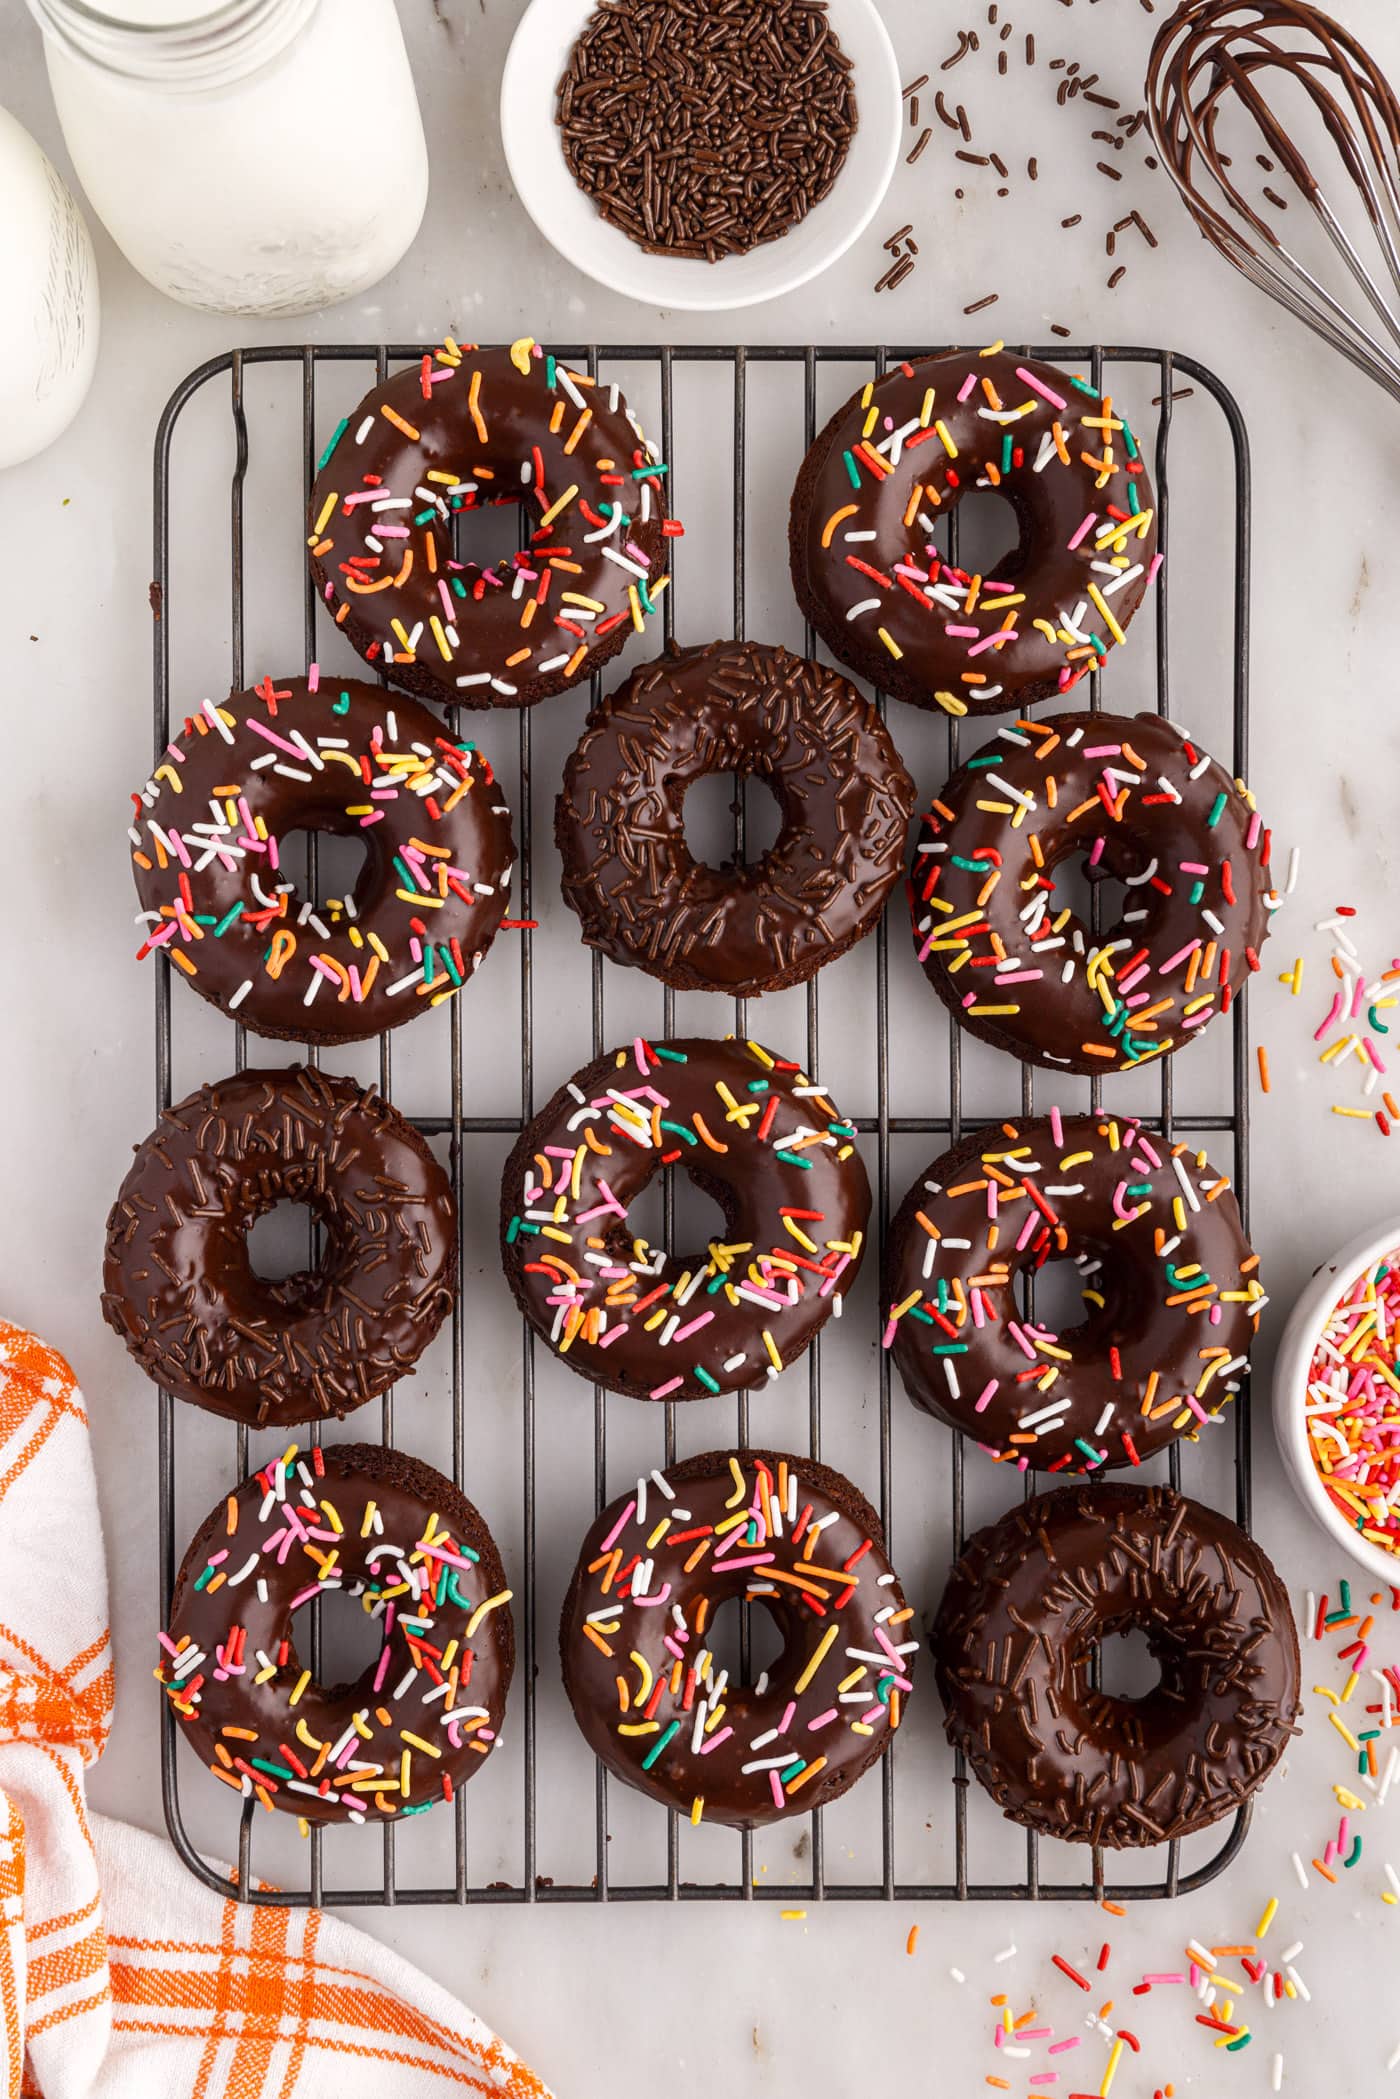
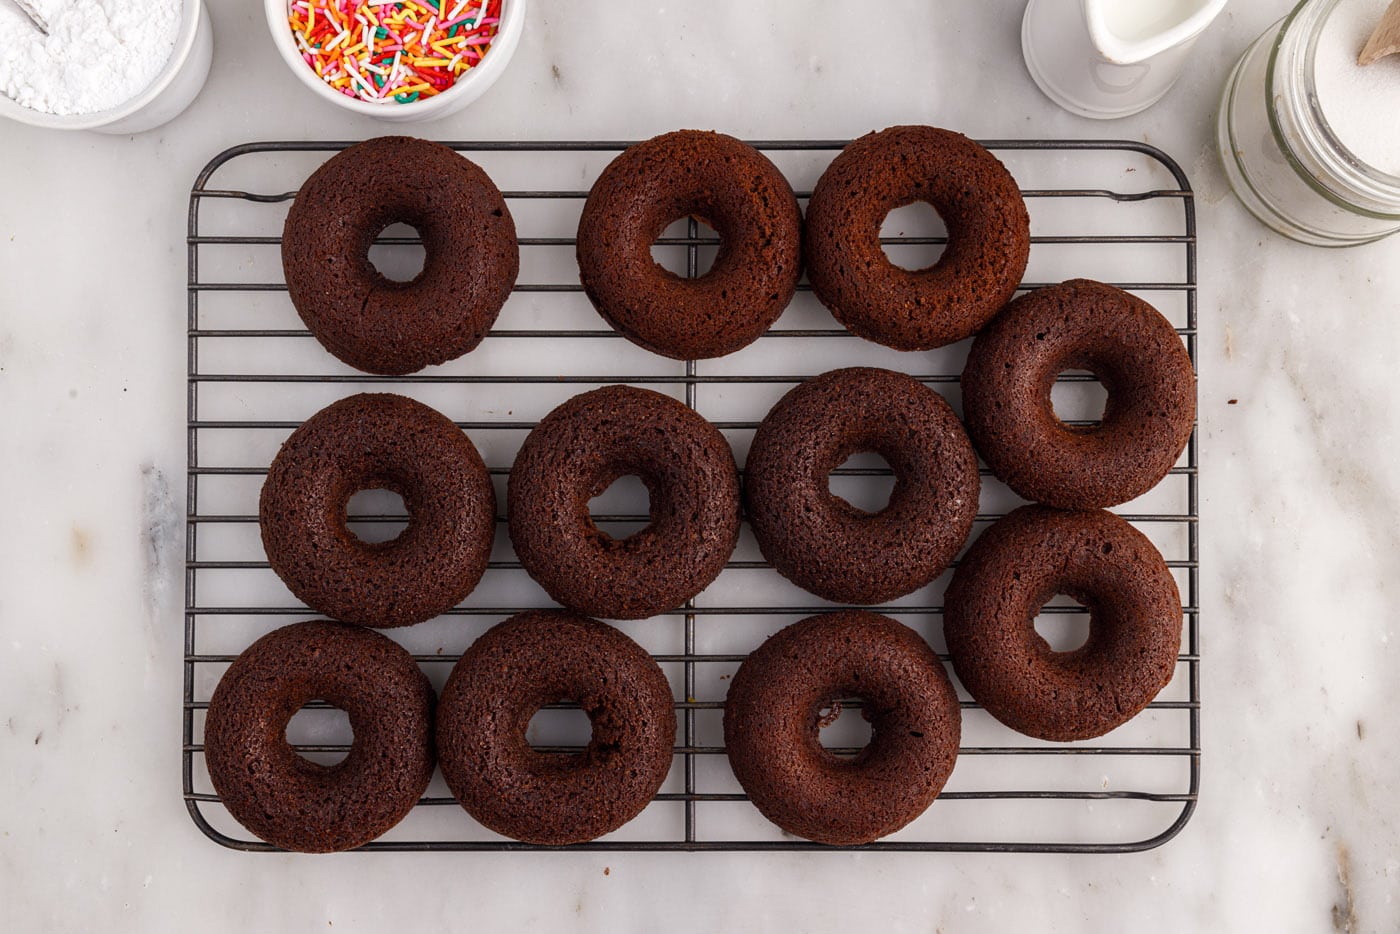
- Cool Completely: Remove the baked bronuts from the oven and allow them to cool completely in the pan before attempting to remove them. This is crucial as they firm up significantly as they cool, preventing them from breaking apart. Once cooled, gently transfer them to a wire cooling rack.
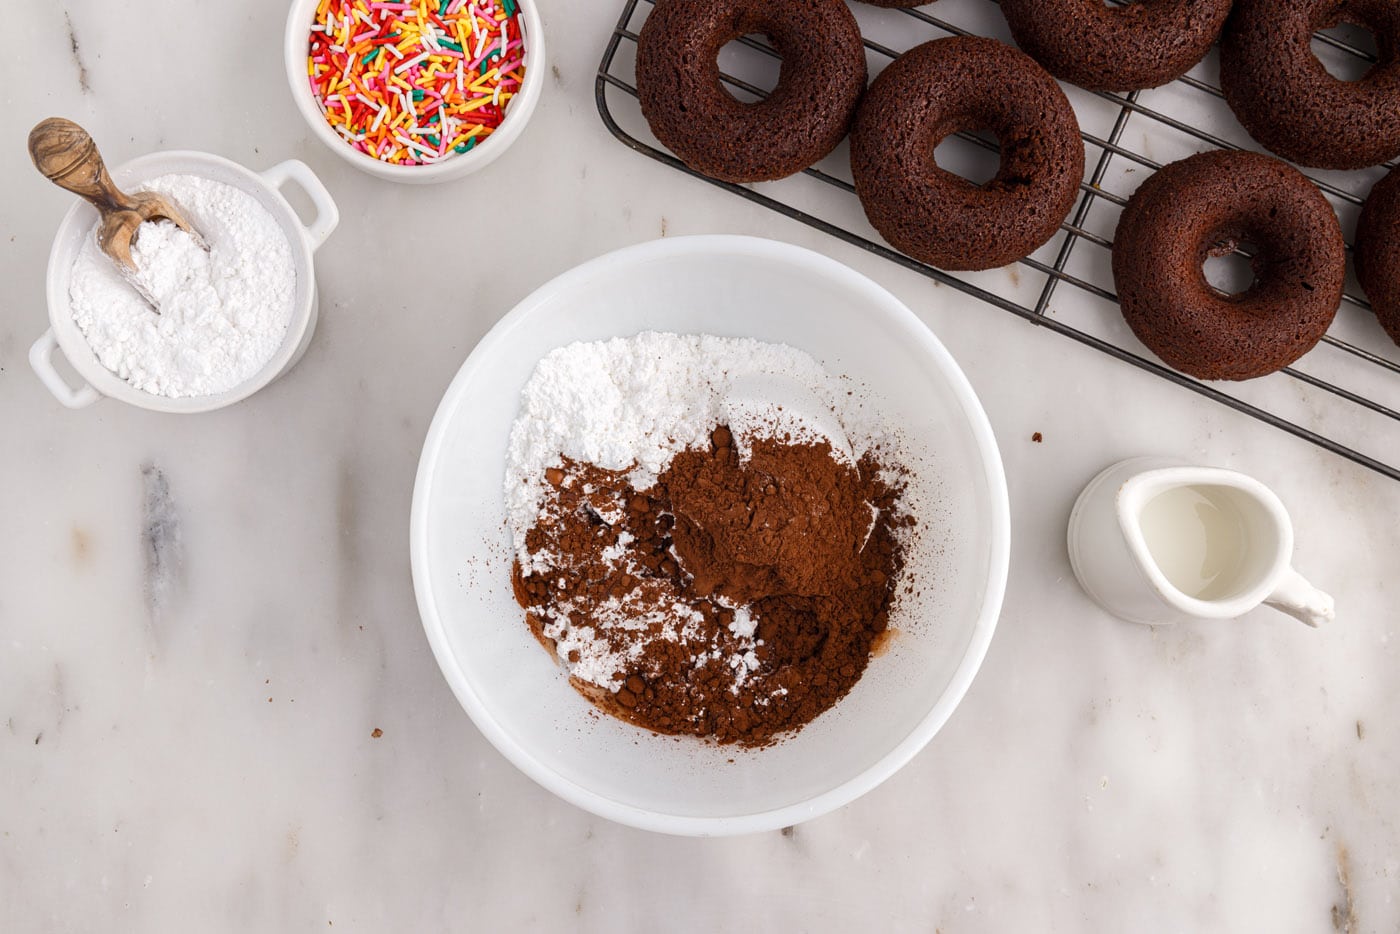
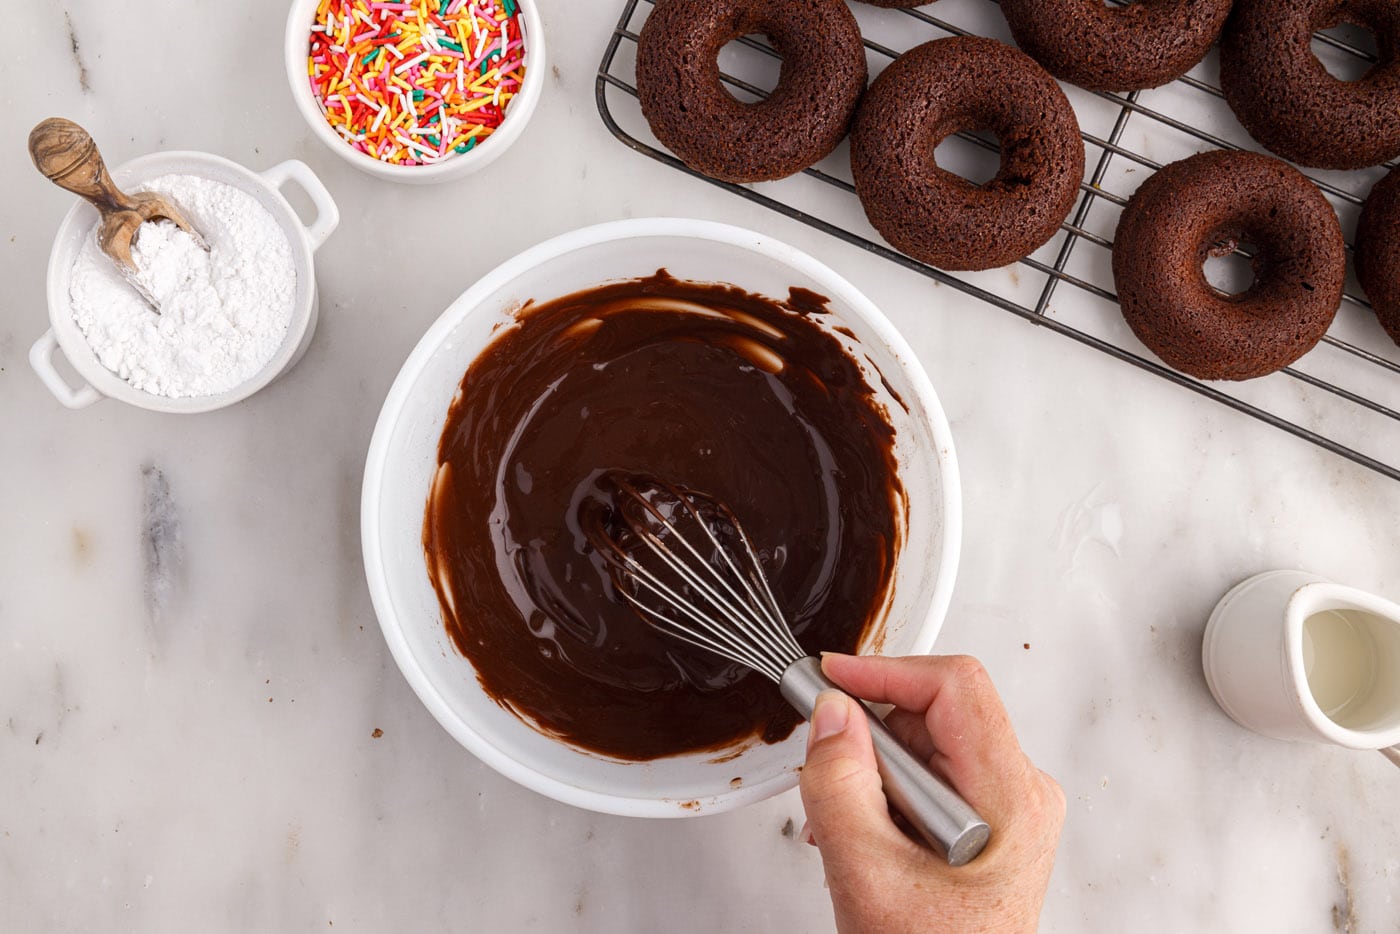
- Prepare the Glaze: While the bronuts are cooling, prepare the simple yet decadent chocolate glaze. In a bowl, whisk together the powdered sugar, milk, and unsweetened cocoa powder until smooth and free of lumps. Adjust milk quantity for desired consistency – a thicker glaze for a more opaque coating, or thinner for a delicate sheen.
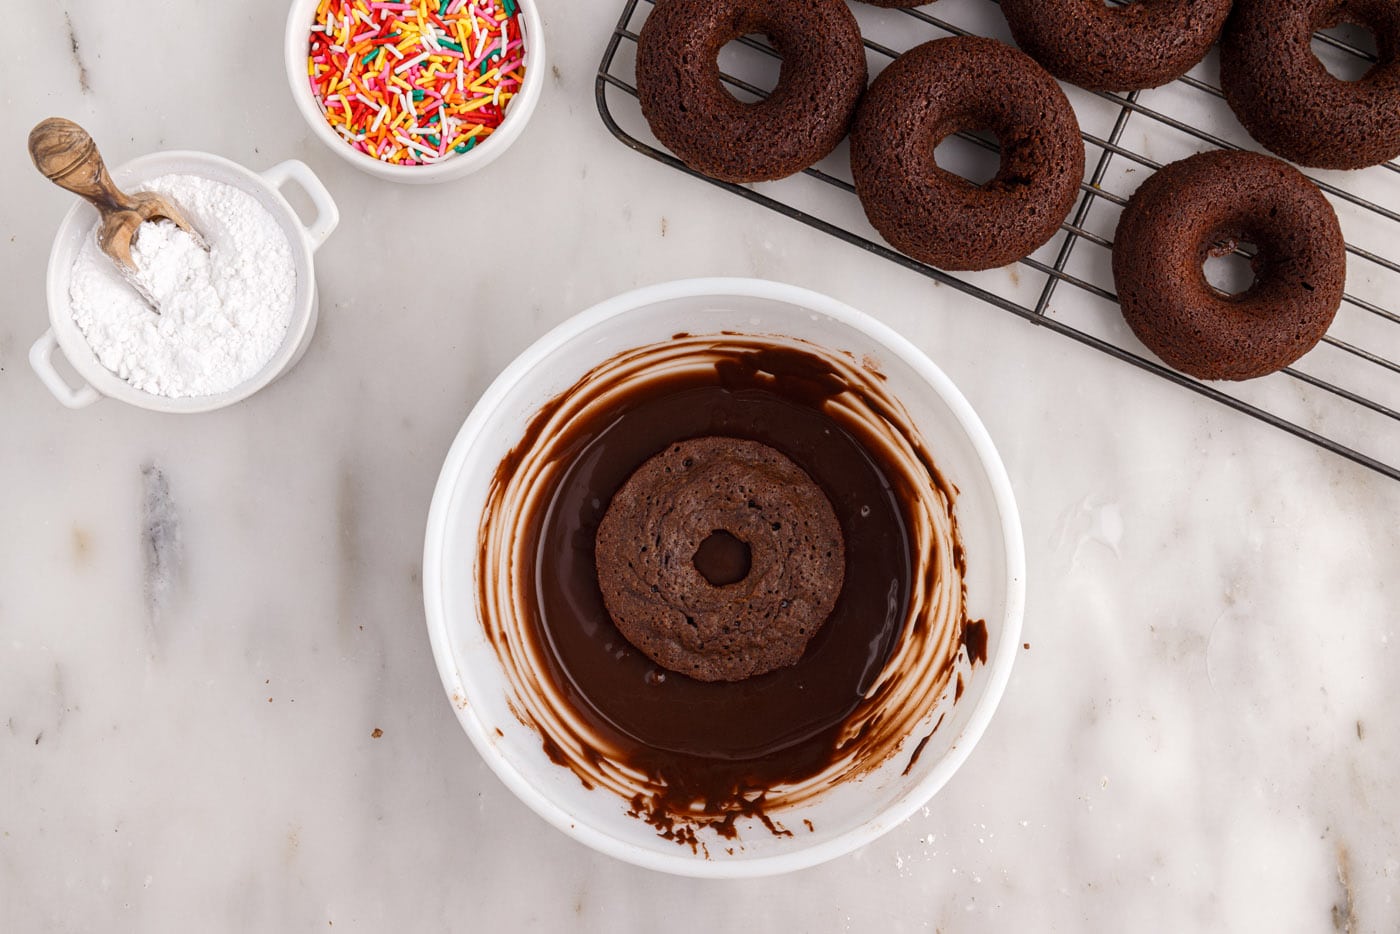
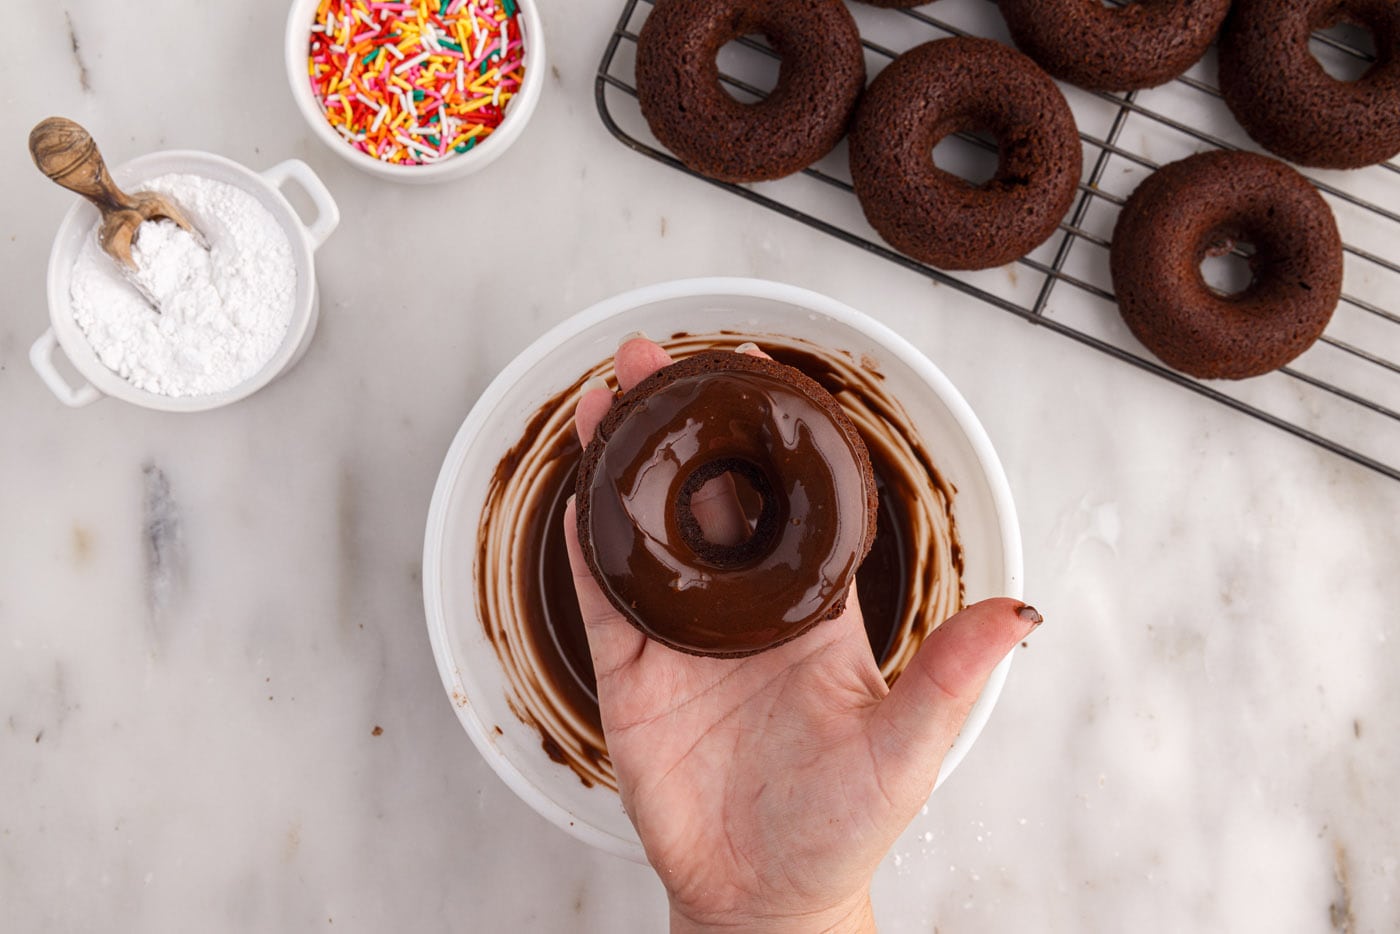
- Glaze and Decorate: Once the bronuts are completely cooled, dip the smoothest side of each donut into the prepared chocolate glaze. Allow any excess glaze to drip off before placing them back on the cooling rack or a serving platter. Immediately after glazing, adorn them with your chosen sprinkles or other decorations, as the glaze will set quickly.
Frequently Asked Questions & Pro Tips for Bronut Success
You have a choice between a traditional metal donut pan or a flexible silicone donut pan for making your bronuts. Silicone pans are often lauded for their ease of removal, as their bendable nature allows you to simply pop the bronuts out. However, a metal donut pan works perfectly fine too! We successfully used a metal pan for this recipe. The key to effortless removal from a metal pan is to use a high-quality non-stick baking spray, specifically one that contains flour. This creates an extra barrier that helps the bronuts slide out smoothly. Regardless of the pan type, always ensure your bronuts cool completely before attempting to remove them. This allows them to firm up their delicate structure, preventing them from breaking apart.
To keep your delicious bronuts fresh, store them in an airtight container at room temperature. For best results, arrange them in a single layer to prevent the glaze from sticking or smudging, especially if they’re still slightly tacky. They will remain wonderfully moist and flavorful for up to 4 days. It’s important to note that colorful sprinkles, while beautiful, may start to bleed their vibrant dyes if stored for more than a day or two, particularly in humid conditions. For optimal visual appeal, enjoy them within the first 24-48 hours.
Absolutely, bronuts freeze beautifully, whether they are glazed or unglazed. If you plan to freeze glazed bronuts, arrange them in a single layer in an airtight container, ensuring they don’t touch, and freeze for up to 1 month. If your bronuts are unglazed, you can stack them with parchment paper in between layers within an airtight container. When ready to enjoy, simply thaw them at room temperature. A crucial tip to remember is that sprinkles, especially vibrant ones, are prone to dissolving or bleeding their color during the freezing and thawing process. If presentation is paramount, it might be best to freeze unglazed bronuts and add a fresh glaze and sprinkles just before serving.
The secret to their irresistible fudginess and moisture lies in a few key techniques. Firstly, the careful balance of both butter and vegetable oil in the batter. Butter provides that rich, classic brownie flavor, while the oil contributes significant moisture and chewiness, ensuring they don’t dry out. Secondly, the minimal mixing of the dry ingredients is paramount. Overmixing develops gluten, leading to a tougher, more cake-like texture, whereas gentle stirring preserves that desired fudgy consistency. Finally, baking just until the bronuts are set, and not a moment longer, prevents them from becoming dry. A toothpick test should yield moist crumbs, not a completely clean stick.
Yes, with a few adjustments, you can absolutely cater to dietary needs. For a gluten-free version, simply substitute the all-purpose flour with a 1:1 gluten-free baking flour blend that contains xanthan gum. Ensure your chosen blend is suitable for baking. For dairy-free bronuts, swap the unsalted butter for a high-quality dairy-free butter stick and use your preferred non-dairy milk (like almond, soy, or oat milk) in both the batter (if any dairy is used there) and the glaze. Always double-check your chocolate chips and sprinkles to ensure they are also dairy-free, if that is a strict requirement.
Creative Serving and Garnish Ideas for Bronuts
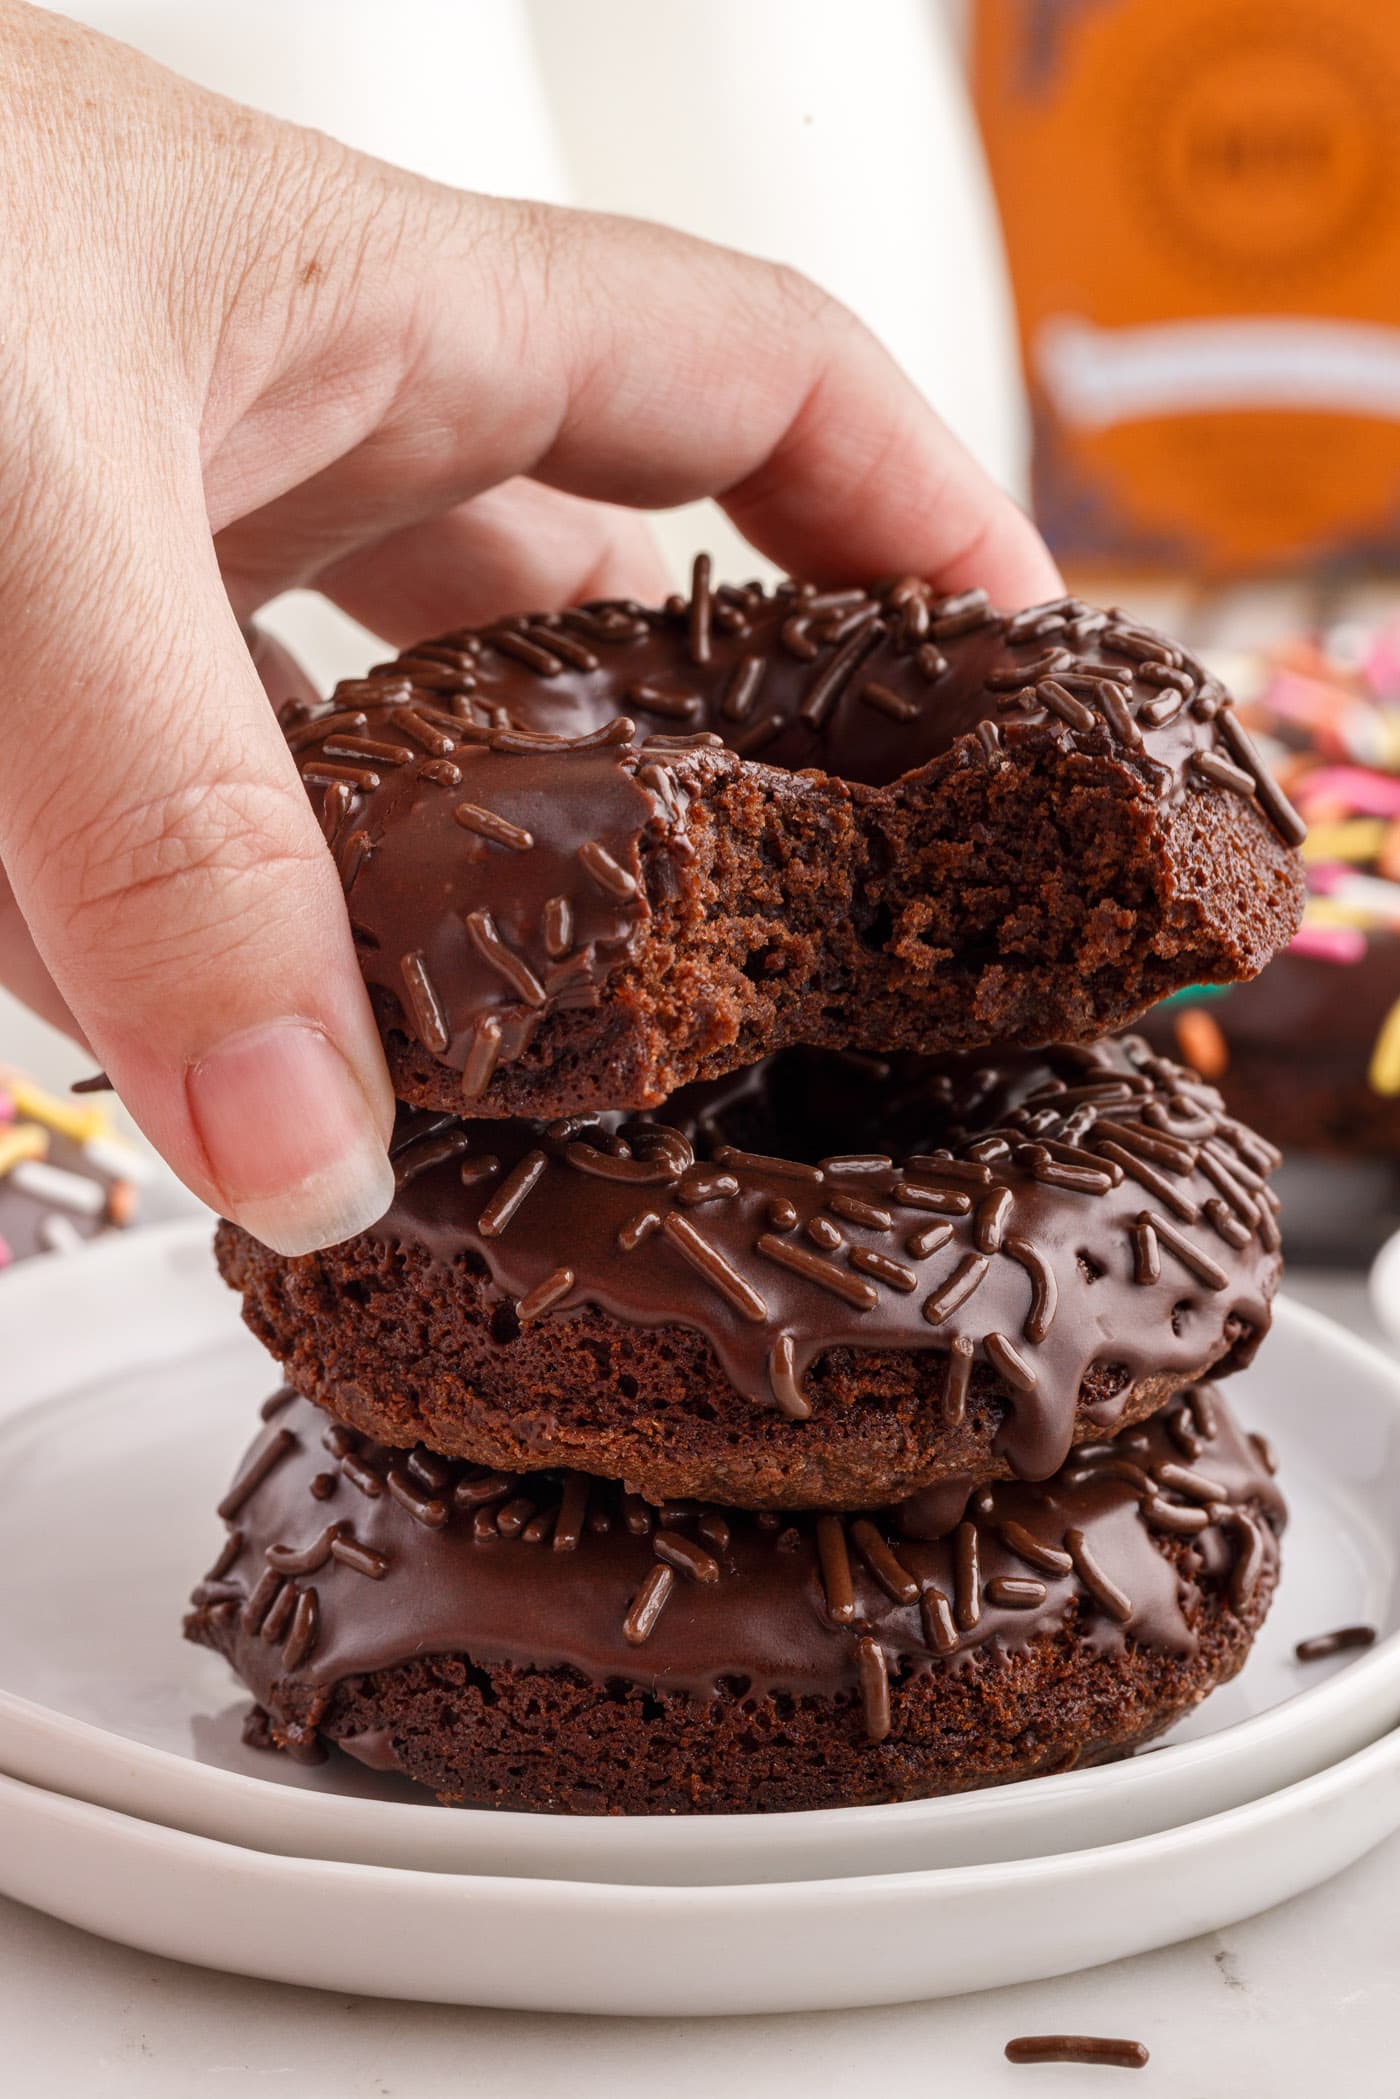
While the chocolate glaze and rainbow sprinkles are a classic and utterly delicious choice for these fudgy Bronuts, feel free to get creative with your serving and garnishing! It’s entirely up to your preference whether you opt for a decadent glaze or something simpler. If you’re not a fan of traditional icing, a delicate dusting of powdered sugar offers a subtly sweet and elegant finish that highlights the rich chocolate flavor of the Bronut itself. For those who love extra indulgence, consider drizzling your glazed bronuts with melted white chocolate, a silky ganache, or even warm peanut butter for a delightful nutty twist. Garnish options are endless: classic rainbow sprinkles, mini chocolate chips, chopped nuts like walnuts or pecans, shredded coconut, or even crushed candy pieces can add texture and visual appeal. For a truly decadent dessert experience, serve a warm Bronut with a scoop of vanilla bean ice cream and a drizzle of hot fudge. Enjoy these versatile treats at room temperature for the best texture and flavor.
Explore More Delicious Donut Recipes
If you’ve fallen in love with these Bronuts and are eager to expand your donut-making repertoire, we have a variety of other fantastic recipes that are sure to delight. From light and airy to rich and spiced, there’s a donut for every craving. Try your hand at these other popular homemade donut recipes:
- Air Fryer Donuts
- Cake Mix Donuts
- Lemon Baked Donuts
- Pumpkin Spice Donuts
- Apple Cider Doughnuts
- Peanut Butter and Jelly Donuts
I absolutely adore spending time in the kitchen, experimenting with new recipes, and sharing my culinary adventures with all of you! Remembering to check back for fresh ideas every day can be a challenge, which is why I offer a convenient newsletter delivered straight to your inbox every time a new recipe is published. Simply subscribe here and start receiving your free daily dose of delicious recipes – never miss a bite!
Bronuts
IMPORTANT – There are often Frequently Asked Questions within the blog post that you may find helpful. Simply scroll back up to read them!
Print It
Pin It
Rate It
Save ItSaved!
Ingredients
- ½ cup unsalted butter 8 Tablespoons
- 4 ounces semi-sweet chocolate chips 1/2 cup. or chopped baking chocolate
- 1 cup granulated sugar
- 1 teaspoon vanilla extract
- 1 Tablespoon vegetable oil
- 2 large eggs at room temperature
- ½ cup all-purpose flour
- ¼ teaspoon salt
- ¼ cup unsweetened cocoa powder
Chocolate Glaze
- 1 ½ cups powdered sugar
- 2-3 Tablespoons milk
- 3 Tablespoons unsweetened cocoa powder
- sprinkles optional for decorating
Things You’ll Need
-
Large mixing bowl
-
Sieve
-
Whisk
-
Donut pan
Before You Begin
- Do not overmix or overwhisk when adding the ingredients. Soft, fudgy brownies come from stirring minimally and not adding extra air into the batter (which can happen when you whisk vigorously.)
- Using a silicone donut pan may make it easier to remove the bronuts. Using a cooking spray with flour made removal from a metal pan a cinch. Bronuts need to cool completely before removing from the pans so they can firm up and come out in one piece.
- Bronuts also need to be cooled before adding glaze. Add the sprinkles right after glazing so that they stick before the glaze sets.
- Once the glaze sets, bronuts can be stacked gently, though a single layer is best for keeping the decorations neat.
- Store bronuts in an air-tight container in a single layer kept in a cool, dry place for up to 4 days. Colorful sprinkles may bleed their color when stored for more than a day or two.
- To freeze – You can freeze bronuts both glazed and unglazed. If glazed, freeze them in a single layer in an air-tight container for up to 1 month. You can stack the bronuts in the refrigerator if they are unglazed. Do note that sprinkles will dissolve or bleed their color if frozen and thawed.
Instructions
-
Preheat the oven to 350°F.
-
In a heat-proof bowl, combine butter and chocolate chips. Microwave in 30 second increments until butter is melted. Whisk together the butter and chocolate until smooth.
-
Add granulated sugar, vanilla extract, and vegetable oil to the chocolate mixture and whisk to combine.
-
Slowly whisk in eggs, just until combined.
-
Sift flour, salt, and cocoa powder through a sieve into the brownie mixture and stir gently to fully combine.
-
Transfer batter to a piping bag or plastic bag with the corner snipped off.
-
Spray a donut pan with non-stick baking spray (the kind with flour works best). Pipe a ring of batter into each donut cavity. Do not fill each cavity more than ½ full.
-
Bake bronuts for 15 minutes, until baked through. The tops of the bronuts will be dry to the touch and a toothpick inserted into the bronuts should have a few moist crumbs.
-
Remove from oven and allow to cool completely. Remove from pan to a cooling rack.
-
Prepare the glaze by whisking together powdered sugar, milk, and cocoa powder.
-
Dip the smoothest side of the donut into the glaze, allowing some excess to drip off and then place on a cooling rack or platter. Decorate immediately with sprinkles before the glaze sets.
Nutrition
The recipes on this blog are tested with a conventional gas oven and gas stovetop. It’s important to note that some ovens, especially as they age, can cook and bake inconsistently. Using an inexpensive oven thermometer can assure you that your oven is truly heating to the proper temperature. If you use a toaster oven or countertop oven, please keep in mind that they may not distribute heat the same as a conventional full sized oven and you may need to adjust your cooking/baking times. In the case of recipes made with a pressure cooker, air fryer, slow cooker, or other appliance, a link to the appliances we use is listed within each respective recipe. For baking recipes where measurements are given by weight, please note that results may not be the same if cups are used instead, and we can’t guarantee success with that method.
