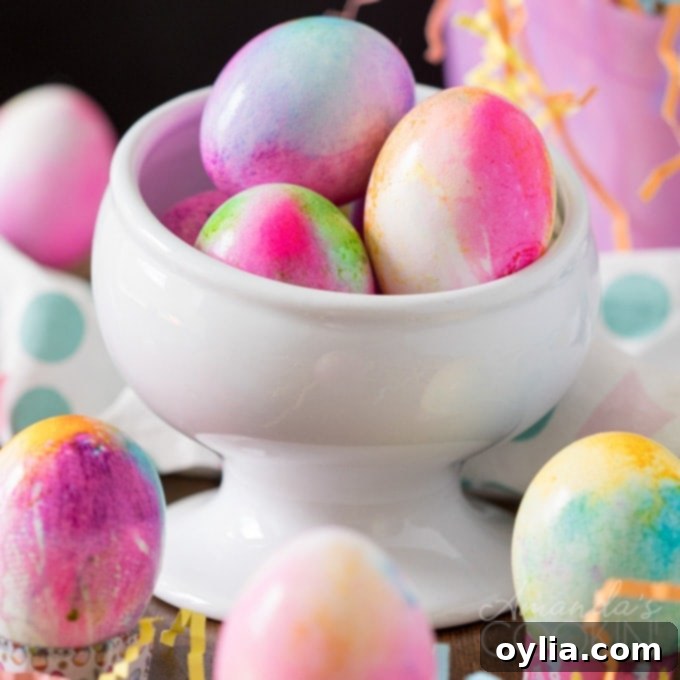
Mastering Vibrant Tie Dye Easter Eggs: Two Fun & Easy Methods for a Colorful Celebration
Easter egg decorating is a cherished tradition, a creative outlet that brings joy and vibrant colors into our homes each spring. While classic pastel dips are always lovely, sometimes you crave something a little more adventurous, a little messier, and a whole lot more exciting. This year, ditch the mundane and embrace the riot of color with our guide to making stunning tie-dye Easter eggs! Prepare to transform ordinary hard-boiled eggs into unique, swirling masterpieces that will delight both kids and adults. We’ll show you two incredibly fun and surprisingly easy methods – one using cheesecloth for delicate patterns and another using paper towels for bolder effects. So, grab an apron, gather your eggs, and let’s dive into a world of colorful Easter fun!
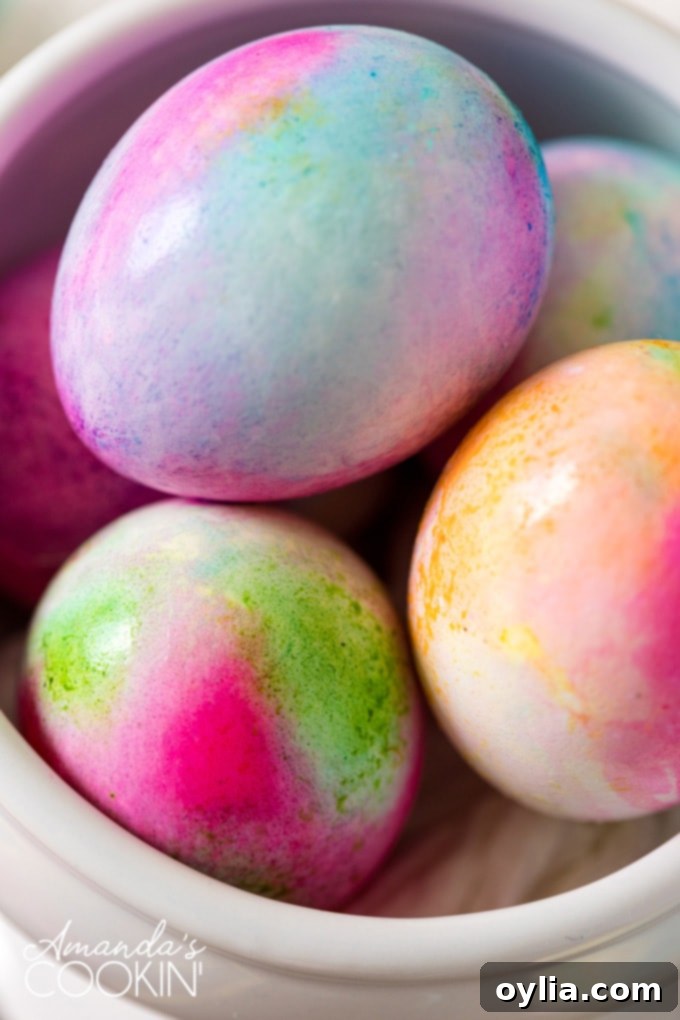
Unleash Your Creativity: Why Tie Dye Easter Eggs are a Must-Try
For many years, decorating Easter eggs with my children was a cherished annual event. As they grew older, however, we found ourselves seeking fresh, innovative approaches beyond the usual solid-colored dyes. We wanted something that offered more artistic freedom, a chance to experiment with patterns and vibrant color combinations. That’s precisely when we discovered the delightful mess and boundless creativity of tie-dyed Easter eggs! Not only is it a fantastic way to engage older kids, but it also yields truly spectacular results. If you’re looking for other unique methods, you might also enjoy making these awesome cracked colored eggs for another fun textural effect.
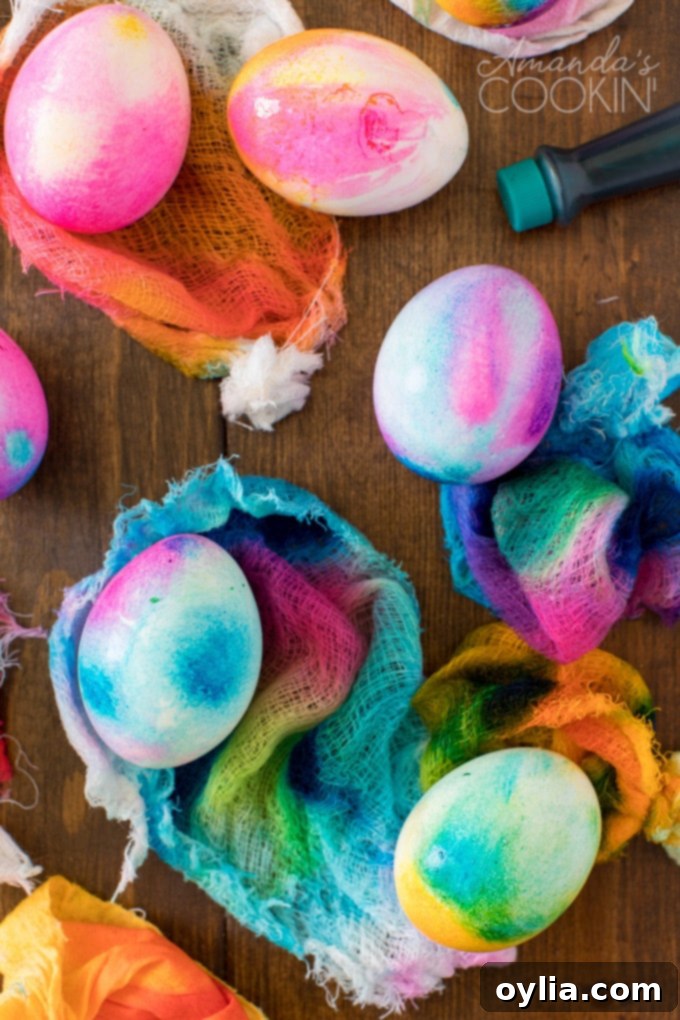
Gather Your Supplies: What You’ll Need for Tie-Dye Magic
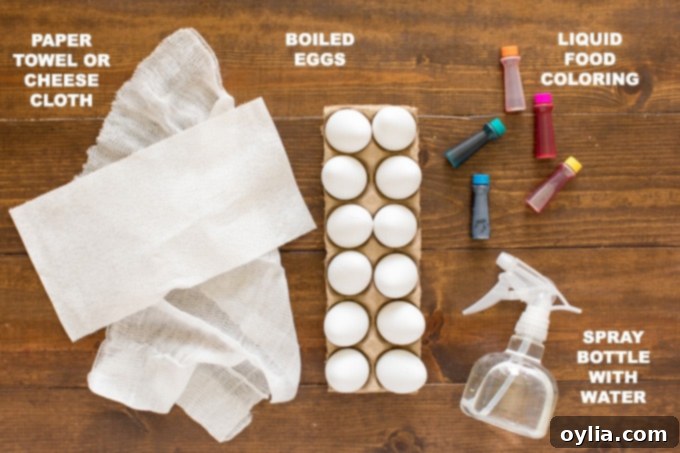
Before you begin your colorful adventure, it’s crucial to have all your materials organized. I’m excited to share two distinct methods for creating these beautiful tie-dye eggs: one utilizes cheesecloth, which creates a more intricate, delicate pattern, and the other employs sturdy paper towels for a bolder, more diffused look. Both are fantastic, so feel free to try either or both!
- Plastic wrap: Essential for protecting your work surface from colorful spills and making clean-up a breeze.
- Cheesecloth OR Paper towels: The star materials for wrapping your eggs. Cheesecloth provides a finer texture, while sturdy paper towels offer excellent dye absorption for a different kind of pattern.
- Liquid food coloring: Opt for a variety of vibrant colors to create dazzling effects. Gel food coloring can also work but might require a bit more water for blending.
- A small spray bottle with water (or a small cup of water): Used to gently mist the dye, allowing colors to blend and spread without washing them away.
- Rubber bands: For securely wrapping the eggs in cheesecloth.
- Empty cardboard egg carton: Perfect for holding your newly dyed eggs while they dry, preventing them from rolling and smudging.
- Hard-boiled eggs: The foundation of our craft! Ensure your eggs are completely cooled before decorating.
Essential Tips for a Smooth & Successful Tie-Dye Experience
A little preparation and knowledge can go a long way in making your tie-dye Easter egg project enjoyable and mess-free (or at least, manageable!). Here are some helpful kitchen tips to ensure your decorating session is a success:
- Drying Your Eggs: Patience is a virtue, and air-drying in a cardboard egg carton works perfectly. However, if you’re like me and eager to see the final results, you can significantly speed up the drying process by using a hairdryer on its cool setting. Hold it a few inches away from the egg and gently circulate the air until the cheesecloth or paper towel is dry to the touch. This also helps set the colors!
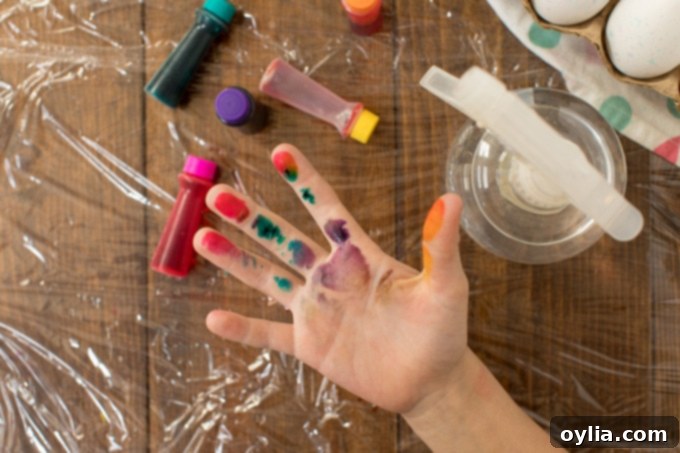
- Preventing Stains on Skin: Food coloring can be stubborn! To avoid stained hands, especially for little ones, consider having everyone wear rubber gloves during the dyeing process. This is particularly useful when applying the colors directly to the wrapped eggs.
- Removing Food Coloring Stains: Accidents happen, and if you do end up with colorful hands, don’t despair! Here’s a tried-and-true method:
- First, rub your hands thoroughly with a good quality hand lotion. This helps to lift the dye from the skin.
- Next, create a paste using white vinegar and salt. The acidity of the vinegar combined with the abrasive nature of the salt works wonders.
- Gently rub this paste onto the stained skin.
- Rinse your hands and repeat the process if necessary until the stains are gone.
- Choosing the Right Paper Towel: If you opt for the paper towel method, the quality of your paper towels makes a big difference. A sturdy, absorbent paper towel will hold its shape better when wet and absorb the dye more effectively. If your paper towels are on the thinner side, you can easily double or even triple the number of sheets to create a stronger, more resilient wrap for your eggs.
Two Easy Methods for Stunning Tie-Dye Easter Eggs
The Cheesecloth Method: For Delicate & Intricate Swirls
The cheesecloth method is fantastic for creating beautiful, fine-lined patterns that mimic traditional tie-dye fabric. The porous nature of the cheesecloth allows for excellent dye absorption and intricate color bleeding.
- Prepare Your Workspace and Cheesecloth: Begin by layering your counter with plastic wrap. This is your first line of defense against food coloring spills! Next, unroll your cheesecloth and cut it into approximately 6-inch (15 cm) squares or rectangles. You’ll need one piece per egg.
- Dampen the Cheesecloth: Get each piece of cheesecloth thoroughly wet under the tap, then wring out as much excess water as possible. You want the fabric to be damp, not dripping. This dampness is crucial for the food coloring to spread and blend effectively.
- Position the Egg: Carefully place a freshly boiled and cooled egg into the very center of a damp cheesecloth square. Handle gently to avoid cracking the shell.
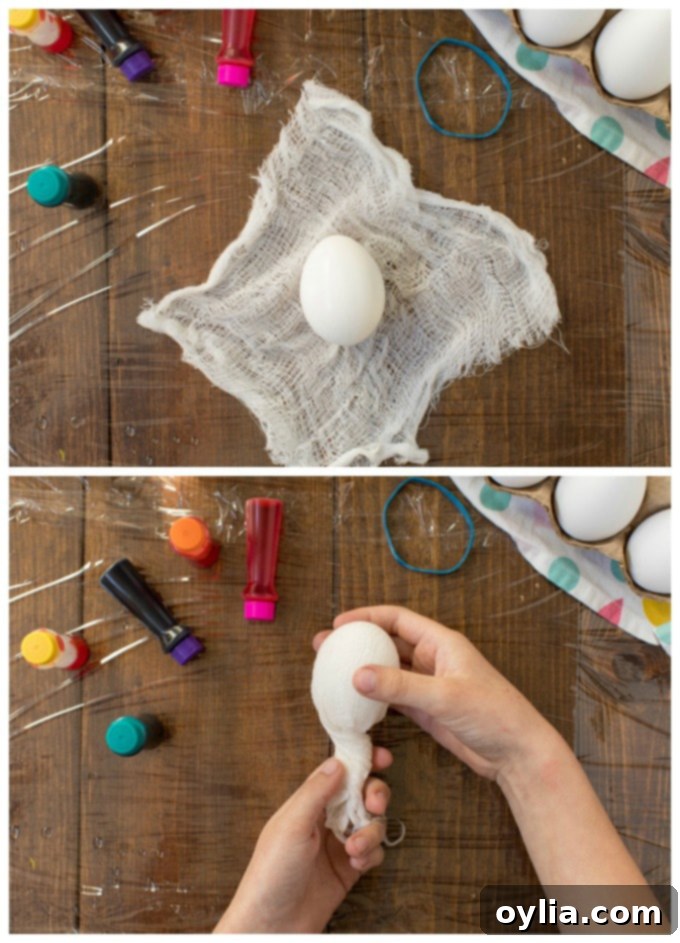
- Secure the Egg: Gather all the ends of the cheesecloth together tightly around the egg, forming a small bundle. The tighter you gather it, the more defined your white lines (or areas of minimal color) will be. Secure this bundle firmly with a rubber band, ensuring the cheesecloth remains snug against the egg.
- Apply Food Coloring: Holding the egg by the rubber-banded end (or placing it on your protected surface), begin to add drops of liquid food coloring directly onto the damp cheesecloth. Be strategic with your color placement! Drip different colors in various spots, allowing them to touch and merge slightly.
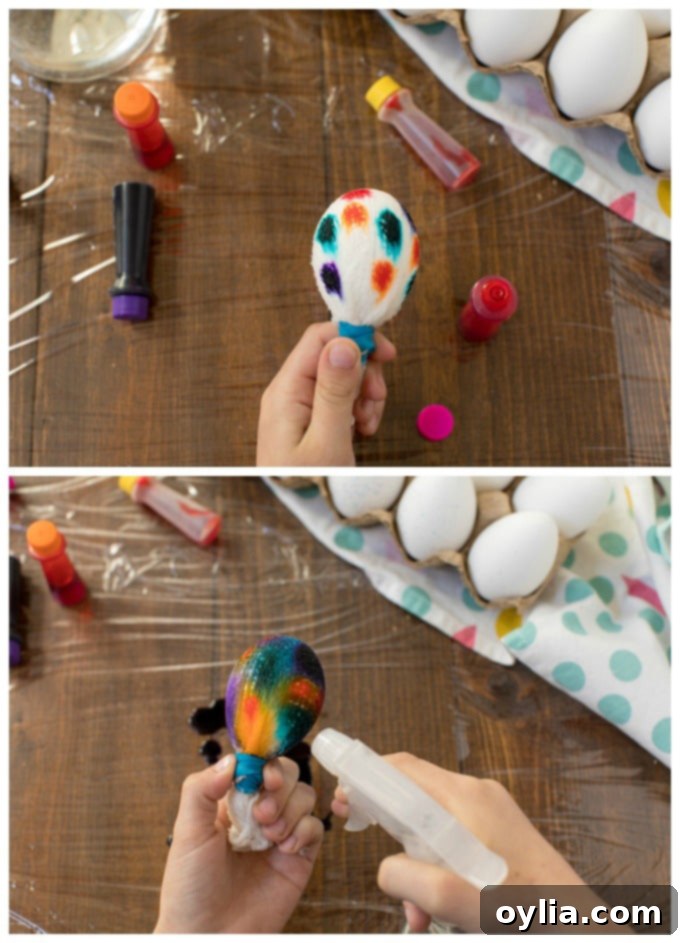
- Embrace White Space (or don’t!): Feel free to leave some areas of the cheesecloth without direct color application; these will often result in interesting white or very light sections on your finished egg. Alternatively, you can completely cover the egg with a vibrant array of colors – the artistic choice is entirely yours!
- Mist with Water for Blending: Now, using your small spray bottle, lightly mist the colored cheesecloth with water. This is where the magic happens! The water will help the colors bleed and blend together, creating the quintessential tie-dye effect. Remember, the less water you use, the more concentrated and darker your colors will be. More water will result in softer, more muted hues. The goal is to encourage blending without completely dissolving the individual color drops into one uniform blob. Aim for distinct yet flowing transitions.
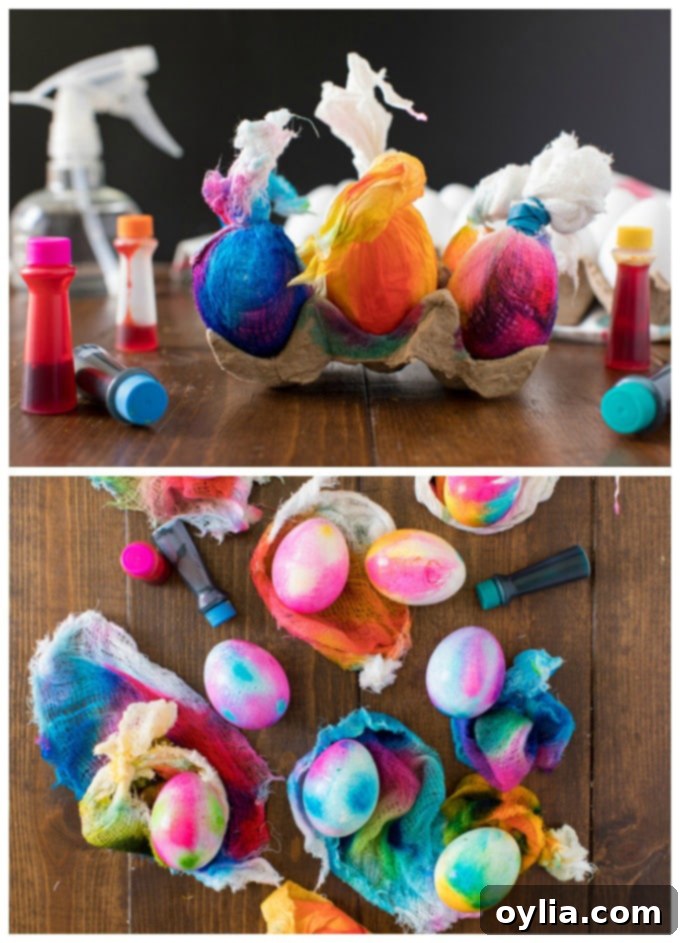
- Gentle Squeeze (Optional): If there appears to be an excessive amount of liquid, you can gently hug the egg with your hand (wearing gloves!) and lightly squeeze out any surplus food coloring and water. Be very careful not to shift the cheesecloth too much or crack the egg. This step helps ensure the dye is absorbed by the egg, not just sitting on the surface.
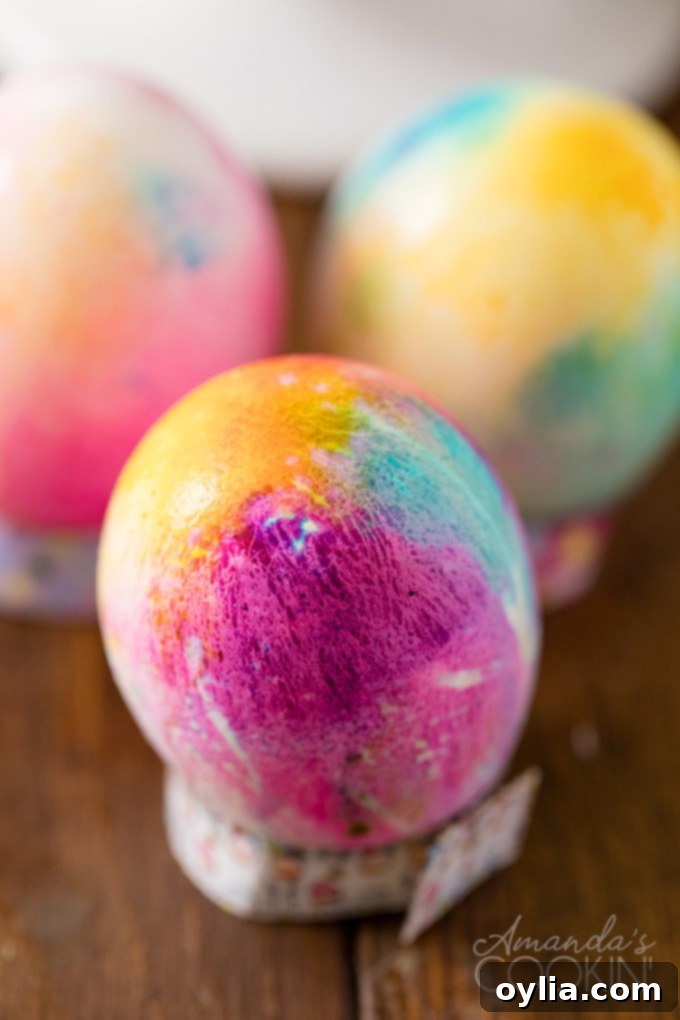
- Dry and Reveal: Place your wrapped egg into an empty cardboard egg carton to dry. Allow it to sit for at least an hour, or until the cheesecloth is completely dry. You can use the hairdryer trick mentioned earlier to speed this up. Once dry, carefully unwrap your egg and marvel at the unique, vibrant tie-dye pattern you’ve created! It’s a messy process, but oh-so-worth it for the incredible results.
The Paper Towel Method: For Bold & Expressive Designs
This second method offers a slightly different aesthetic, often resulting in bolder color swatches and more diffuse, painterly patterns. It’s equally fun and perhaps a bit simpler for younger children.
- Prepare Your Workspace and Paper Towel: Just like with the cheesecloth method, lay down plastic wrap to protect your counter. Take a single piece of sturdy paper towel (or double/triple thin ones for extra strength), get it thoroughly wet, and then wring out all the excess water until it’s just damp. Unfold the damp paper towel and spread it flat on your plastic-wrap-lined surface.

- Drip Food Coloring: Drip generous drops of liquid food coloring into the center of the damp paper towel. Experiment with different colors side-by-side or layer them for unique blends. Don’t be shy with the amount of color; the paper towel is quite absorbent!
- Place and Wrap the Egg: Gently place a hard-boiled egg directly into the center of the vibrant colored drops. Then, carefully gather the paper towel around the egg, twisting the top to secure it tightly. You want the colored areas to be in firm contact with the eggshell.
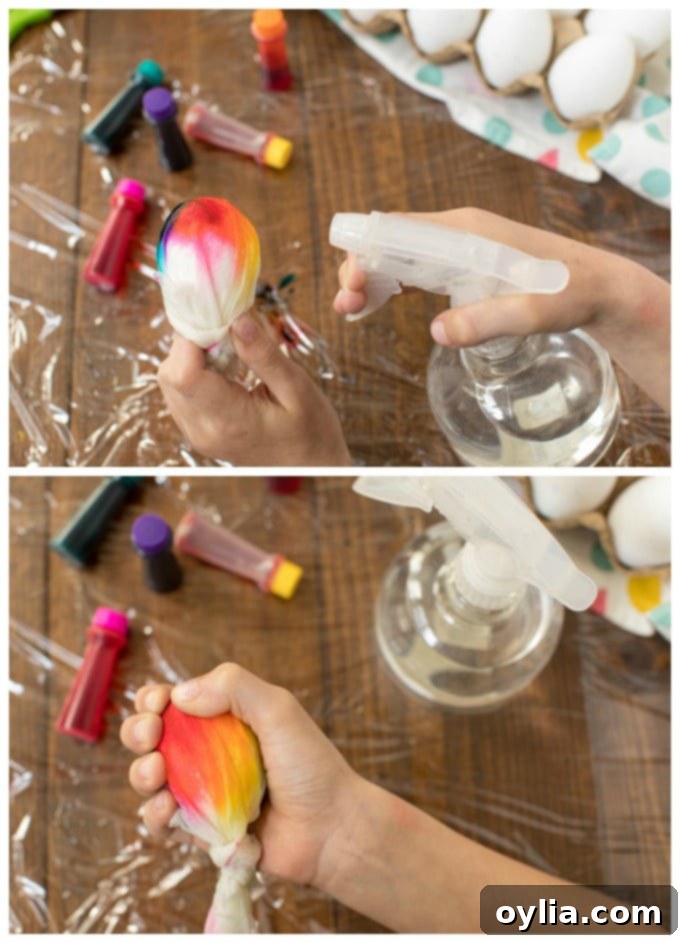
- Activate with Water: Use your spray bottle to lightly mist the outside of the paper towel bundle with water. Again, this helps the colors seep through the paper towel and into the eggshell, blending beautifully. Adjust the amount of water to achieve your desired color intensity.
- Squeeze and Dry: Gently squeeze the wrapped egg to ensure good contact between the dye and the shell and to remove any excess liquid. Place the egg in a cardboard egg carton and allow it to dry completely. Once dry, unwrap it to reveal your boldly patterned, tie-dye masterpiece!
Creative Ways to Display Your Tie-Dye Easter Eggs
Once your beautiful tie-dye Easter eggs are dry, the fun doesn’t have to stop there! These vibrant creations are perfect for adding a pop of color to your Easter celebrations. Here are some inspiring ideas:
- Egg Cup Display: Simple yet elegant. Display your eggs in individual egg cups on your dining table or kitchen counter to create a festive centerpiece.
- Easter Basket Filler: Forget store-bought eggs! These homemade tie-dye eggs make fantastic, personal additions to any Easter basket. You can even print some basket tags to personalize gifts for friends and family.
- The Ultimate Easter Egg Hunt: Imagine the excitement as children discover these uniquely colored eggs during an Easter egg hunt! They’ll be a memorable find among the grass and flowers.
- Engaging Scavenger Hunt: Elevate your Easter games by incorporating your tie-dye eggs into a fun scavenger hunt. Each vibrant egg can lead to the next clue, adding an extra layer of excitement.
- Decorative Bowl: Arrange a collection of your tie-dye eggs in a clear glass bowl or basket as a stunning, colorful focal point for any room.
If you’re hungry for even more creative Easter egg decorating ideas, be sure to explore my craft blog! I’ve shared a treasure trove of inspiration, including 7 Cool Ways to Decorate Easter Eggs that go beyond the ordinary. There’s always a new technique to discover and a fresh way to celebrate the season!
Tie Dye Easter Eggs
IMPORTANT – There are often Frequently Asked Questions within the blog post that you may find helpful. Simply scroll back up to read them!
Print It
Rate It
Save ItSaved!
Ingredients
- plastic wrap for the counter
- cheesecloth OR paper towels
- liquid food coloring
- a small spray bottle with water or a small cup of water
- rubber band
- empty cardboard egg carton to hold eggs
Before You Begin
- You can let all the eggs dry in a cardboard egg carton, or you can be like me and speed up the process using a hair dryer on cool setting.
- If you don’t want to deal with food coloring stains on skin, have kids wear rubber gloves.
- To remove food coloring from skin, first rub hands with hand lotion. Make a paste from white vinegar and salt and run onto stained skin. Rinse and repeat until gone.
- If using the paper towel method, you should use a sturdy paper towel. However, you can double or triple the number of sheets to make it stronger.
Instructions
Cheesecloth Method
-
Layer the counter with plastic wrap. Cut cheesecloth into 6″ lengths.
-
Get the cheesecloth wet and wring it out.
-
Place a boiled egg into the center of the cheesecloth.
-
Gather the ends of the cheesecloth together tightly around the egg and secure with a rubber band.
-
Hold egg by the rubber banded end and add drops of food coloring to the damp cheesecloth.
-
Leave some white space, but use whatever colors you like.
-
Spray it with water. The less water you use the darker the colors, the more water you use the more muted your colors will be. The idea is to allow the water to blend the colors together, but not completely combine them into one big color blob.
-
Carefully hug the egg with your hand and gently squeeze out any excess food coloring and water.
-
Place in the cardboard egg carton to dry.
Paper Towel Method
-
Layer the counter with plastic wrap. Take a piece of paper towel, get it wet and wring it the water, you just want it to be damp. Open it up and place it on the plastic wrap lined counter.
-
Drip some food coloring in the center of the paper towel.
-
Place egg in the center of the colors and gather the paper towel around the egg.
-
Get it wet using a spray bottle.
-
Squeeze out the excess and set in cardboard egg carton to dry.
The recipes on this blog are tested with a conventional gas oven and gas stovetop. It’s important to note that some ovens, especially as they age, can cook and bake inconsistently. Using an inexpensive oven thermometer can assure you that your oven is truly heating to the proper temperature. If you use a toaster oven or countertop oven, please keep in mind that they may not distribute heat the same as a conventional full sized oven and you may need to adjust your cooking/baking times. In the case of recipes made with a pressure cooker, air fryer, slow cooker, or other appliance, a link to the appliances we use is listed within each respective recipe. For baking recipes where measurements are given by weight, please note that results may not be the same if cups are used instead, and we can’t guarantee success with that method.
This post originally appeared here on Mar 3, 2014.
