Easy No-Bake Donut Hole Cake Pops: Quick & Fun Party Treats
Prepare to delight your guests with these absolutely charming and effortlessly made Donut Hole Cake Pops! Forget the lengthy process of baking and crumbling cake. This ingenious recipe utilizes store-bought donut holes, transforming them into beautiful, chocolate-dipped delights that are perfect for any gathering. Whether you’re planning a birthday party, a festive holiday celebration, or simply craving a sweet, bite-sized treat, these cake pops are quick to assemble and guaranteed to impress in no time.
Why These Donut Hole Cake Pops Are a Game Changer
This donut hole cake pop recipe truly stands out for its sheer simplicity and speed. Unlike traditional cake pop recipes that demand baking a cake from scratch, letting it cool, crumbling it, mixing it with frosting, and then meticulously forming individual balls – a process that can easily take an hour or two – these donut hole versions streamline everything. All you need to do is melt your chosen chocolate, dip the donut holes, and let your creativity flow with decorations!
Using store-bought donut holes as the base dramatically cuts down on preparation time. You get all the delightful charm and deliciousness of a traditional cake pop with a fraction of the effort. The sweet, tender texture of a donut hole provides a fantastic foundation, absorbing the chocolate coating beautifully and offering a satisfying bite. They’re not just faster; they taste incredibly good, making them a perfect solution for busy hosts, impromptu celebrations, or anyone looking for a fun dessert project without the fuss.
Key Ingredients for Your Donut Hole Cake Pops
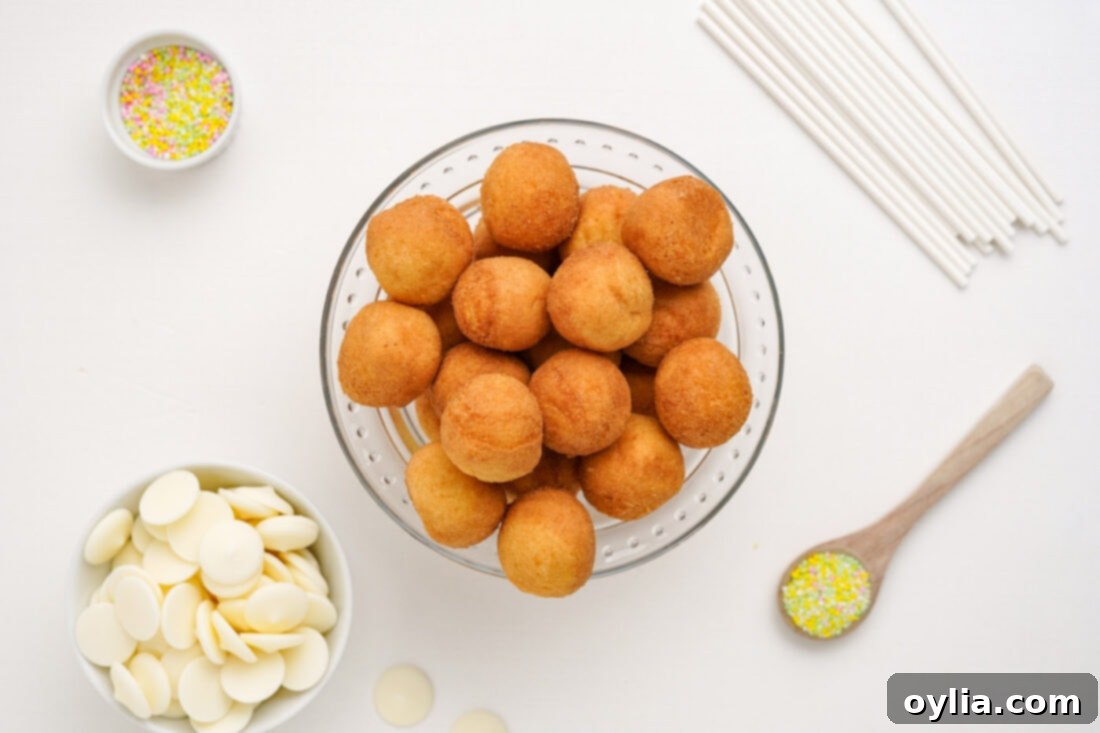
Creating these delightful cake pops requires just a few simple ingredients, making it an accessible recipe for even beginner bakers. You’ll find a detailed list with all measurements and instructions in the printable recipe card at the end of this post, but here’s a quick overview of what you’ll need to gather:
- Donut Holes: The star of our show, providing the convenient base.
- Melting Chocolate: To create that irresistible outer shell.
- Lollipop Sticks: For easy handling and serving.
- Sprinkles (Optional): For a burst of color and fun decoration.
Ingredient Info and Substitution Suggestions
Let’s dive a little deeper into choosing the best ingredients and exploring some delightful variations:
DONUTS – The beauty of this recipe lies in its flexibility. You can use any type of store-bought donut holes you prefer! Classic plain donut holes offer a neutral canvas for your chocolate and decorations. Glazed donut holes add an extra layer of sweetness and a slightly chewier texture. Chocolate donut holes are perfect for a double chocolate treat. Consider seasonal flavors too – pumpkin spice donut holes in the fall or strawberry in the spring could open up a world of themed cake pops!
CHOCOLATE – While we’ve opted for elegant white chocolate in this recipe, your choices are truly endless. Dark chocolate provides a rich, intense contrast, while milk chocolate offers a classic, creamy flavor. For the best results when melting, I always recommend high-quality melting wafers, such as the Ghirardelli brand. These wafers are specifically designed to melt smoothly and evenly, providing a perfect coating without seizing. Wilton candy melts are another excellent option, available in a rainbow of colors, allowing you to customize your cake pops to any party theme or holiday. Alternatively, baking chocolate (bars of chocolate) or almond bark will also work wonderfully. To melt your chocolate, you have a couple of reliable methods:
- Double Boiler: This gentle method ensures even heating and prevents scorching. Simply place your chocolate in a heat-safe bowl over a saucepan of simmering water, ensuring the bowl doesn’t touch the water. Stir frequently until smooth.
- Microwave: A quick and easy option. Heat your chocolate in a microwave-safe bowl in 30-second intervals, stirring well after each, until fully melted and smooth. Be careful not to overheat, as this can cause the chocolate to seize.
Avoid using regular chocolate chips if possible, as they contain stabilizers that make them prone to seizing and hardening prematurely when melted. If you must use them, adding a tiny bit of coconut oil or vegetable shortening (1/2 teaspoon at a time) can help with consistency.
SPRINKLES & DECORATIONS – Don’t underestimate the power of sprinkles! They are your secret weapon for transforming these simple treats into festive masterpieces. Nonpareils offer a classic look, while jimmies come in countless colors and blends. Experiment with sanding sugar for a shimmering finish, or themed shaped sprinkles for specific occasions like hearts for Valentine’s Day, stars for patriotic events, or tiny animals for baby showers. Edible glitter or drizzle with contrasting chocolate colors can also add an extra touch of sophistication.
Crafting Your Own Donut Hole Cake Pops: Step-by-Step Guide
These step-by-step photos and instructions are here to help you visualize how to make this recipe. You can Jump to Recipe to get the printable version of this recipe, complete with measurements and instructions at the bottom.
- Prepare Your Donut Holes: Gently roll each donut hole between your palms. This helps to slightly compress and smooth them, creating a more uniform shape for dipping. As you roll, identify the smoothest, most rounded side – this will be the top of your cake pop, ensuring a polished finish.
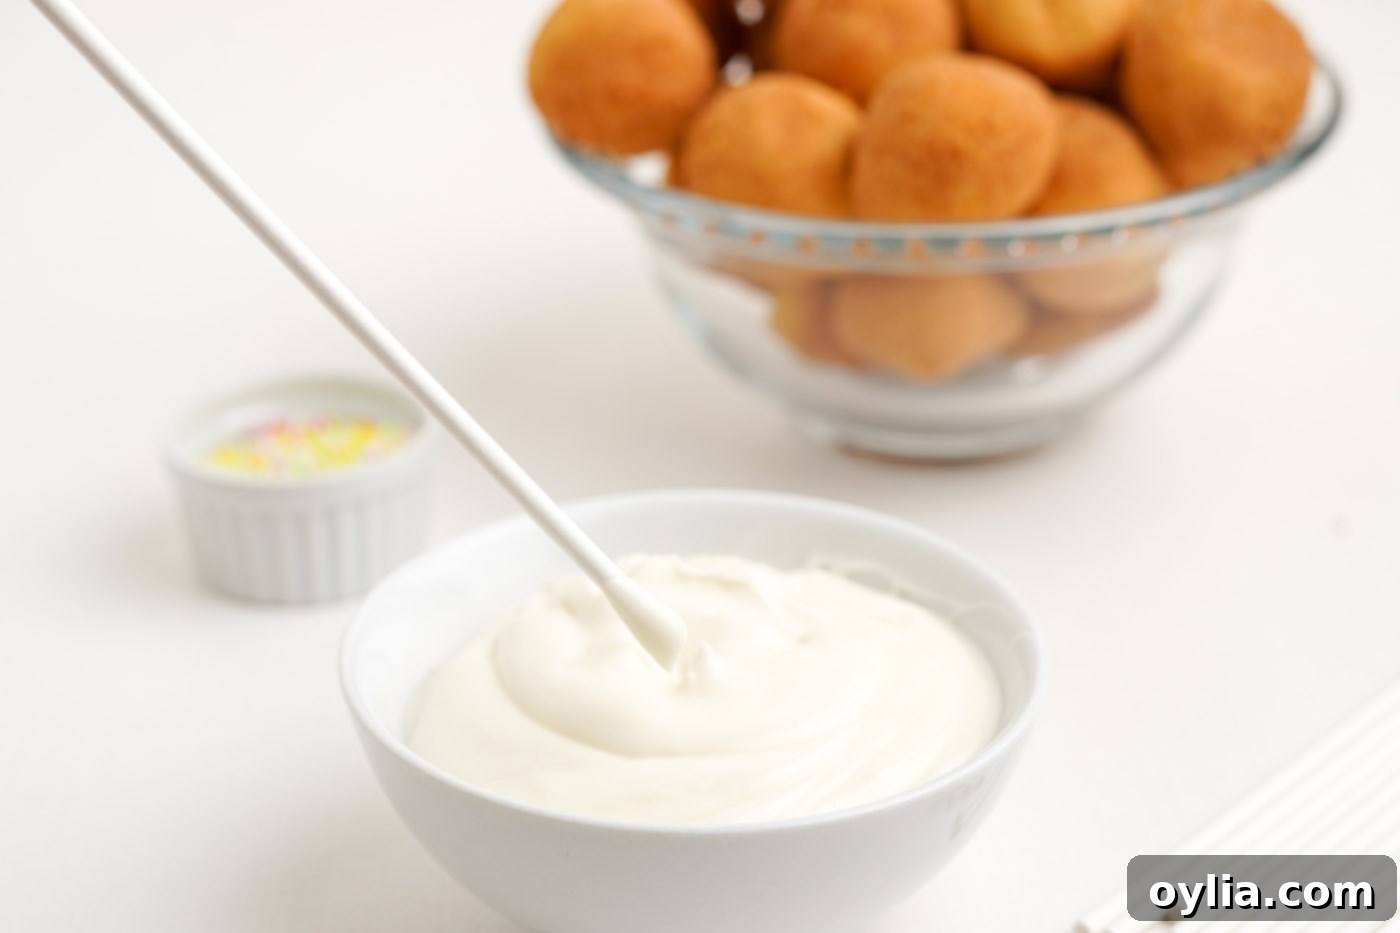
- Melt the Chocolate: Following the package directions for your chosen melting wafers (or baking chocolate/almond bark), melt the chocolate until it’s smooth and fluid. A double boiler is often preferred for its gentle, consistent heat, but you can also use the microwave in short bursts, stirring well in between. Remember, if your chocolate seems too thick, add half a teaspoon of coconut or vegetable oil at a time, stirring until it reaches the desired consistency.
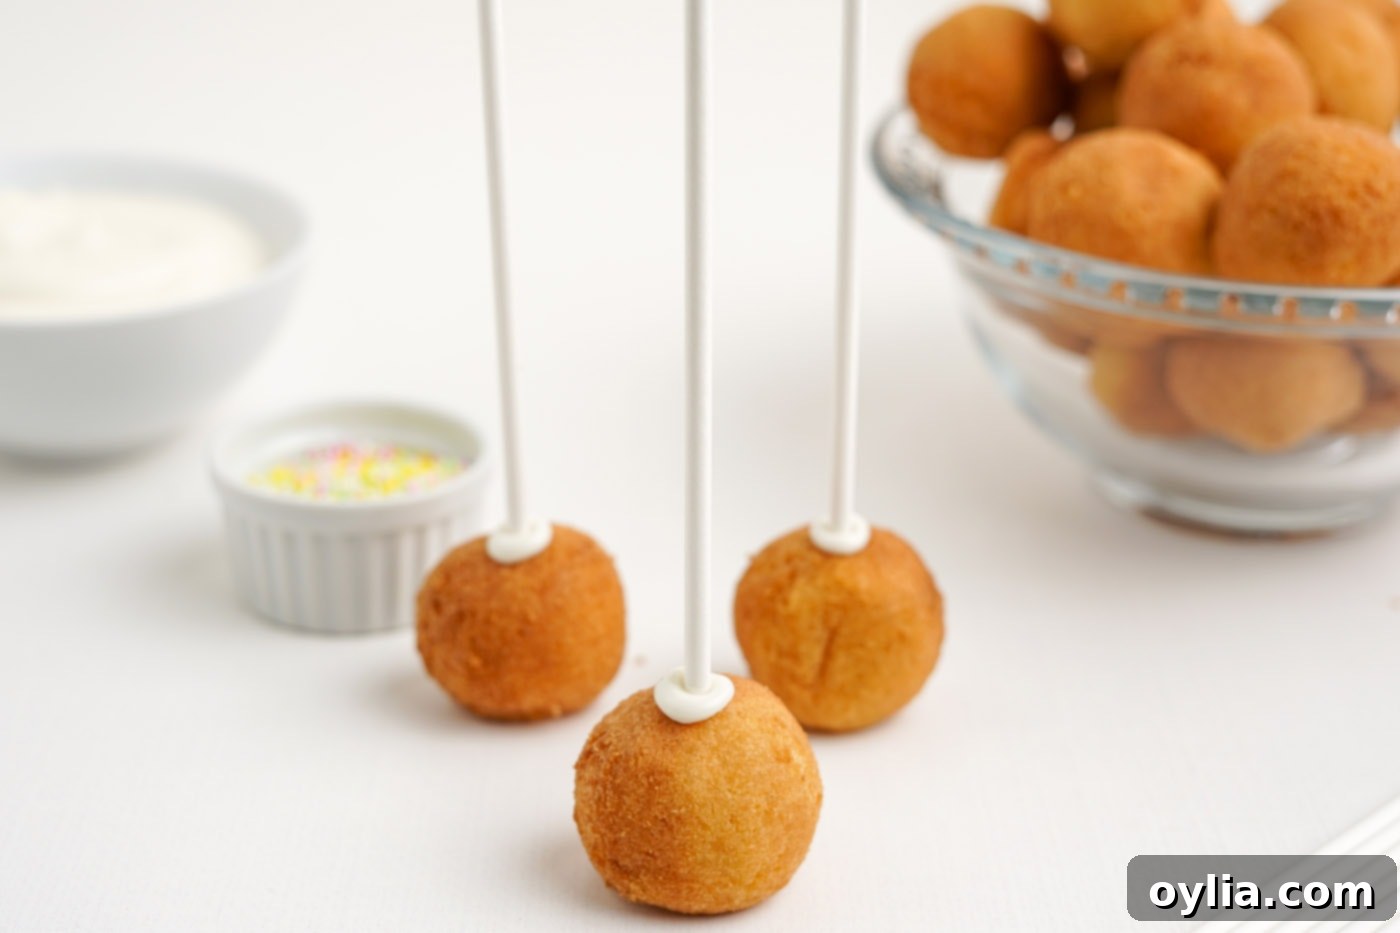
- Insert the Lollipop Sticks: This is a crucial step for stability. Dip the tip of each lollipop stick into the melted chocolate, then carefully insert it about halfway into a donut hole. The melted chocolate acts as a “glue” to secure the stick. Allow these to cool and set upside down (you can use a piece of Styrofoam or a tall glass to hold them upright) until the chocolate around the stick is firm. This prevents the donut from slipping off when you dip it.


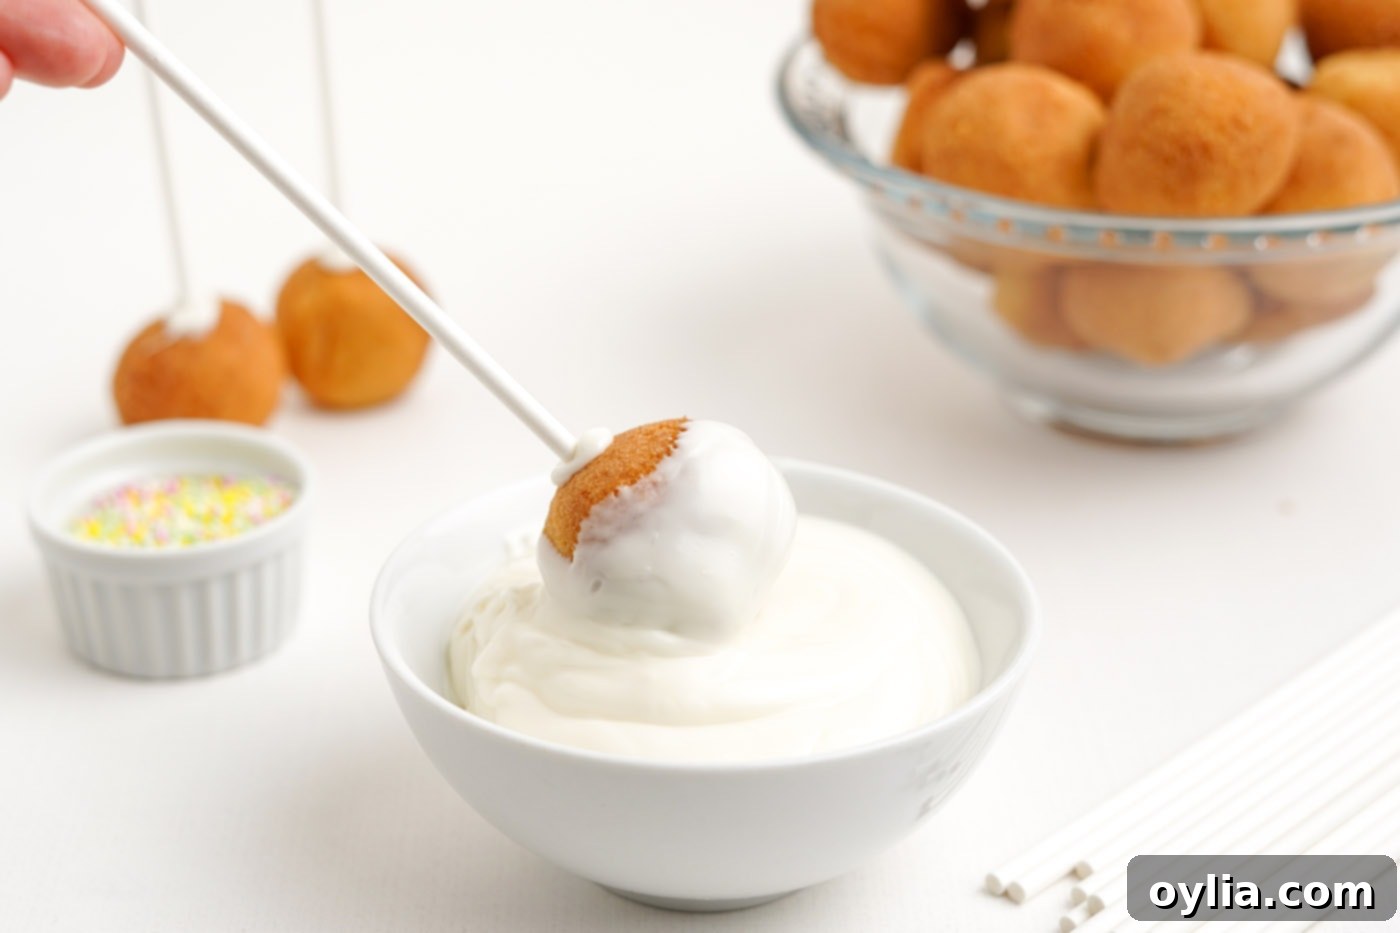
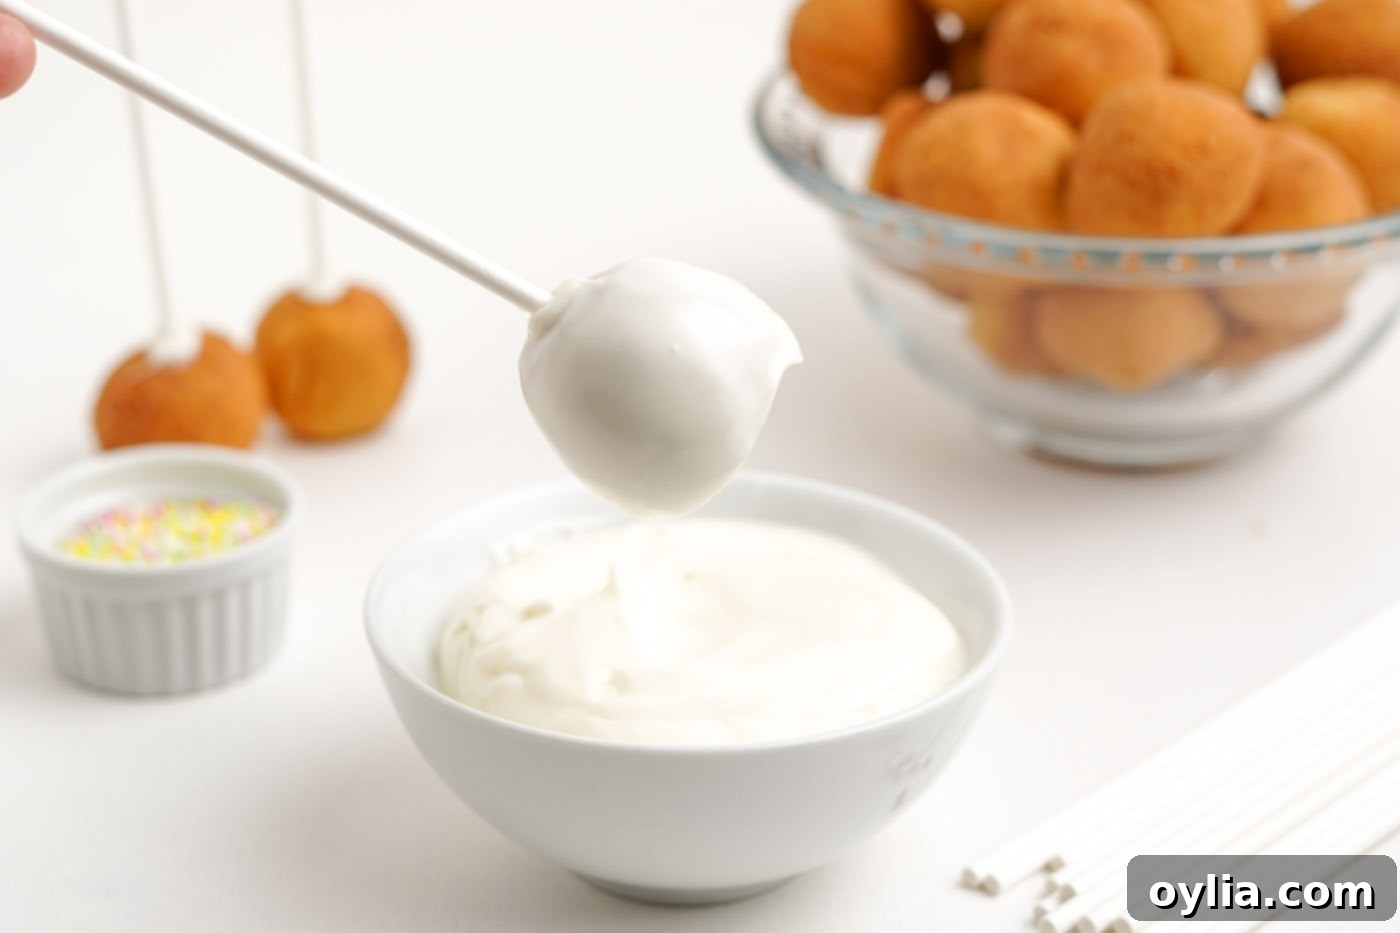
- Dip the Donut Holes: Once the chocolate around the sticks has completely cooled and set, it’s time for the main dip! Carefully immerse each donut hole into the melted chocolate, rotating it gently to ensure it’s fully and evenly coated. Lift the cake pop out, gently tap the stick against the side of the bowl to shake off any excess chocolate, and allow it to drip naturally for a smooth finish.


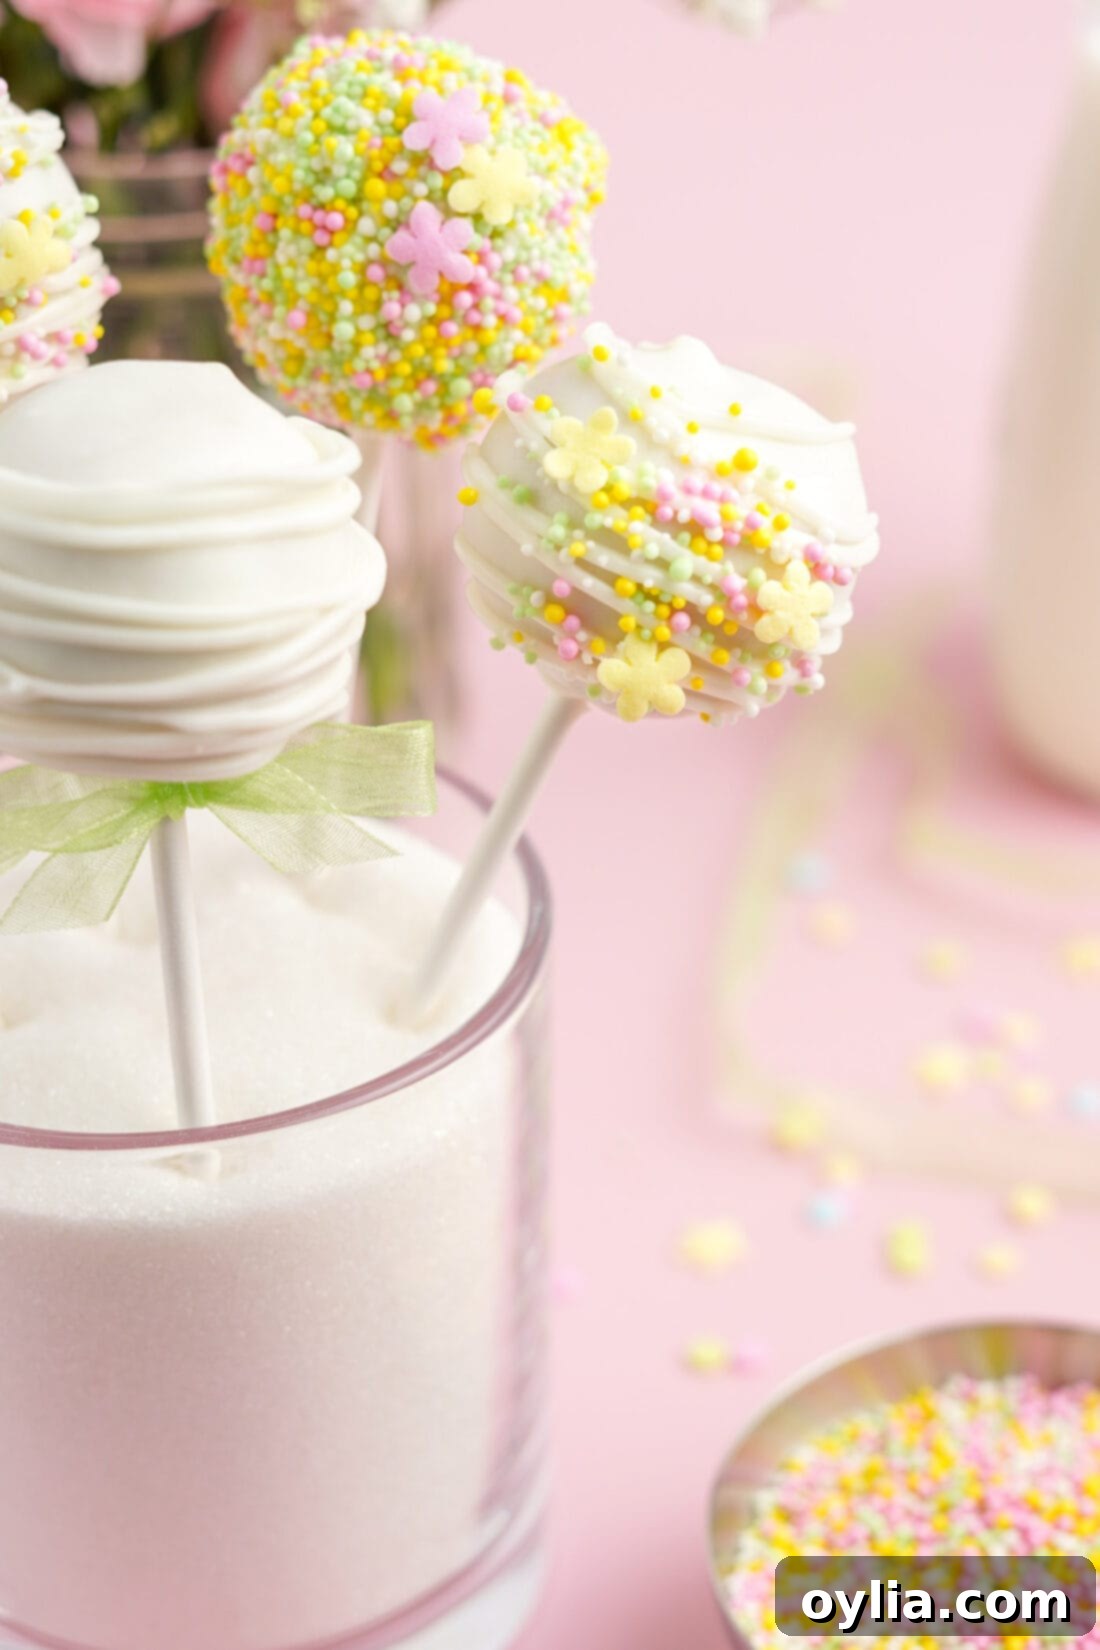
- Decorate – Plain Finish: For a simple yet elegant look, allow the first layer of chocolate coating to fully set. If desired, you can then drizzle on additional melted chocolate in a contrasting color for a sophisticated touch.
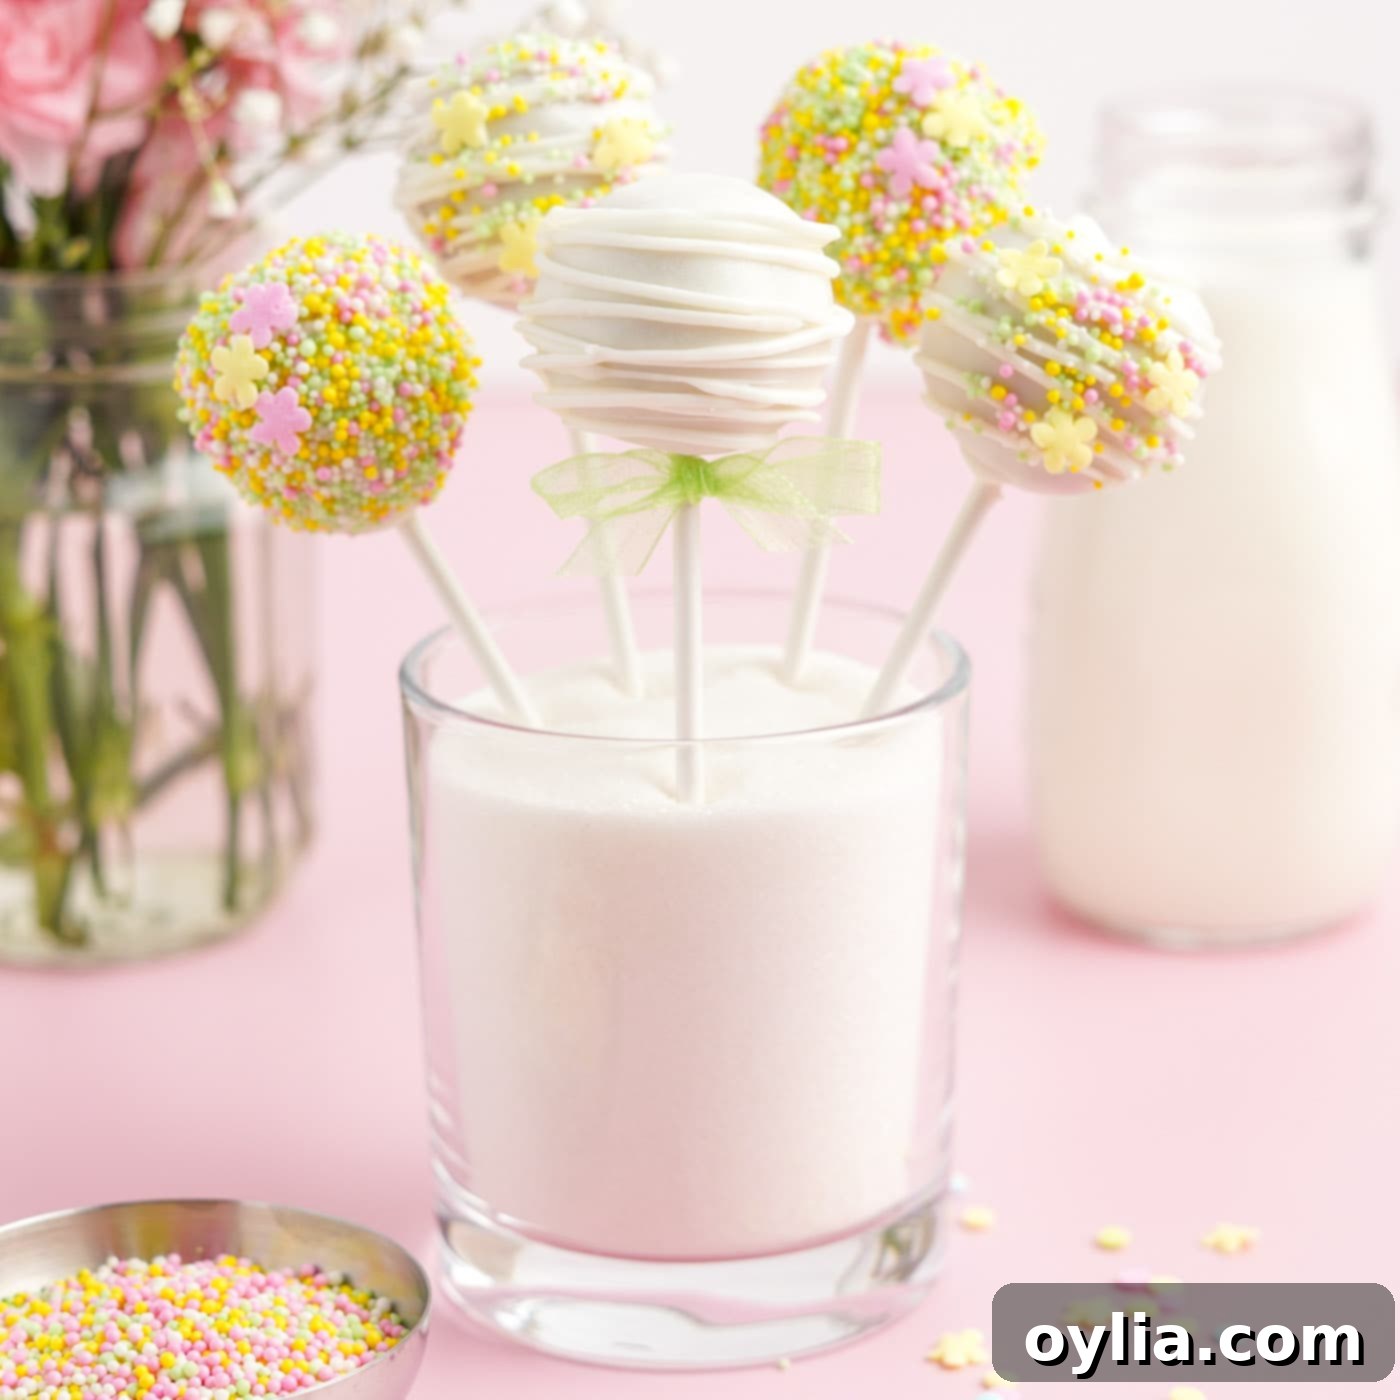
- Decorate – Drizzled/Sprinkled Finish: If you want to add sprinkles, work quickly! Once the first chocolate layer is set, drizzle on a bit more melted chocolate (this fresh chocolate acts as an adhesive), and immediately add your desired sprinkles while the drizzle is still wet. This ensures the sprinkles adhere securely.
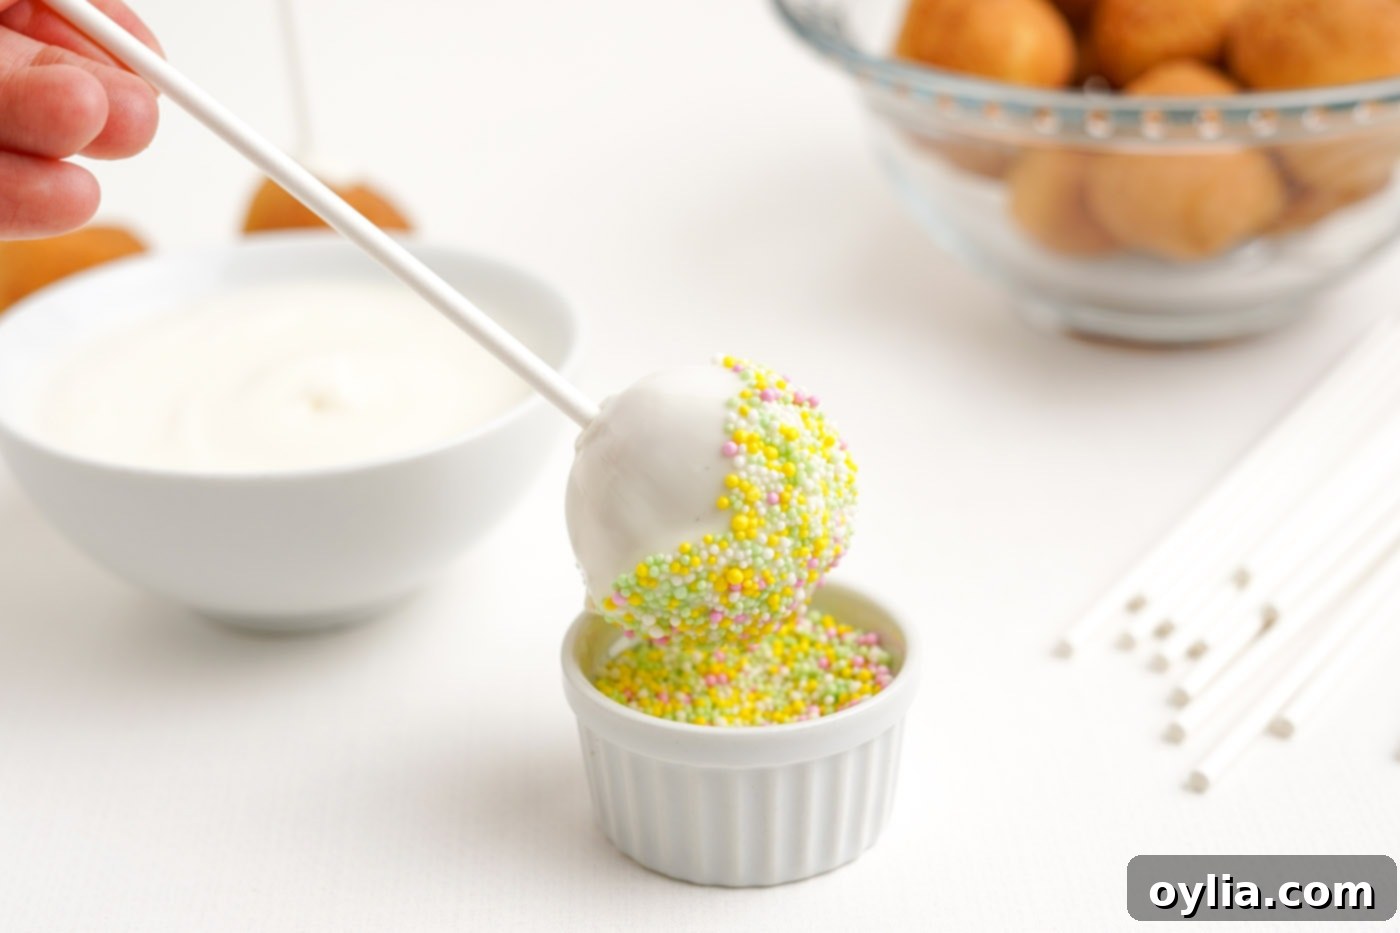
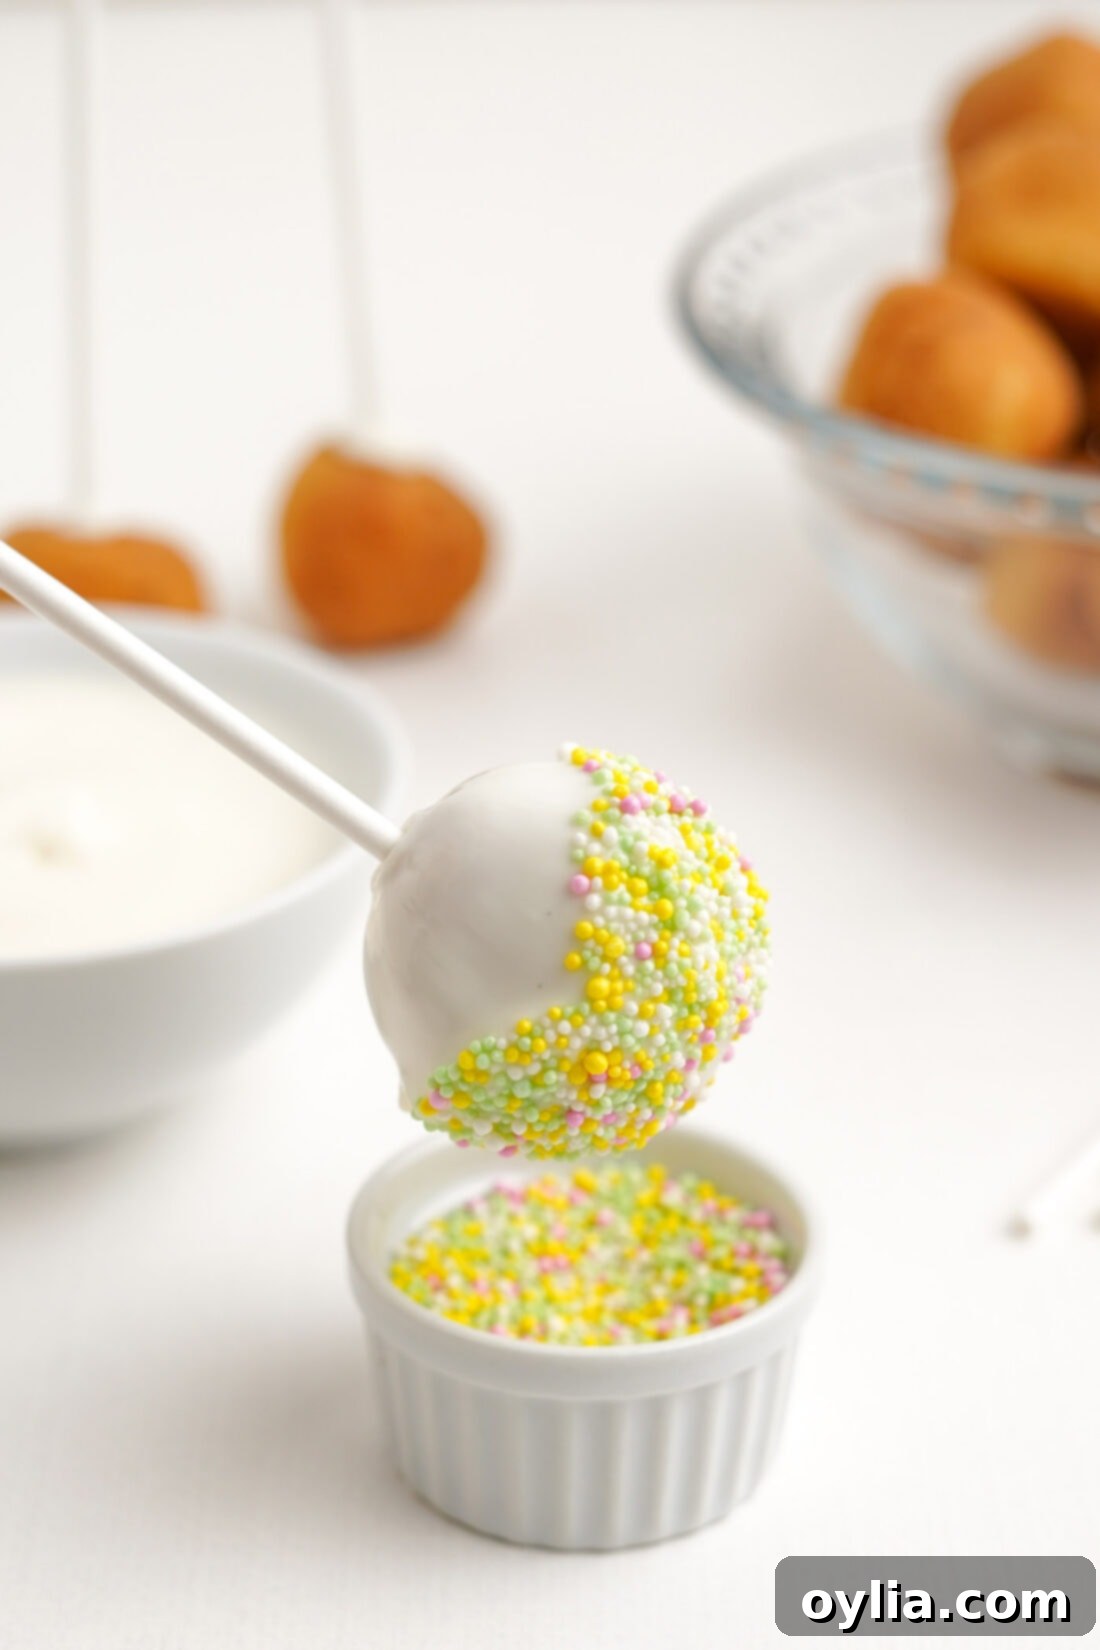
- Decorate – Fully Sprinkle Coated: For cake pops fully covered in sprinkles, allow the chocolate coating to set for about 10 seconds after dipping. While the chocolate is still tacky but not fully hardened, dip the cake pop into a bowl of sprinkles and gently rotate it until it’s thoroughly coated. The slight tackiness will help the sprinkles stick perfectly.

Frequently Asked Questions & Expert Tips for Perfect Donut Hole Cake Pops
While it’s technically possible to melt chocolate chips, I strongly advise against it for cake pops. Chocolate chips contain less cocoa butter and more stabilizers, which makes them much harder to melt into a smooth, dippable consistency. They tend to seize up and become thick and clumpy, making it nearly impossible to achieve a thin, even coating. This often leads to a frustrating experience! For best results and a beautiful finish, stick with melting wafers (like Ghirardelli or Wilton candy melts), baking chocolate bars, or almond bark. These are formulated to melt beautifully and provide that desirable smooth, snappy coating.
To maintain their best texture and appearance, store your donut hole cake pops at room temperature. Place them in an airtight container or cover them loosely with plastic wrap. They are generally best enjoyed within 2-3 days of making them. It’s crucial not to store them in the freezer or refrigerator. The drastic temperature change can cause the chocolate coating to “sweat” when brought back to room temperature, leading to condensation. This moisture can then melt any sprinkles or edible decorations, causing colors to bleed and ruining their vibrant look.
Absolutely! These cake pops are an excellent make-ahead dessert, which is perfect for party planning. You can prepare them up to 24 hours in advance. Just ensure they are stored correctly at room temperature in an airtight container or covered with plastic wrap to keep them fresh. While they’re still delightful on day 2 or 3, they are truly at their peak freshness and flavor within the first 1-2 days. If you have an event in the evening, making them the morning of or the night before is ideal, especially since the entire process only takes about 20 minutes!
If your melted chocolate seems too thick or isn’t flowing smoothly for dipping, don’t panic! You can easily thin it out. Add a very small amount of coconut oil or vegetable shortening, about 1/2 teaspoon at a time, and stir thoroughly until fully incorporated. Continue adding small amounts and stirring until you reach your desired smooth, dippable consistency. Be careful not to add too much at once, as this can make the chocolate too runny.
The key to sturdy cake pops is making sure the stick is well-anchored. First, dip the tip of your lollipop stick into the melted chocolate before inserting it into the donut hole. This chocolate acts as a strong adhesive. After inserting the sticks, let the donut holes cool upside down until the chocolate around the stick is completely firm. You can even place them in the refrigerator for 5-10 minutes to speed up this setting process before you proceed with dipping the entire pop. This extra step provides a solid base, greatly reducing the chance of your treats taking a tumble!
Serving & Customizing Your Donut Hole Cake Pops
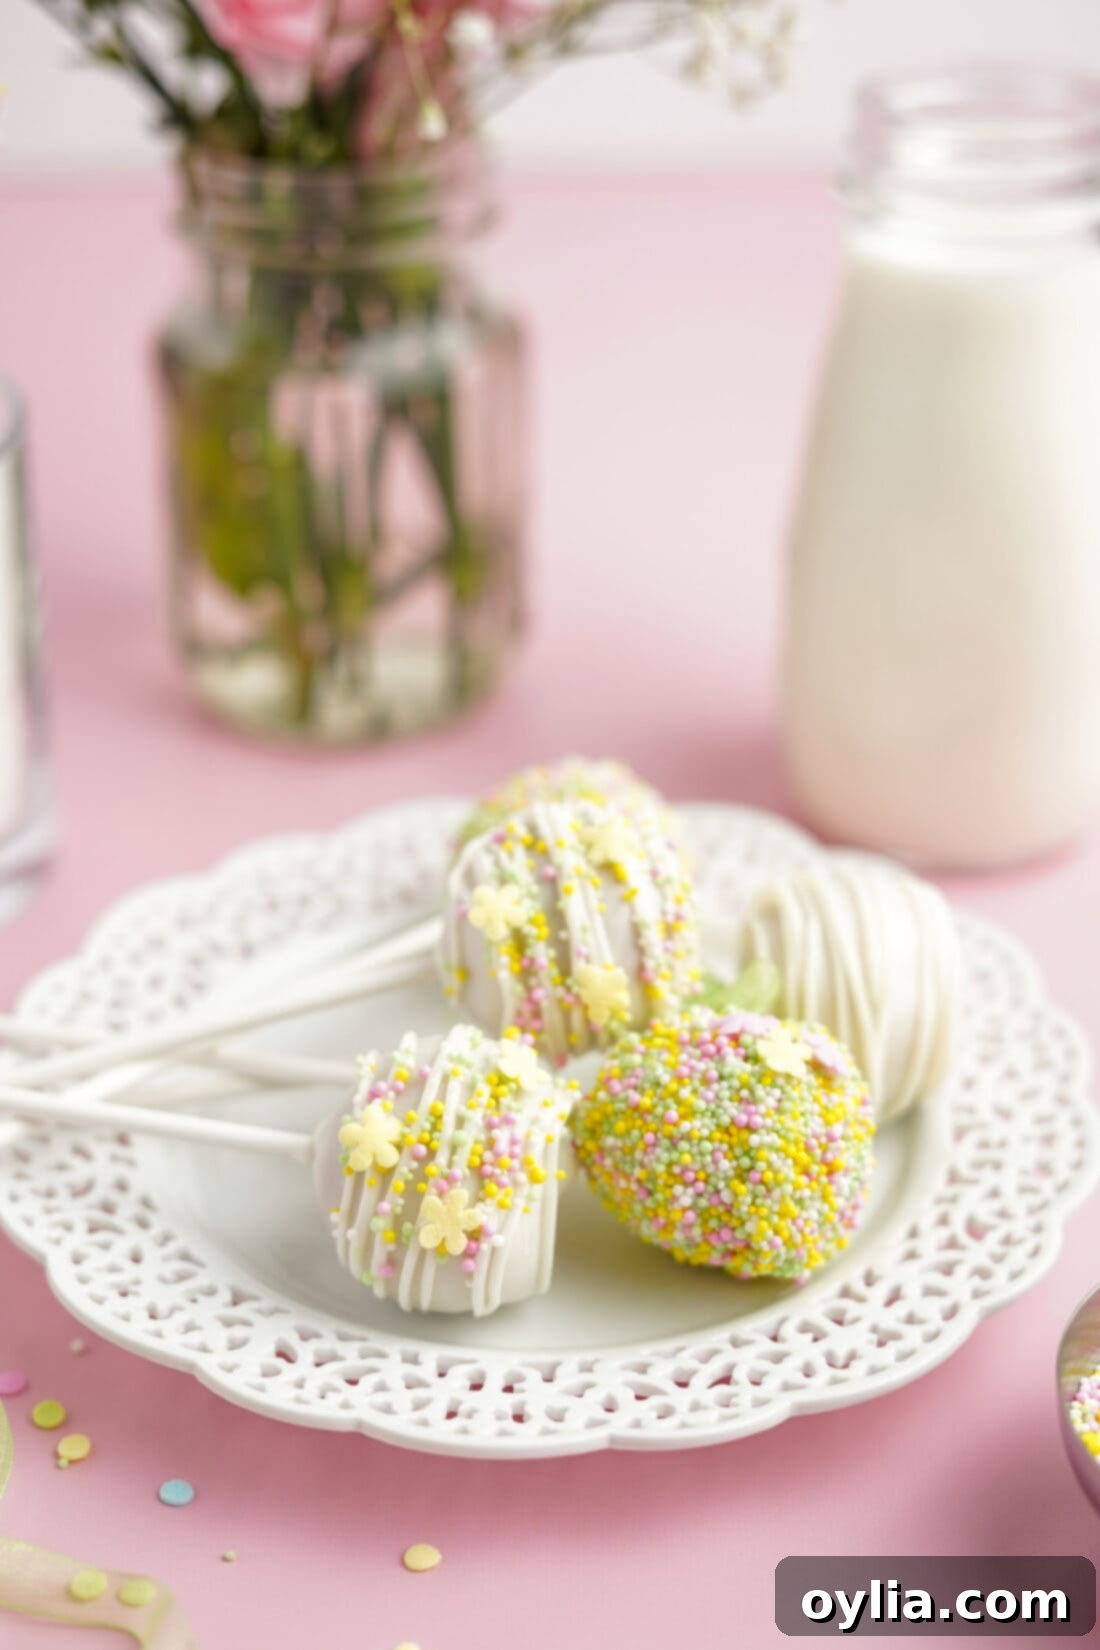
The versatility of these donut hole cake pops is truly boundless, making them suitable for virtually any occasion. While our example features beautiful spring/Easter-themed decorations, you can easily adapt them to match any party theme, holiday, baby shower, or seasonal celebration. Simply choose candy wafers in coordinating colors and select sprinkles that fit your desired aesthetic. Think red and green for Christmas, pastels for Easter, bold primary colors for a child’s birthday, or elegant metallics for a sophisticated event.
Serve these delightful treats fresh at room temperature. For an eye-catching display, consider arranging them upright in a cake pop stand or on a tiered dessert platter. They also make fantastic party favors or gifts! Individually wrap them in clear cellophane bags tied with a ribbon for a thoughtful and personalized touch. A good cake pop set can be incredibly helpful for both making and presenting them. Don’t be afraid to get creative with your toppings – crushed nuts, shredded coconut, or even mini chocolate chips can add an extra layer of flavor and texture.
More Easy & Delicious Party Desserts Recipes
If you’re looking for more crowd-pleasing desserts that are perfect for parties and gatherings, explore some of these fantastic recipes:
- Individual Tiramisu
- Lemon Icebox Cake
- Strawberry Lasagna Trifle
- Oreo Cheesecake Brownies
- Double Chocolate Cupcakes
- No Bake Cheesecake Bars
- Air Fryer Donuts
I love to bake and cook and share my kitchen experience with all of you! Remembering to come back each day can be tough, that’s why I offer a convenient newsletter every time a new recipe posts. Simply subscribe and start receiving your free daily recipes!

Donut Hole Cake Pops
IMPORTANT – There are often Frequently Asked Questions within the blog post that you may find helpful. Simply scroll back up to read them!
Print It
Pin It
Rate It
Save ItSaved!
Ingredients
- 12 plain donut holes
- 2 cups white chocolate candy melts plus more for drizzle if desired
- sprinkles optional for decorating
Things You’ll Need
-
Double boiler
-
Lollipop sticks 6 inches
Before You Begin
- If your chocolate is too thick, you can add oil 1/2 teaspoon at a time to thin the chocolate if needed. (Coconut or vegetable)
- When adding the second layer of chocolate drizzle, make sure the chocolate is close to room temperature to ensure the layers don’t crack or separate.
- Give the donut hole a quick shaping between your palms before placing it on the stick. If you have lumpy donut holes, use those ones to fully coat in sprinkles. It helps hide the flaws!
- You can use plain donut holes, chocolate, or glazed.
- We used white chocolate but you can also use dark or milk chocolate for the coating. I always recommend the Ghiradelli brand of melting wafers, but Wilton candy melts, baking chocolate, or almond bark will do the trick as well.
- The nutrition calculation we provided will not be completely accurate as it’s based on the kind of donut holes and chocolate we used. Please refer to the nutrition labels on the individual items you purchased for more accurate information.
Instructions
-
Prepare donut holes for dipping by giving a quick roll between your palms and determining where you will place your stick. I like to make sure the smoothest rounded side is at the top of the cake pop.
-
Melt the chocolate wafers according to package directions. I prefer to use a double broiler. Or, use a small saucepan with a glass bowl over top.
-
Carefully dip each cake pop stick into the melted chocolate and stick into the cake pop. Allow to cool upside down.
-
When the chocolate has cooled, carefully dip each cake pop in the chocolate rotating until fully coated.
-
For plain cake pops, drizzle on extra chocolate once the first layer is set.
-
For drizzled/sprinkled cake pops, drizzle on extra chocolate once the first layer is set and immediately add sprinkles.
-
For sprinkle coated cake pops, allow the coating to set for 10 seconds then dip into sprinkles and rotate until fully coated.
Nutrition
The recipes on this blog are tested with a conventional gas oven and gas stovetop. It’s important to note that some ovens, especially as they age, can cook and bake inconsistently. Using an inexpensive oven thermometer can assure you that your oven is truly heating to the proper temperature. If you use a toaster oven or countertop oven, please keep in mind that they may not distribute heat the same as a conventional full sized oven and you may need to adjust your cooking/baking times. In the case of recipes made with a pressure cooker, air fryer, slow cooker, or other appliance, a link to the appliances we use is listed within each respective recipe. For baking recipes where measurements are given by weight, please note that results may not be the same if cups are used instead, and we can’t guarantee success with that method.
